Kanahei Usagi Steamed Buns

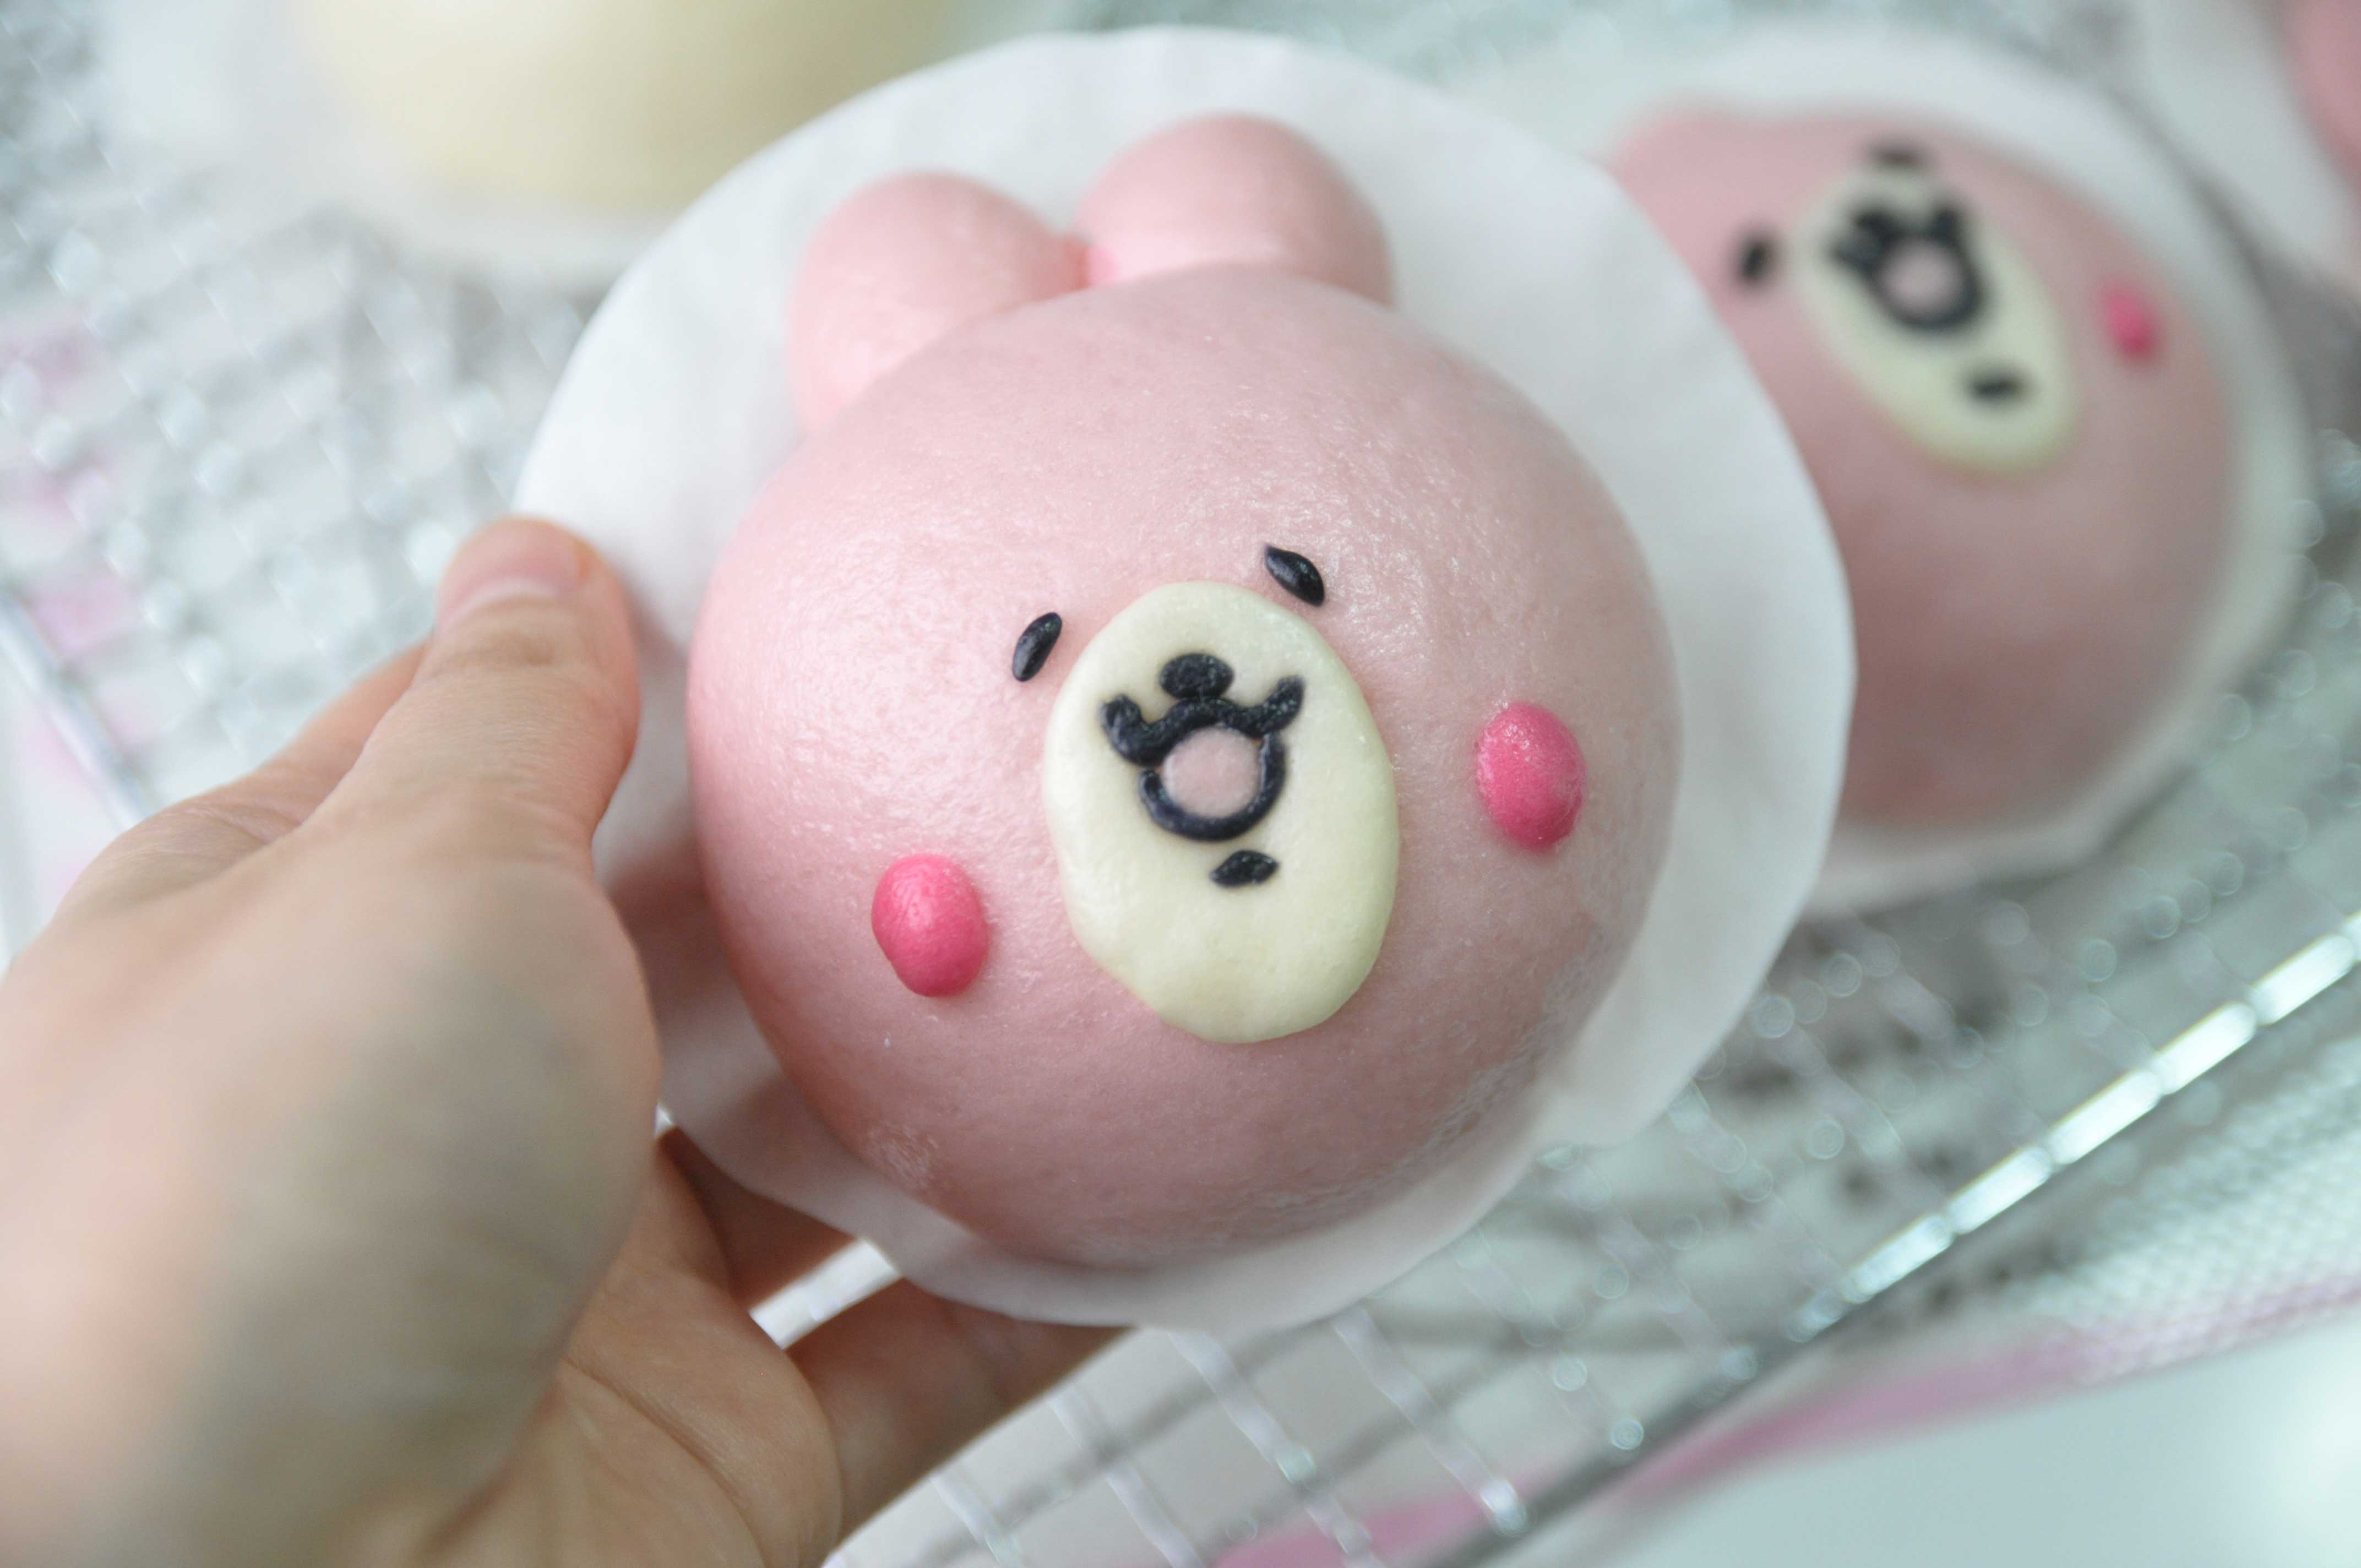
Hi Everyone, today we are making these cute “Homemade Kanahei Usagi Steamed Bun”. 
Too cute to eat? But again there’s no such things as too cute to eat at Our Kitchen 😛

These soft fluffy steamed buns are just basic lightly steamed buns with a yummy milky filling. They are so fun to make though. 
Making them is as fun as eating them. Opening the lid of the steamer to reveal all these cute rabbits and chicks inside just melts my heart 🙂
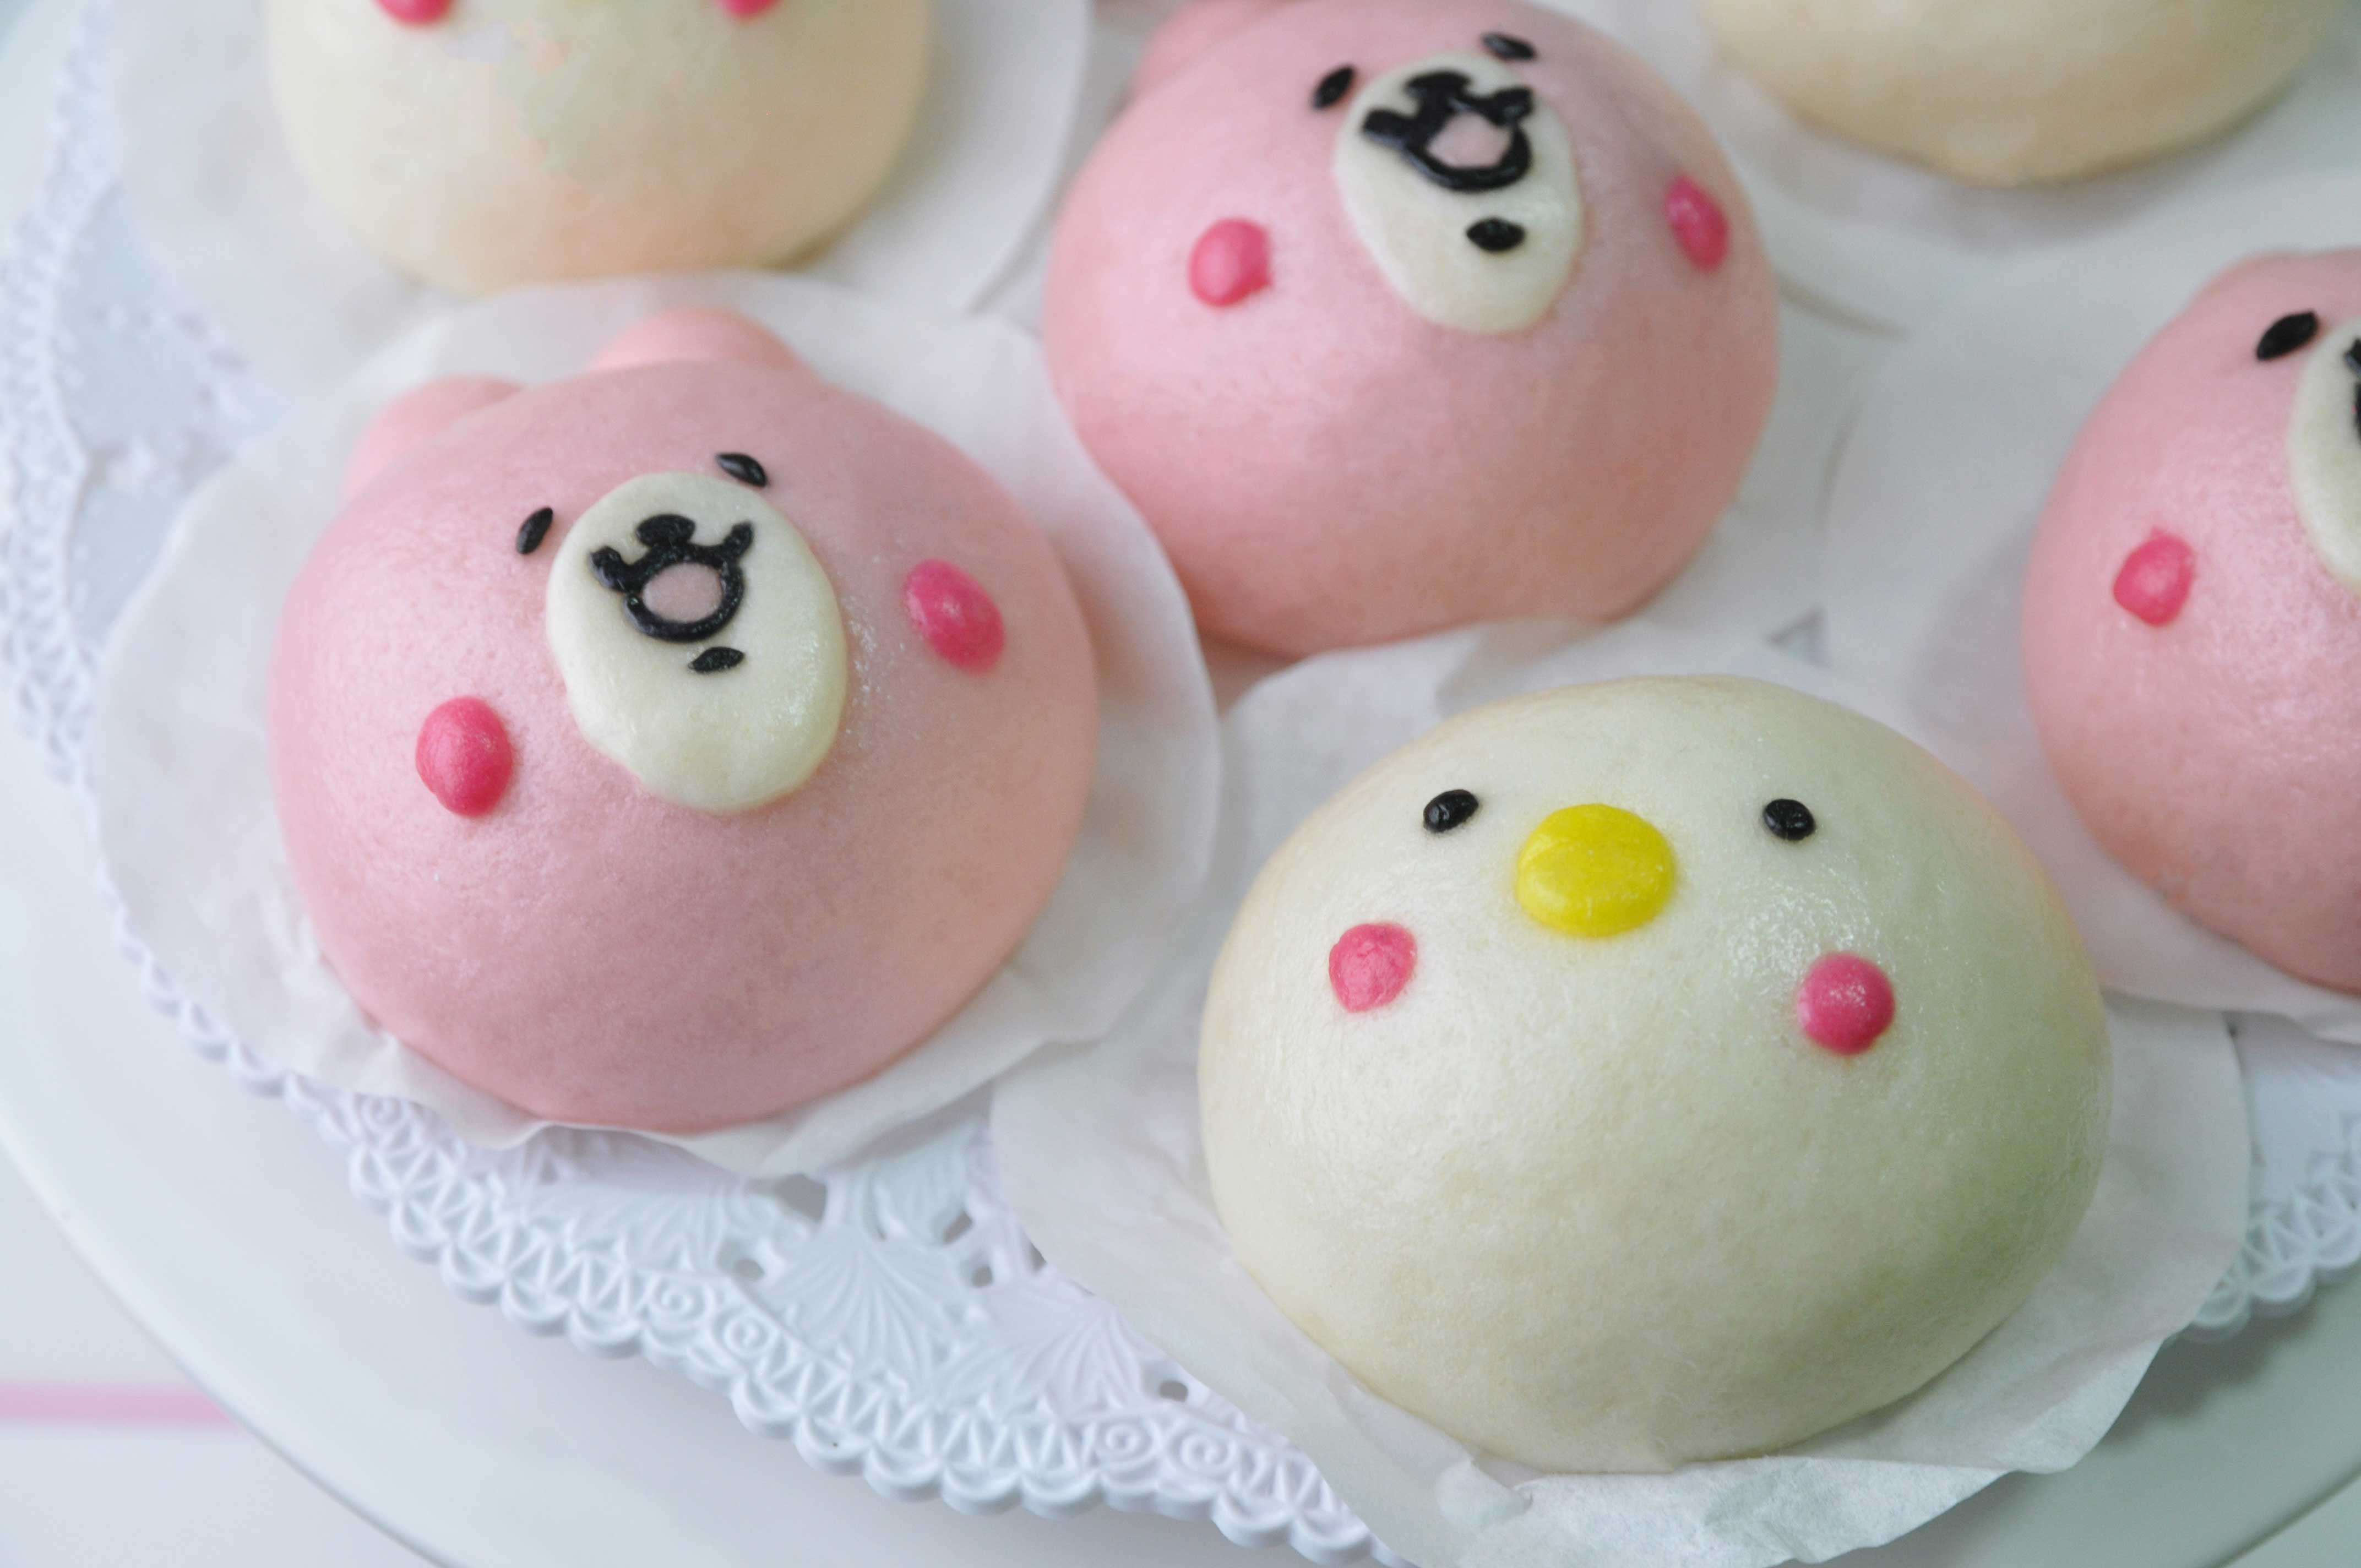
These cute character buns aren’t super hard to make, especially if you have already made steamed Chinese buns before.
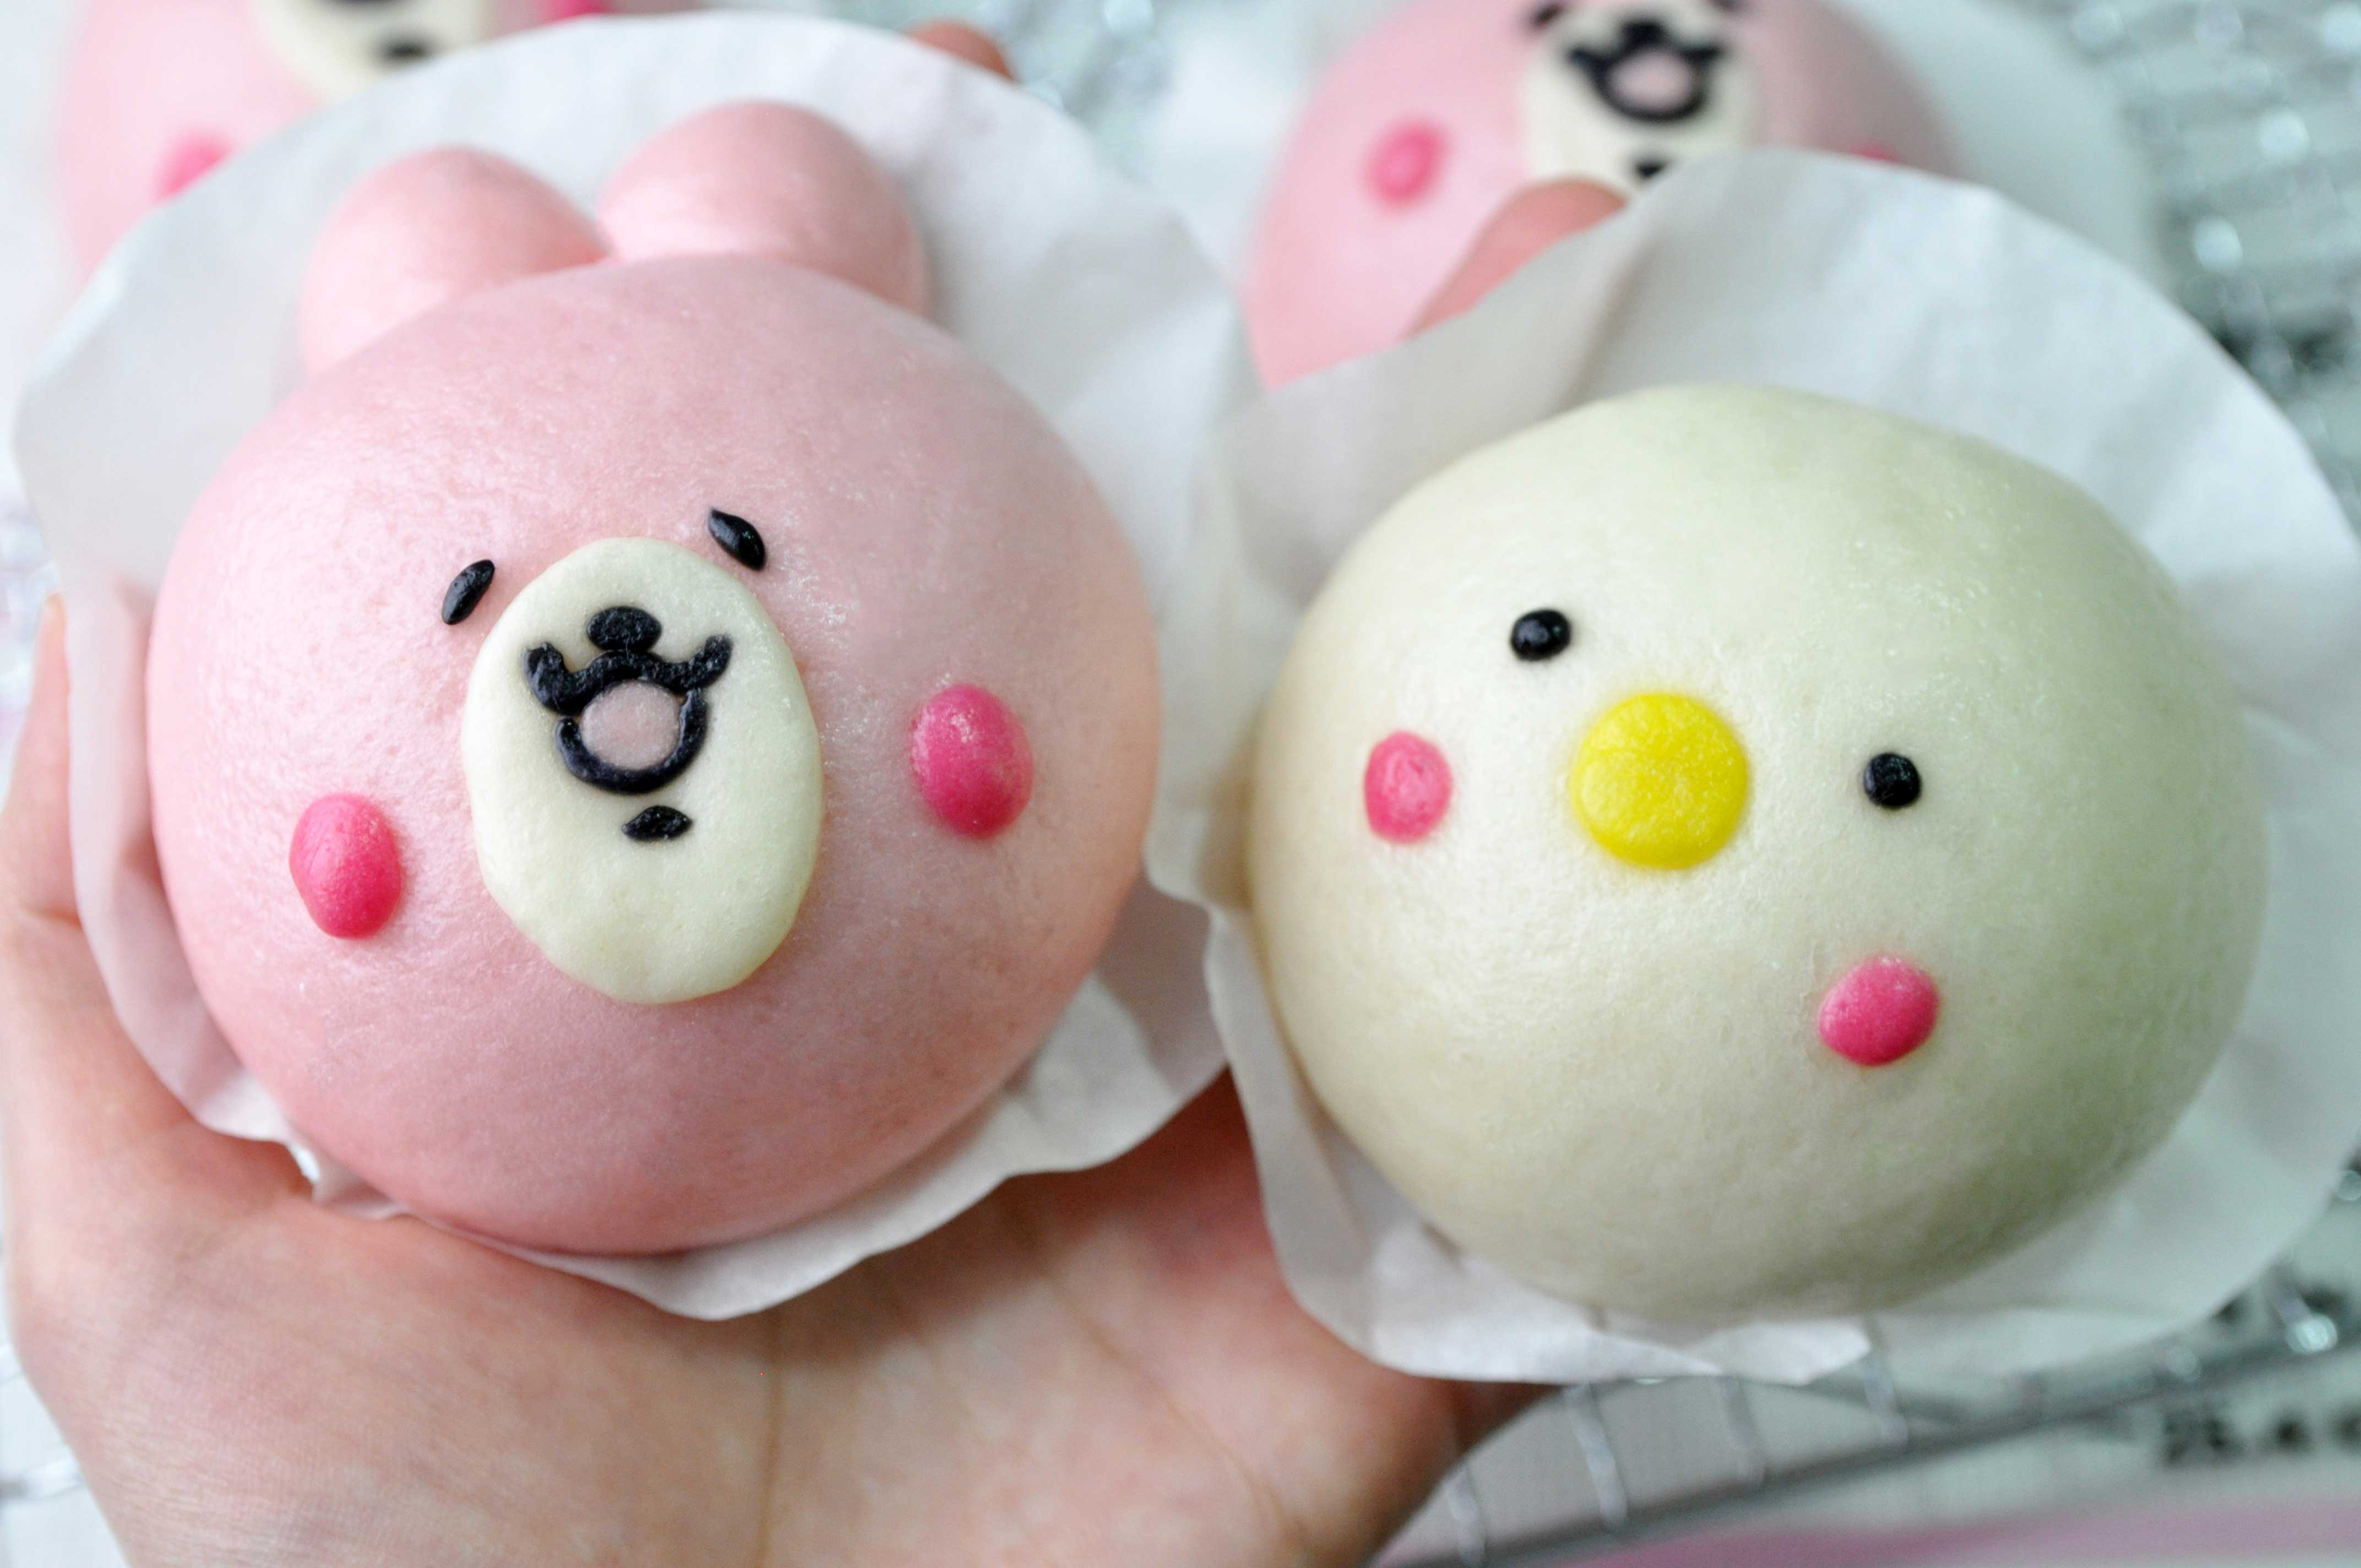
I made them with these soft and creamy milky filling, but you can certainly stuff them with other sweet fillings such as red bean paste or lotus seed paste or custard or even any savory stuffing.
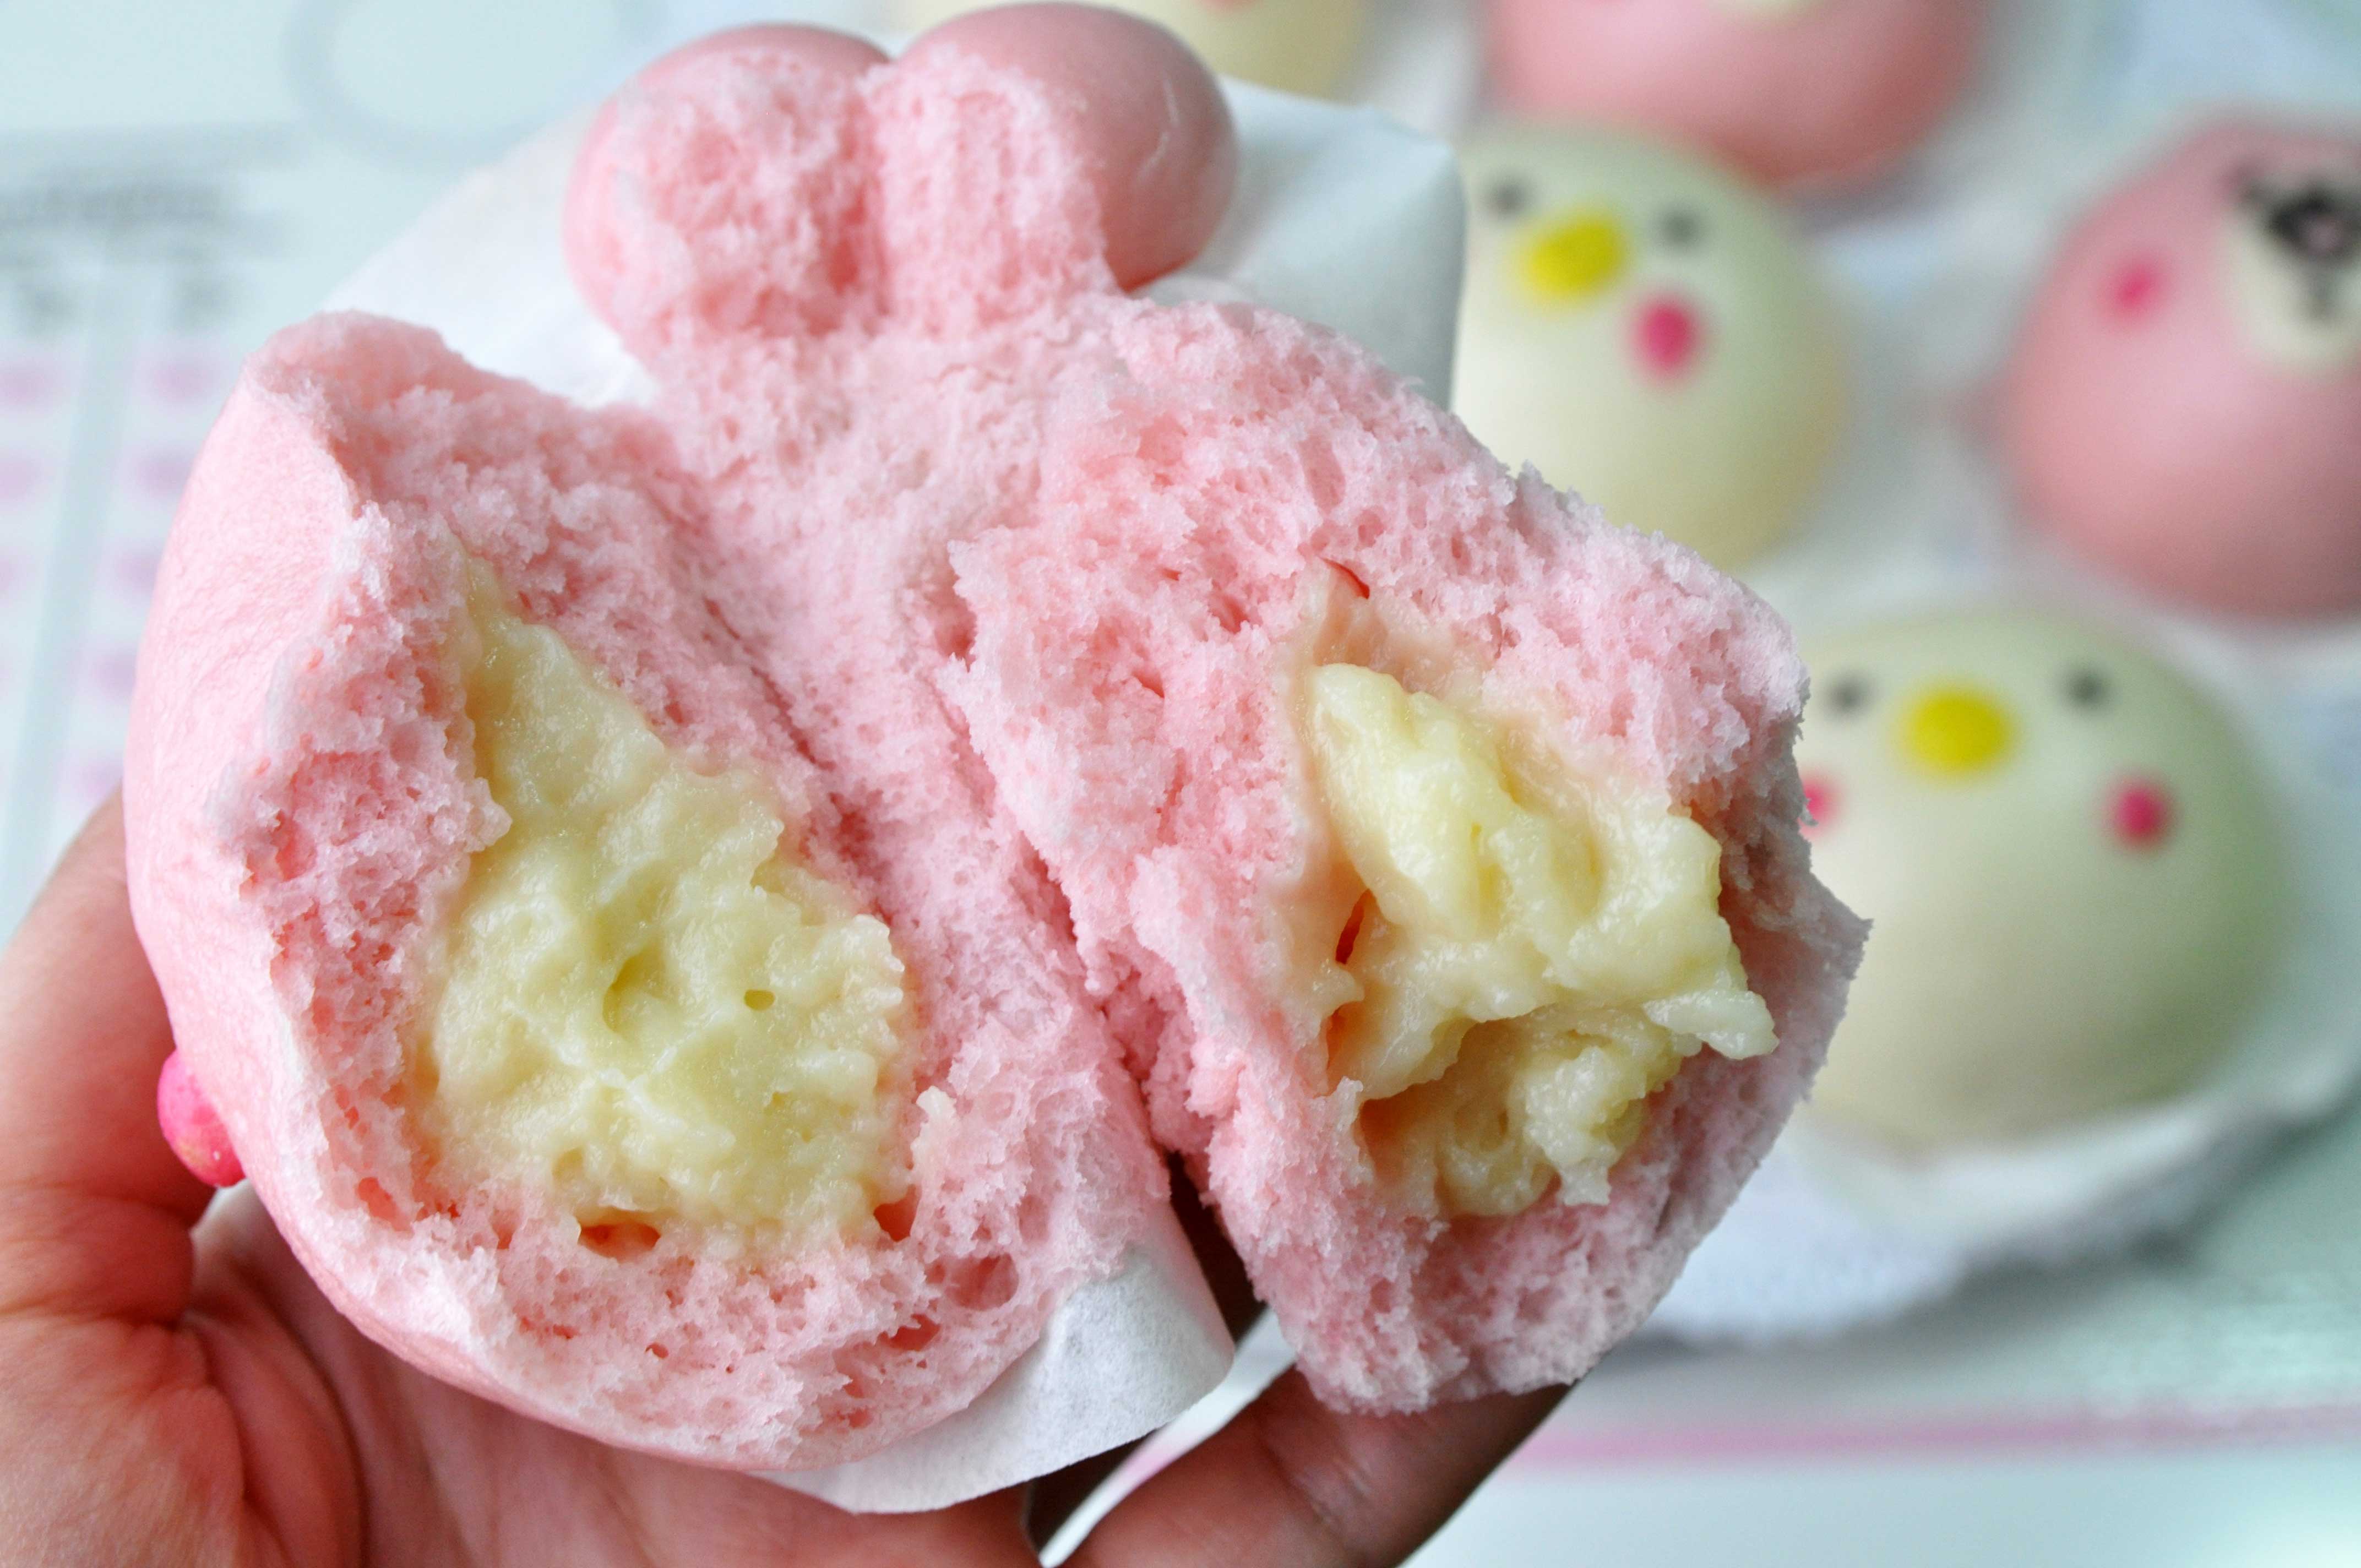
Feel free to get creative with the character. I went with Kanahei Usagi as my favorite character but I’d love to see what other character you guys can come up with :). Enjoy Guys!

KANAHEI USAGI STEAMED BUN
Yield: 10 pieces
Active time: 2 1/2 hours
Total time: 3 hours

INGREDIENTS
Milky Filling:

  • 38 grams All-purpose flour
  • 30 grams Milk powder
  • 90 grams Granulated sugar
  • 190 grams Milk
  • 15 grams Condensed milk
  • 15 grams Unsalted butter
  • 1/2 teaspoon Vanilla extract (optional)

Bun Dough:

  • 1 tablespoon Warm water
  • 1/2 + 1/4 teaspoon Active dry yeast
  • 250 grams All-purpose flour
  • 75 grams Glutinous rice flour
  • 50 grams Granulated sugar (spare 1 tablespoon to activate the yeast)
  • 1 teaspoon Baking powder
  • 150 grams Milk
  • 1 tablespoon Heavy cream
  • 1 Egg white
  • Food Colouring (Red, Black, Yellow)

INSTRUCTIONS
Milky Filling:

  1. In a large heavy saucepan combine all purpose flour, milk powder, granulated sugar, milk and condensed milk. Mix well.
  2. Then add in the unsalted butter, cook over medium-low heat, stirring constantly until the mixture thickens and comes to a boil.
  3. Add in vanilla extract, mix well. Set aside and let it cool completey.

Buns Dough:

  1. To activate the dried yeast; Pour warm water into a small bowl, add a tablespoon of sugar then add in the yeast. Stir until the yeast completely dissolved, let the mixture stand for a while until yeast begins to foam vigorously  for about 5 – 10 minutes.
  2. In a large mixing bowl, mix the all purpose flour, glutinous flour, the rest sugar and baking powder. Mix until well combined.
  3. Stir in milk, heavy cream, egg white and the activated yeast mixture to the dry ingredients. Stir until the dry and wet ingredients incorporated and then start to knead it.
  4. Knead the dough manually by hand until it’s form a smooth dough ball for about 20 minutes. You can use your bread maker or stand mixer to make this (if using machine, this process will takes for about 10 minutes).
    Note: Sometimes different brand flour can have different moisture level. So if it’s to dry, you can just add a tablespoon of milk or heavy cream and if it’s too wet, just add a bit of flour.
  5. Divide the dough by 2 equal part. Colour the one part dough soft pink. Spare a bit of white dough. Colour it dark pink, black and yellow for the details.
  6. Cover and Let the dough rest for about 10-15 minutes (to relax the gluten).
  7. After the dough has been rested, divide the white and soft pink dough for about 45 grams each (this recipe can produce 5 steamed buns for each characters, so total will be 10 pieces).
    *** Please remember always cover the rest dough with plastic wrap, because the dough tend to gets dry if you leave them uncovered.
  8. Roll each pieces dough round. Hold and roll the dough with our hands in “C” shape give a little pressure on it until create a smooth ball, set aside.
  9. Create the Head: Take a dough ball, press it out from edge to center, rotate, and repeat until it forms a 3-inches circle. The center should be slightly thicker than the edges. 
  10. Add about 25 grams of filling to the center, and then fold and twist the bun repeatedly until the top is closed.
    After closing, if you want the buns round and plump using your palms press inward, then raise it up a bit (that will make it stay up after fermentation and they will become more round after steaming).
  11. After rolling put the dough onto a piece of steam paper. Don’t forget to cover them with a plastic wrap to prevent them getting dry after shaping.
  12. Add the buns details: eyes, nose, mouth and blush (as shown in the video).
  13. For the fermentation: After all the details is done, let the buns sit in a warm place (covered with plastic wrap) for about 1 hour.
    Note: This step is very important, because if the ferment is not enough, the buns texture will be hard after steaming and when the ferment is overtime, the skin will be not smooth or bright.
  14. If the volume is double in size and if pressing hard on the sides it’s sink, that’s means the fermentation is completed and we can get ready to steam them.
  15. Preheat the steamer on medium high heat (about 3 cm of water level is enough). Wrap the lid with some cloth to prevent the water condensation from steam drops to the buns.
  16. Put the buns in the steamer, steam for about 8 minutes. Remember to keep a distance from each other, don’t make the steam paper overlap too much or they will stick together after fermentation and steaming.
    Note: if your steamer is not big enough, you can steam half of them first and then continue with the other batch.
  17. Don’t take off the lip immediately after turning off the heat. Let it sit for about 3 minutes, then open the lid (don’t make the buns stay in the steamer too long, they will get sticky and wet)
  18. Cool the bun completely on the cooling rack.

NOTES

  1. Fermentation time is depends on room temperature, if the weather is hot it can ferment more quickly than when it’s cold.
  2. There are two ways to decide whether it’s finished or not by hand touching and volume. If the volume is double in size and if pressing hard on the sides it’s sink, that’s means the fermentation is completed and we can get ready to steam them.
  3. If you cant finish them all, you can store them for 3 days in the refrigerator and 1 month in the freezer. Store them in the sealed bag or a plastic container to prevent the buns dry.
  4. To reheat the buns: Place them in your microwave safe plate (30 seconds) or in the steamer (20 minutes) and heat them.

Homemade Doraemon Marshmallow

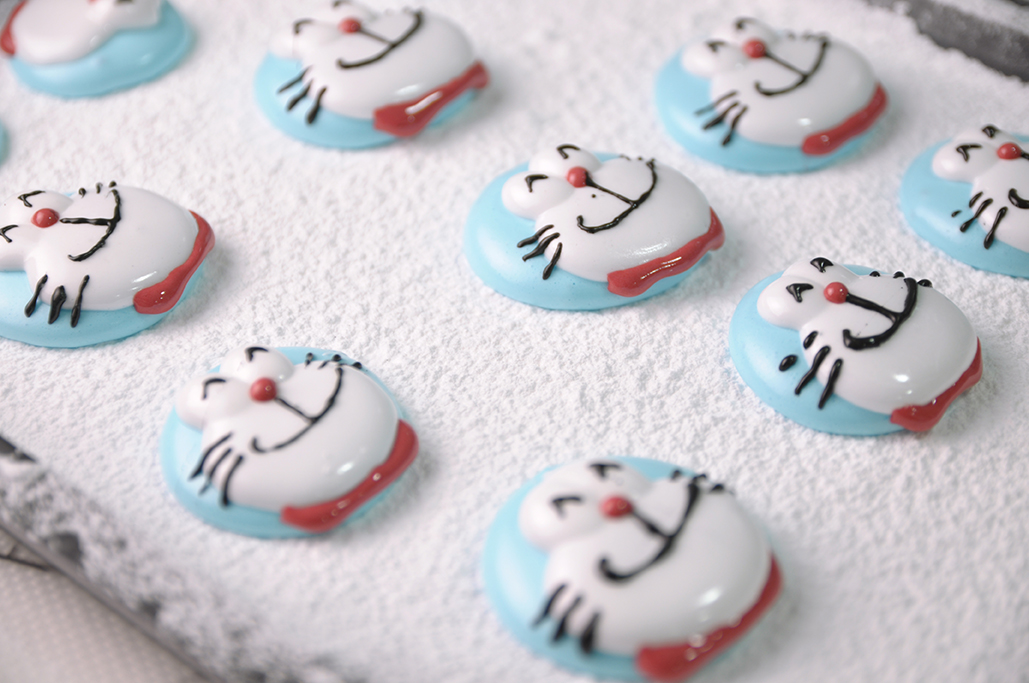
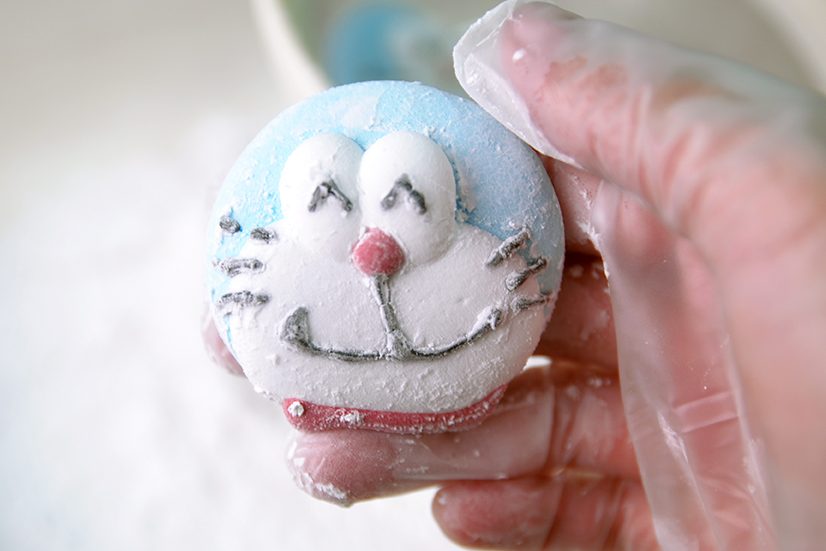
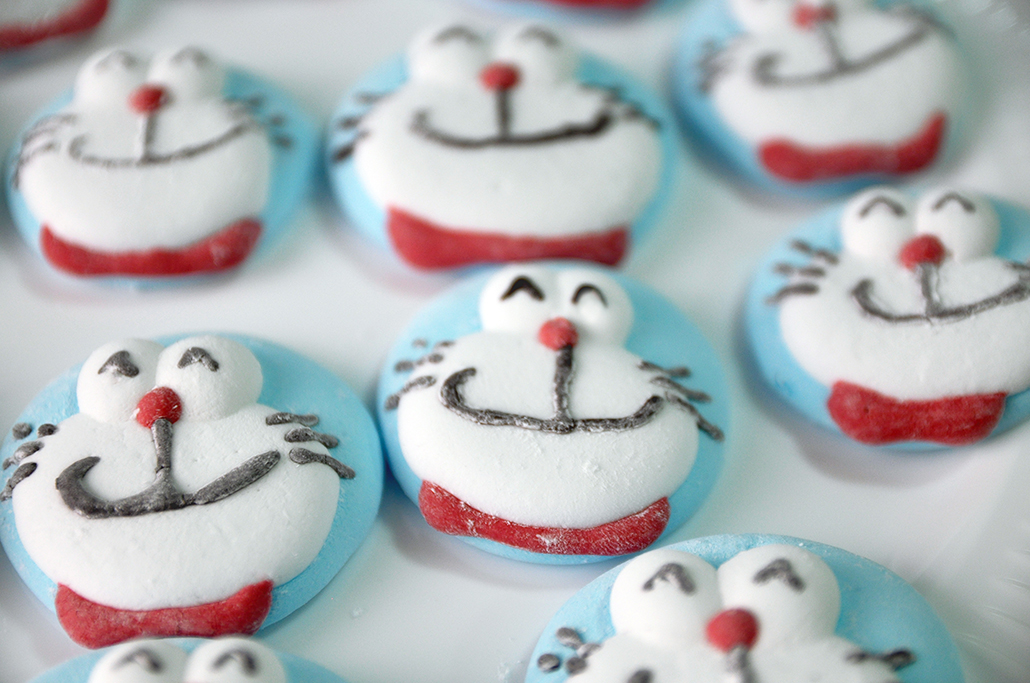
Hi guys, today we are making these adorable “Homemade Doraemon Marshmallows”.

Sweet, soft, springy, fluffy pillows of deliciousness.
So why bother making Marshmallows at home?
Well, as cliche as this sounds, they really are SO EASY and SO MUCH better than any store-bought Marshmallows.

Store-bought Marshmallows just don’t have that pure, irresistible, Marshmallow flavor or the melt-in-your-mouth fluffiness 😉

Gelatin is very important in making Marshmallows, because it is the setting agent for Marshmallows.
Whisked Egg Whites are sometimes added to Marshmallows.

The whisked egg whites make the Marshmallows extra light and fluffy and a little more manageable, especially if you want to pipe shapes with the Marshmallow

I personally don’t like to add Egg Whites,
I prefer the taste and mouthfeel of Vanilla Marshmallows made without Egg Whites 

Another reason is that Marshmallows made with Egg Whites will not keep for as long.
Since you’ve got Egg Whites in there which can go bad fairly quickly.

Where as regular Vanilla Marshmallows made without Egg Whites will keep for a VERY long time (unless you eat it all right away, of course), and it’s safer for kids and pregnant women too.

Hello… how are you? 🙄 So cute!!

Once you know the ins and outs of making Marshmallows, you can do all sorts of things with it. You can add coloring and flavorings and plenty more.

😘 Happy face☺️

These homemade Marshmallows are the real deal!
I promise you these Marshmallows will be the softest, fluffiest, springiest little pillows of deliciousness you’ve ever had! 
Enjoy Guys!! 🙂

WATCH HOW TO MAKE DORAEMON MARSHMALLOW


HOMEMADE DORAEMON MARSHMALLOWS
Yield: 16 pieces
Active time: 1 hours
Total time: 1 1/2 hours

🍭 INGREDIENTS
10 grams Gelatine powder
80 grams water
220 grams Granulated sugar
60 grams Water
1/2 teaspoon favorite extract
Food colouring (red, blue, black)
Cornstarch

🍭 INSTRUCTIONS

  1. Prepare flat pan, lined with a Greaseproof Baking Paper on top, and then dust generously with a Cornstarch.
  2. To bloom the Gelatine
    Pour the Gelatin into a mixing bowl, add 80 grams Water and mix, then let it stand for a while.
  3. To make the hot Sugar Syrup;
    In a medium sauce pot add the Granulated Sugar and 60 grams Water.
    Pop in a candy thermometer (you don’t have to have this, but it does take the guessout work out of making the Marshmallows).
    Turn up the heat to high, bring it to a rolling boil.
    Note: If you are using candy thermometer, you want to reach 240 degress fahrenheit or the softball stage, but if you don’t have one, just bring it to a rolling boil and let it boil for 1 minute.
  4. Slowly and carefully pour in the hot Sugar Syrup over the soft bloomed Gelatine (be carefull this stuff is super hot and it will definitely burn you if you get it on your skin).
  5. Once you have add in all your Sugar Syrup to the Gelatine, whip the mixture on MEDIUM speed with an electric mixer (don’t whip them to fast, you don’t want too much air bubbles inside).
  6. Add your favorite extract, then whip this for about 8 to 10 minutes. It’s going to get super thick, and fluffy beautiful white Marshmallow like.
  7. Separate the batter into 4 bowls (red, blue, black and white).
    Add the food colouring for each colour (working quickly so the Marshmallow mixture doesn’t set up).
  8. Pour the coloured Marshmallows into the piping bags.
  9. Using a large round tip; squeeze the blue colour Marshmallow to create Doraemon head.
    Then add his round face with white colour Marshmallow.
    Note: Make sure that you give each part a bit time to set before you add other details.
  10. Then using small round tip; add his big round eyes with white colour Marshmallow.
    His red nose reindeer and necklace with red colour Marshmallow.
    His eye balls, big mouth and mustache with black colour Marshmallow.
  11. Once you have already done with all the details, dust the top with more Cornstarch.
    Then Let it stand for about 5-10 minutes.
  12. Carefully scoop out the Marshmallow and place them into the strainer, gently shake to get rid of the starch powder.
  13. Once it’s done, store Marshmallow in an airtight container or plastic bag.


NOTES

  1. Piping Marshmallow can be tricky, when the Marshmallow is too firm it will hard to squeeze, and if it too soft it will more deflate.
    So you need to find the right temperature.
  2. Actually you can reheat the Marshmallow batter when it gets hard, reheat it in the microwave or in a double boiler for a few seconds.
    Please note, even if you can reheat it, you only can do it in short amount of time, because when the marshmallow have already set up, the consistency will be more sticky then before, so it will hard to pipe.
    So the best way is to working fast, pipe it as soon as possible.
  3. Store homemade Marshmallows in an airtight container on the counter for up to a month.
    I recommend layering them with Parchment Paper, just in case they stick together.
    These will last for 3-4 weeks at room temperature.

Detective Pikachu Mini Donuts

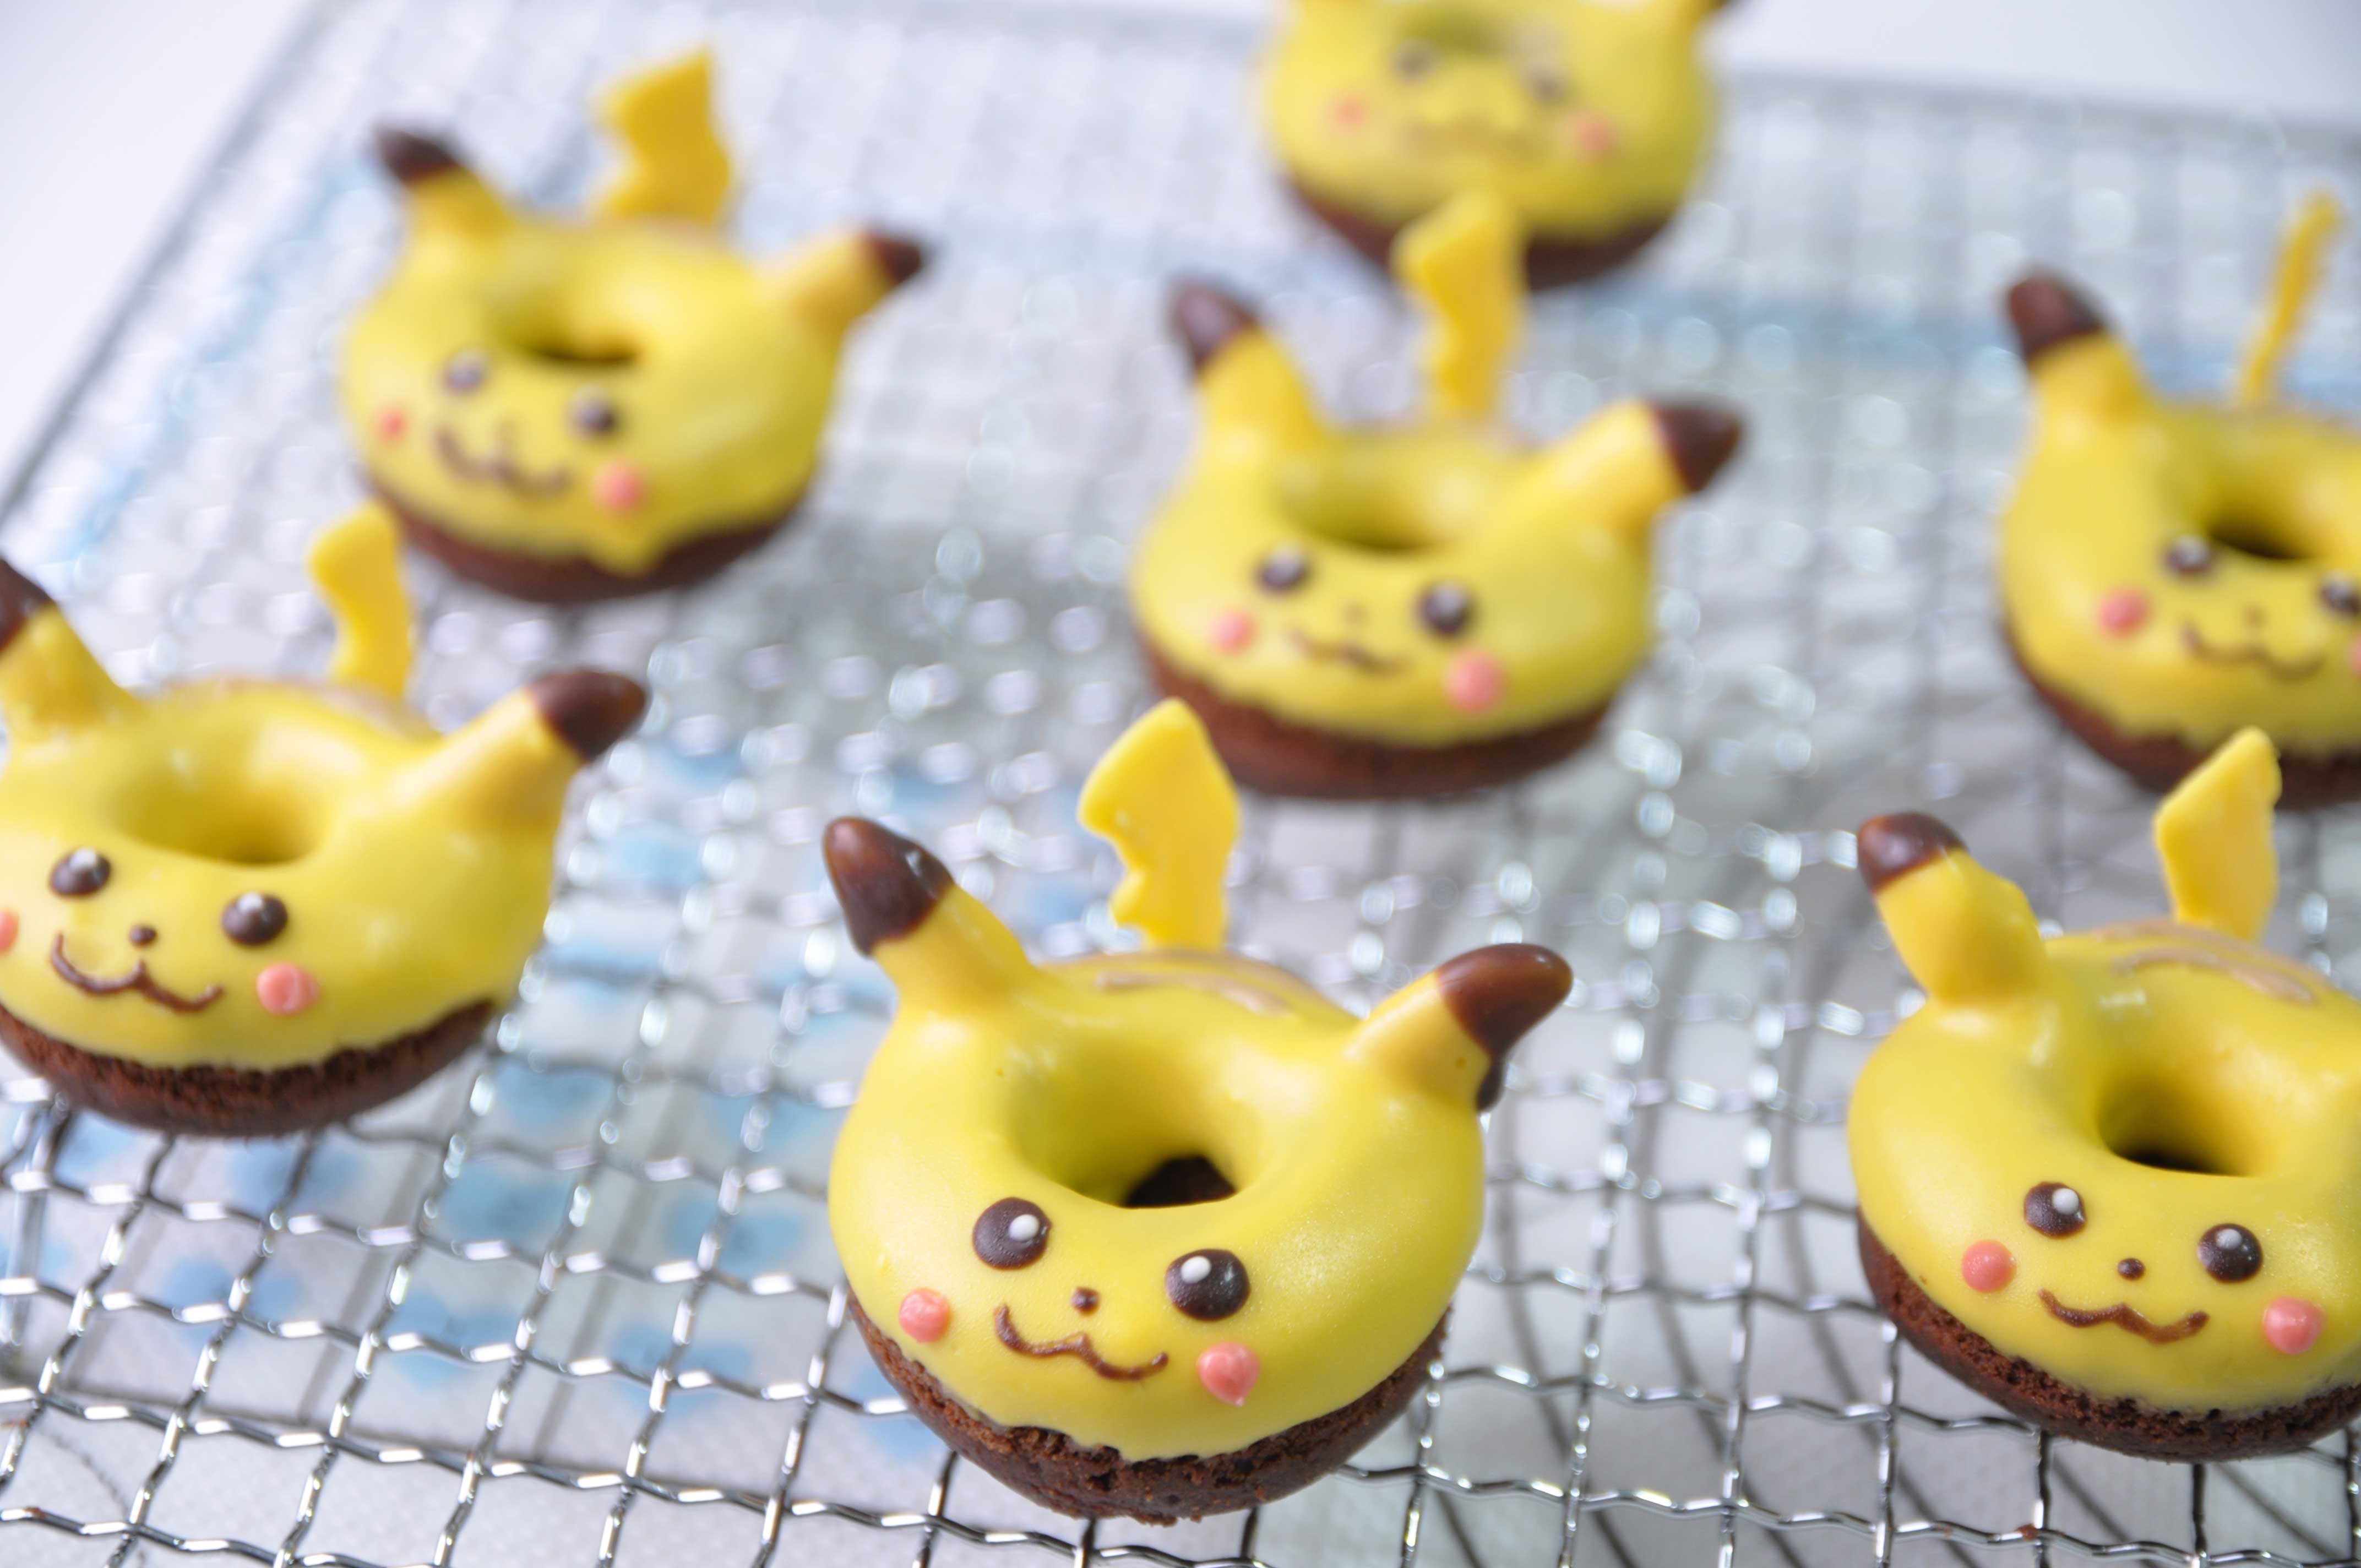
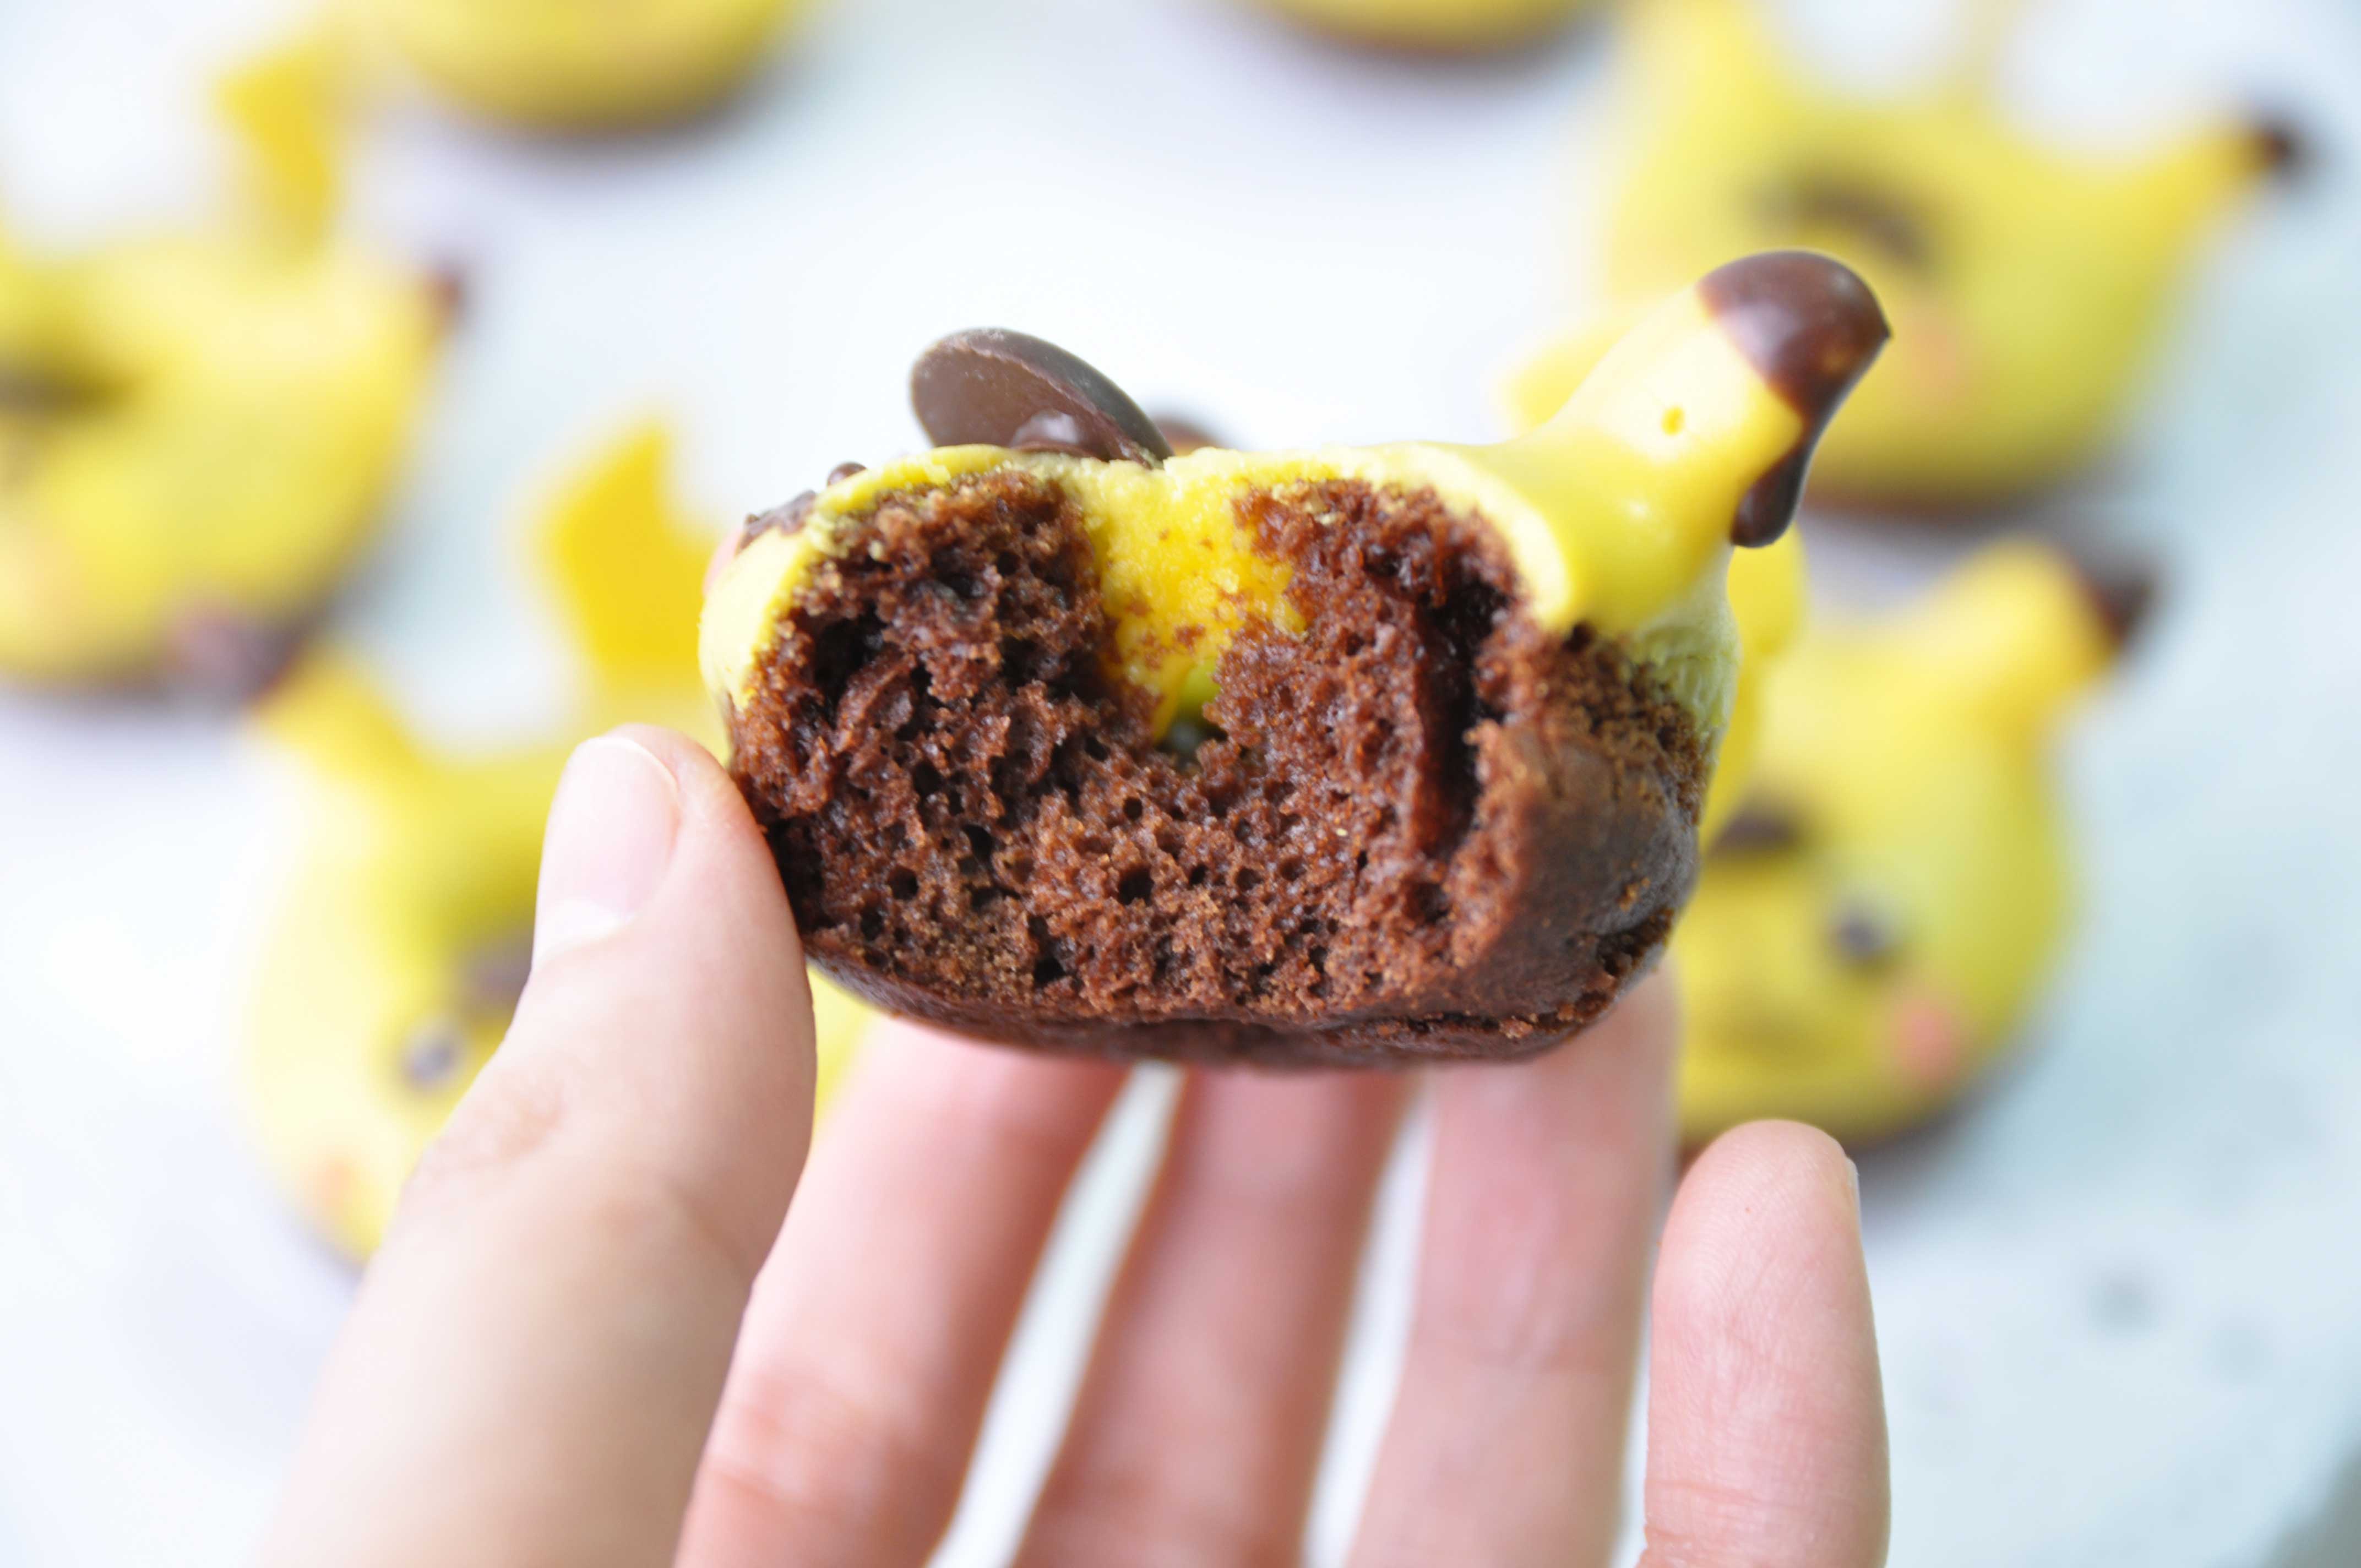
Hellooo friends and welcome back!! Today we are making some cute “Detective Pikachu Mini Donuts”. The beloved Pokémon mascot has fallen into a bit of a cuteness slump this week. The movie for Detective Pikachu hit the cinema, people are sort of losing their minds over this movie, and while almost none of it makes any sense to me, I am absolutely in love with the enthusiasm. 😀

I know next to nothing about Pokemon at all. I’ve never seen an episode of the animated series and I’ve never played a dedicated Pokemon video game. I just saw the movie and thought that these are very cool donuts that fans of Pokemon will love 😛

These Devil’s Food Mini Donuts are made with cocoa powder, instant espresso granules and brown sugar to ensure they stay dark and devilish. Baked Donuts are really moist, incredibly soft, airy and melt-in-you-mouth.

These mini baked donuts are a style of cake donuts that are baked instead of fried. This keeps the donuts soft and tender and they are much easier to make than frying! 
It doesn’t matter if you spell them “doughnuts” or “donuts”, homemade donuts are a fun and tasty do-it-yourself project.

There are quite a few processes in the making of these donuts, but I’m not going to apologize as they are more than worth it! 🙂 Enjoy Guys!!!

DETECTIVE PIKACHU MINI DONUTS
Yield: 7 pieces
Active time: 1 hours
Total times: 2 hours

INGREDIENTS

  • 35 grams All-purpose flour
  • 8 grams Cocoa powder
  • 1/2 teaspoon Baking powder
  • 1/4 teaspoon Instant espresso granules
  • A pinch of Salt
  • 15 grams Eggs
  • 13 grams Granulated sugar
  • 13 grams Brown sugar
  • 45 grams Milk
  • 1/2 tablespoon Vegetable oil
  • 1/2 tablespoon Sour cream
  • 1/8 teaspoon Vanilla extract
  • Rice Crackers
  • Candy Melts (Yellow, Dark Brown, White, Red and Light Brown)

INSTRUCTIONS
Lightning Tails:

  1. To create Pikachu lightning tails (using the printed template or hand sketch), place the tails template in a pan. Then place a new clean piece of wax paper on top to pipe candy coating on.
  2. Melt some yellow and brown candy melts. If your candy melts is too thick, you can add a little bit of shortening or what is called EZ thin by Wilton.
  3. Pipe the tails follow video instructions.
  4. Place the tails in the freezer for several minutes to dry. Set aside.

Donuts Batter:

  1. Preheat the oven to 350 degrees Fahrenheit.
  2. Grease donuts pan with vegetable oil.
  3. In a large bowl, sift together flour, cocoa powder, baking soda, instant espresso and salt. Set aside.
  4. For the wet ingredients; in a medium bowl whisk together eggs, granulated sugar and brown sugar. Then add milk, oil, sour cream and vanilla extract. Mixing until throughly combined.
  5. Gently stir in the wet ingredients to the flour mixture, stirring until there are no lumps.
  6. Transfer the batter to a large pastry bag (a Ziploc bag would work here too). You also can scoop it in to the pan if you don’t have pastry or a Ziploc bag.
  7. Carefully fill each donut indentation 3/4 full.
  8. Bake for about 7-9 minutes or until toothpick inserted into a donut comes out clean.
  9. Remove it from the pan, transfer to a cooling rack and let cool completely.

Assembly:

  1. To add his ears, take a rice crackers and then grab the sharper end of the crackers and just poke that into the donut (make 2 holes for each donut to place the ears). Then dip your cracker into some melted yellow candy melts and stick it into the donut. Let it dry.
  2. After the ears dry and set hard, dip the donuts into the melted yellow candy melts, shake off the excess. Shake the donut to get it nice and smooth. Set aside to dry.
  3. Melt some dark chocolate colour candy melts, dip 1/3 top part of the ears to create the little brown tips on his ears.
  4. Using toothpick, dot some melted dark chocolate candy melts to create his eyeballs. And before eyeballs sets, add on little white candy melts for the eyes sprinkles.
  5. Then add on his nose, and his happy little mouth with some melted dark chocolate candy melts.
  6. Then to create his cheeks, dot those on with some melted red candy melts.
  7. Using a melted light brown candy melts create his body mark at the back.
  8. Carve a bit strip at the back to place his tail. Then carefully attach the tail to the body with some melted yellow candy melts.
  9. For the hat, add some melted chocolate in the center of the dark chocolate button, then stick the chocolate button onto his head.

NOTES

  1. You can double or triple the recipe If you want to make bigger or normal size donuts. Just make sure to adjust the baking time if you want to make the bigger version. Don’t overbake cause it will result a dry donuts.
  2. You can also use your doughnut maker to make it. Follow machine instructions.