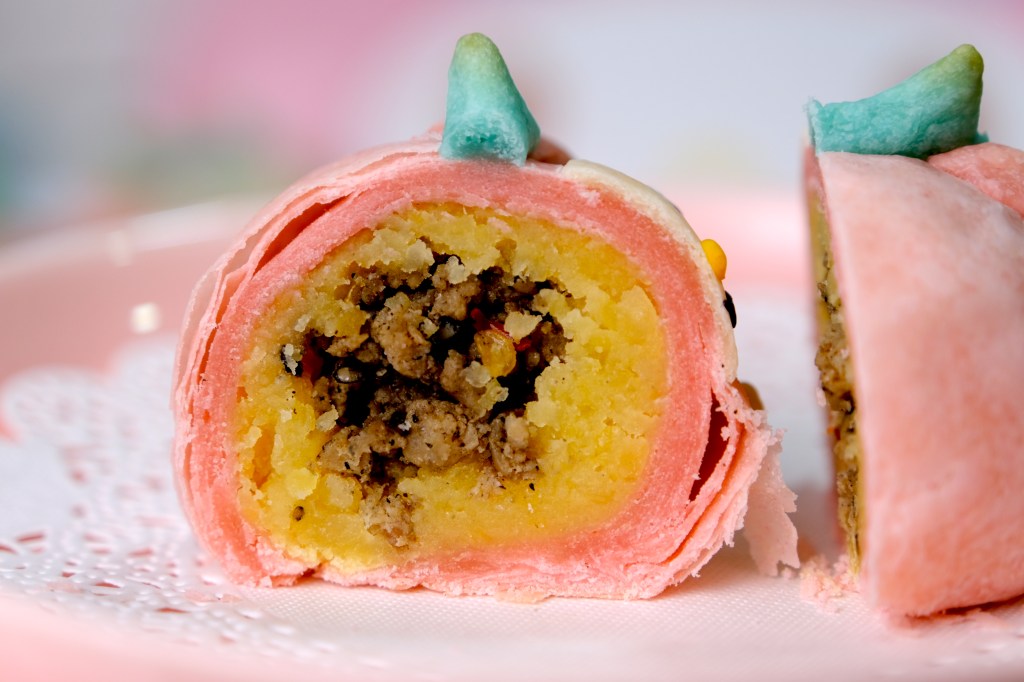
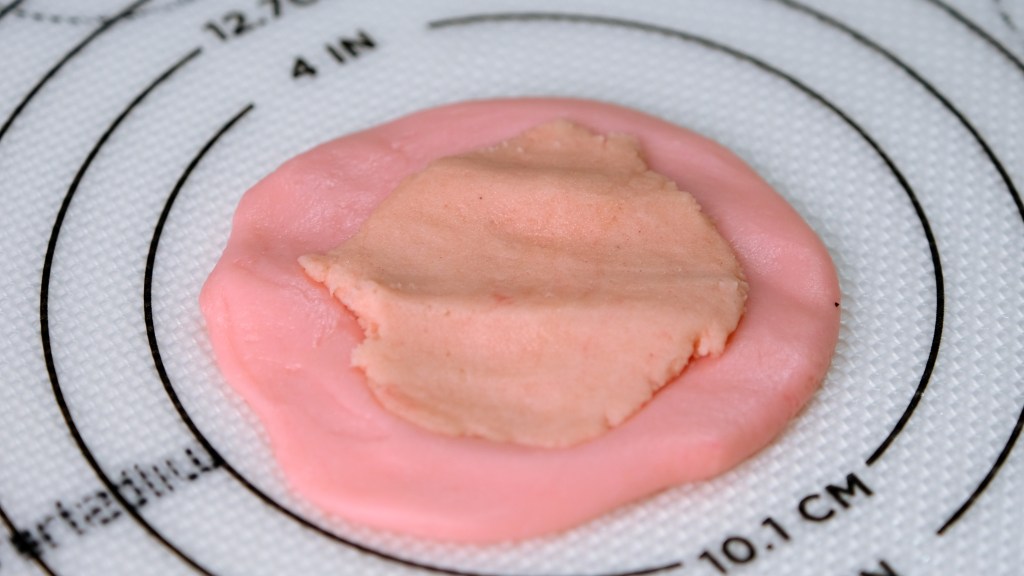
Hi Guys, today we are making these “Neapolitan Mochi Ice Cream”. It’s a soft sticky chewy sweet rice dough with an ice cream filling inside.
It’s been my all time favorite dessert since I was 15th, and you’ll be surprise to see how Kids love it so much.
These popular Japanese dessert is fairly easy to make at home. The famous brand that you can purchase in Japan is Lotte brand “Yukimi Daifuku”.
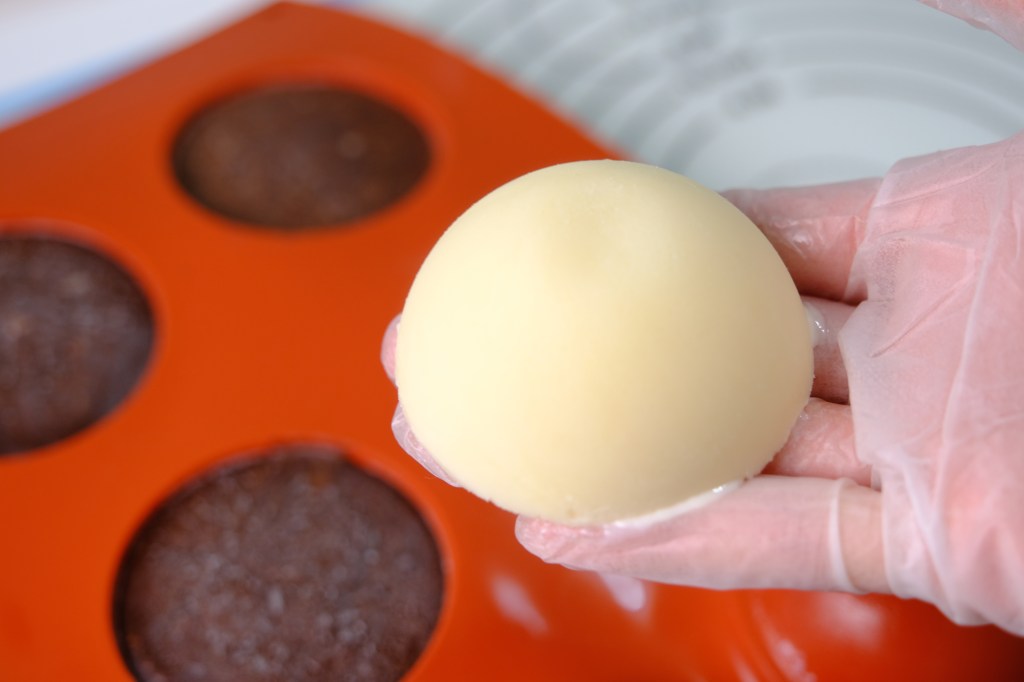
Most of people use store bought ice cream to save time.
I personally love to make my own No-Churn ice cream for the fillings. Delicious creamy ice cream without any eggs, whipped cream nor condensed milk; and you can have 2 ice cream flavours in 1 go; The yummy chocolate flavour and vanilla almond to represent the traditional Neapolitan taste.

And YES, it’s always Shiratanako or Mochiko flour for making the best mochi dough. But for most of people is really hard to find them specially in Asian grocery stores and online.
That’s why I decided to substitute it with glutinous rice flour; there will be a difference in texture, but still taste great.
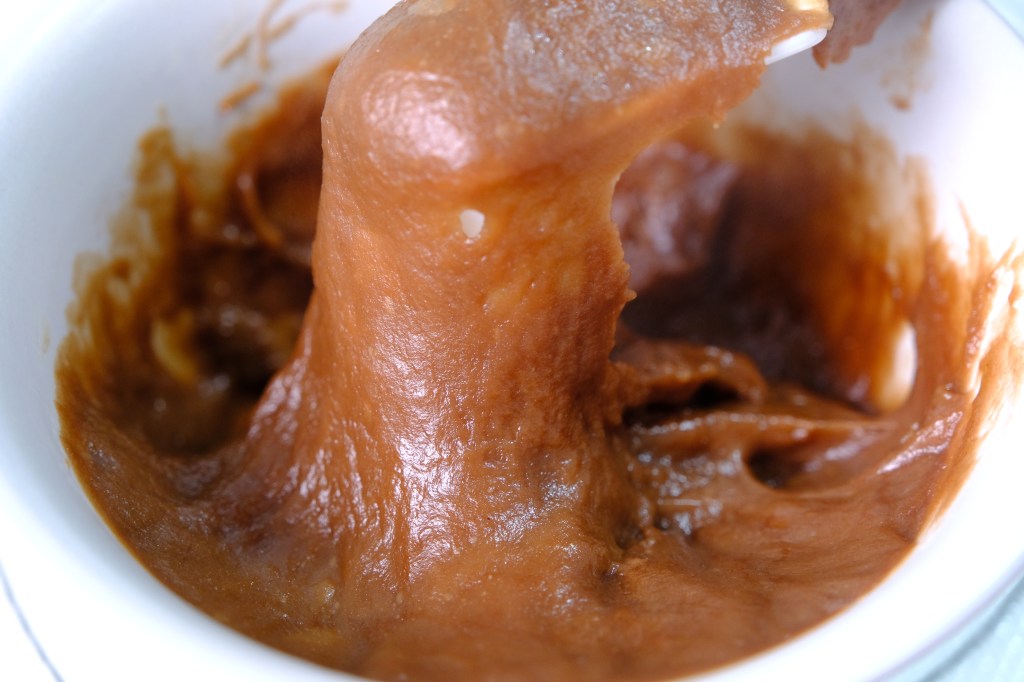
I don’t recommend to store the mochi dough in the fridge to speed up the cooling process, coz it will leads to condensation. The moisture will trap inside the dough and ends with sticky wet dough surface, it will be troublesome- hard to handle.
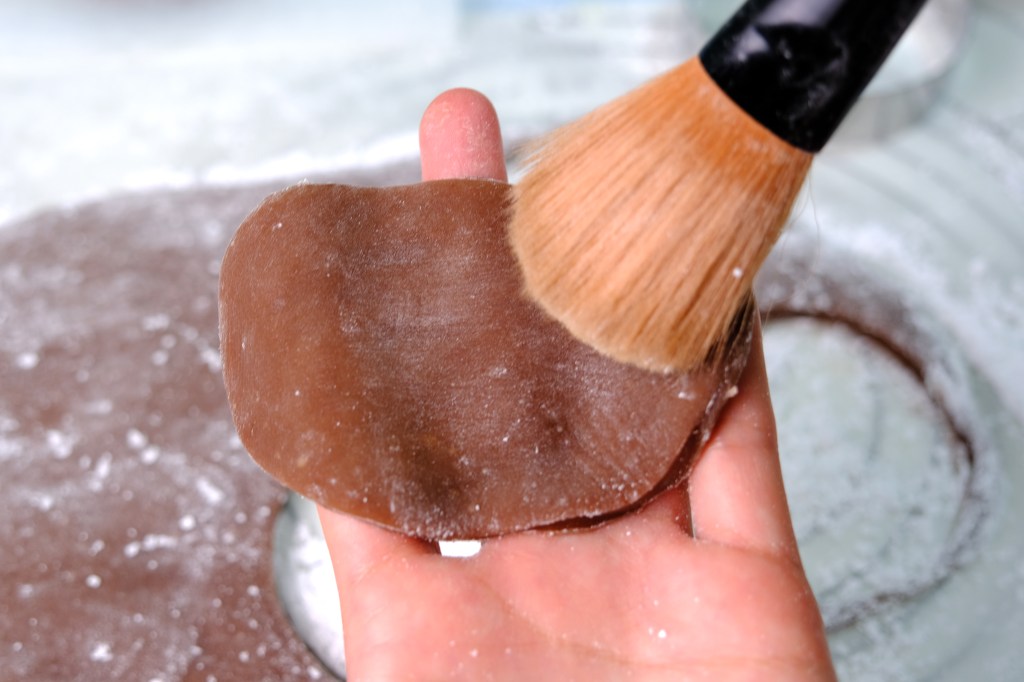
The texture of the soft mochi so memorable and it can also be flavoured as a complement to the ice cream filling. It is quite chewy and sticky, so make sure that you have enough corn or potato starch to help manage the stickiness.
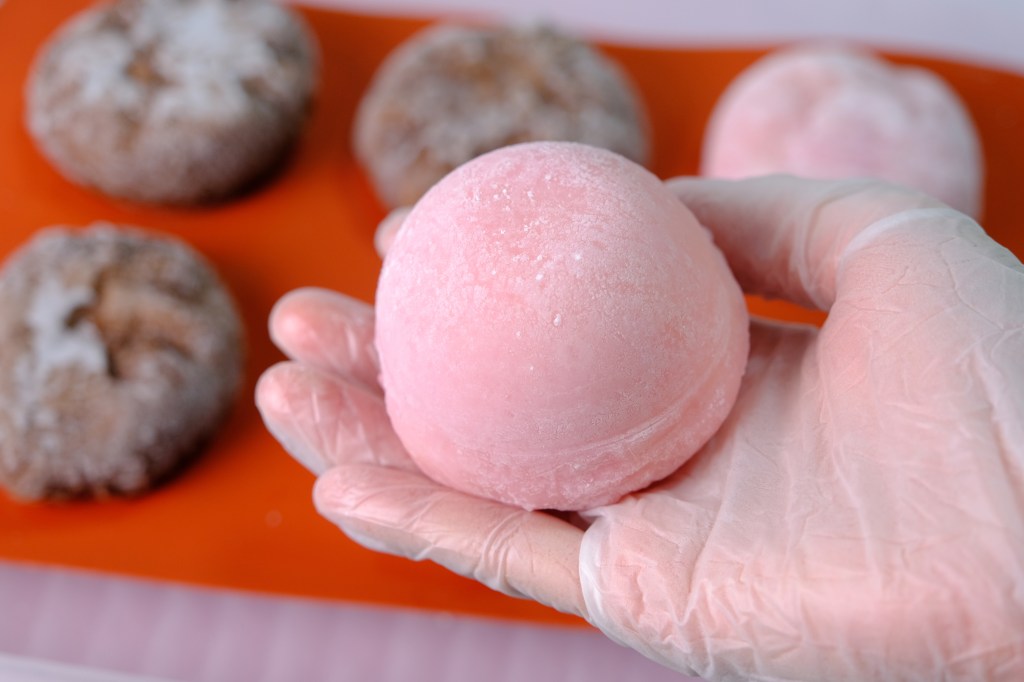
I loved the soft and chewy texture of this refreshing treats.
Is there any food happier and cuter than mochi? It’s subtly sweet and a pillowy-soft chew.
You can also add a few drops of food coloring to the mochi dough or natural food dyes, the sky’s really the limit.
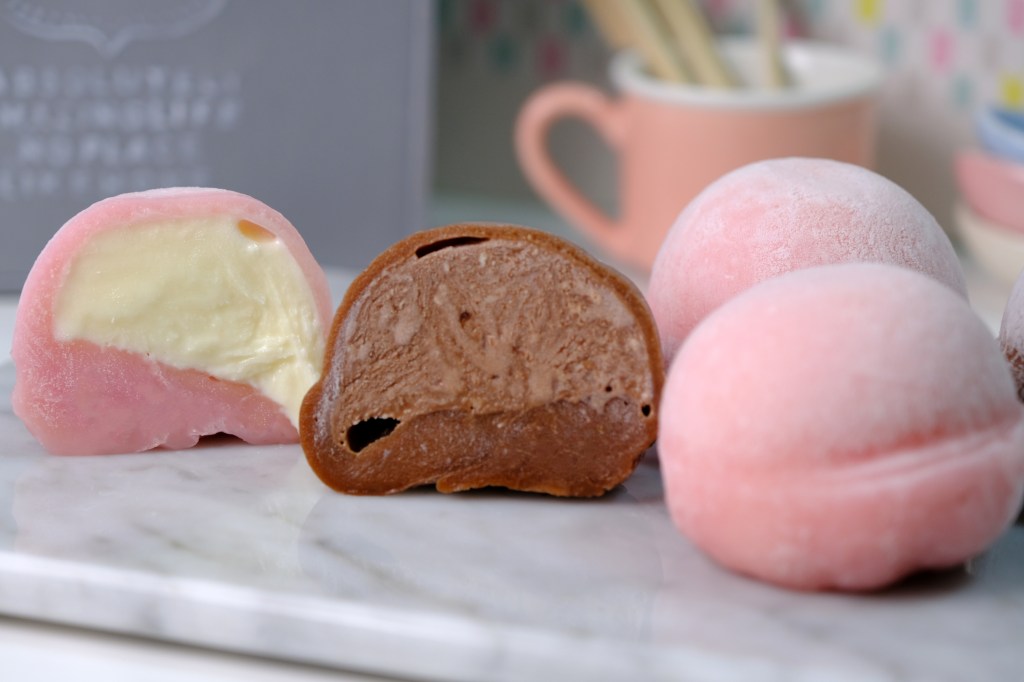
This is only a basic ice cream mochi recipe, waiting to be dressed up however you like. Add about a teaspoon of matcha powder to make green tea mochi, or a flavored extract to the wet ingredients to flavor it to your liking.
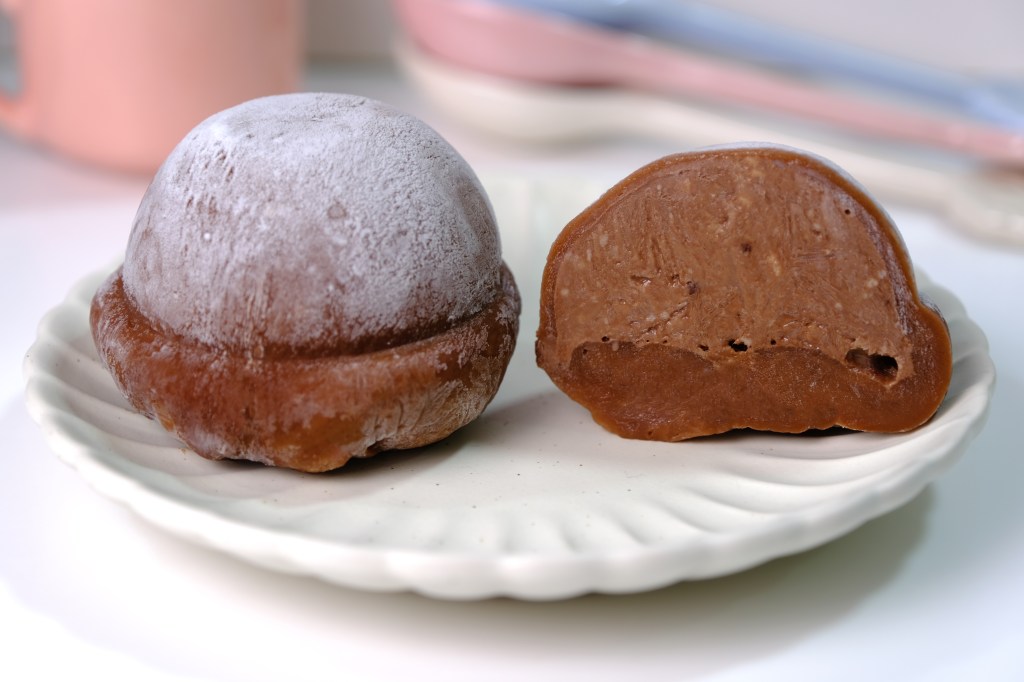
The ice cream is creamy, not too soft and not overly sweet; and the chewy mochi itself not too sticky or floury in flavor.

You can do as many flavours and colours as you want.
Imagine your kids smiling faces when they bite into their favorite ice cream inside the soft mochi shell.

This will make a really cool summer treat and a really fun cooking project with your children.
If you want to make it for some kind of party, such as barbecue or something I think it would be a perfect dessert. I hope Guys enjoy this recipe!
NEAPOLITAN MOCHI ICE CREAM
Yield: 6 pieces (60 ml each)
Active time: 1 hours
Total time: 9 hours
INGREDIENTS
Ice Cream Mixture:
- 240 gr Milk
- 30 gr Granulated Sugar
- 48 gr Milk Powder
- 10 gr Corn Starch
- 30 gr Milk
- 1 tsp Vanilla Extract
- 1 tbs Cocoa Powder
- 1 tbs Hot Water
Vanilla Almond Mochi Dough:
- 115 gr Water
- 40 gr Milk
- 40 gr Granulated Sugar
- 15 gr Vegetable Oil
- 1/8 tsp Beetroot Powder or Pink Food Colouring
- 1/4 tsp Vanilla Extract
- 1/2 tsp Almond Extract
- 80 gr Glutinous Rice Flour
Chocolate Mochi Dough:
- 115 gr Water
- 40 gr Milk
- 40 gr Granulated Sugar
- 15 gr Vegetable Oil
- 1/2 tsp Vanilla Extract
- 2 tsp Cocoa Powder
- 80 gr Glutinous Rice Flour
Corn or Potato Starch
INSTRUCTIONS
Ice Cream Mixture
- Prepare the silicone mould (if you use small plastic cup, glass or cupcake pan, make sure that you line the mould with cling wrap so it’s easier when unmould the ice cream).
- In a medium pan, combine 240 grams of milk, sugar and milk powder, mix until no lumps remain.
Cook over medium heat until simmering, stirring constantly to avoid the mixture burning. - In the meanwhile, in a small container combine the corn starch, 30 grams of milk and vanilla extract, mix well.
Gently pour the corn starch mixture to the simmering milk mixture, continue whisking until the mixture starts to boil and thickened. - Remove from the heat, divide half of the mixture to the 3 cavities of the mould.
Mix the remaining mixture with cocoa powder that has been diluted with some hot water.
Divide this chocolate mixture to the rest of cavities. - Cover and store them in the freezer for at least 6 hours or preferably overnight to harden.
- Unmould the ice cream; place them in the container that has been lined with parchment paper so it won’t stick to the surface. Pop them again in the freezer while continue with the mochi dough.
Mochi Dough
Microwave Method
- In a microwave safe bowl, mix all the ingredients until well combined.
- Cover the bowl with a cling wrap, microwave it on high heat for 1 minute, take it out and stir with a wet rubber spatula, cover again and microwave it for another 1 minute (we will know that the mixture is well cooked when all the colour is semi translucent).
*For the chocolate mochi dough; strain the mixture before microwave it to make sure there’s no lumps remain.
Steaming Method
- In a medium bowl, mix all the ingredients until well combined.
- Place the bowl in the preheated steamer (cover the steamer lid with a towel so the condensation won’t drop into the mochi mixture) and steam for about 20 minutes (stir it with a wet rubber spatula at halfway cooking and cover it again to finish cooking).
ROLLING
- Cover the work surface with a piece of large parchment paper and dust with generous amount of corn or potato starch (if you are worried about eating raw starch, heat the starch in the pan for about 5 minutes).
- Transfer the hot cooked mochi dough onto a parchment paper and sprinkle more starch on top of the dough.
- Using your palm gently press and spread the dough onto a long rectangular shape, about ¼ inch thick (until it’s big enough to fit into 3 pieces round circles shapes).
- Let the dough rest for about 45 minutes to 1 hour until the mochi is set and cooled down completely.
ASSEMBLY
- Using round cutter, divide the mochi dough into 3 pieces for each flavour. Pick up one circle of dough, gently brush off the starch on both sides.
- Brush the mould with some starch to prevent stickiness and then lay the dough in the center of the mould
- Working with one scoop of ice cream at a time, (keep the rest in the freezer so they don’t melt), place one ice cream scoop in the center of the mochi dough and gently press the dough around the ice cream. Pinch the edges of the mochi to seal it.
- Continue with remaining dough and ice cream (try to work fast or else the ice cream will starts to melts it will end up as a puddle on your hands).
- Cover and store them in the freezer for at least 1 hour before serving.
*If your use other than silicone moulds, make sure that you cover the finished ice cream mochi individualy in a cling wrap to prevent stickiness and then place them back into the mould to keep the shape.
NOTES
- Feel free to double or triple the recipe; more dough means longer time to cook the mochi dough.
- I don’t recommend to store the mochi dough in the fridge to speed up the cooling process, coz it will leads to condensation, the moisture will trap inside the dough and ends with sticky wet dough surface, it will be hard to handle it.
- It’s important to have a size of mochi dough that is just big enough to surround the ice cream, coz too much extra dough hanging off which will taste a bit hard once it frozen.
- Mochi ice cream can be kept in an airtight container in the freezer for up to 1 week. When you’re ready to eat, let them sit out for at least 15 minutes to soften before biting in!
- Recipe variations:
– Matcha: Mix in 1 1/2 tsp of matcha (green tea powder) to the vanilla ice cream mixture (omit vanilla and almond extract) and 1 tsp to the plain mochi dough (omit the beetroot powder).
– Coffee: Mix in 1 tsp of instant coffee to the vanilla ice cream mixture (omit almond extract) and ½ tsp to the plain mochi dough (omit the beetroot powder).