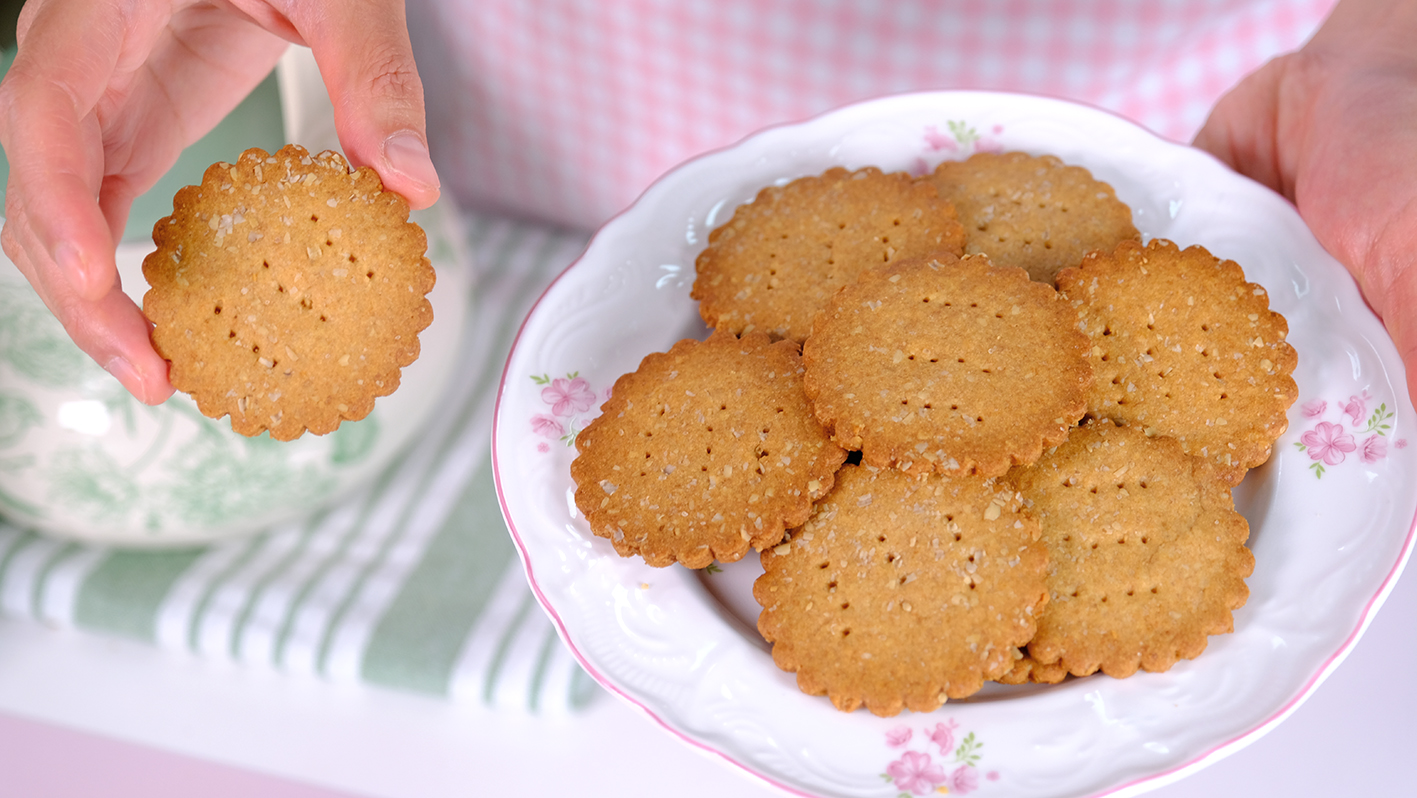
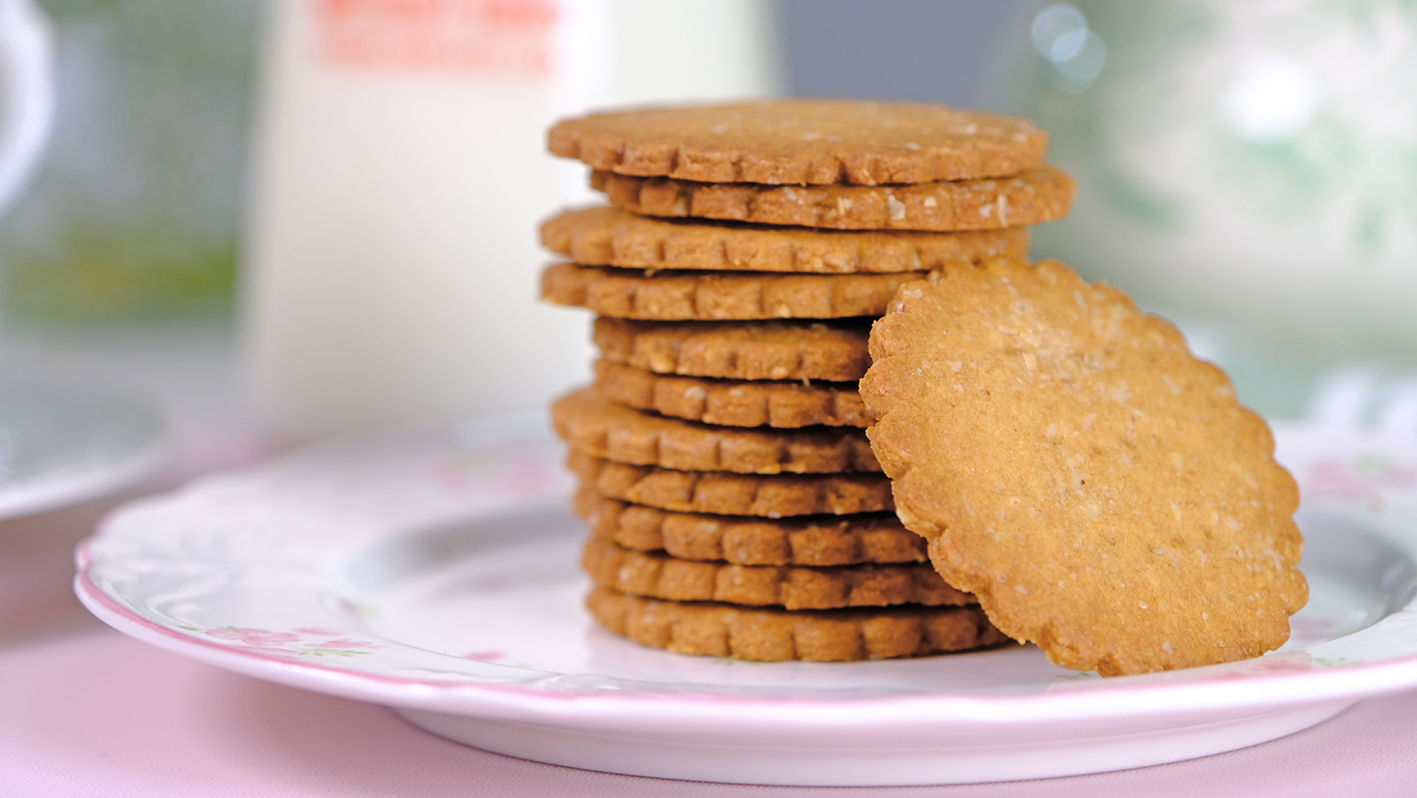
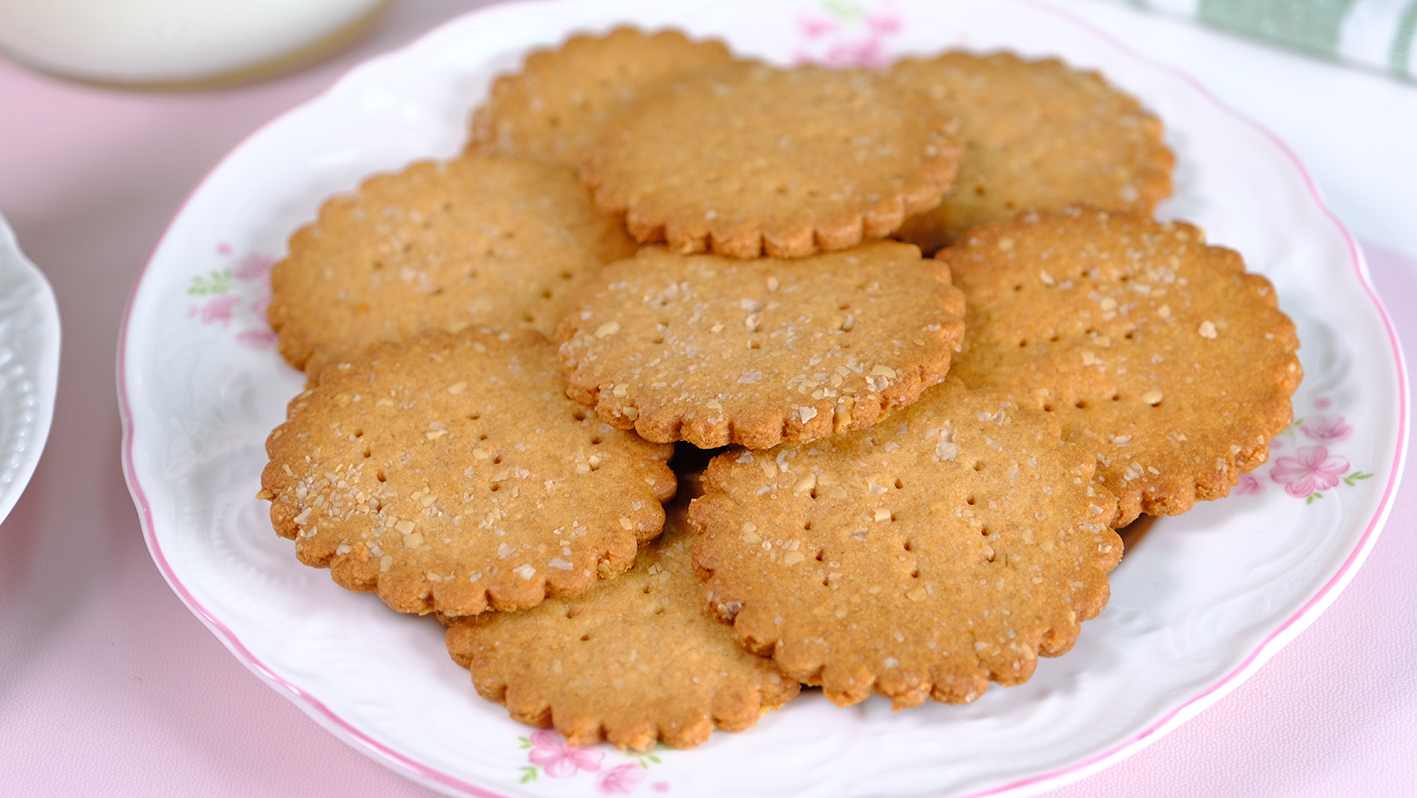
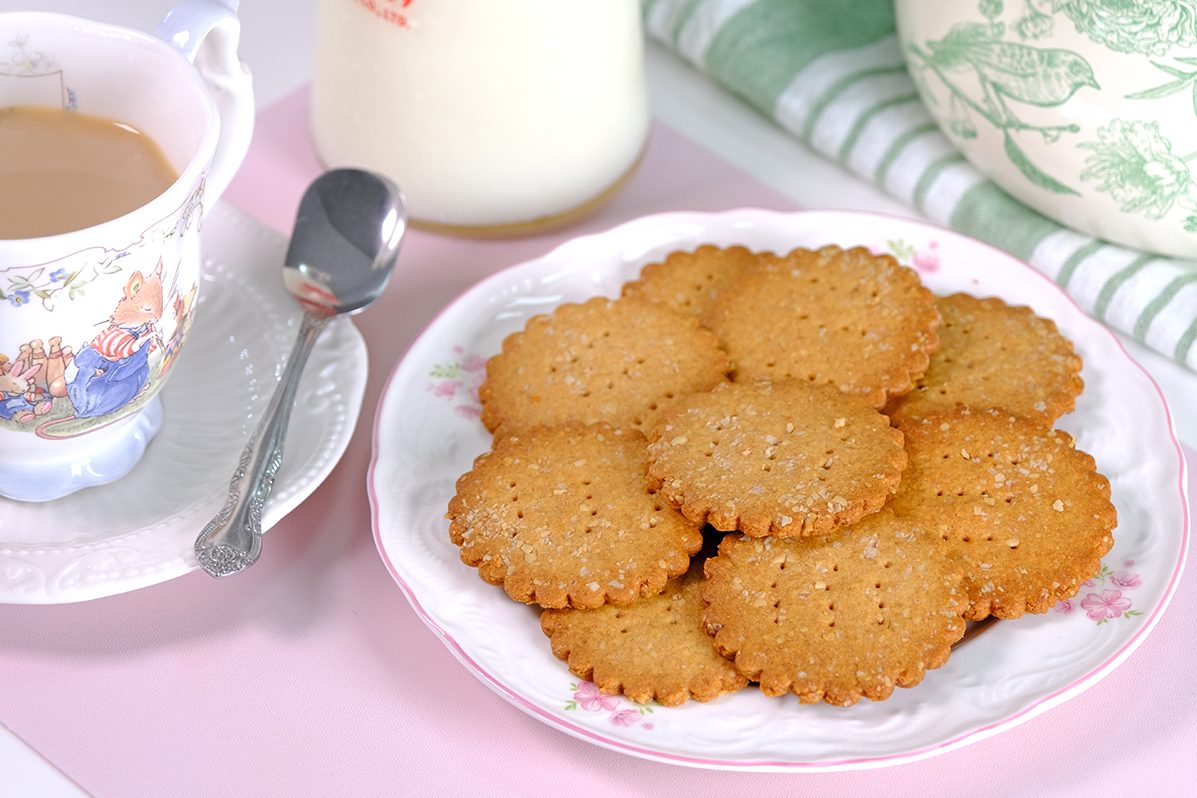
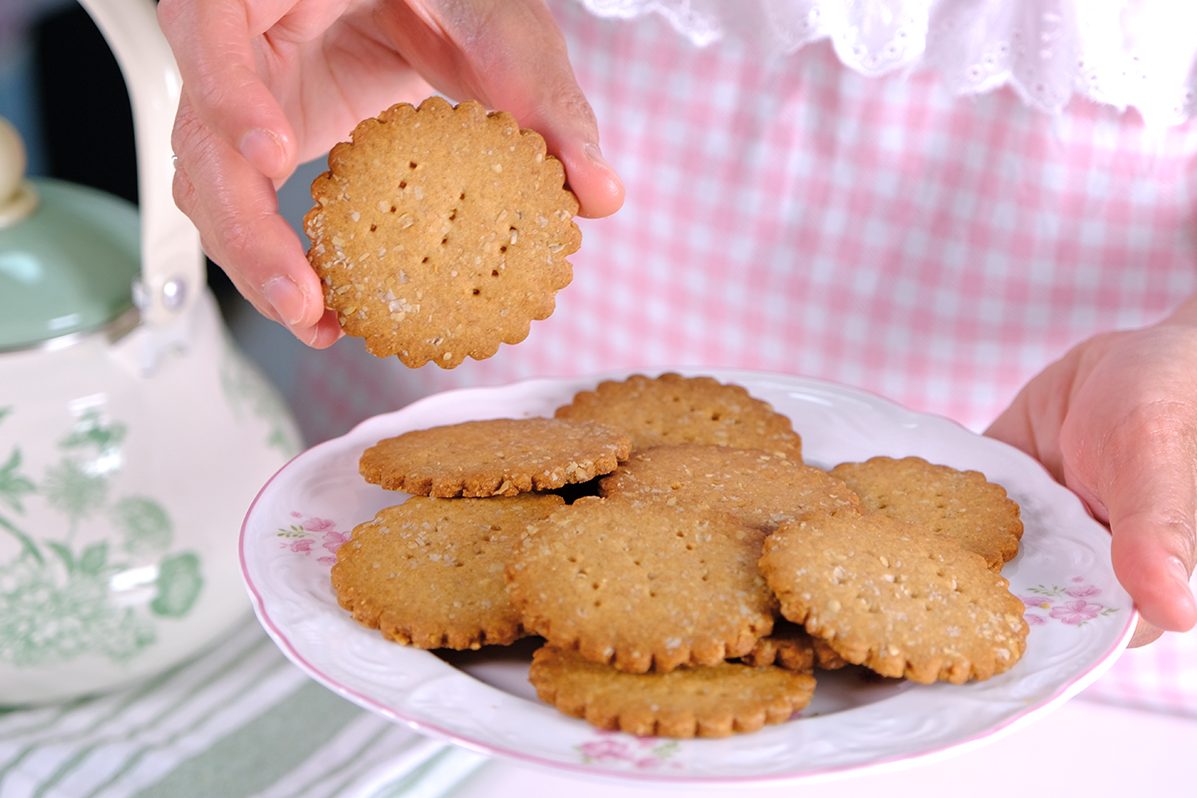
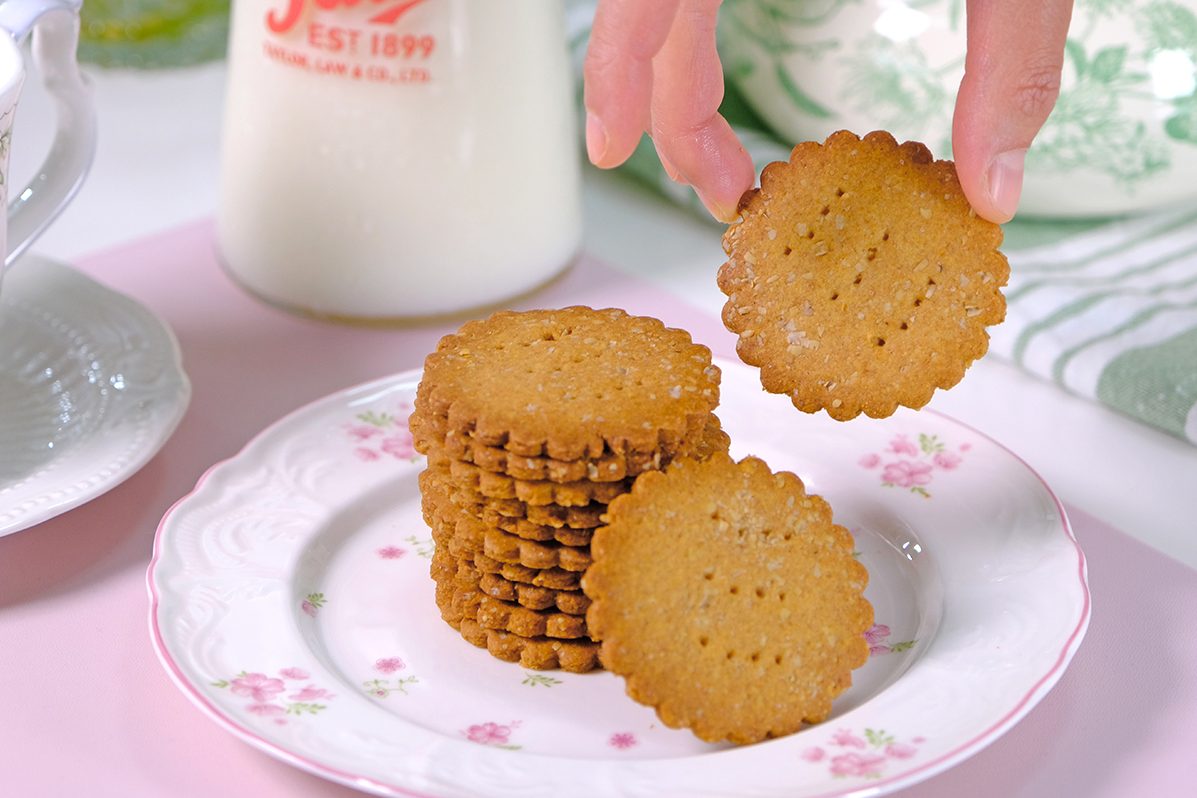
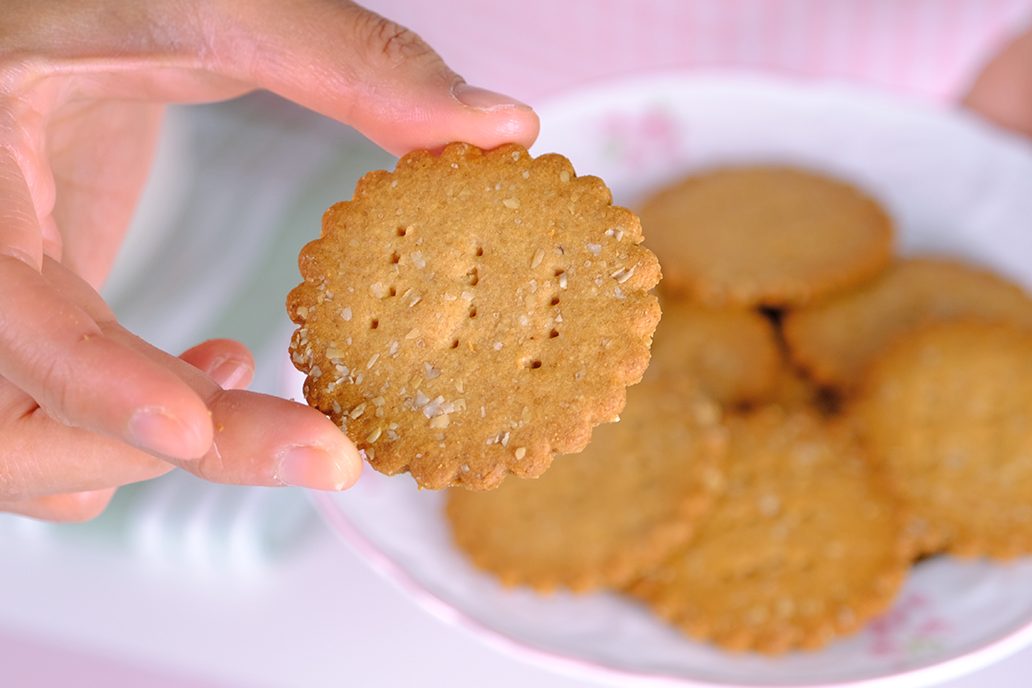
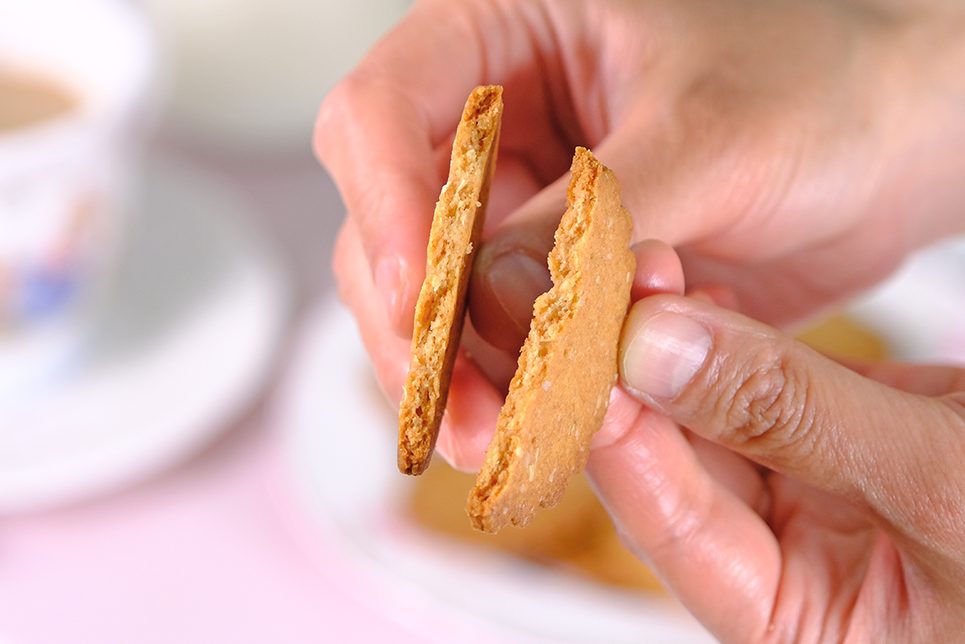
If you love snacking but want to keep things light, wholesome, and irresistibly crunchy; crispy thin Whole Wheat Biscuits might just become your new favorite treat.
Packed with the nutty flavor of whole grains and baked to delicate, golden perfection, these biscuits strike the ultimate balance between health and taste 🤩🤤 Whole wheat retains the bran and germ of the grain, making these biscuits naturally high in fiber, which supports digestion and keeps you feeling satisfied longerCompared to many commercial cookies, these crispy thin whole wheat biscuits are light on sugars and fatsPerfect for those watching their calorie intake without giving up flavor 😘You will need Whole Wheat Flour and Oat Bran for this recipe My go-to brand is Bob’s Red Mill 😚
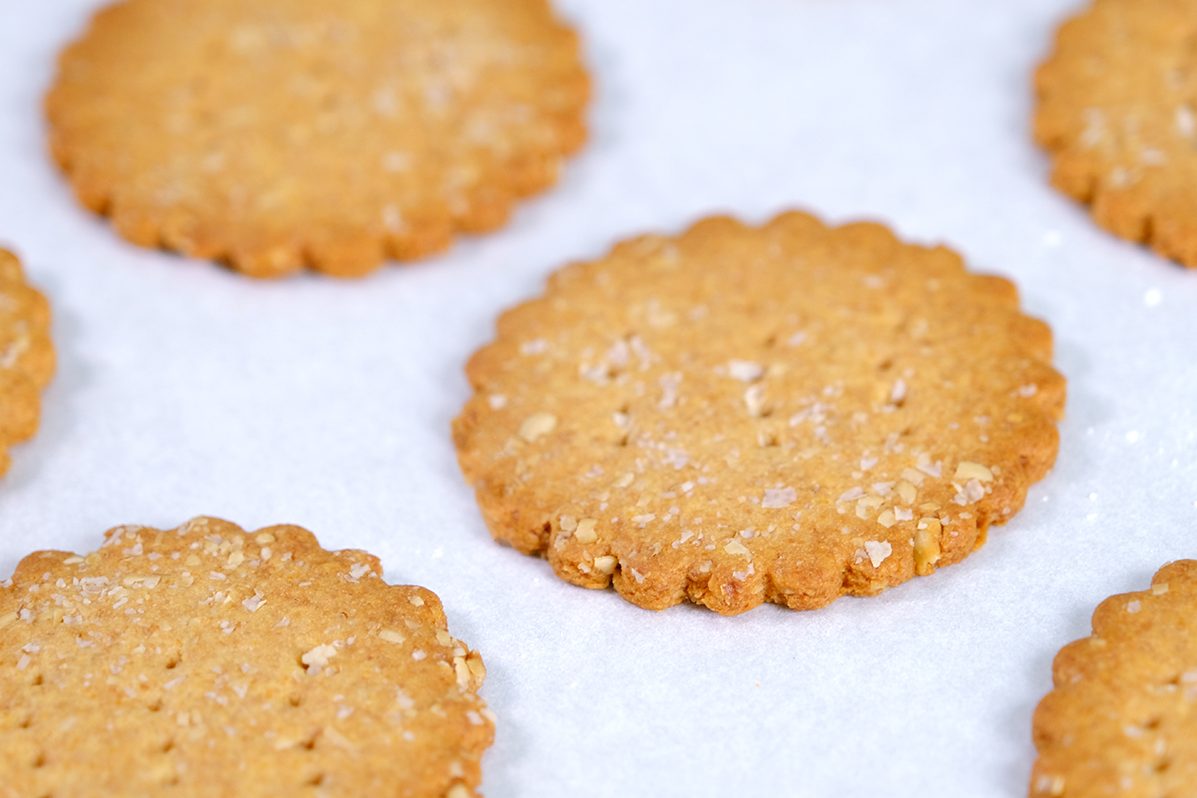
If you haven’t seen Oat Bran before, it’s the outer layer of the oat grain Adding oat bran to biscuits is an easy way to boost fiber, texture, and nutrition without changing the flavor too much. It gives your baked goods a slightly nuttier, hearty crunch that’s really tasty.
Whether you pair them with tea, enjoy them as a mid-day munch, or use them as a base for creative toppings.
These biscuits deliver a rich, nutty flavor and a hearty crunch; they’re so easy to bake 😉I’ve been making these for a while now, and I haven’t bought store-bought biscuits since 😇
Crispy, golden, and baked with love 💞
Perfect anytime, especially with coffee or milk 🤓😋A little healthy, a whole lot yummy! 😍😁Hope these biscuits bring a little comfort and joy to your day 🥳
Give them a try and let me know how yours turn out! 😉
WATCH HOW TO MAKE CRISPY THIN WHOLE WHEAT BISCUITS
Tips for Success (Please Read First):
Make sure the Butter and Eggs are at room temperature before you start. This helps the dough come together smoothly and makes your biscuits light and tender
Prepare the pan in advance, line a baking tray with Parchment Paper
Keep two additional pieces of parchment paper ready (you’ll use these to roll out the dough) Using parchment paper helps you to roll thinner, avoid sticking and transfer easily
If you can get 3 mm perfection strips, I highly recommend using it (those strips are very helpful for rolling evenly)
Don’t be tempted to add flour to the dough or sprinkle too much flour on the work surface, as this will make the biscuits tough
Try not to roll the biscuits too thick, or it will take longer to bake and won’t be as crispy
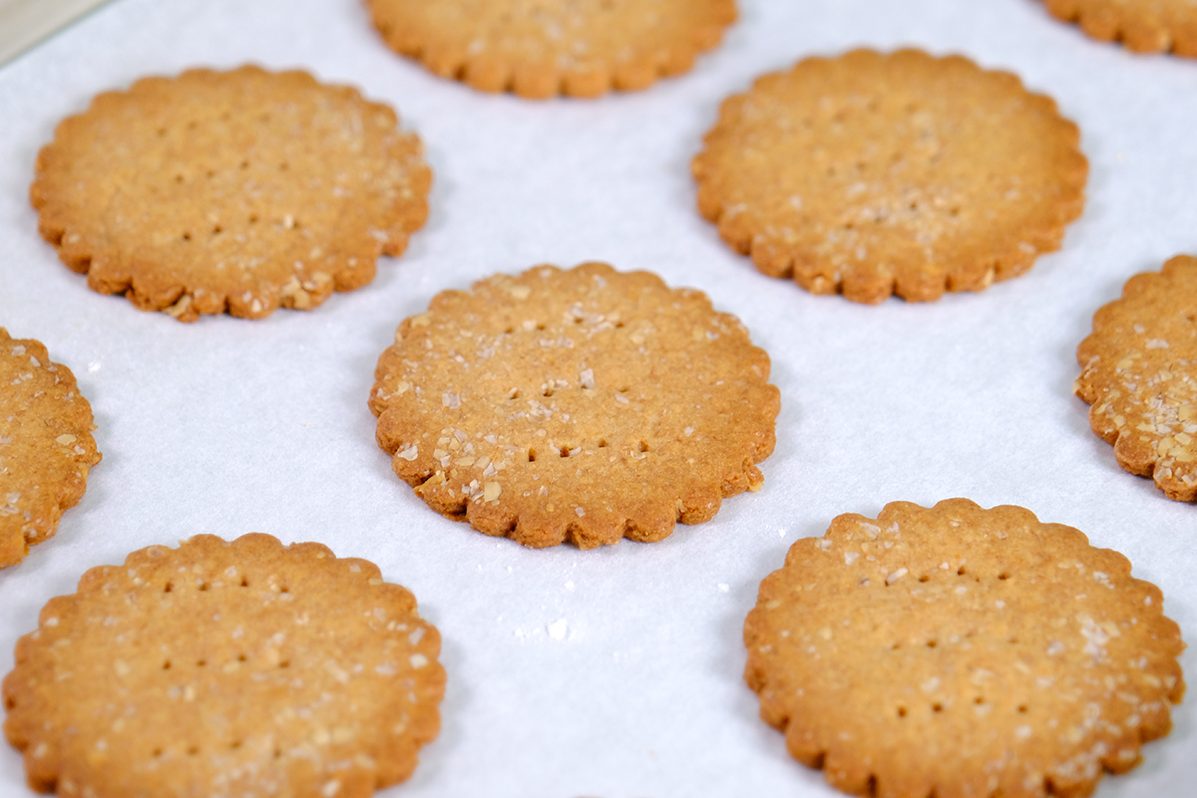
Don’t forget to lightly prick each biscuit with a fork before baking; this allows steam to escape and helps them bake evenly, staying flat and crisp
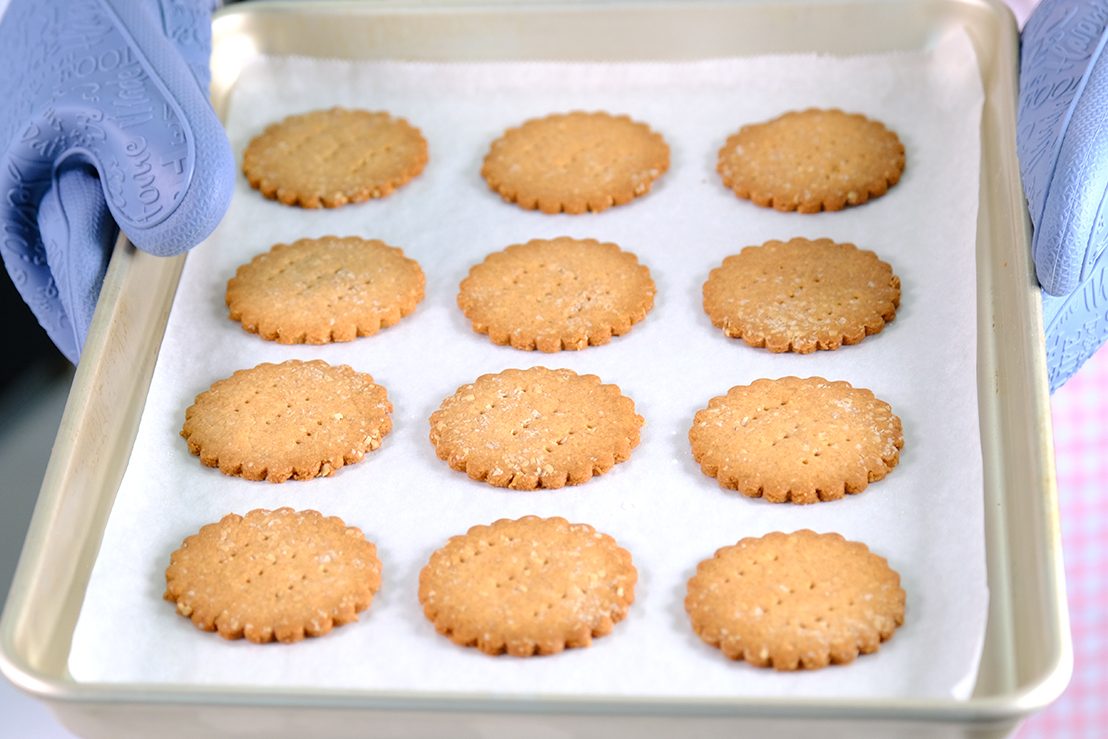
Bake in a preheated oven until they turn light golden brown (don’t bake it for too long or it will burn and taste bitter) Rotate the pan halfway through baking so the colour of the biscuits bakes evenly
Once they’re fully cooled, pop them into an airtight container to keep them nice and crisp
Never store warm biscuits, as they can become mushy and may develop mold
🪴 Ingredients 65 g Unsalted Butter 25 g Caster Sugar 1 tbs Honey 25 g Eggs 60 g All-Purpose Flour 60 g Whole Wheat Flour (100% Stone Ground) Less than 1/2 tsp Baking Powder (Double Acting) A pinch Salt 8 g Oat Bran * Extra Oat Bran (for sprinkle)
🪴 Instructions
Cream the Unsalted Butter and Caster Sugar for about 3 minutes, or until the mixture is pale, light, and fluffy
Add the Honey and mix thoroughly
Addthe Eggs and beat again until fully combined (this creamed mixture should be soft and smooth)
Add the sifted dry ingredients(All -Purpose Flour, Whole Wheat Flour, Baking Powder, Salt, Oat Bran) Don’t throw away the Bran left in the sifter, return it to the bowl and mix in gently Mix until just combined
Once the mixture comes together into a rough dough, use your hands to knead it lightly until it’s uniform (be gentle, over-kneading can make the biscuits tough)
Roll the dough Place the dough between two sheets of Parchment Paper and roll it out to about 3 mm thickness (use perfection strips if available); Sprinkle a little extra Oat Bran while rolling the dough Add a little flour (NOT too much) to the surface of the parchment paper, cutter or rolling pin as needed to prevent sticking (If you don’t have perfection strips, try not to roll it too thick, or the biscuits will take longer to bake and won’t be as crispy)
Then using a 6 cm fluted or plain cutter, cut the dough into rounds
Use the bottom parchment sheet to help lift the cut dough; this keeps the pieces from stretching or breaking; place them into prepared baking trays If you have any dough scraps, collect them, press them gently into a ball, and reroll to cut again
Lightly prick each biscuit with a fork 6 tiny holes before baking (this allows steam to escape and helps them bake evenly, staying flat and crisp)
Bake in a preheated oven at 180°C/ 160°C fan) / Gas Mark 4 for 13-15 minutes, until they turn light golden brown Rotate the pan halfway through baking so the colour of the biscuits bakes evenly
Once done, let the biscuits rest in the pan for a few minutes, then transfer them to a wire rack to cool completely
When they’re fully cooled, place the biscuits in an airtight container to keep them nice and crisp
NOTES
Never store warm biscuits, as they can become mushy and may develop mold
These Biscuits stay fresh for up to 2 weeks at room temperature or around 3 weeks in the fridge
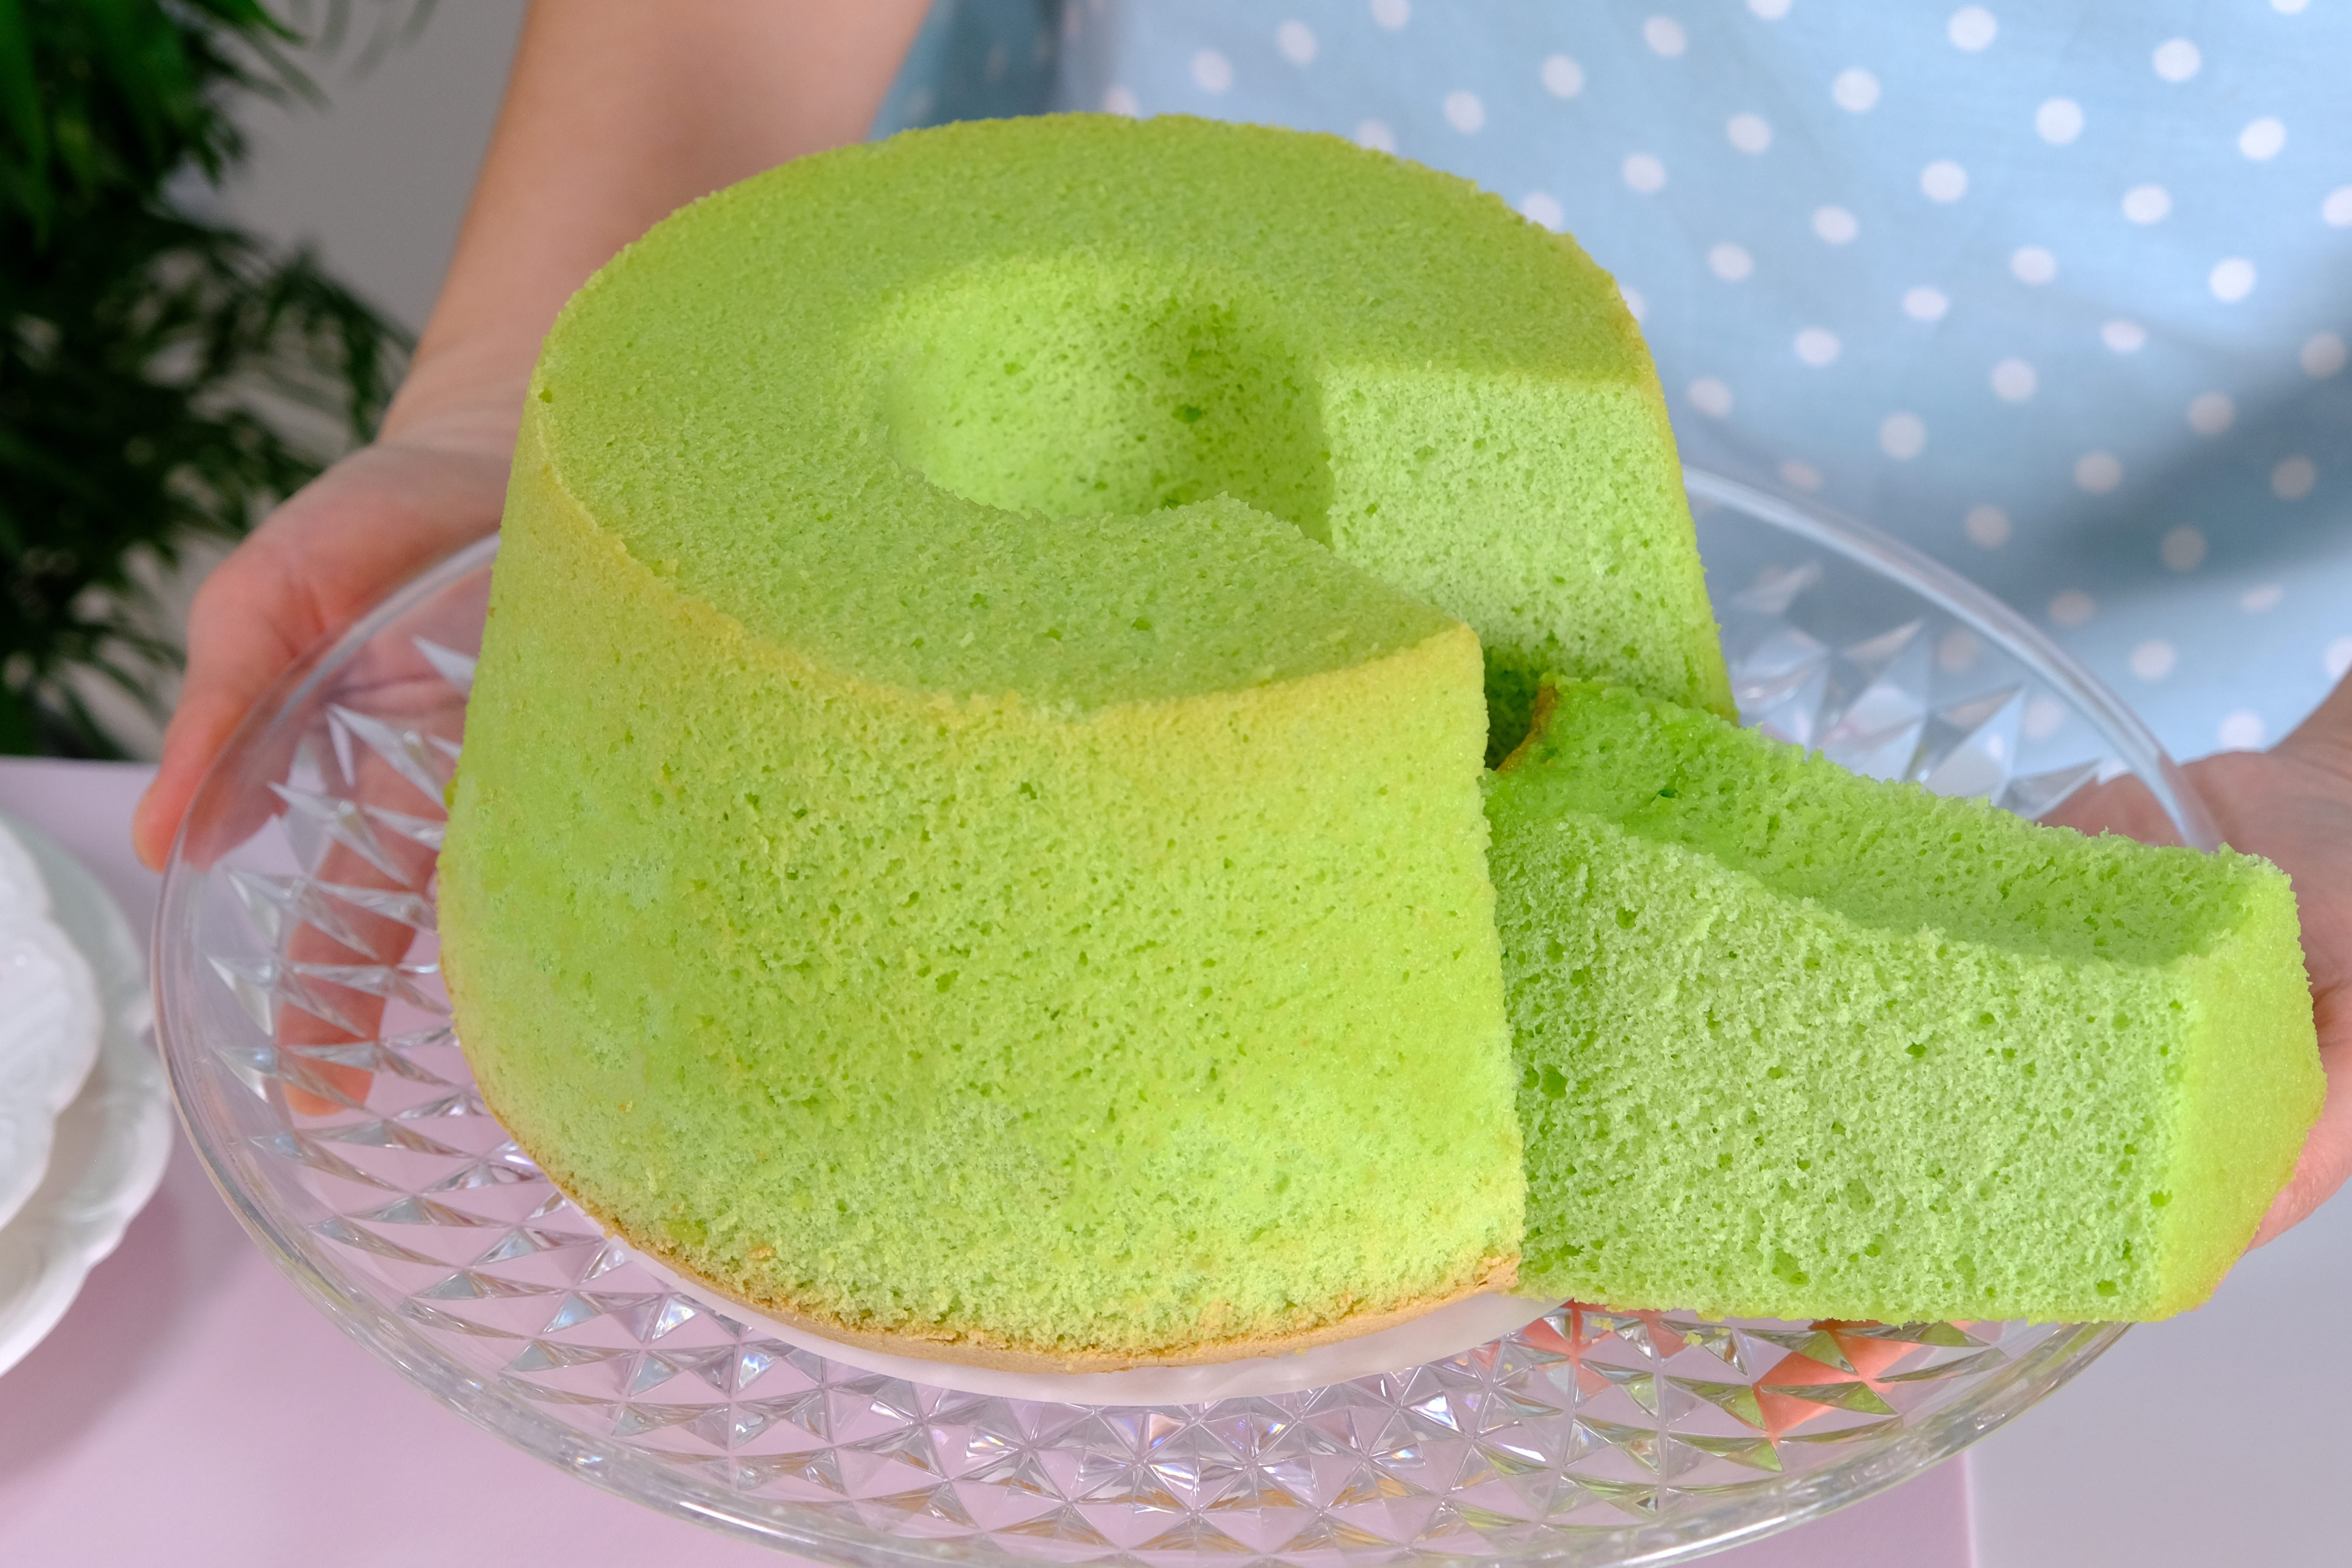
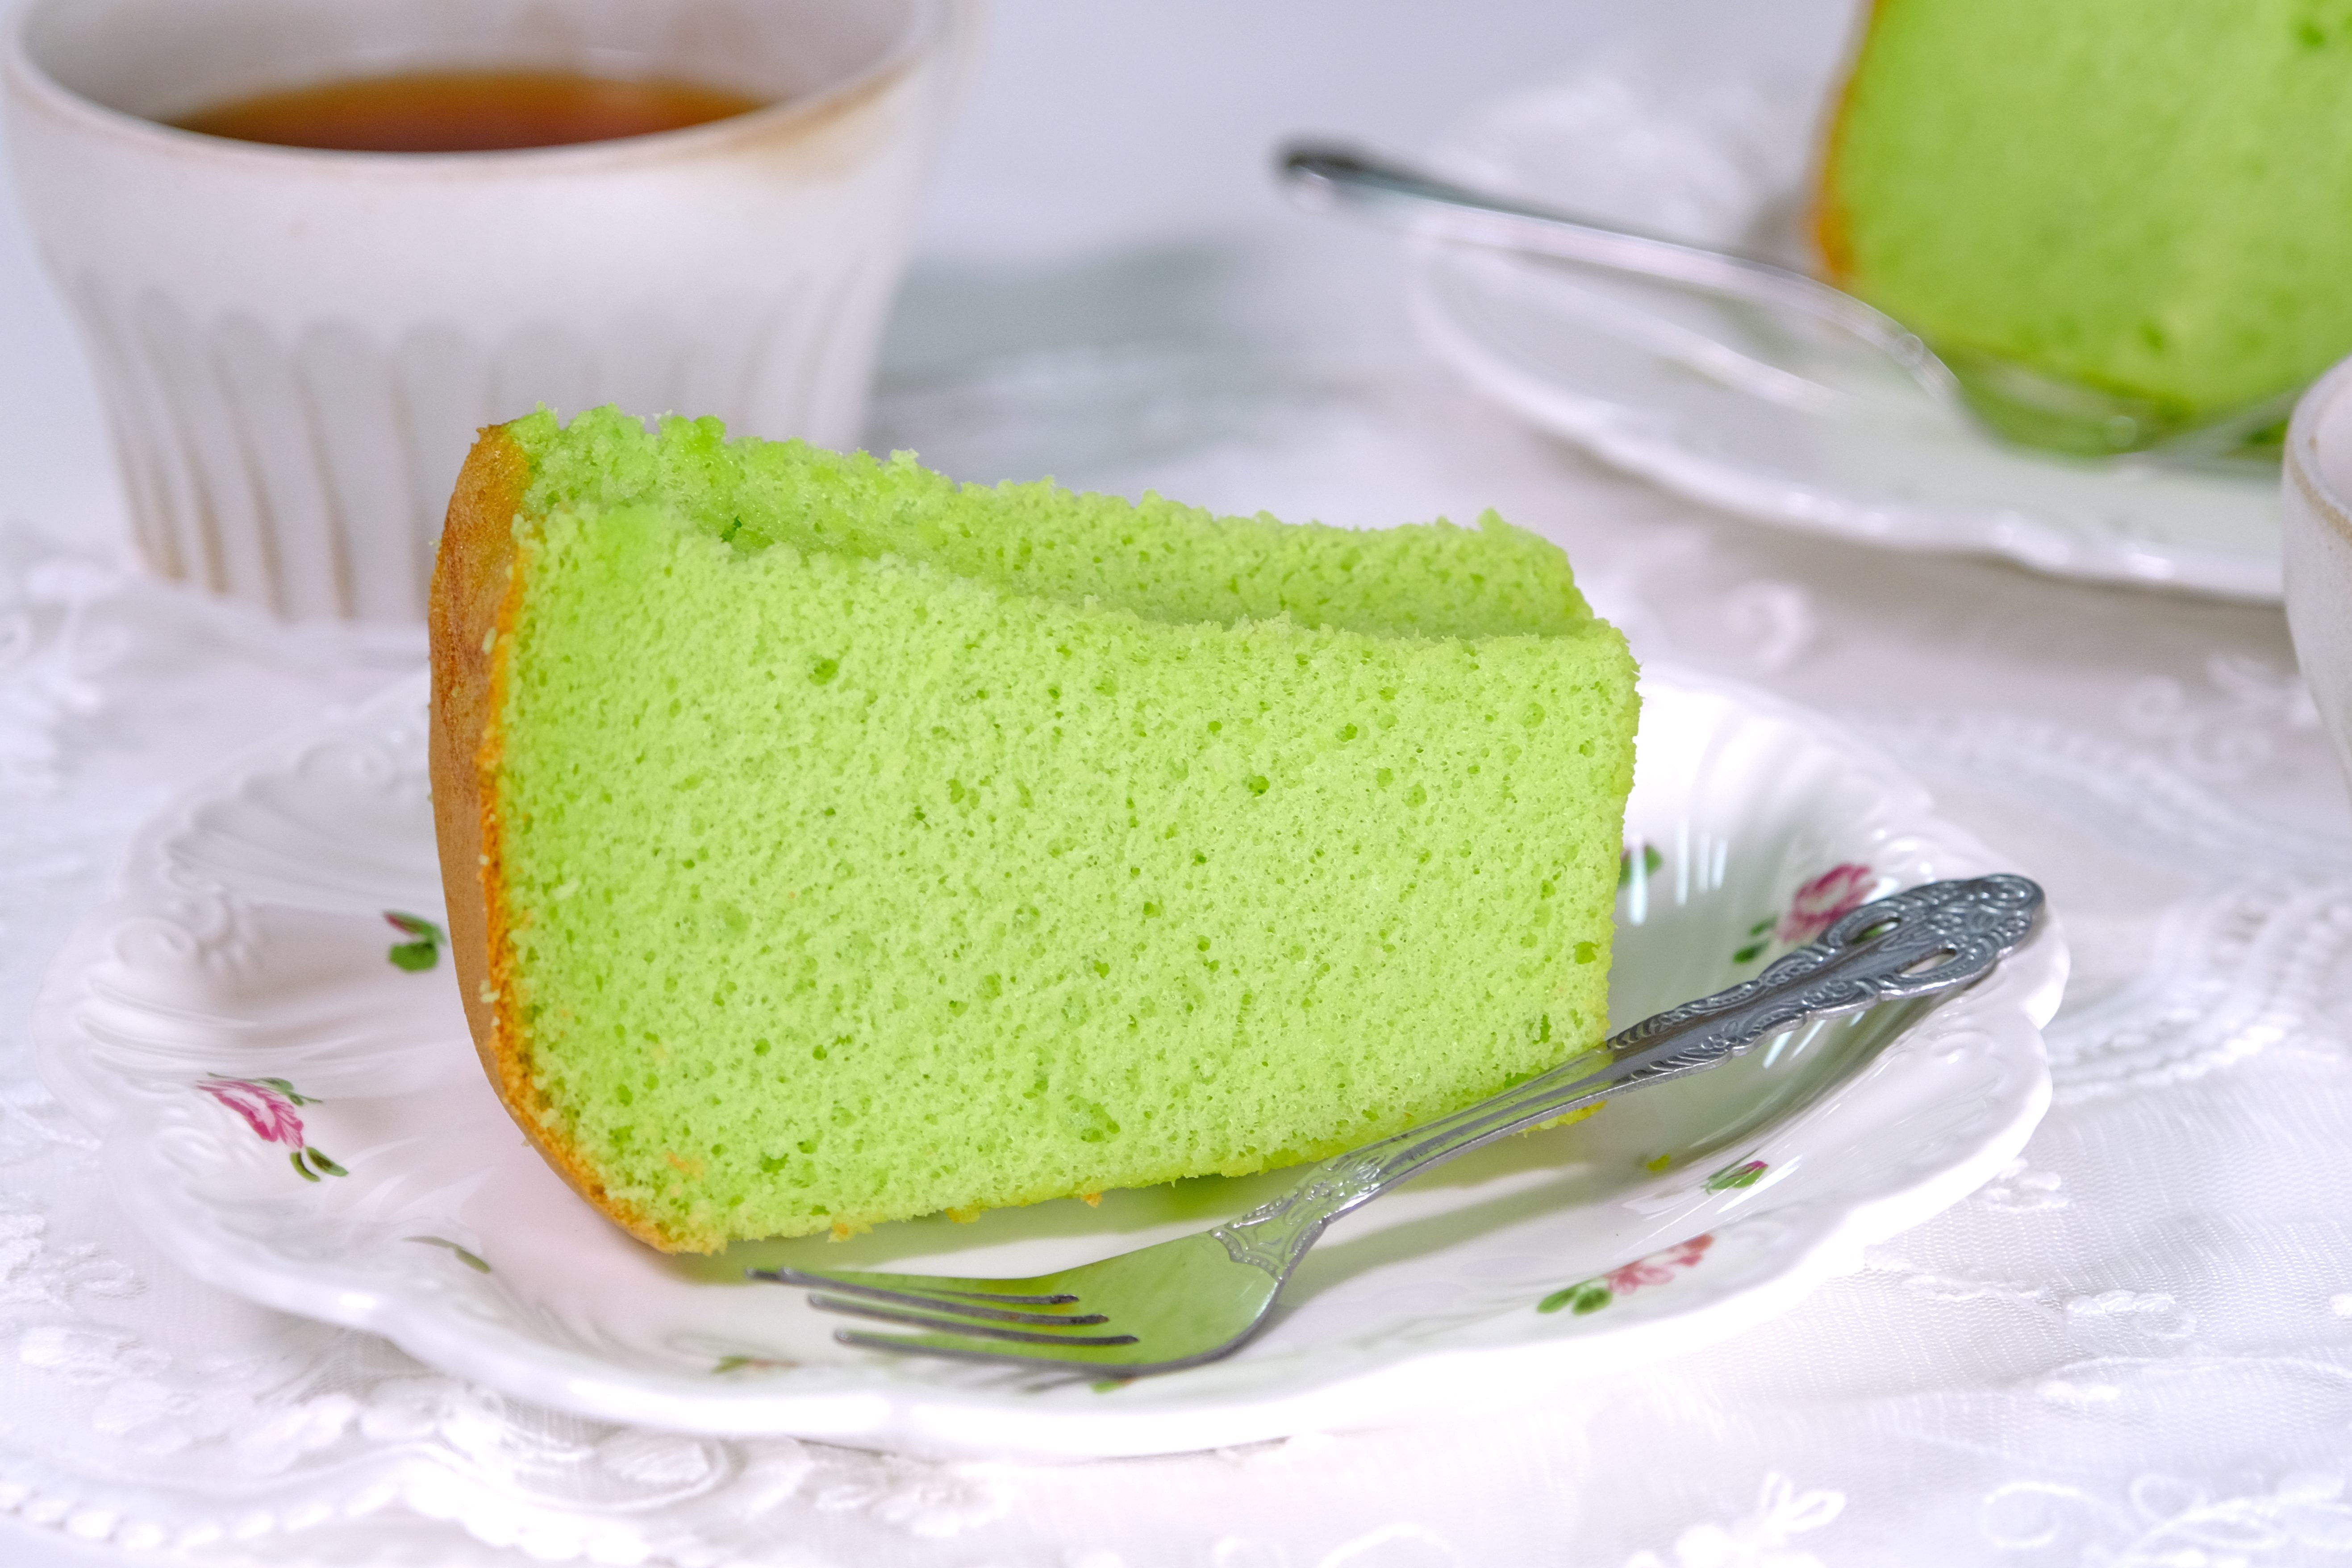
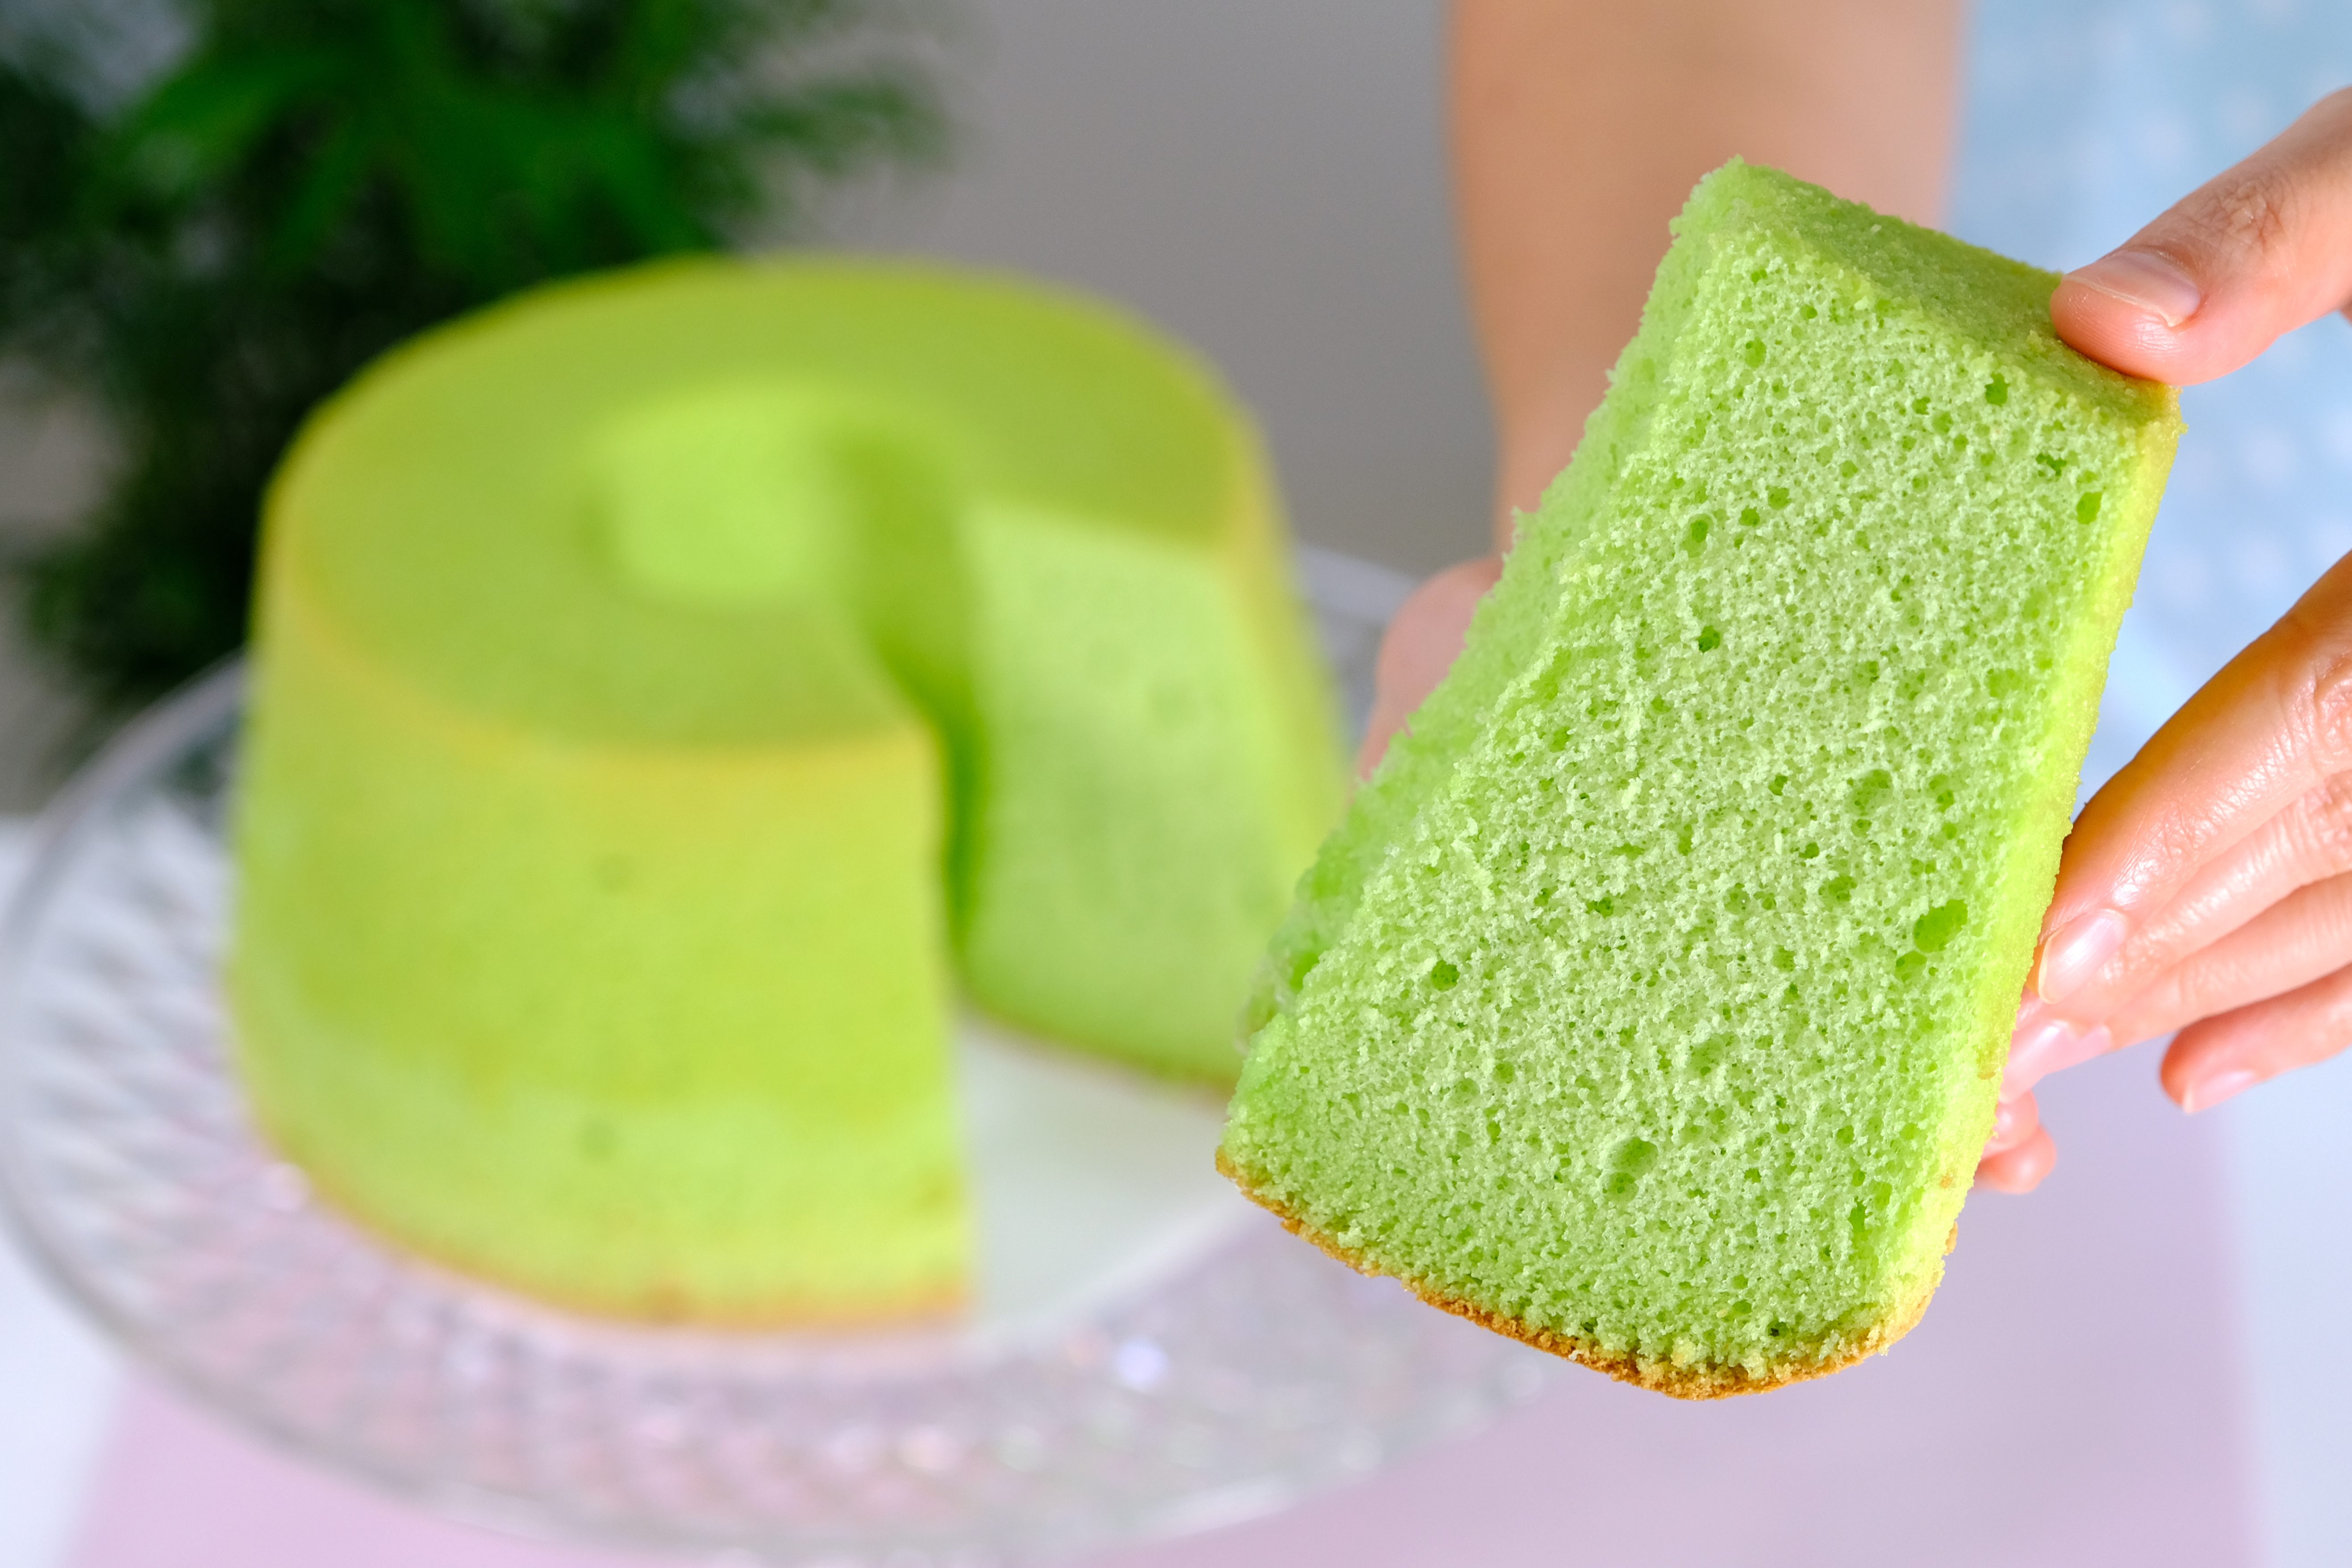
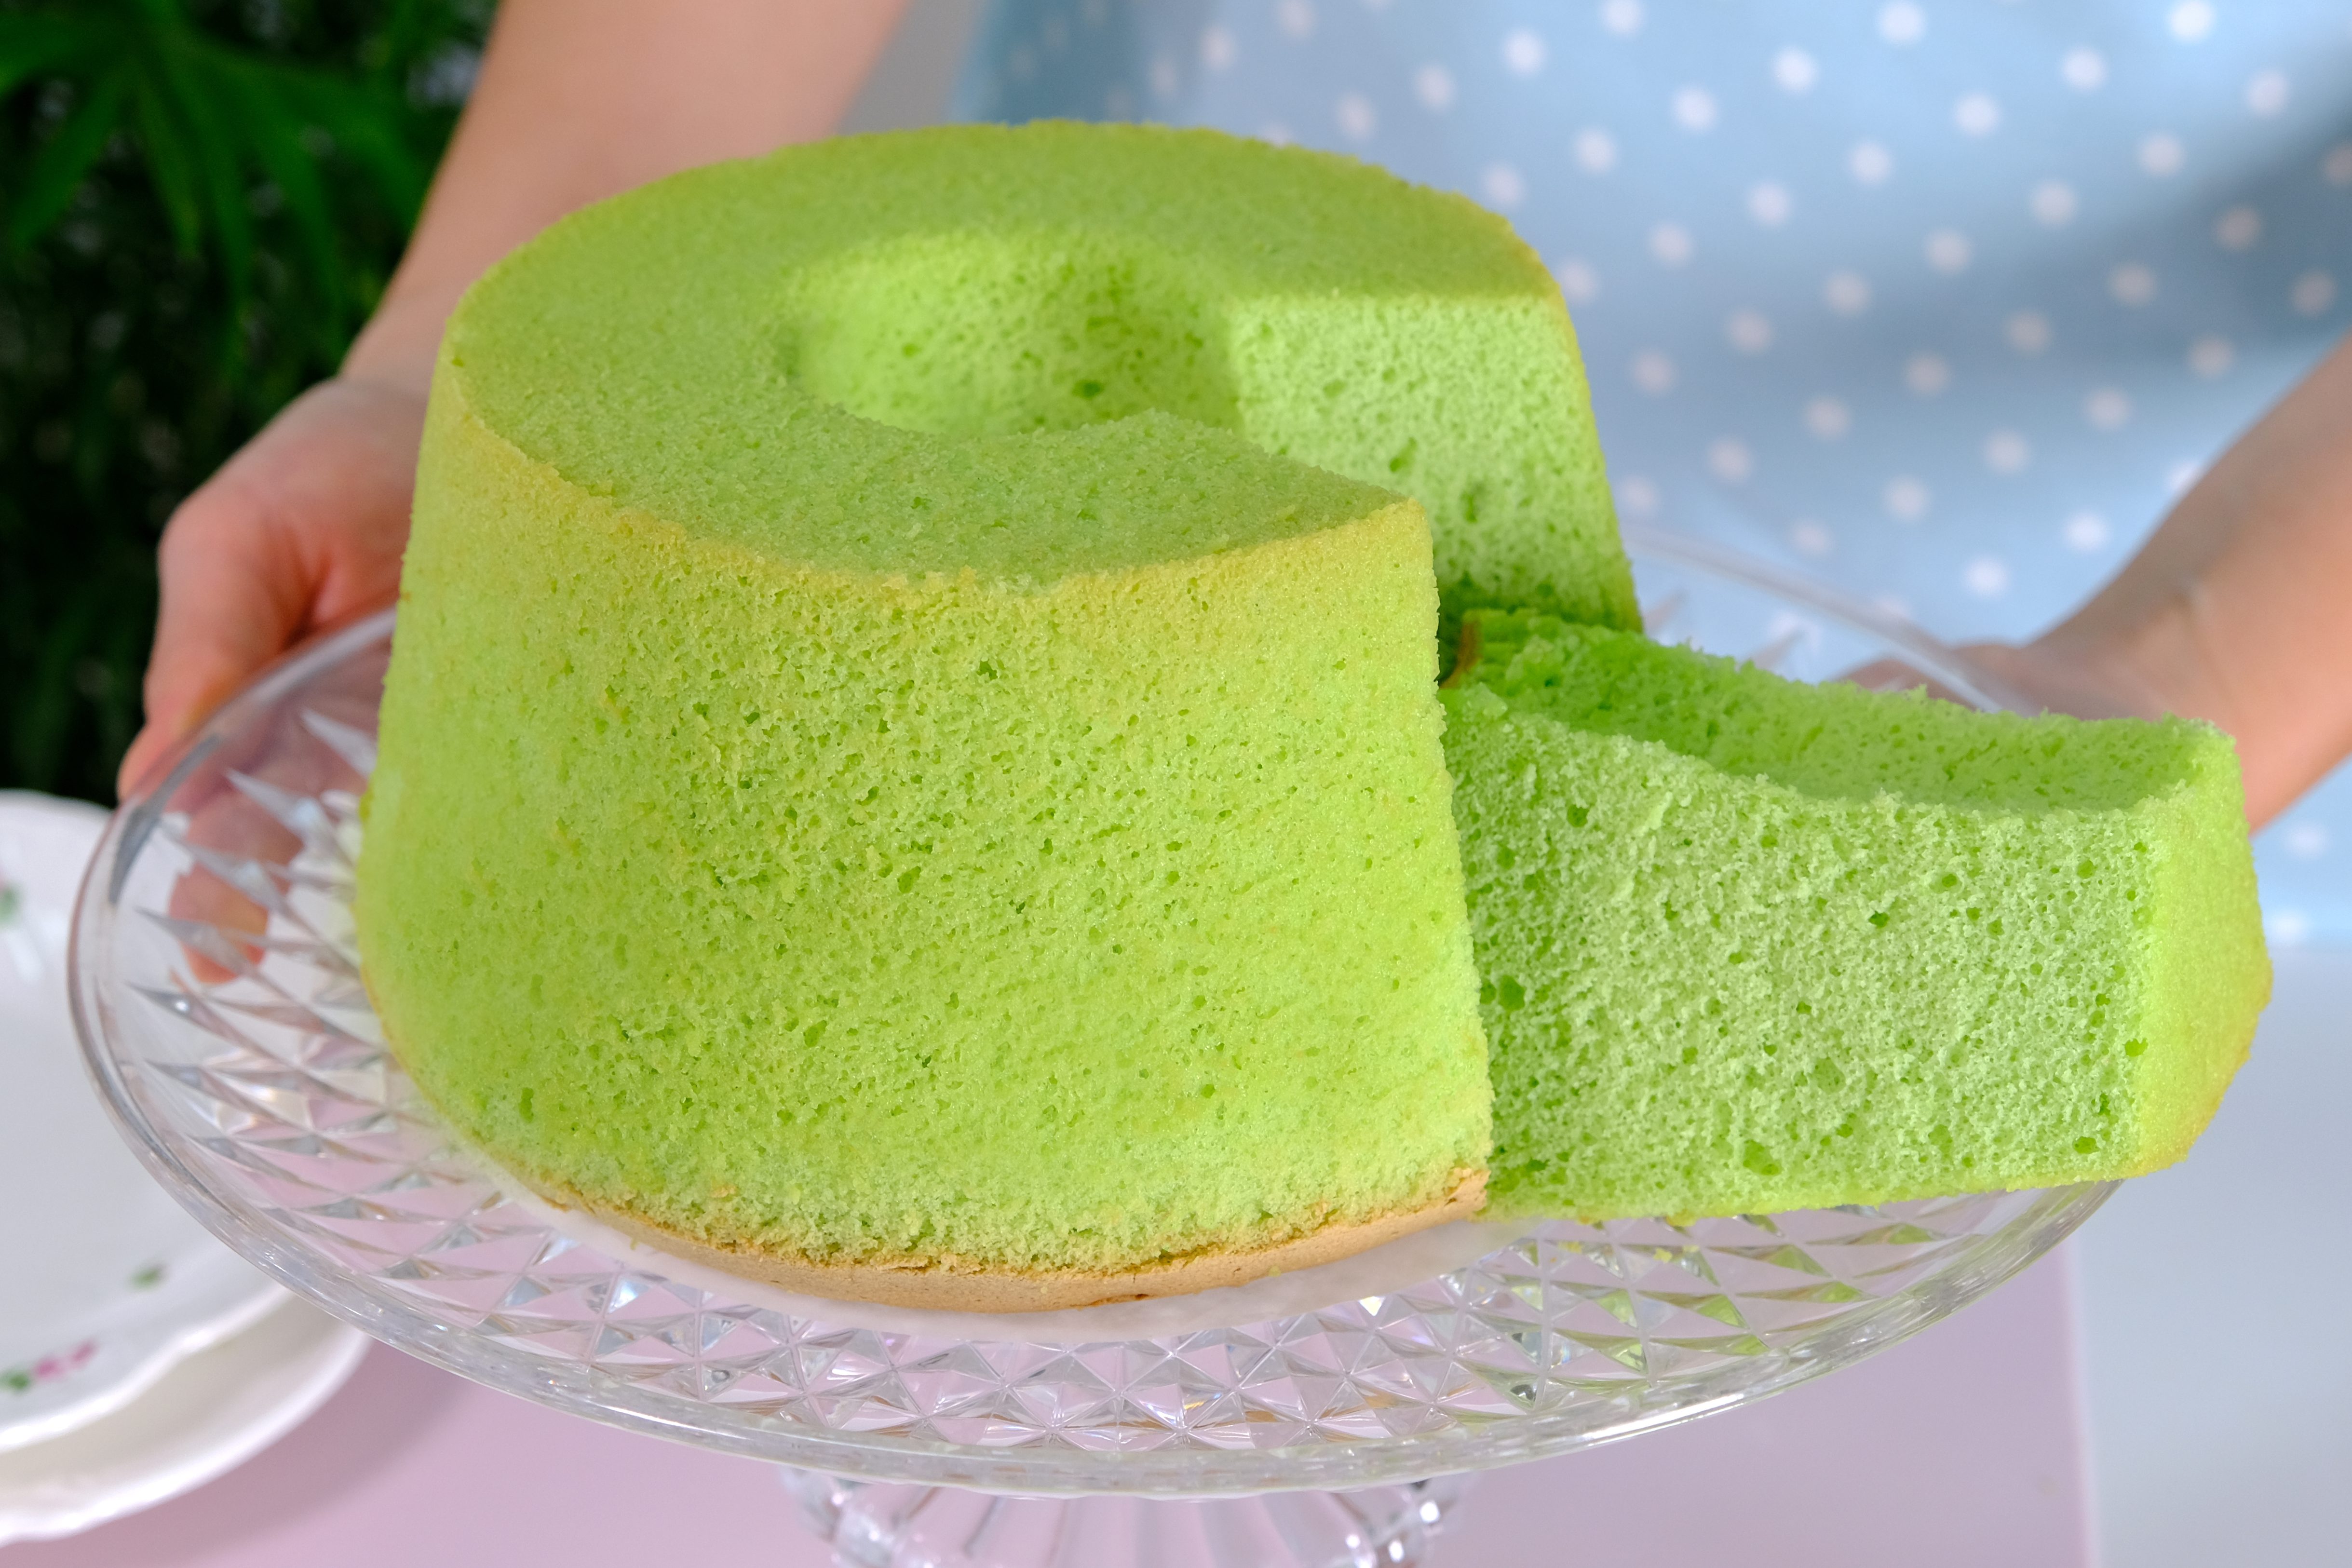
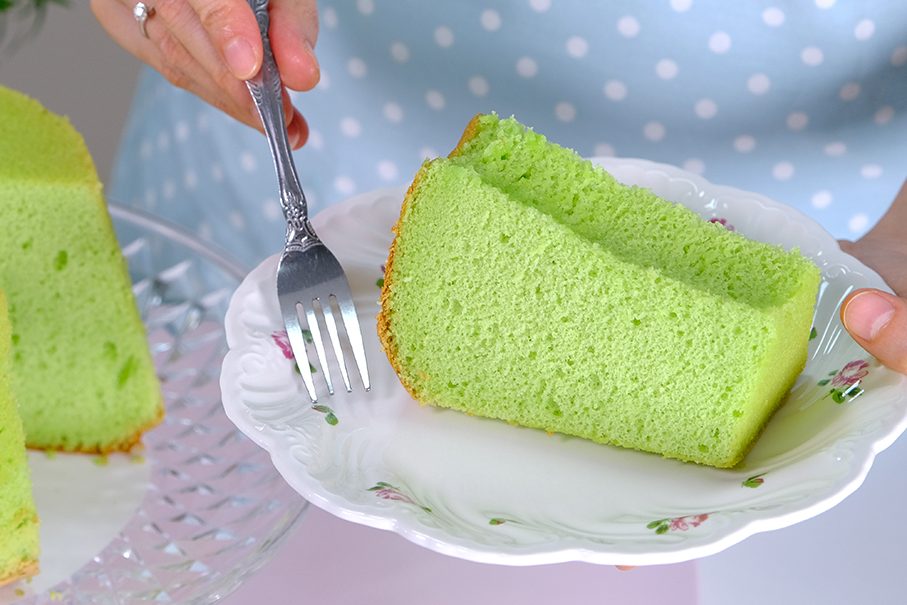
Pandan Chiffon Cake is a light, fluffy, green-coloured sponge cake flavoured with the juice or extract of Pandanus amaryllifolius leaves. This fragrant and airy dessert is especially popular in several Southeast Asian countries, including Malaysia, Indonesia, and Singapore.
Chiffon Cakes are traditionally baked in tube pans because their delicate structure requires support from both the center tube and the sides of the pan. This allows the cake to rise properly during baking and prevents it from collapsing as it cools.
🤩 beautiful bright colour 😉
For this reason, Chiffon tube pans should NOT be greased, and non-stick pans should be avoided, as the batter needs to cling to the sides and center tube to rise properly.
I prefer using Pandan Paste, it gives a strong, consistent flavor and saves time compared to extracting it from fresh leaves
When adding Pandan Paste, start with a small amount, I usually begin with ¼ teaspoon. Be careful when using Pandan Paste, as it’s very concentrated; too much can leave a bitter or artificial aftertaste. It can also turn the green color overly intense and unappealing.
Making this cake is not difficult, but it does require precision and attention to the making technique.
In this recipe, I will be sharing some helpful tips to make sure your Chiffon Cake turns out perfectly soft and airy.
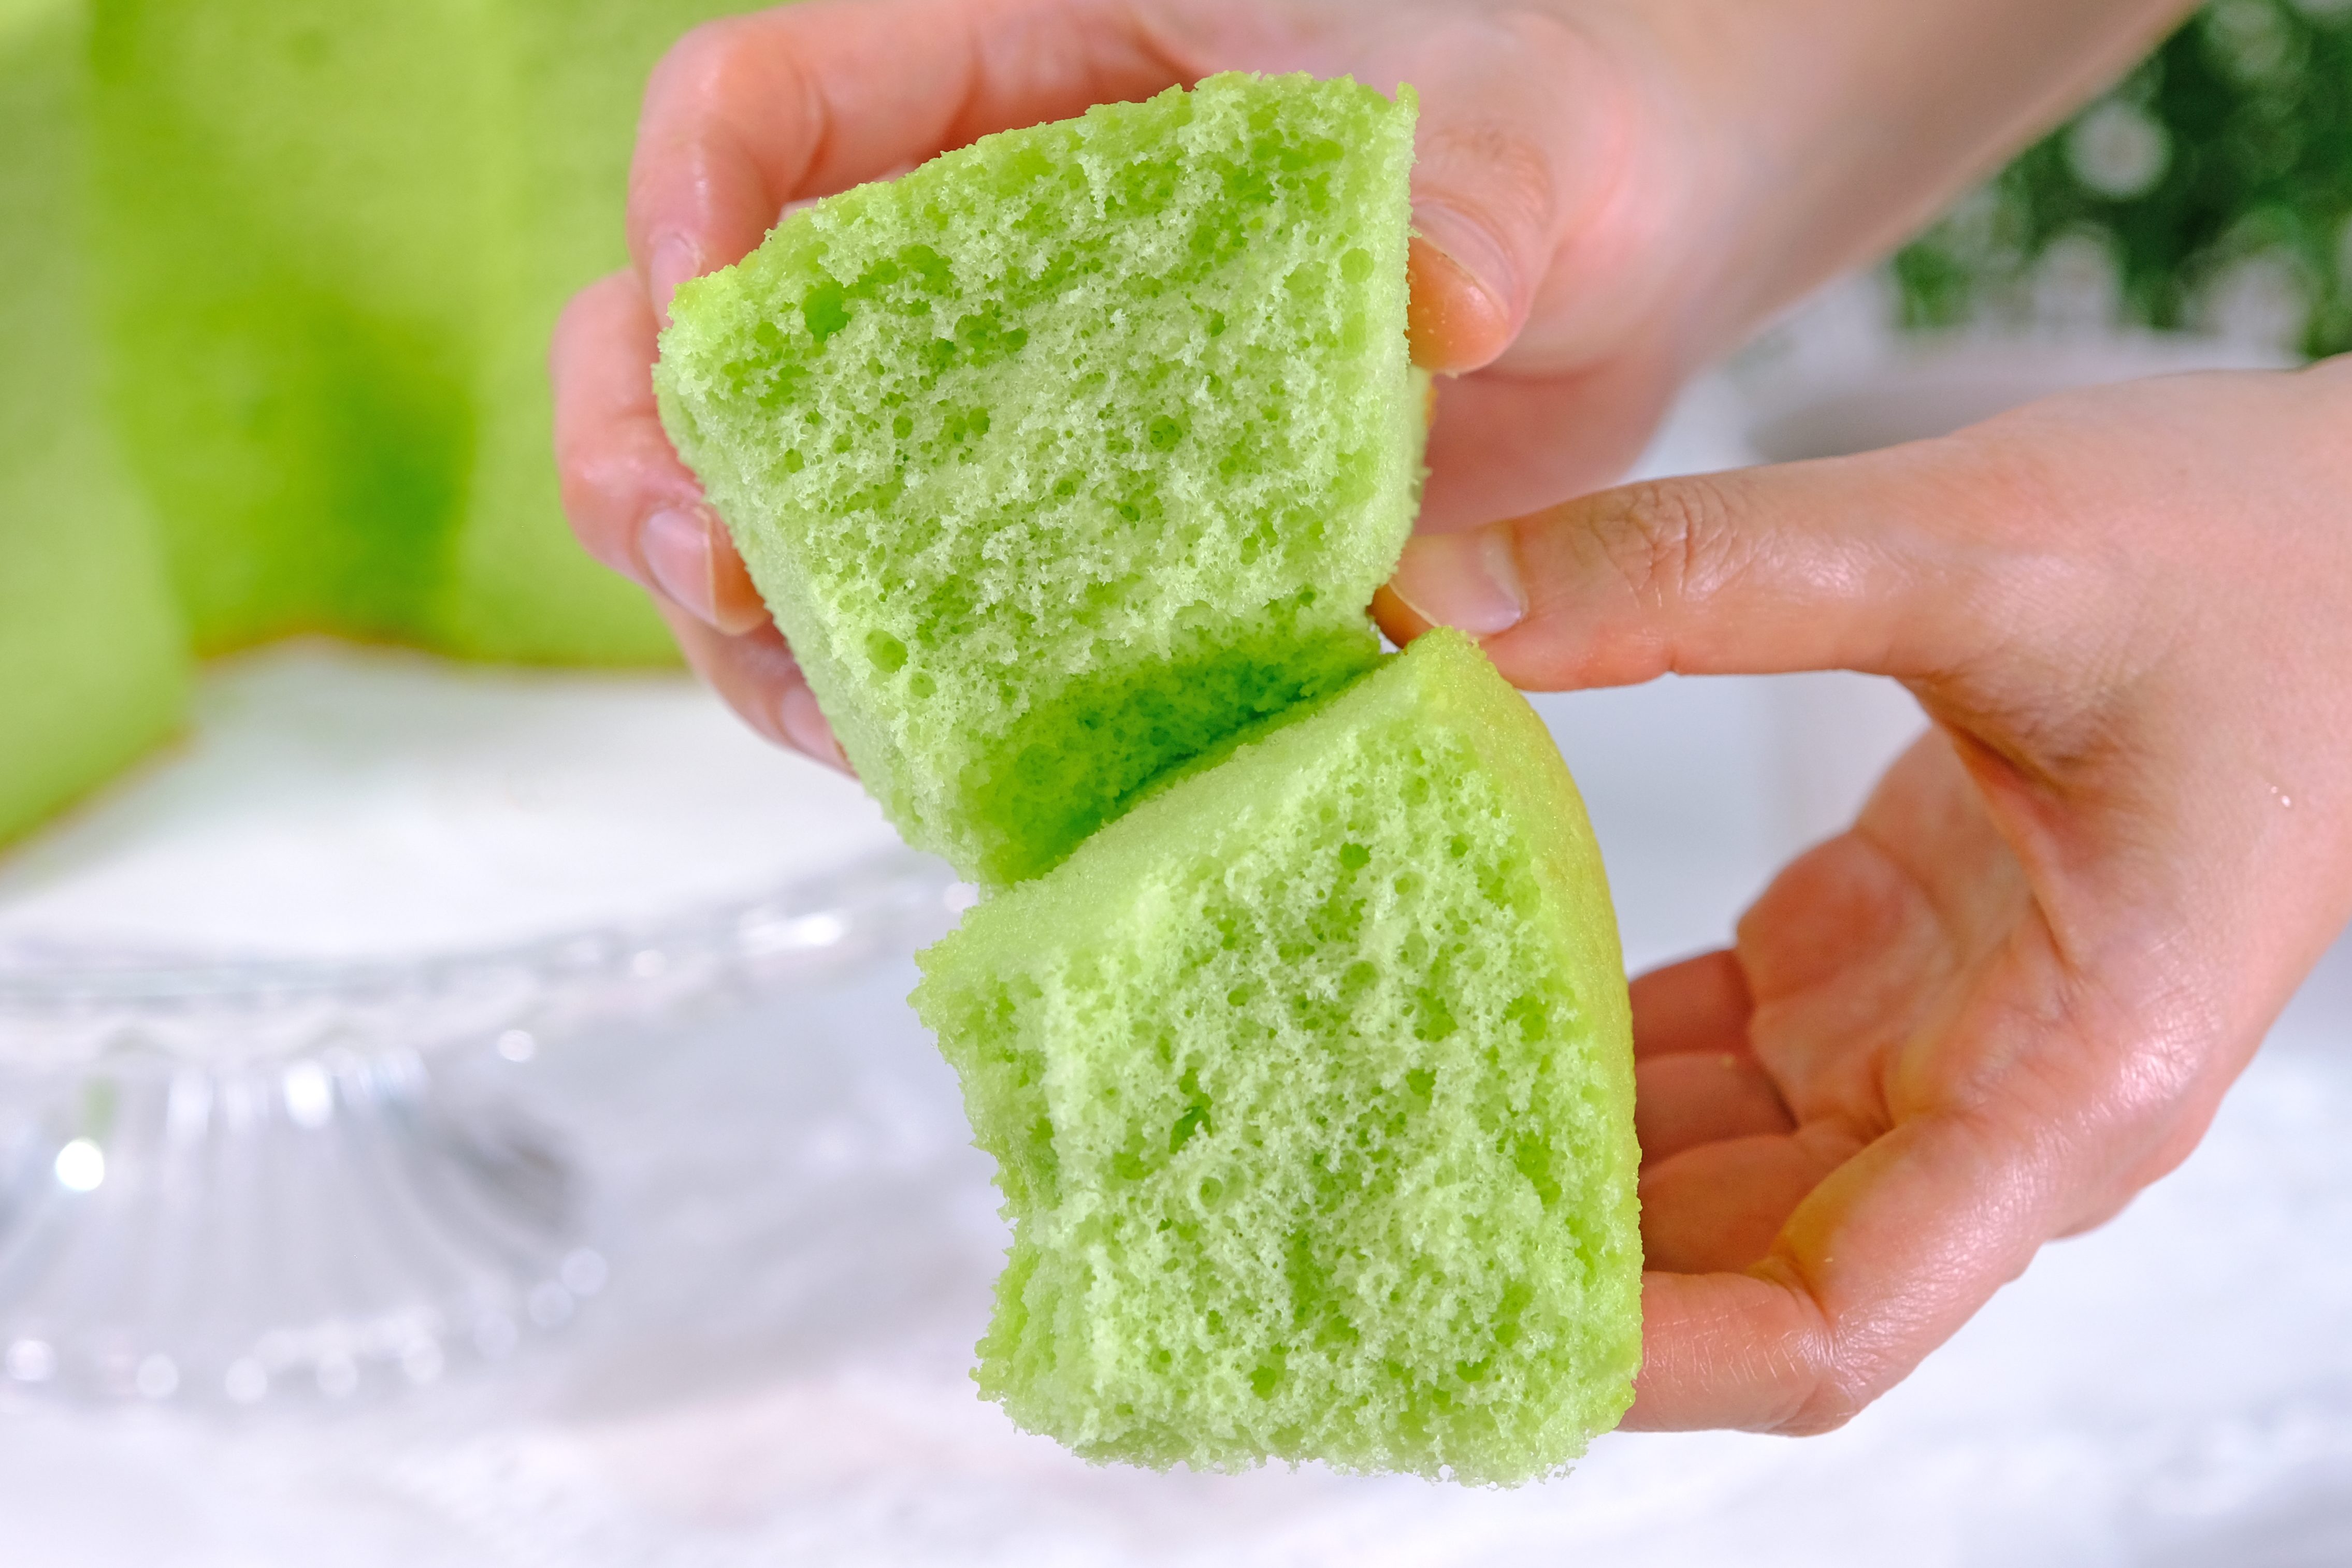
Pandan Chiffon Cake offers a delicate, fragrant, and slightly nutty flavour — a refreshing change from more traditional cake varieties.
Its soft, fluffy texture practically melts in your mouth, making it an ideal choice for those who enjoy light, airy desserts. I hope you will enjoy this recipe 🥰
Watch How To Make “foolproof fluffy pandan chiffon cake”
Tips for Success (Please Read First):
It’s very important NOT to grease the Chiffon Cake Pan because the batter needs to cling to the sides to rise properly
Preheat the oven at least 30 minutes before starting Once the Chiffon Cake batter is fully mixed, it needs to be baked right away (if you let the batter sit, that air starts escaping and the batter will lose volume)
It’s important that your mixing bowl is clean Any residue or fat will prevent the Egg Ehites from whipping properly (wipe the bowl and utensil with lemon juice or vinegar to helps remove grease)
Use fresh Eggs that are room temperature Other ingredients also must be at room temperature
Be careful when using Pandan Paste, as it’s very concentrated Too much can leave a bitter or artificial aftertaste, it can also turn the green color overly intense and unappealing
Sift the dry ingredients
Make sure the Egg Yolk mixture is well blended before folding it into the beaten Egg Whites
Beat Egg Whites until stiff peak
Fold the whipped Egg Whites into the Egg Yolk mixture in three batches Be gentle to avoid deflating the batter, fold carefully until the mixture is smooth and well combined (make sure there are no bits of egg whites left)
Slowly pour the batter into the pan from about 15 cm above to help burst any excess air bubbles Gently run a small metal skewer or spatula through the batter to eliminate any trapped air pockets
Avoid tapping or shaking the pan as this can cause the bubbles to deflate prematurely, resulting in a denser cake with less volume
Don’t let the batter sit too long before baking, bake it immediately
Avoid opening the oven door during baking, as sudden temperature changes can cause the Chiffon Cake to collapse
When the cake is done, immediately invert the pan onto a wire rack (if your pan has built-in supports) If your pan doesn’t have supports, you can place the tube hole over the neck of a soda or wine bottle to hang it high above the table, and cool the cake completely in the pan
Once cool, when unmold the cake; Don’t use a spatula to loosen the edges of the cake (this can cause the edges to become rough and uneven) Use your hand to gently press along the sides, going all the way around; Carefully peel about 1 cm of the cake away from the edges Similarly, gently press the center of the cake down with your index finger, about 1 cm deep, to loosen the middle (kindly watch the video for clearer instructions)
Chiffon Cake should generally be kept in an airtight container and refrigerated They are delicious cold, straight from the fridge
RECIPE
PANDAN CHIFFON CAKE Yield: One 20 cm diameter Chiffon Pan
🌿 Ingredients 85 g Egg Yolks (room temp.) 60 g Coconut Milk (room temp.) 1/4 tsp Pandan Paste 125 g Cake Flour (3/4 + 1/8) tsp Baking Powder (Double Act.) (1/4 +1/8) tsp Salt 80 g Caster Sugar 70 g Vegetable Oil 160 g Egg Whites (room temp.) 1/4 tsp Cream of Tartar 85 g Caster Sugar
Notes: you can substitute Cream of Tartar with 1/2 tsp Lemon Juice or White Vinegar (or Apple Cider Vinegar)
🌿 Instructions Preparation
It’s very important NOT to grease the chiffon cake pan because the batter needs to cling to the sides to rise properly. I’m using 20 cm diameter panfor this recipe
Preheat the oven at least 30 minutes before starting 160°C fan/ 180°C/ gas mark 4
It’s important that your mixing bowl is clean Any residue or fat will prevent the Egg Whites from whipping properly (wipe the bowl and utensil with lemon juice or vinegar to helps remove grease)
Take the Eggs and other cold ingredients out of the fridge Separate Egg Whites and Egg Yolks; then let them come to room temperature
To Make Pandan Chiffon Cake
Combine Egg Yolks, Coconut Milk, and Pandan Paste in a medium mixing bowl
Add the sifted dry ingredients (Cake Flour,Baking Soda and Salt) along with 80 grams of Caster Sugar, stir using a balloon whisk until well mixed
Pour in the Vegetable Oil and mix until the batter looks smooth and well blended; Set this mixture aside
In another large mixing bowl, beat the Egg Whites and Cream of Tartar until foamy Add the 85 grams of Caster Sugar in 3 batches, adding each portion every 30 seconds Once all the sugar is added, continue beating on high speed until stiff peak for about 3 minutes (the mixture will gradually thicken and looks shiny)
Fold the whipped Egg Whites into the Egg Yolk mixture in 3 batches Start by adding one-third of the beaten Egg Whites to the Egg Yolk mixture (this first addition helps loosen the batter) Use a balloon whisk to gently stir, scrape the bottom and sides of the bowl to ensure everything is evenly combined
Add another third of the Egg Whites and fold again (be gentle to avoid deflating the batter)
Finally, pour the Egg Yolk mixture into the bowl with the remaining Egg Whites Fold carefully until the mixture is smooth and well combined (make sure there are no bits of egg whites left) Use a spatula to scrape the sides and bottom of the bowl to ensure the mixture is evenly mixed
Slowly pour the batter into the pan from about 15 cm above to help burst any excess air bubbles. Gently run a small metal skewer or spatula through the batter to eliminate any trapped air pockets (avoid tapping or shaking the pan as this can cause the bubbles to deflate prematurely, resulting in a denser cake with less volume)
Bake immediately in the preheated 160°C fan/ 180°C/ gas mark 4 oven for 45 minutes or until a cake tester inserted in the center comes out clean * Avoid opening the oven door during baking, as sudden temperature changes can cause the chiffon cake to collapse
When the cake is done, immediately invert the pan onto a wire rack (if your pan has built-in supports) If your pan doesn’t have supports, you can place the tube hole over the neck of a soda or wine bottle to hang it high above the table, and cool the cake completely in the pan (This takes about 1½ to 2 hours, do not touch until completely cool)
Once cool, you can unmold the cake Don’t use a spatula to loosen the edges of the cake; this can cause the edges to become rough and uneven Use your hand to gently press along the sides, going all the way around Carefully peel about 1 cm of the cake away from the edges Similarly, gently press the center of the cake down with your index finger, about 1 cm deep, to loosen the middle Then place your fingers on the bottom of the pan and press down firmly to lift out the center tube Finally, press the entire bottom of the cake inward to release it from the bottom of the pan (handle with care as the cake is very light and fluffy) “Kindly watch the video for clearer insturctions”
NOTES
Ensure the cake has cooled completely before storing, as warmth creates condensation, which makes the cake soggy and encourages mold growth
Chiffon Cake should generally be stored in an airtight container and kept refrigerated. This is especially important for Pandan Chiffon Cake, as it contains Coconut Milk, which can spoil more quickly at room temperature. The cake tastes delicious when served cold, straight from the fridge.
This cake can last for up to 5 days to a week in the refrigerator.
Chiffon cake freezes well Wrap individual slices tightly in plastic wrap, then add a layer of aluminum foil to prevent freezer burn.
This cake can be frozen for up to 2 months
Thawing: Thaw the frozen cake in the refrigerator overnight or at room temperature for a couple of hours before serving. Avoid using a Microwave for thawing, as this can affect the texture.