Frying Pan Milk Bread

Baking bread is my favorite,
the kneading process is very calming and meditative for me.
But as my work gets busier, I find I don’t have time to make homemade bread.
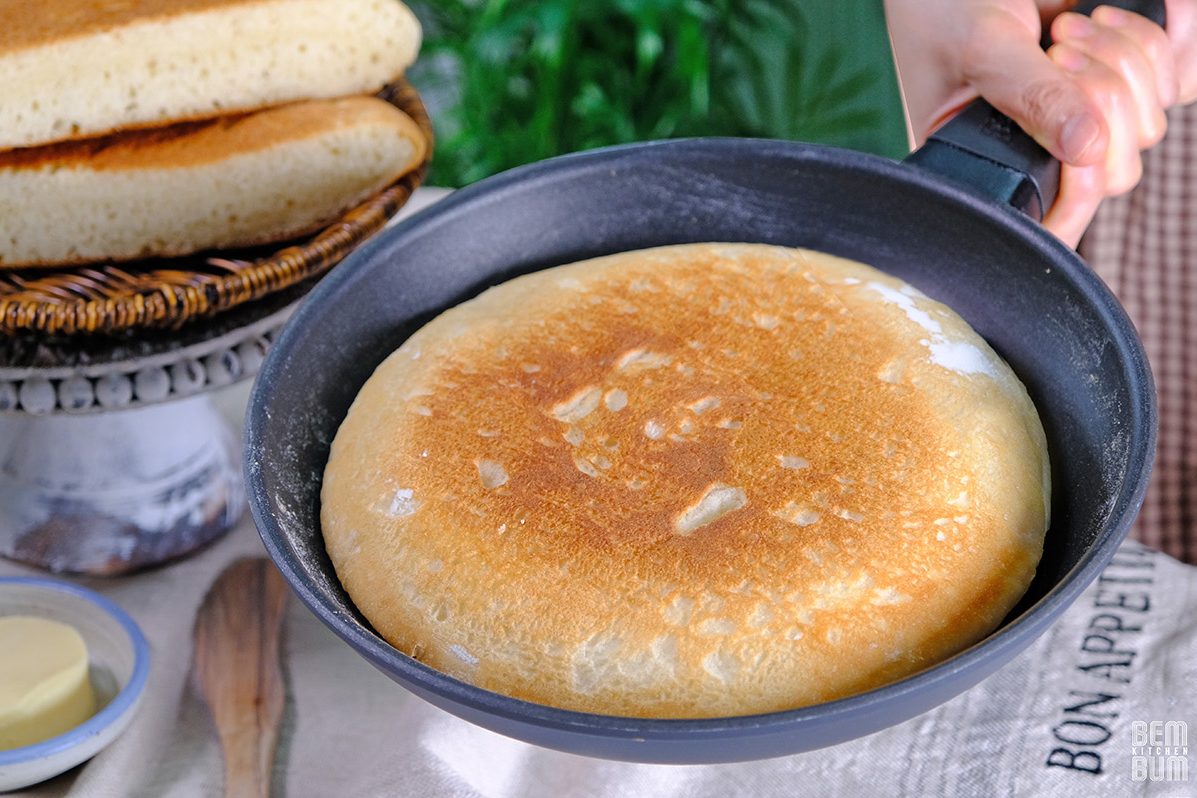
Through trial and error, this Frying Pan Bread was born!
This recipe minimizes time and effort and can be made in just one frying pan.

A super quick and delicious way to make soft homemade bread.

When making this bread; It is important to use a non-stick pan with a thick base, otherwise the dough will stick to the bottom of the pan.

You can use either gas stove or an Induction cooktop to cook the bread
If you are using an induction, please use a special frying pan

The pan lid is also essential; It use to prevent the bread from drying out during fermentation and cooking.
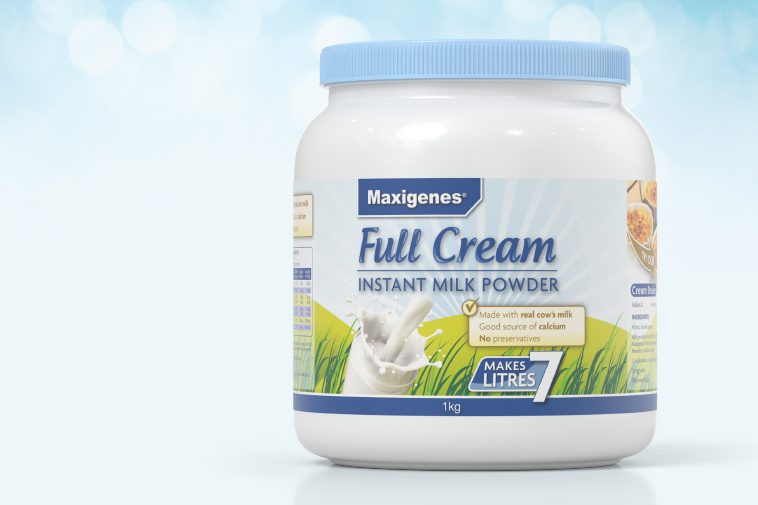
This powder proteins increase the strength of the dough, especially when mixed with Bread Flour

I use Full Cream Powdered Milk, not Liquid Milk in this recipe.
The fat from Milk Powder adds rich flavor and tenderizes the dough, resulting in a softer, finer, more tender crumb.
The bread will also have a longer shelf life.
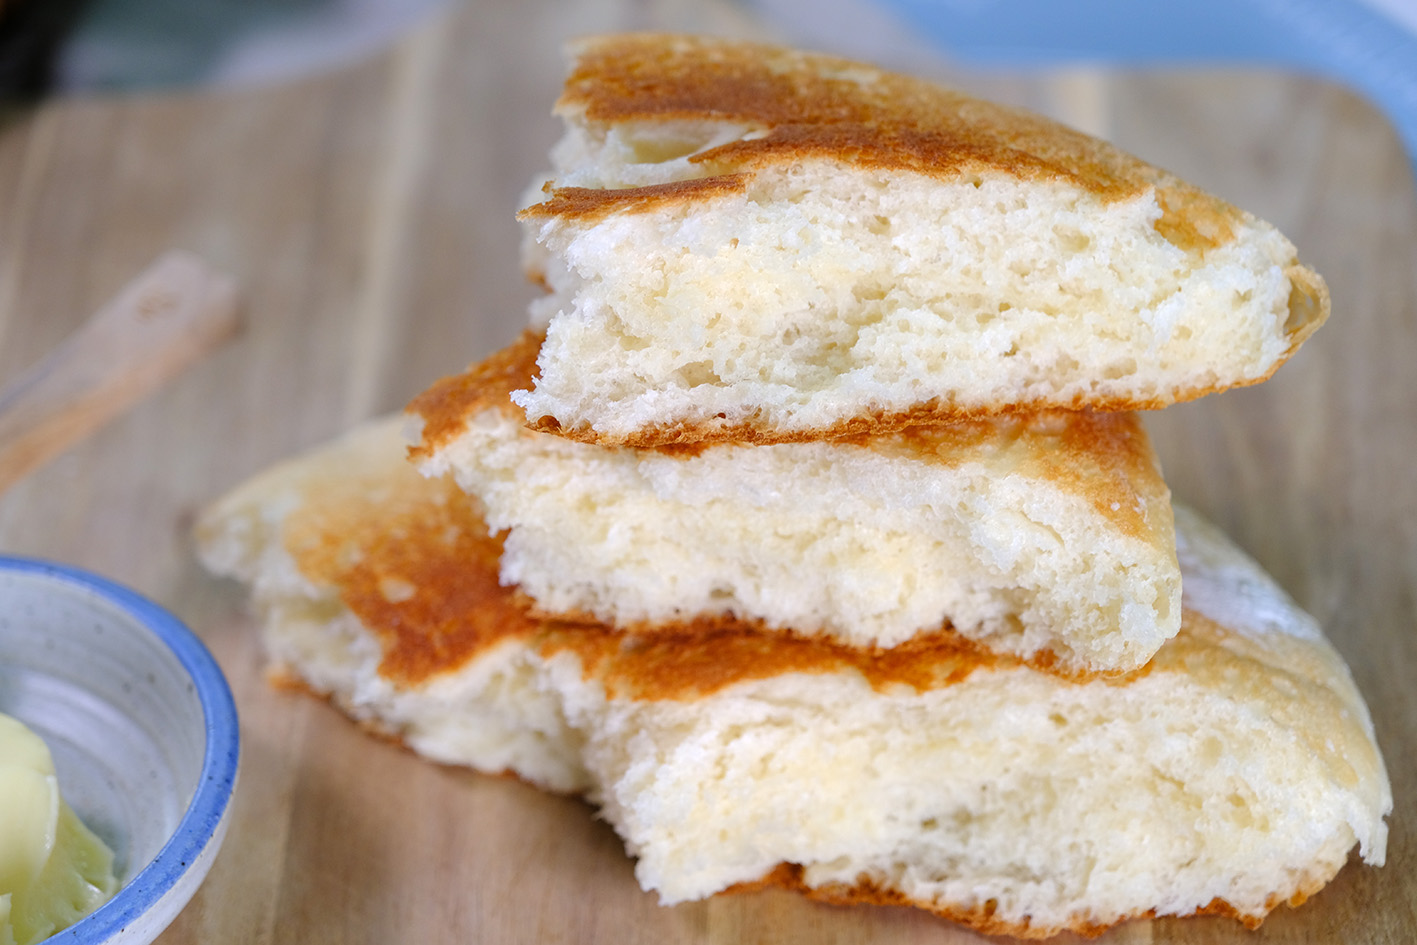
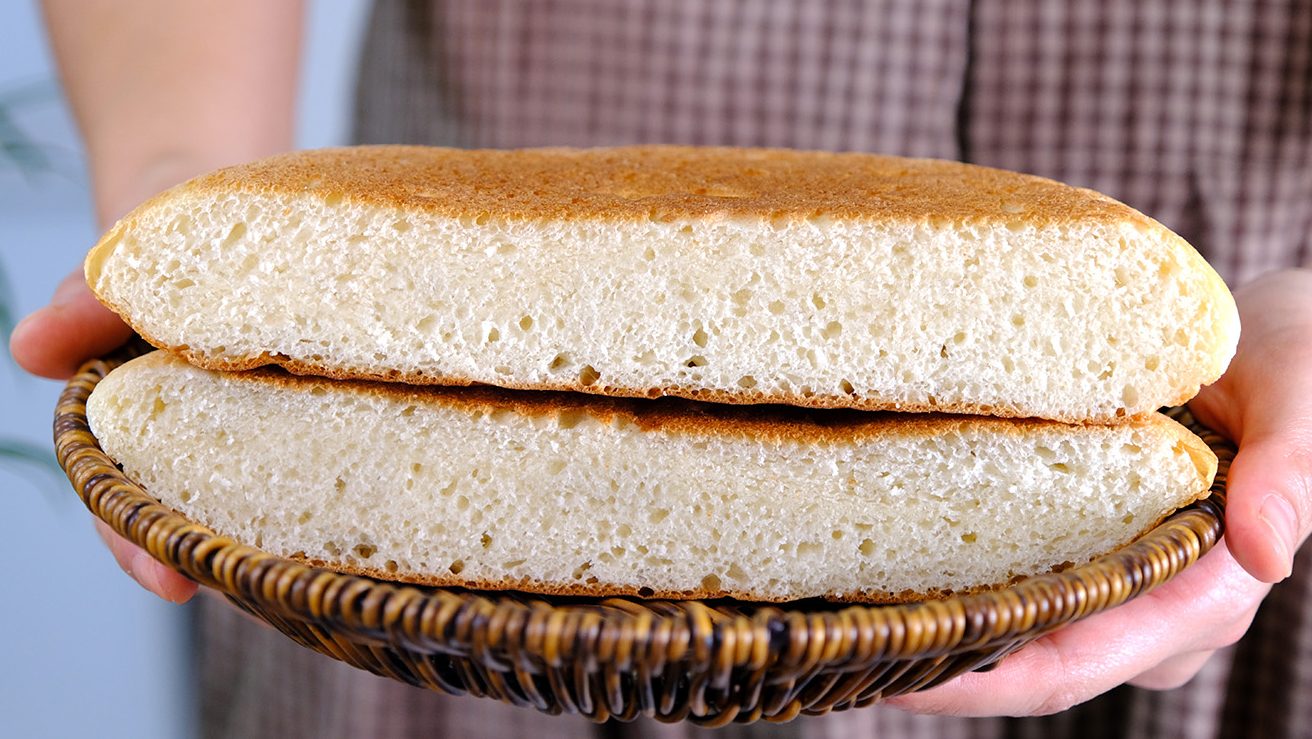
🙄….. 🤤 SO SOFT…

The bread is so soft and fluffy; perfect served with Butter or jam, or as a delicious accompaniment to a bowl of warm soup.

I love making it into sandwiches 😁
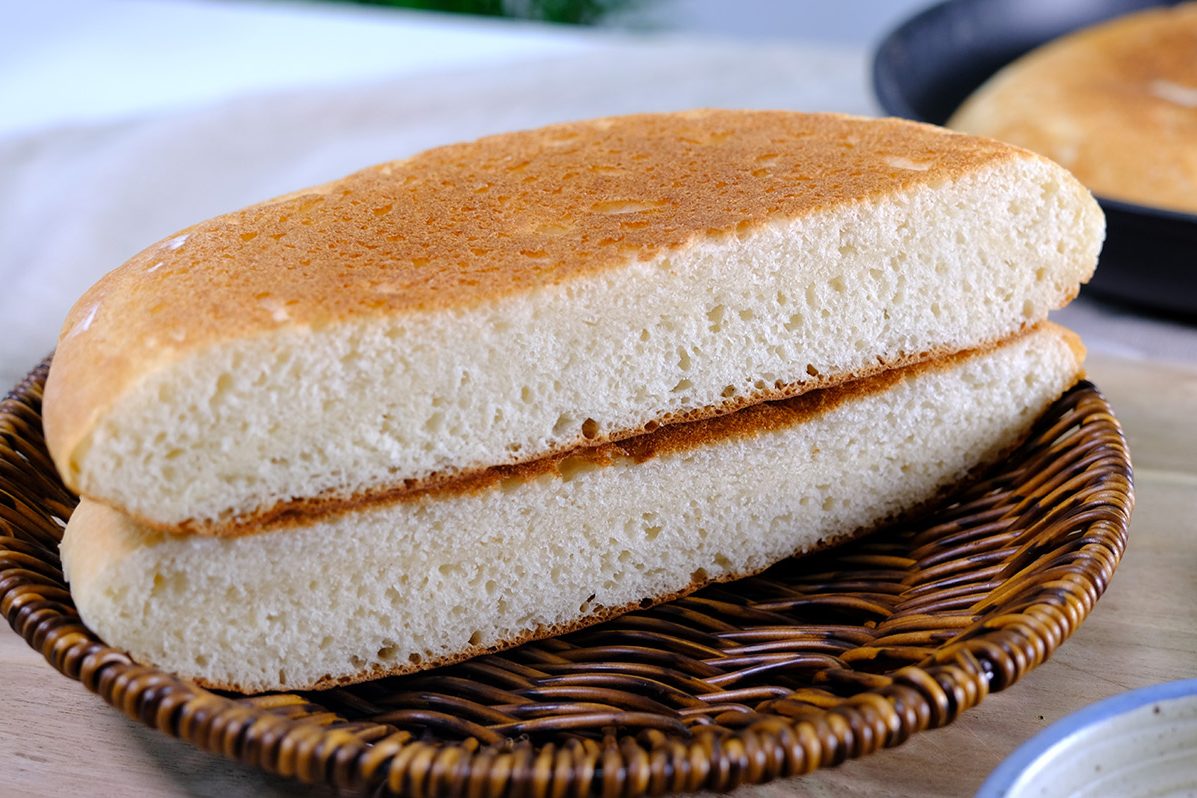
I hope this recipe helps those of you who are busy; The simplest and most delicious homemade bread.
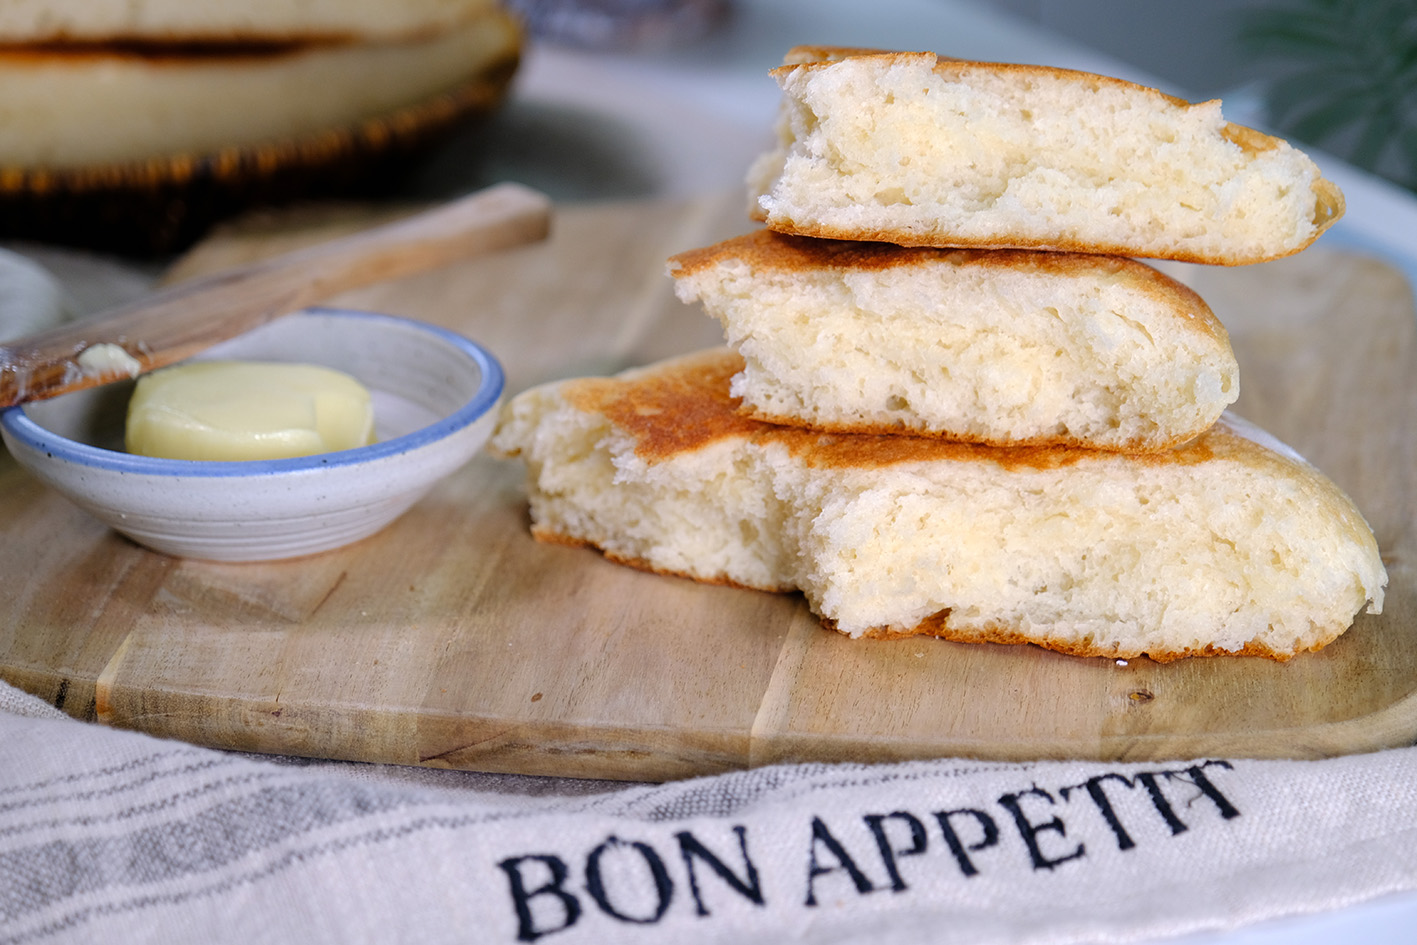
Make it for your loved ones; Give them freshly baked, healthy bread 🥰
LOVE YOU ALL!!

WATCH HOW TO MAKE FRYING PAN MILK BREAD

TIPS FOR SUCCESS (PLEASE READ FIRST):

  • Use a heavy bottom non-stick pan, otherwise the dough will stick to the bottom of the pan
  • The pan lid is also essential; It use to prevent the bread from drying out during fermentation and cooking
  • You can use either gas stove or an Induction cooktop to cook the bread (if you are using an Induction, please use a special frying pan)
  • The optimal size for the dough volume is 20 cm in diameter and 5 to 7 cm in depth (make sure your pan is large enough to accommodate the dough; I am using 10-Inch Frying Pan)
  • Choose “STRONG” Bread Flour for best result
  • Use Full Cream Powdered Milk instead of Liquid Milk
  • The water should be lukewarm; roughly matching body temperature, which is about 35°C to 37°C (this is the ideal range for activating yeast effectively)
    AVOID water that is too HOT, as this can kill the yeast
  • Follow the steps carefully, don’t skip any proofing time
  • While cooking bread DON’T use HIGH heat
    Please note: Stove temperatures vary, the correct temperature is determined by trial and error (you may need to experiment until you find the right temperature for your stove)
    If the temperature is too high, the surface of the bread will burn; Conversely, if it’s too low, the interior of the bread will be undercooked
  • Don’t forget to cover the pan when cooking
    Covering the pan and cooking slowly over medium-low heat, the water content in the dough will be locked in, resulting in soft, moist bread
  • Once done, place the bread on a cooling rack to cool completely before storing (by allowing excess moisture to escape and the structure to set, cooling helps the bread stay fresh longer)

recipe

FRYING PAN MILK BREAD
Yield: One 20 cm diameter (5 cm thick)

🍞 INGREDIENTS
15 g Unsalted Butter (melted)
200 g Strong Bread Flour
30 g Caster Sugar
3 g Salt
150 g Water (lukewarm ~ 35-37°C)
15 g Full Cream Milk Powder
3 g Instant Yeast


INSTRUCTIONS

  1. Melt the Unsalted Butter in a double boiler, set aside
  2. For the dry ingredients, mix Bread Flour with Sugar and Salt; set aside
  3. In another bowl, mix Water with Milk Powder, stir well
    Add the Instant Yeast and stir again; set aside
  4. To make the dough
    Place the dry ingredients to the pan
    Pour in the Milk and melted Butter mixture
    Using a spatula stir thoroughly until comes together, then place the lid and let it sit for 10 minutes
  5. After 10 Minutes
    Sprinkle a thin layer of flour and knead the dough with your fingertips for 1 Minute (you can feel the dough gradually becoming less sticky)
  6. Then form the dough into a ball (you can add little flour to your palms to prevent sticking)
    Place the dough in the center of the pan with the smooth side facing up, cover and let it sit at room temperature for about 30 minutes
  7. After 30 minutes (you will see the dough has risen to about 1.8 times its original size)
    Sprinkle the dough surface with a little flour; gently press the dough to release the gas and flatten it into a round disc shape (approximately 18 cm in diameter)
    Then, cover the pan again and leave at room temperature for about 30 minutes for the final rise
  8. 30 minutes later
    The dough looks puffed up and bigger in size (it’s time to cook the dough)
  9. Over MEDIUM heat, cover and cook the dough for about 7 minutes (I use medium heat or level 5 on my induction stove)
    * Please note that stove temperatures vary, the correct temperature is determined by trial and error; You may need to experiment until you find the right temperature for your stove
  10. After 7 minutes
    Once the bottom is brown and the spatula can be inserted easily, gently flip the bread then immediately reduce the heat to MEDIUM-LOW (I use level 4 on my Induction stove)
    Cover again and continue cooking for 7 minutes
  11. 7 minutes later
    Finally turn it over and cook again for 1 minute
  12. Once it’s done, place the bread on a cooling rack to cool completely before storing or you can serve while still warm

notes

  • The bread will stay soft and can be stored at room temperature in an airtight container for up to 3 days
  • In the refrigerator, Milk Bread can last for up to a week (in an airtight container)
  • To Freeze
    Place the slices in freezer-safe bags, removing as much air as possible before sealing. Store the bread in the freezer, preferably in the coldest part, for up to 1 month
  • To reheat
    From the fridge: wrap the bread in foil and bake at 350°F (177°C) for 10-15 minutes
    From the freezer: thaw frozen bread on the counter for 1-2 hours or in the fridge overnight; then wrap the bread in foil and bake at 350°F (177°C) for 10-15 minutes

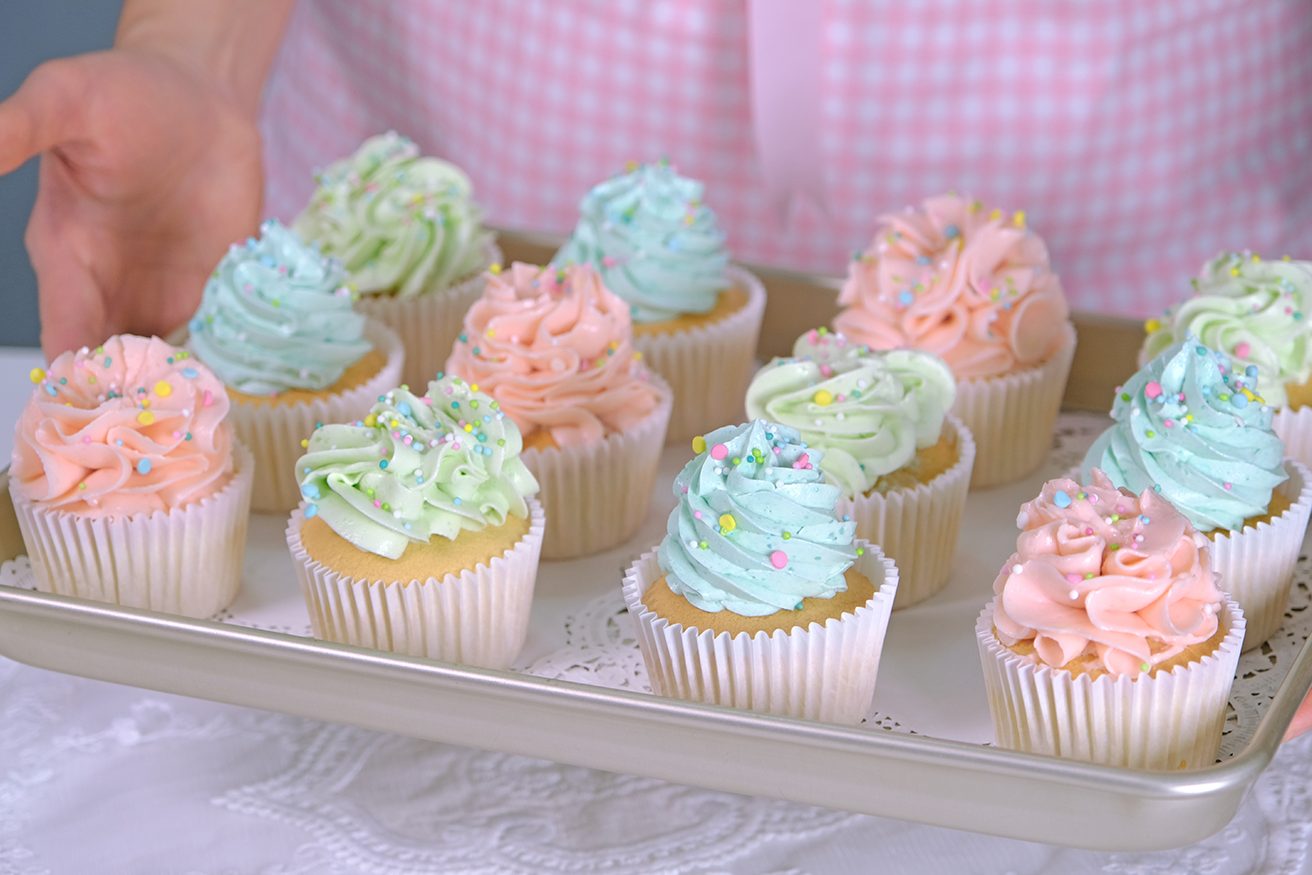
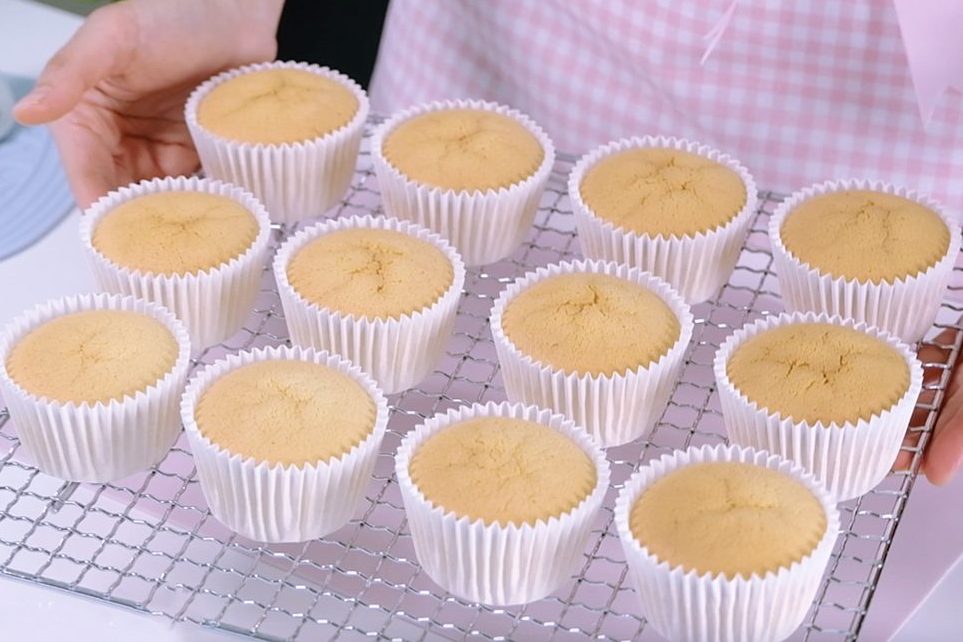
Light Fluffy Vanilla Sponge Cupcakes

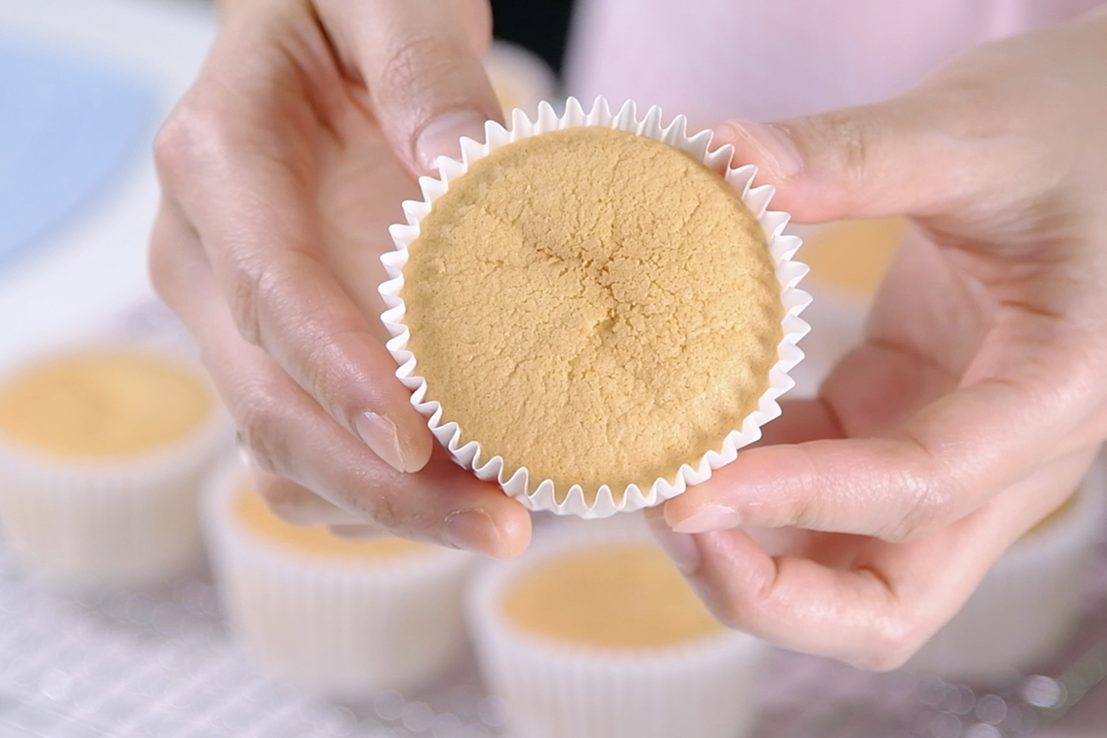
Everyone’s got their own idea of what the perfect Vanilla Cupcake should taste like; And this is my favourite Vanilla Cupcake recipe.

What makes this Cupcake special for me is because it’s light, not heavy, and just the right amount of sweet.

It’s the kind of Vanilla Sponge that pairs beautifully with whatever you like
Whether you’re adding frosting, berries or enjoying it plain.

They stay wonderfully moist for days and have a deep Vanilla flavour.

This Cupcakes are delicate but stable enough to hold the frosting
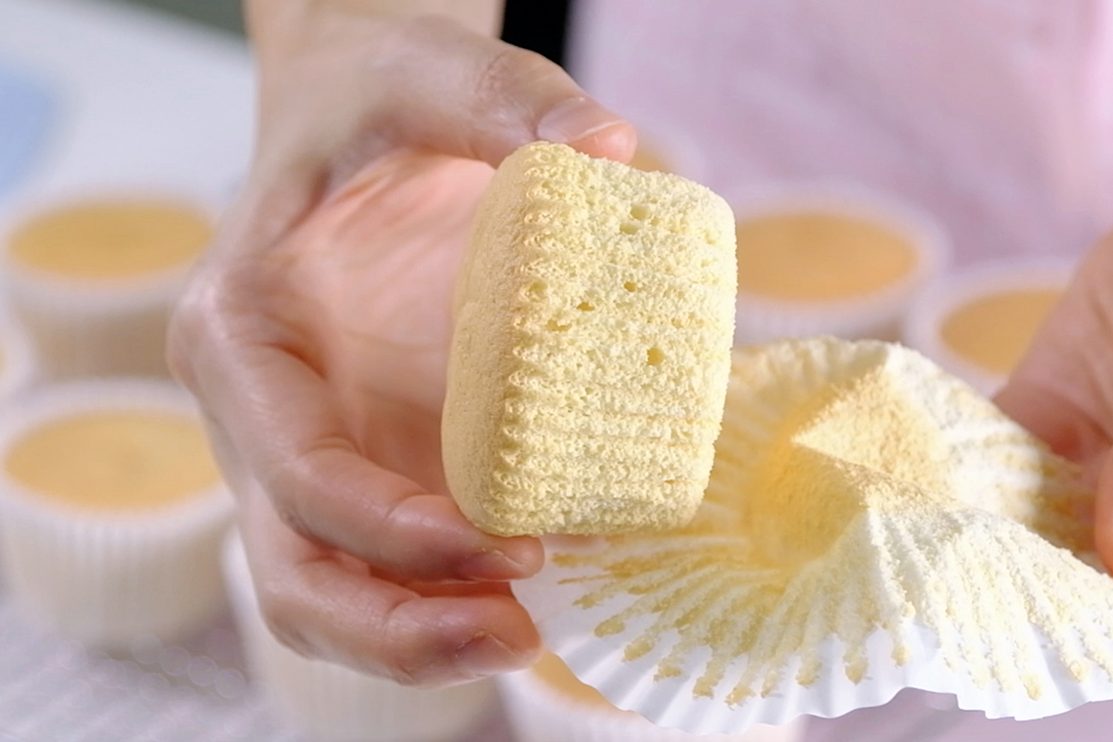
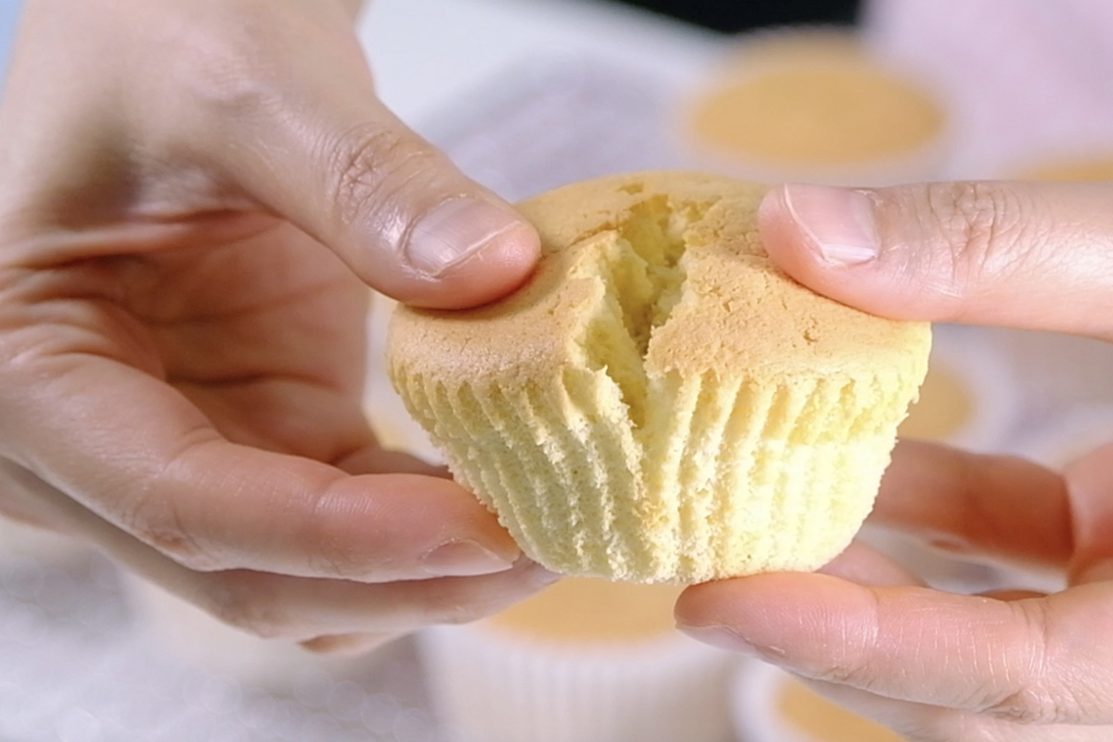
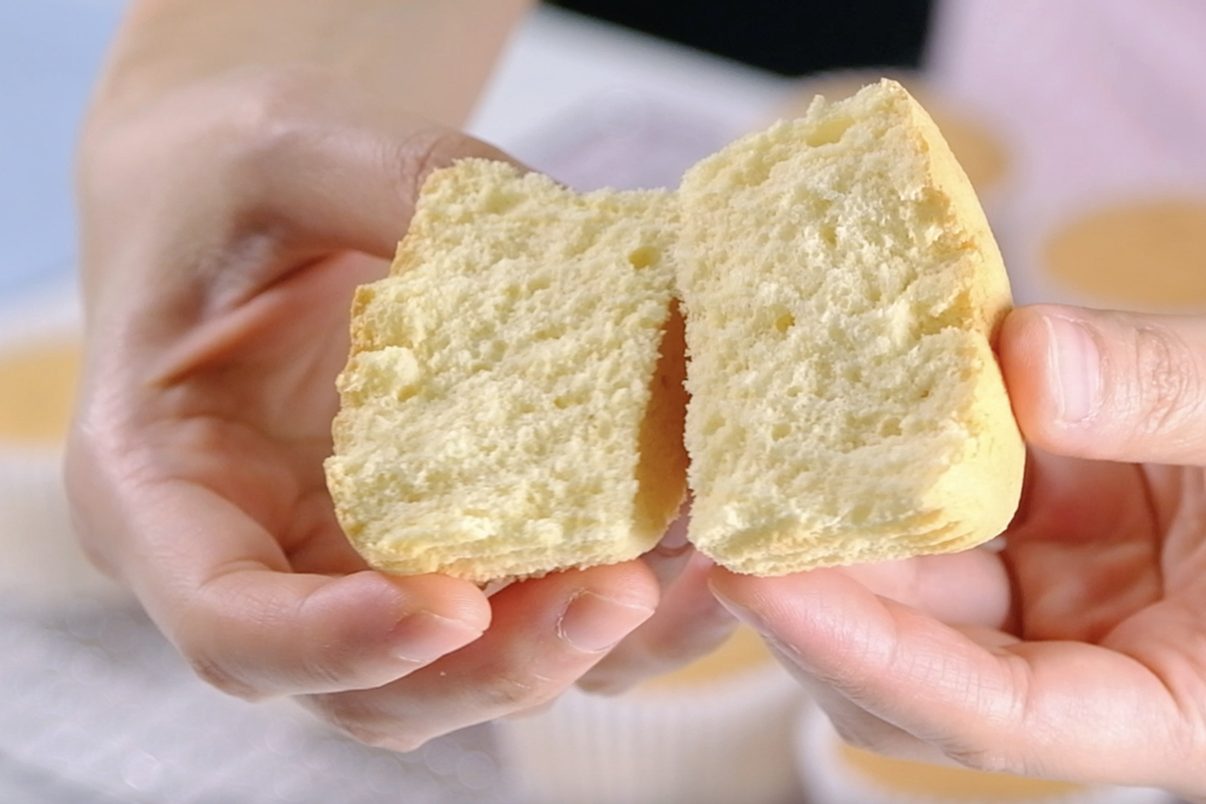
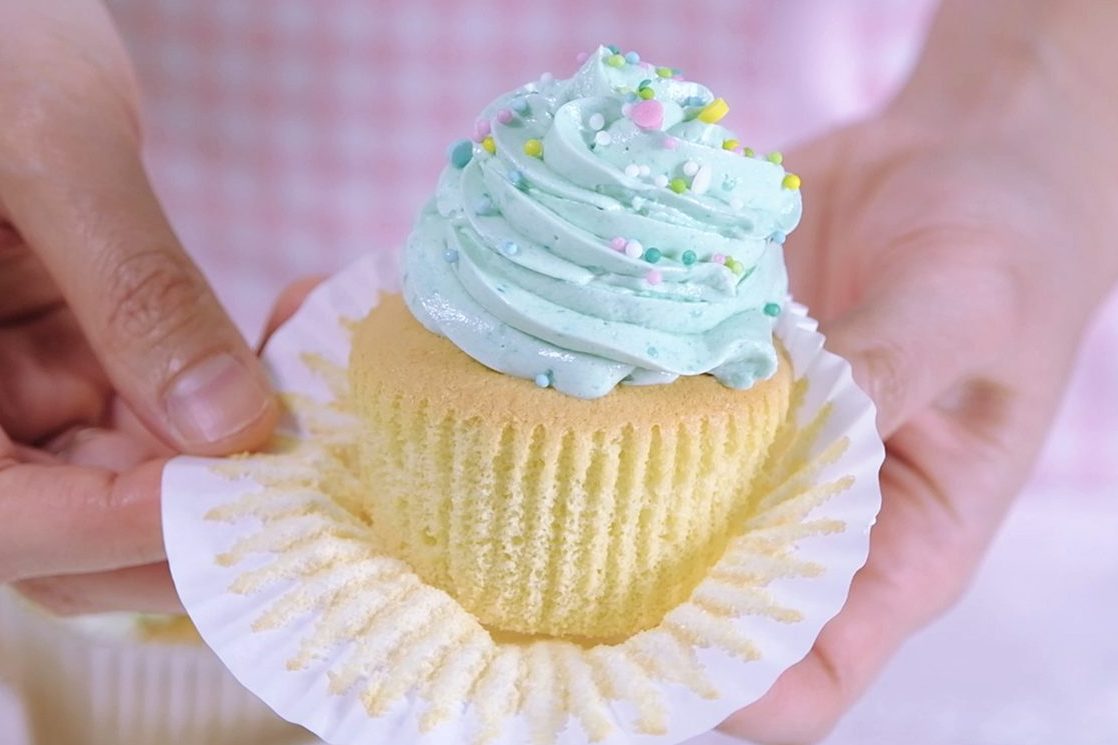
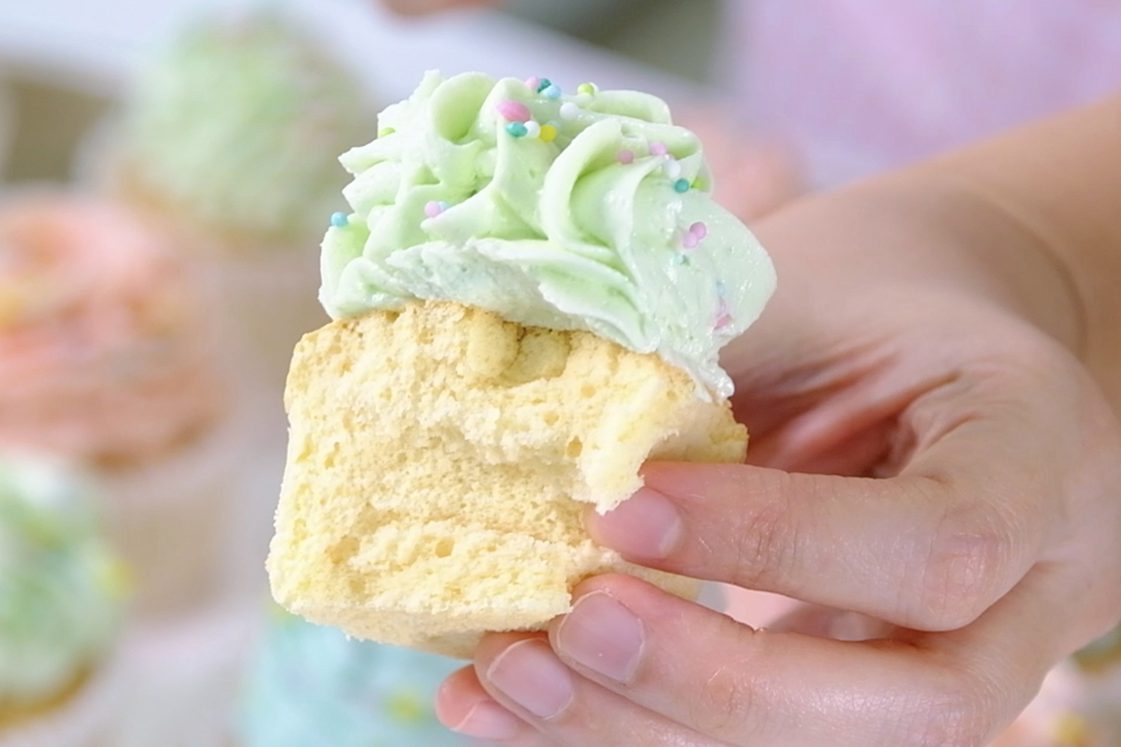
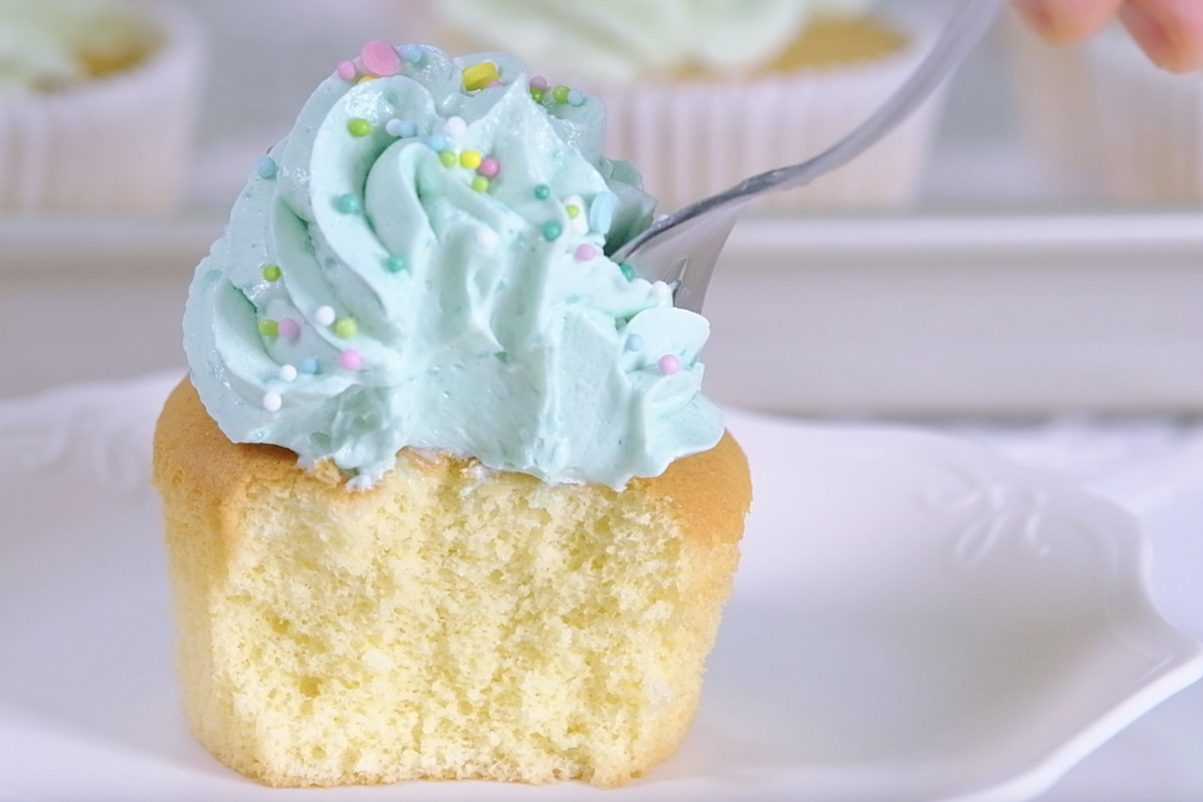
Let’s cut open and l00k inside
☺️
Soft and Moist but not too crumbly
Not too sweet and not heavy
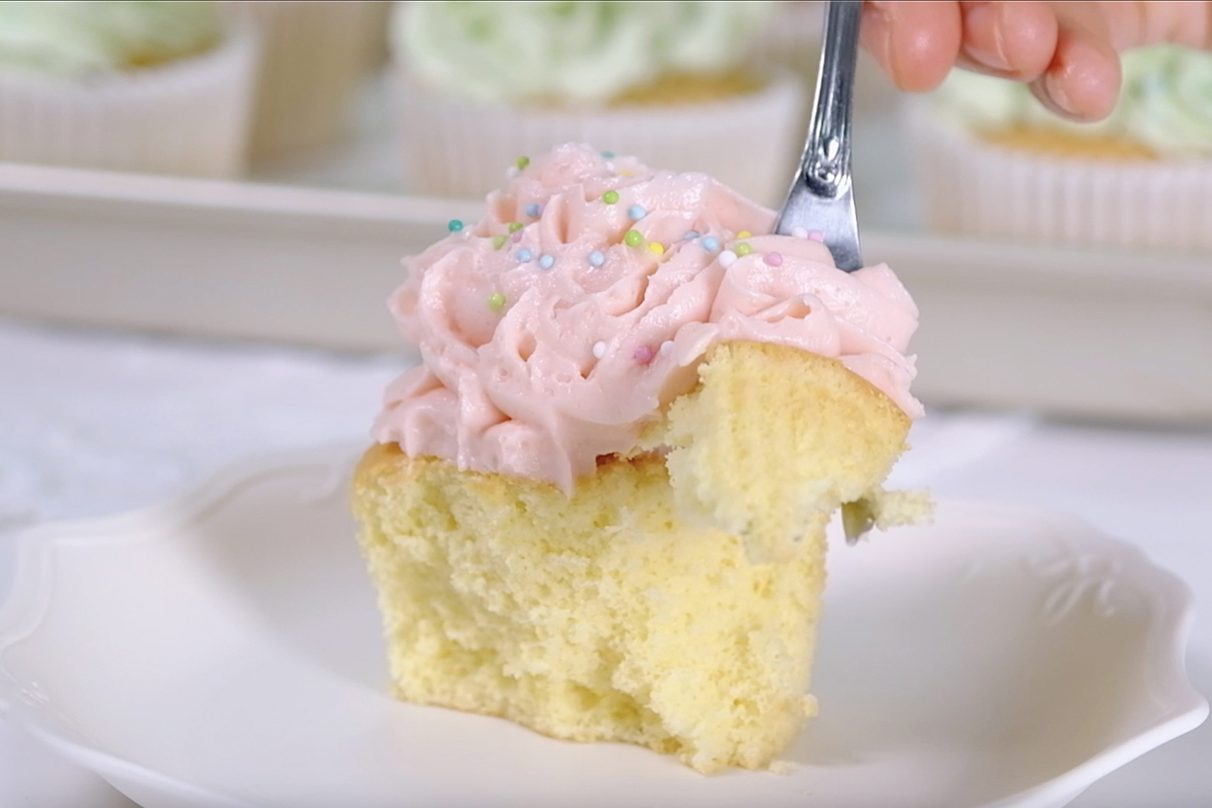
🤗 So soft and fluffy
😍 And what’s the best frosting to pair it with?
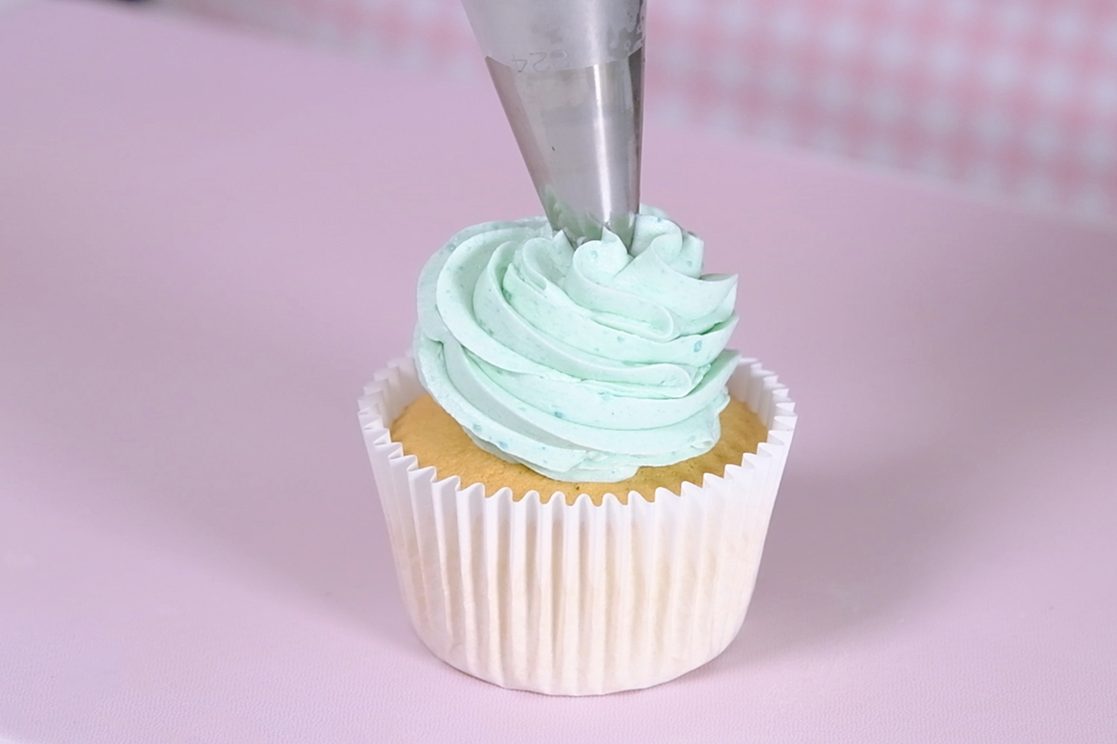
The clasic Boiled-Milk Frosting 😘

Boiled Milk Frosting is an old-school buttercream that is not too sweet, not too buttery, and not too heavy.

My version with Icing Sugar is more stable at room temperature.

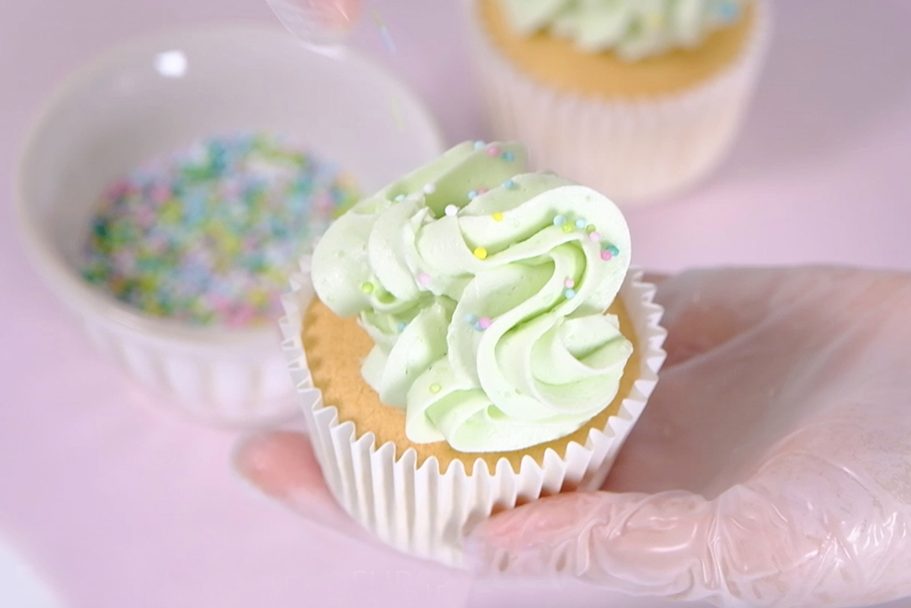
This beautiful frosting also easy to color and you can create any flavour you want; simply by adding some liquors, flavour oils or emulsions, extracts or even dried fruit powder.

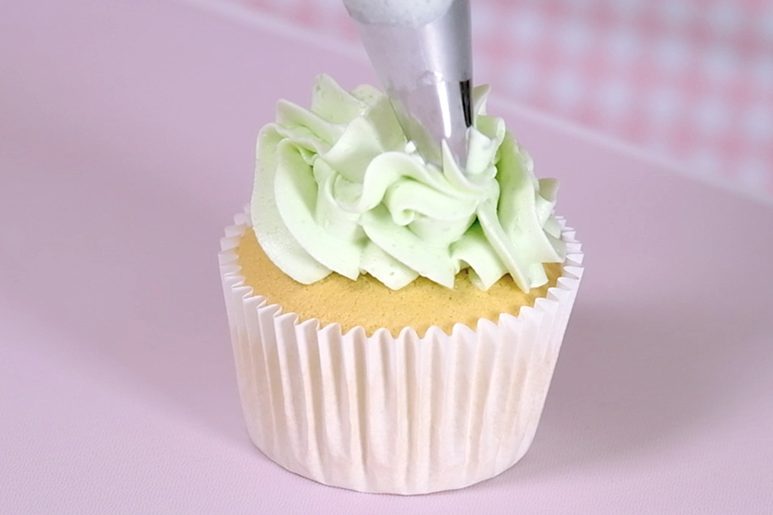
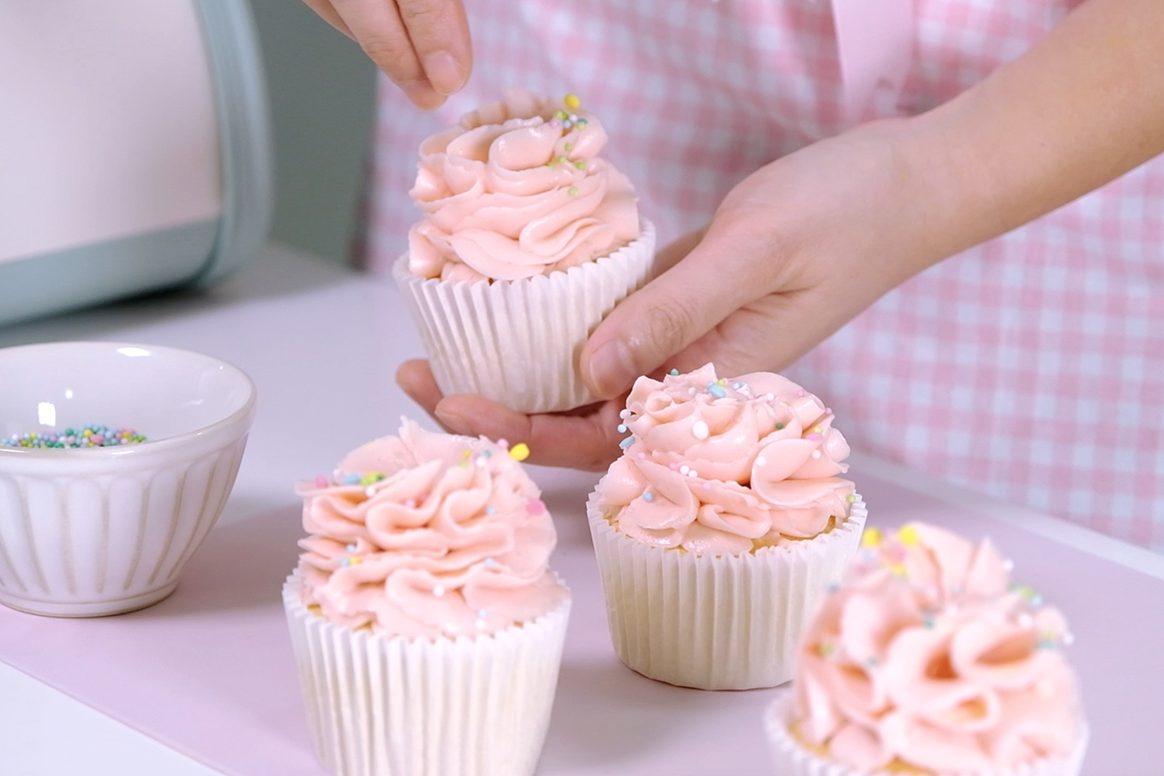
This Russian Ball tip creates beautiful ruffles 🥰
🥲 So beautiful !
Get creative with your own designs !!
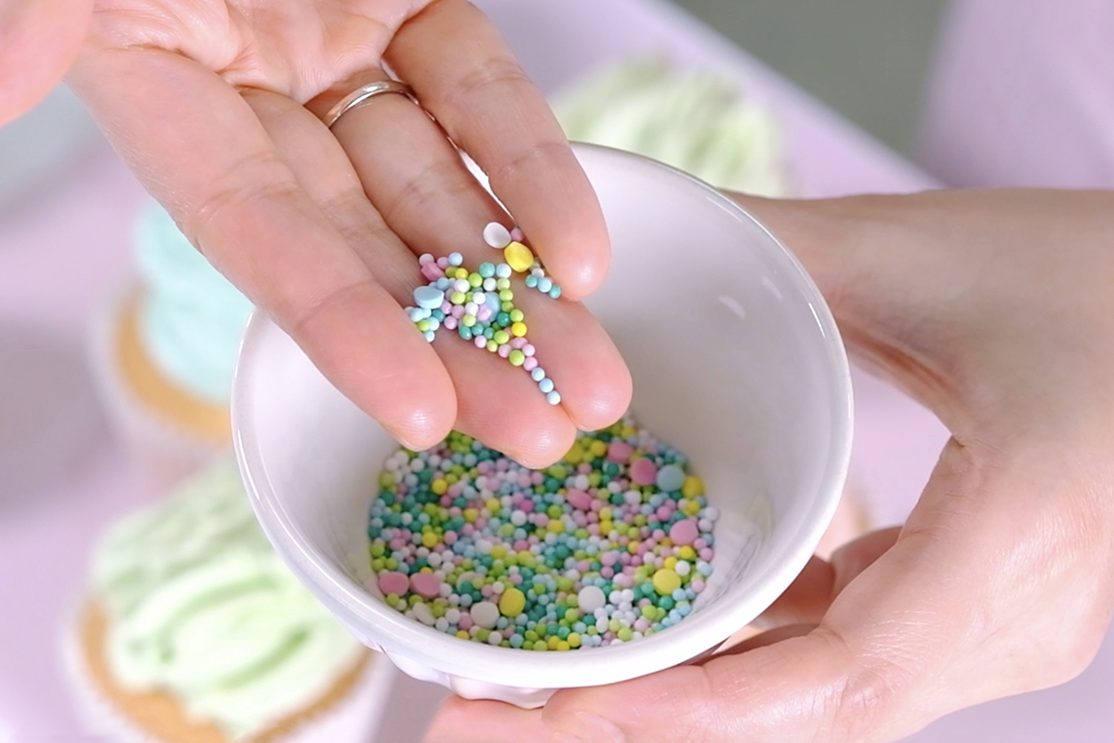
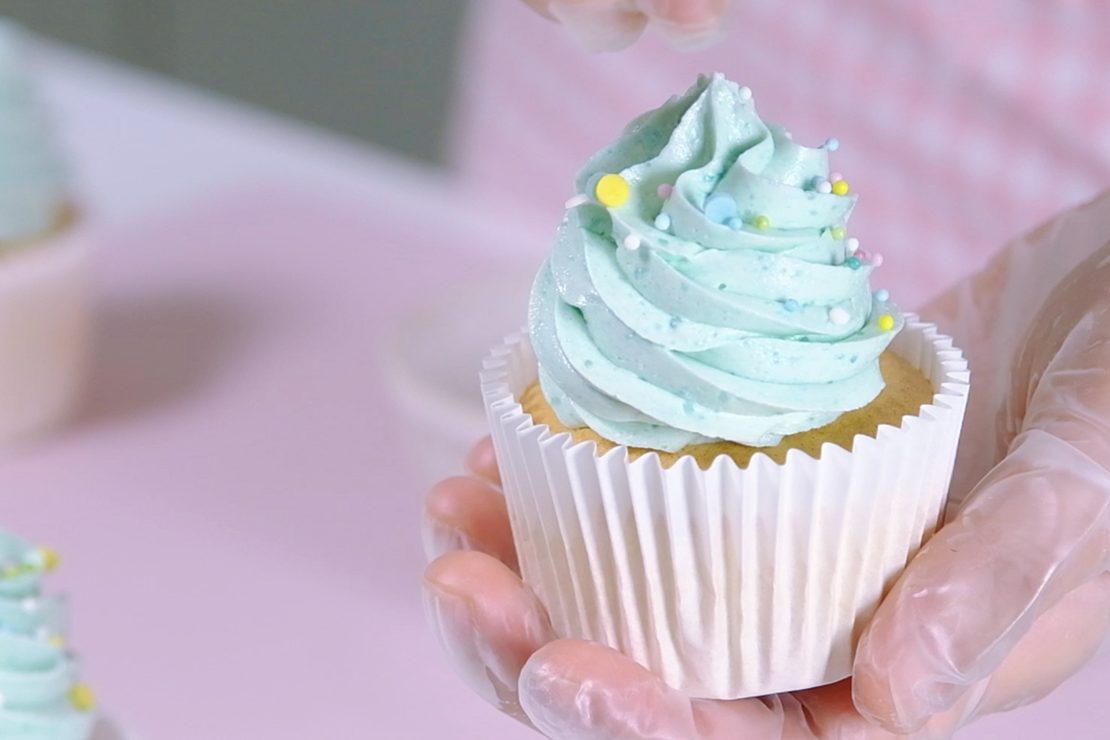
And finish with colourful confetti sprinkles   

So pretty! ☺️

I always flavor my frosting by adding a little at a time and tasting it as I go; Start with ½ teaspoon of extract or emulsion and taste.

Be careful with strong extracts like Almond and Mint,
I suggest starting with 1/8 teaspoon so the flavor doesn’t get too strong.

It’s time to enjoy the cupcakes 🥴

These cupcakes are perfect for any occasion and you can customize them to your taste by choosing your own frosting.

The frosting is a beautiful old-school classic.

It’s incredibly smooth and creamy, but not overly sweet.

With a soft, airy texture that melts in your mouth

🥲
🤤

These cupcakes always make me smile

And I hope they bring a little joy to your kitchen too !!

Love you All and Happy Baking!!

WATCH HOW TO MAKE LIGHT FLUFFY VANILLA SPONGE CUPCAKES

TIPS FOR SUCCESS (PLEASE READ FIRST):

FOR THE BOILED-MILK FROSTING

  • Prepare the Roux in advanced, so it has time to cool completely at room temperature
  • It is important to strain the Roux mixture (before and after cooking), you don’t want any lumps in your frosting
  • Remember to stir the Roux mixture constantly during cooking, otherwise the bottom will burn
  • Once the Roux cooked, place a piece of plastic wrap directly on the surface to prevent a skin forming
  • Always use real Butter (100 percent High Quality Butter)
  • Take the Butter out of the fridge allow to sit on the counter for about 30 minutes before you start making the frosting.
    The Butter must be softened until it is pliable but still cold and holds its shape, rather than melting or becoming too soft.
  • Once you mix the Roux with Butter, it may look curdling at first;
    Keep mixing on medium-high speed for about 3 to 5 minutes, the frosting will become very smooth, light, and fluffy
  • If you find the frosting is too soft to pipe, you can place it in the fridge for about 30 minutes and it will firm up a bit to a nice consistency
     

FOR THE CUPCAKES BATTER

  • Make sure all utensils clean and grease free (wipe the bowl and utensil with lemon juice or vinegar to helps remove grease)
  • Preheat the oven 20 minutes or longer before you start (use an oven thermometer to ensure the temperature is correct)
    Set an oven rack in the middle of the oven
  • Use fresh eggs that are room temperature (other ingredients also must be at room temperature)
  • Beat egg whites until stiff peak
  • Sift the Flour
  • Mix each batches of the flour evenly until there are no lumps
  • Make sure the wet ingredients are combined well with the batter
  • Don’t mix the batter too hard, just make sure it is well blended (the consistency should be thick but flowing)
    If the batter looks runny, it means you’ve over-mixed it and the cupcakes won’t rise properly
  • Don’t let the batter sit too long before baking, bake it immediately (especially if the batter does not use any raising agents at all, there is a risk that the batter will deflate)
  • Resist the urge to open the oven door while baking; this can lead to the cake being too damp in the middle or even falling
  • Once baked, tap the pan on the counter 3 times, this will prevent the cupcakes from shrinking or deflating when they cool
    Then immediately transfer to a cooling rack to cool completely

RECIPE

VANILLA SPONGE CUPCAKES
Yield: 12 regular Cupcakes

Ingredients
🧁 CUPCAKE BATTER
4 Egg Whites (130 g) ~ room temperature
1 tsp Lemon Juice
80 g Caster Sugar
4 Egg Yolks (85 g) ~ room temperature
40 g Milk ~ room temperature
26 g Vegetable Oil
30 g Maple Syrup
1/2 tsp Vanilla Extract
120 g Cake Flour (sifted)
Notes: you can substitute Lemon Juice with 1 tsp White Vinegar or 1/2 tsp of Cream of Tartar

🧁 BOILED-MILK FROSTING
270 g Milk
36 g All-Purpose Flour
1/8 tsp Salt
270 g Unsalted Butter ~ softened at room temperature
135 g Icing Sugar
1/2 tsp Vanilla Extract
Food Colouring

Instructions
PREPARATION

  1. Line 12-cup Muffin Tins with paper liners
  2. Make sure all utensils clean and grease free (wipe the bowl and utensil with Lemon Juice or Vinegar to helps remove grease).
  3. Take the eggs and other cold ingredients out of the fridge
    Separate Egg Whites and Egg Yolks; then let them come to room temperature.
  4. Preheat the oven 180°C/ 160°C fan/ gas mark 4.
  5. Mix the wet ingredients (Milk, Oil, Maple Syrup and Vanilla Extract)


CUPCAKE BATTER

  1. Beat the Egg Whites over HIGH speed for about 30 seconds until foamy.
  2. Add Lemon Juice (or white Vinegar or Cream of Tartar) and continue beating for another 30 seconds.
    * Acid in Lemon Juice/ Vinegar/ Cream of Tartar will help stabilizing the egg whites
  3. Add Sugar in 3 batches every 30 seconds.
  4. Once all the Sugar is added, continue beating on high speed until stiff peak for about 3 to 5 minutes (the mixture will gradually thicken and look shiny).
  5. Pour in the Egg Yolks; Using a hand whisk, stir gently until evenly mixed.
  6. Add sifted Flour in 2 batches (don’t skip this process; by sifting the Flour, it will break up any lumps, create a light, delicate, and fluffy results).
    Stir gently; Make sure that you scrape the entire surface of the bowl so that there is no flour residue on the sides and bottom of the bowl (mix each batches evenly until there are no lumps).
  7. Then take about 1 cup of this egg-flour mixture into the wet ingredients; mix really well.
    * By using this pre-mix method, the milk-oil mixture will incorporated easily with the egg mixture.
    It prevents the oil and milk from falling directly to the bottom of the bowl, which would cause the cake didn’t rise properly
  8. Pour the pre-mix mixture back to the egg-flour mixture; using a hand whisk stir gently (don’t mix too hard, just make sure the mixture is well blended)
  9. Then using spatula, scrape all the bottom and sides of the bowl, make sure it is evenly mixed.
    The batter should be thick but flowing (if the batter looks runny, it means you’ve over-mixed it and the cupcakes won’t rise properly)
  10. Evenly scoop the batter into prepared muffin cups.
  11. Using a skewer make this circular motion to flatten the batter and break the large bubbles.
  12. Bake in the preheated oven at 180°C/ 160°C fan/ gas mark 4 for 23 Minutes (Middle rack).
    * Resist the urge to peek until your cake is done; this can lead to the cake being too damp in the middle or even falling
  13. Once baked, tap the pan on the counter 3 times, this will prevent the cupcakes from shrinking or deflating when they cool.
    And then immediately transfer to a cooling rack to cool completely.


BOILED-MILK FROSTING

  1. In a medium bowl, whisk the Flour and Salt into Milk until smooth
    Strain this mixture to the non-stick pan (you don’t want any lumps in your frosting)
  2. Cook over MEDIUM-HIGH heat, the mixture will gradually thicken.
    Stir constantly until very thick and bubbling, about 3 minutes.
    *It is important to stir the mixture constantly during cooking, otherwise the bottom will burn
  3. Once it’s done, strain the mixture through a fine sieve into a shallow heatproof dish
  4. Place a piece of plastic wrap directly on the surface to prevent a skin forming
  5. Let the Roux cool completely to room temperature (this will take about 2 hours)
  6. After the Roux has cooled,
    Start beating the Butter on medium speed for 1 minute until smooth and creamy
  7. Add the Icing Sugar and Vanilla Extract, continue beating for 1 minute
    * Scrapping down the sides and bottom of the bowl occasionally until all the Sugar has been incorporated
  8. Pour the room temperature Roux, continue mixing (It may look curdling at first) Using spatula, scrape down the sides and bottom of the bowl occasionally to make sure everything is mixed well
    Keep mixing on MEDIUM-HIGH speed for about 3 to 5 minutes, the frosting will become very smooth, light, and fluffy
    * If you find the frosting is too soft to pipe, you can place it in the fridge for about 30 minutes and it will firm up a bit to a nice consistency
NOTES

  1. Make sure the unfrosted Sponge Cupcakes to cool completely before storing
  2. Unfrosted Sponge Cupcakes can be stored at room temperatur for 2-3 days in an airtight container to prevent them from drying out
  3. For longer storage, they can be placed in the refrigerator for up to a week in an airtight container.
    If refrigerated, let the Cupcakes come to room temperature before serving to soften them up. This usually takes about 30 minutes to an hour
  4. Unfrosted Cupcakes can also be frozen for longer storage (up to 1 month). 
    Wrap each cupcake individually in plastic wrap and then place them in a freezer-safe container or bag. 
    To thaw, unwrap the Cupcakes, place in an airtight container and let them come to room temperature. 
  5. To store frosted Sponge Cupcakes; keep them in an airtight container for 1 day,
    If you can’t finish it, preferably refrigerated if the frosting contains dairy or perishable ingredients; they can last up to 5 days.