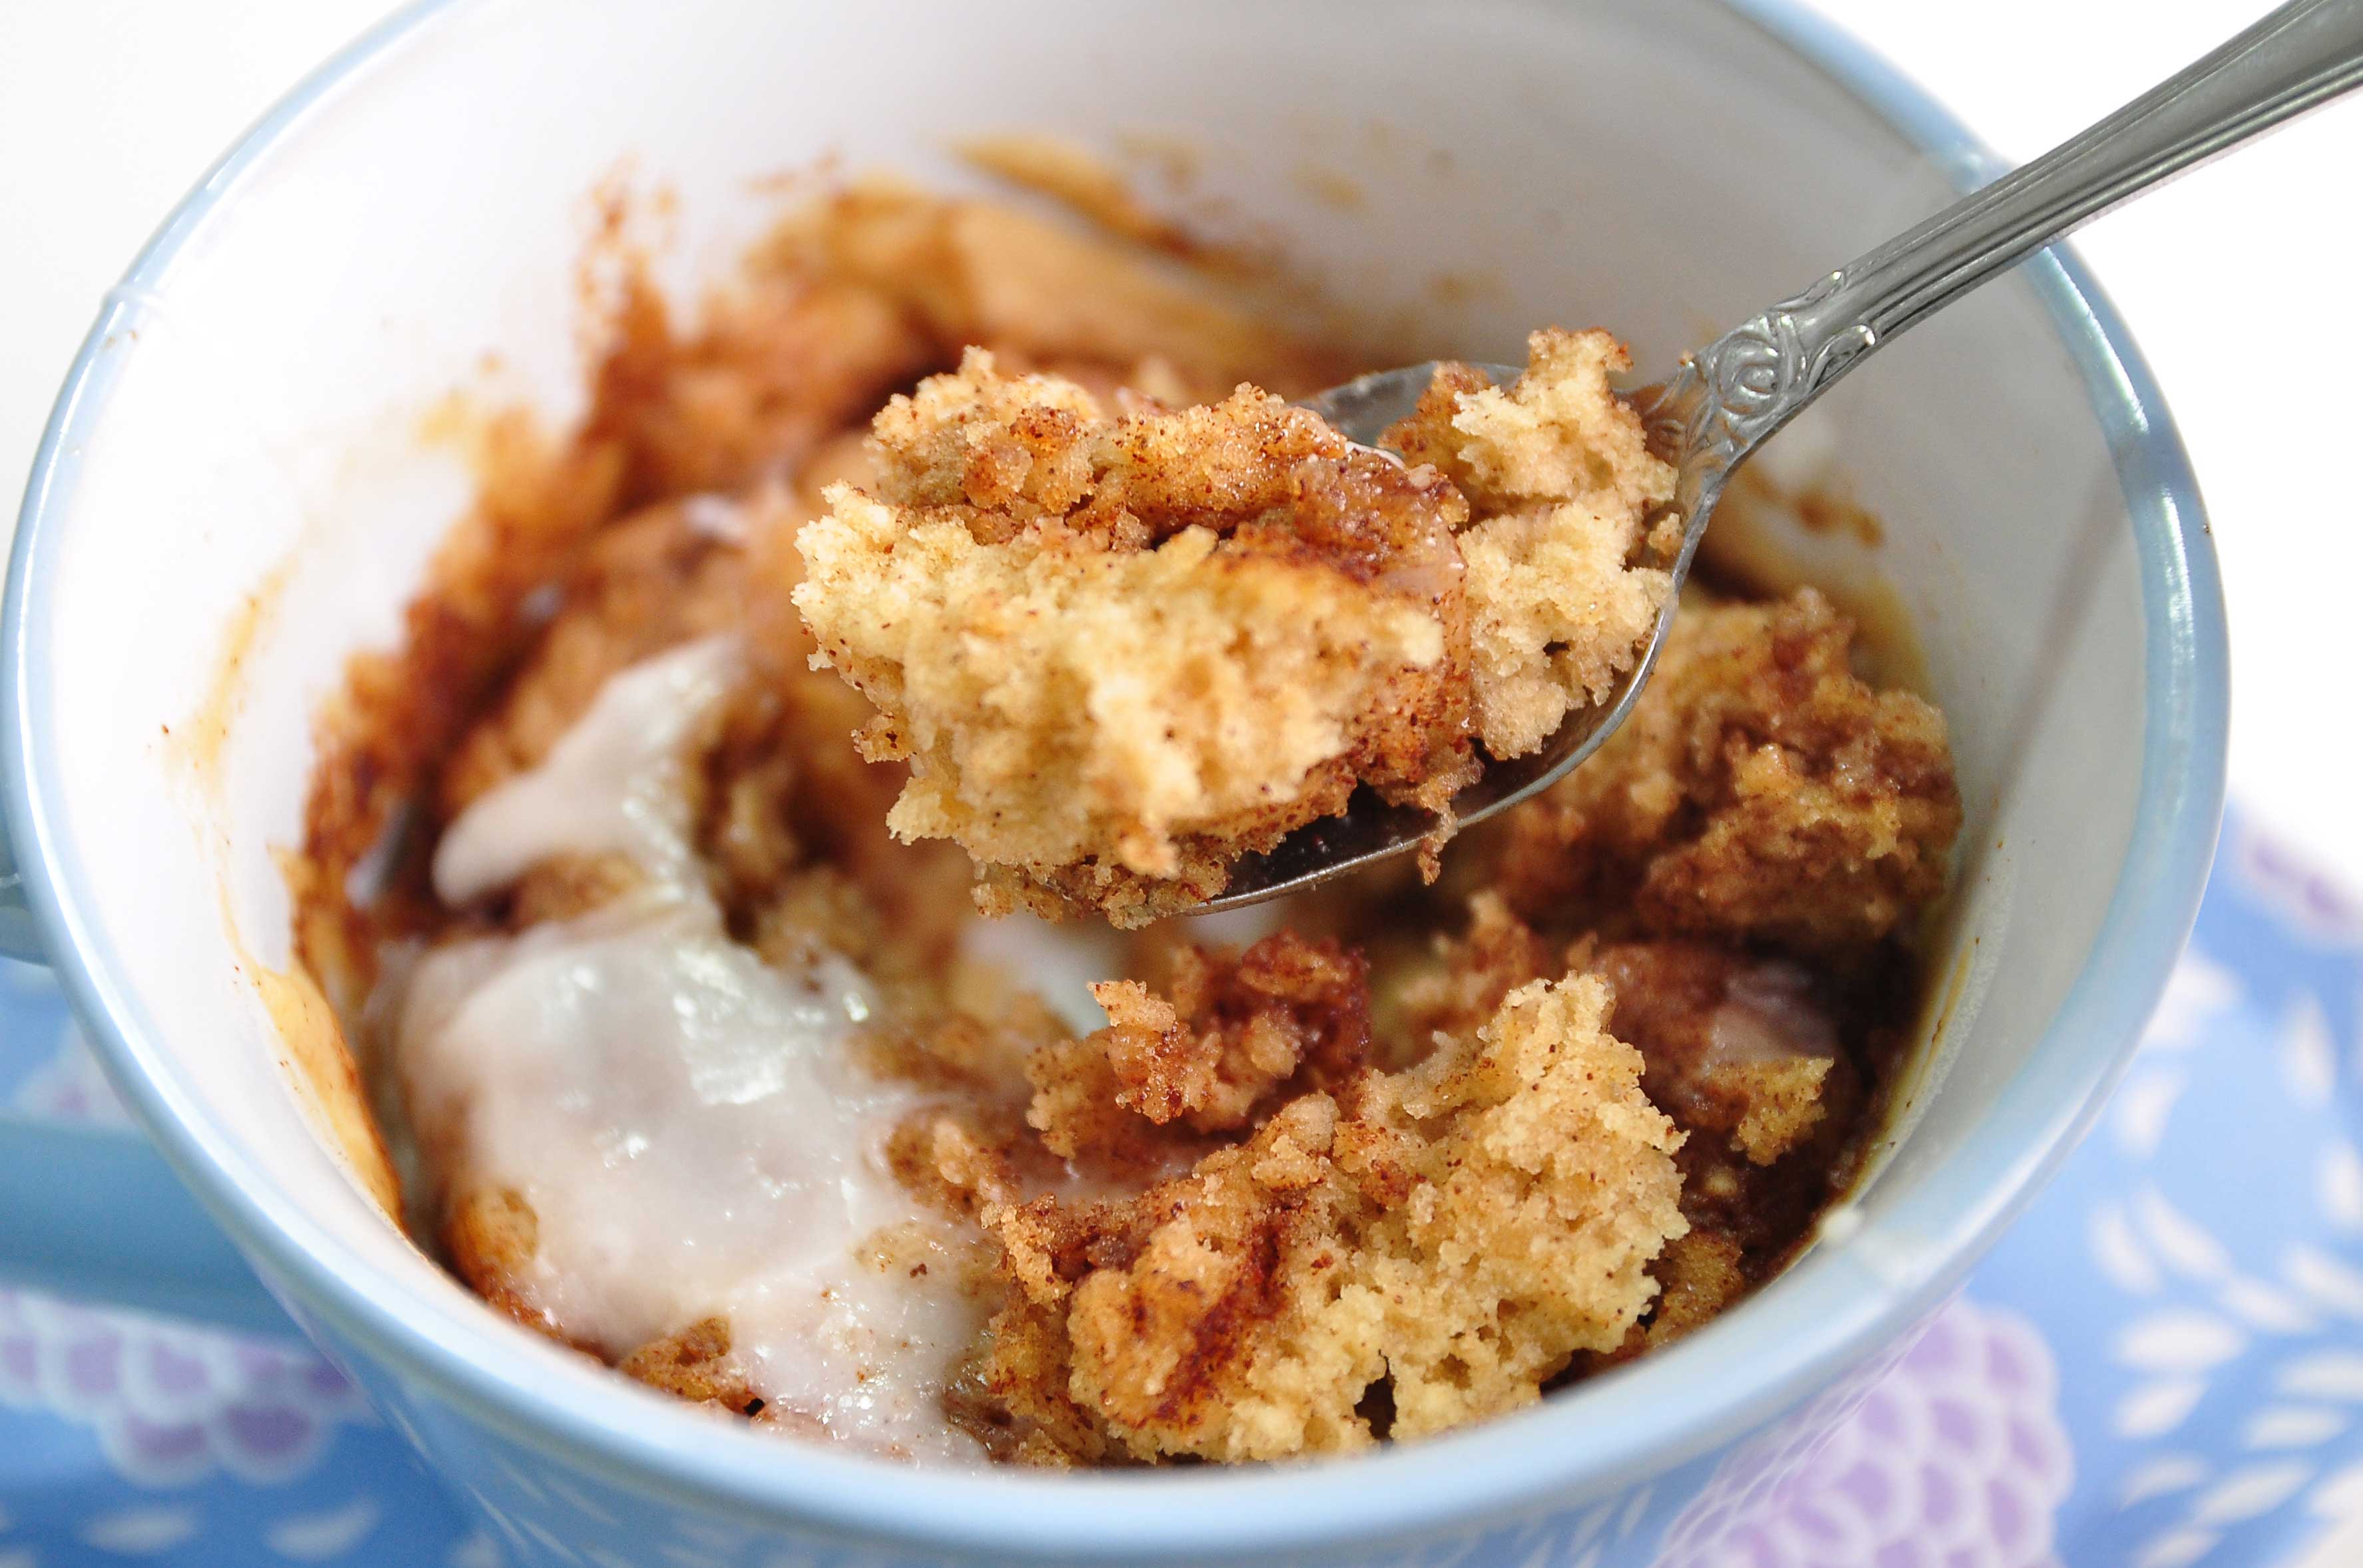
Cinnamon Swirl Mug Cake

Hi Guys!!! Today we are making this “Cinnamon Swirl Mug Cake” . You know when you need just a little sweetness to get you through the day? This Mug Cake is sure to satisfy that sweet tooth! This Cinnamon Mug Cake is like a short cut cinnamon roll with no kneading, no rising, and no rolling required!
I am excited to try many different types of mug cakes now that I have discovered how awesome they are and how quickly they come together. This isn’t spongy in texture like lots of other mug cakes out there. This cake is surprisingly moist, it has every flavor of a cinnamon roll.

My family loves cinnamon rolls and I knew this mug cake would be a great one to try. Just top it off with the simple glaze and enjoy these warm cake right out of the microwave! 😛

2 MINUTES CINNAMON SWIRL MUG CAKE
Yield: 1 cup mug cake (7 Oz.)
Active time: 1 minute
Total time: 2 minutes

INGREDIENTS
Cinnamon Butter Swirl:

  • 1/2 tablepoon Unsalted butter (melted)
  • 1 teaspoon Brown sugar
  • 1/2 teaspoon Cinnamon powder

Mug Cake Batter:

  • 4 tablespoons All-purpose flour
  • 1 tablespoon Brown sugar
  • 1/4 teaspoon Baking powder
  • 1/8 teaspoon Salt
  • 1/8 teaspoon Cinnamon powder
  • 1/2 tablespoon Unsalted butter (melted)
  • 2 tablespoons Milk

Icing:

  • 2 tablespoons Powdered sugar
  • 1/2 teaspoon Milk

INSTRUCTIONS

  1. For the cinnamon butter swirl: In a small bowl or mug, melt the butter (about 15 seconds in the microwave). Stir the brown sugar and cinnamon into the melted butter, set aside.
  2. For the batter: In a small mug (I use 8.5 Oz. coffee mug in the recipe), stir together the dry ingredients; flour, brown sugar, baking powder, salt and cinnamon. Then Add the melted butter and milk into it and stir until a thick batter forms.
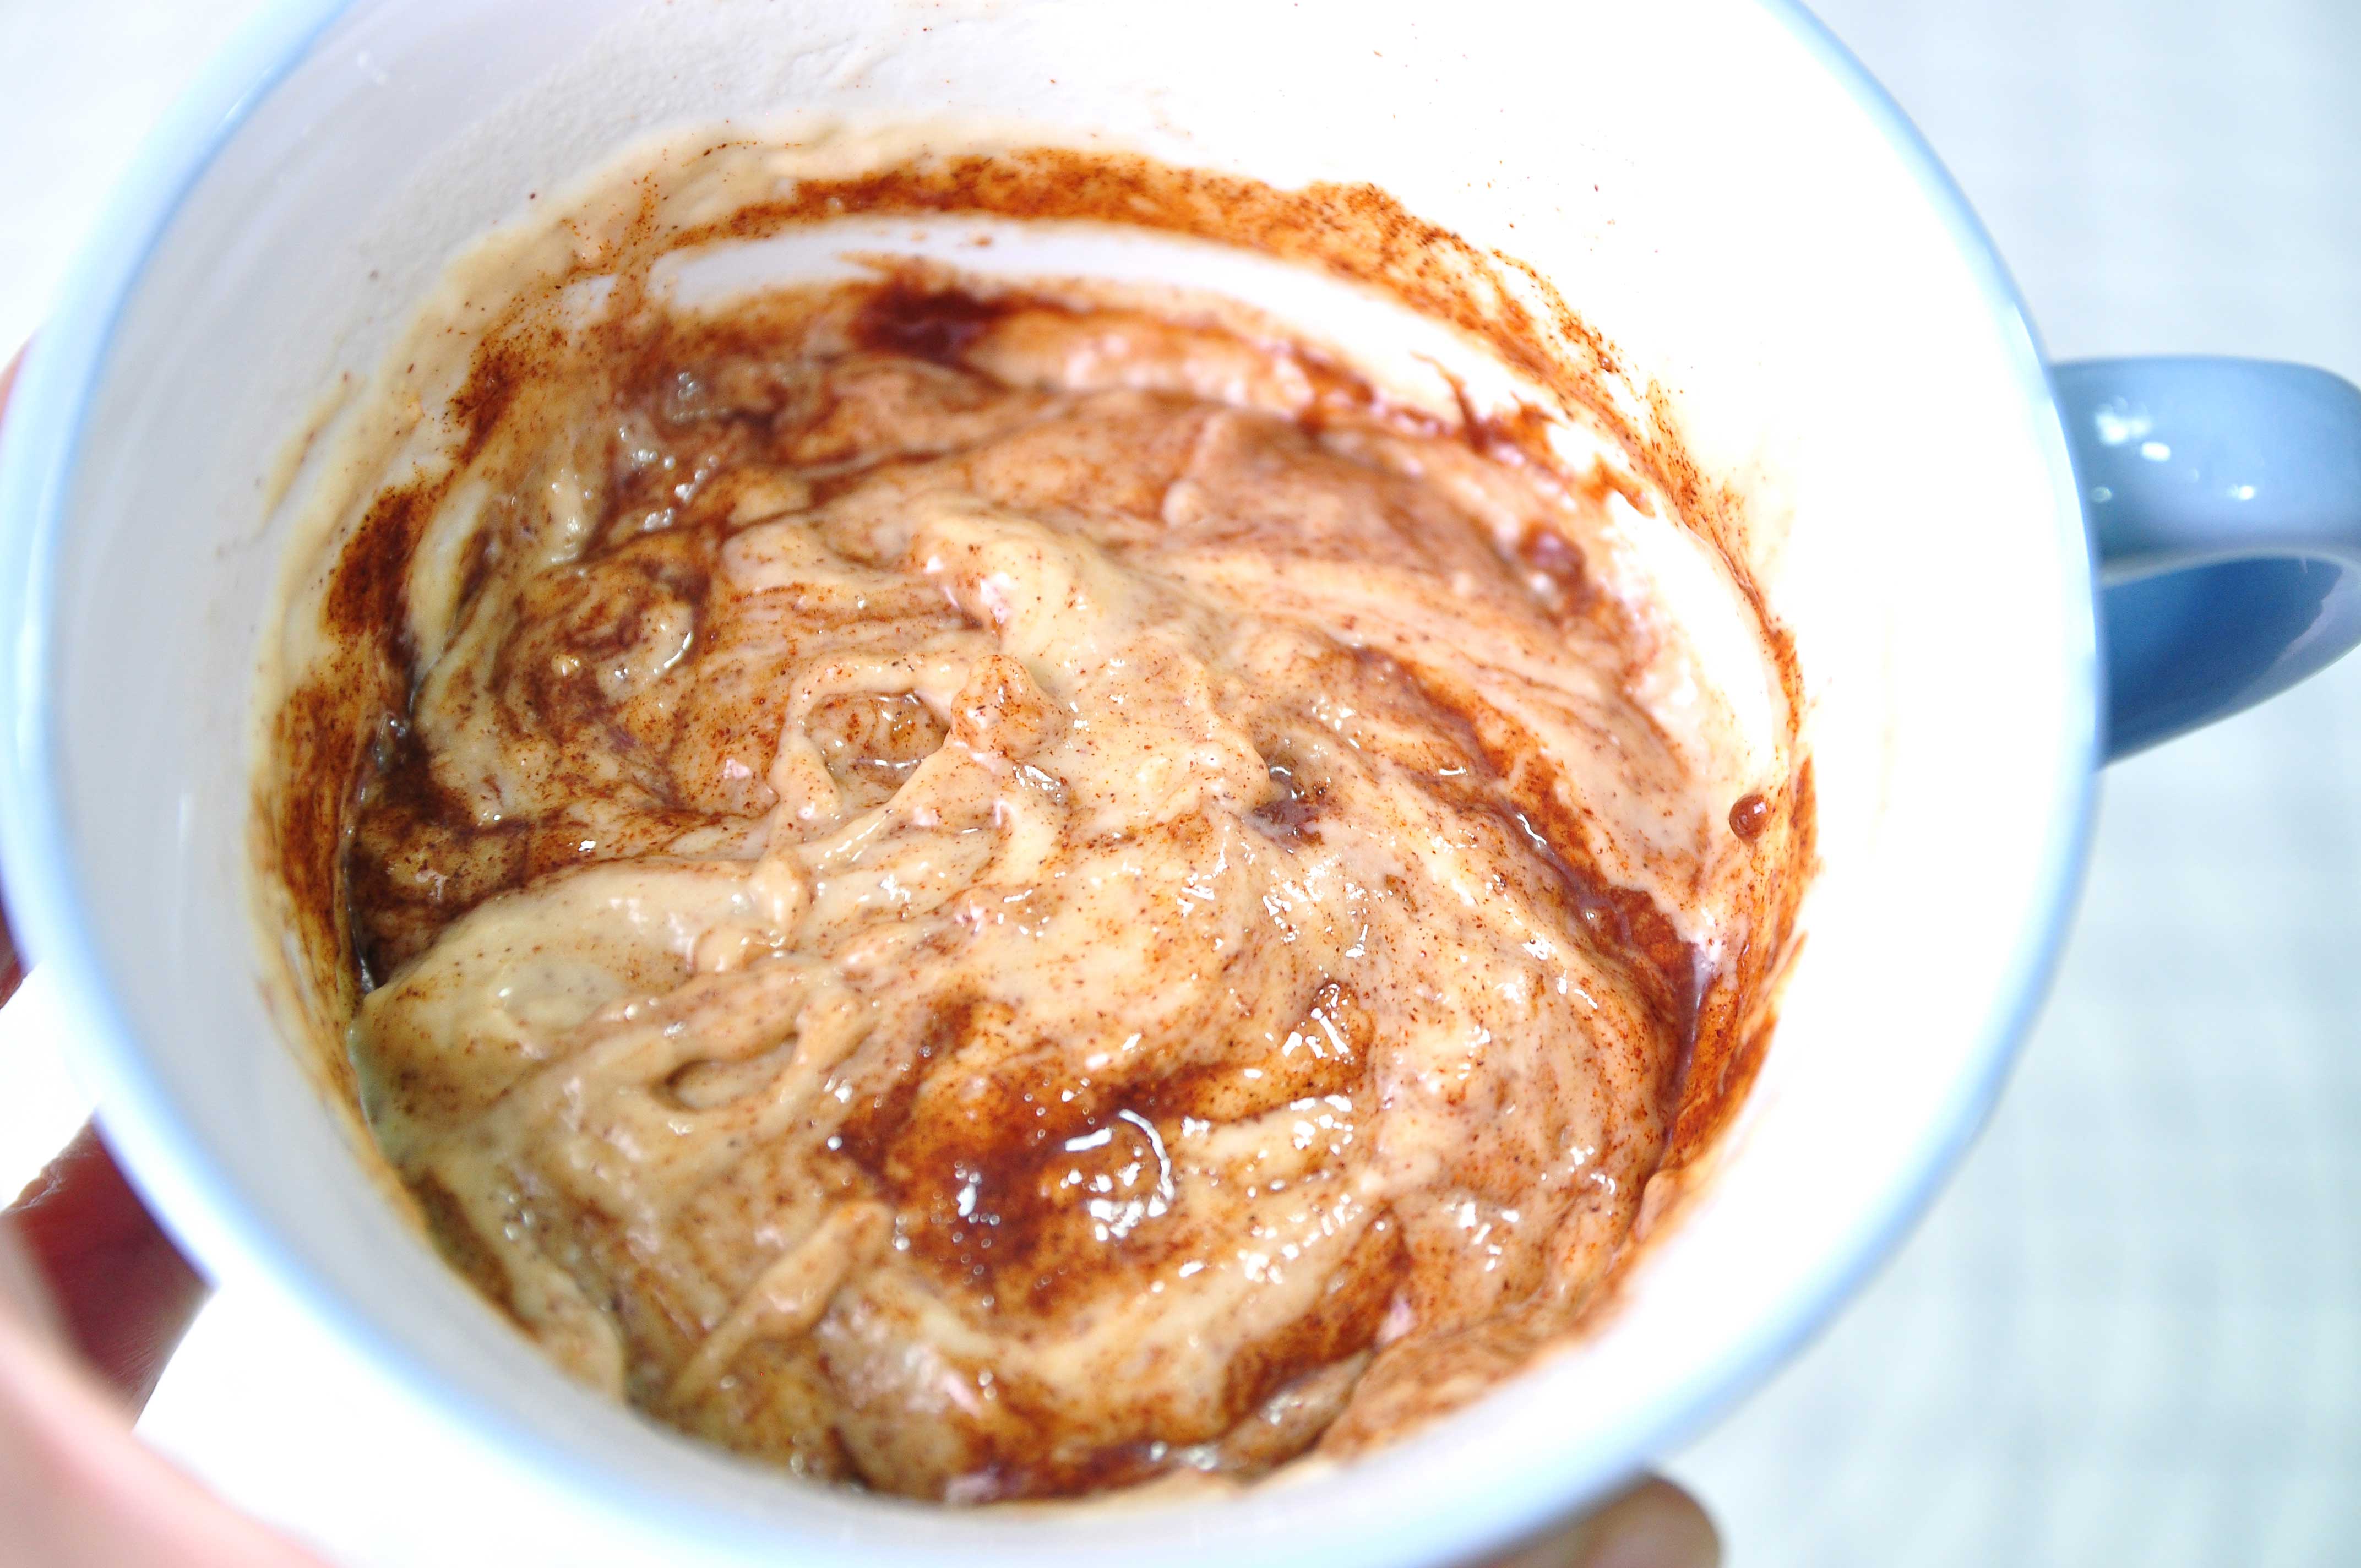
  3. Drizzle the cinnamon butter swirl over the mug cake batter, then gently fold them together until they are only about half mixed. There should be thick ribbons of the cinnamon butter swirl throughout the batter.
  4. Microwave the mug cake for 50-60 seconds (1000 watt).The mug cake will create quite a bit of steam as it cooks, so don’t be alarmed. Let the mug cake cool for 1-2 minutes.
  5. While the mug cake is cooling, stir together the powdered sugar and milk for the icing.
  6. Drizzle the icing over the mug cake and enjoy while it is still warm.

NOTE
Microwave power varies slightly, so you may want to experiment with the cooking time, give or take 5-10 seconds. One minute is a good place to start.

The Best Chocolate Chip Cookies

Hellooo there and welcome back!!! Today I have Everybody’s FAVORITE recipe to share 😉 This is the best “Chocolate Chip Cookie” recipe ever! I have been making these for many, many years and everyone who tries them agrees they’re out-of-this-world delicious!

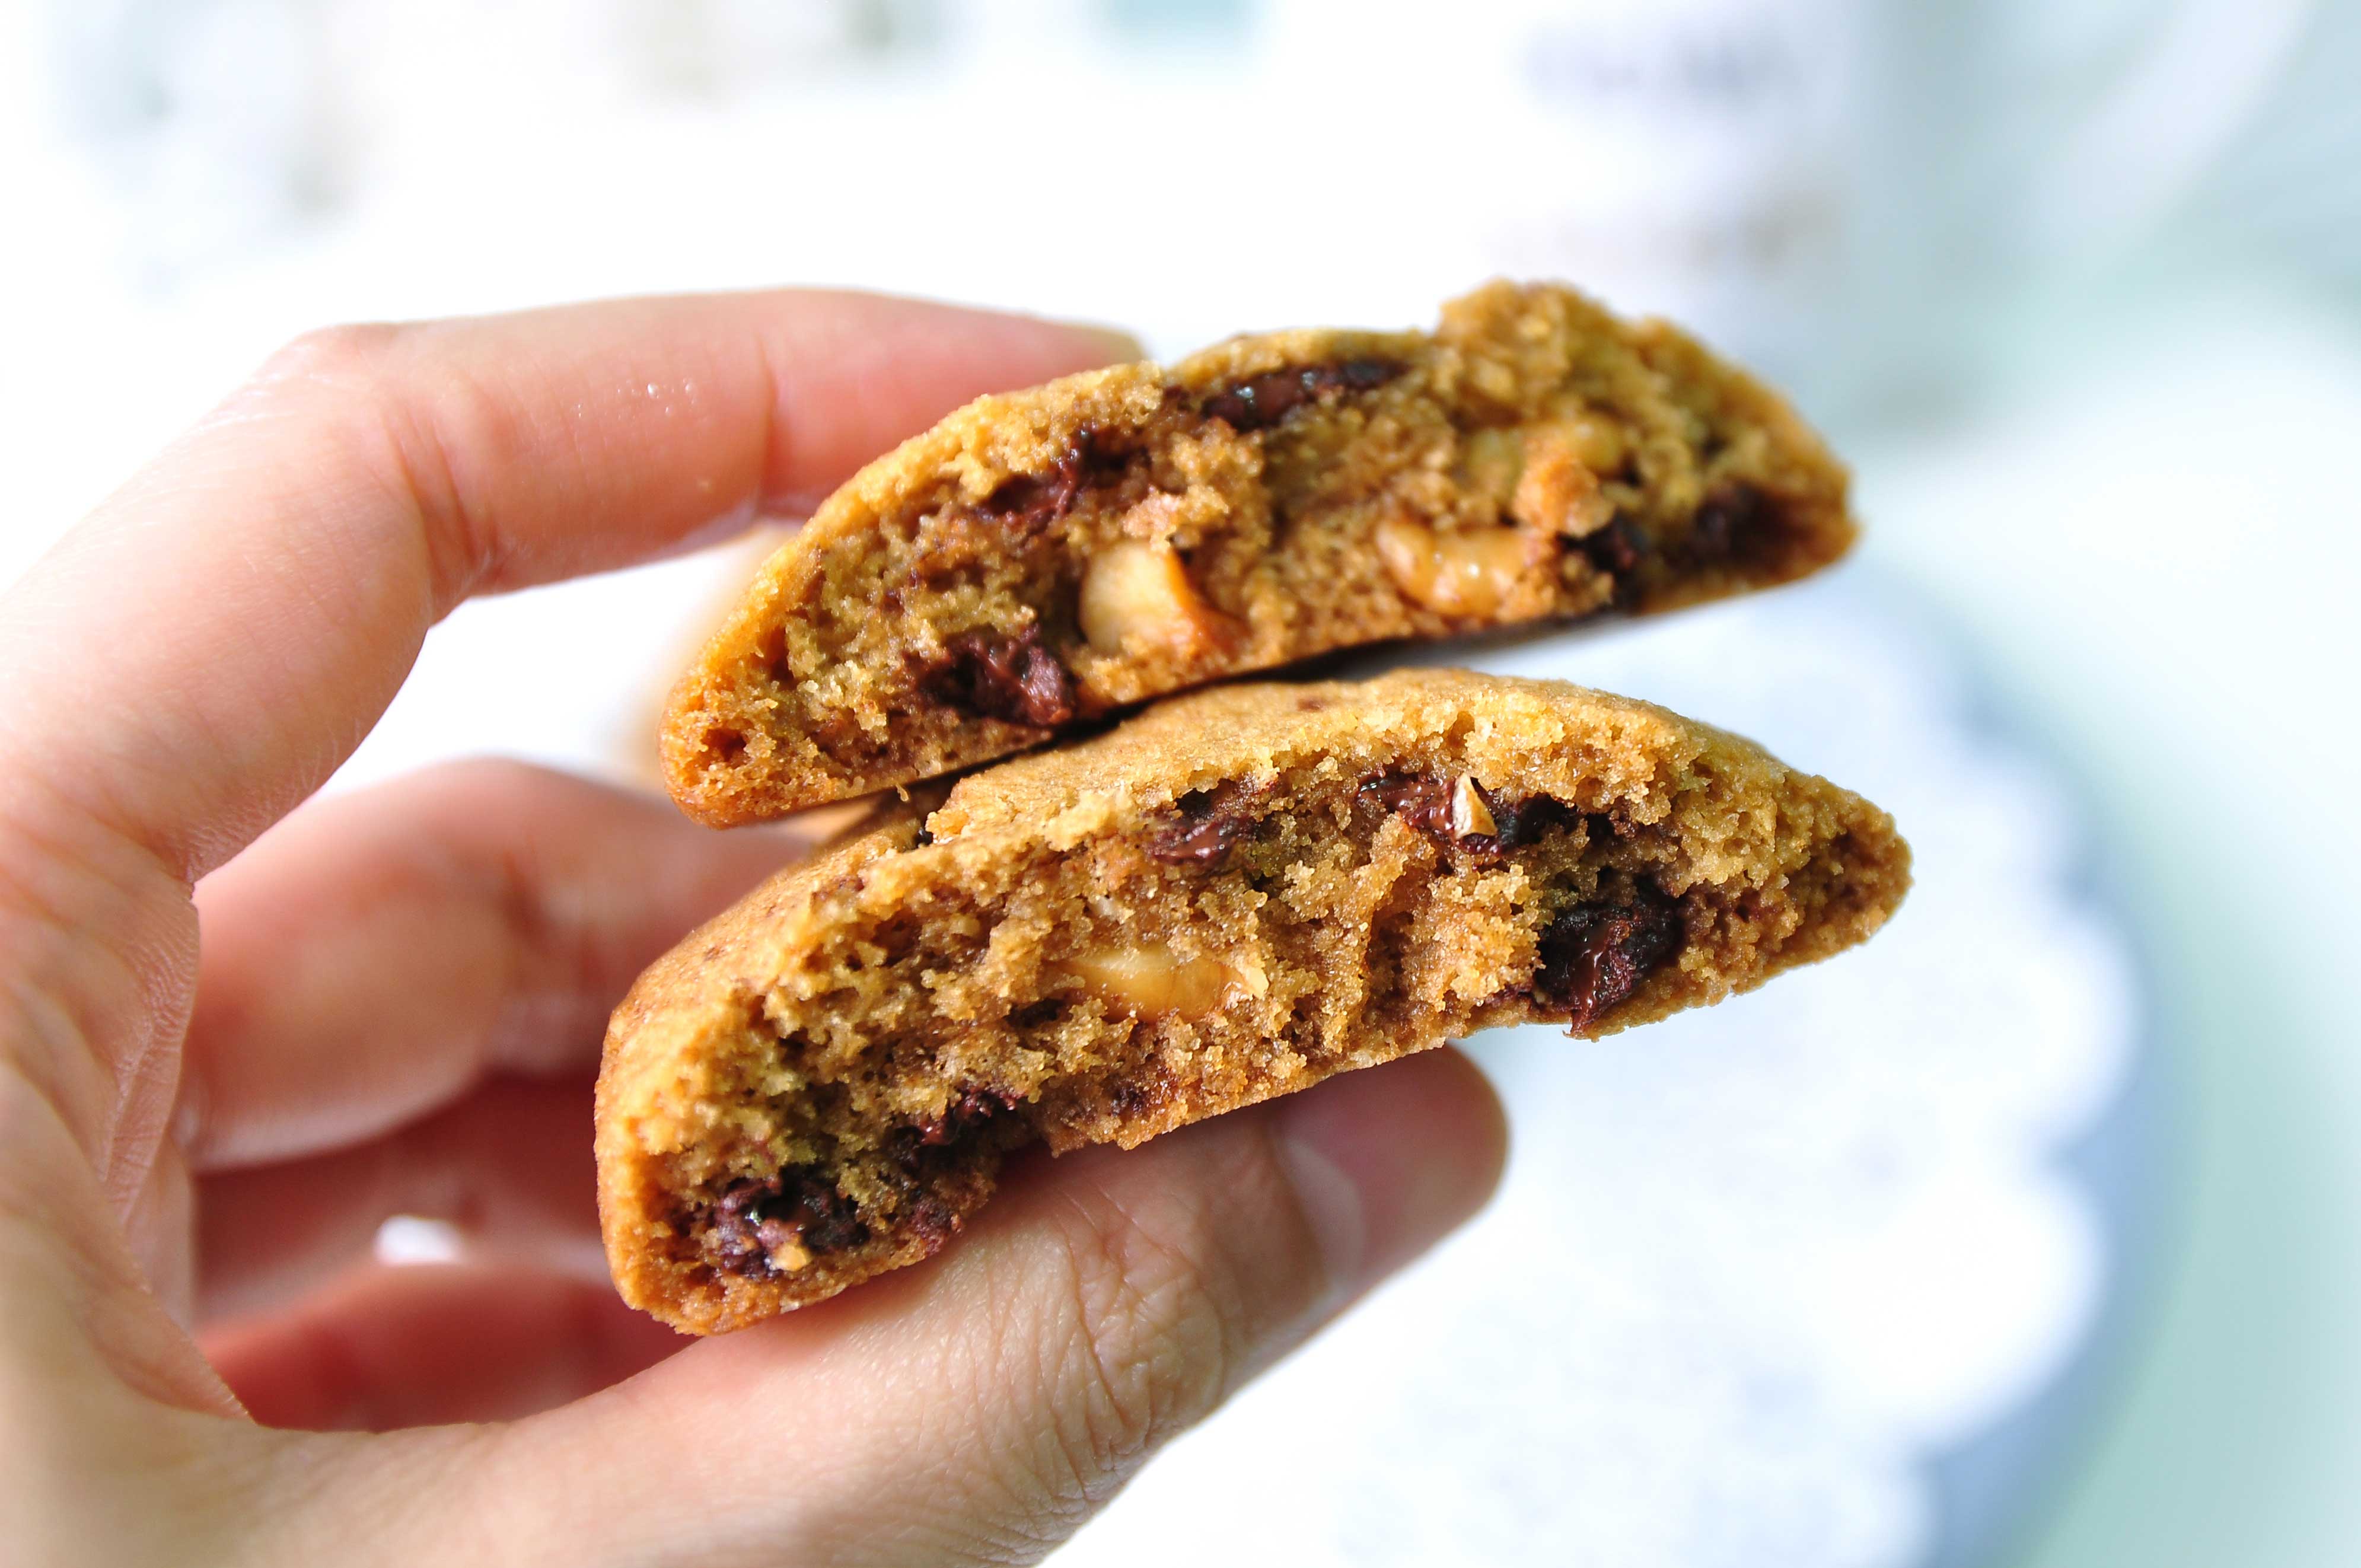
These are everything a chocolate chip cookie should be. Crispy outside chewy inside, simple to make, and yield thick beautiful cookies that are golden brown and crisp at the edges, while remaining gooey at the center.

Full of sweet butterscotch & chocolate flavors, exactly how a chocolate chip cookie should taste! I’ve already made this recipe many times and have the dough in my freezer for when the craving strikes 😛 .

No special ingredients, equipment, or skills needed! Easy everyday delightful chocolate chip cookie recipe. I think you’ll love this one. Enjoy!!!

CHOCOLATE CHIP COOKIES
Yield: 12 pieces
Active time: 30 minutes
Total time: 2 hours

INGREDIENTS

  • 60 grams Unsalted butter
  • 50 grams Brown sugar
  • 50 grams Granulated sugar
  • 25 grams Eggs
  • 1/2 teaspoon Vanilla extract (optional)
  • 95 grams All-purpose flour
  • 1/2 tablespoon Cornstarch
  • 1/4 teaspoon Baking soda
  • 1/4 teaspoon Salt
  • 90 grams Dark chocolate chips
  • 50 grams lightly toasted, coarsely chopped Walnuts/ Pecans/ Almonds (optional)

INSTRUCTIONS

  1. Using spatula, cream the butter with the brown sugar and granulated sugar until light and creamy. Then beat in the egg and the vanilla extract.
  2. In a separate bowl, sift the flour with the cornstarch, baking soda and salt. Add this to the butter mixture and stir until blended. Then stir in the chocolate chips and nuts (if using), mix until well combined.
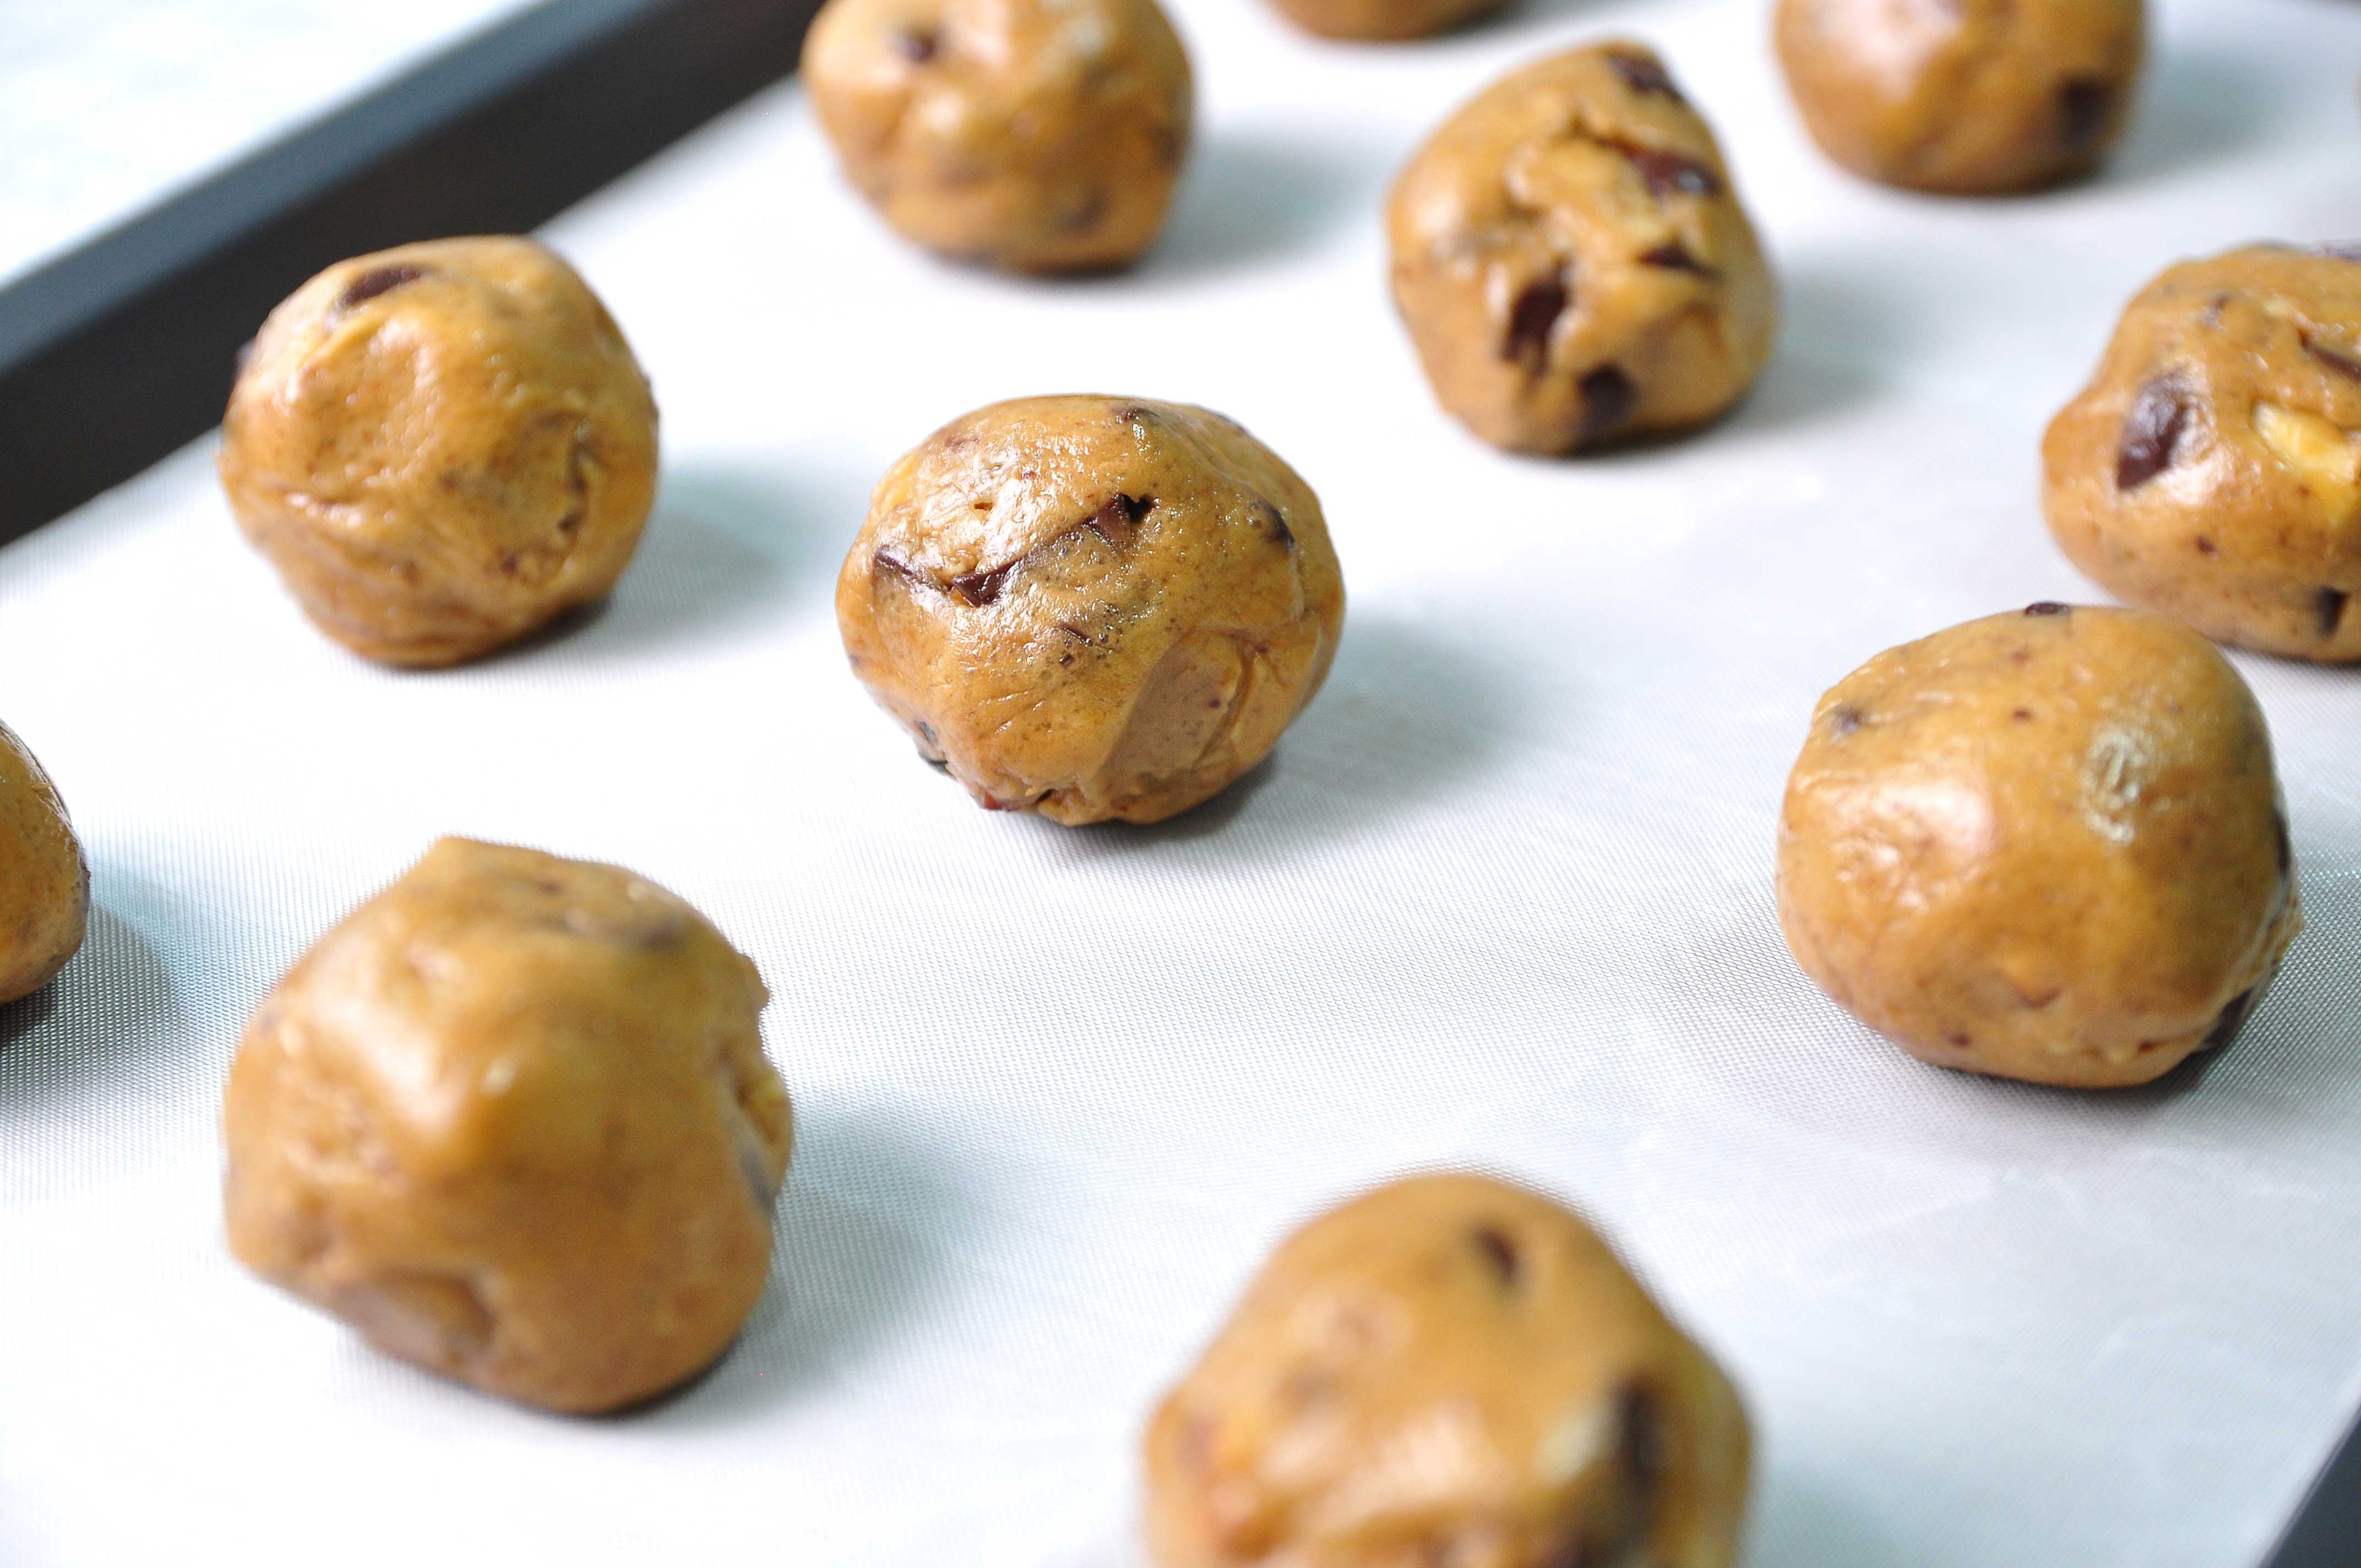
  3. Using a small ice cream scoop or a tablespoon, scoop spoonfuls of dough (about 2 tablespoons), shape them into a ball and place onto a parchment lined baking tray or a plate.
  4. Chill the scooped cookies for at least an hour, or once chilled, the cookies can be frozen for baking later.
  5. If you want to bake it immediately, preheat the oven to 325ºF, arrange the chilled scooped cookies onto parchment-lined baking trays, leaving 3 inches between the cookies.
  6. Bake for 15-18 minutes, until browned around the edges.
  7. Cool the cookies on the baking tray.

NOTES

If baking cookie dough that has been frozen, arrange the frozen cookies on the baking tray and let them thaw for 20 minutes at room temperature before baking as above.

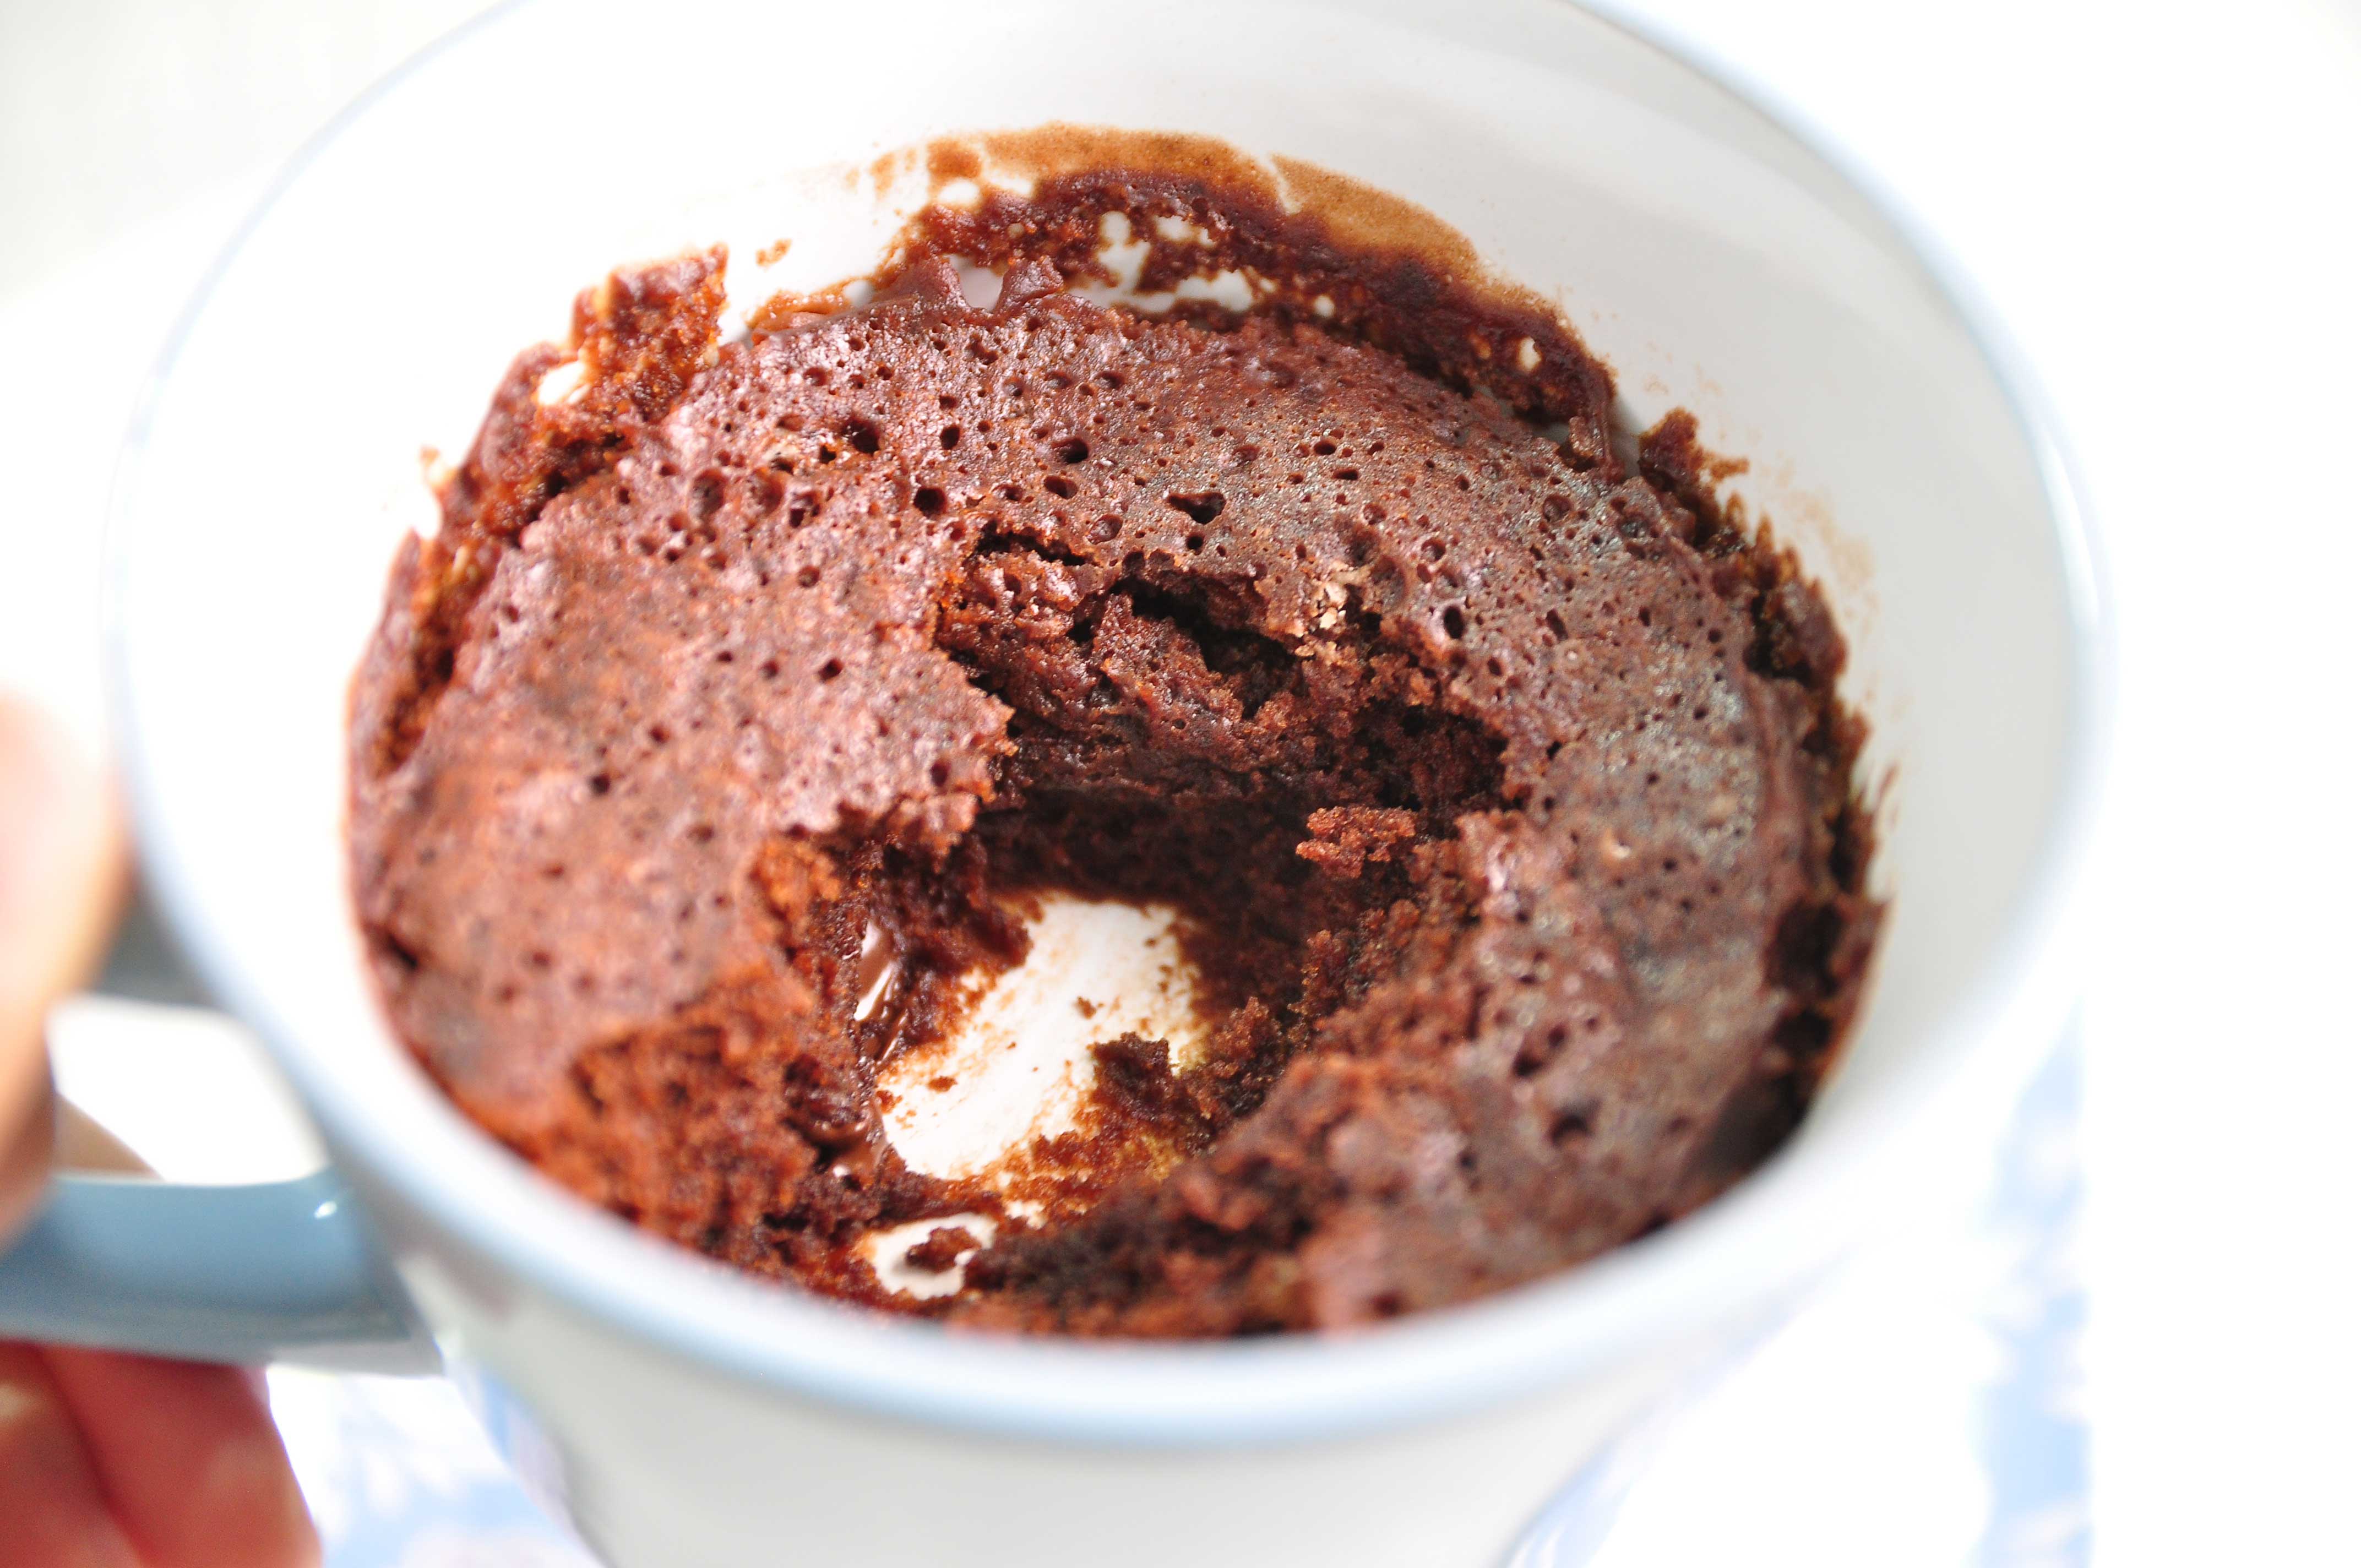
2 Minutes Microwave Chocolate Mug Cake

Hellooo everyone and welcome back!! I hope you’re all doing well! Today we are making “2 Minutes Microwave Chocolate Mug Cake”. Look how fluffy that cake is! 

This chocolate mug cake recipe has no eggs, very moist and chocolaty… it is one of the easiest dessert recipes you’ll ever make and you’ll never make another mug cake again after you try my recipe! 🙂

When you get that late night craving? Or want a small batch dessert (and not whip out a giant baking pan to make brownies to nip that craving)? This chocolate mug cake IS FOR YOU!!

Speaking of the mug: the batter will rise quite a bit so you want to have a decent amount of space left in the mug or else the batter will spill over the sides. I tested this with quite a few different mugs and discovered that you want at least 1 inch between the batter and the top of the mug. Enjoy!!!

2 MINUTES MICROWAVE CHOCOLATE MUG CAKE
Yield: 1 cup mug cake (7 Oz.)
Active time: 1 minute
Total time: 2 minutes

INGREDIENTS

  • 2 tablespoons All-purpose flour
  • 1 tablespoon Cocoa powder
  • 2 teaspoons Granulated sugar
  • 1/4 teaspoon Baking powder
  • A pinch of Salt
  • 1 tablespoon Vegetable oil
  • 2 tablespoons Milk
  • 1 tablespoon Chocolate chips (optional)

INSTRUCTIONS

  1. Prepare your favorite mug and measuring spoon (I use 8.5 Oz. coffee mug in the recipe).
  2. In your mug, stir together the dry ingredients (flour, cocoa powder, sugar, baking powder, and a pinch of salt). Make sure there are no clumps.
  3. Then add in the vegetable oil and milk, mix until the mixture is smooth.
  4. Drop a tablespoon of chocolate chips.
  5. Microwave on high (1000 watt) for one minute.

NOTES

  • Microwave power varies slightly, so you may want to experiment with the cooking time, give or take 5-10 seconds. One minute is a good place to start.
  • If you feel that chocolate chips is kinda boring, there are also a lot of variations for the fillings combination. Instead of chocolate chips, you can drop a tablespoon of peanut butter, nuttela, jam, or caramel sauce into the center and push it down into the batter, then microwave it.

Lemon Blueberry Cake

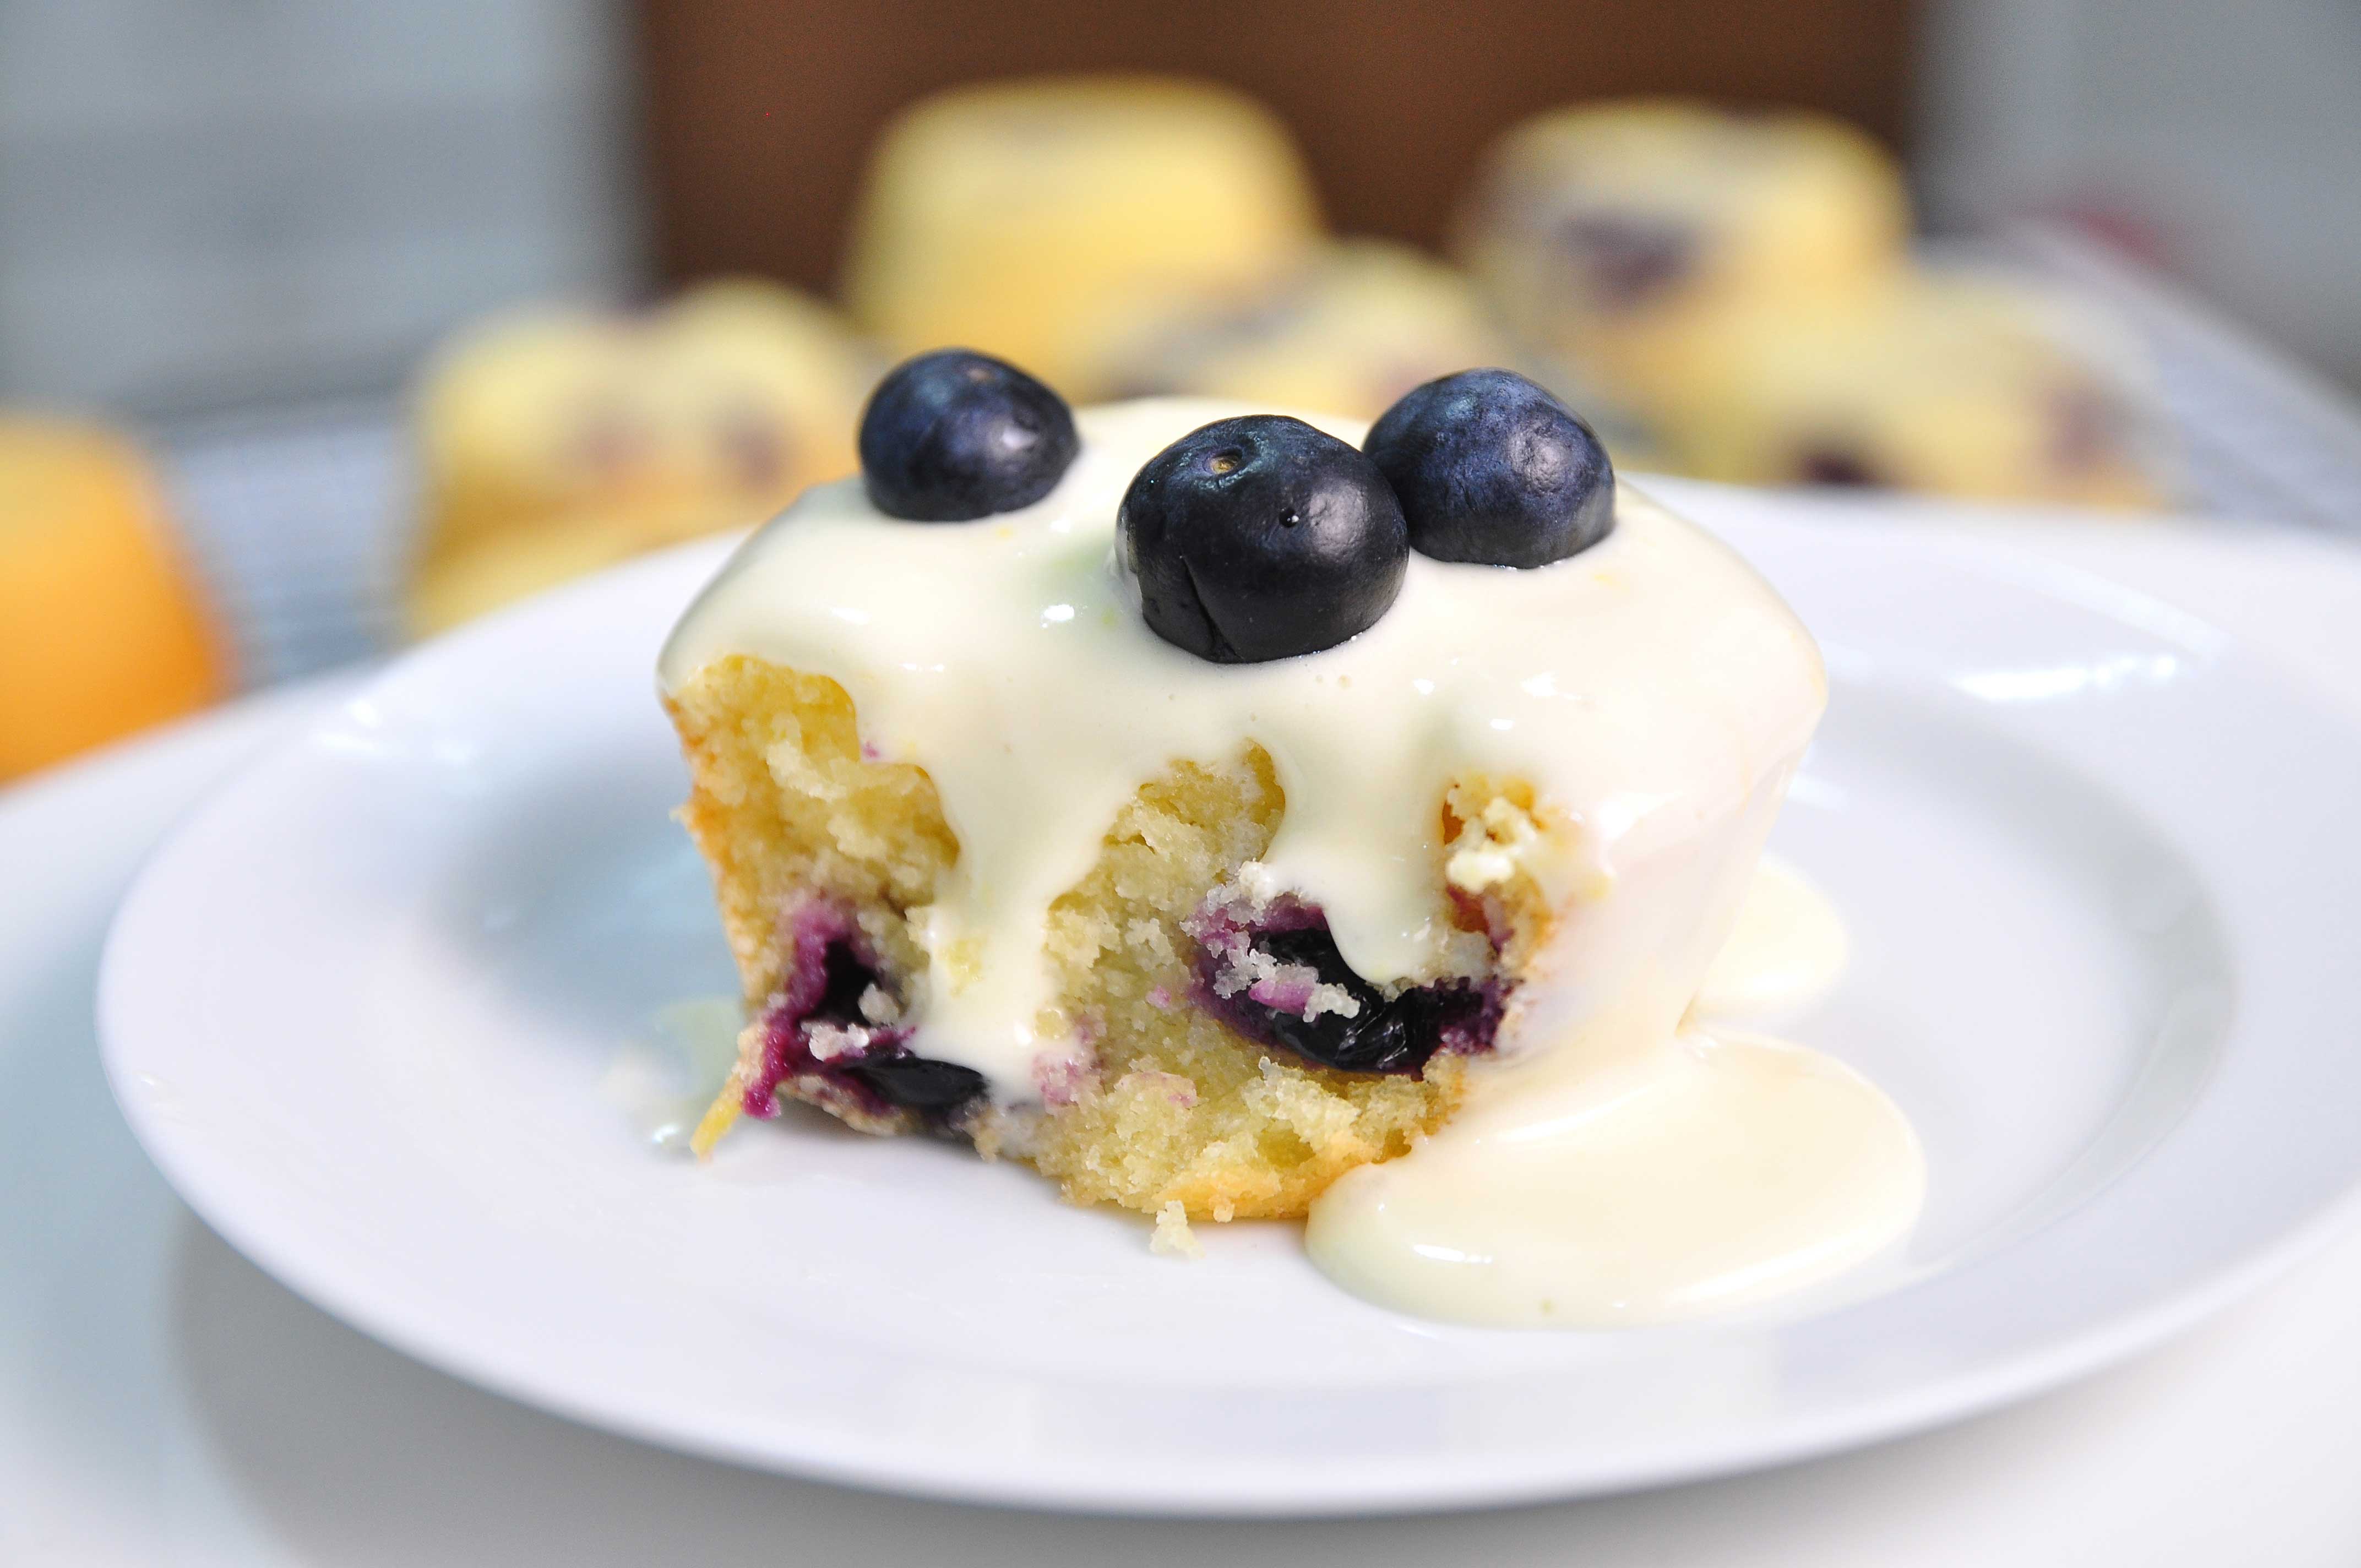
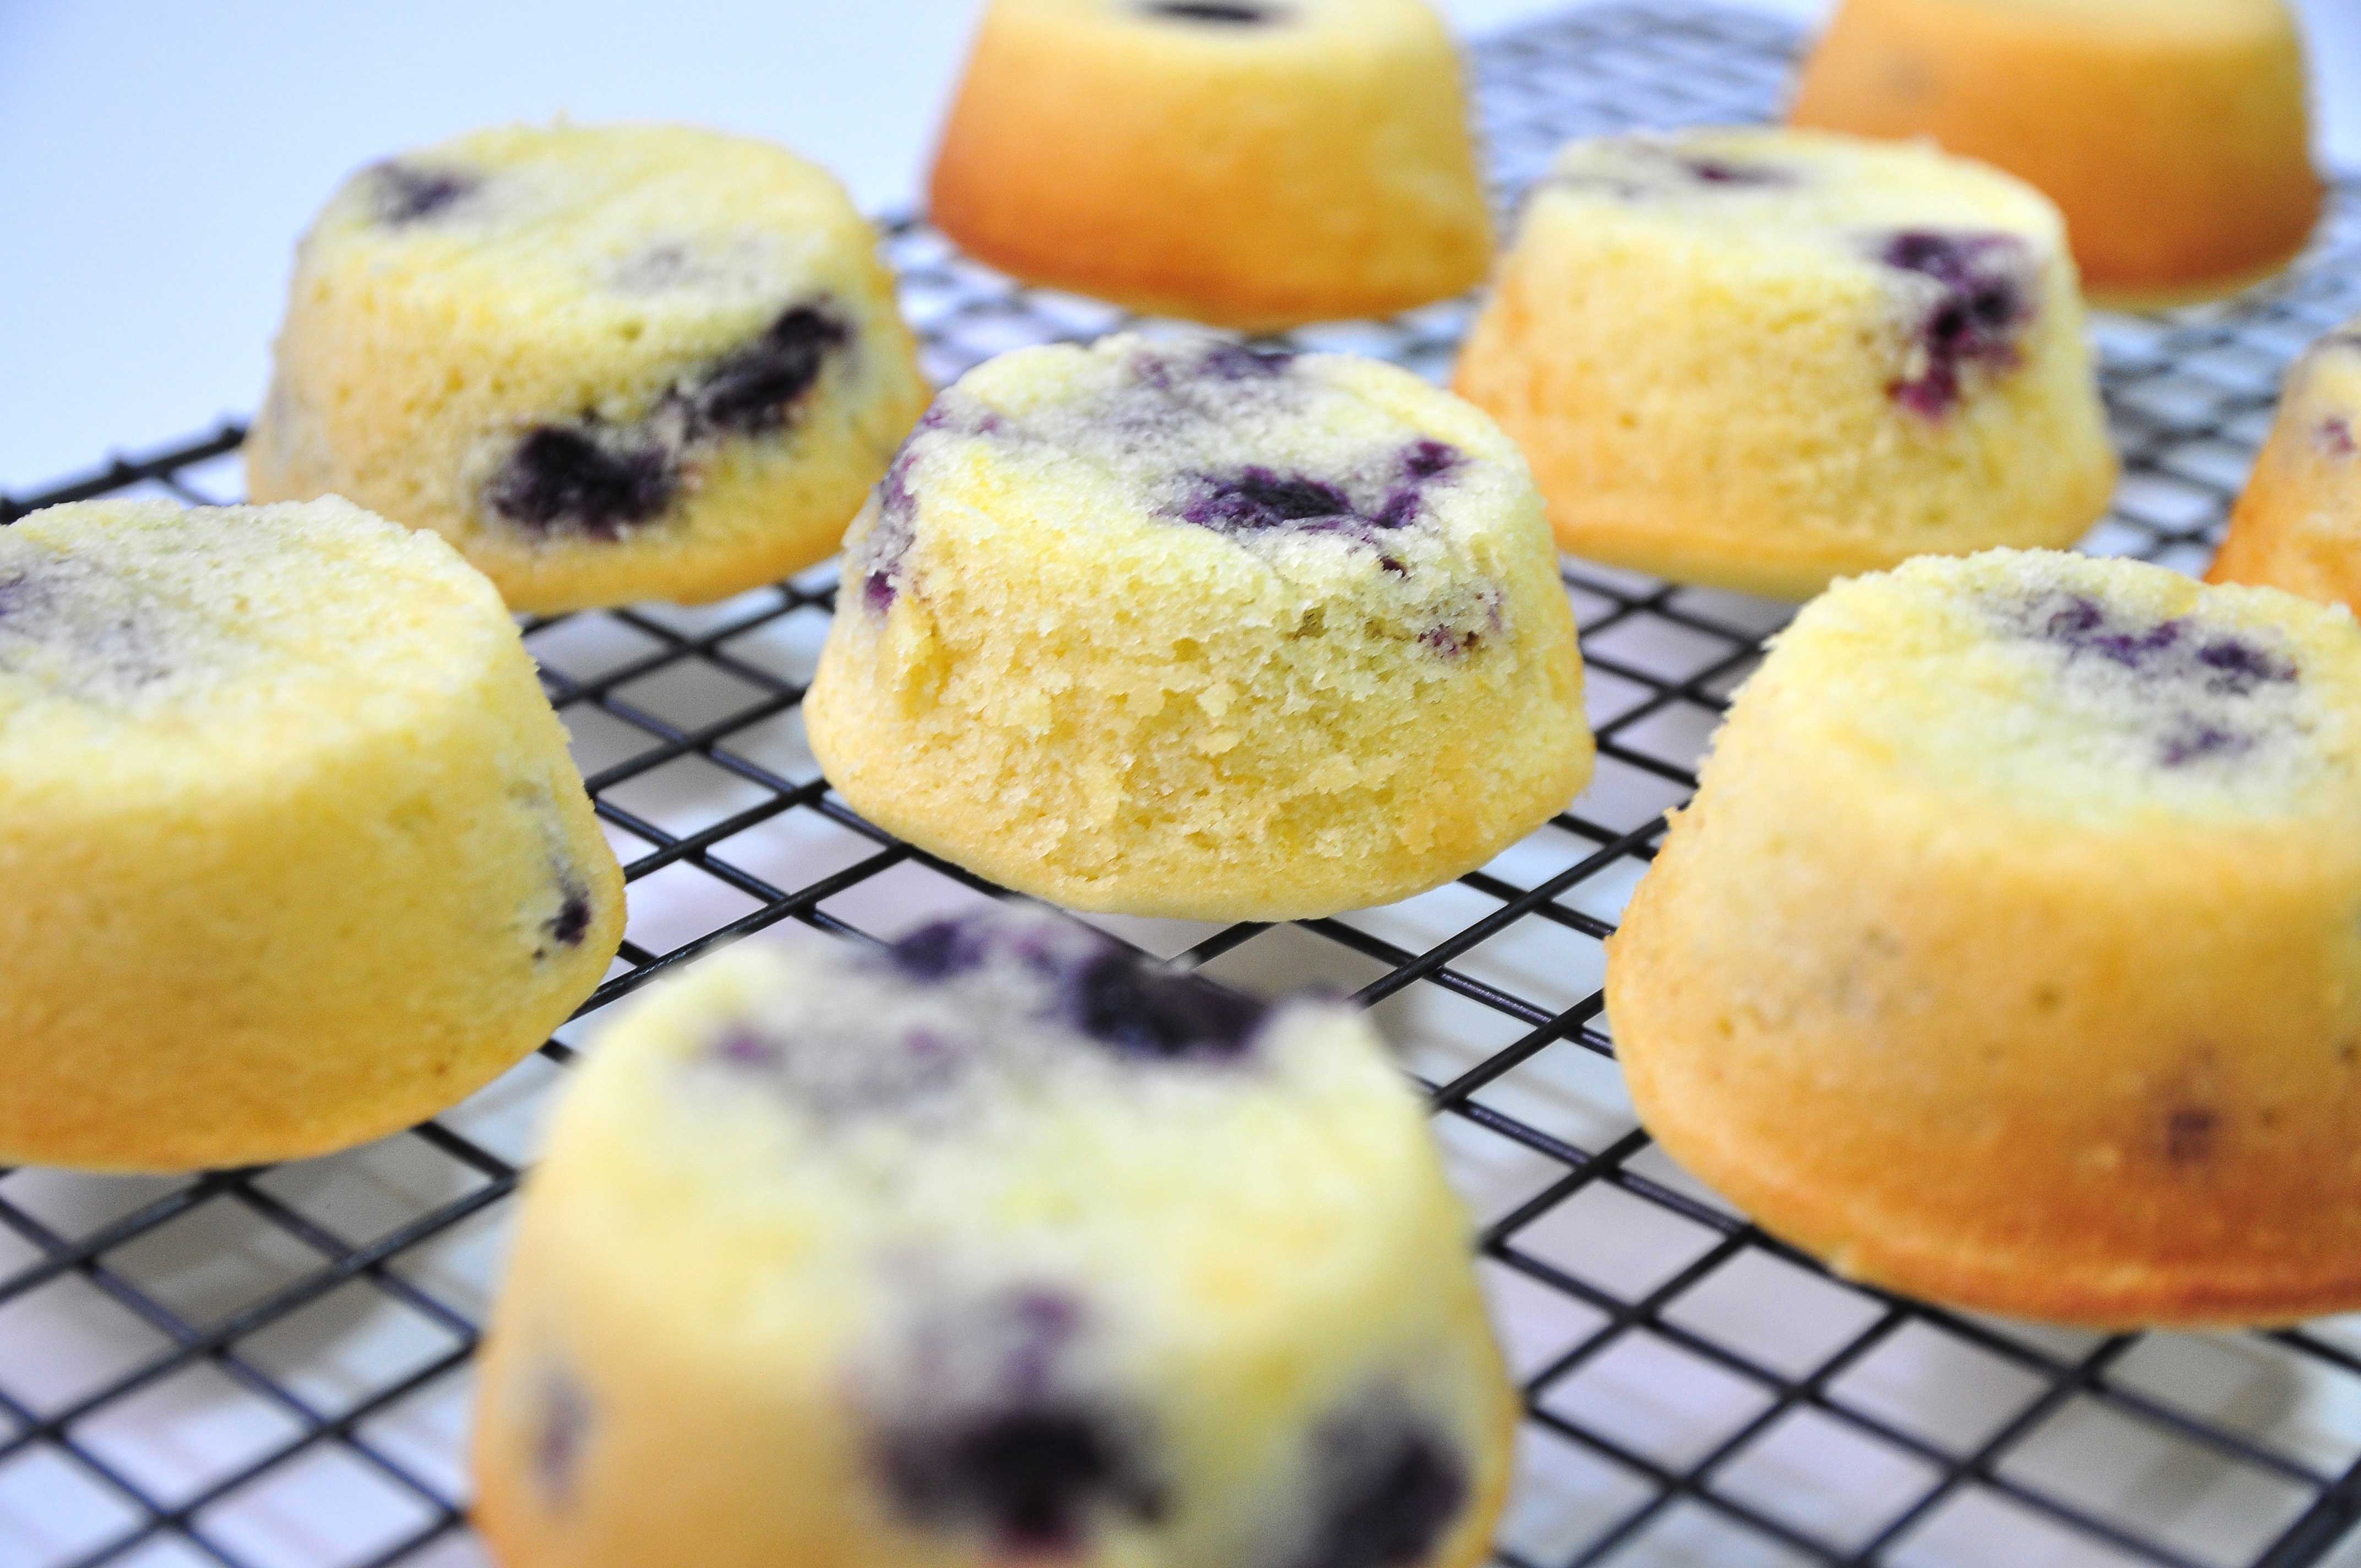
Helloo Guyss!!! Today I’m sharing a “Lemon Blueberry Cake”. The layers of moist lemon cake are loaded with sweet blueberries.

These cake is wonderfully soft and moist infused with beautiful natural bright fresh lemon flavor, with juicy pops of bright blueberry and the luscious creaminess of lemon creamcheese frosting, it’s really makes a fantastic centerpiece for any dessert table :).

The cake is light, lemony, and bursting with fresh blueberries! It’s not too sweet and not too tangy, but just right.

I drizzle the cake with some frostings and blueberries before serving and it is the perfect finishing touch! This cake just makes me happy 😀 I hope you love it as much as I do! Enjoy!!!

LEMON BLUEBERRY CAKE
Yield: 10 pieces
Active times: 45 minutes
Total time: 1 1/2 hours

INGREDIENTS
Cakes:

  • 113 grams Unsalted butter (softened to room temperature)
  • 175 grams Granulated sugar
  • 1/2 tablespoon Fresh lemon zest
  • 2 large Eggs (100 grams), room temperature
  • 1 teaspoons Vanilla extract (optional)
  • 175 grams All-purpose flour
  • 1 teaspoon Baking powder
  • 1/8 teaspoon Baking soda
  • 1/4 teaspoon Salt
  • 120 grams Buttermilk (storebought or homemade)
  • 60 grams Fresh lemon juice (from about 1 1/2 lemons)
  • 1 cups (6 ounces) Fresh or frozen blueberries (do not thaw if frozen)
  • 1 tablespoons All-purpose flour

Lemon Cream Cheese Frosting:

  • 90 grams Cream cheese
  • 30 grams Unsalted butter
  • 128 grams Icing Sugar
  • 1/2 teaspoon Lemon zest
  • 1/4 tablespoon Lemon juice

INSTRUCTIONS
Cakes:

  1. Preheat the oven to 350 degrees. Coat pan with nonstick cooking spray. Set aside.
  2. In a separate bowl, whisk together the flour, baking powder, soda and salt. Set aside.
  3. In another bowl, toss the blueberries with the 1 tablespoons flour. Set aside.
  4. In a large bowl with an electric mixer (or in the bowl of an electric mixer fitted with the paddle attachment), cream together the butter, sugar and lemon zest until light and fluffy, 4-5 minutes (don’t cut down the time on this step). Then add the eggs and vanilla until well-combined, 1-2 minutes, scraping down the sides of the bowl as needed.
  5. Stir the dry mixture (flour mixture) into the wet ingredients (butter mixture) and mix on low speed until just combined and a few dry streaks remain. Then add the buttermilk and lemon juice to the batter, and stir by hand, folding the batter until just combined.
  6. Finally add the blueberries to the batter and fold in by hand with a spatula or wooden spoon until just-combined. Overmixing may result in a tough, dry cake.
  7. Scoop the batter evenly in the prepared cupcake pan and bake for 15-20 minutes until just baked through. The top will spring back lightly to the touch and a toothpick inserted in the center should come out with moist crumbs but not wet batter.
  8. Let the cakes cool for 5-10 minutes in the pans before turning them out onto a cooling rack to cool completely.

Lemon Cream Cheese Frosting:

  1. For the frosting, whip the cream cheese and butter together with a handheld electric mixer or with an electric stand mixer fitted with the paddle attachment until light and fluffy, 2-3 minutes. Then add the powdered sugar, lemon zest and lemon juice and mix on low speed (so the powdered sugar doesn’t fly everywhere) until combined. Increase the speed to medium and mix until creamy, 1-2 minutes.
  2. When the cake has cooled completely, place one round on a platter or plate and spread the top evenly with frosting. Garnish with blueberries and lemon slices, if desired.

NOTES
This cake, once frosted, lasts very well in the refrigerator for several days (I’ve made it up to two days in advance before serving). Take it out an hour or two before serving or serve chilled, your choice!

Soft Moist Fluffy Banana Bread | Banana Muffins

Am I a little old–fashioned? Maybe! Not because it just seemed a little too boring 😀 but honestly I didn’t think anyone needs another banana bread recipe and I just adore it :oops:.

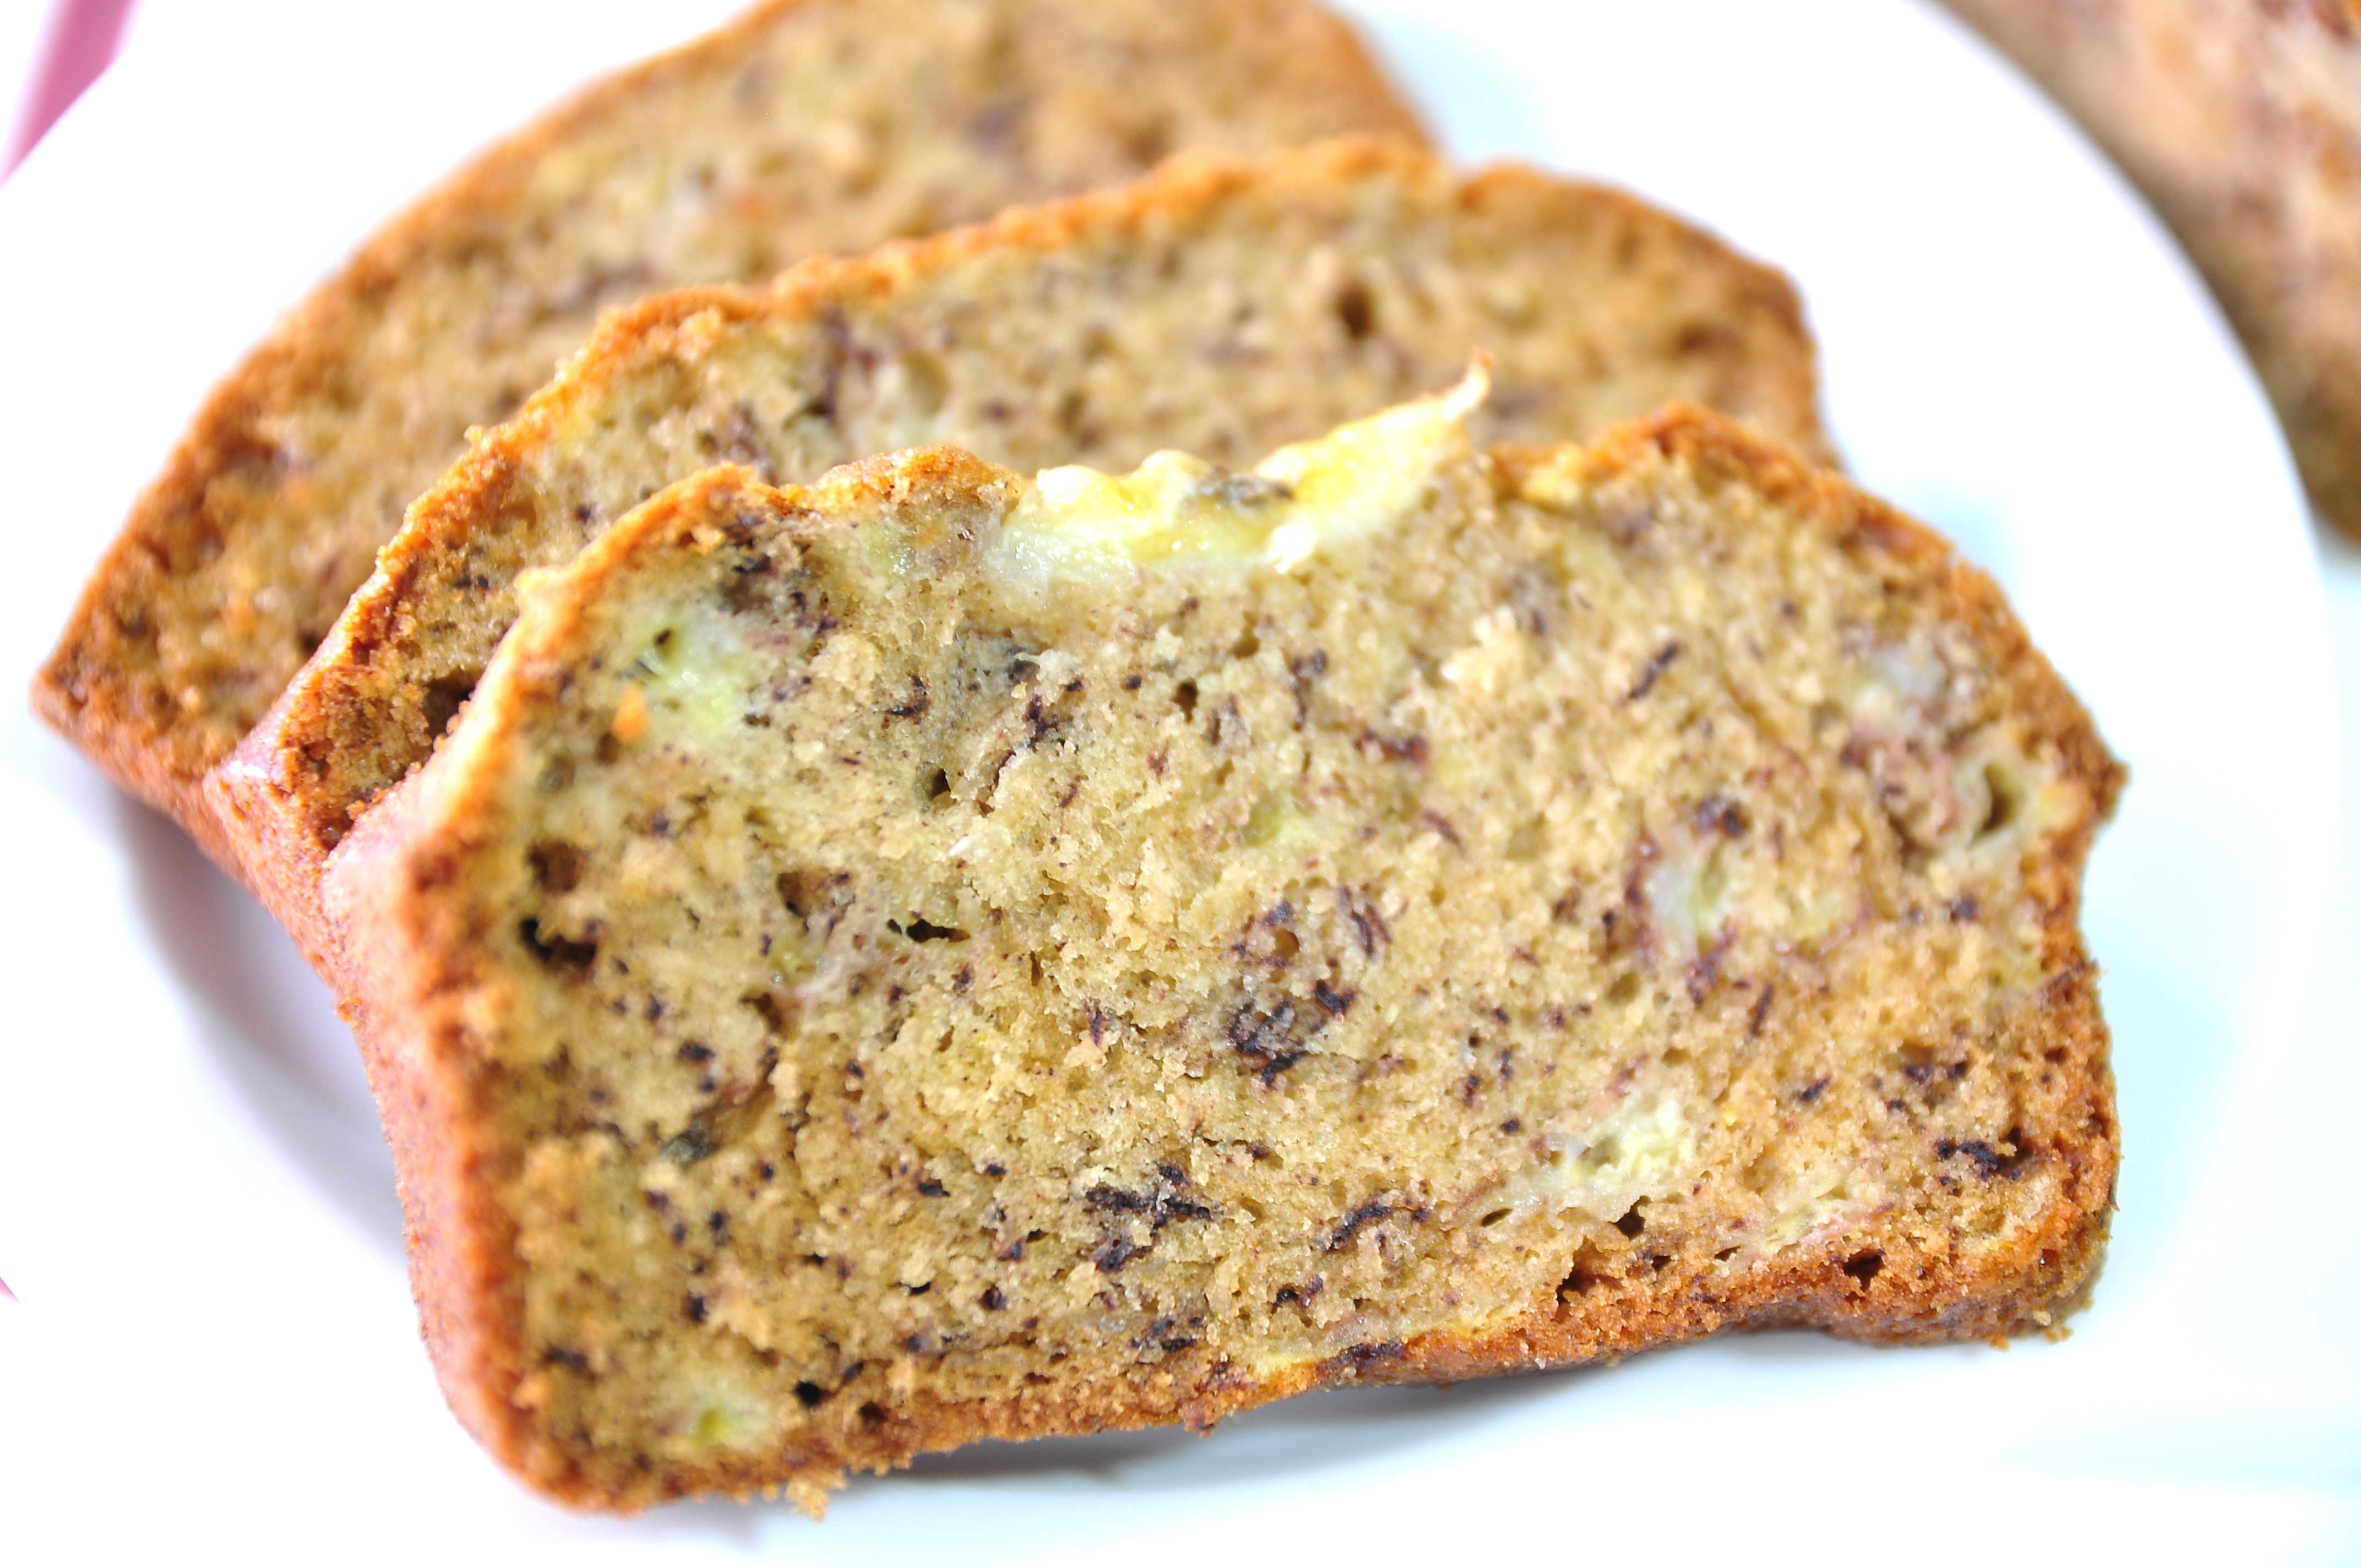
I know everyone has their own go-to banana bread recipe but seriously, this recipe is everything you want in banana bread. It’s moist, fluffy, full of flavor and it’s also freeze well.
What I love about this recipe is that you can just whip it up in minutes. There is no mixer required just mix the wet and dry ingredients separately, then combine and bake – easy peasy.

Whether you enjoy this healthy banana bread for a breakfast treat or with a cup of coffee as an afternoon snack – I think you’ll find that it’s tasty and comforting ;). Enjoy!!!

SOFT MOIST FLUFFY BANANA BREAD | BANANA MUFFINS
Yield: One 8×4 -inch loaf pan/ 6 standard muffins
Active time: 15 minutes
Total times: 1 hour

INGREDIENTS

  • 200 grams Bananas (mashed)
  • 123 grams All-purpose flour
  • 2/3 teaspoon Baking soda
  • 1/6 teaspoon Salt
  • 1/3 teaspoon Cinnamon powder
  • 90 grams Granulated sugar (you can reduce to 60 grams if you prefer less sweet)
  • 67 grams Eggs
  • 67 grams Vegetable oil
  • 2/3 teaspoons Vanilla extract (optional)

INSTRUCTIONS

  1. Preheat the oven to 350 degrees F.
  2. Grease and flour a 8X4-inch loaf pan.
  3. Combine flour, baking soda, salt and cinnamon powder, set aside.
  4. In a large bowl, whisk together the sugar, eggs and oil.
  5. Pour dry ingredients to wet ingredients; stir just until dry ingredients are moistened. Then add the mashed bananas, mix well. Do not over mix, because that would result in tough dry bread.
  6. Spread the batter evenly in the prepared pan. Place some banana and almond slices on top of the batter (optional).
  7. Bake for 40-45 minutes until toothpick inserted in the center of the loaf comes out clean.
  8. Cool for five minutes in the pan. Gently turn out onto a cooling rack and cool completely.
  9. Store covered at room temperature (the bread also freezes great).

NOTES

  • This recipe can produce 6 standard Banana Muffins.
    Place cupcakes paper inside the pan. When filling your cupcake cases, only pour the batter until it is two thirds full. Overfilling leads to overflowing, so always leave some rising room for your muffins. Place banana and almond slices on top of the batter (optional), then bake for 30-35 minutes of until toothpick inserted in the center comes out clean.
    Cool for five minutes in the pan. Gently turn out onto a cooling rack and cool completely.
  • It will keep well (in an airtight container) for about 1 days in room temperature, 1 week in the fridge and 2-4 months in the freezer
  • To defrost the loaf from the freezer, unwrap it and put it on a wire rack at room temperature for 3-4 hours, then store in an airtight container.
  • You also can use microwave to defrost it. Arrange the bread slices on a microwave-safe plate, then microwave the bread on high power for 10 seconds at a time until it is soft and warm.
  • Or you can instead defrost your bread by placing it into a toaster oven. Take the bread out of the plastic and let it thaw in the fridge until it is no longer frozen (overnight for a loaf, and 2 to 3 hours for individual slices). Heat your oven to 380 degrees F and ‘refresh’ the bread for 3 to 5 minutes

Bakery Pan Grease

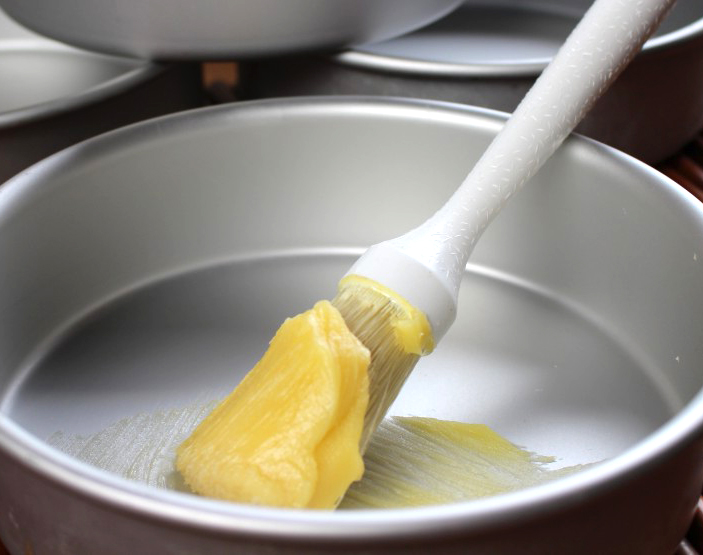
Helloooo there! Today we are making this “Bakery Pan Grease” I know this recipe sound not important, but this cake pan release paste has changed my life.

I use to hate when just the edge of a cake would stick to the inside of the pan and I would have to take extra care to cover up that piece of the cake with frosting. Now all the edges are smooth, which makes my frosting job a lot easier. No more cakes sticking to pans!  YAY! 😉

You can make this recipe in bulk and keep just a cup or two out at room temperature for easy spreading any time.

Go ahead and pull out the mixer. It will take you five minutes to whip together the ingredients and store it in a tupperware. Enjoy!!!

BAKERY PAN GREASE
Yield: 1 cup
Active times: 5 minutes
Total time: 10 minutes

INGREDIENTS

  • 60 grams Vegetable oil
  • 113 grams Solid vegetable shortening
  • 65 grams All-purpose flour

INSTRUCTIONS
Mix all together in your mixer (or hand held mixer will work too) until it is all smooth and incorporated.

NOTES

  • Store at room temperature for up to 2 weeks.
  • Refrigerate for 5 months
  • Freeze for 1 year