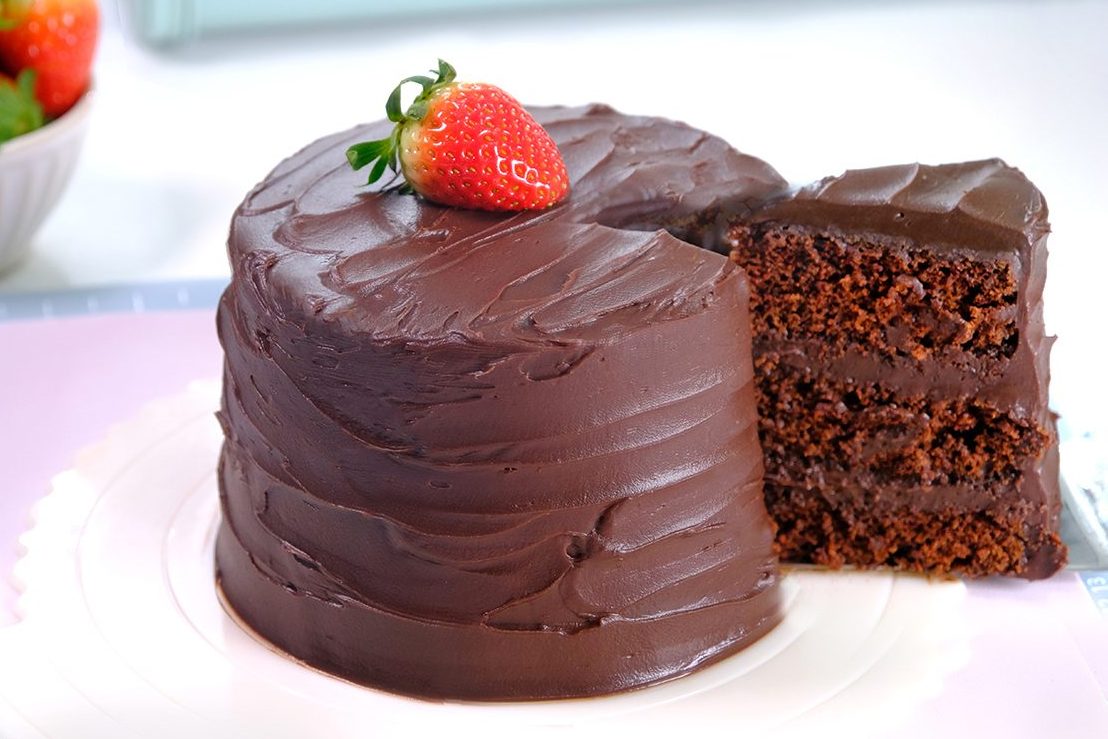
Chocolate Cake is a staple of every self-respecting tea table in England.
On a busy day, this Old-Fashioned Chocolate Fudge Cake is my go-to recipe to satisfy my cravings.

This homemade chocolate cake recipe is super easy to prepare in one bowl for a deliciously moist and fluffy chocolate cake.
Classic Chocolate Fudge Cake that is rich in flavor and not too sweet.

What I love most about this cake is how EASY it is to make, you don’t even need a mixer!
All you need is a big bowl and a whisk and it tastes heavenly too 😇

Try it the next time you feel like baking a Chocolate Cake, I´m sure you will love it!

Raw Cacao Powder is my favorite when making Chocolate Cake, it tastes fruity, sweet with a hint of citrus. But if you prefer a more bitter dark chocolate taste, you can also use Dutch Processed Cocoa Powder.
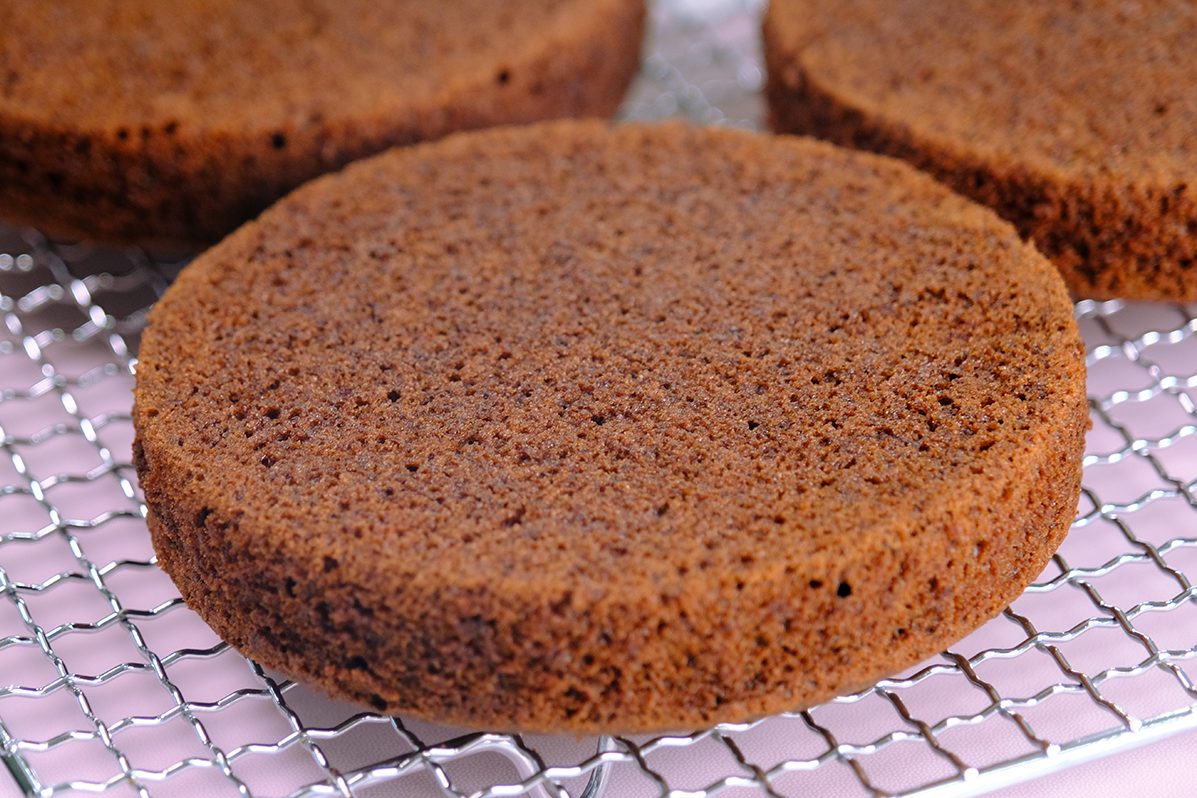
The cake has a very soft and moist crumb 😍

The rich and silky chocolate frosting is also easy to make, but does need one hour to set up.

Smooth, rich, and deeply chocolatey… 🥲

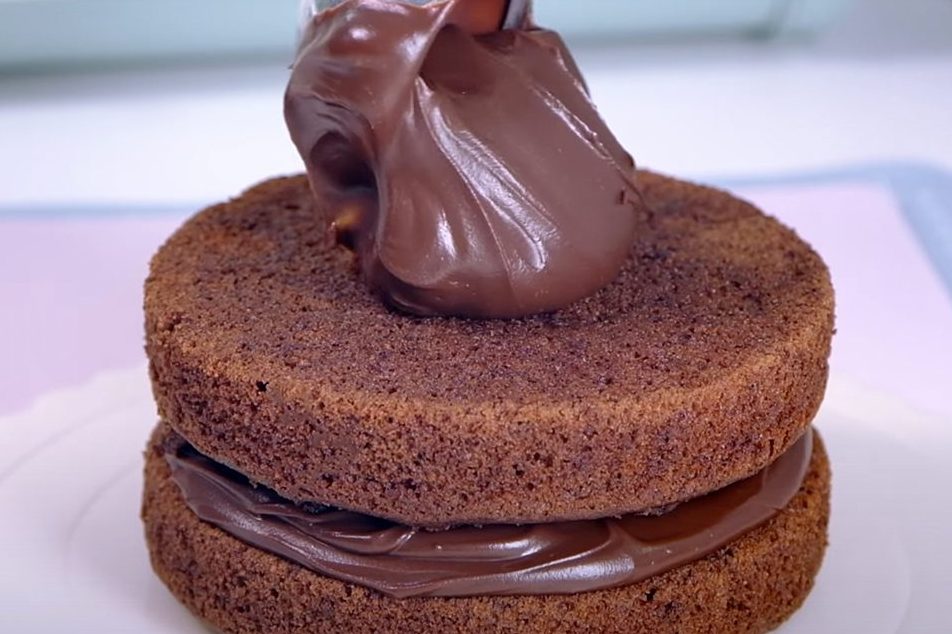
If you’re making this frosting for a lover of bittersweet, darker chocolate, go ahead and use 70% Dark Couverture or Baking Chocolate.
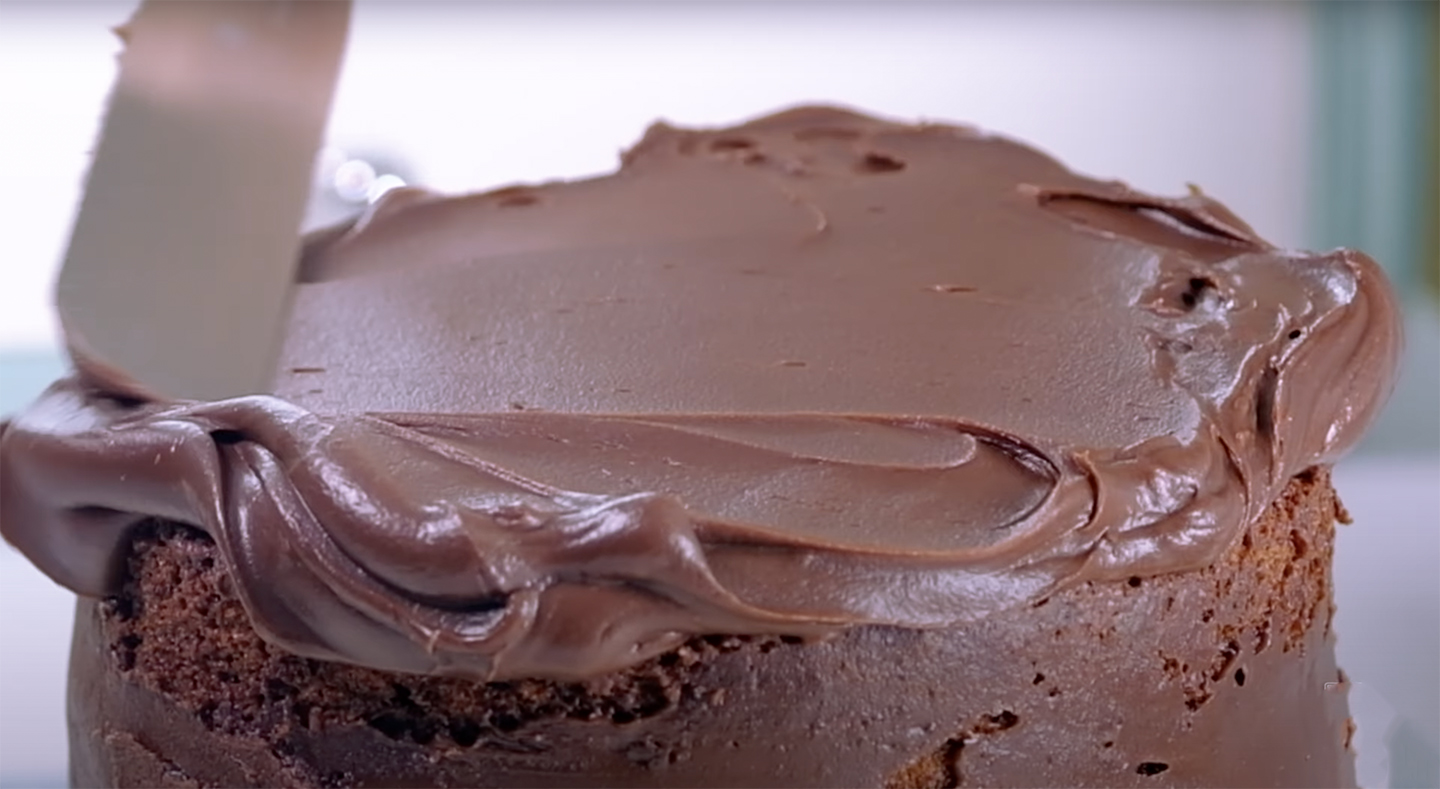


The cake is very light and moist.

And the silky smooth Chocolate Frosting is so creamy 🤗

And after 1 day in the fridge, the cake tasted even better ...

The frosting become super fudgy and the texture of the cake becomes nice and thick
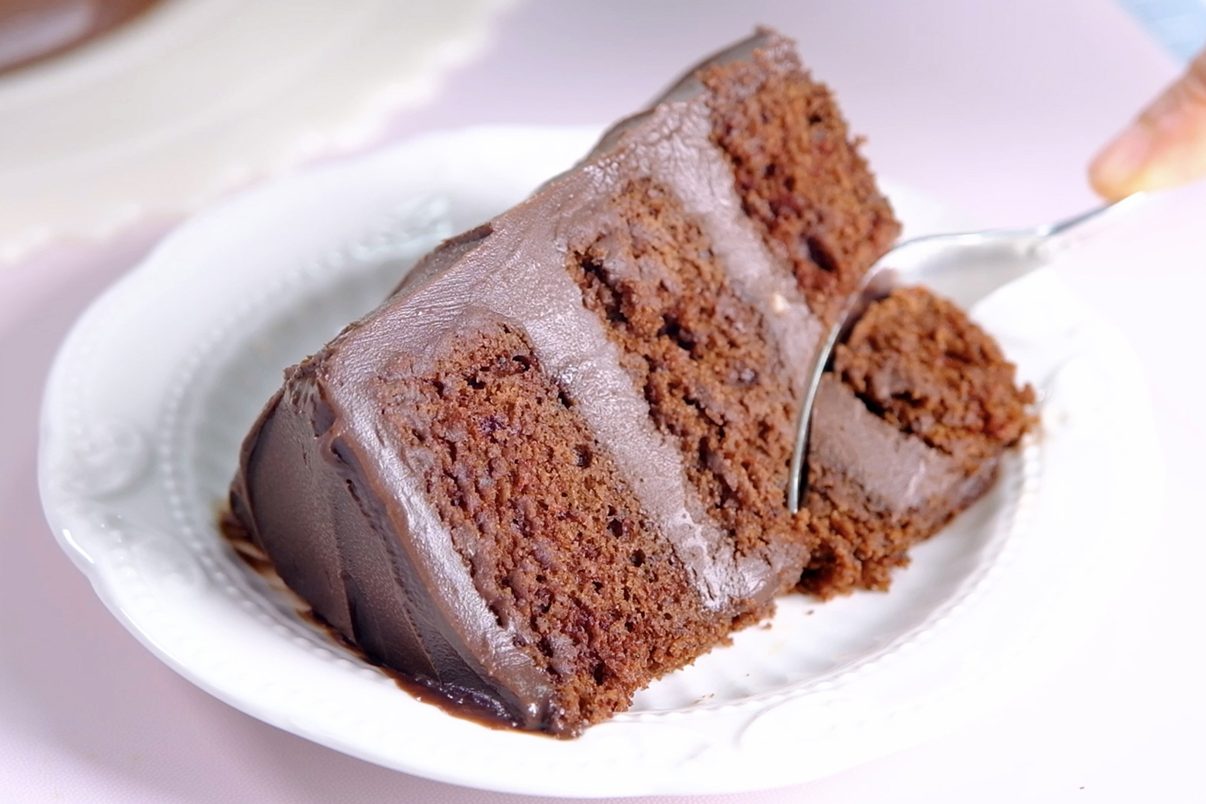
It has a perfectly soft and tender crumb, an incredibly luscious chocolate flavor, and melt-in-your-mouth moisture.
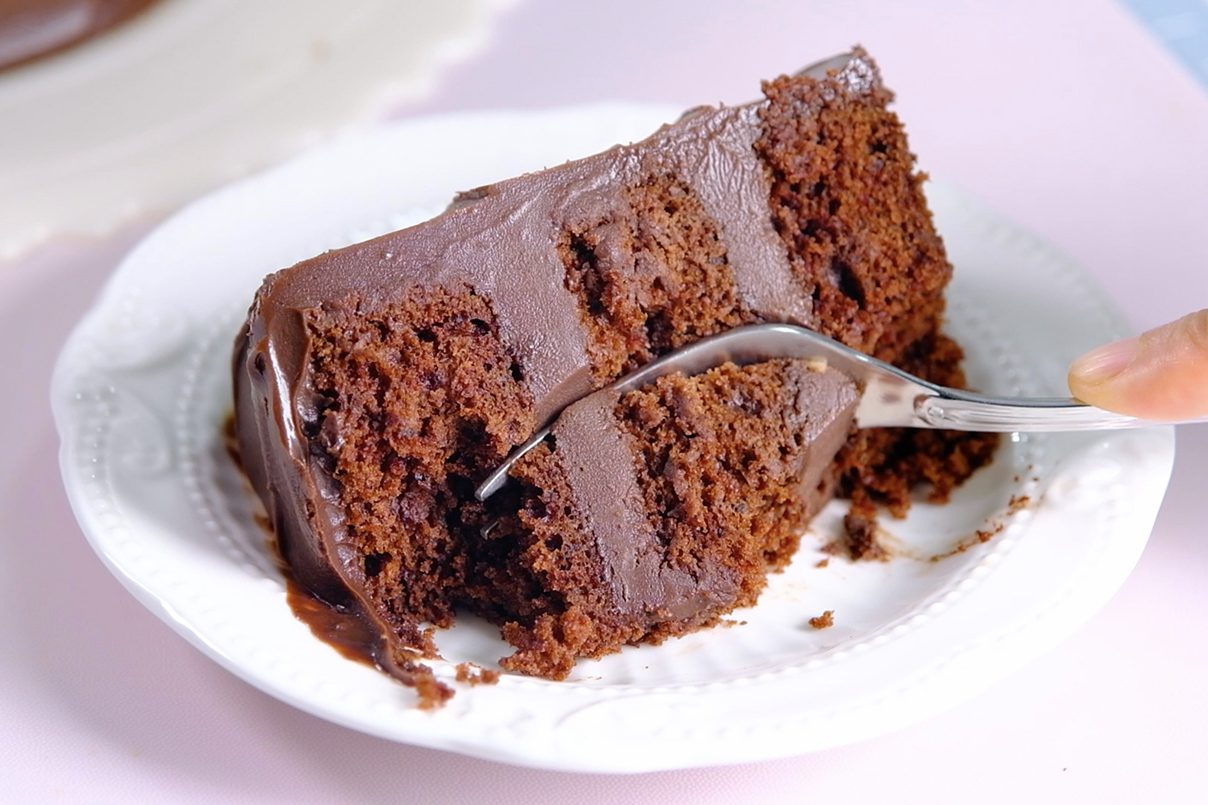
It’s easy to make and sure to impress all chocolate lovers!

Kids will definitely fall in love with it! 😍 🥰 😘

I hope you will give it a try and I can’t wait to hear what you guys think.
🍫 Love you All and Happy Baking!
WATCH HOW TO MAKE “RICH Moist Old-Fashioned Chocolate Fudge Cake”
RECIPE
OLD-FASHIONED CHOCOLATE FUDGE CAKE
Yield: One 14 cm diameter Round Cake (3 layers)
INGREDIENTS
🎂 Fudge Frosting
322 g Dark Chocolate Compound/Semisweet Baking Chocolate (chopped)
255 g Whipping Cream
45 g Greek Yogurt/ Sour Cream
*If you’re making this frosting for a lover of bittersweet, darker chocolate, go ahead and use 70% Dark Couverture or Baking Chocolate.
🎂 Chocolate Cake
113 g Whole Milk (room temperature)
1 ½ tsp White or Apple Cider Vinegar/ Lemon Juice
115 g All-Purpose Flour
1/2 tsp Baking Soda
25 g Raw Cacao Powder/ Dutch Processed Cocoa
65 g Unsalted Butter (room temperature)
125 g Caster Sugar
75 g Eggs (room temperature)
*Raw Cacao Powder is my favorite when making chocolate cake, it tastes fruity, sweet with a hint of citrus; but if you prefer a more bitter dark chocolate taste, you can also use Dutch-Processed Cocoa Powder
INSTRUCTIONS
🎂 Fudge Frosting
- Combine chopped Chocolate with Whipped Cream in a heatproof bowl
- Fill a medium saucepan with 1 inch of water and let it boil to create a water bath
- Place the bowl of chopped Chocolate and Whipped Cream over the water bath
Make sure that the bottom of the bowl doesn’t touch the boiling water (the steam will slowly melt the chocolate) - Once it’s completely melted, remove from heat; add Greek Yogurt; Stir well (Yogurt will lighten the sweetness of the chocolate)
- Cover the bowl with a cling wrap and let it cool in the fridge for 1 hour to set
🎂 Chocolate Cake
- Preheat the oven 160°C fan/ 180°C/ gas mark 4
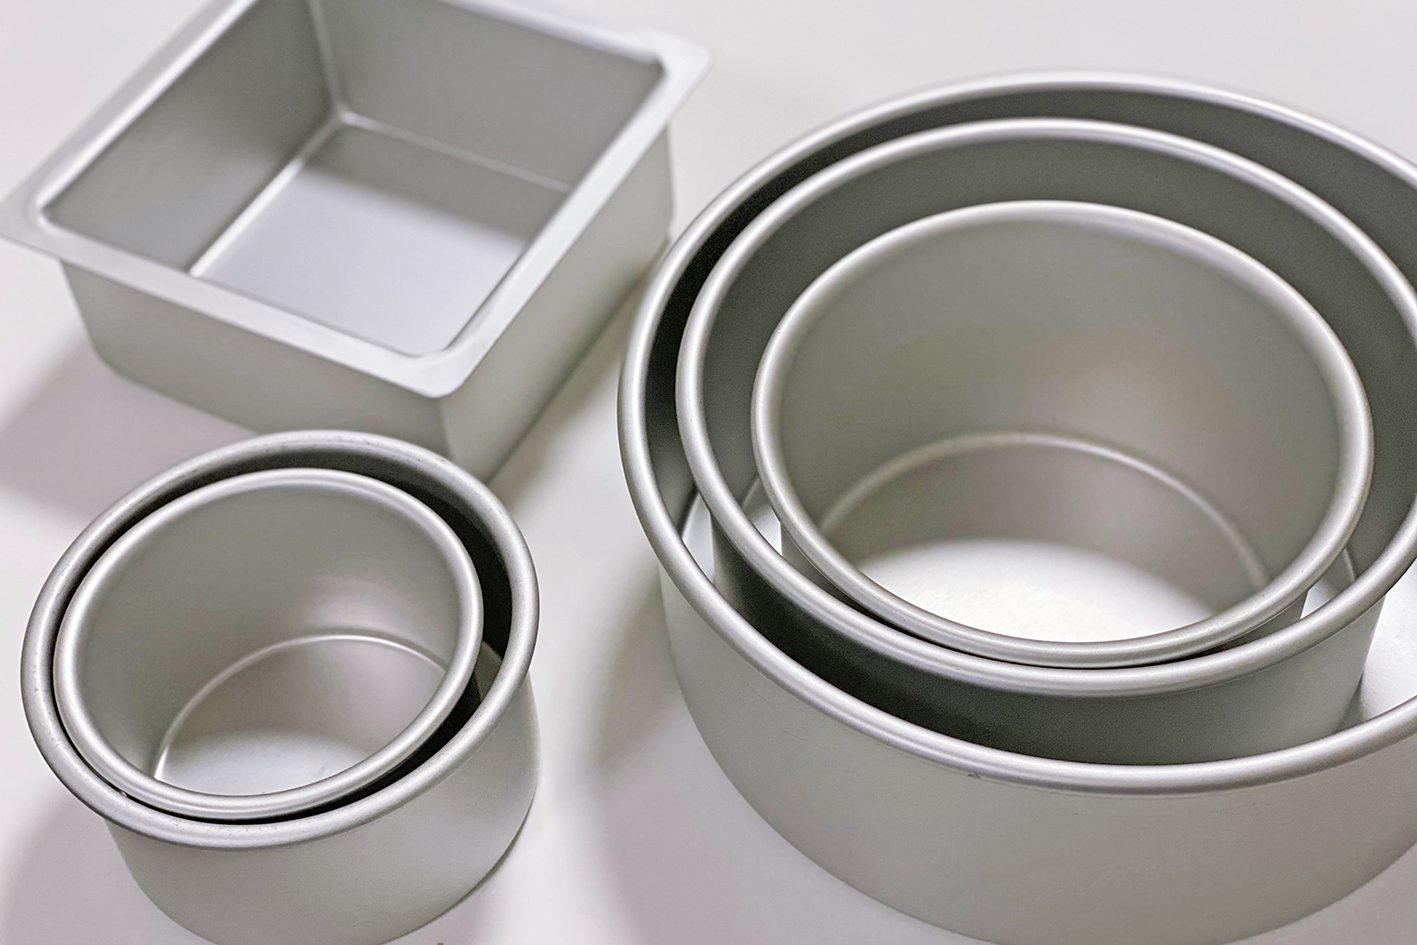
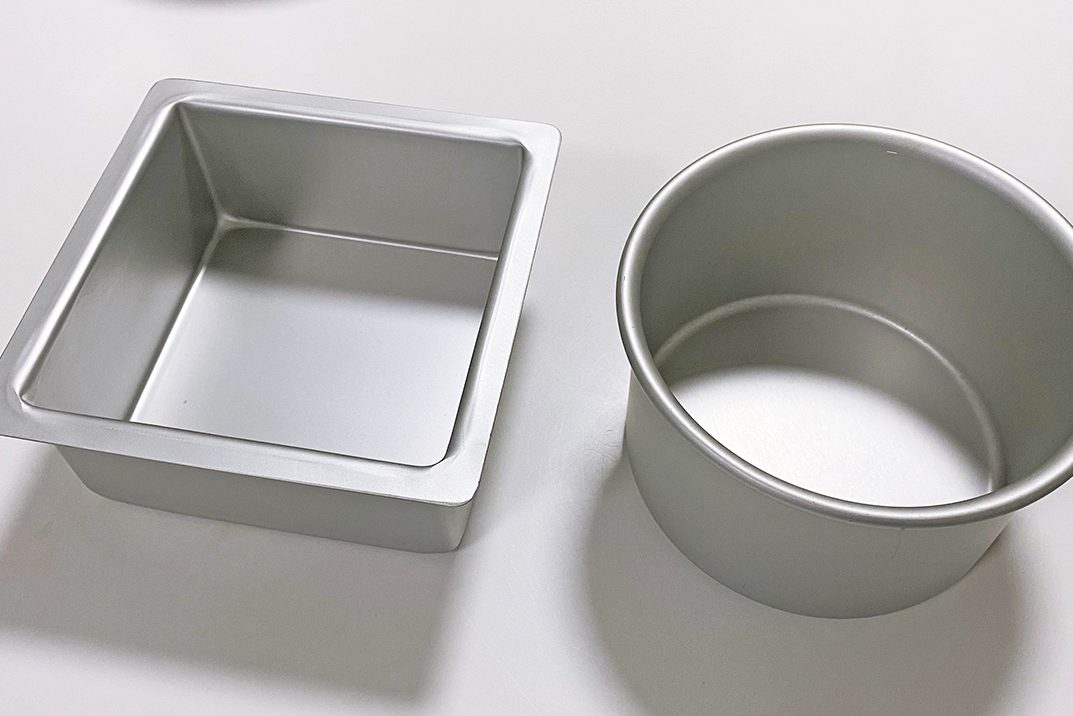
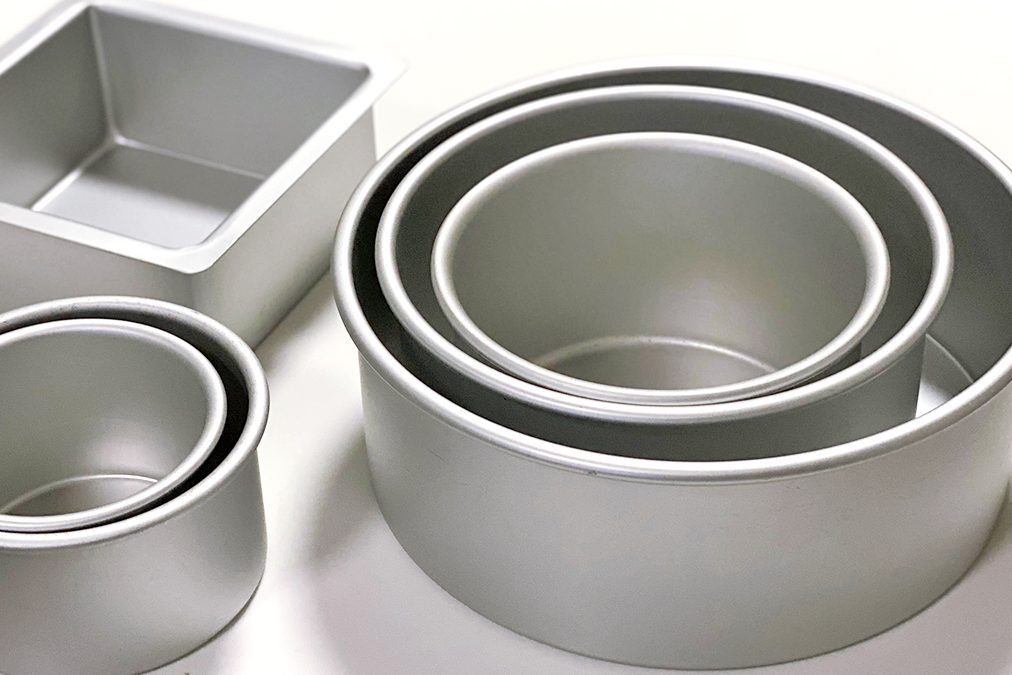
- Grease three 14 centimetre diameter round pans (4 cm tall), adding a circle of parchment paper to the bottom of each pan
- For the Buttermilk
Simply combine the Milk and Vinegar; Stir well, let it sit for 5 minutes; set aside *The acids in Buttermilk will react with the leavening agent, producing a light, fluffy cake texture and tender crumb - In another bowl, sift all the dry ingredients (All-Purpose Flour, Baking Soda and Raw Cacao Powder); set aside
* Sifting the dry ingredients will help remove any lumps in the Cocoa Powder and Baking Soda - In a large mixing bowl, using a baloon whisk creaming the Unsalted Butter and Caster Sugar until pale and fluffy This process will take for about 5 minutes
- Then add in Eggs, mix well
- Add the dry ingredients alternating with the Buttermilk (3 additions of dry ingredients and 2 additions of Buttermilk; begin and end with dry ingredients) Mix until just combined DO NOT OVER MIXED
- Scrape the bottom of the bowl to make sure the batter is mixed well
- Divide the batter evenly between the 3 pans (About 170 grams each)
- Tap the pan a few times to remove air bubbles; then bake in the preheated 160°C fan oven on the middle rack for 15 minutes
- Once it’s done, let it cool in the pan for about 5 minutes; then turn it over and leave it cool completely on a cooling rack (make sure it’s completely cool before adding the frosting)
NOTES
- Store the cake in an airtight container in the fridge if not serving immediately
- The cake taste best if consumed within 3 days of baking, but will last for up to 1 week if stored in the fridge
- Serve at room themperature; keep away from heat and direct sunlight
- You can freeze the cake and it can be stored in the freezer for up to 2 months.
- To freeze: wrap the cake well in plastic wrap and then in foil to prevent freezer burn.
To thaw: move the cake to the refrigerator overnight to slowly defrost.