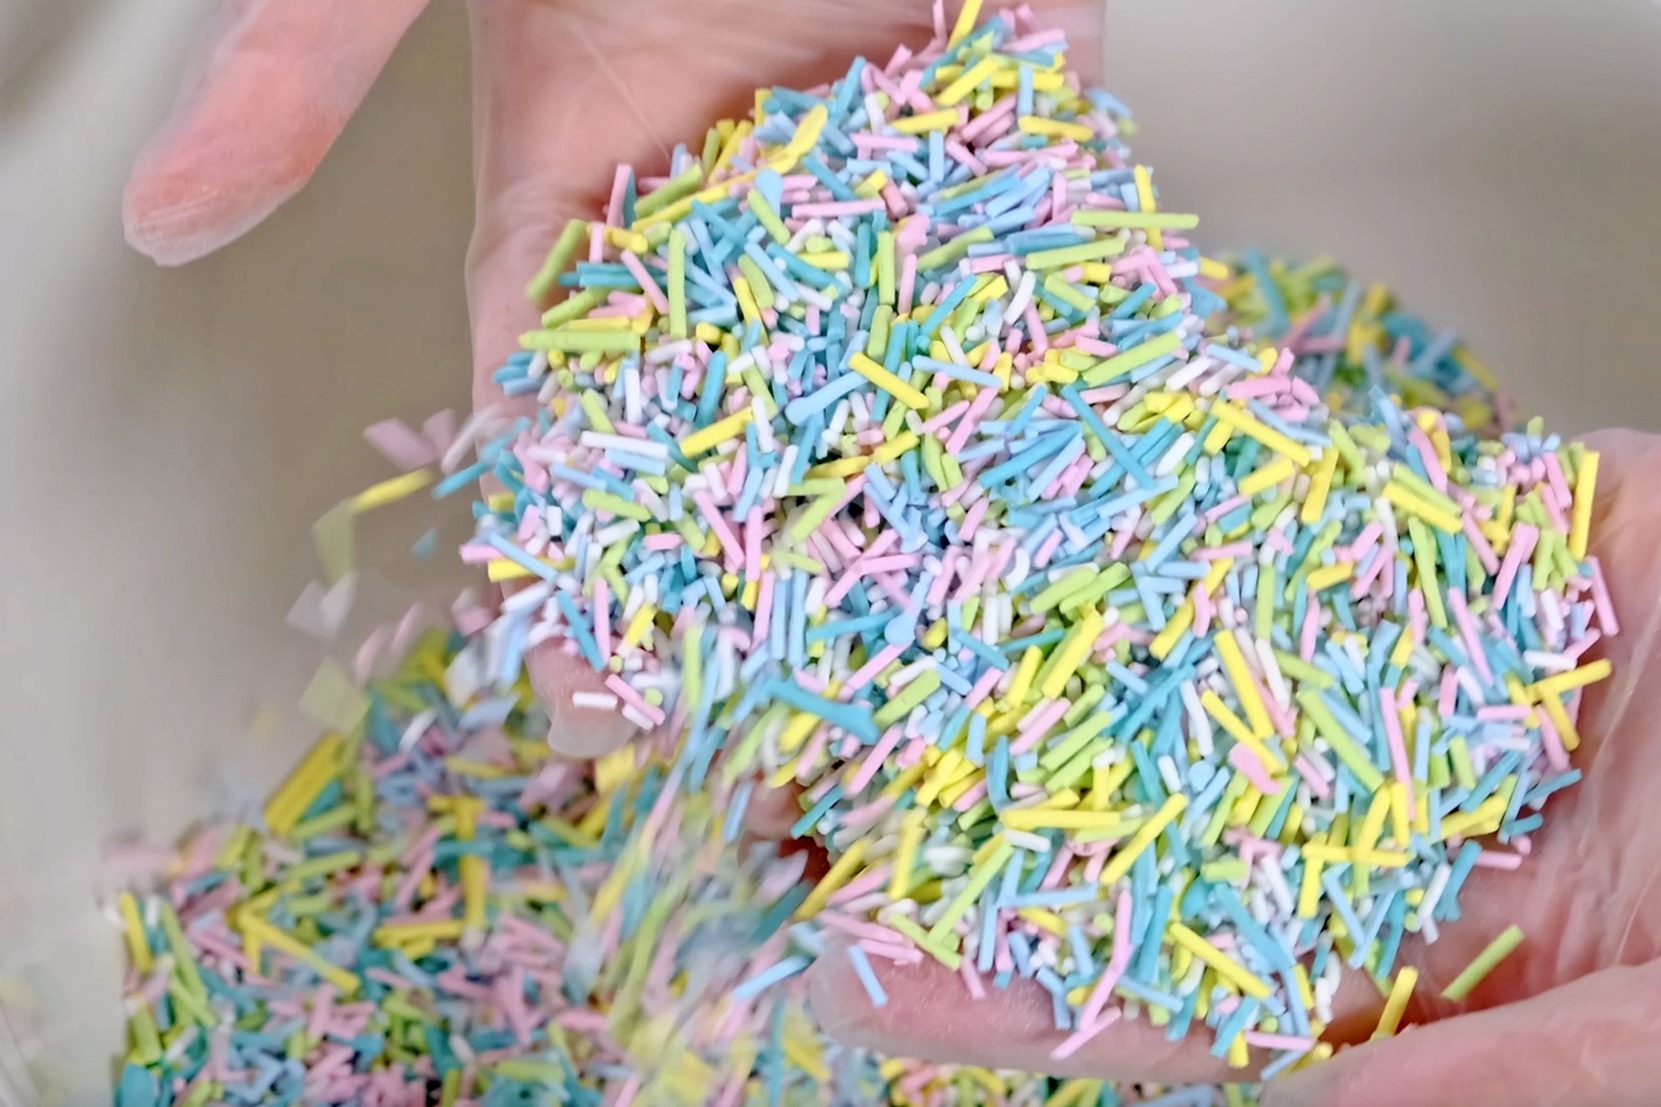
I truly enjoy making my own pastel sprinkles at home because they are quite difficult to find in stores 😬
Read moreI truly enjoy making my own pastel sprinkles at home because they are quite difficult to find in stores 😬
Read more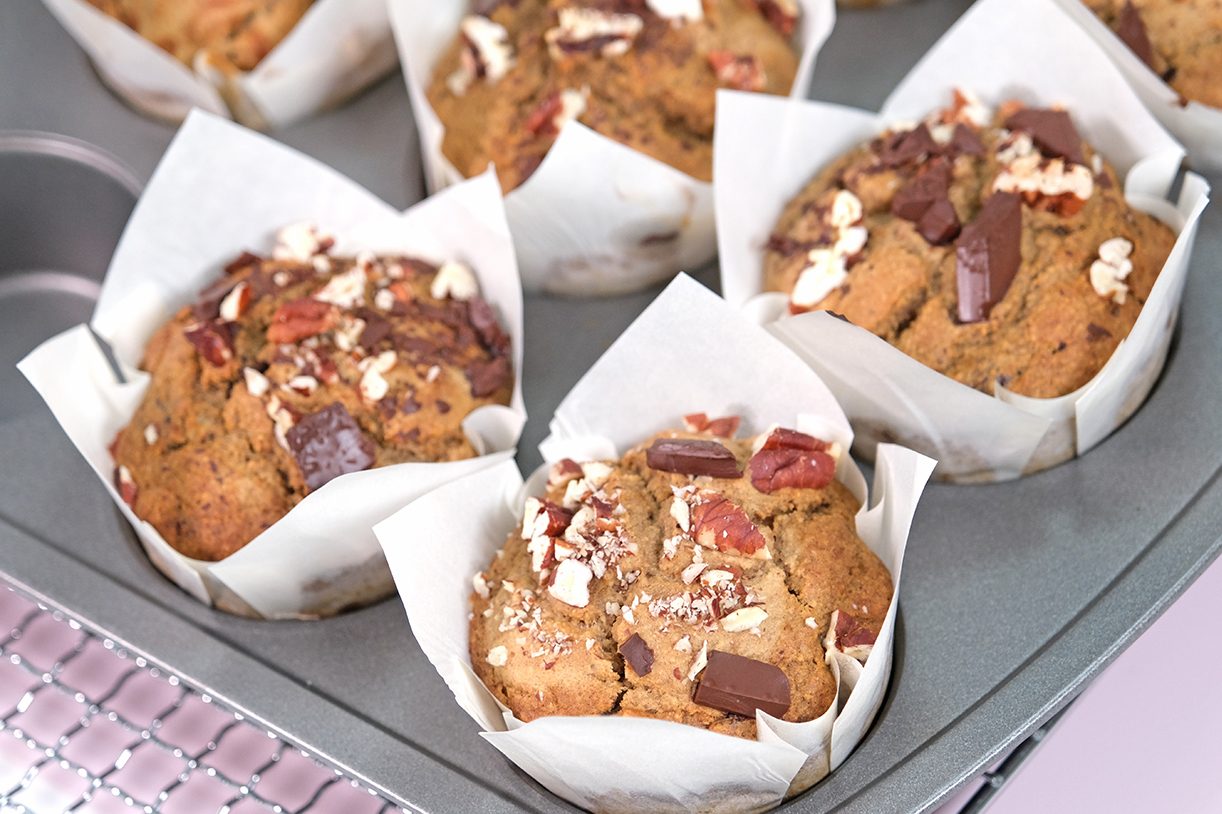
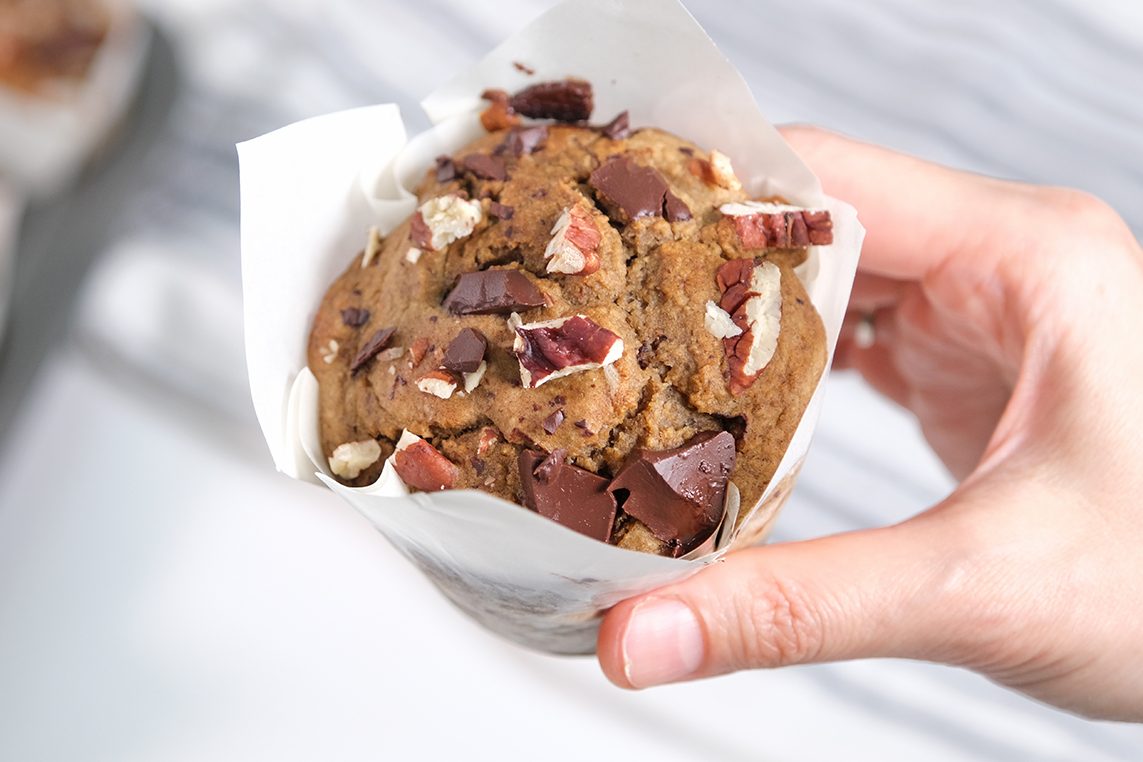
If you love Muffins but don’t love the sugar crash, these “Healthy Banana Oat Muffins” are about to become your new favorite bake.
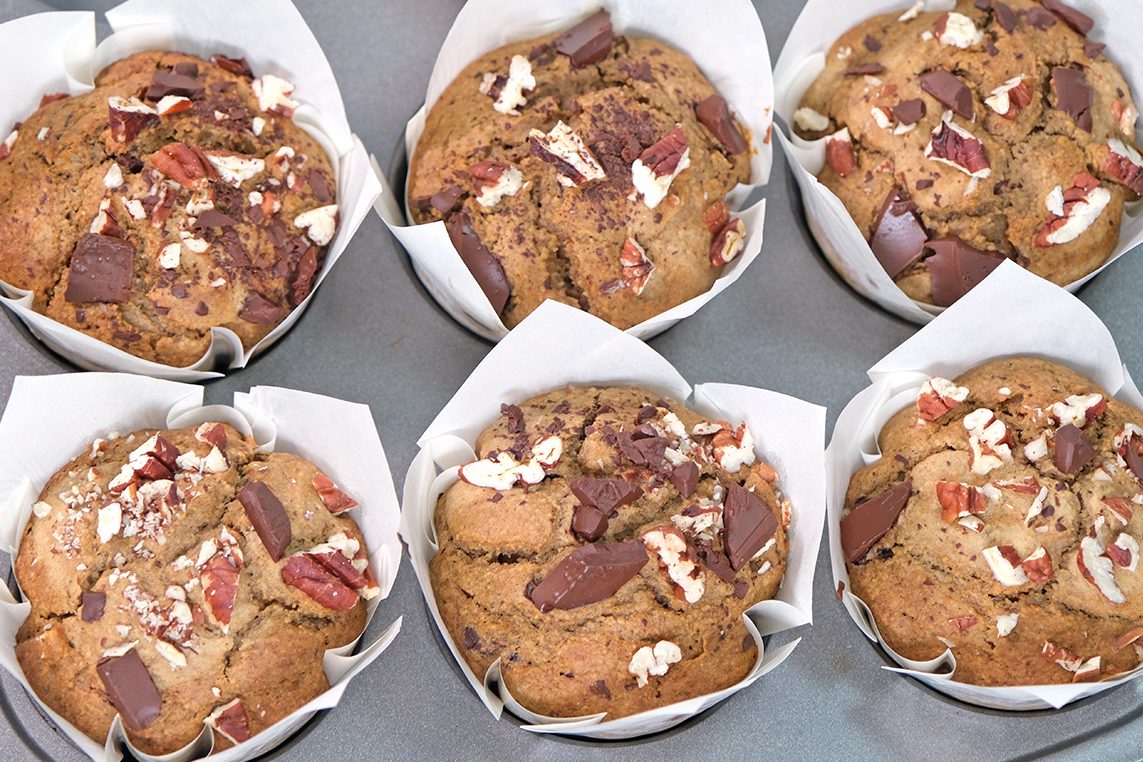
They’re naturally sweet, incredibly moist, and made with simple, wholesome ingredients — without Oil, Refined Sugar, Flour, or Dairy.
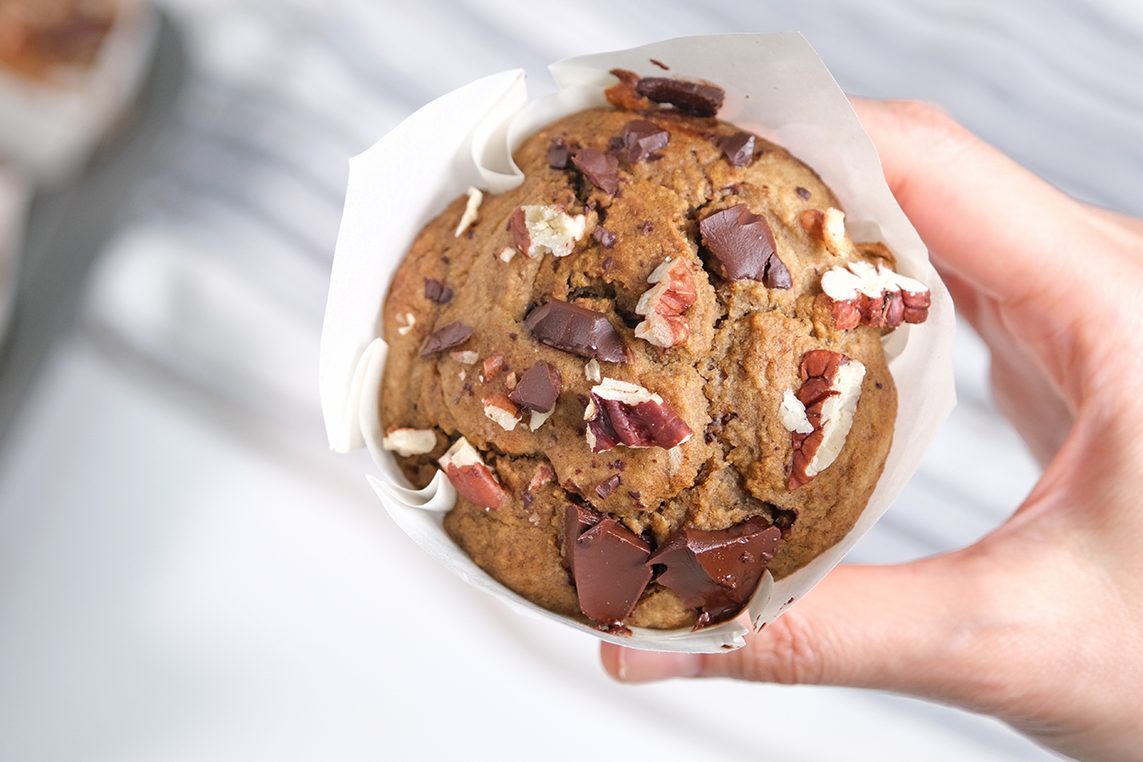
Yes, really!
These muffins are perfect for busy mornings, post-workout snacks, or even a light dessert. And the best part? Everything goes into one blender 😘
💋 WHY YOU WILL LOVE THESE MUFFINS
They’re soft, tender, and perfectly sweet, packed with fiber-rich Oats, and finished with Dark Chocolate and crunchy Pecans.

🍌 Why These Muffins Work
They’re hearty, filling, and perfect for breakfast or a snack 🤓
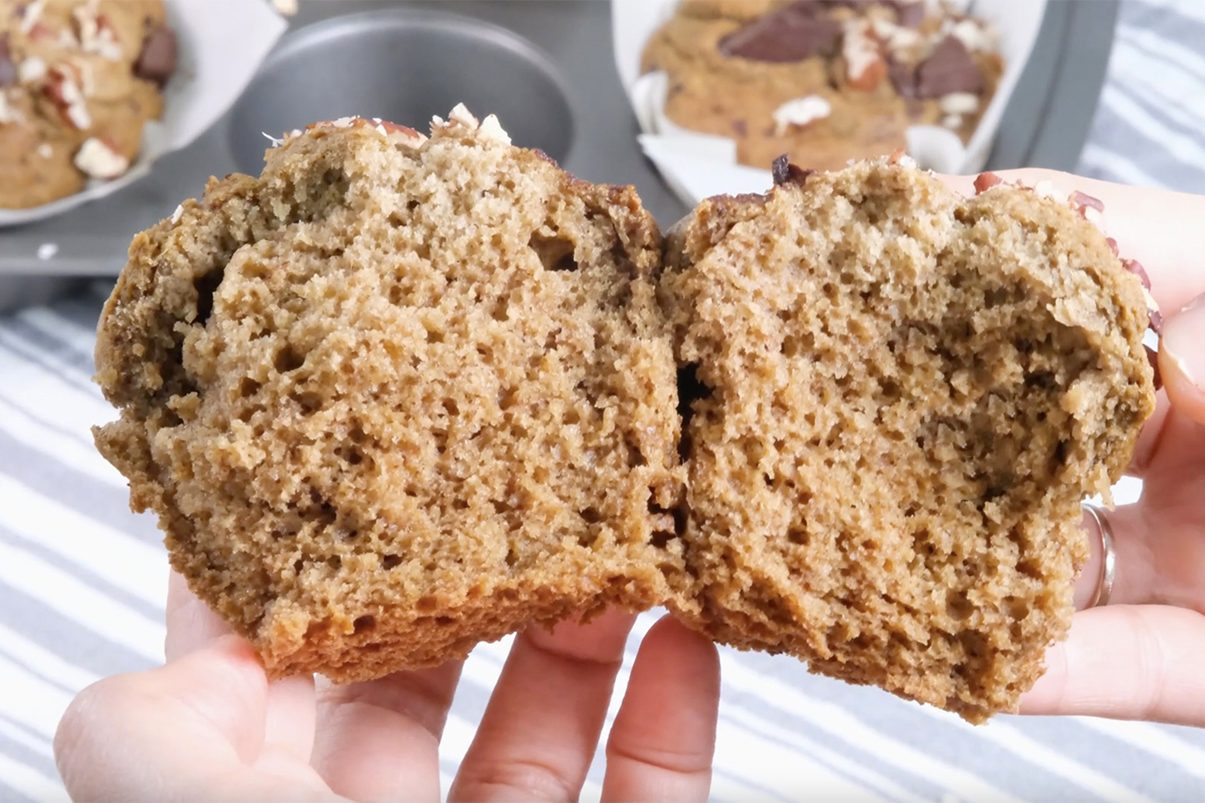
These Banana Oat Muffins prove that healthy baking doesn’t mean sacrificing flavor.
With just a handful of wholesome ingredients, you get a rich, satisfying muffin that feels indulgent — but fuels your body well.
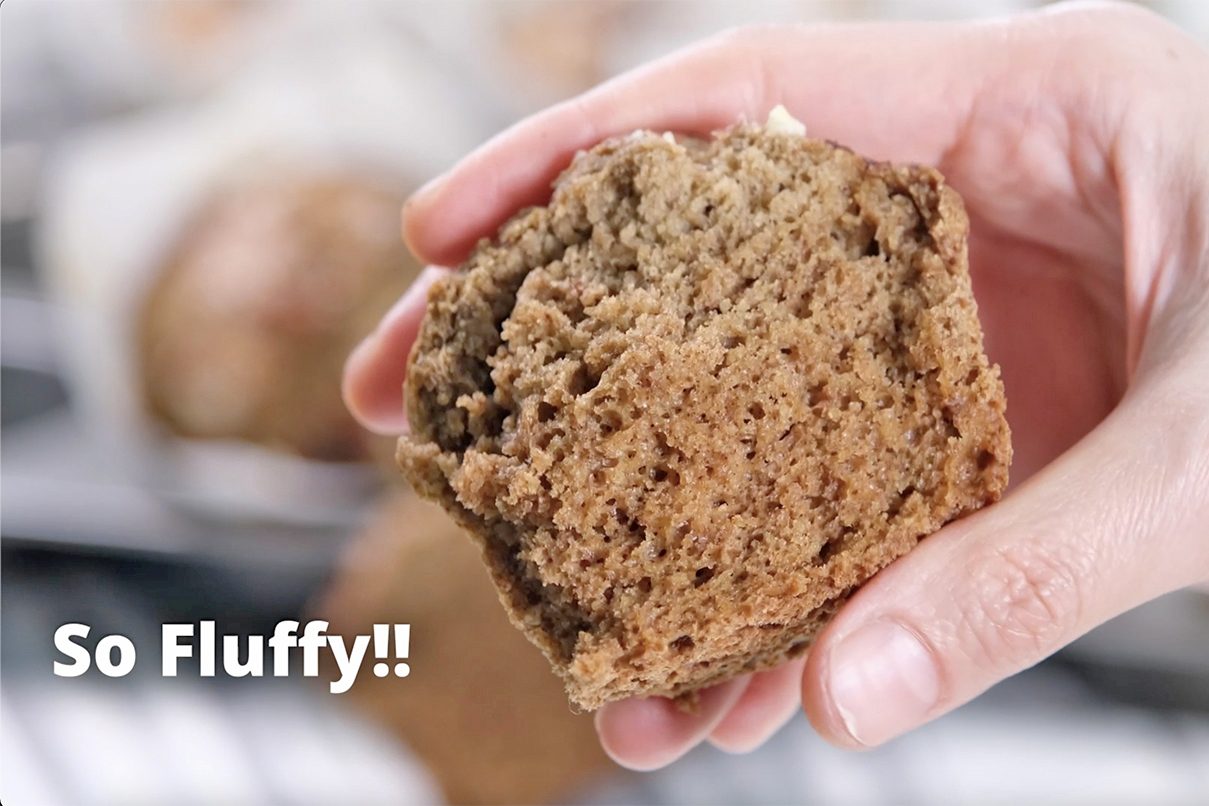
Perfect for a guilt-free snack, breakfast or a cozy coffee break 😘 ☕
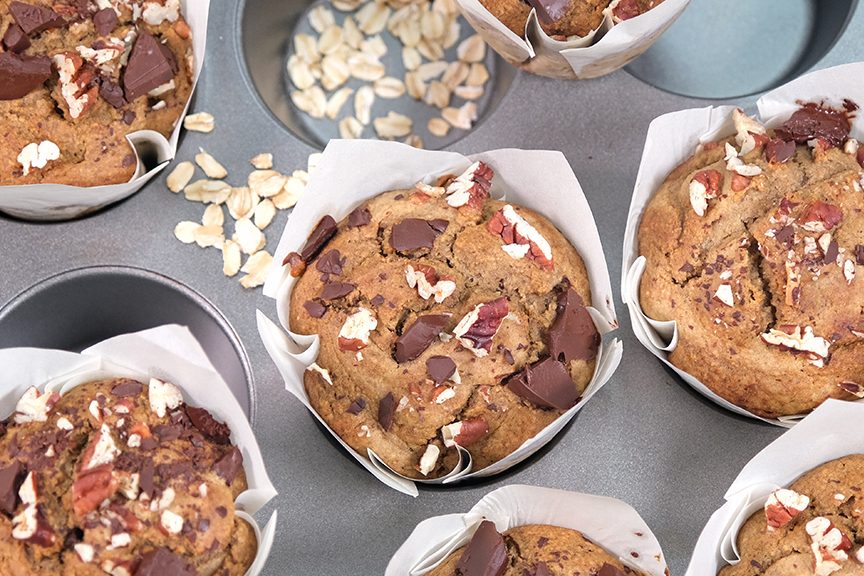
Give them a try, and let me know what you think! 😁
HEALTHY BANANA OAT MUFFINS
Yield: 7 Big Muffin
🍌🧁 INGREDIENTS
350 g Bananas (ripe to overripe with brown spots)
70 g Dates (pitted)
160 g Rolled Oats (blend into powder)
115 g Eggs (room temp.)
1 tsp Baking Soda
30 g Dark Chocolate 70% (chopped)
30 g Pecans (chopped)
🍌🧁 INSTRUCTIONS
Because these muffins contain fruit and no preservatives, proper storage is important:
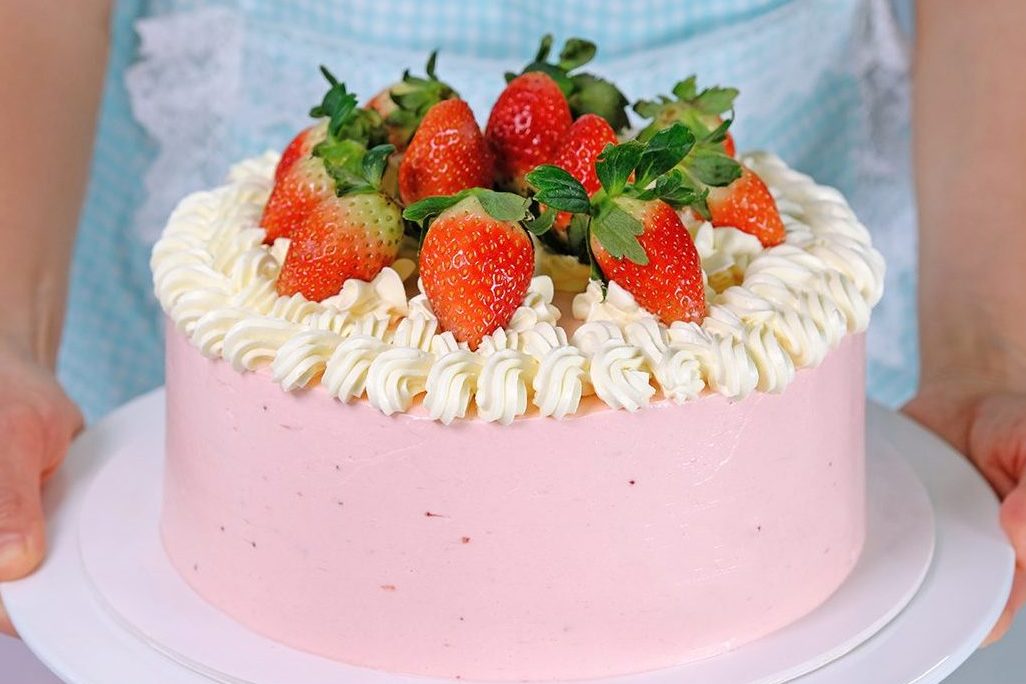
I think every girl carries a sweet little dream in her heart—a dream of a pretty, soft, and irresistibly yummy Strawberry Cake.
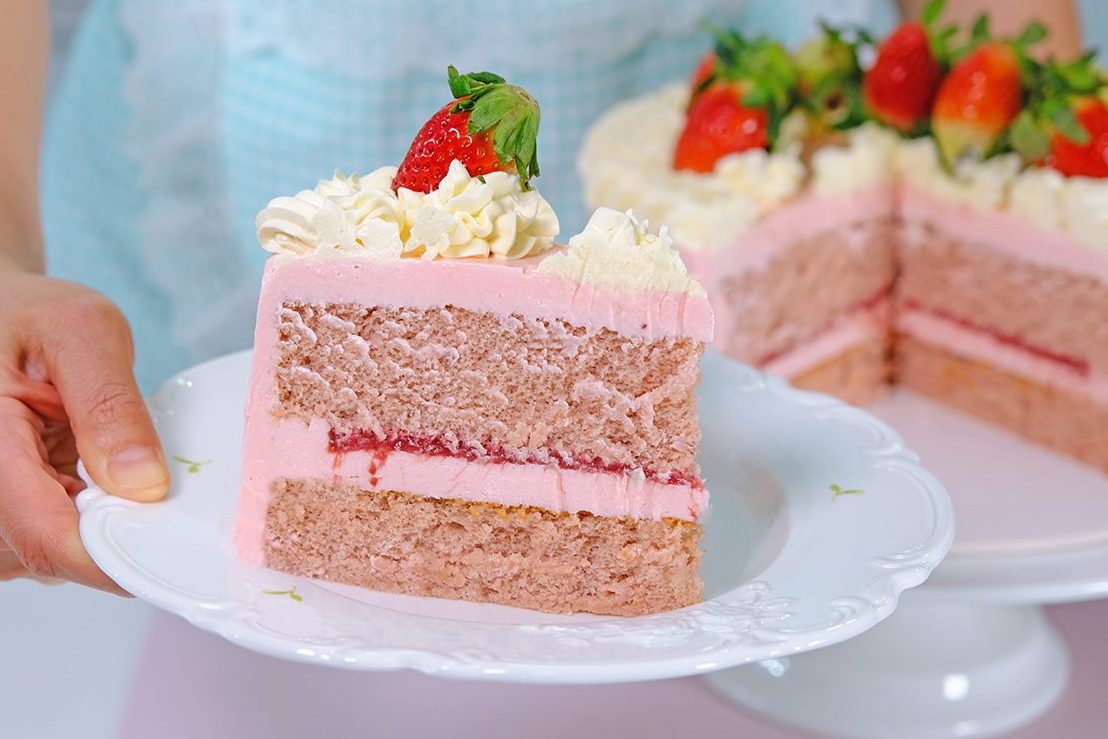
It reminds me of Strawberry Milk in a cute cartoon box, the kind we loved as children. One sip, and suddenly you’re back in childhood—carefree, happy, and smiling without a reason.
That feeling is exactly what I want a strawberry cake to bring 🥰

I’ve been thinking for a long time about how to make the perfect Strawberry Cake. Not just any cake—but one that truly captures the essence of strawberries.
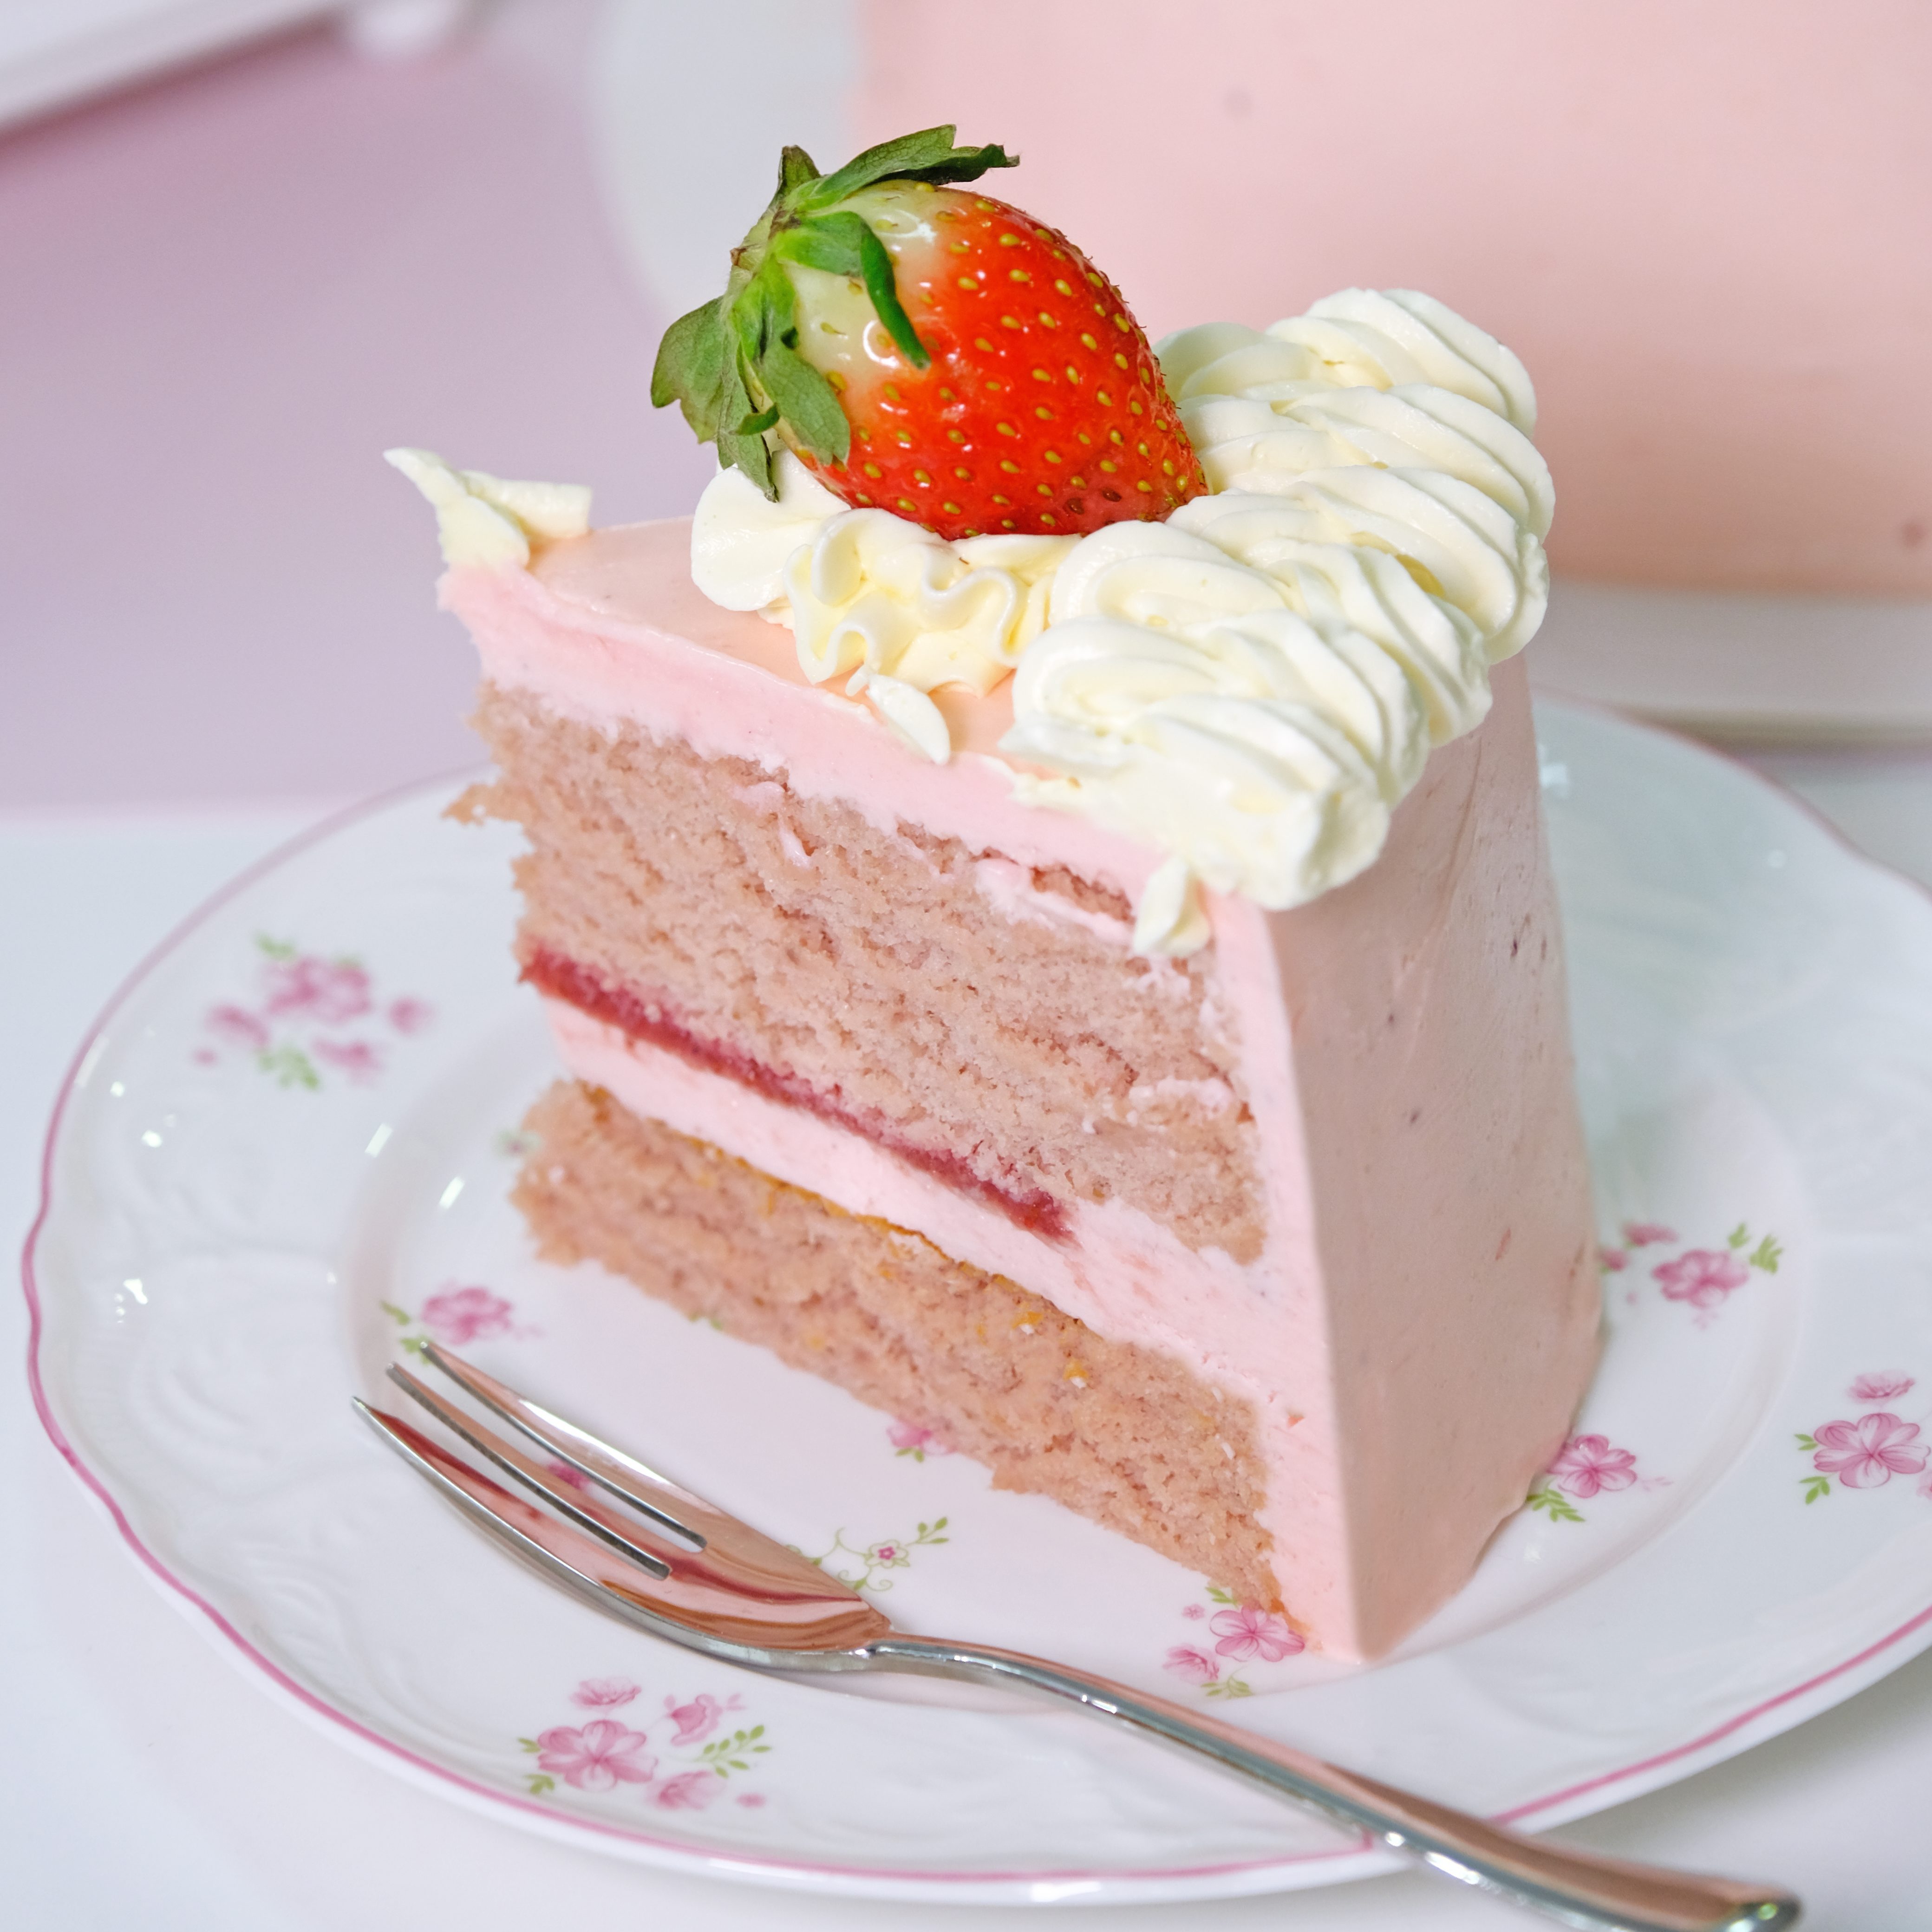
The texture is just as important: light, fluffy, and airy—not heavy, not dense, and definitely not overly sweet. Every bite should melt softly in your mouth, followed by a gentle burst of strawberry flavor.
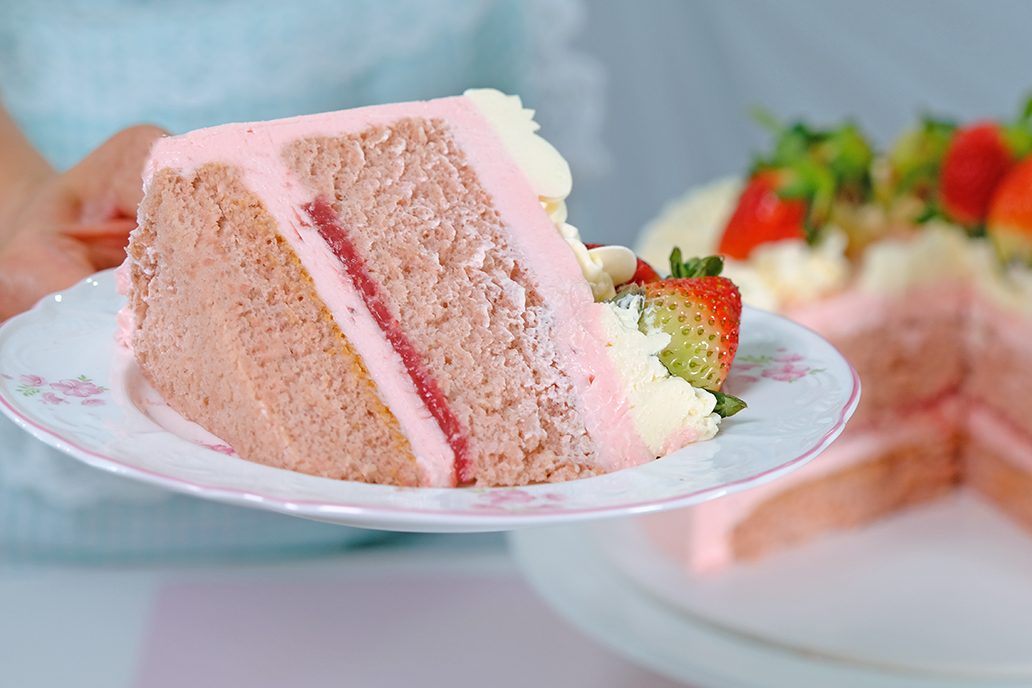
And then comes the buttercream—the soul of the cake. It must also carry a strawberry flavor, but in a soft and delicate way.
Light, smooth, and balanced. Sweet, but not too sweet.

The kind of buttercream that complements the cake instead of overpowering it. When cake and cream come together, they should feel like a perfect harmony.
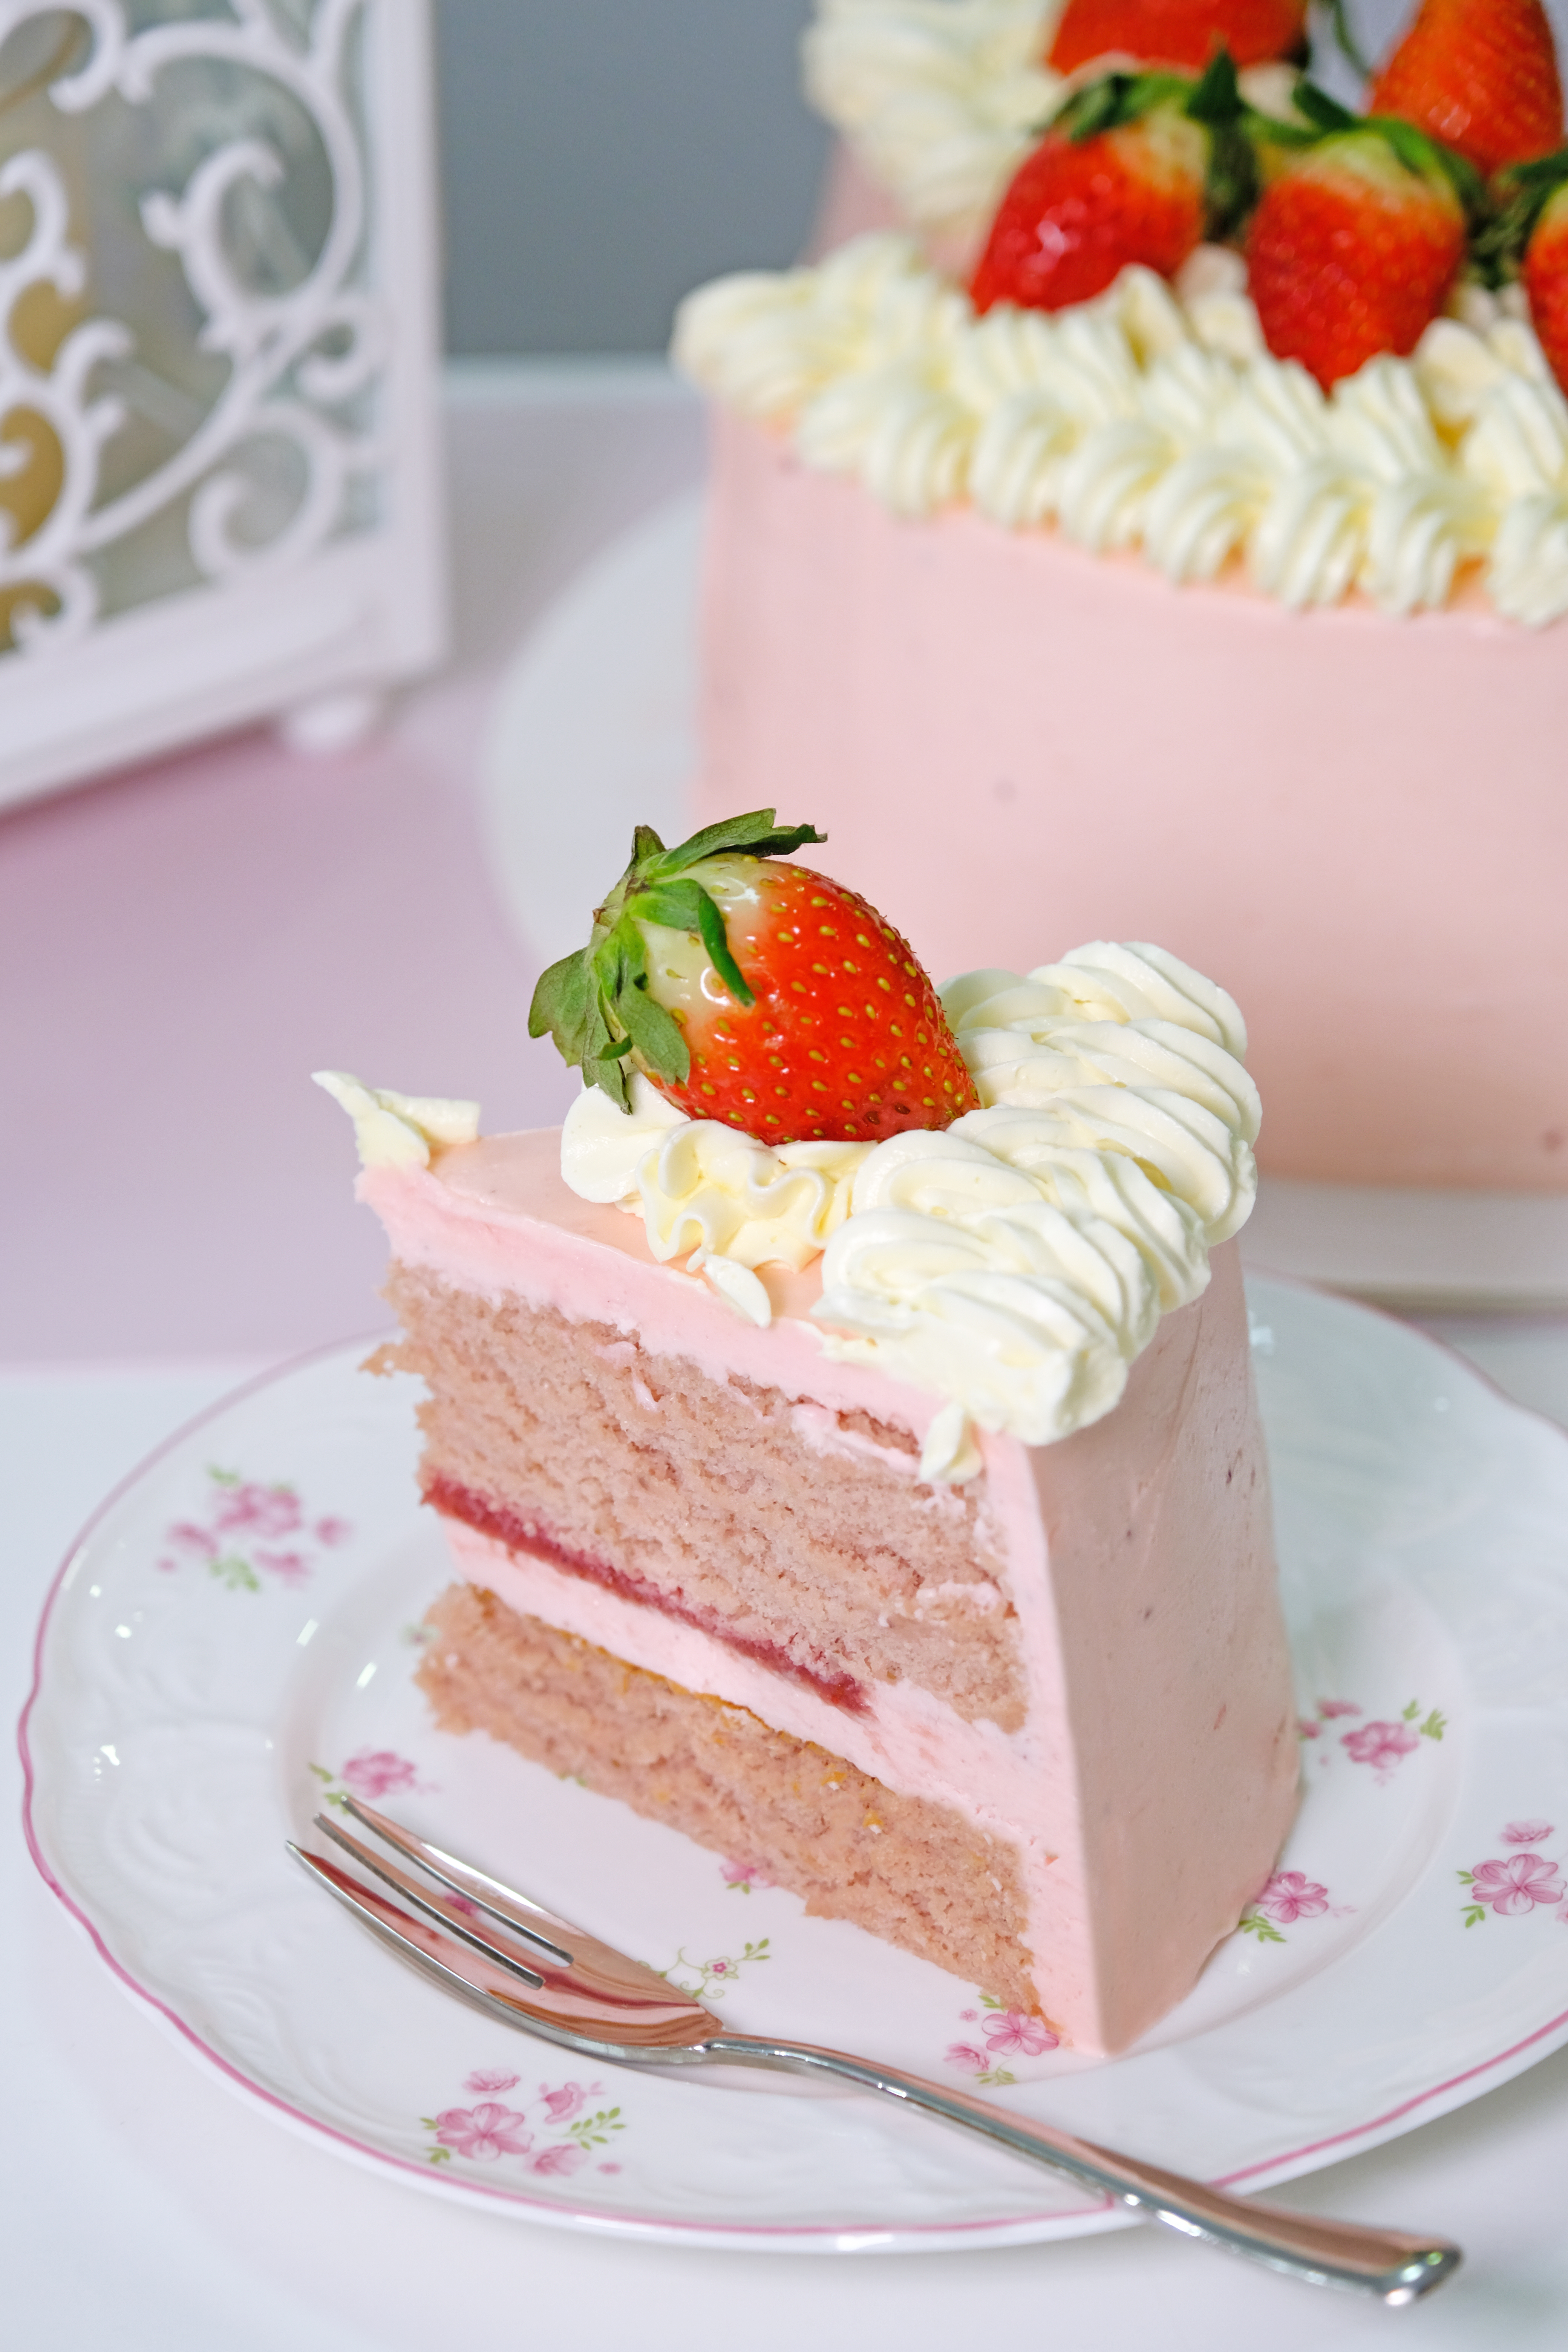
The color of the cake must be baby pink or soft pink—nothing loud, nothing artificial.
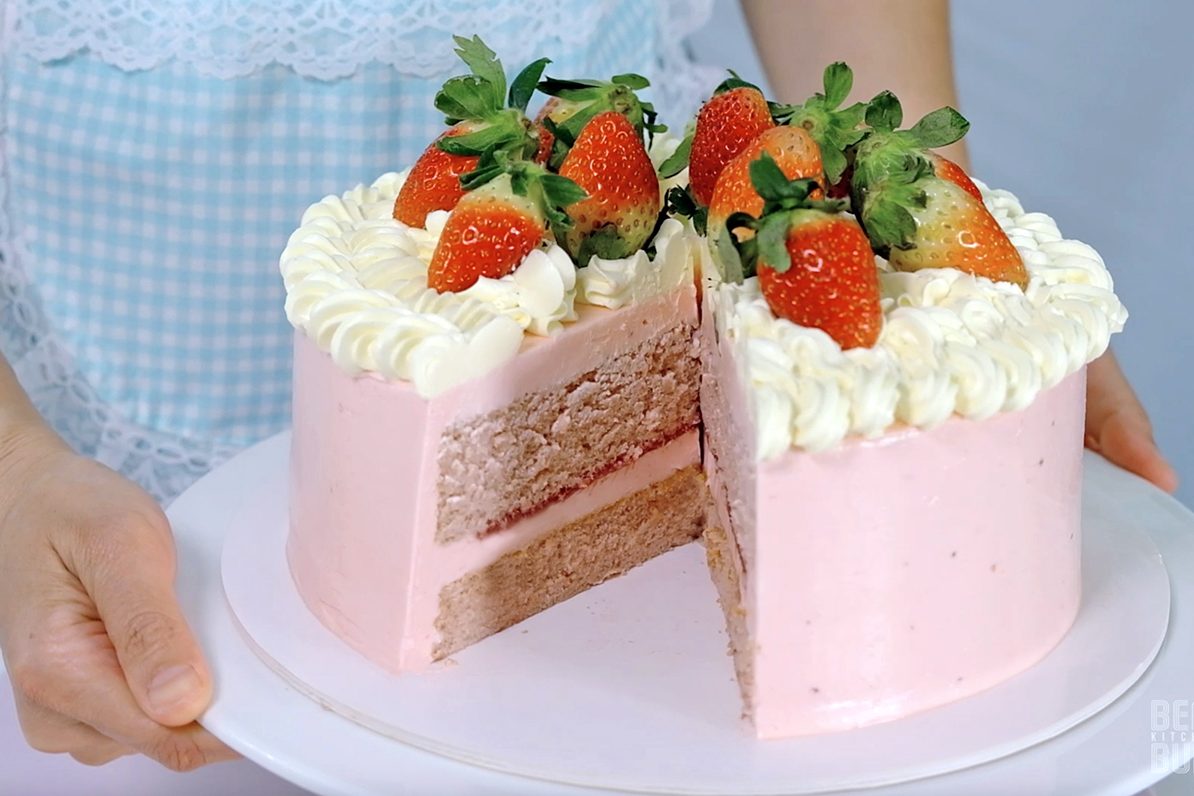

Just a gentle, pastel shade that instantly makes you feel happy and calm. A cake that looks as soft as it tastes. A cake that feels like a hug.

This strawberry cake isn’t just dessert. It’s a memory. It’s nostalgia. It’s childhood joy wrapped in layers of fluffy cake and strawberry cream.
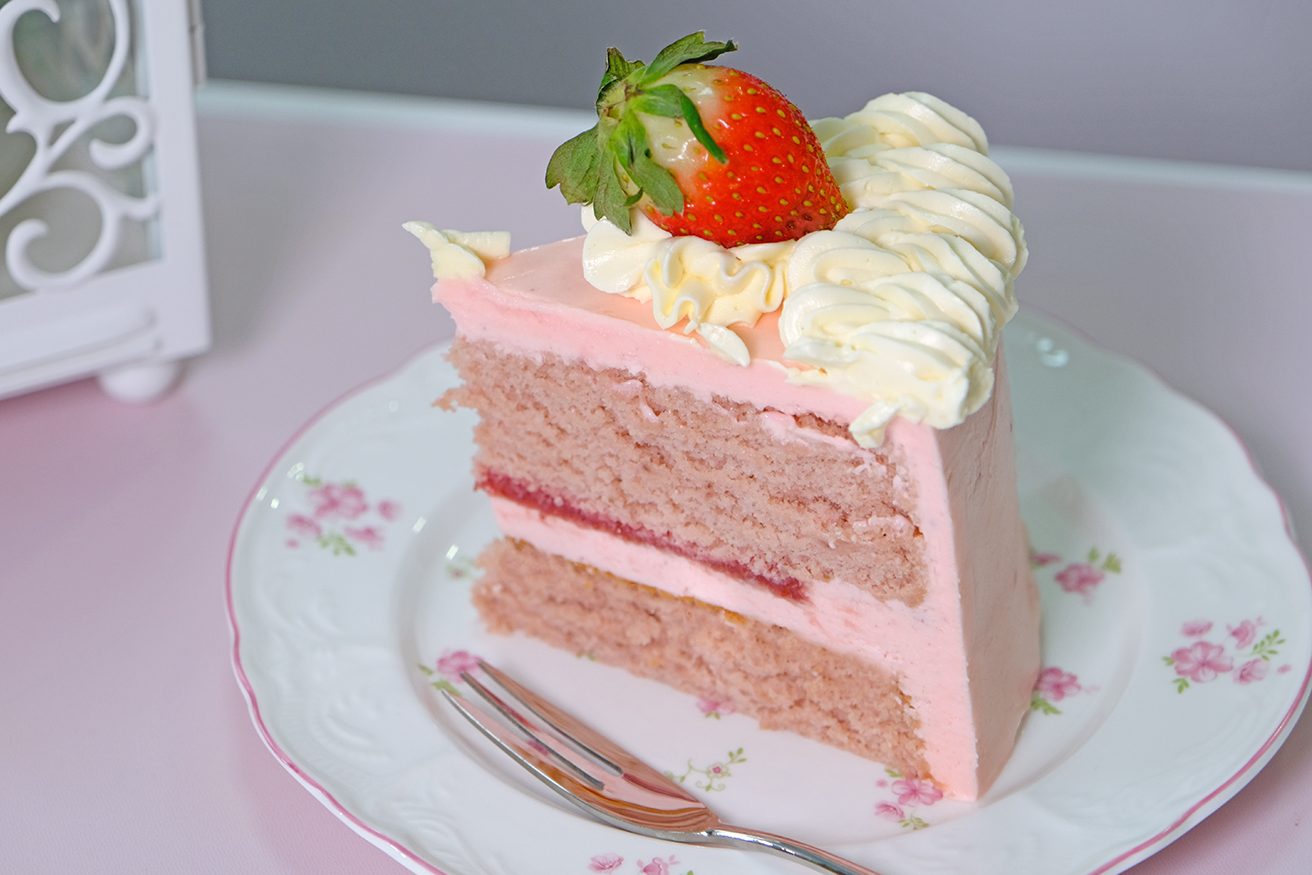
It’s proof that sometimes, the simplest dreams—the pink ones, the sweet ones—are the most beautiful to chase.
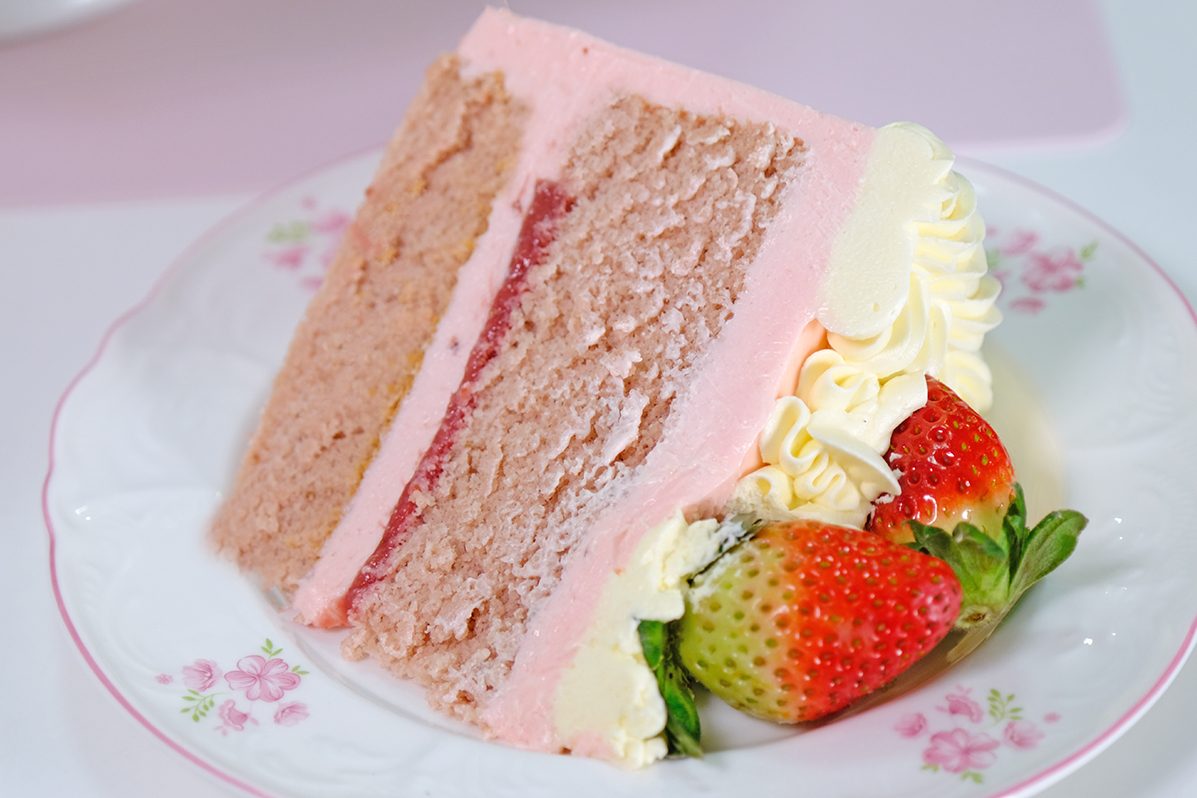
A Soft, moist cake made with real fresh strawberry puree, giving it a beautifully tender texture and a rich, fruity strawberry flavor in every bite.
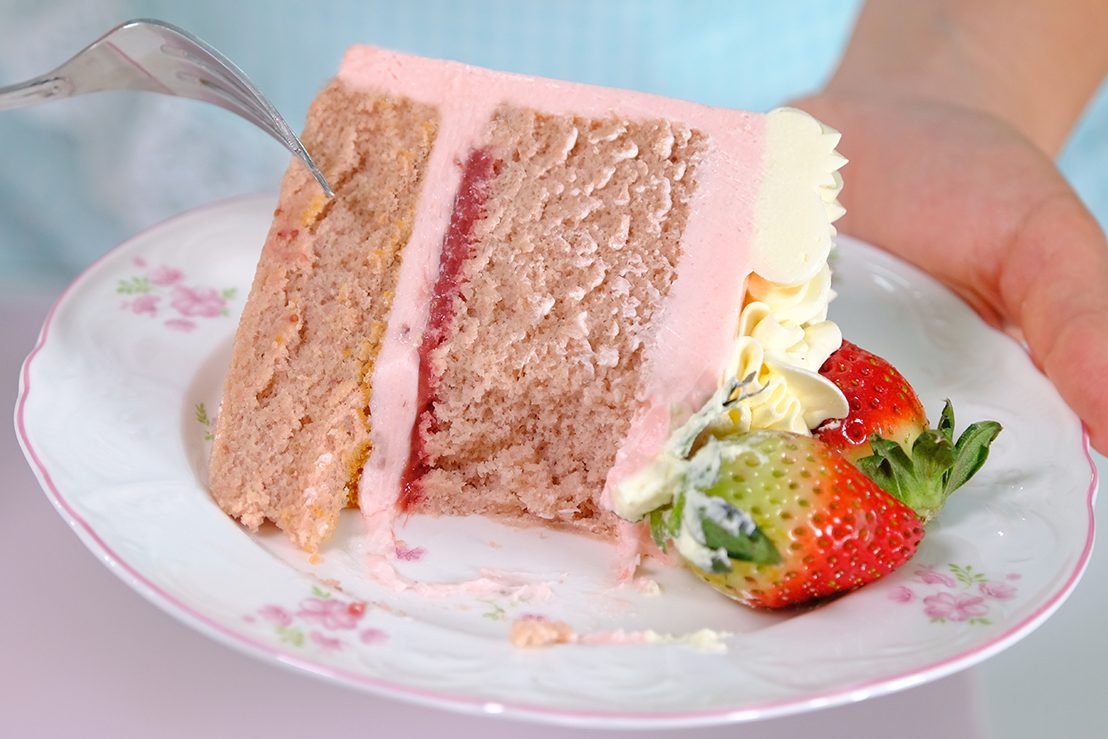
Whether it’s for a special day, for your loved ones, or simply as a sweet treat;
This strawberry cake is sure to please and bring joy to those you share it with
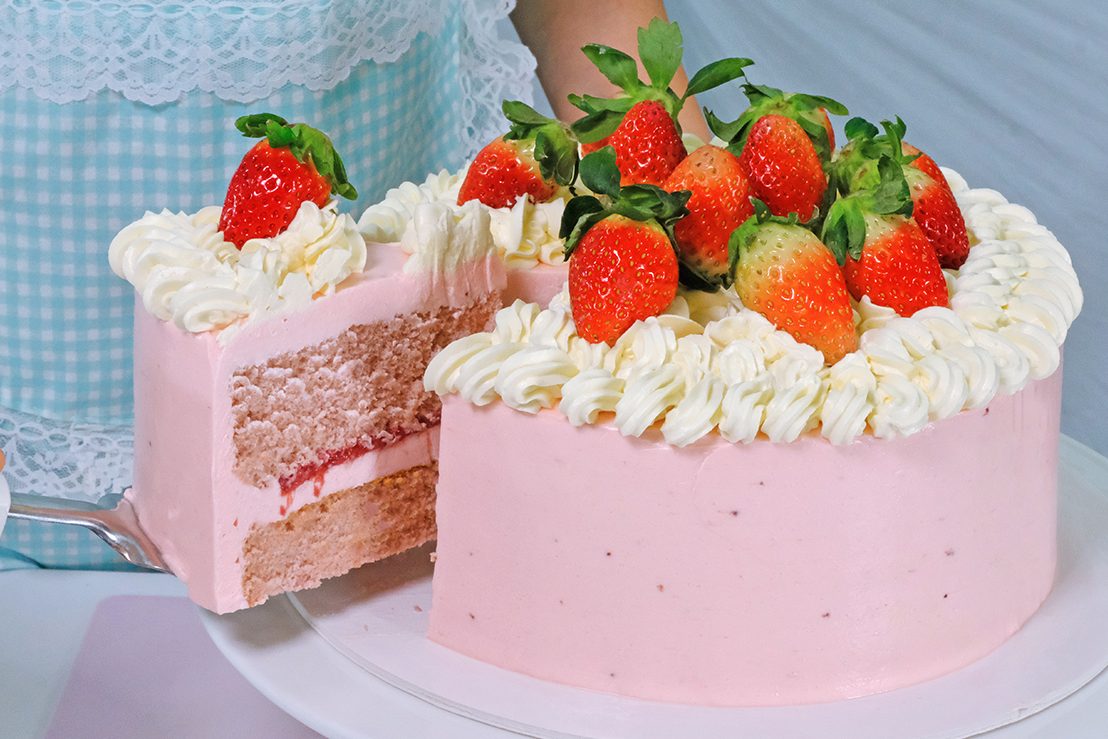
I hope you enjoy making and tasting it !
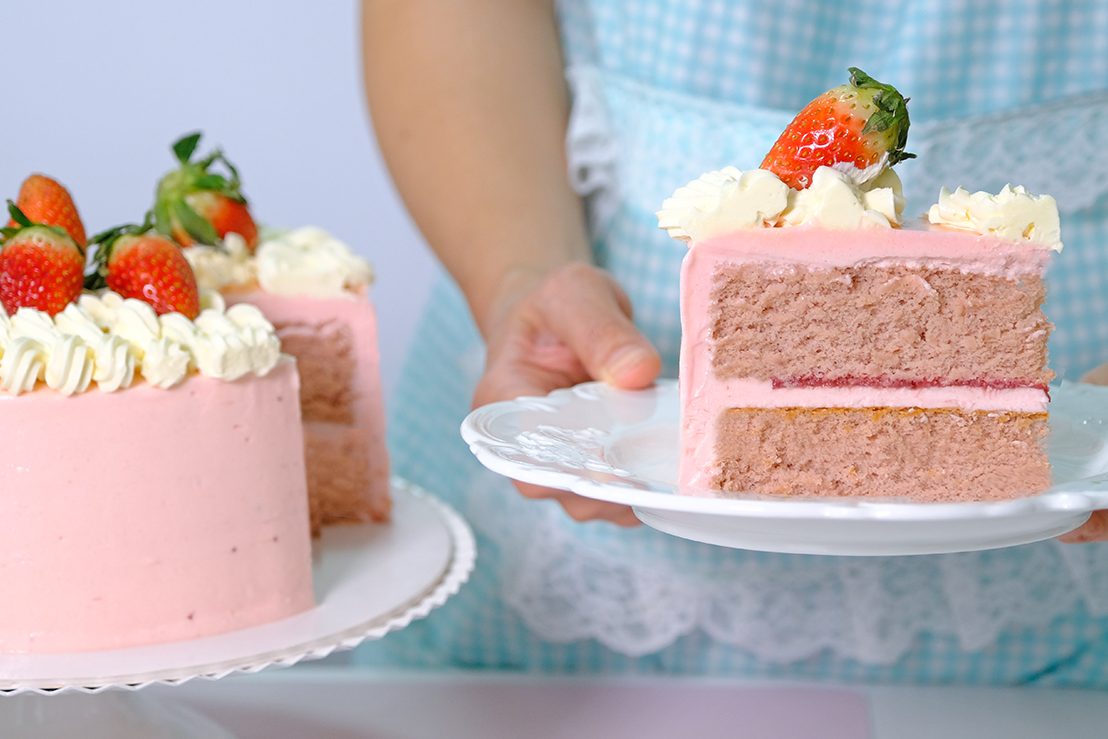
Love you All 🍰🍓
LIGHT & FLUFFY STRAWBERRY CAKE
Yield: One 8-Inch Round Cake (2 layers)
INGREDIENTS
🍓Strawberry Puree
450 g Frozen or Fresh Strawberries
1 tsp Corn Flour
2 tsp Water
🍓Strawberry Cake
5 Egg Yolks (95-100 g) ~ room temp.
1 Egg (50-55 g) ~ room temp.
50 g Vegetable Oil
40 g Plain Greek Yogurt (room temp.)
80 g Strawberry Puree (room temp.)
90 g Cake Flour (sifted)
A Drop of Pink Liquid Gel Food Colour
5 Egg Whites (165-175 g)~ room temp.
1/4 tsp Salt
1 tbs Lemon Juice
90 g Caster Sugar
🍓Buttercream
180 g Egg whites
300 g Caster Sugar
240 g Icing Sugar
170 g Vegetable Shortening (High Ratio)
454 g Unsalted Butter (room temp.)
2 tbs Strawberry Puree
2 tsp Rose Water
1/4 tsp Salt
A Few Drops of Pink Liquid Gel Food Colour
INSTRUCTIONS
🍓Strawberry Puree
We will use this strawberry puree for the Cake, Buttercream and Filling
🍓Strawberry Cake
🍓Buttercream
ASSEMBLE & DECORATE THE CAKE
Once the cake is cooled, we can start assemble the cake
NOTES
Store the cake in the fridge if not serving immediately, keep away from heat or direct sunlight.
The cake best if consumed within 3 days of baking, but will last for up to 5 days if store in the fridge.
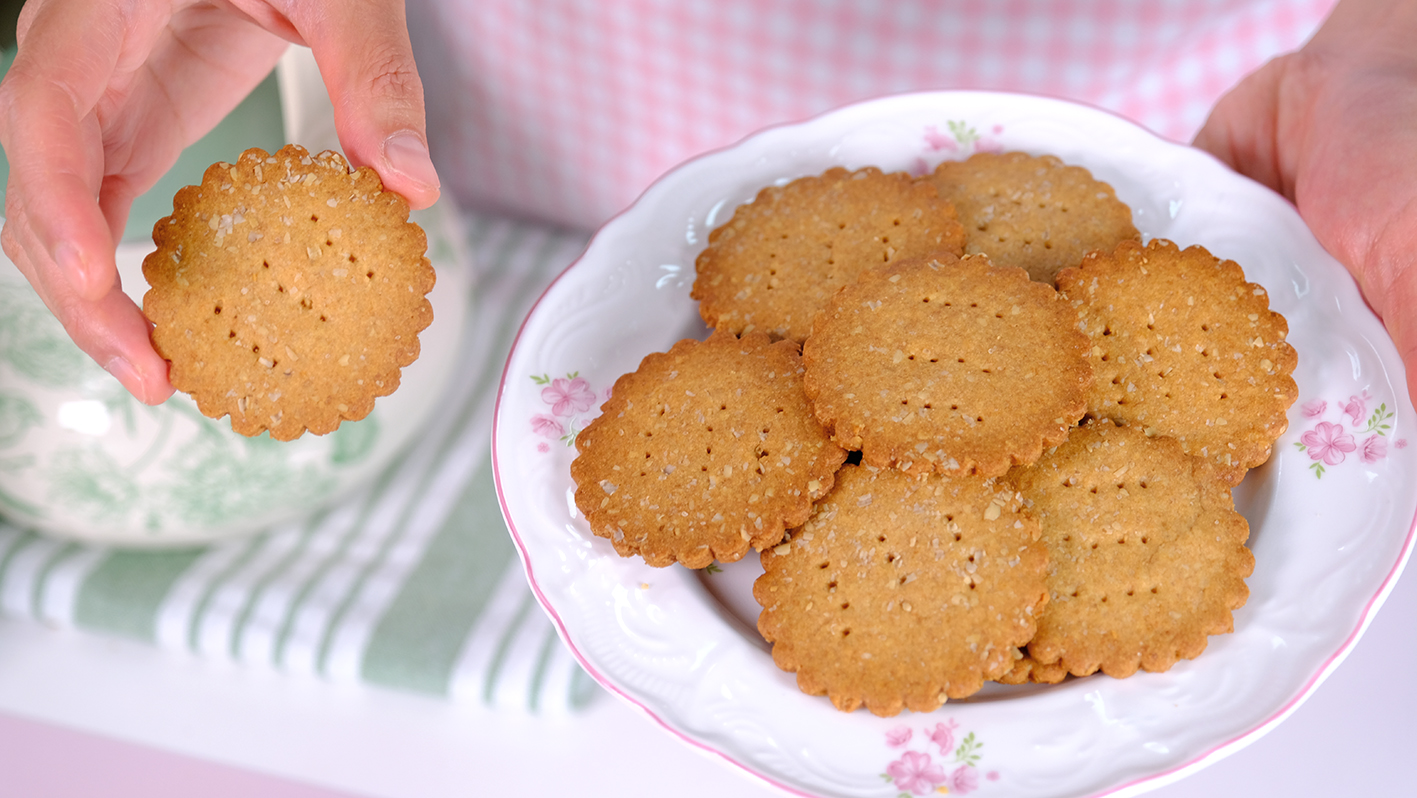
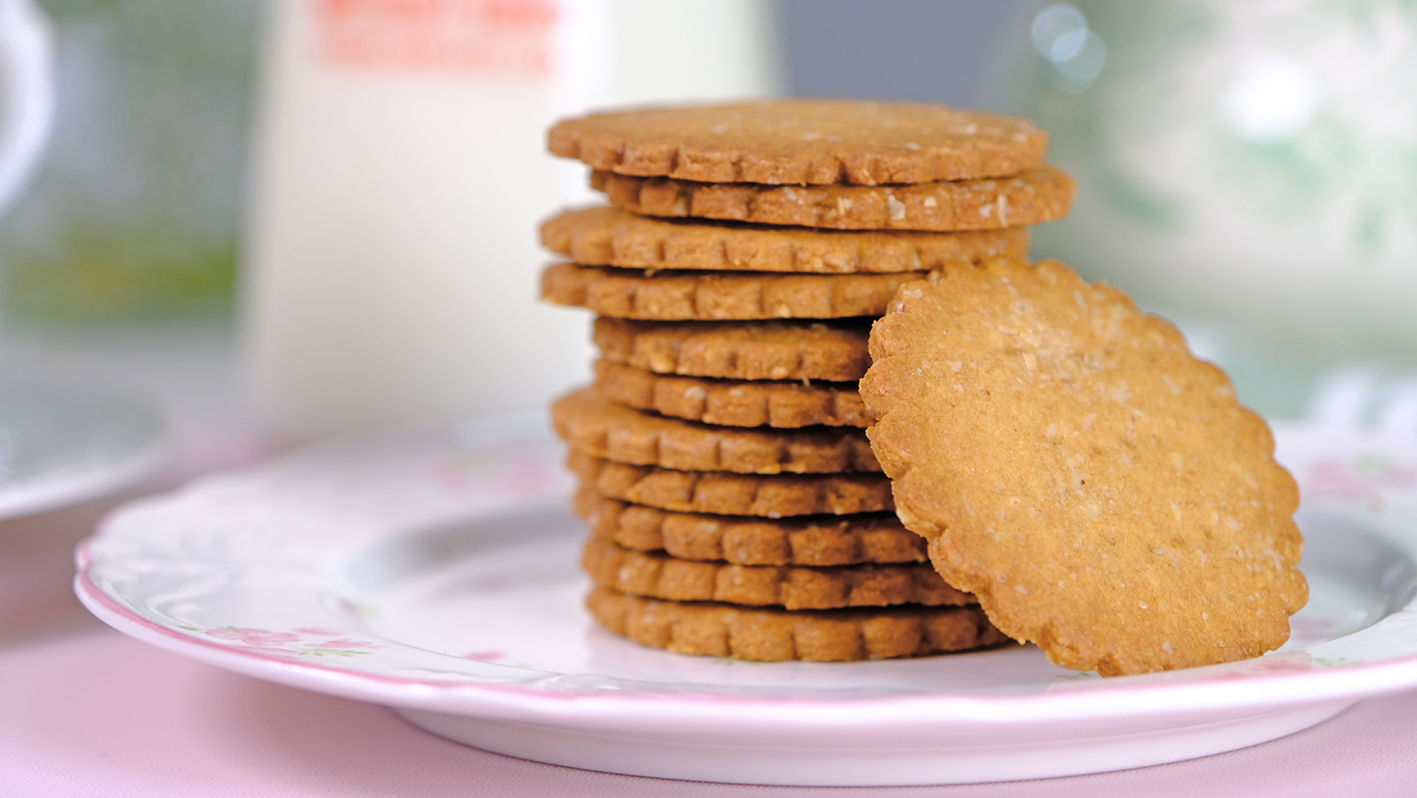
If you love snacking but want to keep things light, wholesome, and irresistibly crunchy; crispy thin Whole Wheat Biscuits might just become your new favorite treat.
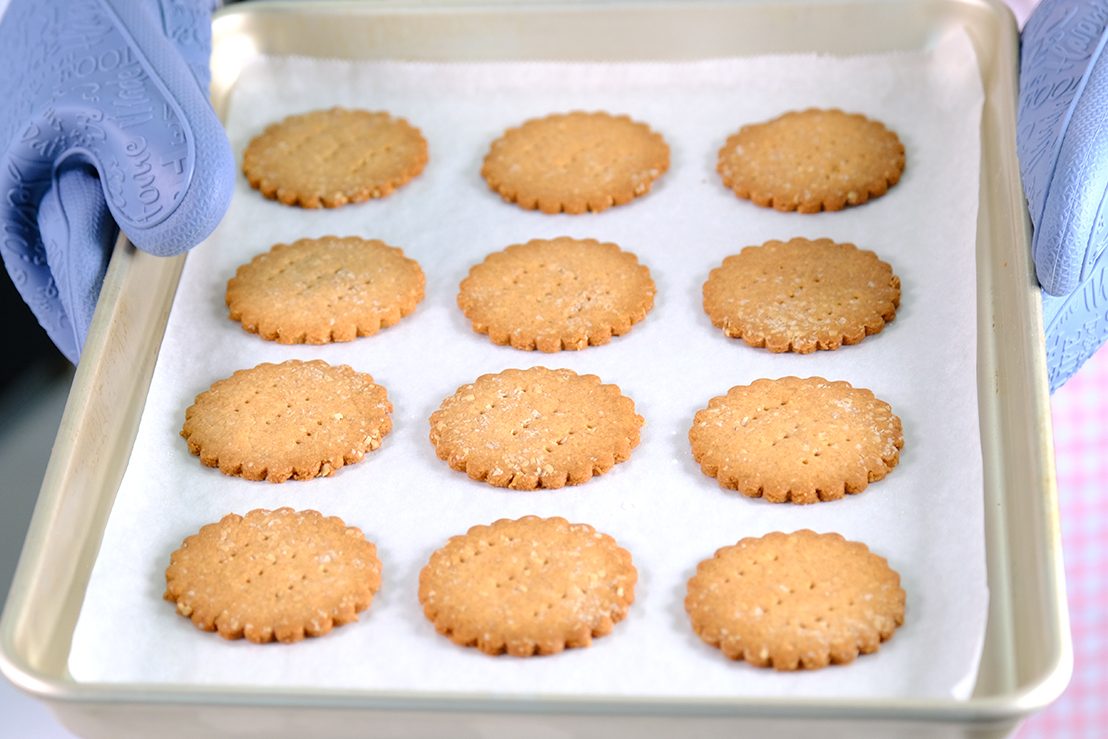
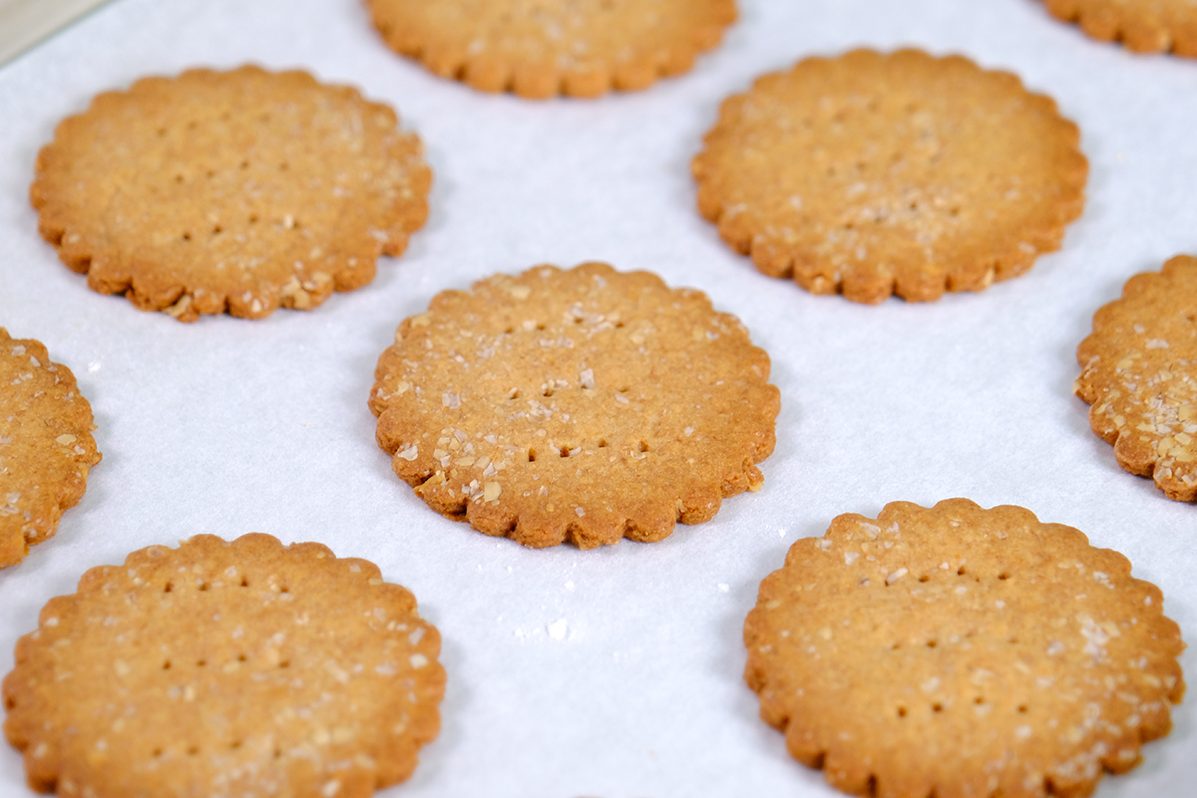
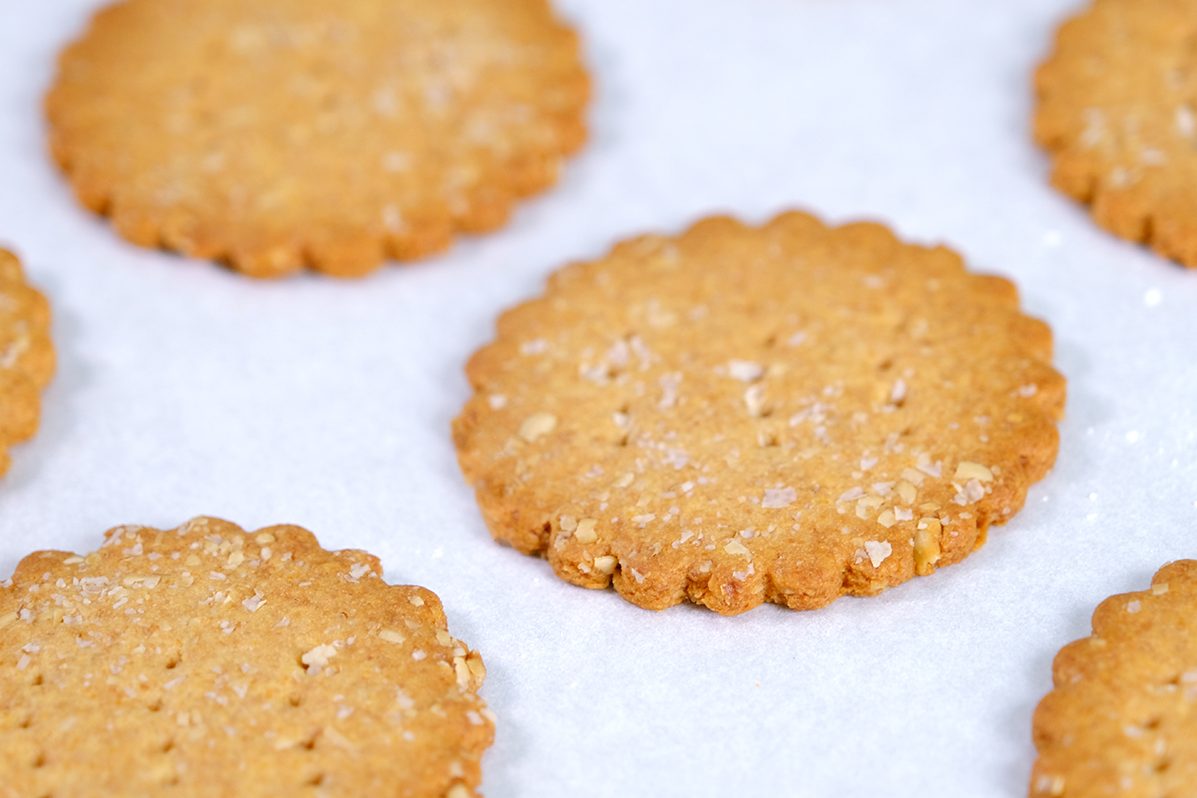

If you haven’t seen Oat Bran before, it’s the outer layer of the oat grain
Adding oat bran to biscuits is an easy way to boost fiber, texture, and nutrition without changing the flavor too much. It gives your baked goods a slightly nuttier, hearty crunch that’s really tasty.
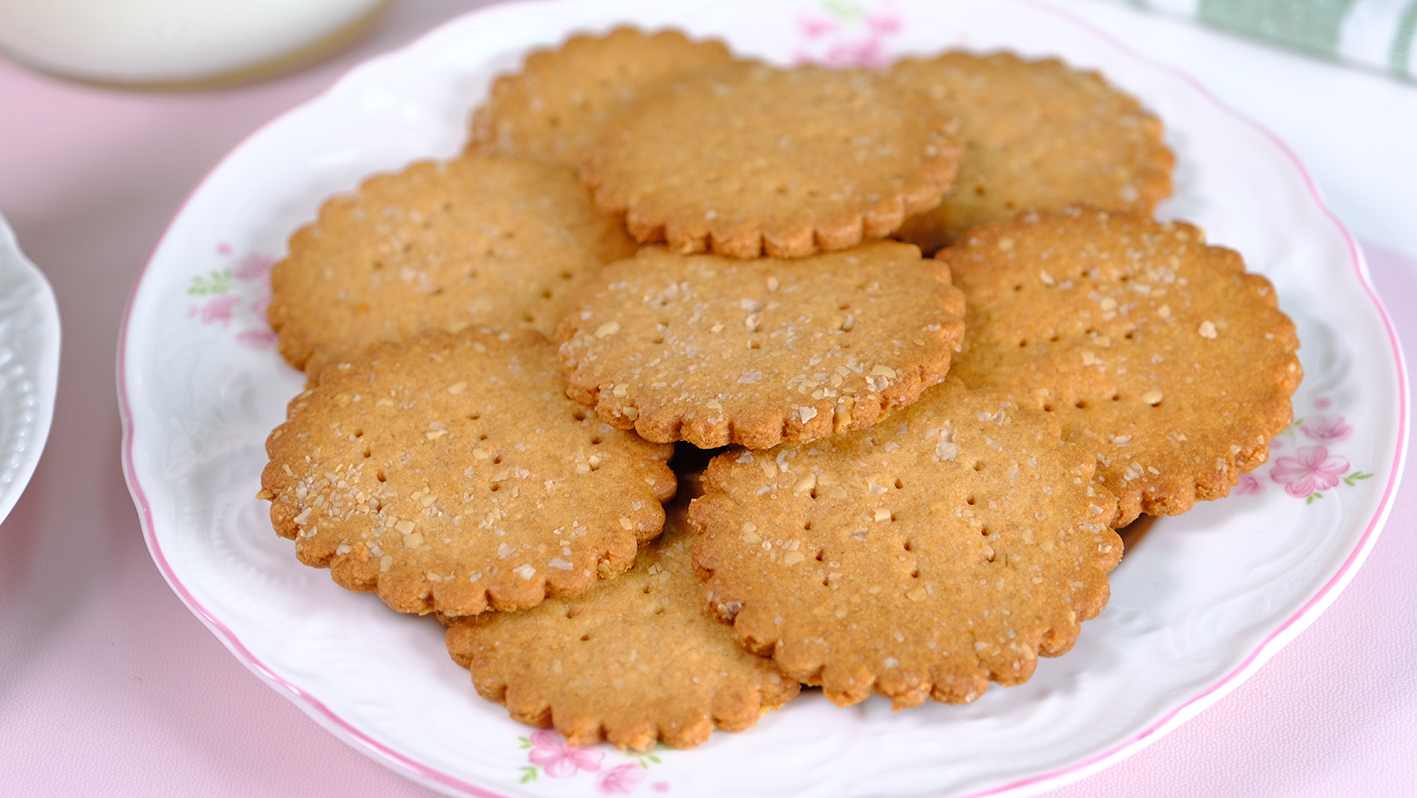
Whether you pair them with tea, enjoy them as a mid-day munch, or use them as a base for creative toppings.
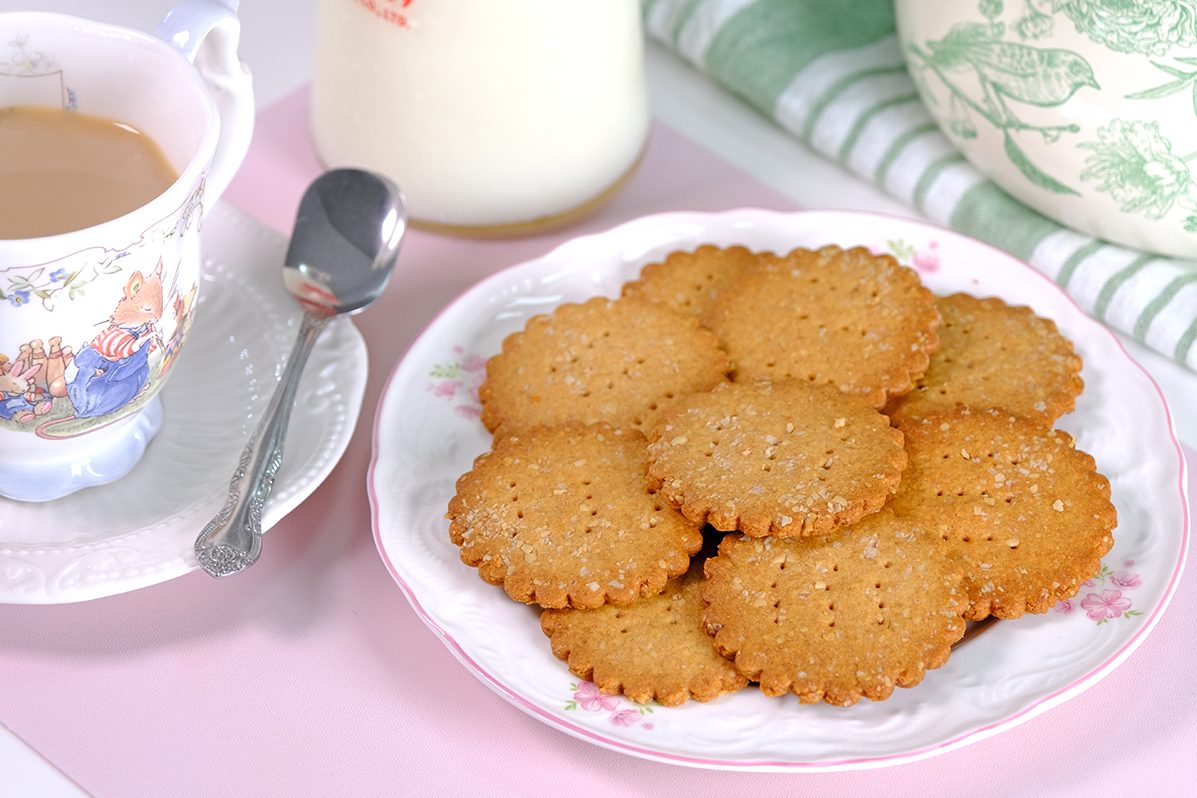
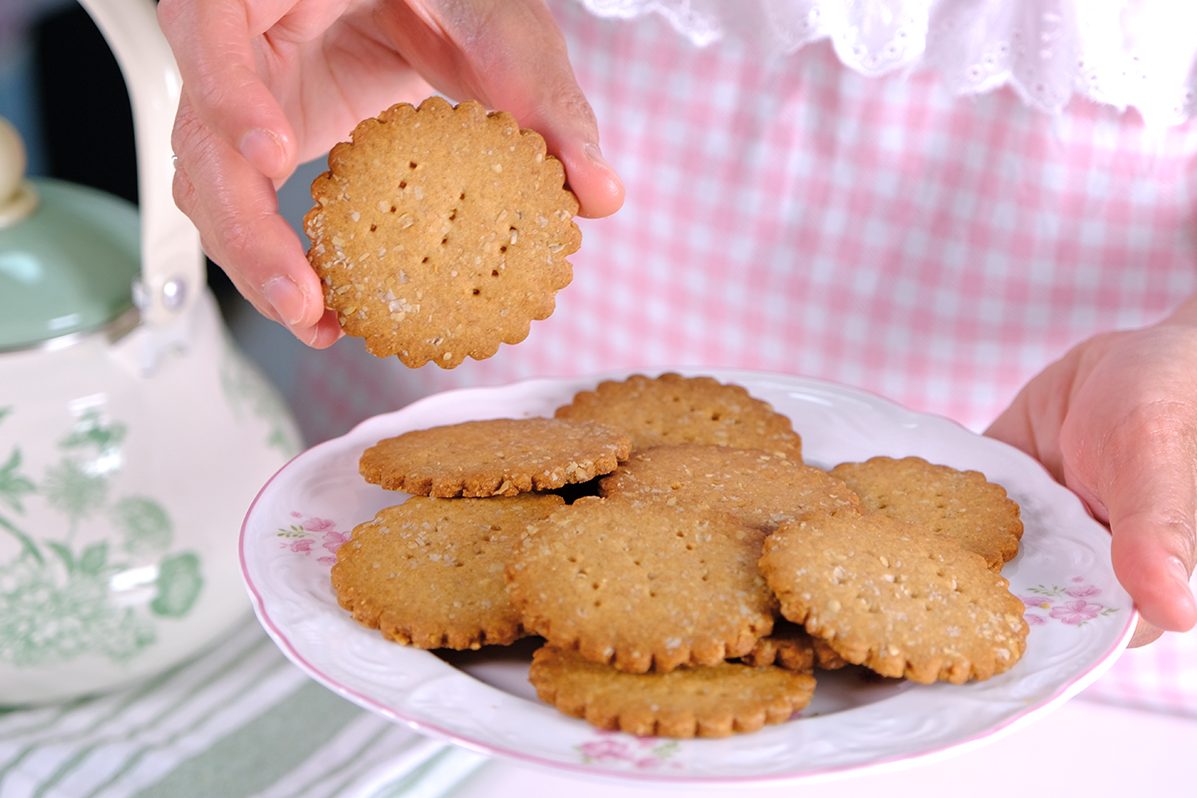
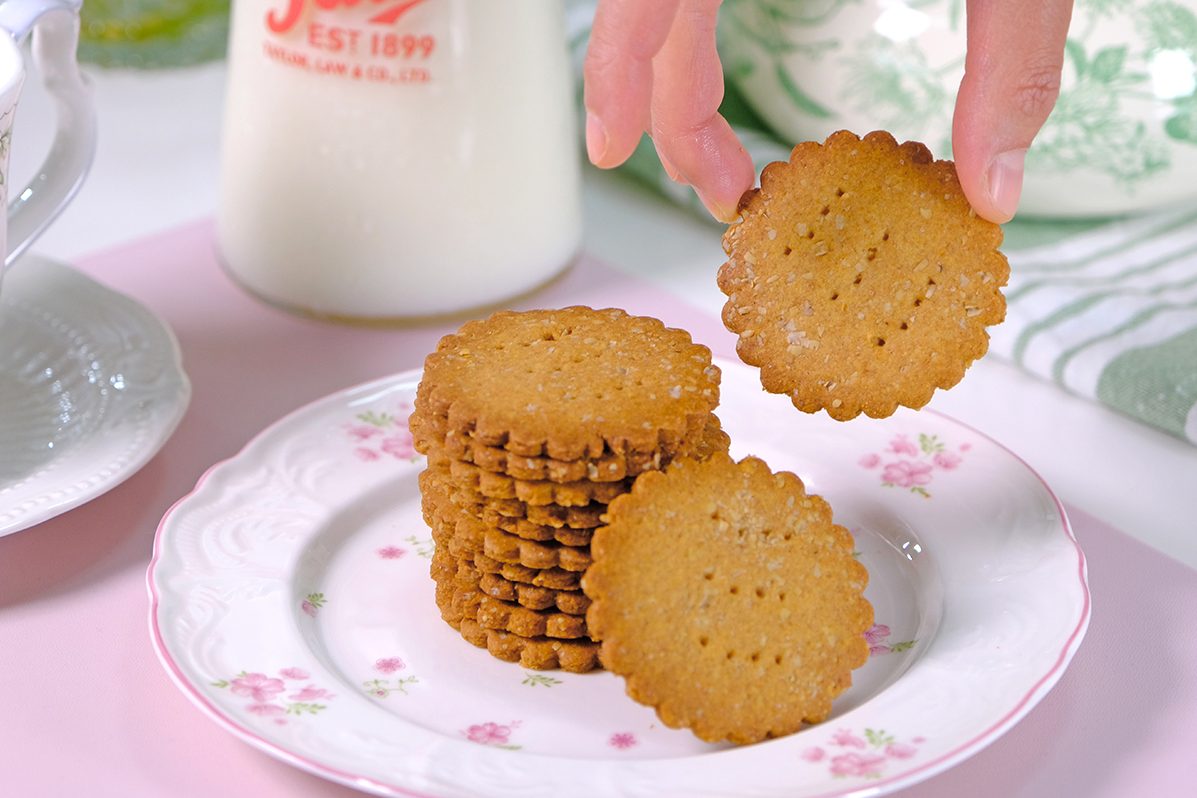
Crispy, golden, and baked with love 💞

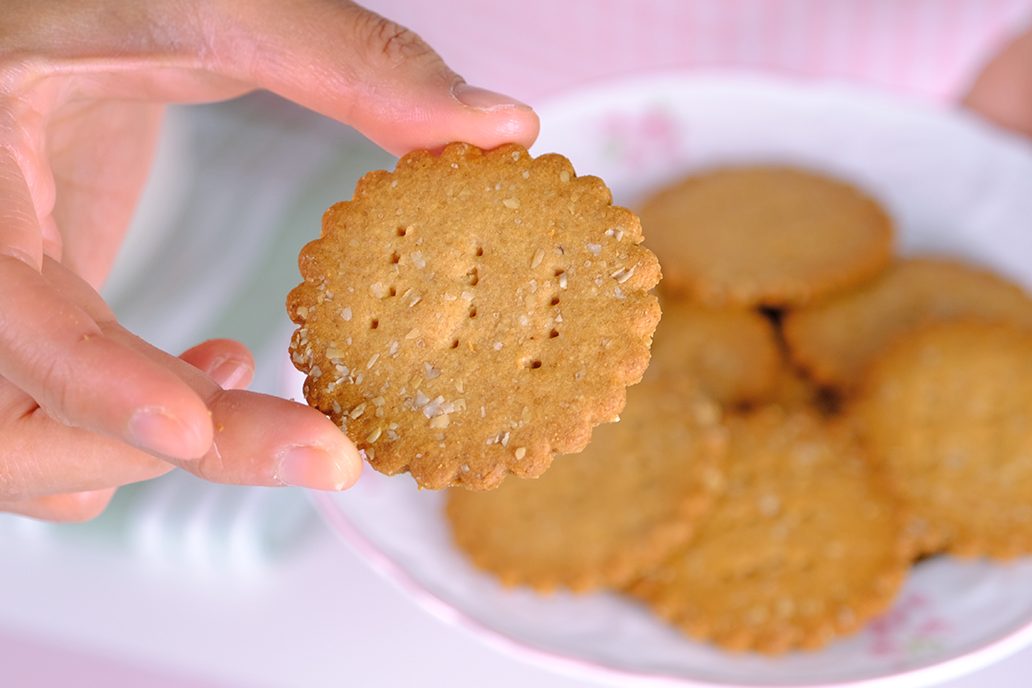
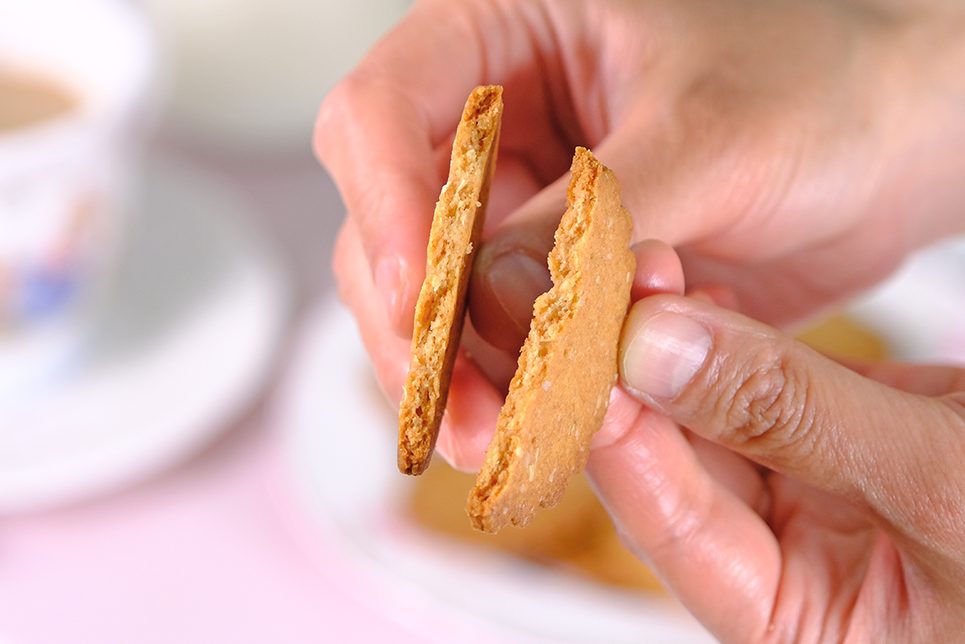

Give them a try and let me know how yours turn out! 😉
CRISPY THIN WHOLE WHEAT BISCUITS
Yield: 21 Pieces (6 cm diameter)
🪴 Ingredients
65 g Unsalted Butter
25 g Caster Sugar
1 tbs Honey
25 g Eggs
60 g All-Purpose Flour
60 g Whole Wheat Flour (100% Stone Ground)
Less than 1/2 tsp Baking Powder (Double Acting)
A pinch Salt
8 g Oat Bran
* Extra Oat Bran (for sprinkle)
🪴 Instructions
Baking bread is my favorite,
the kneading process is very calming and meditative for me.
But as my work gets busier, I find I don’t have time to make homemade bread.
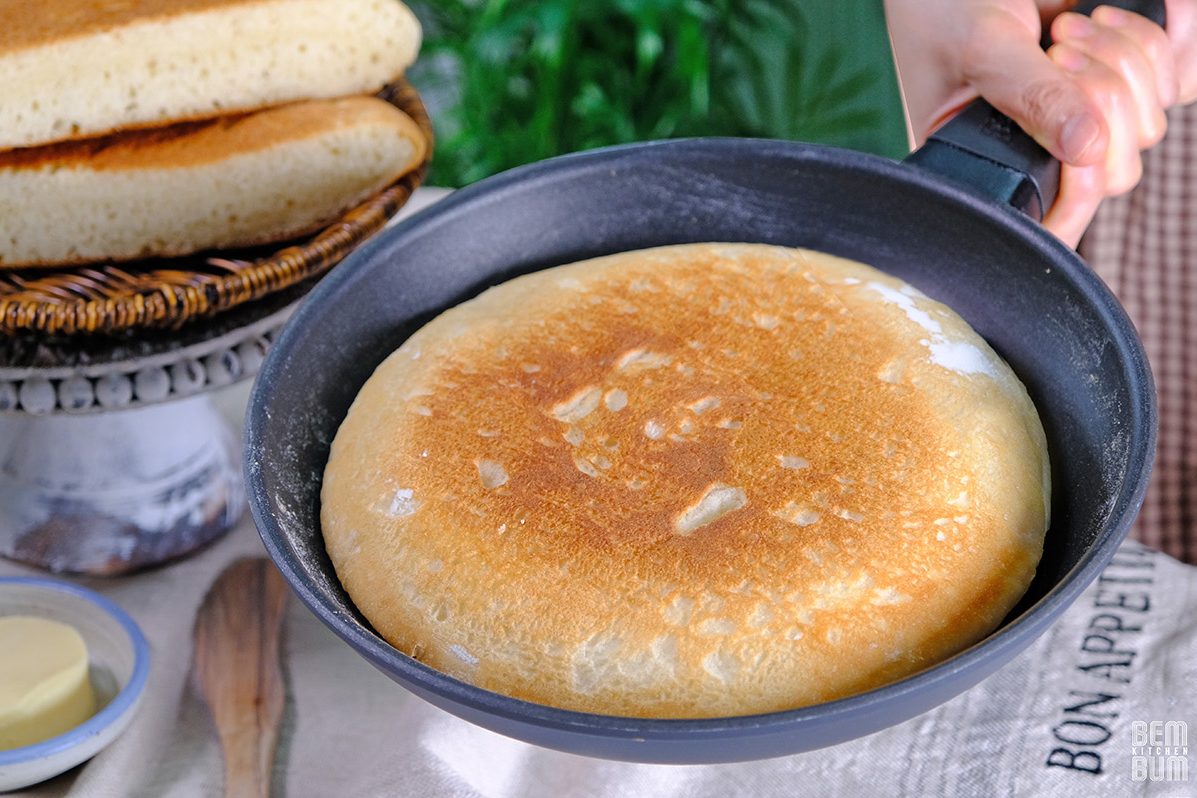
Through trial and error, this Frying Pan Bread was born!
This recipe minimizes time and effort and can be made in just one frying pan.

A super quick and delicious way to make soft homemade bread.

When making this bread; It is important to use a non-stick pan with a thick base, otherwise the dough will stick to the bottom of the pan.

The pan lid is also essential; It use to prevent the bread from drying out during fermentation and cooking.
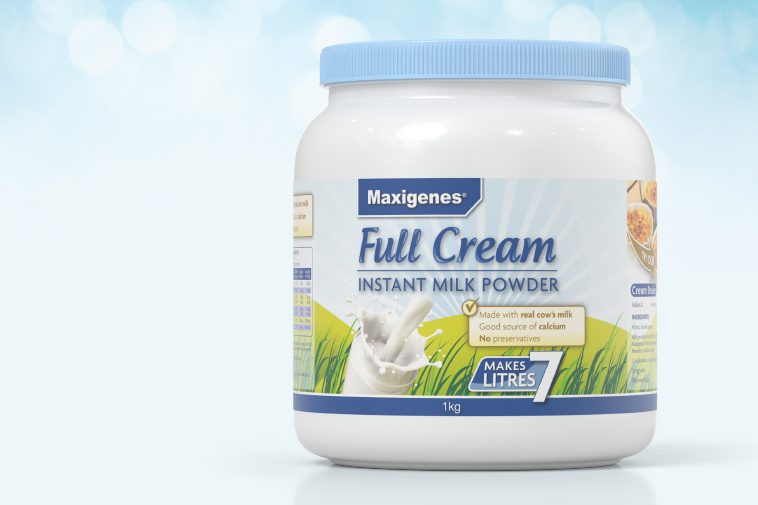
I use Full Cream Powdered Milk, not Liquid Milk in this recipe.
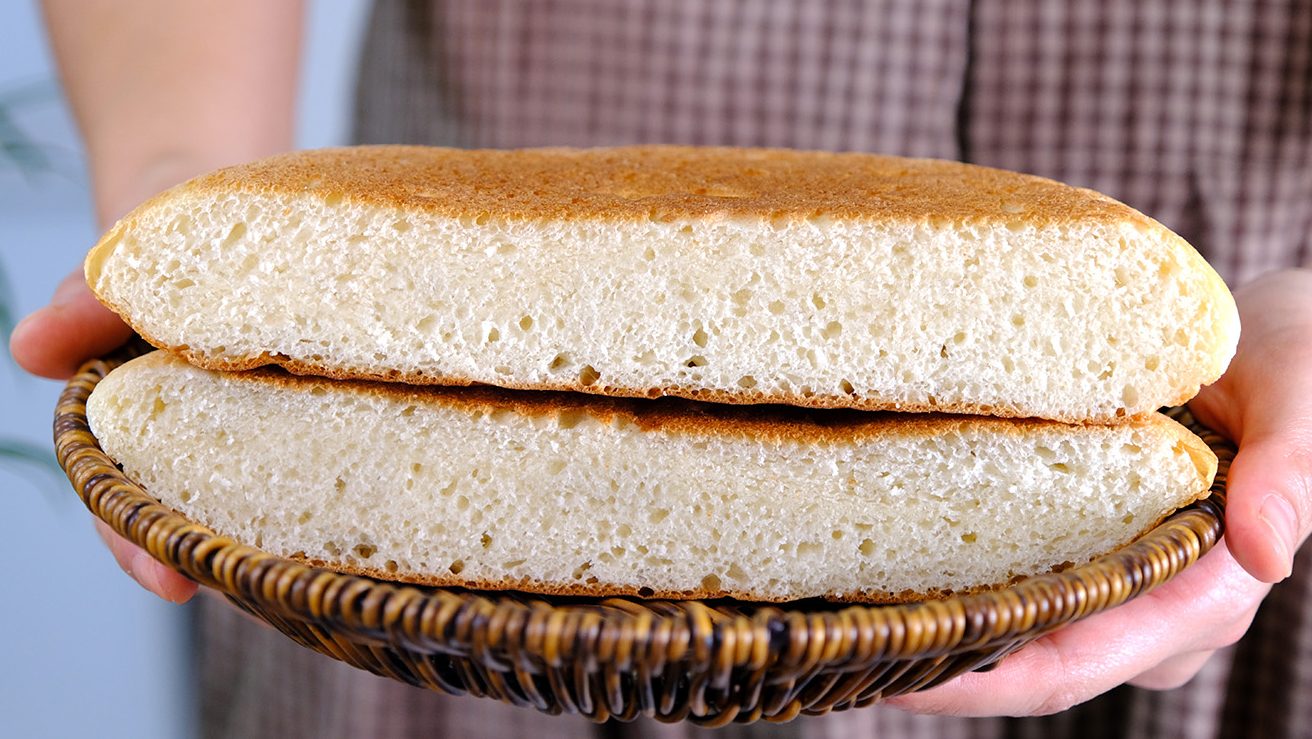
The fat from Milk Powder adds rich flavor and tenderizes the dough, resulting in a softer, finer, more tender crumb.
The bread will also have a longer shelf life.
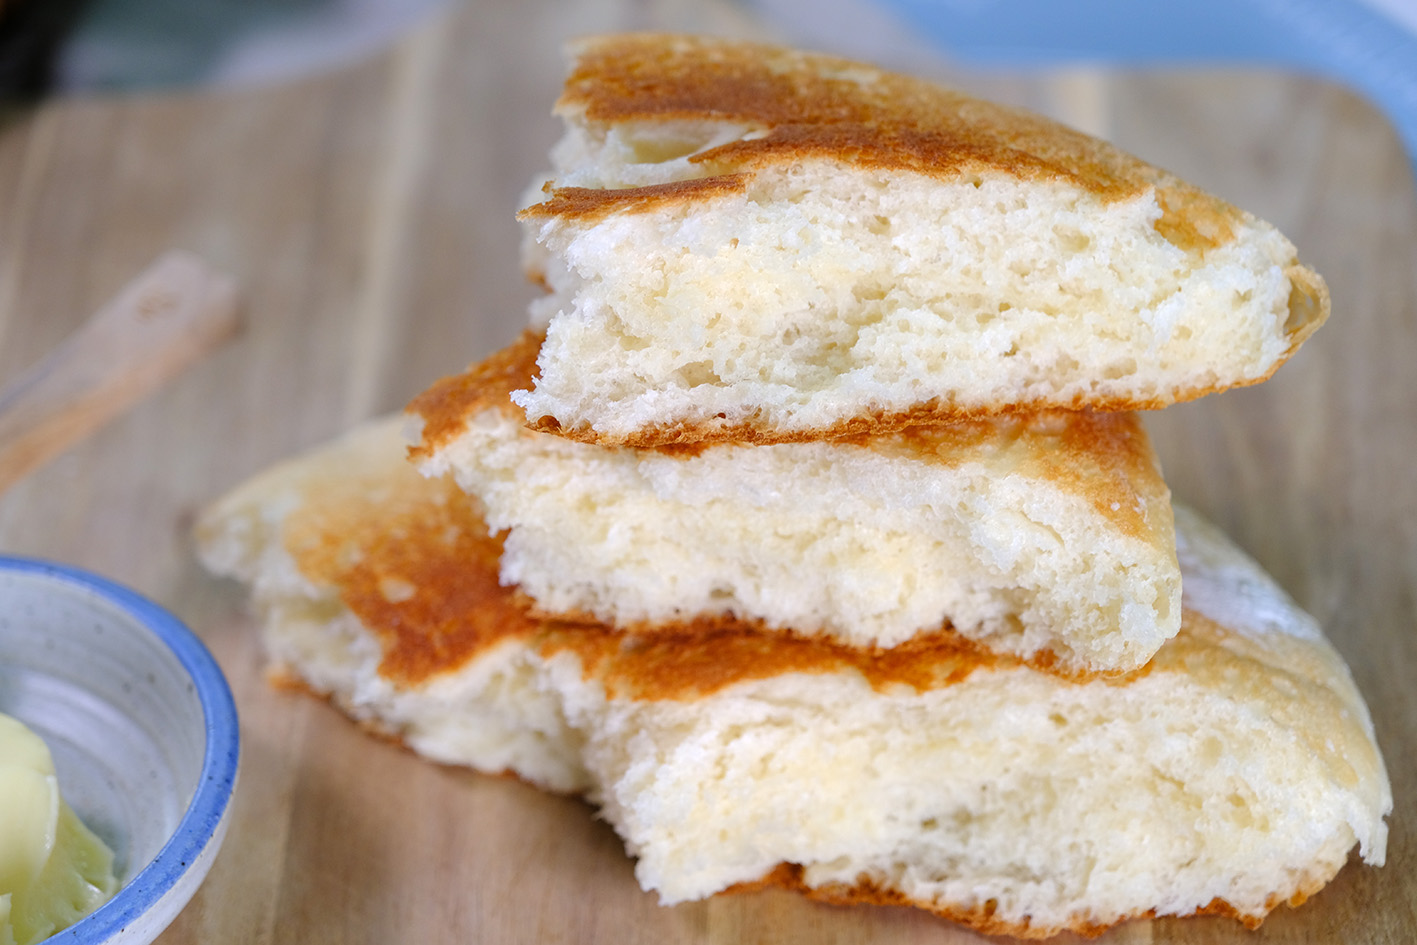
The bread is so soft and fluffy; perfect served with Butter or jam, or as a delicious accompaniment to a bowl of warm soup.

I love making it into sandwiches 😁
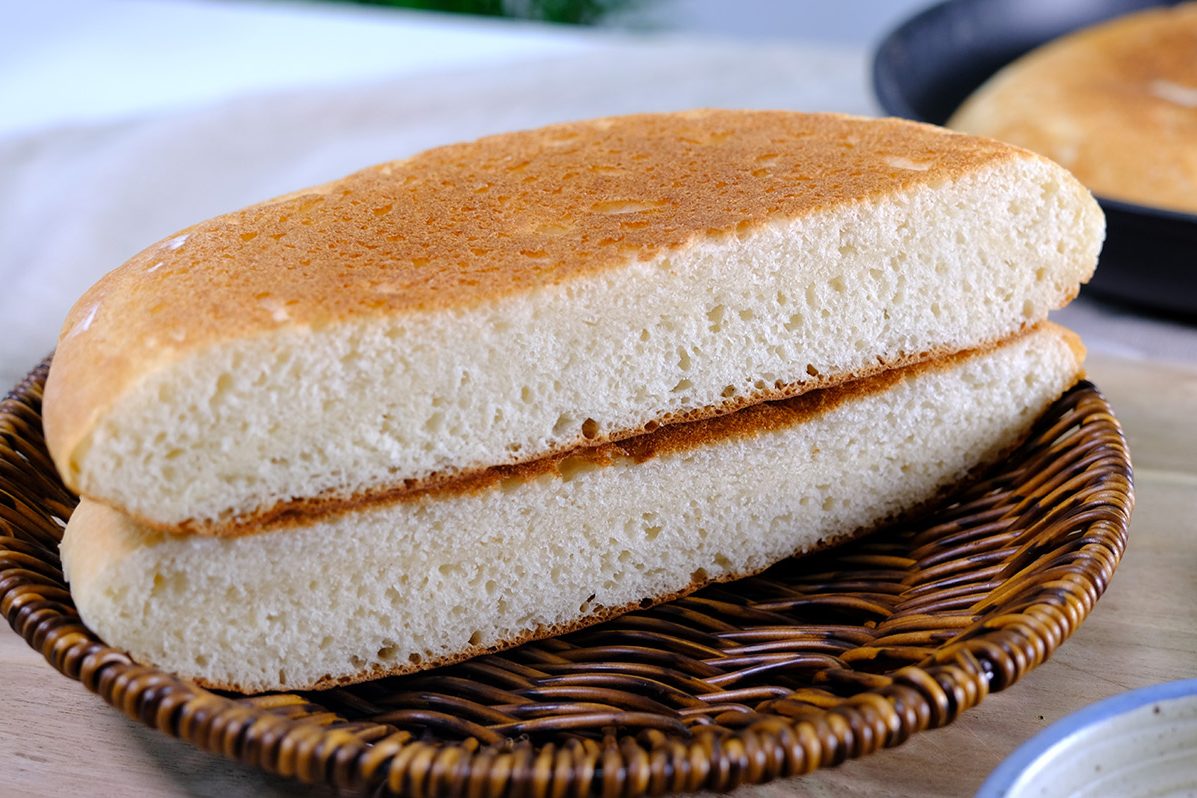
I hope this recipe helps those of you who are busy; The simplest and most delicious homemade bread.
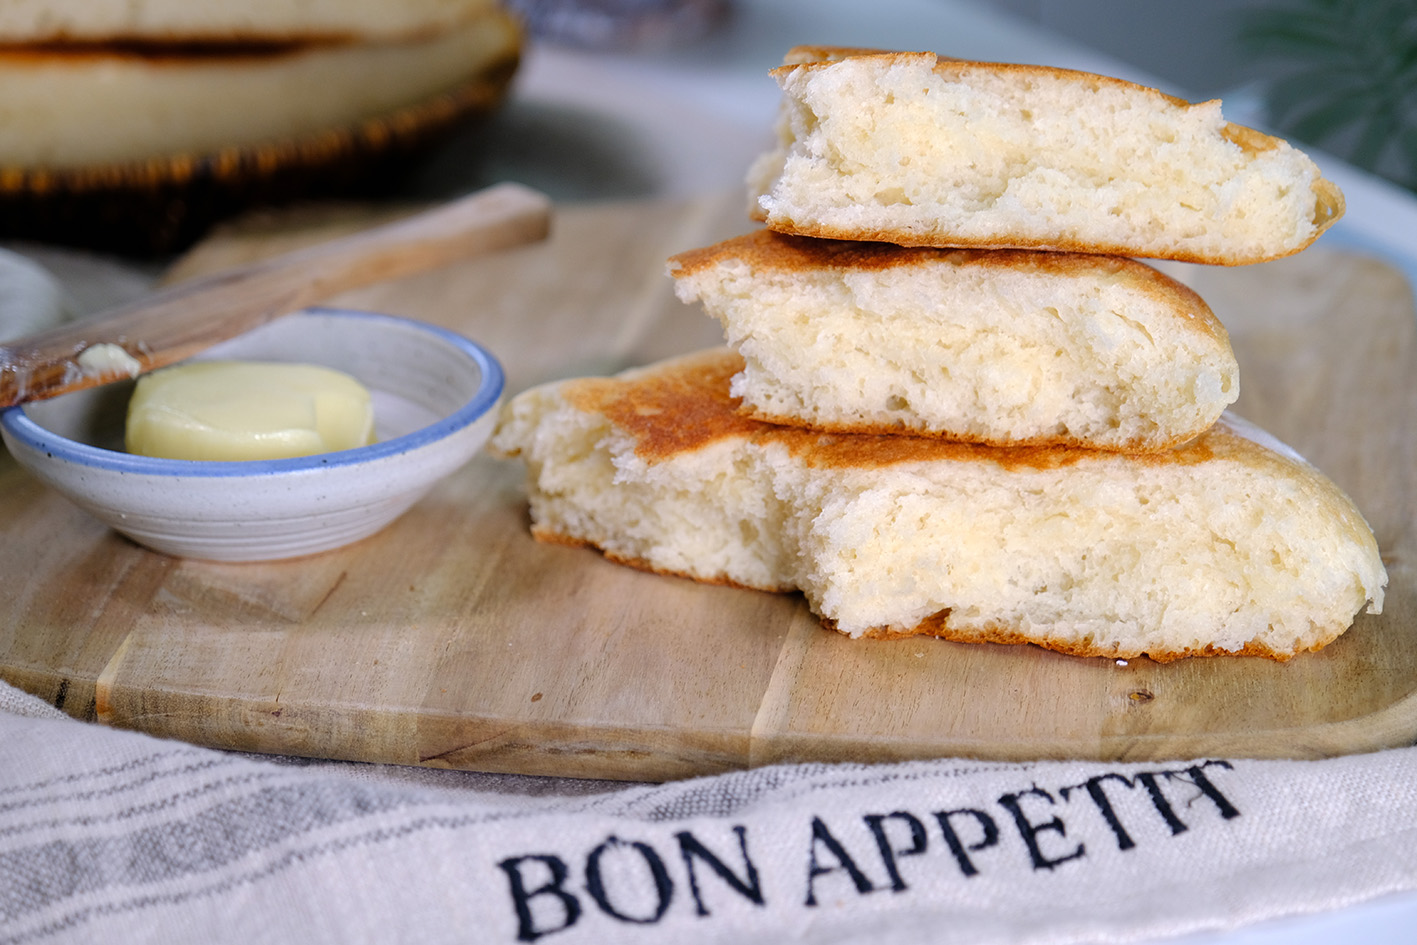
Make it for your loved ones; Give them freshly baked, healthy bread 🥰
LOVE YOU ALL!!
FRYING PAN MILK BREAD
Yield: One 20 cm diameter (5 cm thick)
🍞 INGREDIENTS
15 g Unsalted Butter (melted)
200 g Strong Bread Flour
30 g Caster Sugar
3 g Salt
150 g Water (lukewarm ~ 35-37°C)
15 g Full Cream Milk Powder
3 g Instant Yeast
INSTRUCTIONS

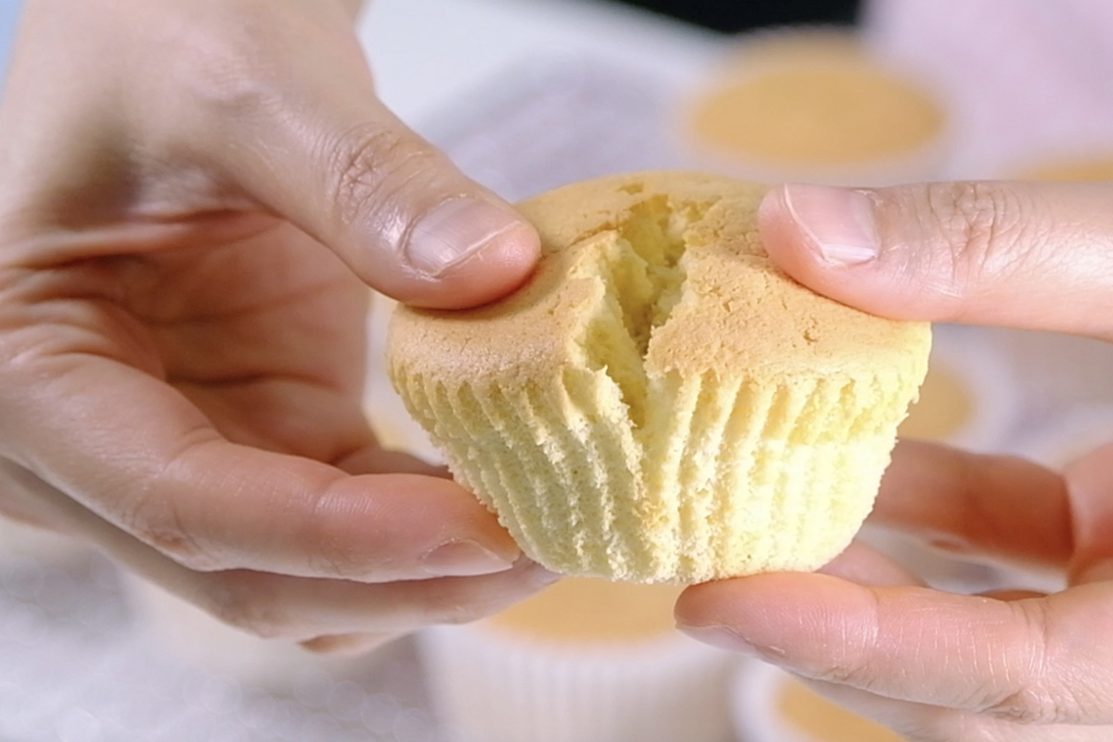
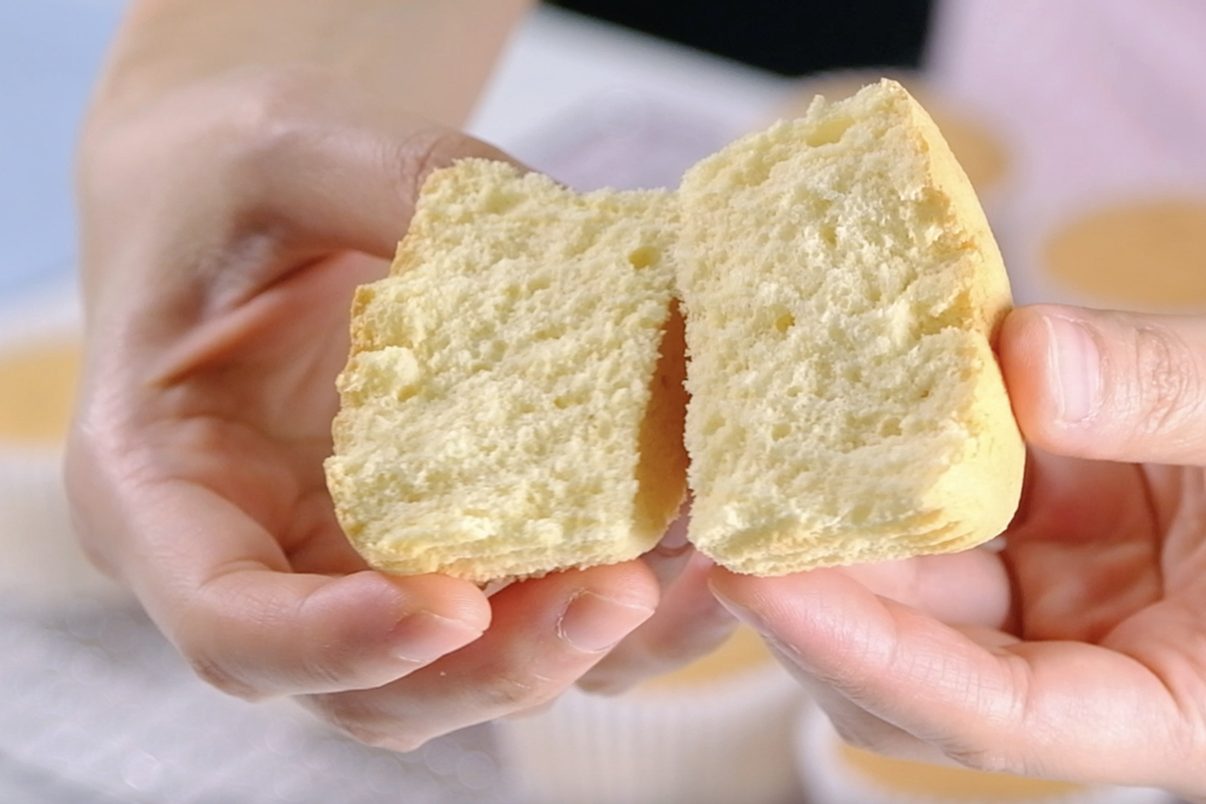
Everyone’s got their own idea of what the perfect Vanilla Cupcake should taste like; And this is my favourite Vanilla Cupcake recipe.
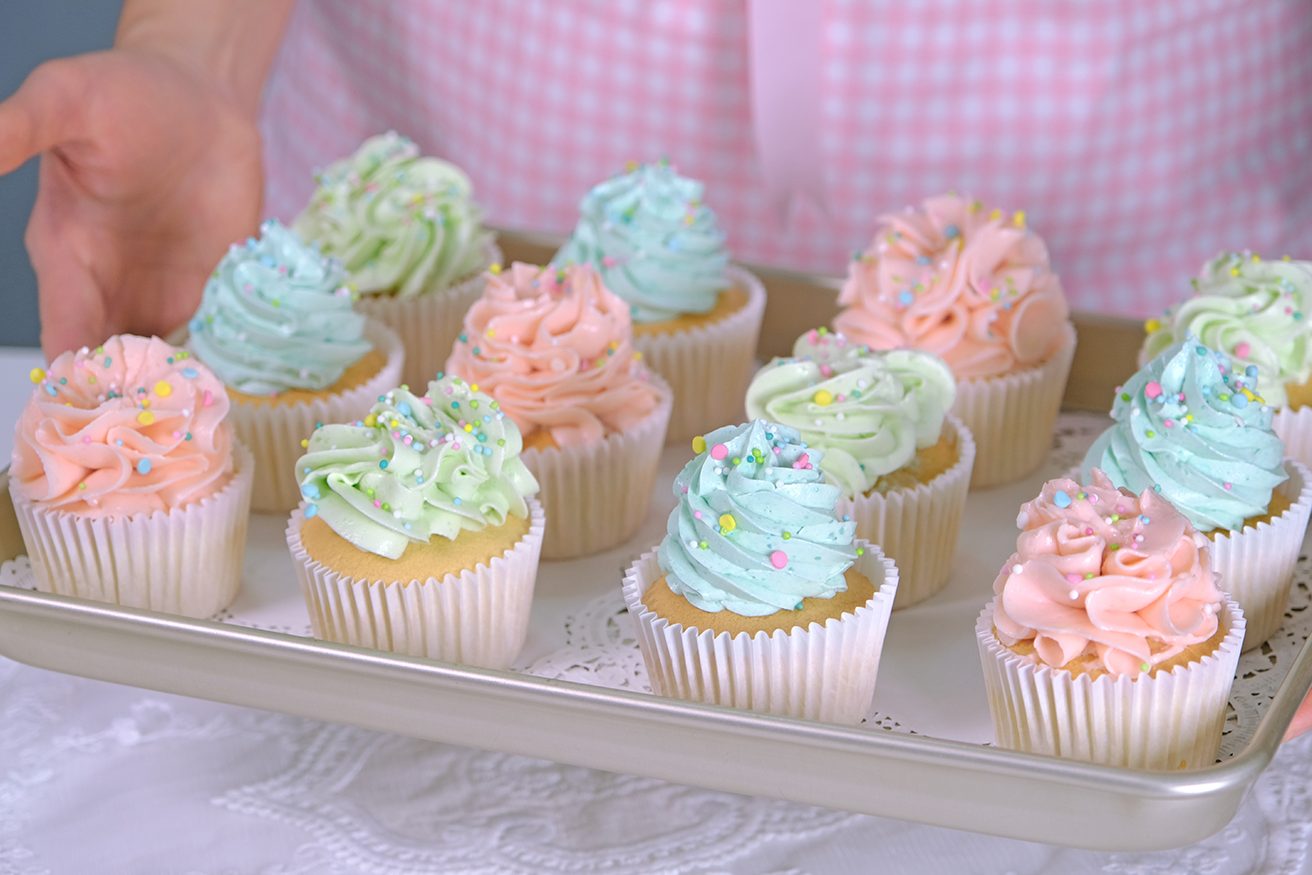
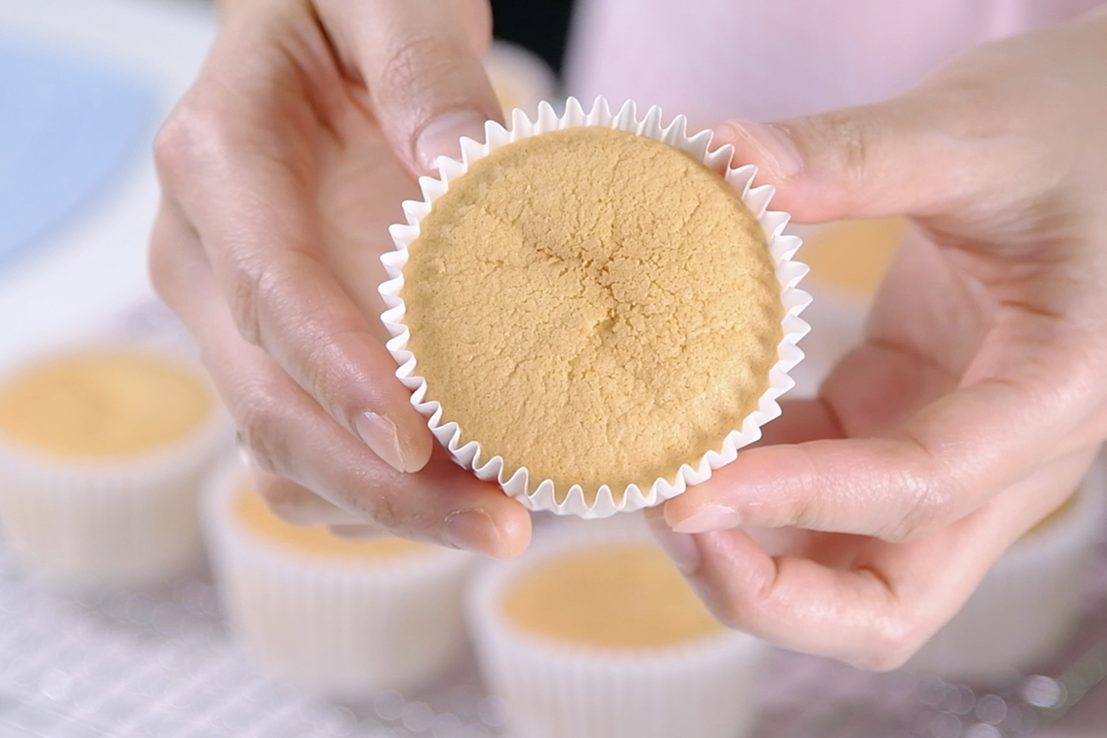
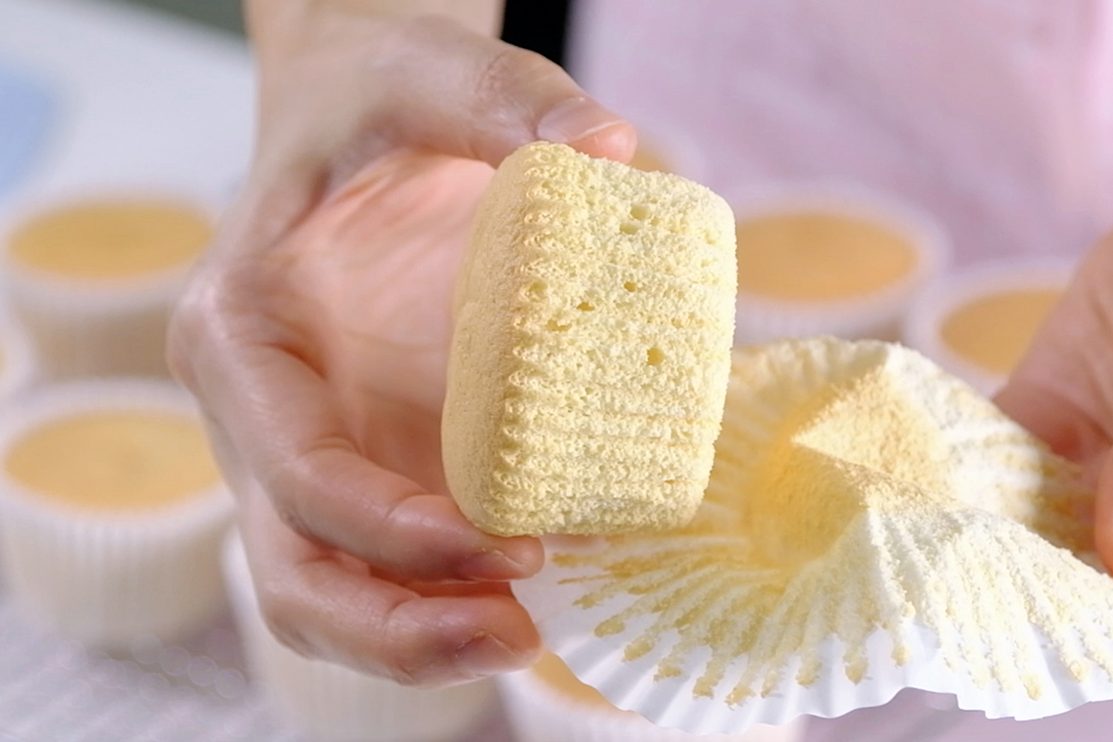
What makes this Cupcake special for me is because it’s light, not heavy, and just the right amount of sweet.

It’s the kind of Vanilla Sponge that pairs beautifully with whatever you like
Whether you’re adding frosting, berries or enjoying it plain.
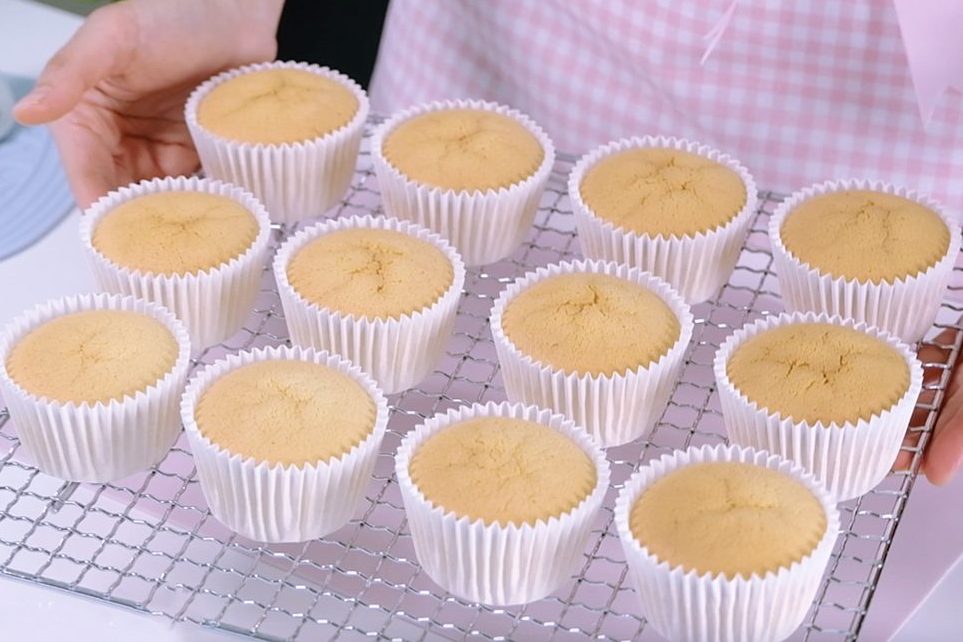
They stay wonderfully moist for days and have a deep Vanilla flavour.




Boiled Milk Frosting is an old-school buttercream that is not too sweet, not too buttery, and not too heavy.

My version with Icing Sugar is more stable at room temperature.
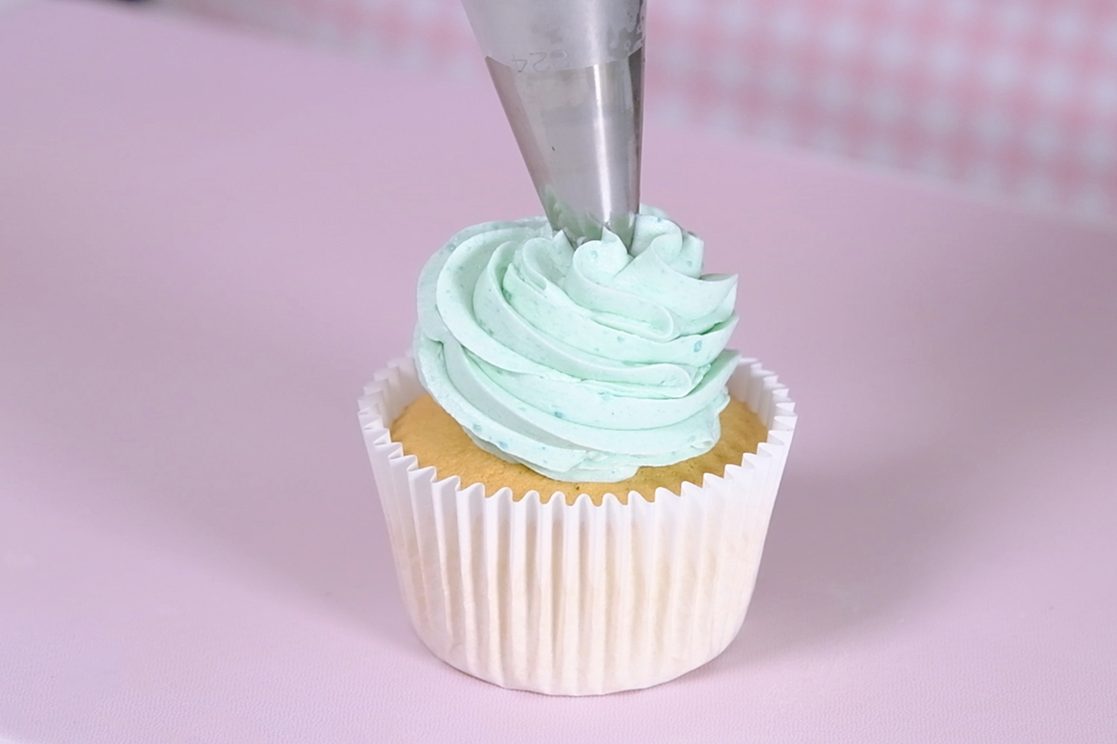
This beautiful frosting also easy to color and you can create any flavour you want; simply by adding some liquors, flavour oils or emulsions, extracts or even dried fruit powder.


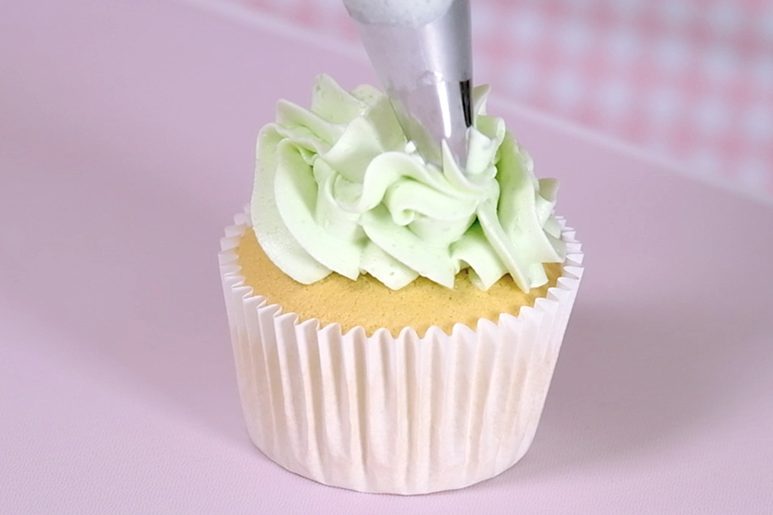
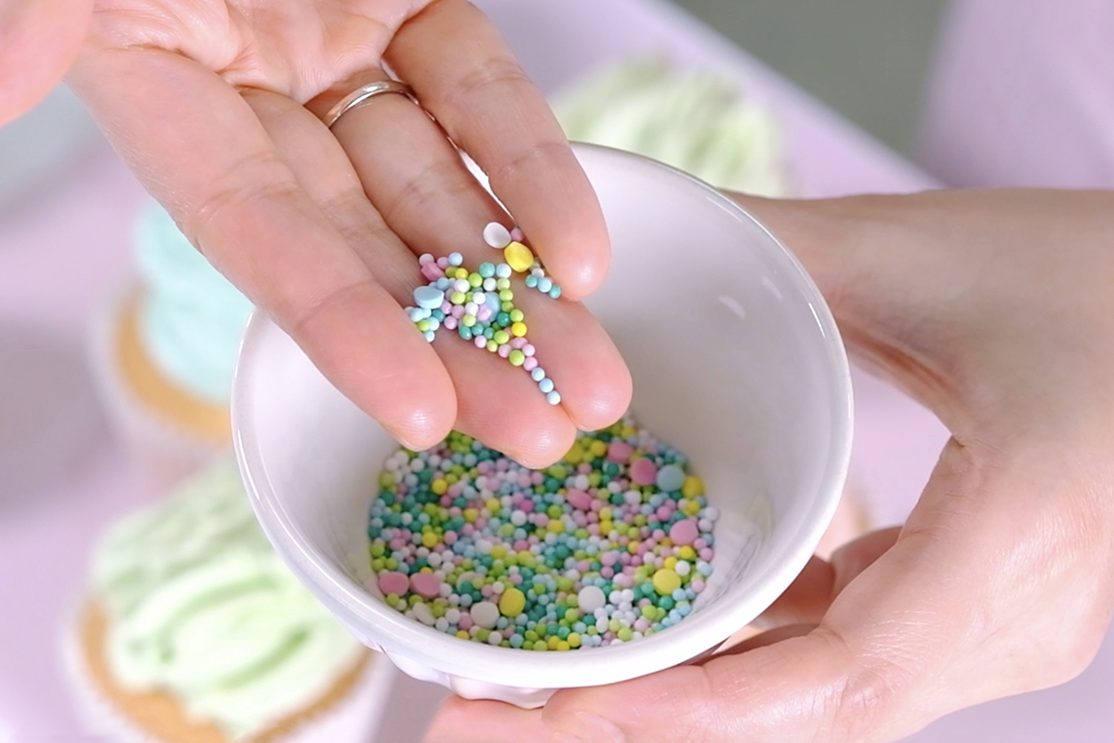


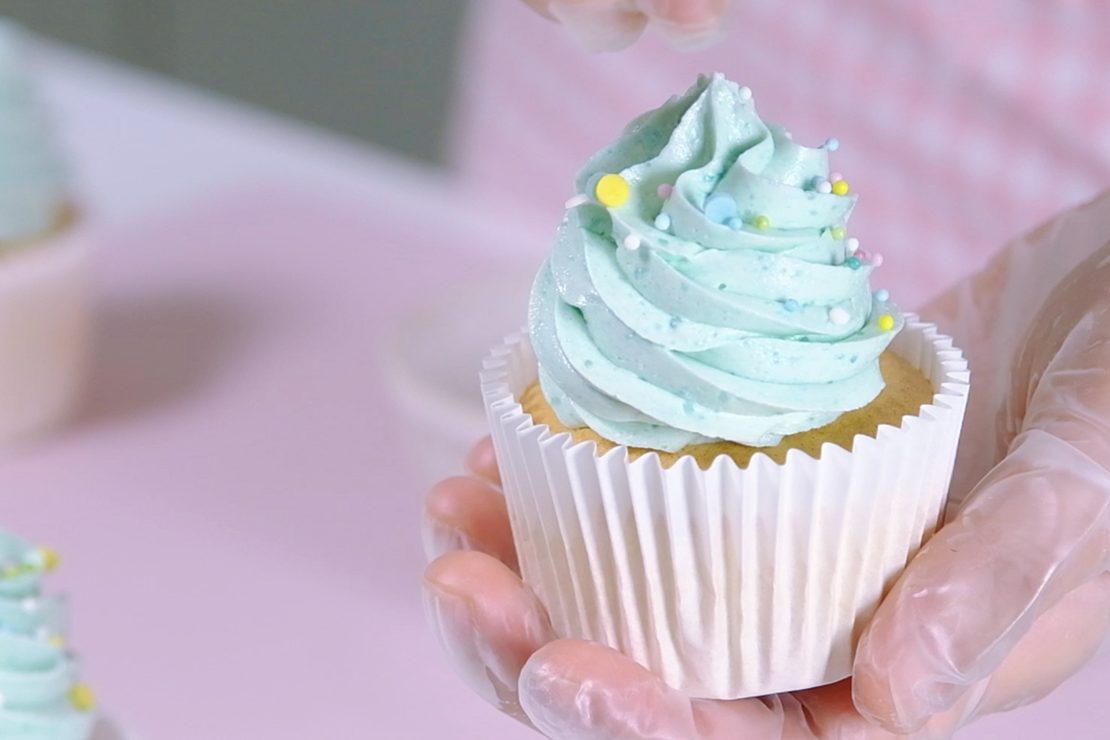


I always flavor my frosting by adding a little at a time and tasting it as I go; Start with ½ teaspoon of extract or emulsion and taste.
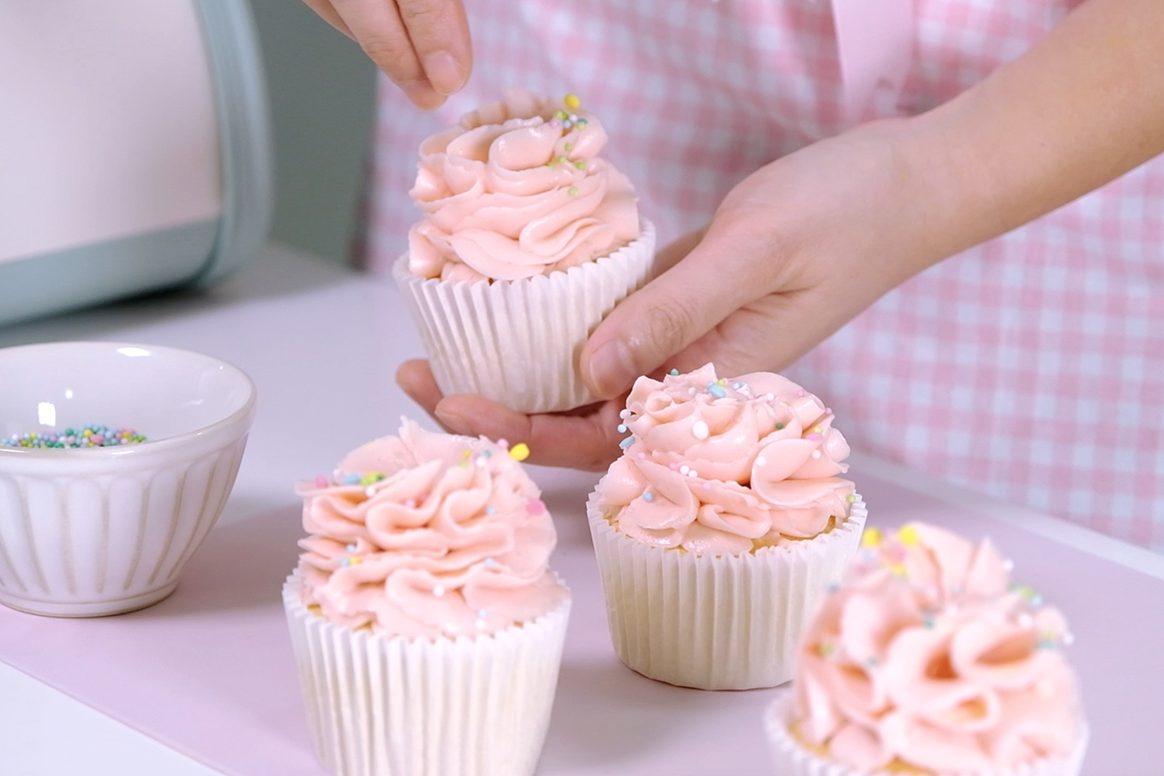
Be careful with strong extracts like Almond and Mint,
I suggest starting with 1/8 teaspoon so the flavor doesn’t get too strong.
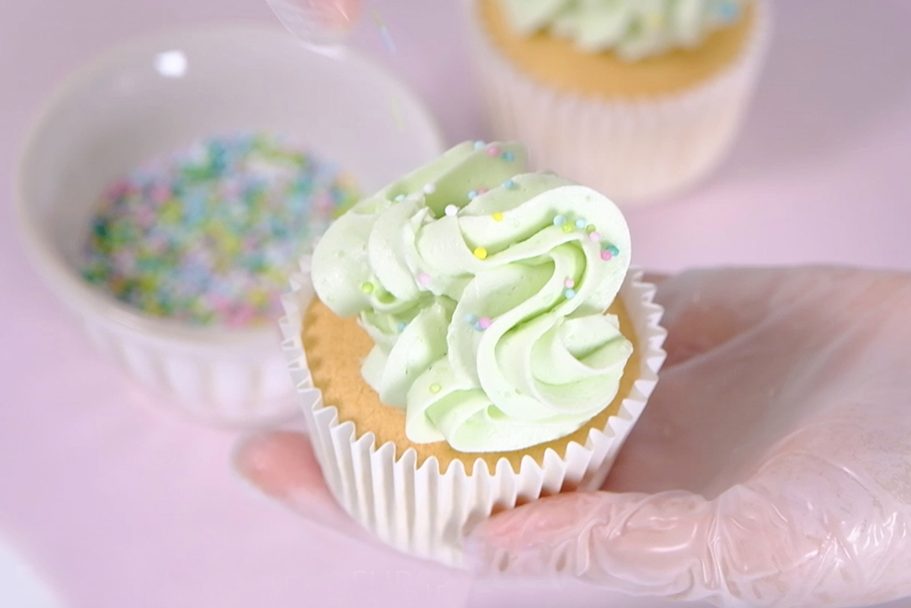


It’s time to enjoy the cupcakes 🥴

These cupcakes are perfect for any occasion and you can customize them to your taste by choosing your own frosting.
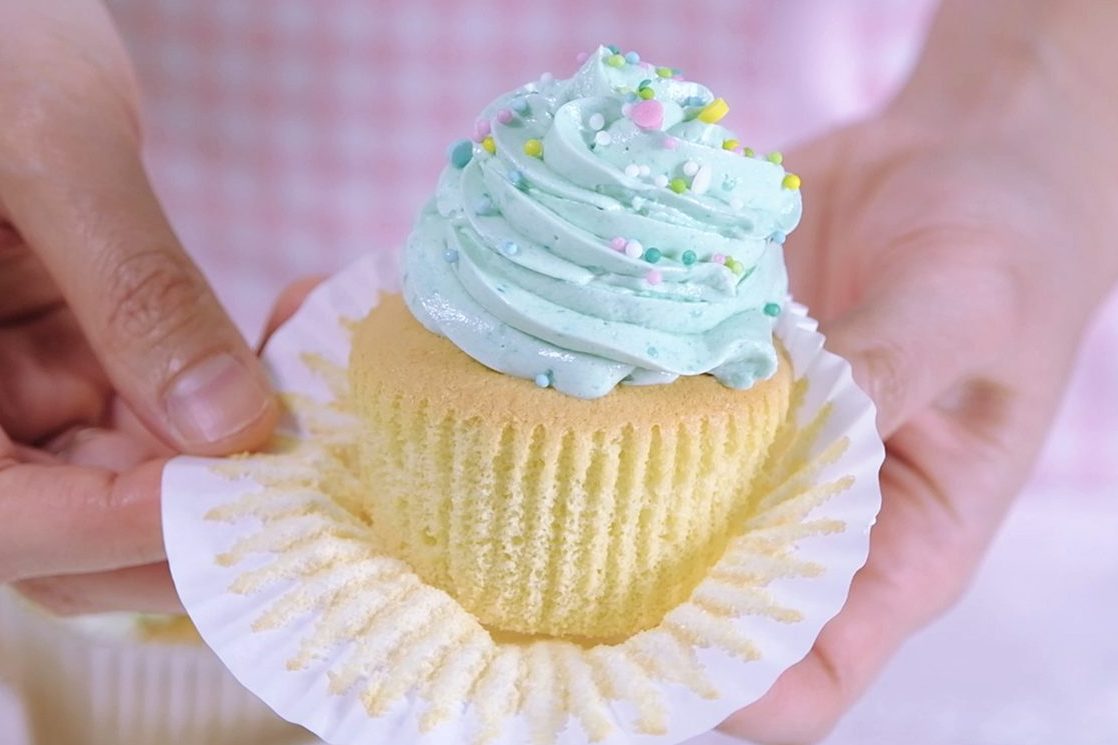
The frosting is a beautiful old-school classic.

It’s incredibly smooth and creamy, but not overly sweet.
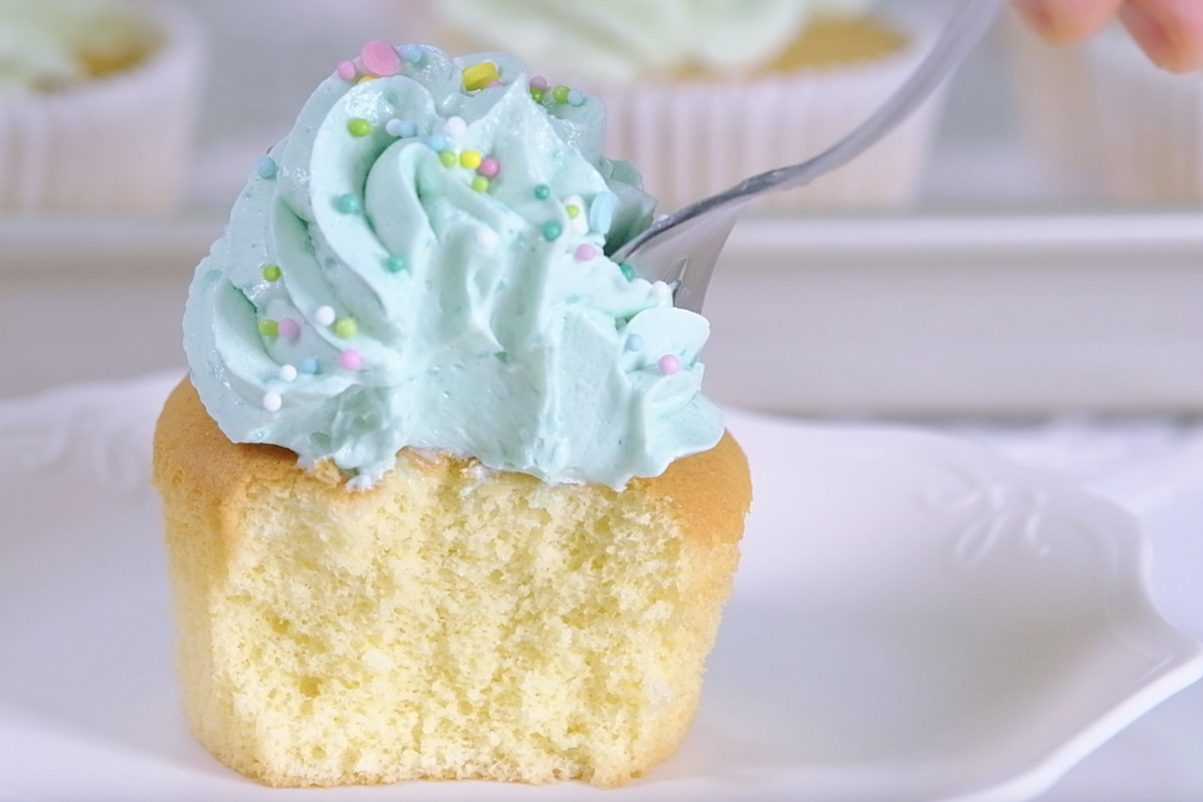
With a soft, airy texture that melts in your mouth

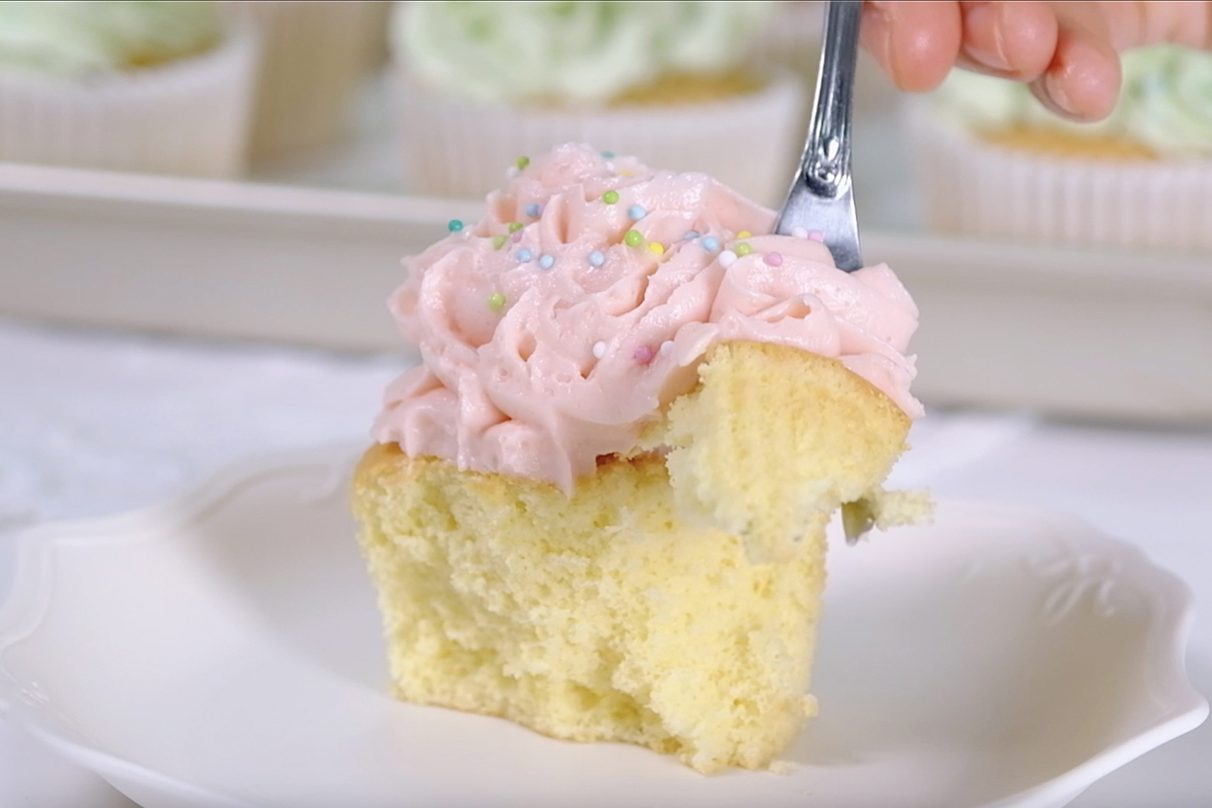
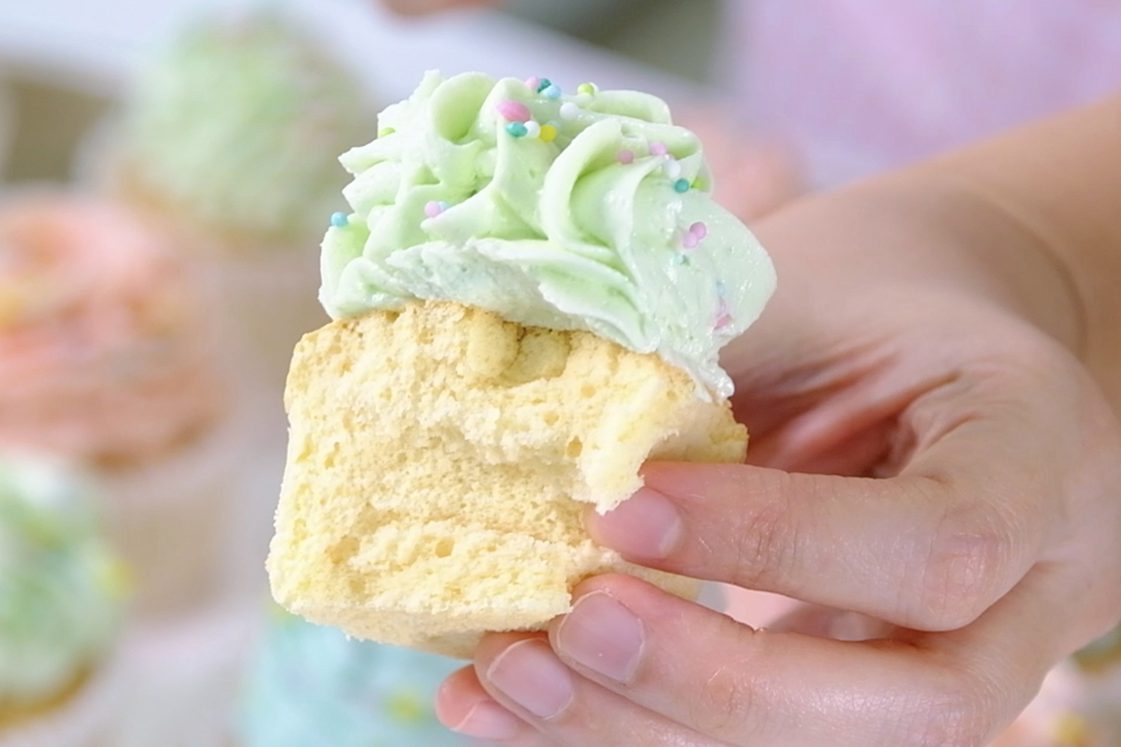
These cupcakes always make me smile

And I hope they bring a little joy to your kitchen too !!

Love you All and Happy Baking!!
FOR THE BOILED-MILK FROSTING
FOR THE CUPCAKES BATTER
VANILLA SPONGE CUPCAKES
Yield: 12 regular Cupcakes
Ingredients
🧁 CUPCAKE BATTER
4 Egg Whites (130 g) ~ room temperature
1 tsp Lemon Juice
80 g Caster Sugar
4 Egg Yolks (85 g) ~ room temperature
40 g Milk ~ room temperature
26 g Vegetable Oil
30 g Maple Syrup
1/2 tsp Vanilla Extract
120 g Cake Flour (sifted)
Notes: you can substitute Lemon Juice with 1 tsp White Vinegar or 1/2 tsp of Cream of Tartar
🧁 BOILED-MILK FROSTING
270 g Milk
36 g All-Purpose Flour
1/8 tsp Salt
270 g Unsalted Butter ~ softened at room temperature
135 g Icing Sugar
1/2 tsp Vanilla Extract
Food Colouring
Instructions
PREPARATION
CUPCAKE BATTER
BOILED-MILK FROSTING

Marble Cake is my classic childhood baking memory 🥰
Swirls of tender Vanilla and rich Chocolate Cake baked together in one beautiful Tube Pan.
This cake was a childhood favorite, but it seems a bit dated now; which is a shame, because it’s worth the energy it takes to bake.
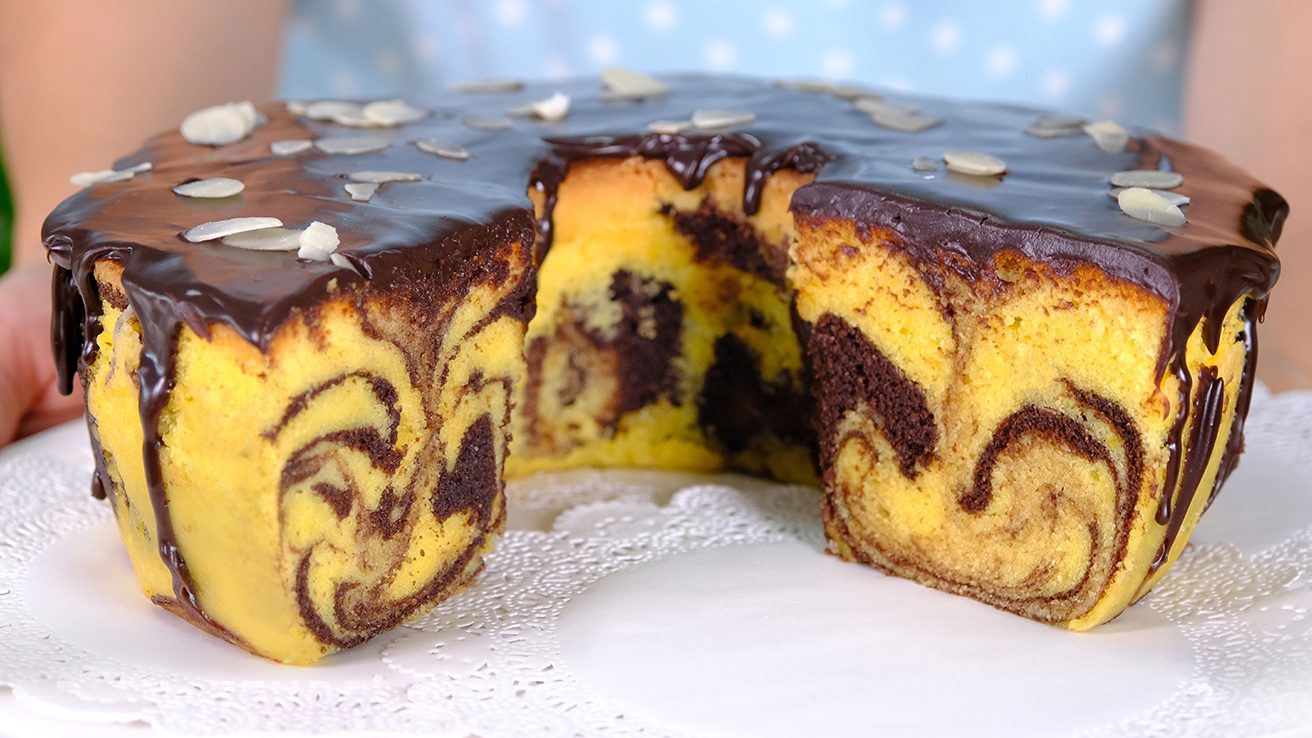
Many Marble Cake recipes will simply use a basic Pound Cake recipe, and introduce a couple of tablespoons of Cocoa Powder to half of the batter.
A pound cake recipe is an extremely useful one to have up your sleeve; but for me, it isn’t the perfect Marble Cake recipe.
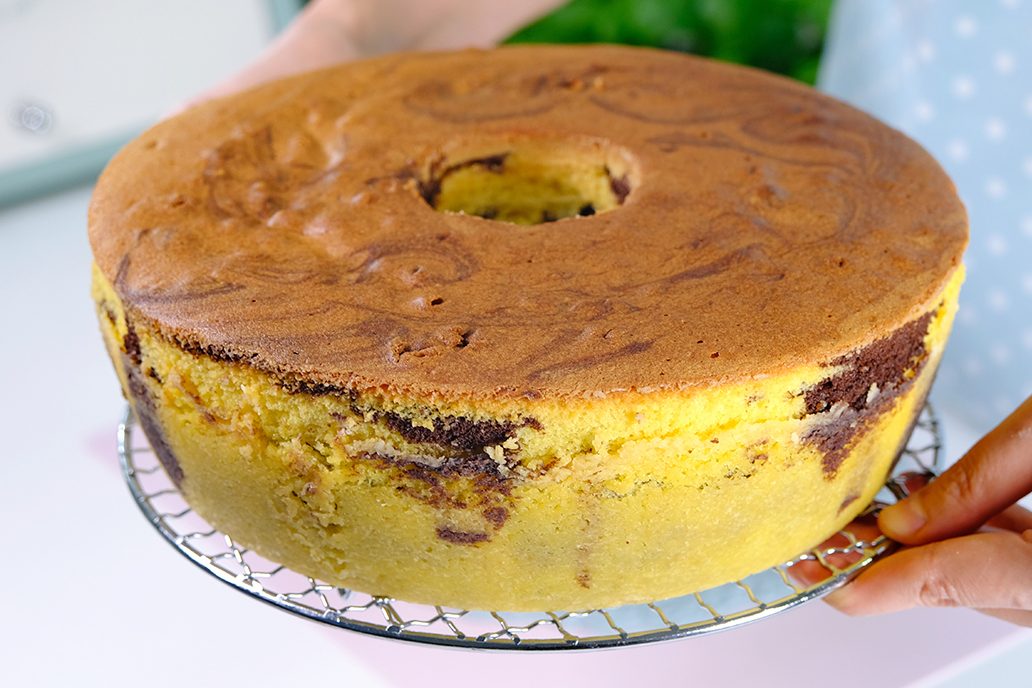
So this recipe is based on a Vanilla Sour Cream Cake that I’ve been making for years: as well as the tang of the Sour Cream softening the sugar content,
Adding Sour Cream will result in a richer, super moist and soft cake.
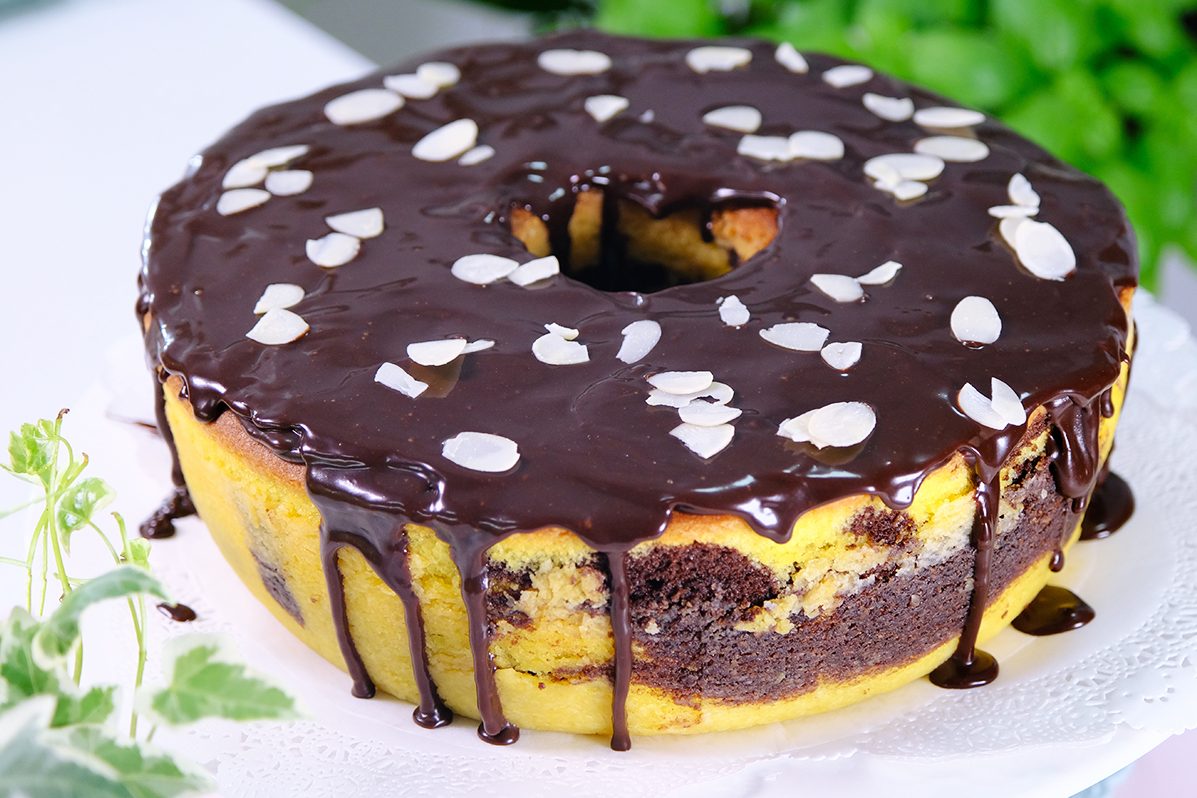
The cake is ridiculously moist and keeps extremely well (Unglazed Marble Cake should last 4 days at room temperature in an airtight container, without becoming dry or stale).
Likewise, the mixture of Cocoa Powder and melted Butter in the darker batter creates richness and depth of flavor; no dry or bland cake here.
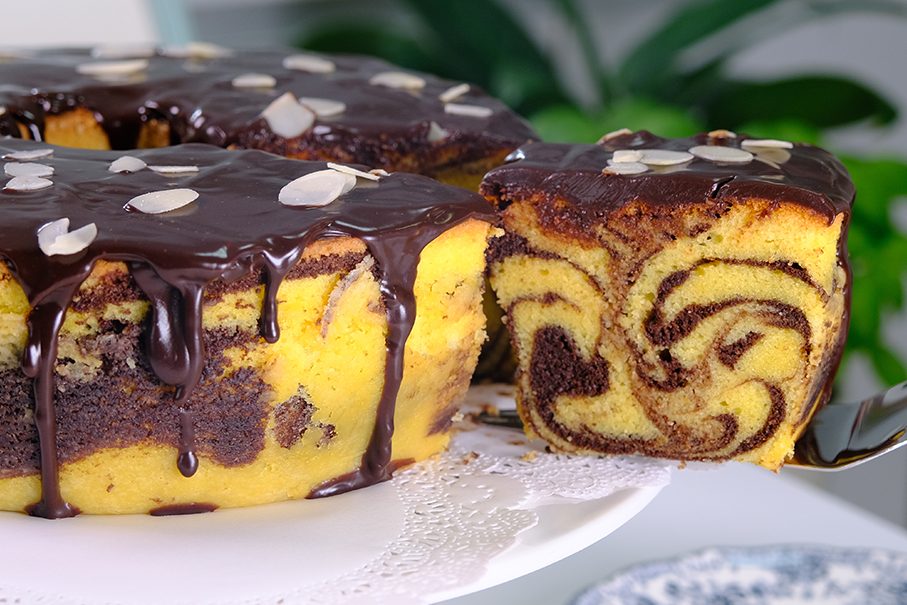
I used the Flour Batter Mixing Method to make this cake.
This method produces a more tender cake because the Butter coats some of the gluten-forming proteins in the flour at the beginning of the mixing process, preventing excessive gluten formation.

Flour Batter Method works only if the Butter is softened or 65° to 75°F/ 19° to 23°C.
At this temperature, the Butter when whipped will hold the maximum amount of air; And make sure that all other ingredients are room temperature as well, this includes Eggs and Sour Cream.

I love to serve this cake with Chocolate Glaze, but you can serve it just plain or dust the top with Icing Sugar.
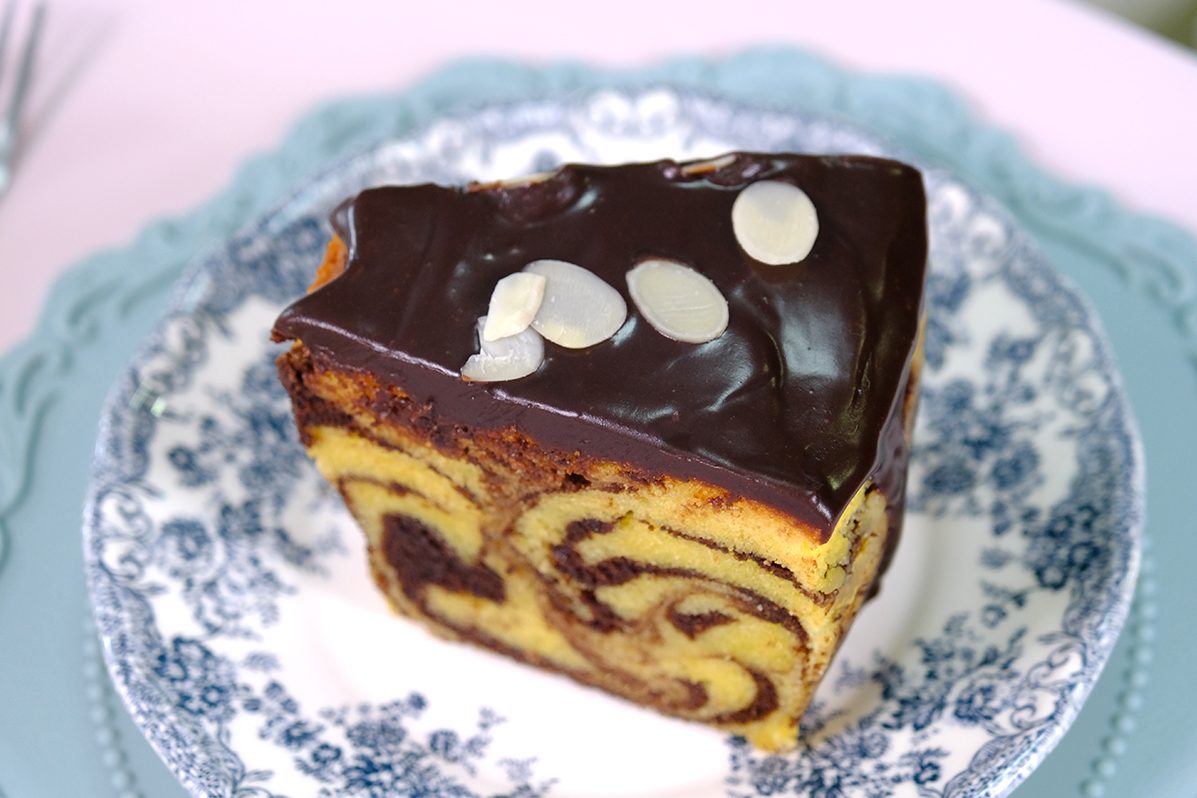
Once the glaze is poured, I highly recommend storing it in the refrigerator, since the glaze contains Butter as a perishable ingredient.
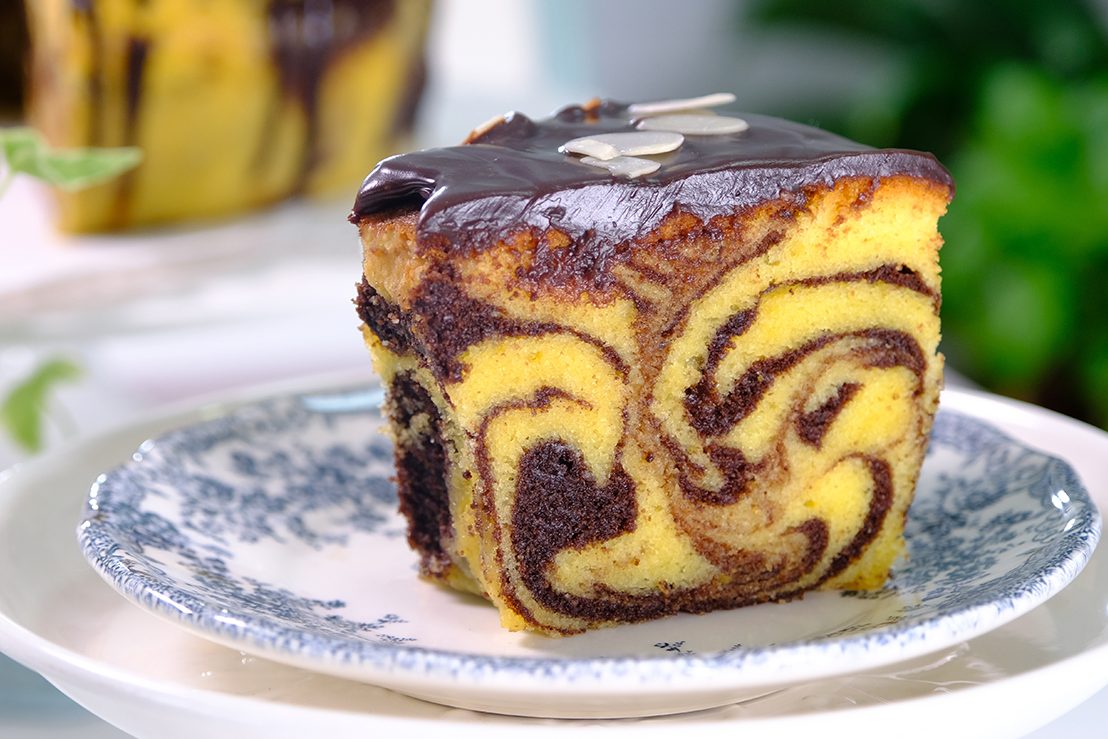
The cake smells amazing 🤪 🙃 😘 …
There is something special about a classic marble cake, it catches the eye but also makes you excited to bite into it because it has two different flavors.
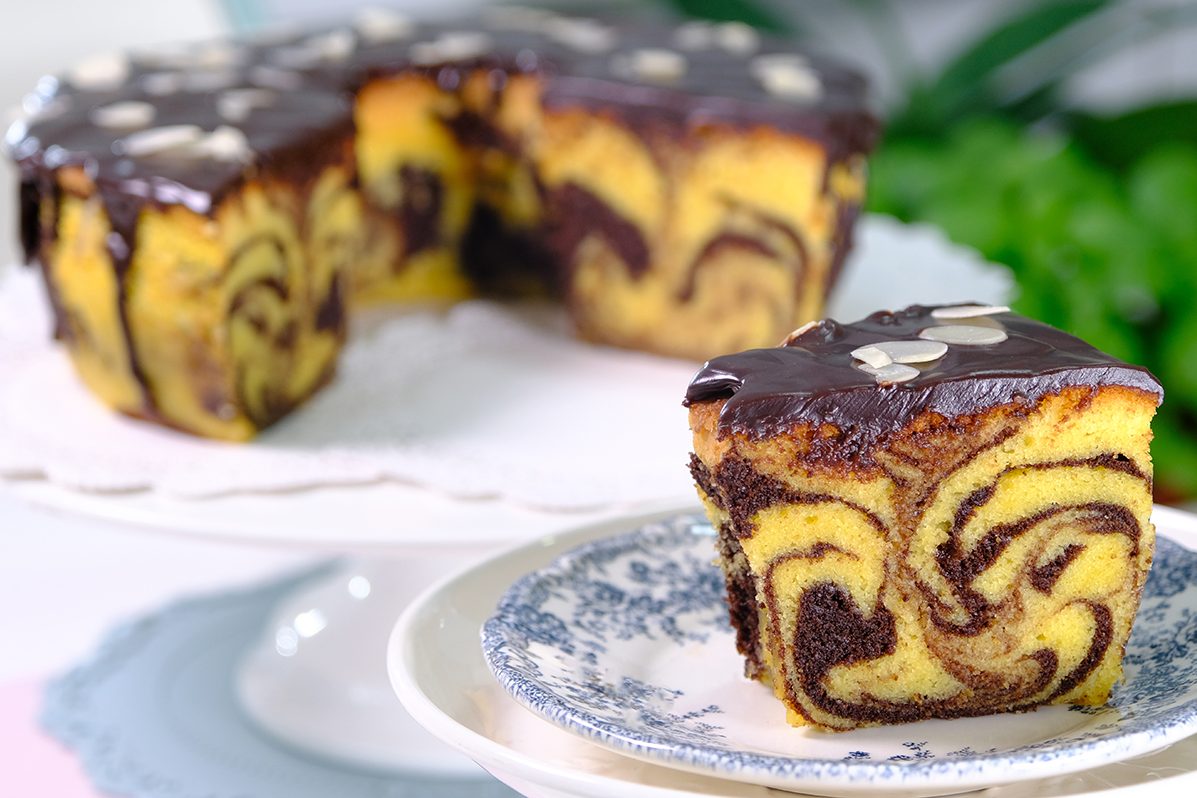
You can use a Bundt Pan to make this simple homemade treat much more sophisticated.

It is wonderfully rich and buttery with a moist and tender crumb.

If you love soft, velvet Marble Cake then please give this cake a try.
I will also show you how to get the perfect Marble swirl (kindly watch the video)
This beautiful moist cake perfect for serving with a cup of tea or coffee.

Marble cake is a simple concept, but the baked result is very satisfying, with a delightful look when you cut into the cake and reveal the hidden pattern.
I hope you will enjoy it as much as I do 😃
MARBLE CAKE
Yield: One 10-Inch (7 cm tall) TUBE PAN
❄️ Ingredients
CAKE BATTER
🪴Cocoa Mixture:
40 g Unsalted Butter (melted)
20 g Cocoa Powder (Dutch-Processed)
🪴 Creamed Butter Mixture:
255 g Unsalted Butter ~ softened at room temperature
180 g All-Purpose Flour
🪴Flour Mixture:
160 g All-Purpose Flour
2 ¼ tsp Baking Powder (Double Acting)
3/4 tsp Salt
240 g Sour Cream (room temp.)
1/2 tbs Vanilla Extract
225 Whole Eggs (room temp.)
90 g Egg Yolks (room temp.)
375 g Caster Sugar
CHOCOLATE GLAZE
170 g Dark Chocolate Compound (Semi-Sweet)
120 g Heavy Cream
20 g Unsalted Butter
1 tbs Dark Rum
❄️ Instructions
Preparation
To Make Marble Cake
To Make Chocolate Glaze

“Plain Old Vanilla Pound Cake”
This simple yet classic and elegant cake has become recognized as a basic foundation for many of our modern confections.
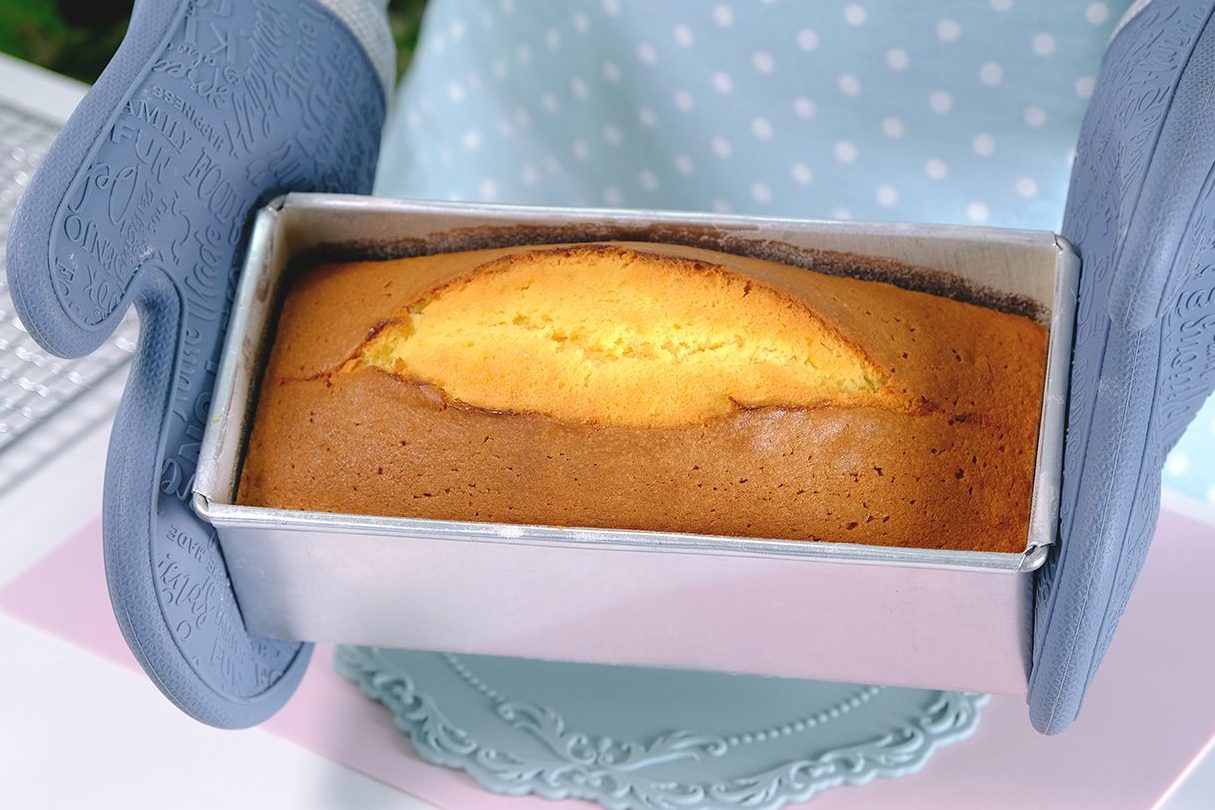
Pound cake gets its name from its traditional recipe: it used a pound each of four main ingredients — Flour, Butter, Sugar, and Eggs. That’s it!

Rich and buttery, heavy and dense are the original characteristics of Pound Cake.
It’s not light and fluffy like a Sponge Cake—it’s got weight to it.

However, methods and ingredients have changed over time to suit evolving tastes.

In this recipe, I will use the Flour Batter Mixing Method and share some tips for making a Mile High yet moist Vanilla Pound Cake.

FLOUR BATTER MIXING METHOD produces a more tender cake because the Butter coats some of the gluten-forming proteins in the flour at the beginning of the mixing process, preventing excessive gluten formation.
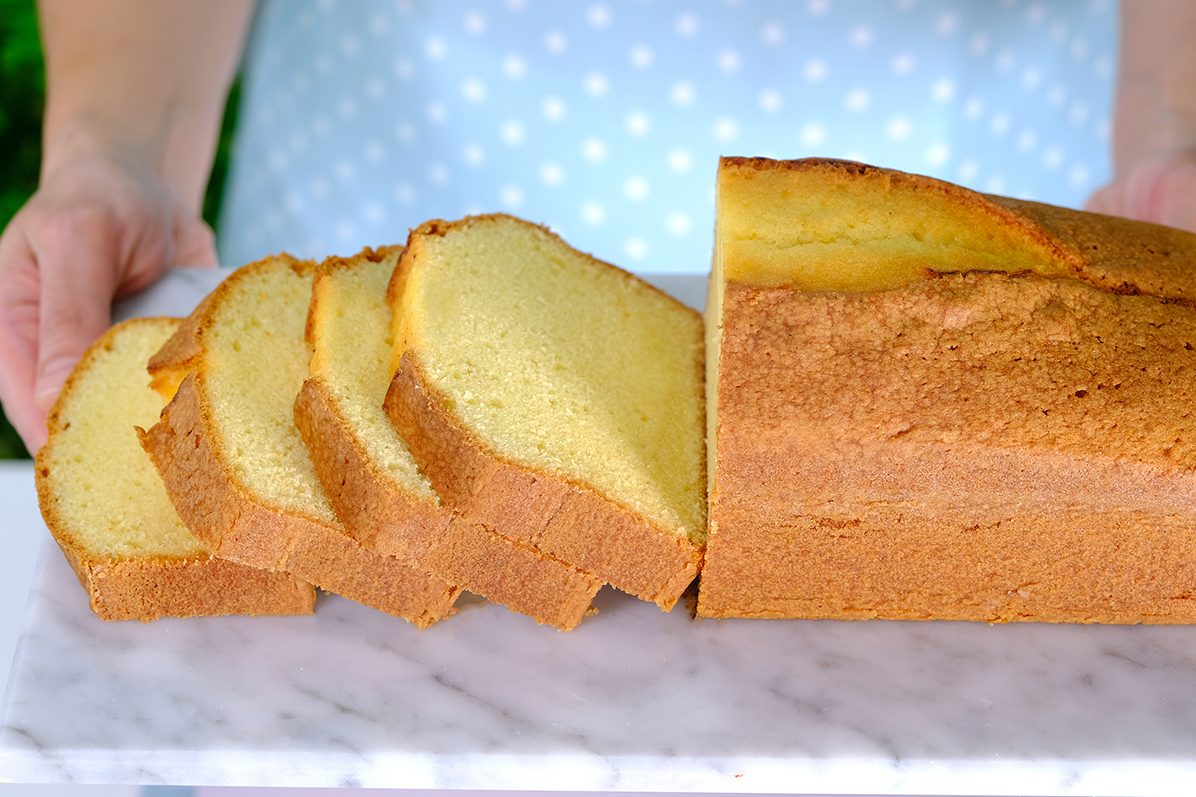
This method works only if the Butter is softened or 65° to 75°F/ 19° to 23°C and all other ingredients are ROOM TEMPERATURE as well (this includes Eggs and Milk).
At this temperature, the Butter when whipped will hold the maximum amount of air.
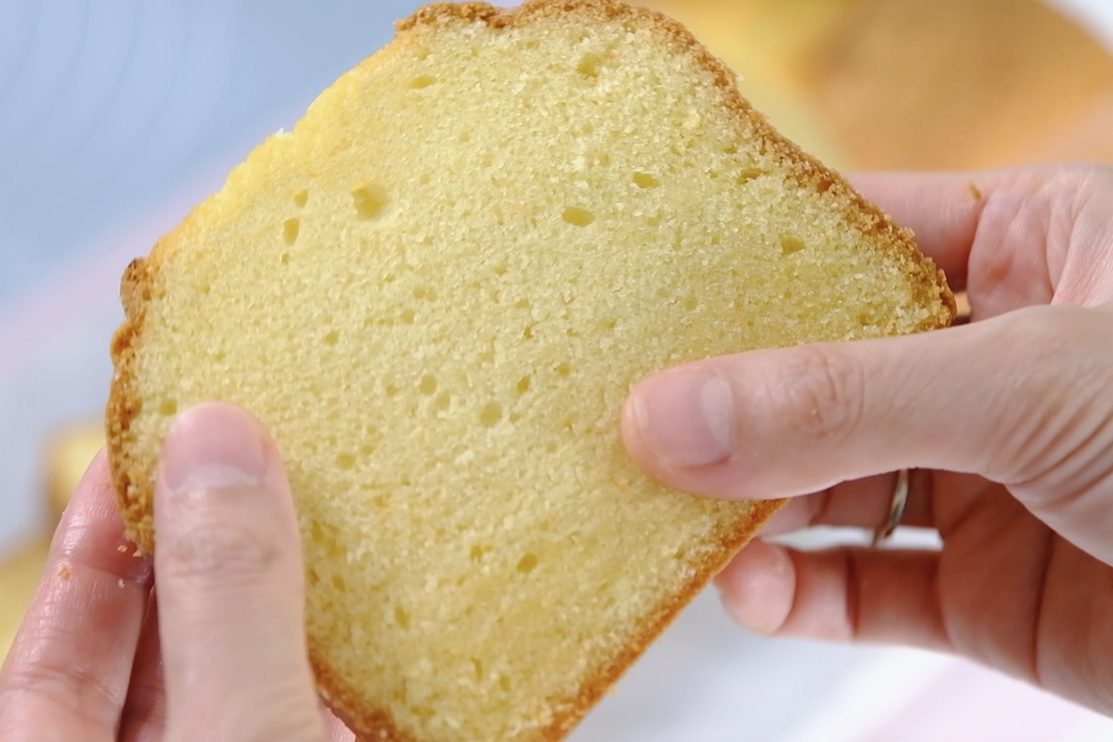
ALWAYS USE REAL BUTTER when making Pound Cake. Using 100 percent high quality Butter at the correct temperature yields perfect texture in addition to superior flavor.
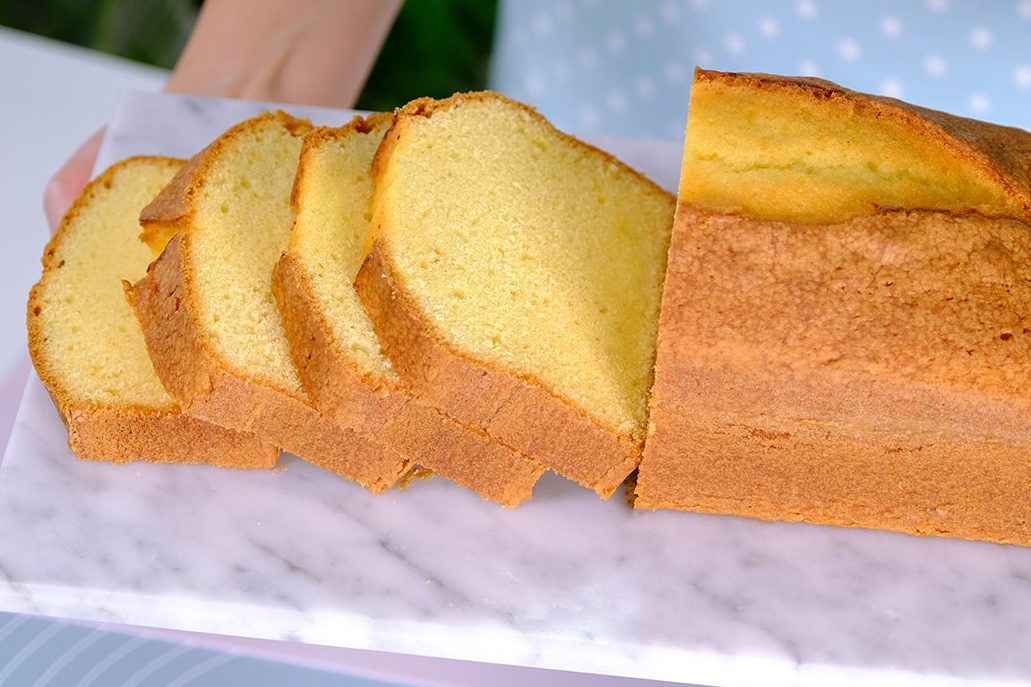
CHOOSING THE RIGHT PAN IS VERY IMPORTANT IN MAKING POUND CAKE
Pound Cake can be baked in a Loaf, Tube or Bundt Pan.
Rapid heat penetration gives the cake a superior texture, so it is best to use a cake pan made of a highly conductive metal that has a dull, heat-absorbing finish such as Aluminium.

If you prefer to use a Bundt Pan, make sure that you choose a thick, non-stick metal pan that is not too dark, since they are sturdy and conduct heat consistently (Nordic Ware Cast Aluminium Bundt Pan does a great job).

This classic Butter Cake will be so fluffy, light, buttery and very tasty 😘
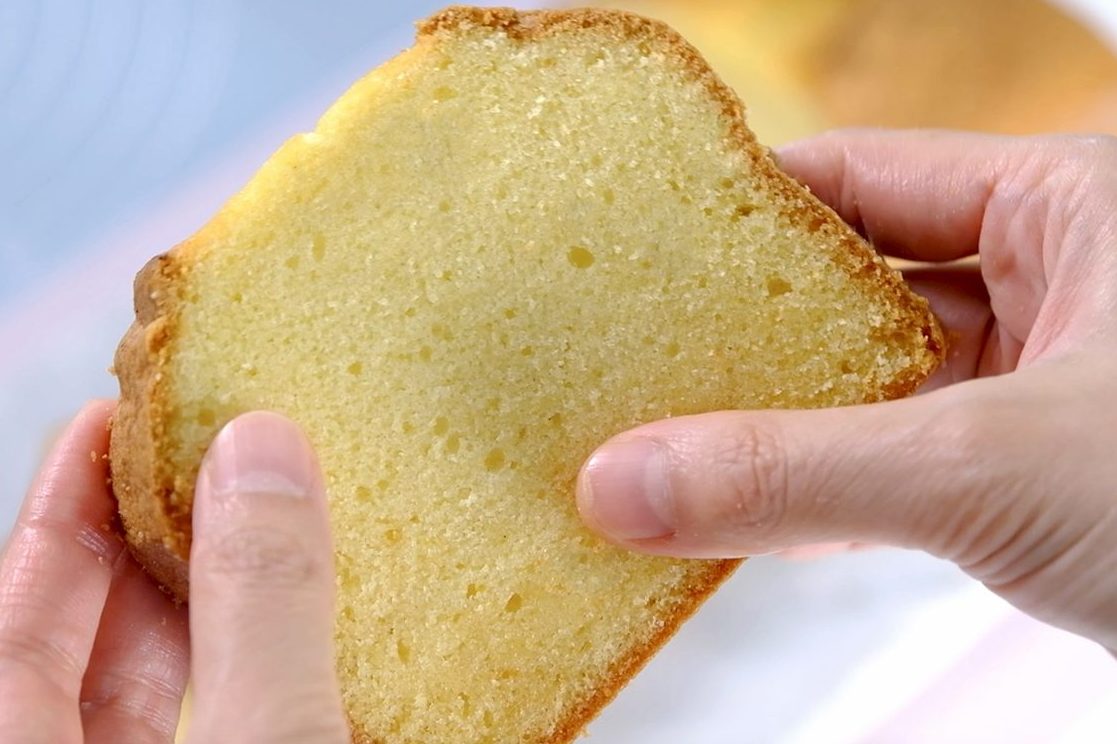


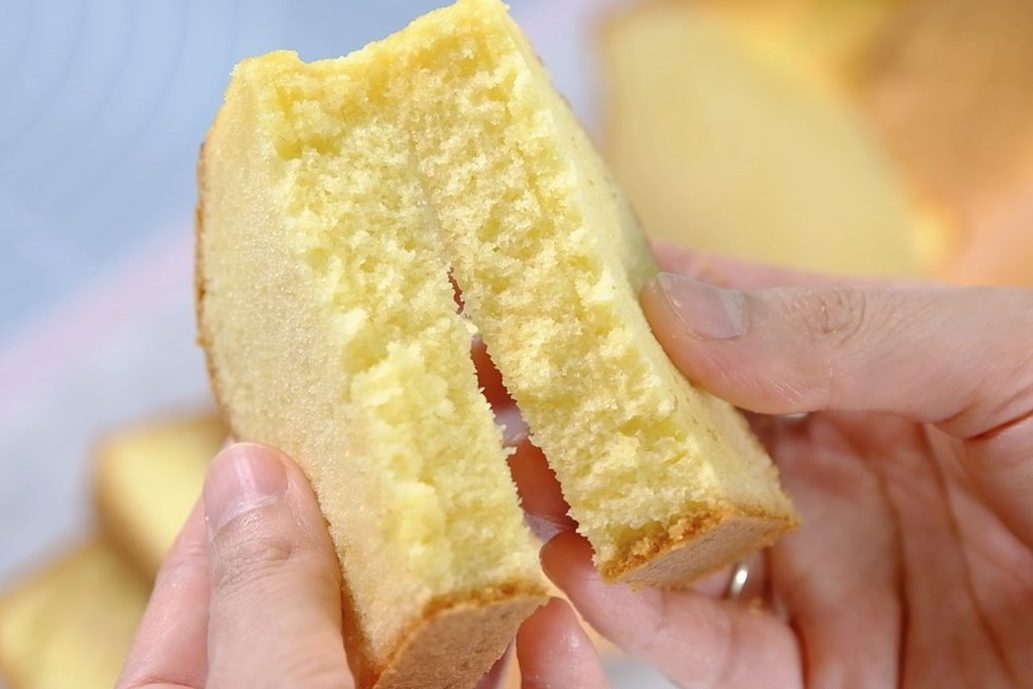


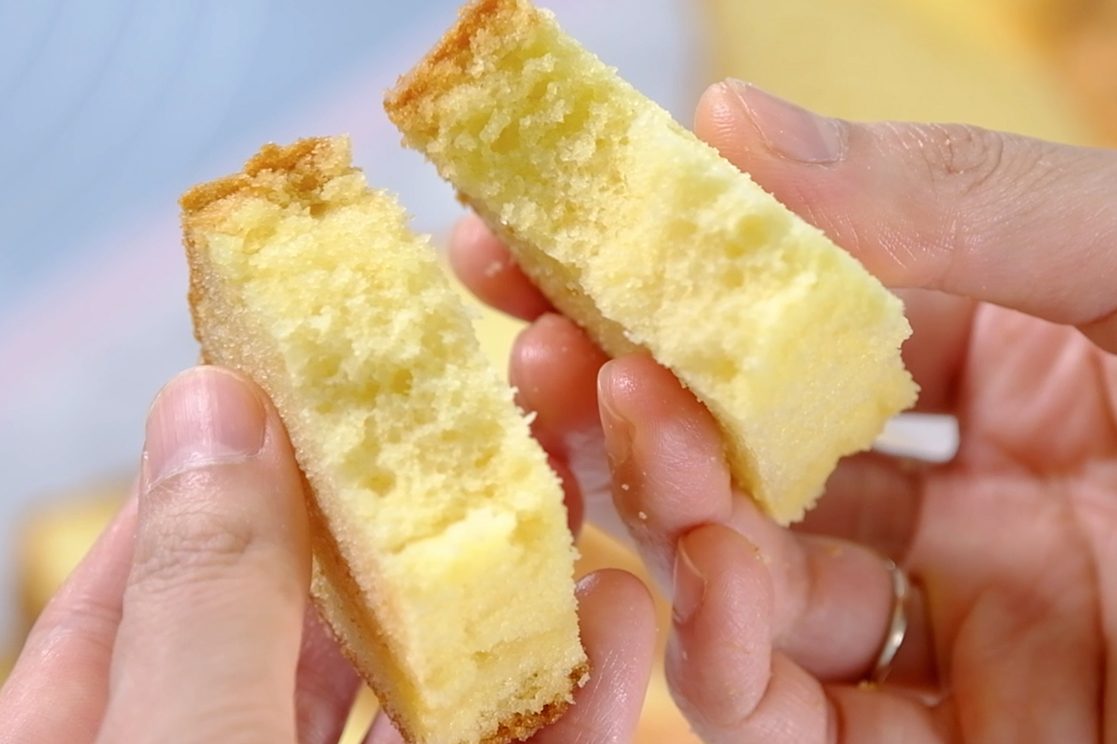


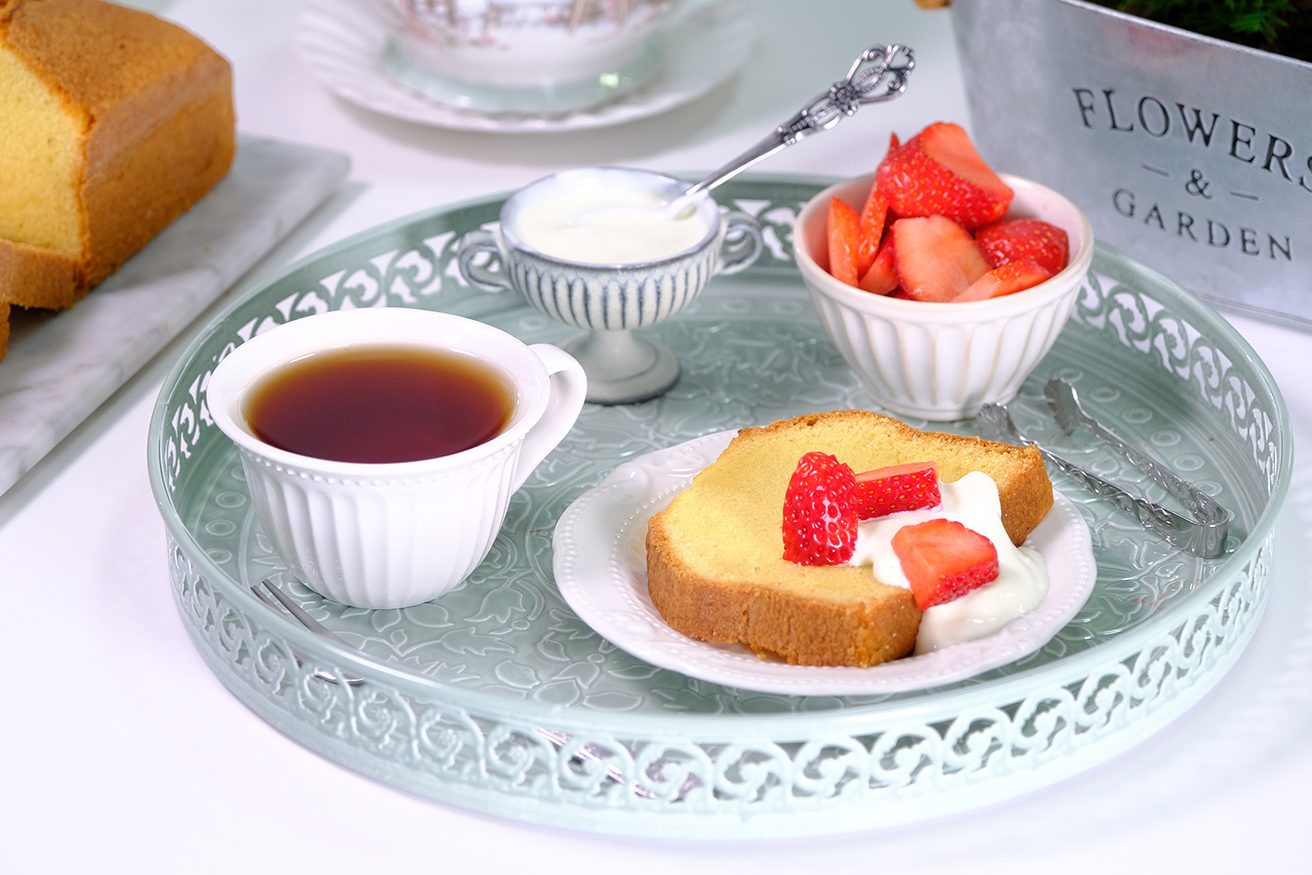

I hope this beautiful cake will add to your baking repertoire 😉

🍰 Love you All !
VANILLA POUND CAKE
Yield: One (9” X 4” X 3”) or (23 x 10 x 7.5) cm Loaf Pan
❄️ Ingredients
FOR THE CREAMED BUTTER MIXTURE:
135 g Unsalted Butter ~ softened at room temperature
115 g All-Purpose Flour
160 g Eggs ~ room temperature
240 g Caster Sugar
120 g All-Purpose Flour
1/3 tsp Double Acting Baking Powder
1/3 tsp Baking Soda
1/3 tsp Salt
120 g Milk ~ room temperature
1/2 tbs Lemon Juice/ Vinegar
2/3 tsp Vanilla Extract
❄️ Instructions
Preparation
To Make Vaniila Pound Cake

Carrot Cake tends to be a bit dense or heavy and the Frosting is usually too sweet.
In this recipe, I will share a few tips to make a very light Carrot Cake.
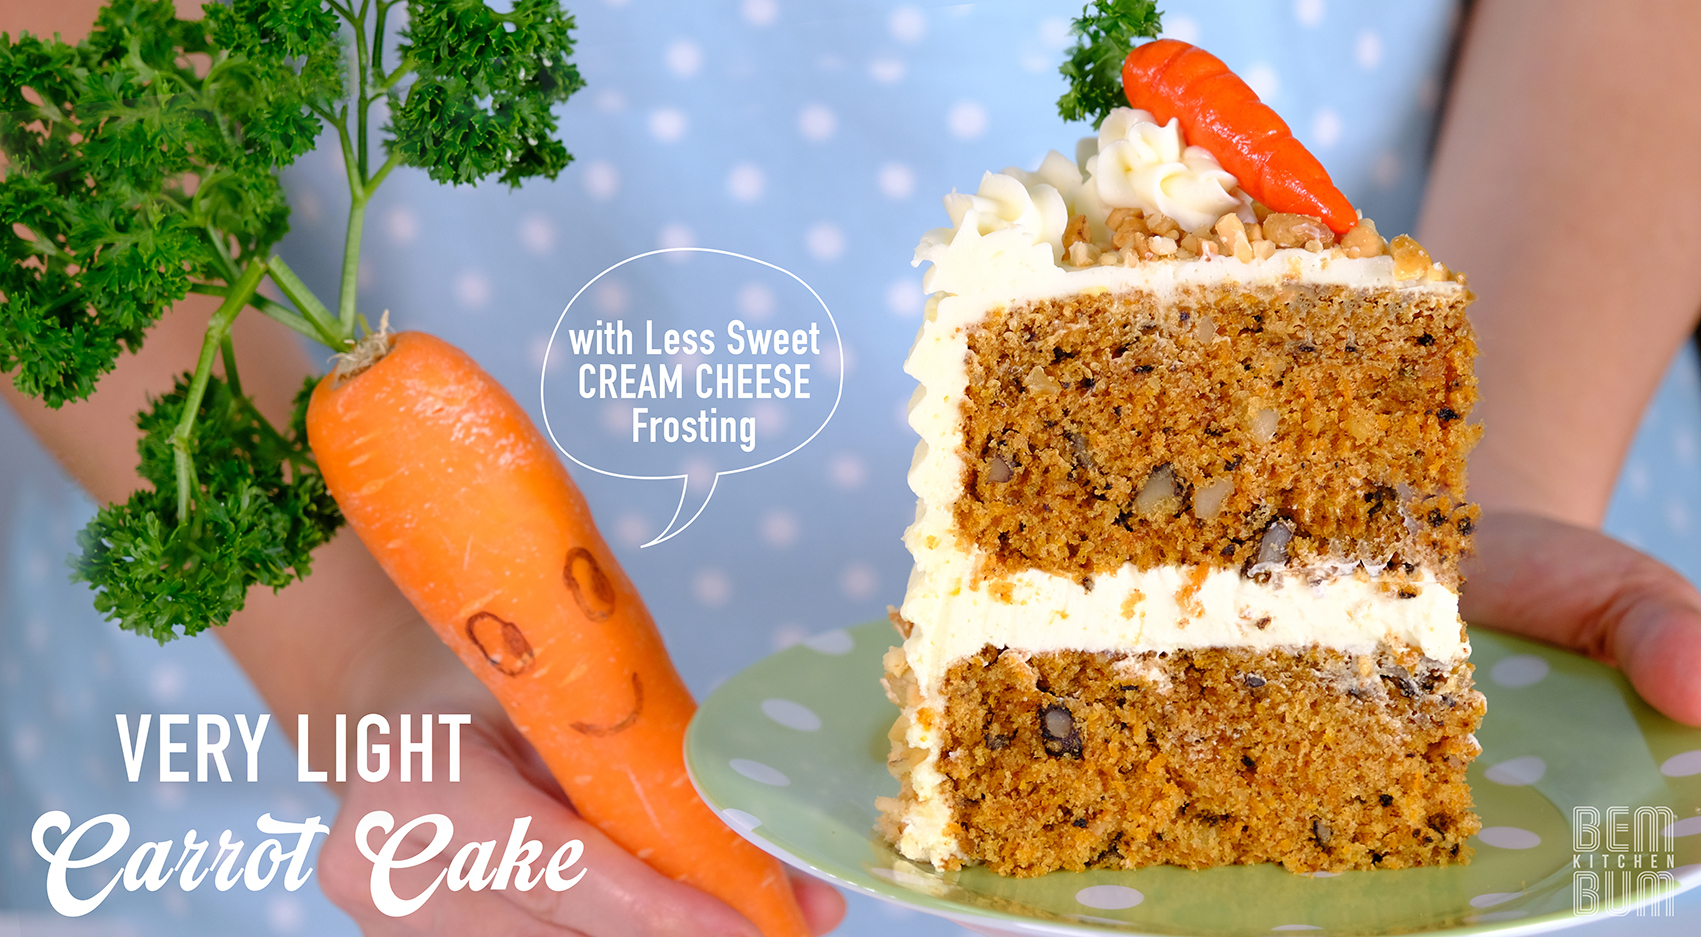

The texture of the cake is very soft and fluffy like a Sponge Cake; and the Frosting is not too sweet but stable enough to fill and decorate your cake.

Unlike most Carrot Cake recipes, the eggs do not need to be beaten first;
This recipe starts by beating the eggs and sugar first until thick and fluffy.
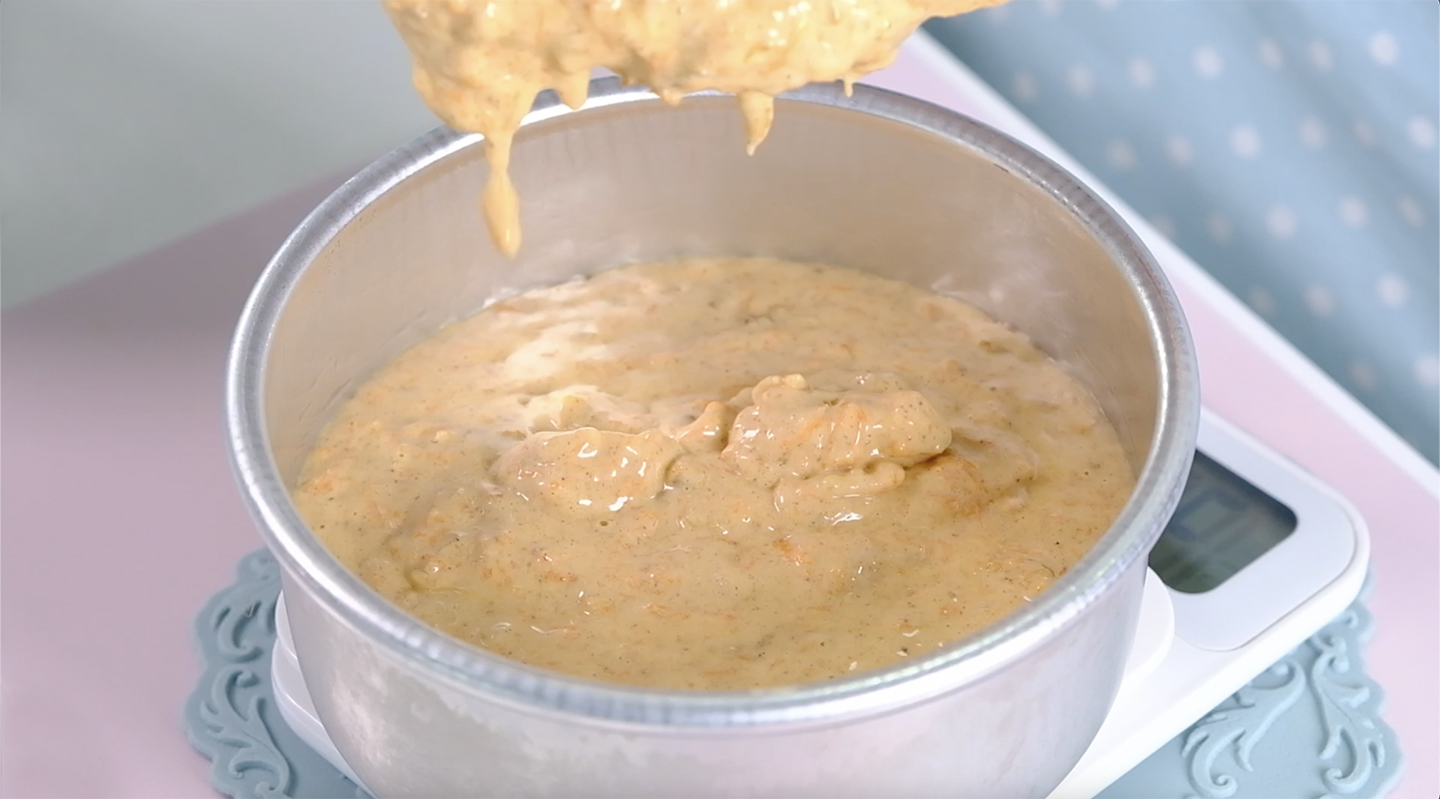
Therefore the use of fresh eggs is very important. Fresh eggs will achieve more volume and have greater stability when beaten than older eggs.

The Eggs must be at room temperature. If your eggs are cold, it may take longer to whip.
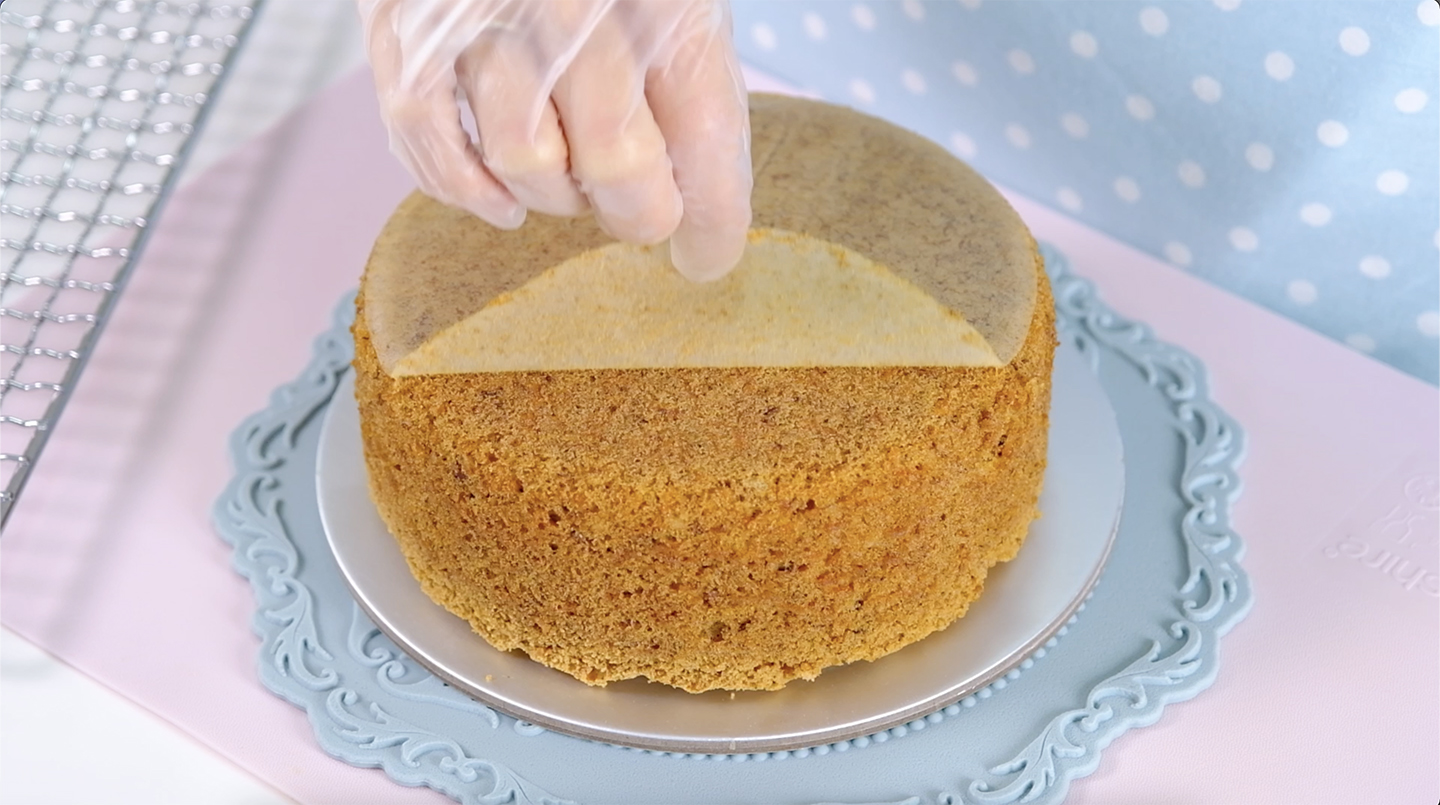
Then the Eggs and Sugar will be warmed in a double boiler.
Warming the ingredients simply helps dissolve the sugar better and improves the emulsifying properties of the egg.

As a result, it helps them achieve maximum volume when beaten.
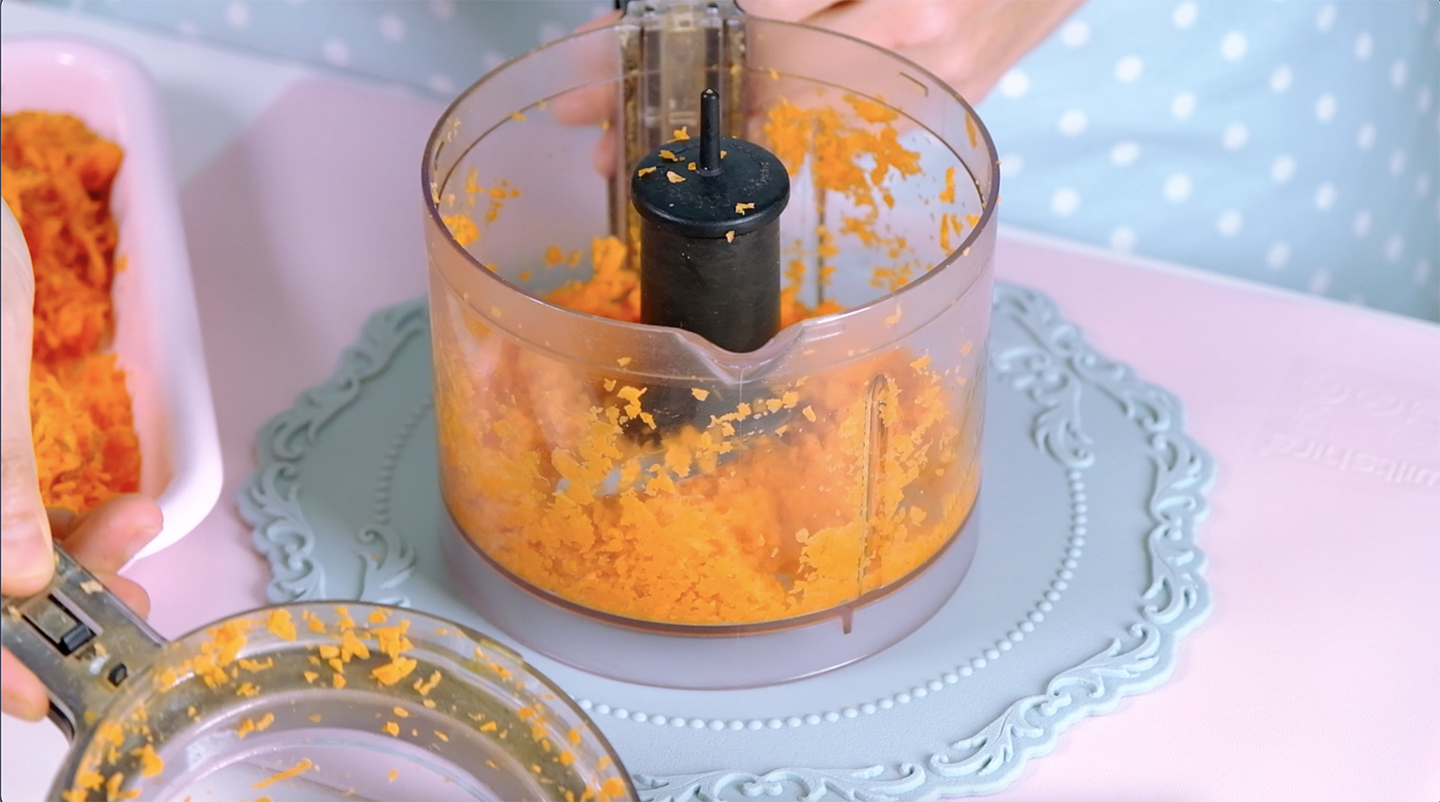
The Carrrots can be grated on a metal grater or in a food processor.
I have used all these methods and found using a fine grater or a food processor was better than use a coarse grater.

Grate the carrots more finely so you don’t get weird, chewy carrot pieces.


For the Frosting, I use less Icing Sugar than most Cream Cheese Frosting recipes.
Less Icing Sugar means less stability, This is where the magic ingredient Milk Powder plays a role in stabilizing the frosting.


This frosting recipe relies on good quality ingredients at the right temperature.
A good quality Butter is important otherwise your frosting might split.

The butter must be softened, that means when you press it with your finger there is an indentation, it’s not sticky and it doesn’t lose its shape.

And please use “block style” Cream Cheese. The Cream Cheese must be cold, straight out of the fridge.
Do not use the Cream Cheese spread that comes in the container as it will not provide structure to the frosting
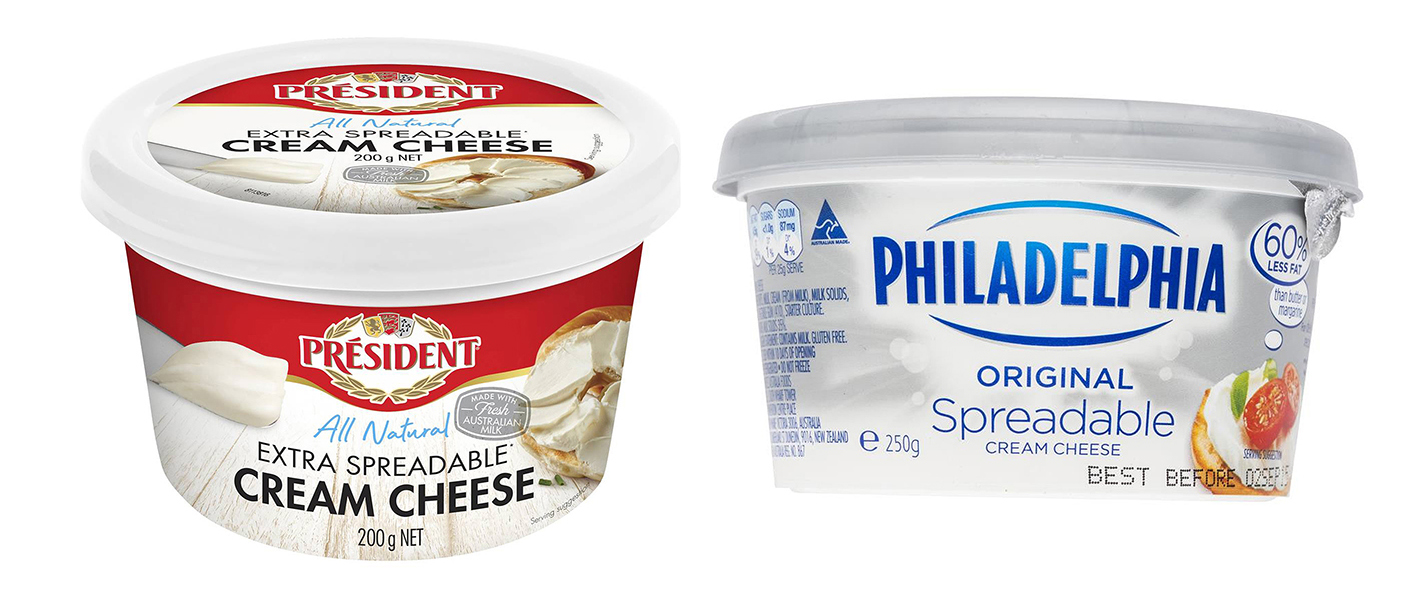
This frosting must be mix on high speed to ensure it comes out fluffy!

For decorations, I am completely obsessed with Marzipan Carrot. They look so realistic and perfect, and they are so easy to make!


You can use homemade Marzipan, I prefer store bought.
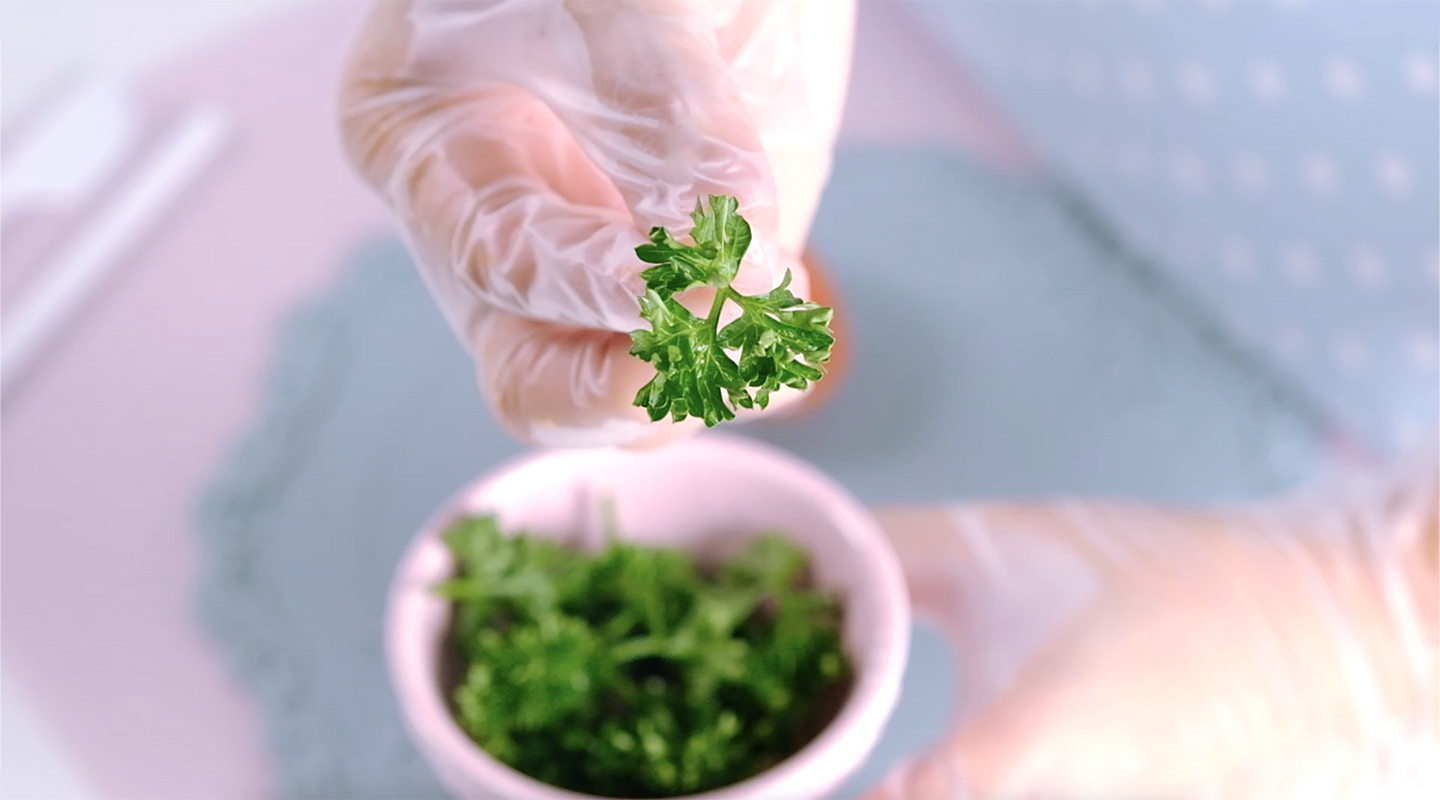

Look how adorable and CUTE they were turning out!


If you desired, you can save some of the frosting to pipe decorations onto the cake.


Addictive tender crumb, warm spices, crunchy pecans, and not-too-sweet Cream Cheese Frosting 😍😘
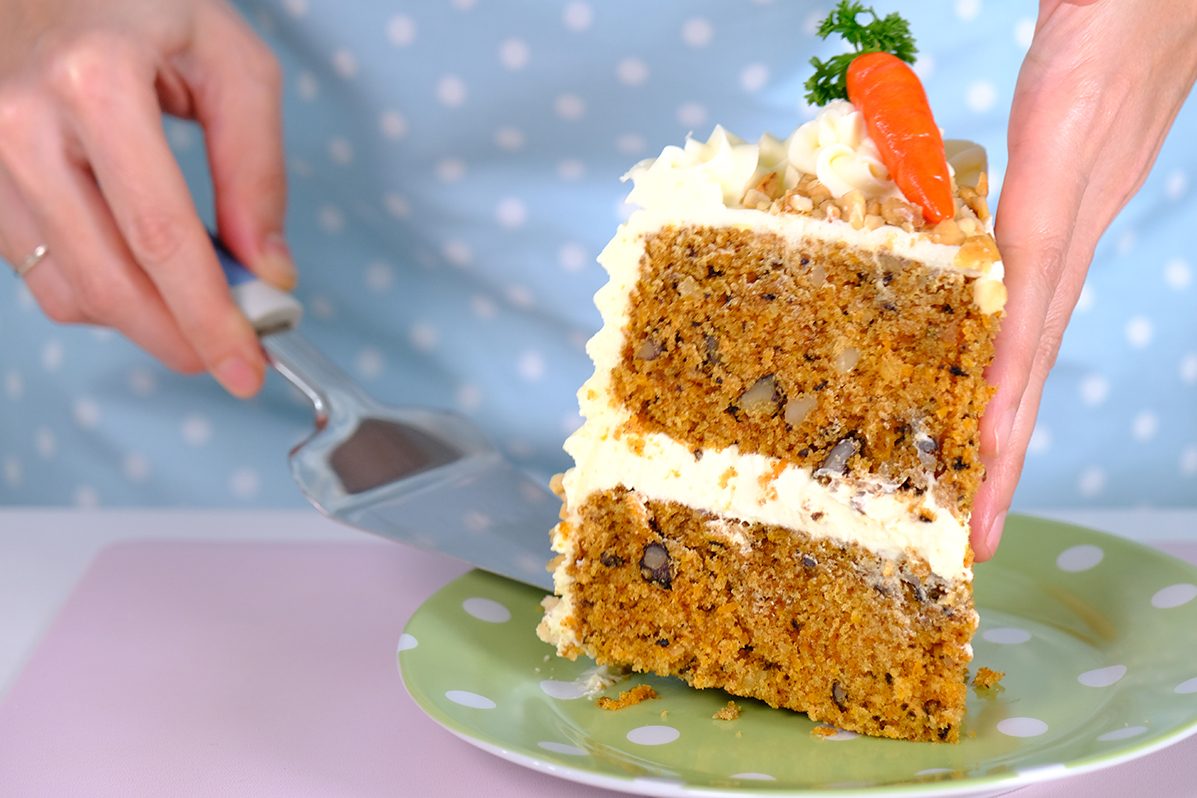
No more dense, heavy carrot cake 🤩

I hope this cake will change your perception ☺️
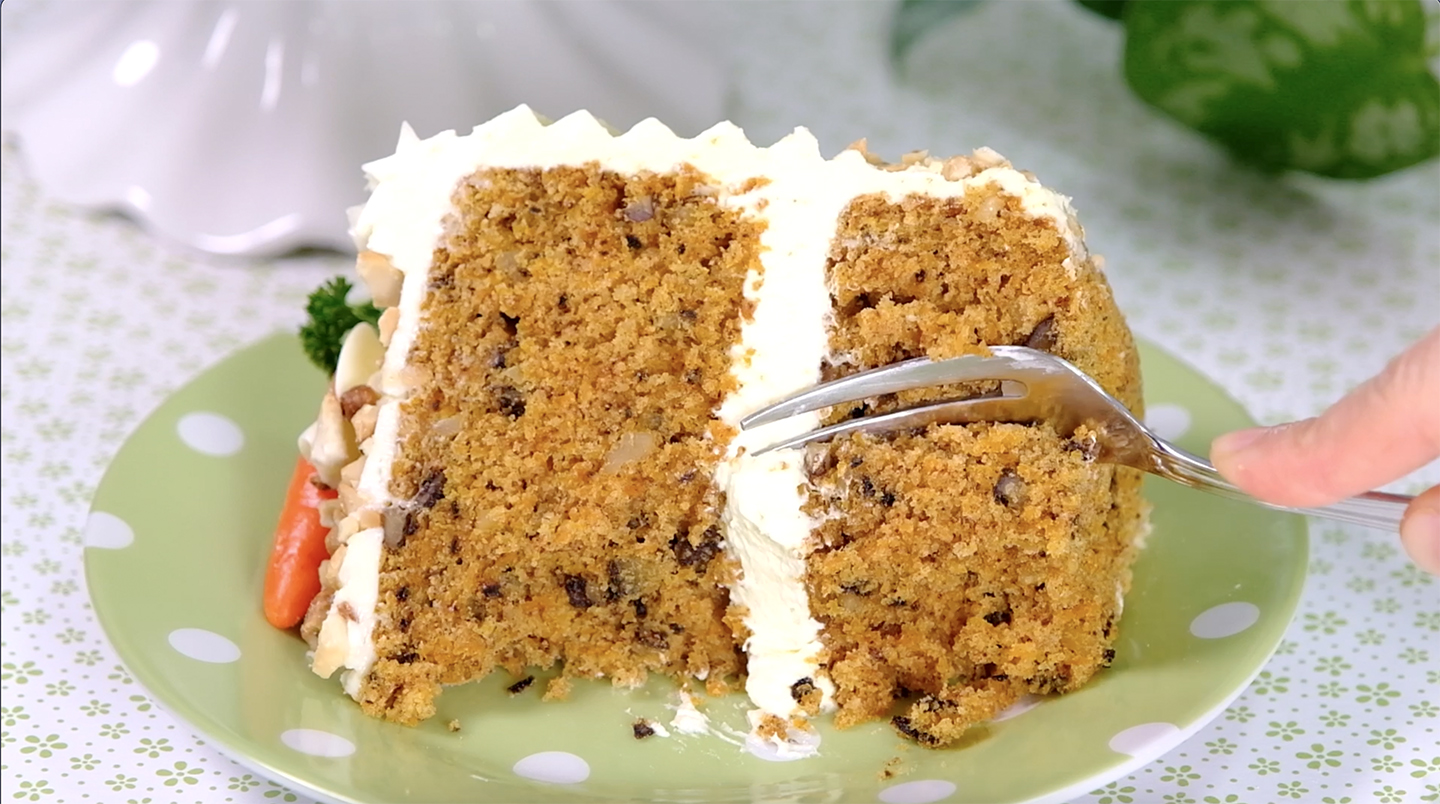

One slice is never enough 🤗

You will always miss this cake 😉

My second Brother will fall in love with this cake! 😍 🥰 😘

Love You All …
Enjoy the recipe and Happy Baking !
A VERY LIGHT CARROT CAKE WITH LESS SWEET YET STABLE CREAM CHEESE FROSTING
Yield: One 6-Inch Round Cake (2 or 4 Layers)
INGREDIENTS
🥕 Carrot Cake
170 g Eggs (room temp.)
200 g Caster Sugar
175 g All-Purpose Flour
1/2 tsp Baking Soda
1 tsp Baking Powder (Double Act.)
1/4 tsp Salt
1½ tsp Cinnamon Powder
1/4 tsp Ground Cloves
1/4 tsp Ground Nutmeg
100 g Vegetable Oil
200 g Grated Carrots (finely)
100 g Chopped Walnuts/ Pecans/ Cashews (optional)
🥕 Cream Cheese Frosting
240 g Unsalted Butter (softened)
240 g Cream Cheese (cold, straight out of the fridge)
120 g Icing Sugar
145 g Milk Powder
1½ tsp Vanilla Extract
🥕 Decorations
Store Bought White Marzipan
Orange Food Colouring
Parsley
INSTRUCTIONS
🥕 Carrot Cake
🥕 Cream Cheese Frosting
🥕 Decorations
🥕 Assemble the Cake
NOTES
One of the most popular questions I get asked is “How to convert cake recipes for different size pans with the same height?”.
Maybe you have a recipe that tells you to use a 6-inch pan, but all you have at home is an 8-inch pan or what do you do when you don’t have the right cake pan?
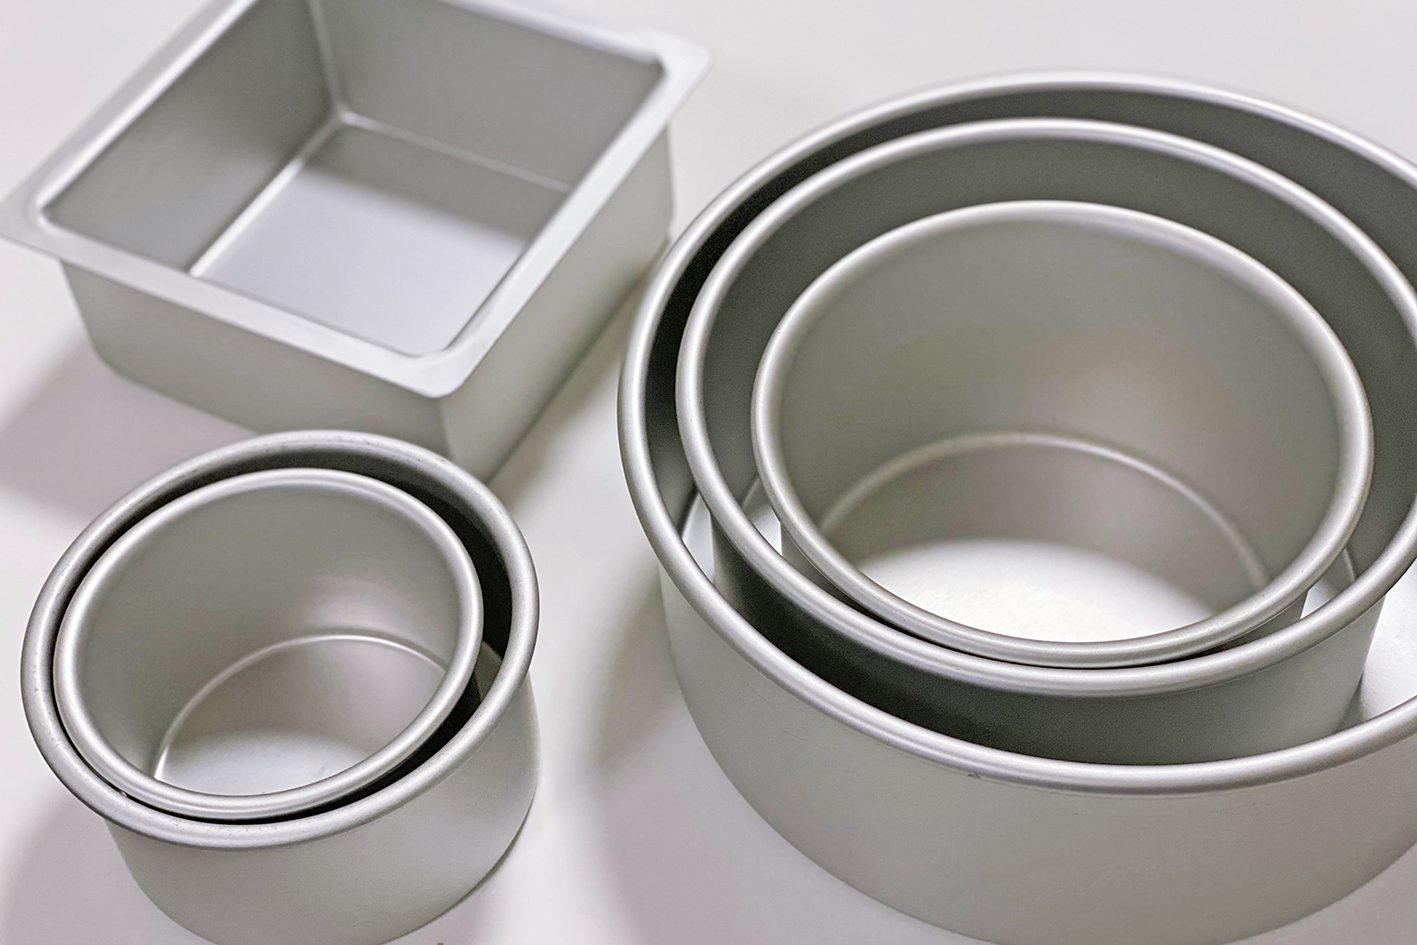
When converting cake recipes, first thing that you need to know is “How much the surface area of each of the pans?” (the pan you want to use and the pan the original recipe calls for).
There is a little maths involved in working this out, but to make it a little easier I have done this for you by using the simple chart below:

Once you have your 2 surface areas you can work out your Adjustment Amount

Then you can use the adjustment amount to convert the original recipe; by multiplying the value of the adjustment amount by the amount of each original ingredient
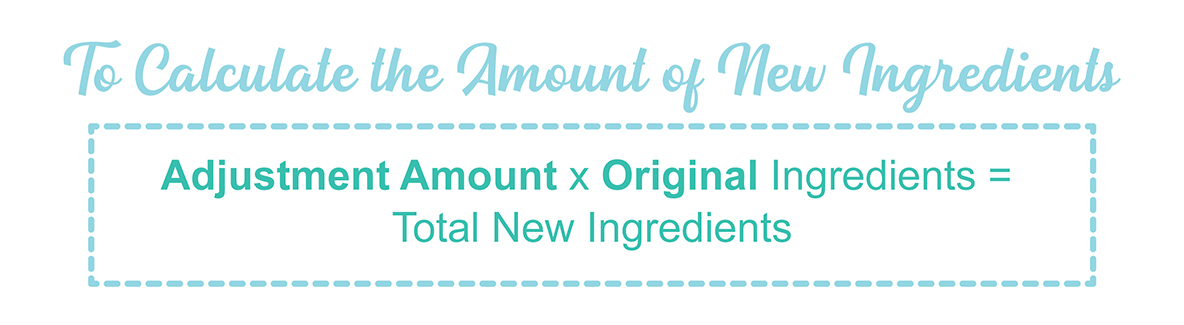
Here’s an example of how I converted one of my cake recipes;
My Vanilla Cake Recipe was for a 6-Inch Round cake and I wanted to use my 8-Inch Round Pan
The surface area of 6-Inch Round Pan (according to chart) is 29; and 8-Inch Round Pan is 50
To get the Adjustment Amount, I will divide 50 by 29 = 1,72

After multiplying all ingredients by 1,72 (as shown by the math above), I was able to bake the cake in my 8″ cake pans which produced the same height, texture and consistency as my 6″ cake pans.
For eggs – work off of a standard egg weighing 50g (out of the shell).
If you only need 25 grams of an egg, crack an egg into a cup whisk and measure out 25g using scales (save the leftovers for other purposes).
For ingredients like Baking Powder/ Soda or Lemon Juice
I round up or down e.g. if 1 tsp Lemon Juice is needed for 6″ , I round 1,72 up to 1, 75 (which is 1 ¾ tsp)
Another helpful trick is to follow the rule; the standard ratio is 1 teaspoon Baking Powder per cup of Flour and 1/4 teaspoon Baking Soda per cup of Flour.
Salt and vanilla are little more easier to play around with seeing as they are flavour enhancers only and don’t affect the structure of the cake.
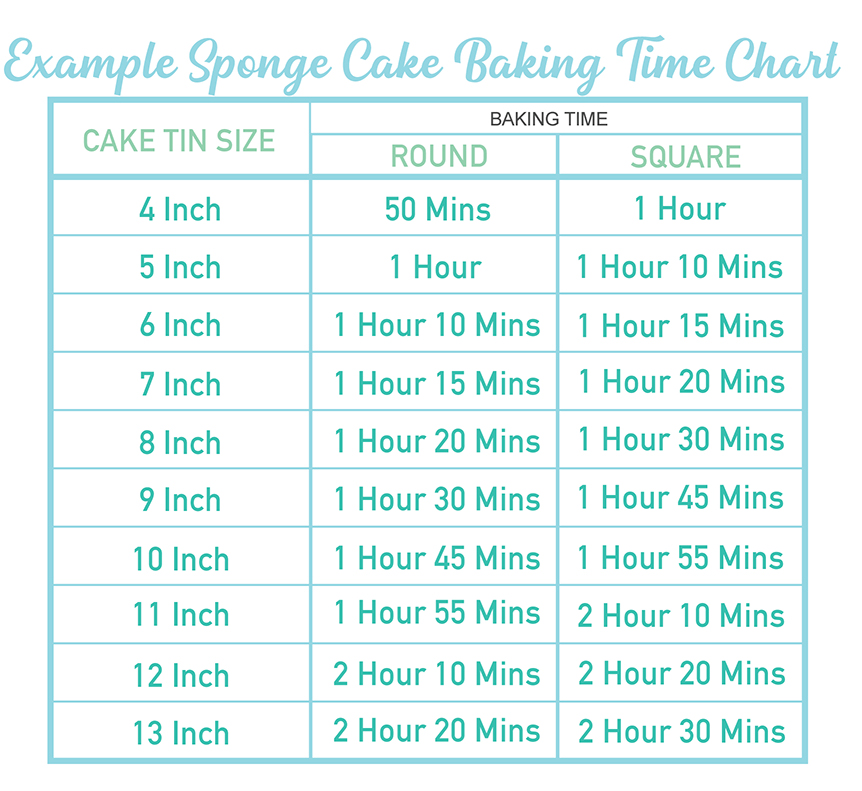
Please note that changing pan sizes may change your baking time, so DON’T forget to adjust the baking time.
It is hard to tell how much you will need to adjust the time by as this will depend on the size difference; generally, a bigger pan has more liquid and needs more time baking.
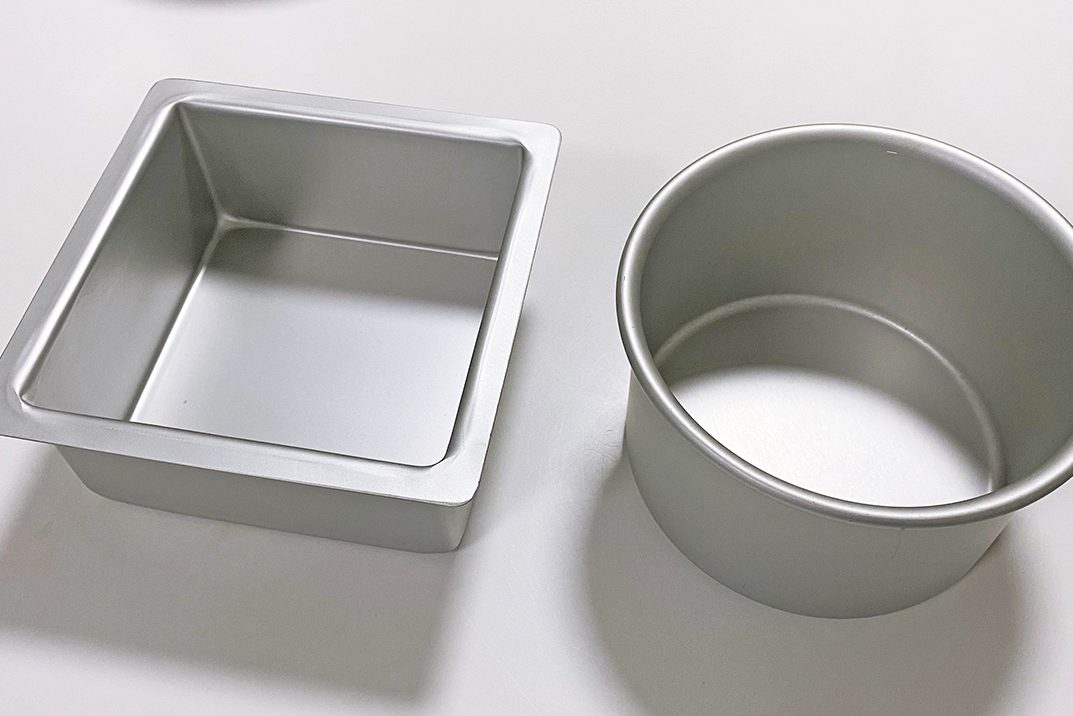
For a SMALLER pan start checking 5-10 minutes prior to the stated time, and for a LARGER pan add time in 5-minute increments until it is baked
(Below is an example of how I increased and decreased the baking time)
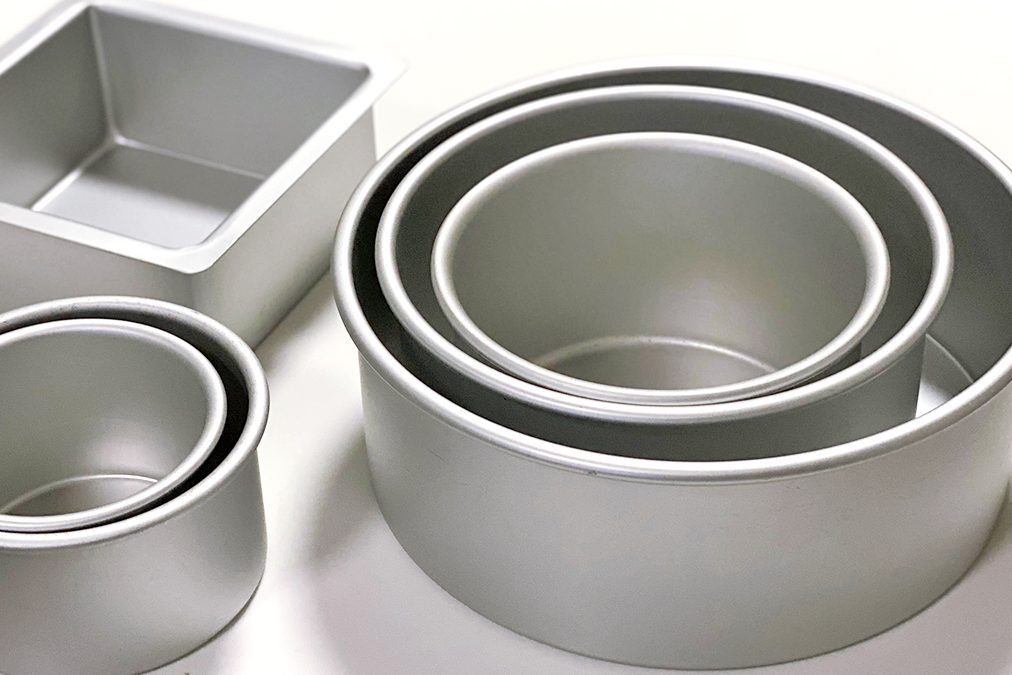
If this all seems like too much hard work, I get it!
If you are using a smaller cake pan than what the recipe states, you could just make the recipe as usual and follow the general rule of thumb which is to fill the cake tin 2/3’s full.
Any left over cake mixture can be used for mini cupcakes to be frozen and used for another time.
In the opposite scenario (the cake pan you have is larger than the required in the recipe), then you could multiply the recipe by 1.5 or 2 depending on how much larger the cake tin is; But in fairness, if you’re going to do some math anyway you may as well do it precisely and get it right with the method above.
I hope this was helpful for you.
Happy baking! 🥰