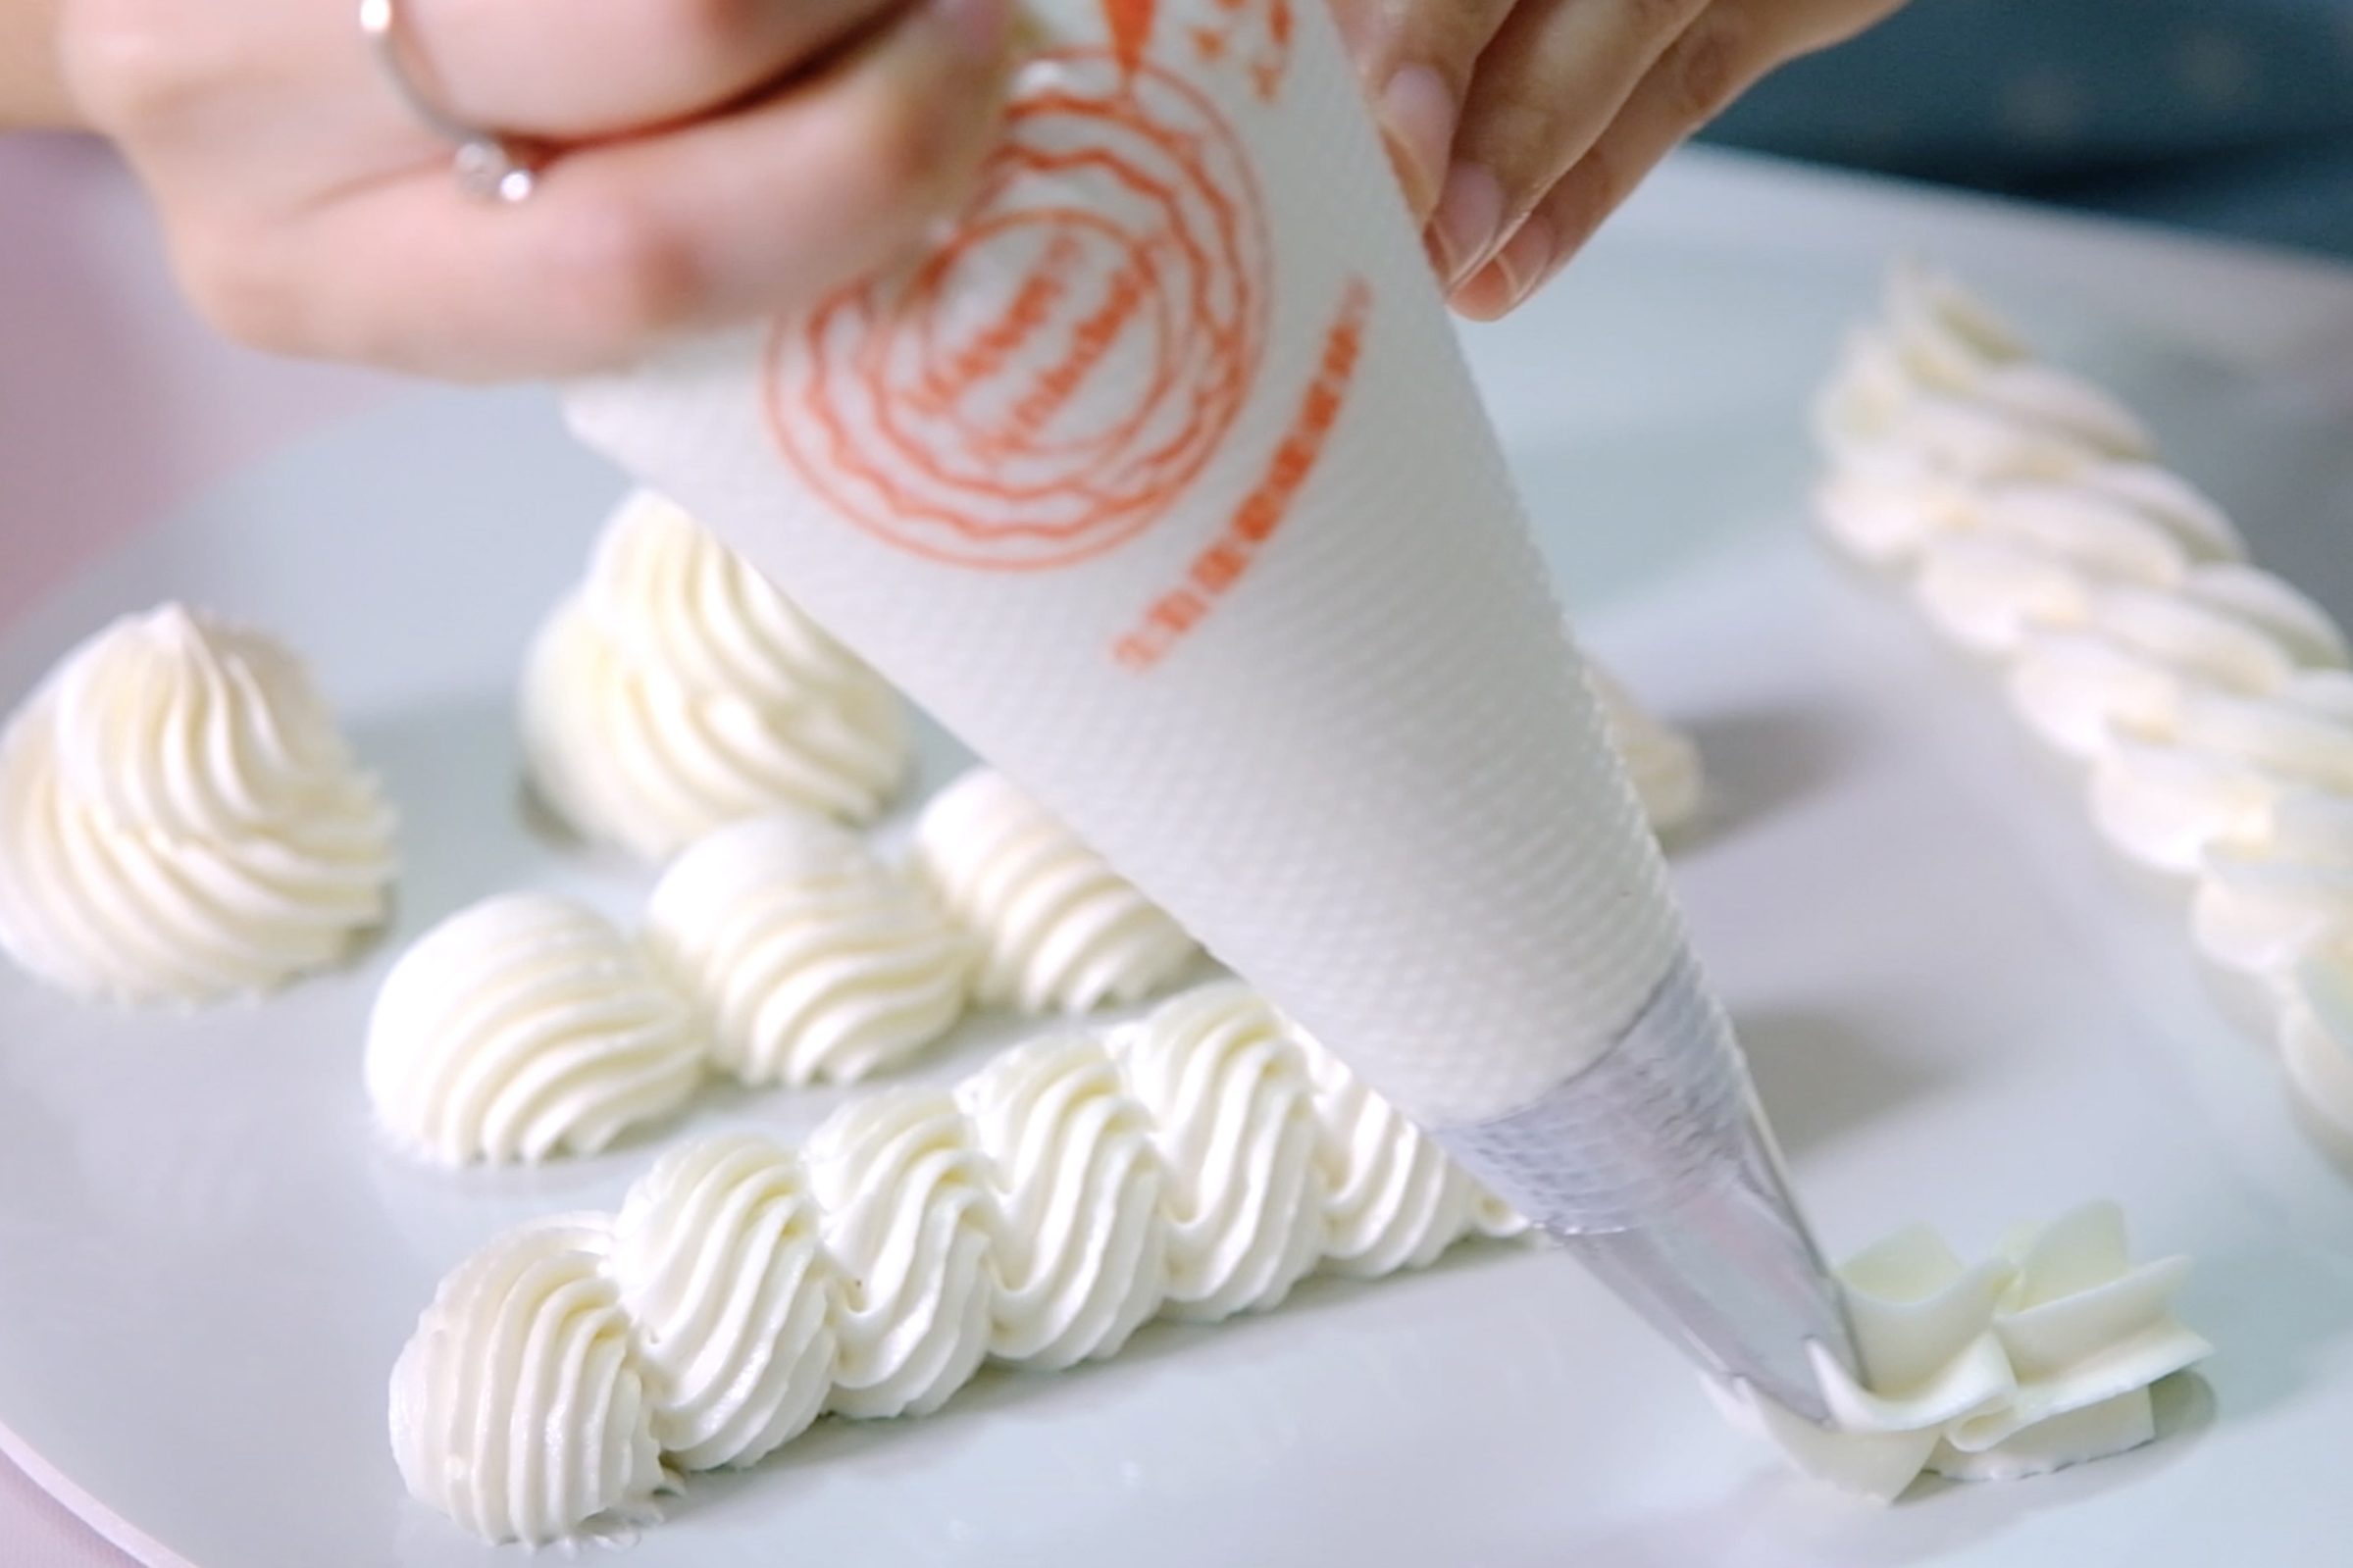
Stabilized Italian Buttercream

Minimal sweetness, light and fluffy and a dream to work with.
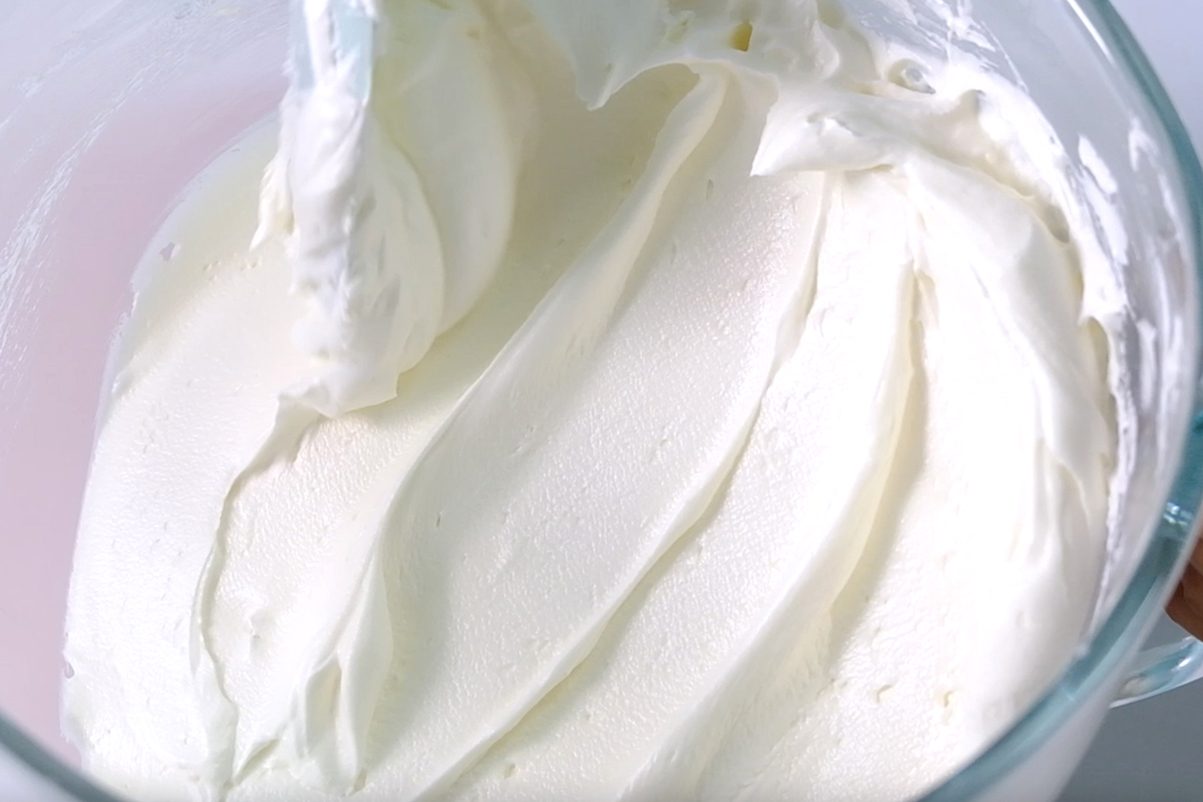
Compared to regular recipe, this Italian Buttercream recipe is more stable, and this is probably the silkiest, smoothest buttercream recipe that I’ve ever had.

In this recipe, the sugar syrup is going to cook the meringue, setting the proteins in the egg whites and creating a stable base for the buttercream.
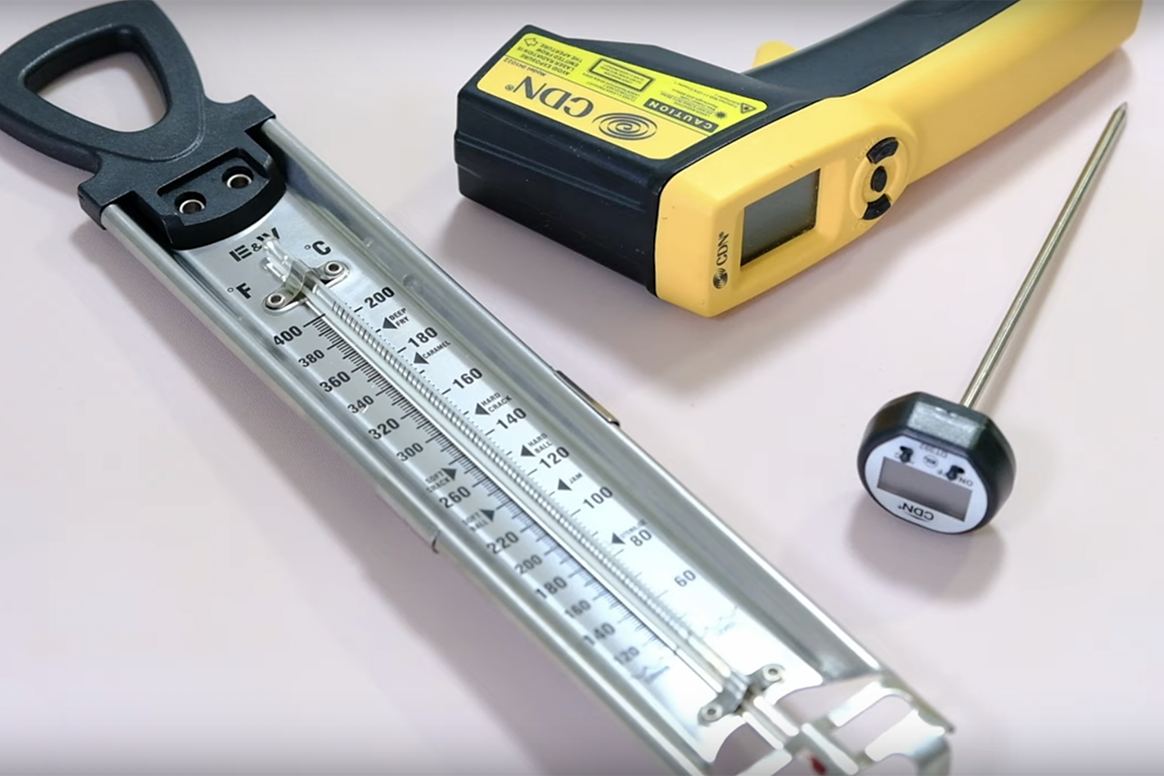
You will need an Instant Read Thermometer or a Candy Thermometer to make the sugar syrup

And for the fat, I am using a mixture of Butter and High Ratio Shortening.
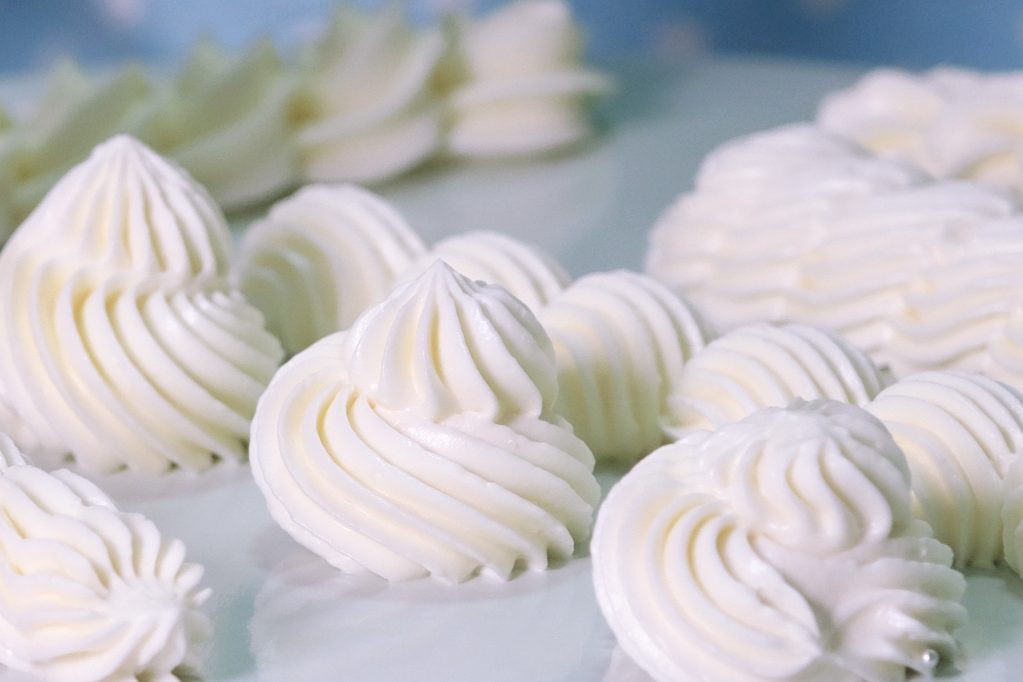
A combination of sugar syrup and Shortening creates a super smooth and stable buttercream.
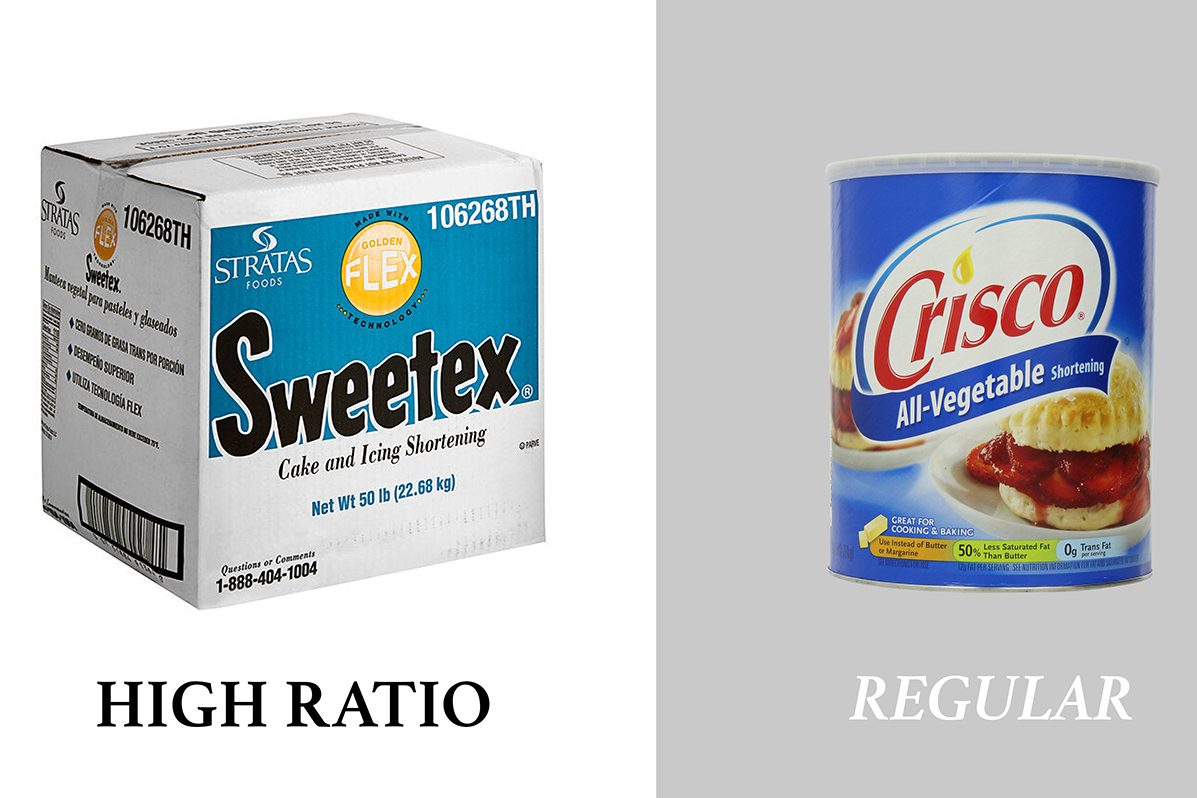
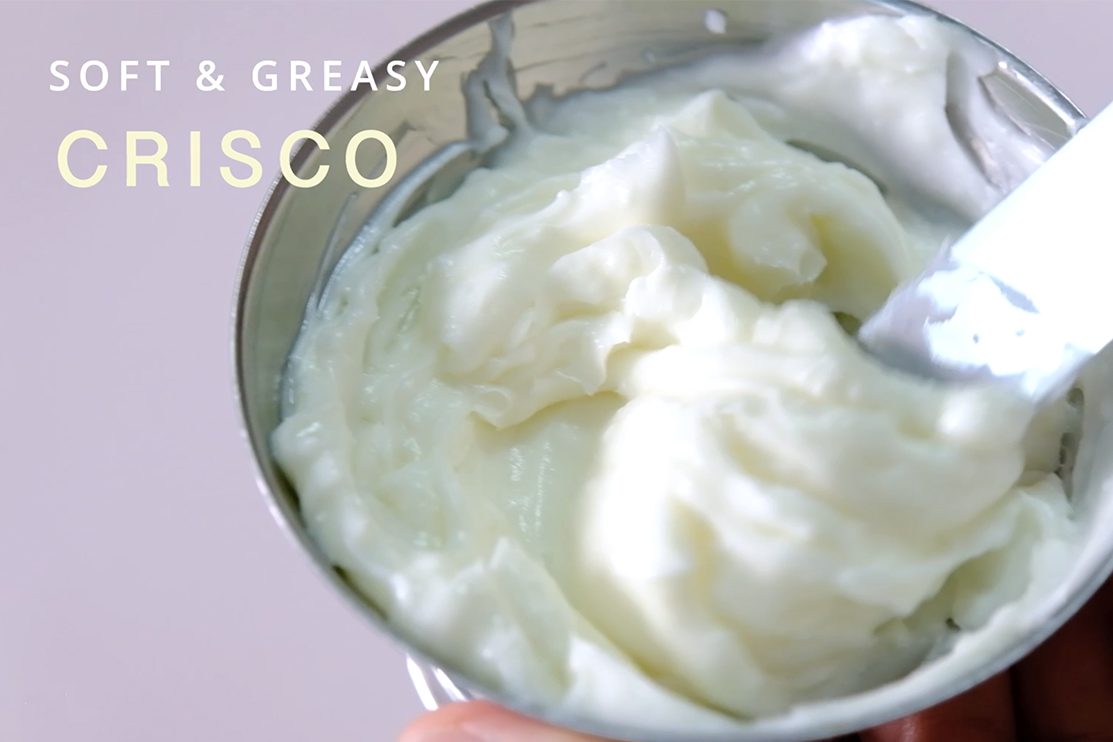
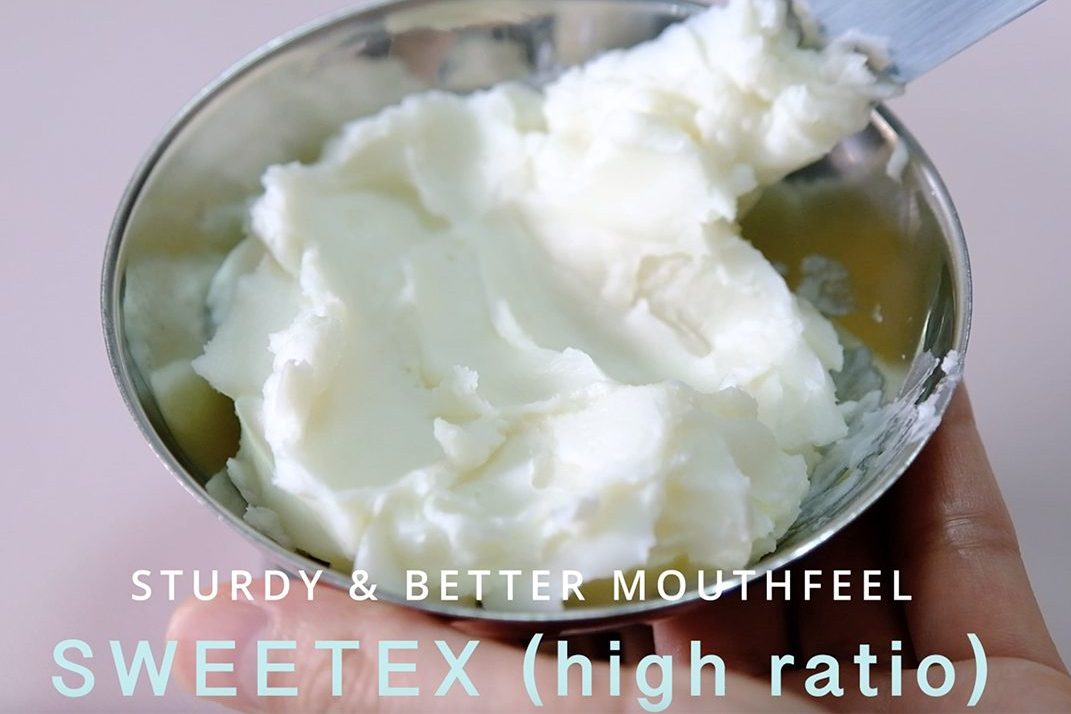
Be sure to use a Hi-Ratio Shortening like Sweetex Brand 😌
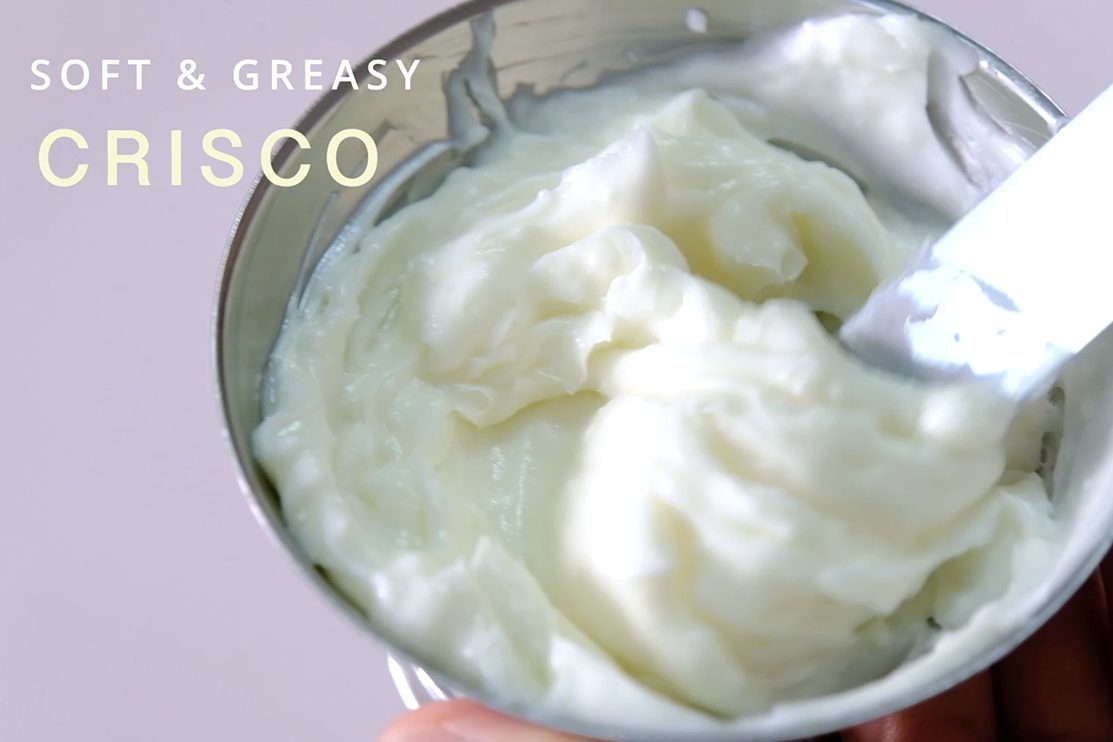
Please AVOID this kind of Shortening 🥲

Unlike regular shortening (CRISCO brand) which is less sturdy and taste greasy.
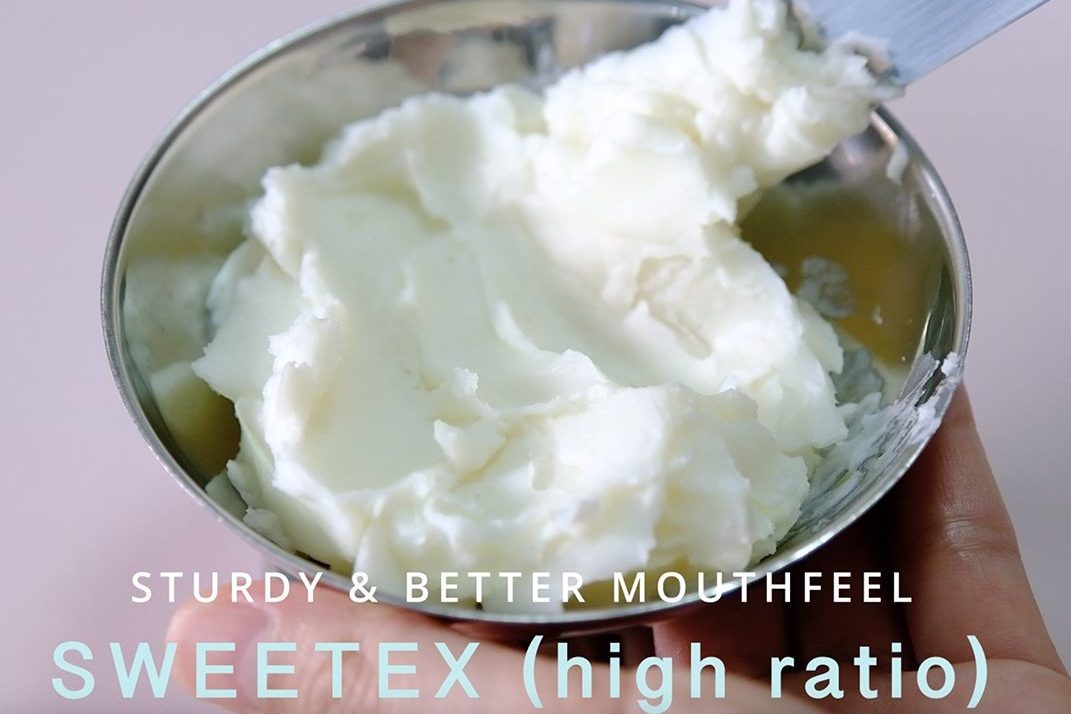
👍

High-Ratio shortening (SWEETEX brand) has a better mouth feel, smoother and holds better shape.

This is one of my go-to buttercream recipes, perfect for hot or humid conditions and the cake will stay on display for hours.

All taste delicious 😚

It’s also a versatile frosting that pairs well with a variety of flavour combinations.
Kindly find the flavor combination recipes below.
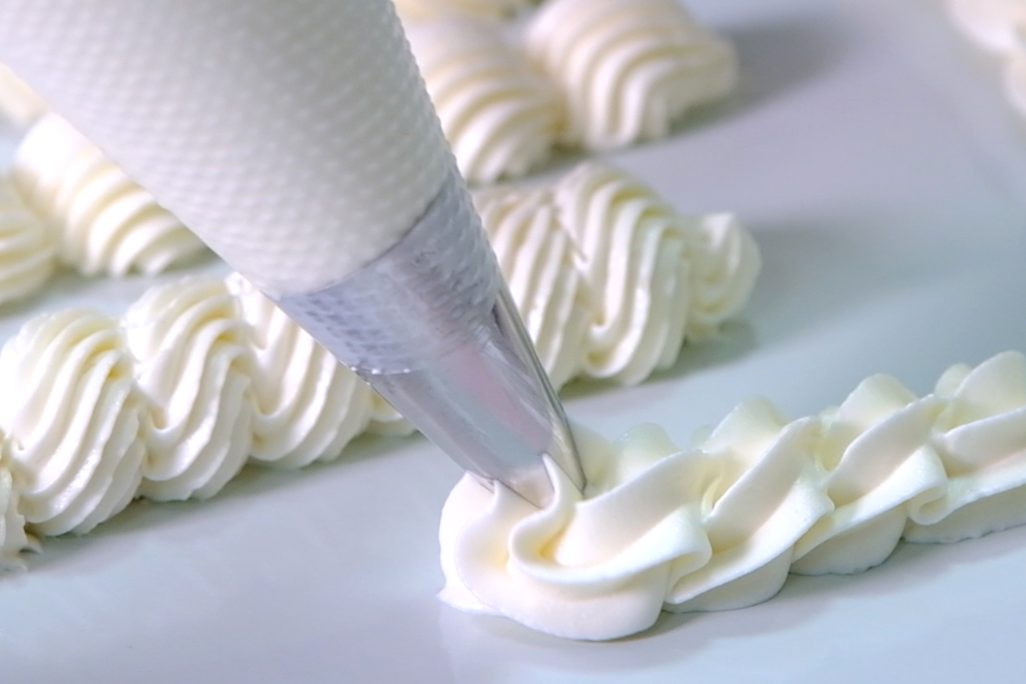
If you don’t like or afraid working with hot sugar syrup, you might want to try my “Grit Free Less Sweet American Buttercream“.
It’s super easy to make and tastes almost exactly like Italian Buttercream.
🎂 Love you All and Happy Decorating!

Watch How To Make “Stabilized Italian Buttercream”

Recipe

STABILIZED ITALIAN BUTTERCREAM
Yield: 5 Cups (enough to cover the top and the sides and to fill 3 layers of a 7-inch round cake)

❄️ Ingredients
160 g Egg Whites
160 g Granulated Sugar (first batch)
135 g Water
160 g Granulated Sugar (second batch)
315 g Unsalted Butter (room temperature)
270 g Shortening (High Ratio)
1 ½ tbs Vanilla Extract


Instructions

  1. Prepare the Egg Whites
    Place Egg Whites and first batch of Granulated Sugar in a mixing bowl with a whisk attachment; set that aside.
    Notes: Make sure all utensils clean and grease free, any residue of fat will prevent egg whites from beating up properly. I usually wipe the bowl and utensils with Lemon Juice or Vinegar (the acid in Lemon Juice or Vinegar helps remove grease).
  2. To make the Hot Sugar Syrup
    In a medium saucepan, combine the Water and second batch of Granulated Sugar.
    Stir over HIGH HEAT just until the sugar is dissolved.
    Then continue boiling without stirring until the sugar syrup reaches 110°C (225°F).
    * Please be cautious when handling hot sugar syrup, as it can cause severe burns if it comes into contact with the skin.
  3. As soon as the sugar reaches 110°C (225°F), you can start beating the Egg Whites;
    Turn ON the mixer to HIGH speed.
  4. Once the Egg Whites are starting to become frothy and white in colour, lower the speed to MEDIUM HIGH and slowly pour the hot sugar syrup down the side of the bowl.
    * Try to avoid splashing the syrup onto the whisk attachment or you will be making spun sugar as it hits the sides of the bowl.
  5. After all the sugar syrup is added, continue whipping on HIGH speed until the mixture has cooled completely.
  6. Once the mixture is cool to touch, you may add the room temperature Butter and Shortening while whipping on MEDIUM HIGH speed.
    * Never add the Butter or Shortening while the mixture is still HOT otherwise you will end up with Butter Soup!
  7. Scrape down the sides of the bowl occasionally to make sure everything is evenly mixed.
    Add the Vanilla Extract and continue beating on medium high speed for another 10 minutes.
  8. Once it’s done, switch to the paddle attachment and beat again on MEDIUM LOW speed for another 3-5 minutes. This process will help to get rid any air bubbles that form during the beating process so you will get a silky-smooth texture.
    *If you are using a hand mixer, you can use the lowest speed.

❄️ OPTIONAL FLAVOURS
For every 1 cup (220 g) buttercream add:

  • Strawberry: 1 ½ tablespoons Strawberry Jam and a few drops of pink food colouring
  • Chocolate: 2 tablespoons Cocoa Powder
  • Mocha: 2 ½ teaspoons Instant Coffee Granules diluted with 1 teaspoon hot water, 2 teaspoon Cocoa Powder and 1 teaspoon Rum Liquor
  • Coffee: 1 tablespoon Instant Coffee Granules diluted with 1 ½ teaspoon hot water
  • Lemon: finely grated zest of 1 Lemon and 2 teaspoons of Lemon Juice
  • Matcha: 2 teaspoons Matcha Powder

NOTES

  • TO STORE
    Keep it sealed in a Ziplog bag; 2 weeks in the fridge (1 month in the freezer)
  • TO DEFROST
    Take it out several hours before you need it and let it get to room temperature, then put it back on the mixer with paddle attachment on medium low speed; let it mix (it will look as if it is broken and curdled, don’t be alarmed this is natural, It will come back eventually).
    You can turn the speed to medium high and it will mix out smooth.
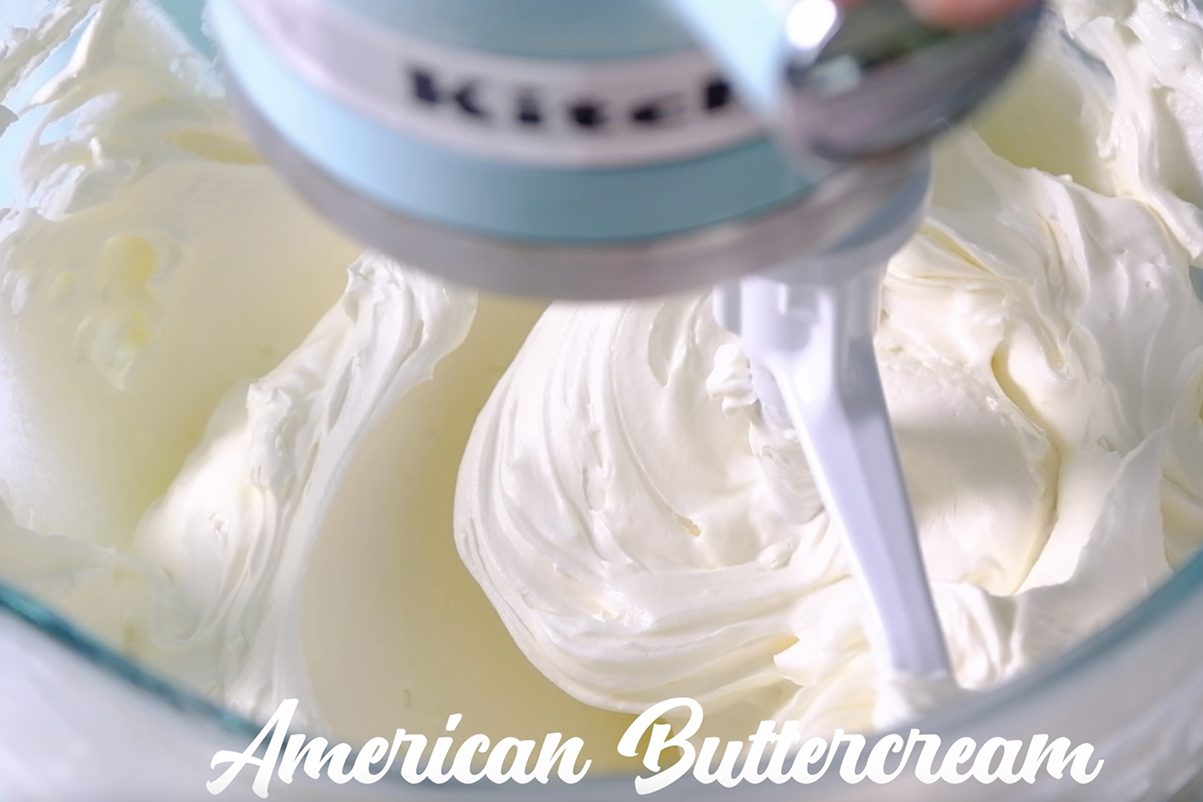
Grit Free, Less Sweet American Buttercream

American buttercream is one of the easiest and most common frostings to make, but its biggest problem for most people is that it has a gritty texture and overly sweet.

This Grit free, Less Sweet American Buttercream recipe not only easy to make, the texture also as smooth as Swiss or Italian Meringue Buttercream.

The important Hot Milk mixture 😚

The main key to this recipe is the Hot Milk Mixture.
By heating the Milk and then mixing it with Icing Sugar, you can ensure the icing sugar is completely dissolved so you won’t feel a gritty or grainy texture in your buttercream.

As for the fat, I use a mixture of High-Ratio Shortening and Butter.
Shortening has a higher melting point, so it can helps butter maintain its structure in warm condition.

Avoid using this type of Shortening 😉

Use High Ratio Shortening such as Sweetex brand instead of regular shortening like Crisco.

Unlike regular shortening which is less sturdy and taste greasy, High Ratio Shortening has a better mouth feel, smoother and holds better shape.

This buttercream has all the characteristics we are looking for; It’s easy to make, white in color, smooth, pipeable and the most importantly not overly sweet.

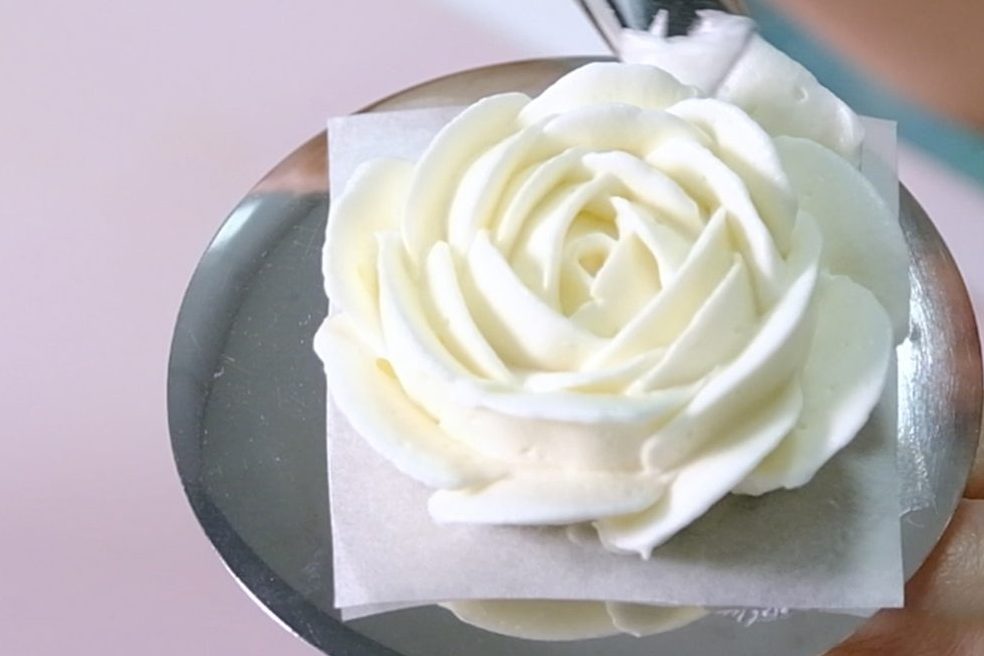
So pretty! 😘

It is great for layering, decorating and piping flowers; also has good stability, especially during summer and in hot or humid conditions.

Is that flower for me? 🤓

This versatile buttercream pairs well with a variety of flavour combinations that can add character to your cake.
There are lots of options to choose from (Kindly find the flavor combination in the recipes below).

Which one do you prefer? 🤔 I like all the flavors 🤤

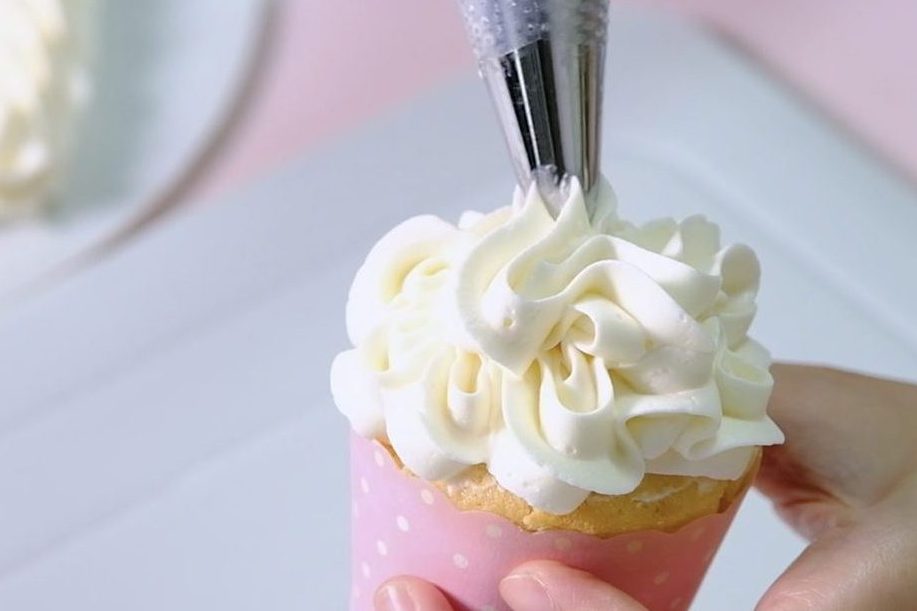
Swirls, piping roses, or zigzags?
Now everything is possible … ☺️

I hope my GO TO buttercream recipe will be useful for you..
🍰 Love you All!

Watch How To Make “Grit Free, Less Sweet American Buttercream”

Recipe

GRIT FREE LESS SWEET AMERICAN BUTTERCREAM
Yield: 5 Cups (enough to cover the top and the sides and to fill 3 layers of a 7-inch round cake)

❄️ Ingredients
180 g Milk
2 tbs Vanilla Extract
360 g Icing Sugar
420 g Shortening (High Ratio)
300 g Salted Butter (room temperature)

❄️ Instructions

  1. Prepare the Hot Milk Mixture
    In a saucepan, mix Milk and Vanilla Extract; Cook over medium heat.
    As soon as you see bubbles forming around the edges of the pan, take it off from the heat then immediately pour in the Icing Sugar to this Hot Milk Mixture, stir well until all the sugar dissolved.
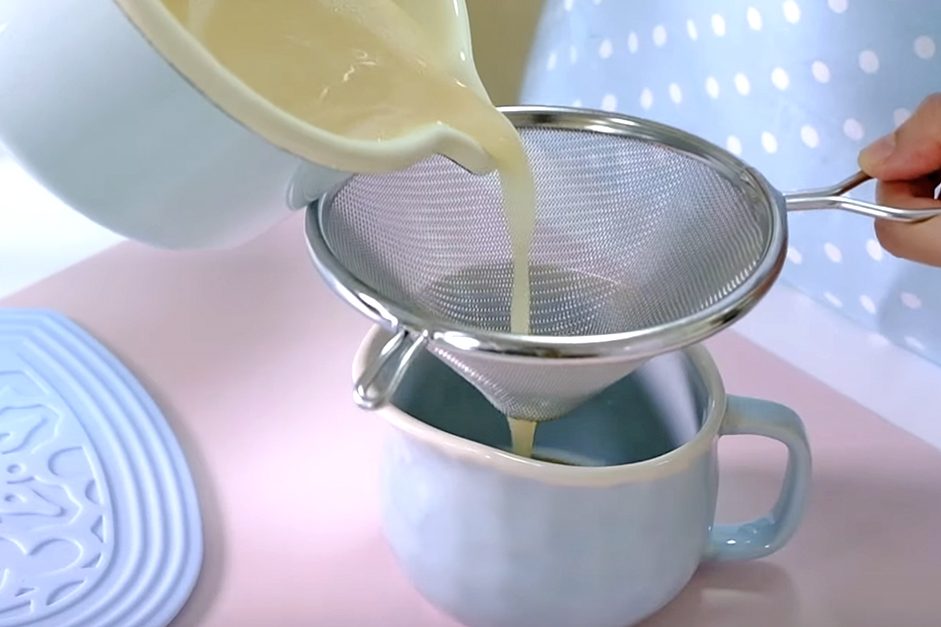
    Strain the mixture to remove any lumps, and let it cool to room temperature.
  2. Once the milk has cooled down; Place Shortening and Butter in the mixing bowl (with a whisk attachment) on medium speed, beat for about 5 minutes until it’s light and fluffy.
  3. Then, slowly pour the cooled milk mixture (scrape down the sides of the bowl occasionally to make sure everything is evenly mixed); And continue beating on medium high speed for another 10 minutes (the color will gradually becomes whiter and the texture is light).
  4. After 10 minutes, switch to the paddle attachment and beat again on medium low speed for another 3-5 minutes (or if you are using a hand mixer, you can use the lowest speed).
    This process will help to get rid any air bubbles that form during the beating process so you will get a silky-smooth texture.

❄️ OPTIONAL FLAVOURS
For every 1 cup (220 g) buttercream add;

  • Strawberry: 1 ½ tablespoons Strawberry Jam and a few drops of pink food colouring
  • Chocolate: 2 tablespoons Cocoa Powder
  • Mocha: 2 ½ teaspoons Instant Coffee Granules diluted with 1 teaspoon hot water, 2 teaspoon Cocoa Powder and 1 teaspoon Rum Liquor
  • Coffee: 1 tablespoon Instant Coffee Granules diluted with 1 ½ teaspoon hot water
  • Lemon: finely grated zest of 1 Lemon and 2 teaspoons of Lemon Juice
  • Matcha: 2 teaspoons Matcha Powder

Notes

  • TO STORE
    Keep it sealed in a Ziplog bag; 2 weeks in the fridge (1 month in the freezer)
  • TO DEFROST
    Take it out several hours before you need it and let it get to room temperature, then put it back on the mixer with paddle attachment on medium low speed; let it mix (it will look as if it is broken and curdled, don’t be alarmed this is natural, It will come back eventually).
    You can turn the speed to medium high and it will mix out smooth.

Fluffy Moist Vanilla Sponge Cake

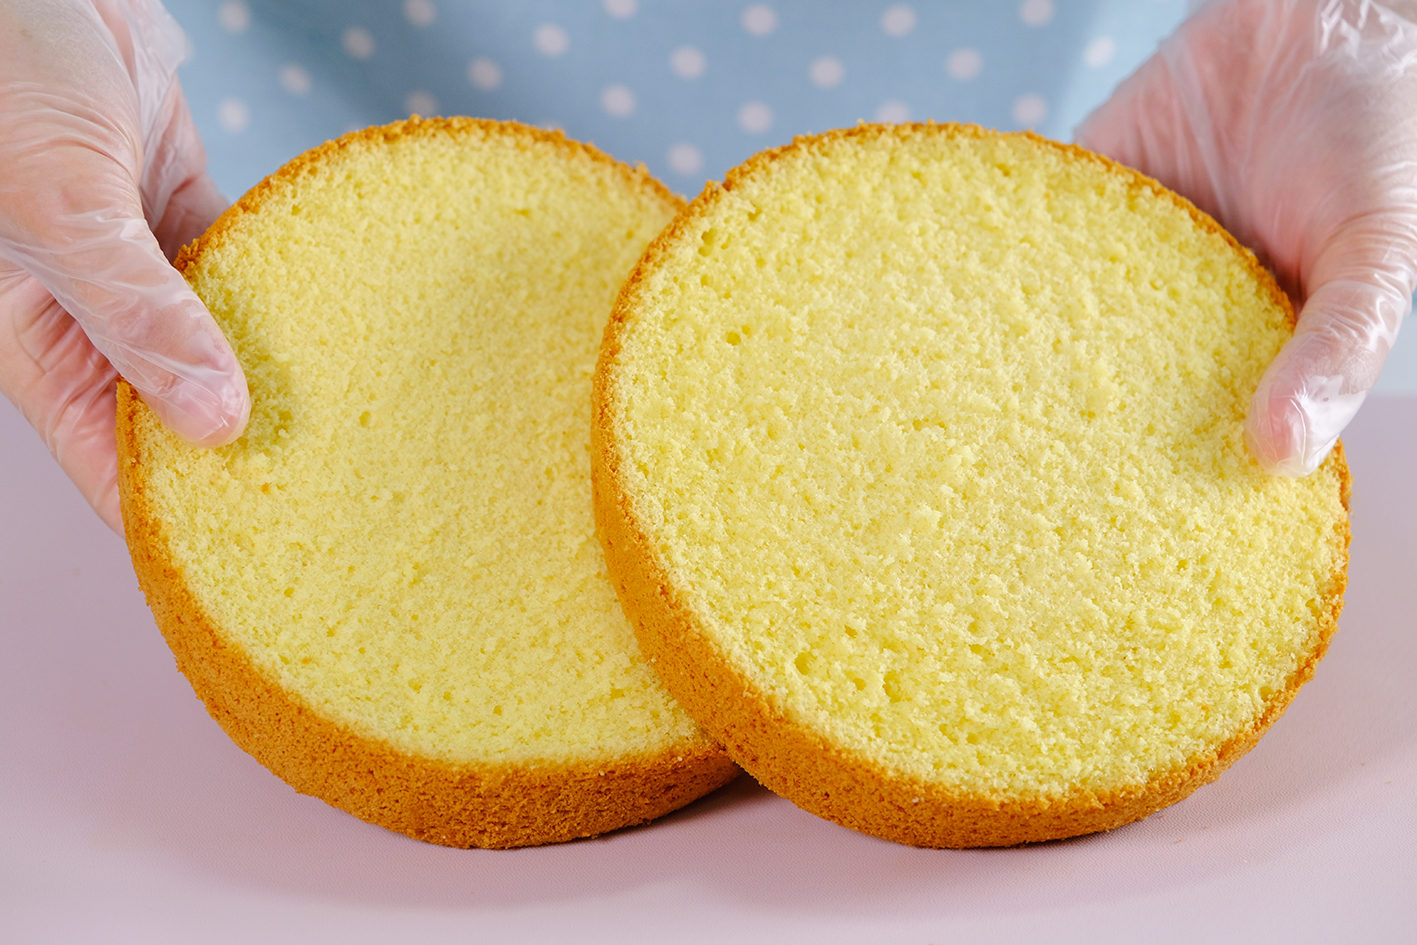
Fluffy, moist and packed with vanilla goodness, this is what my birthday cake dreams are made of.

The texture is so soft and quite flexible 😘

It’s an incredibly soft and light cake which can be used with any frosting and filling, a perfect base for any celebration cakes you want to make.


When you make this cake, please note that it is important to use fresh eggs that are room temperature.
Egg whites are most effective when beaten at room temperature to stiff peaks. When eggs are cold, they will be difficult to expand.
And make sure all utensils clean and grease free, any residue of fat will prevent egg whites from beating up properly.

Remember DO NOT grease or use a non-stick pan. Essentially your sponge cake batter is using the sides of the pan to help it climb up so it doesn’t collapse.

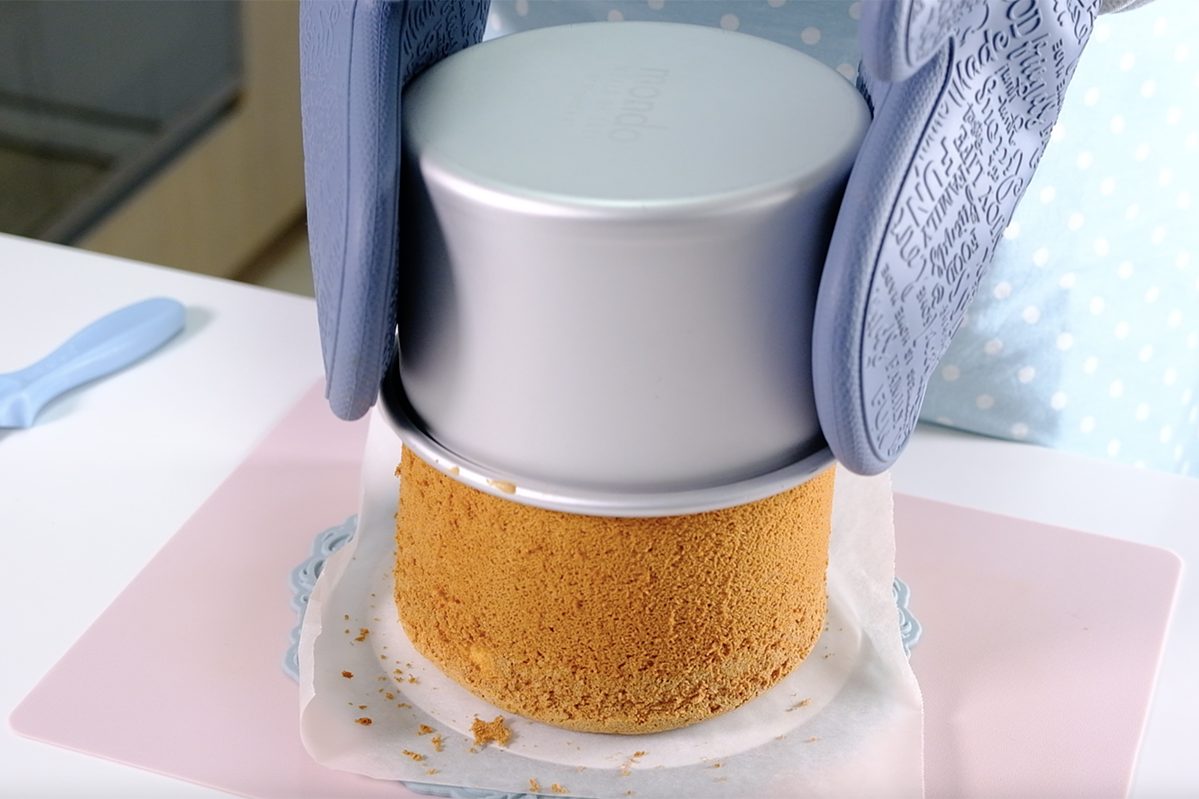
Once it’s baked, remove the cake immediately from the pan so that the moisture can escape and not damage the structure of the cake.
Scrape the sides of the pan, turn it over and let it cool completely on a cooling rack.

Sponge cake is a type of cake that dries easily. Once it’s cool, this cake can be use immediately to build your cake of choice or wrap it tightly in a cling wrap and freeze until ready to use it.

To keep it moist, I brush it with simple syrup before using it as a cake base.
This cake is not too sweet, light and stays moist even if stored in the fridge for several days.

For the complete guide, please watch my video on how to make it.
Hopefully this recipe can be useful for you!
🍰 Love you All !

Watch How To Make “Fluffy Moist Vanilla Sponge Cake”

Tips for Success (Please Read First):

  • Line the bottom of the pan with parchment paper (don’t grease of use a non-stick pan)
  • Make sure all utensils clean and grease free (wipe the bowl and utensil with lemon juice or vinegar to helps remove grease)
  • Preheat your oven before you start
  • Use fresh eggs that are room temperature (other ingredients also must be at room temperature)
  • Beat egg whites until stiff peak
  • Sift the dry ingredients
  • Mix each batches of the dry ingredients evenly until there are no lumps
  • Make sure the wet ingredients are combined well with the batter
  • Make sure the batter is stirred well (pay attention to the flow and consistency)
  • Don’t let the batter sit too long before baking, bake it immediately
  • Resist the urge to open the oven door while baking
  • Once it’s baked, remove the cake immediately from the pan
  • Let the cake cool completely on a cooling rack before wrapping
  • Wrap the cooled cake tightly in a cling wrap so it doesn’t dry up

Recipe

VANILLA SPONGE CAKE
Yield: One 7-Inch (8 or 9 cm tall) Round Pan
* I used 6-Inch (10 cm tall) Round Pan in the video for taller cake

❄️ Ingredients
5 Egg Whites (165-175 g) ~ room temperature
1 tsp Lemon Juice
200 g Caster Sugar
5 Egg Yolks (85-95 g) ~ room temperature
140 g Cake Flour
3/4 teaspoon Baking Powder (Double Acting)
40 g Milk ~ room temperature
25 g Vegetable Oil
1/2 tsp Vanilla Extract
Notes: you can substitute Lemon Juice with 1 tsp White Vinegar or 1/2 tsp of Cream of Tartar

❄️ Instructions
Preparation

  1. Place a piece of parchment paper on the bottom of the pan (don’t grease or use a non-stick pan)
  2. Make sure all utensils clean and grease free (wipe the bowl and utensil with lemon juice or vinegar to helps remove grease).
  3. Take the eggs and other cold ingredients out of the fridge
    Separate egg whites and egg yolks; then let them come to room temperature.
  4. Preheat the oven 150°C fan/ 170°C/ gas mark 3.
  5. Combine the dry ingredients (Cake Flour and Baking Powder)
  6. Mix the wet ingredients (Milk, Oil and Vanilla Extract)

To make Vanilla Sponge Cake

  1. Beat the Egg Whites over HIGH speed for about 30 seconds until foamy.
  2. Add Lemon Juice (or white Vinegar or Cream of Tartar) and continue beating for another 30 seconds.
    * Acid in Lemon Juice/ Vinegar/ Cream of Tartar will help stabilizing the egg whites
  3. Add sugar in 3 batches every 1 minute.
  4. Once all the sugar is added, continue beating on high speed until stiff peak for about 3 minutes (the mixture will gradually thicken and look shiny).
  5. Pour in the Egg Yolks; Using a hand whisk, stir gently until evenly mixed.
  6. Add sifted dry ingredients in 3 batches (don’t skip this process; by sifting the flour, it will break up any lumps, create a light, delicate, and fluffy results).
    Stir gently; Make sure that you scrape the entire surface of the bowl so that there is no flour residue on the sides and bottom of the bowl (mix each batches evenly until there are no lumps).
  7. Then take about 2 cups of this egg-flour mixture into the wet ingredients; mix really well.
    * By using this pre-mix method, the milk-oil mixture will incorporated easily with the egg mixture.
    It prevents the oil and milk from falling directly to the bottom of the bowl, which would cause the cake didn’t rise properly
  8. Pour the pre-mix mixture back to the egg-flour mixture; using a hand whisk stir gently.
    Then using spatula, scrape all the bottom and sides of the bowl, make sure it is evenly mixed.
    How much you mix is very important
    When you drop the mixture and it doesn’t flow; that’s means you haven’t mix enough and the batter won’t rise properly.
    Drop it with a spatula and check, pay attention to the flow and thickness; When it flows smoothly, that’s means it’s ready.
  9. Slowly pour the batter from a position of about 15 cm from the pan so that the excess bubbles can burst.
  10. Using a skewer make this circular motion to flatten the batter and break the large bubbles.
  11. Tap the pan to remove excess bubbles.
  12. Then immediately bake in the preheated 150°C fan/ 170°C/ gas mark 3 oven on the bottom rack for 55 minutes.
    After 55 minutes, increase the temperature to 170°C fan/ 190°C/ gas mark 5 and continue bake for another 10 minutes.
    * Resist the urge to peek until your cake is done; Opening the oven door while you bake will release some of the heat, this can lead to the cake being too damp in the middle or even falling
  13. Once it’s done, remove the cake immediately from the pan (so that the moisture can escape and not damage the structure of the cake).
    Using spatula, scrape the sides of the pan; turn it over and let it cool completely on a cooling rack.
  14. Once it’s cool, this cake can be use immediately to build your cake of choice or wrap it tightly in a cling wrap and freeze until ready to use it.

Notes

  1. Cool the cake completely before wrapping (wrap in a cling wrap then put in a ziplog bag) for freezer storage up to 1 months or use immediately.
  2. Cake without filling can be store in the fridge for up to a week (the filling and icing will determinte storage time).