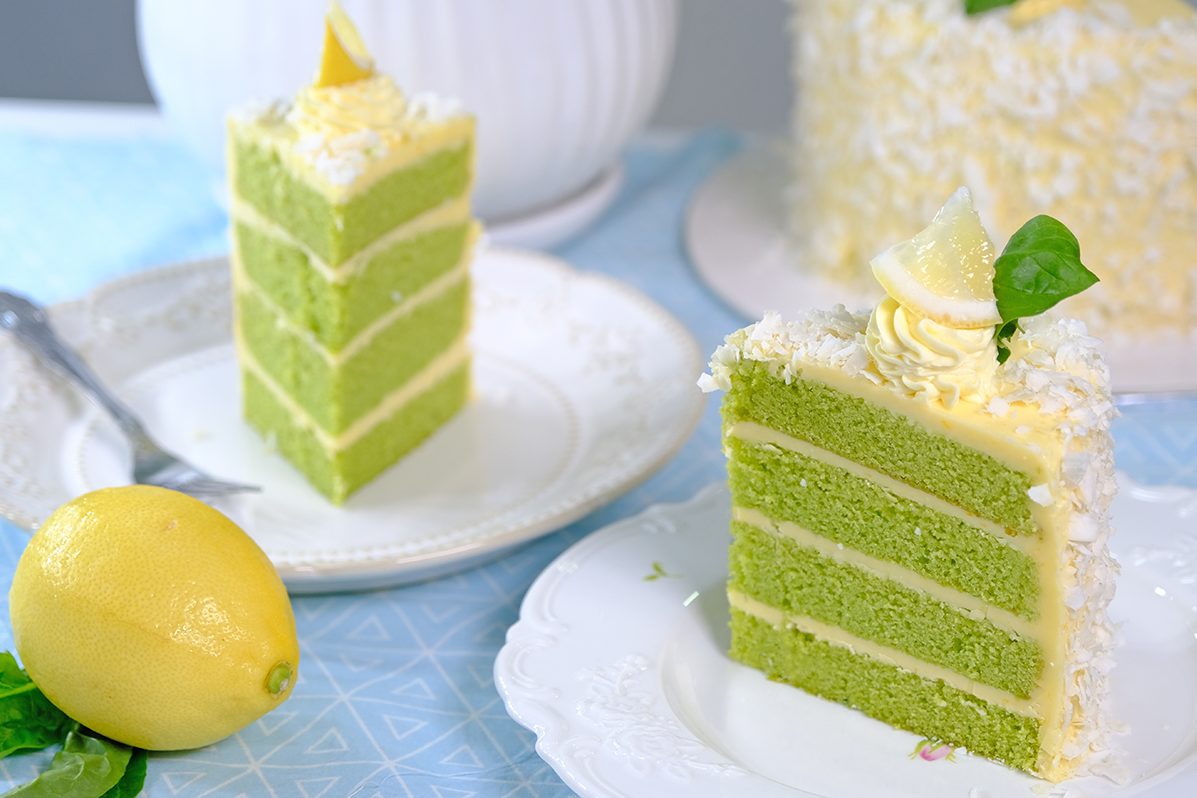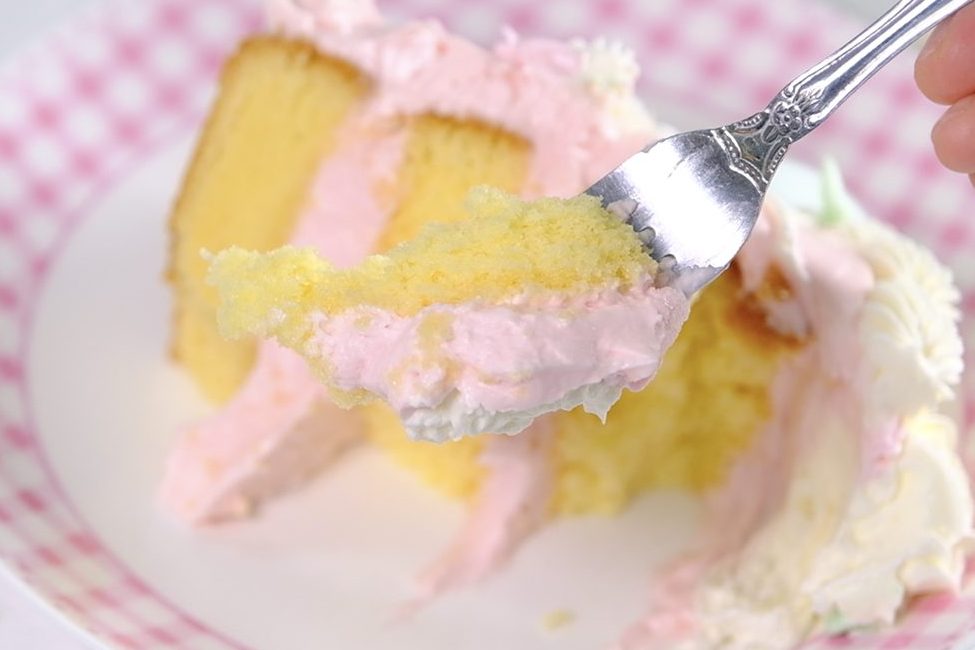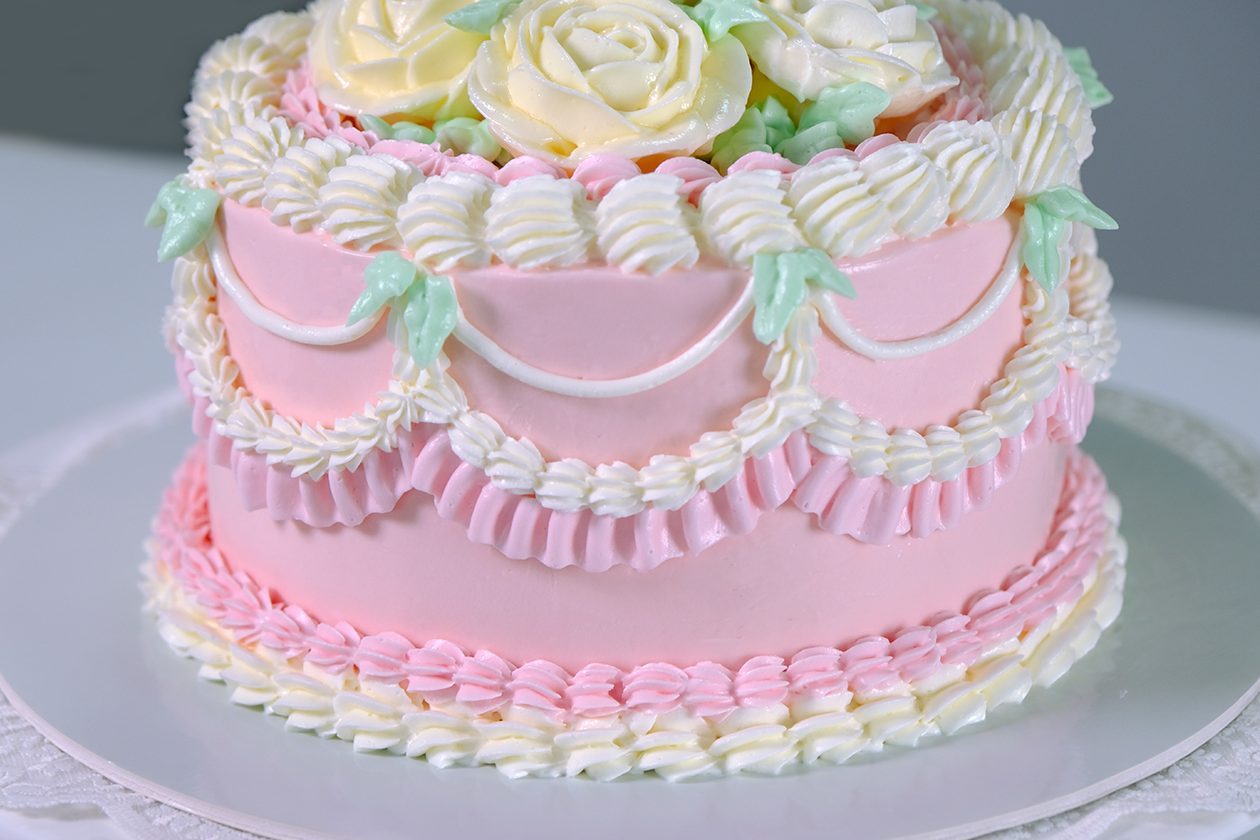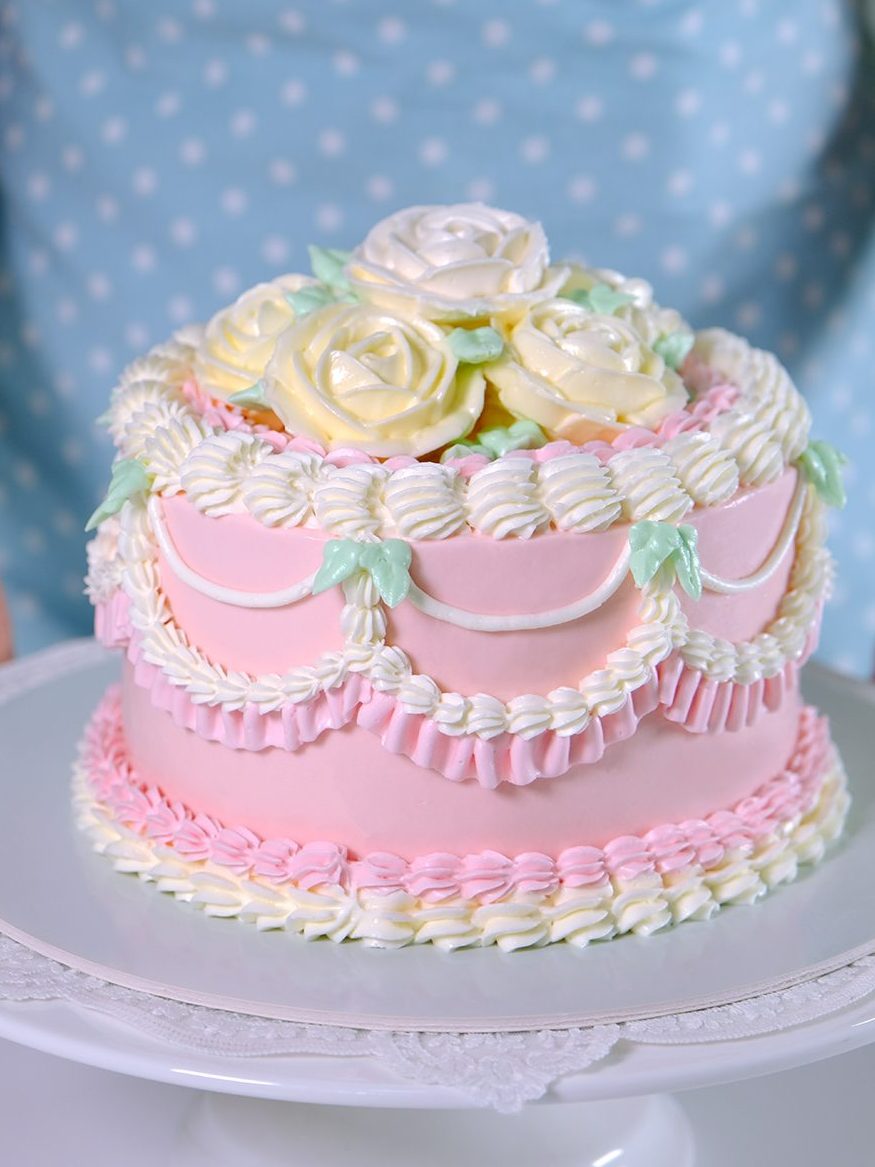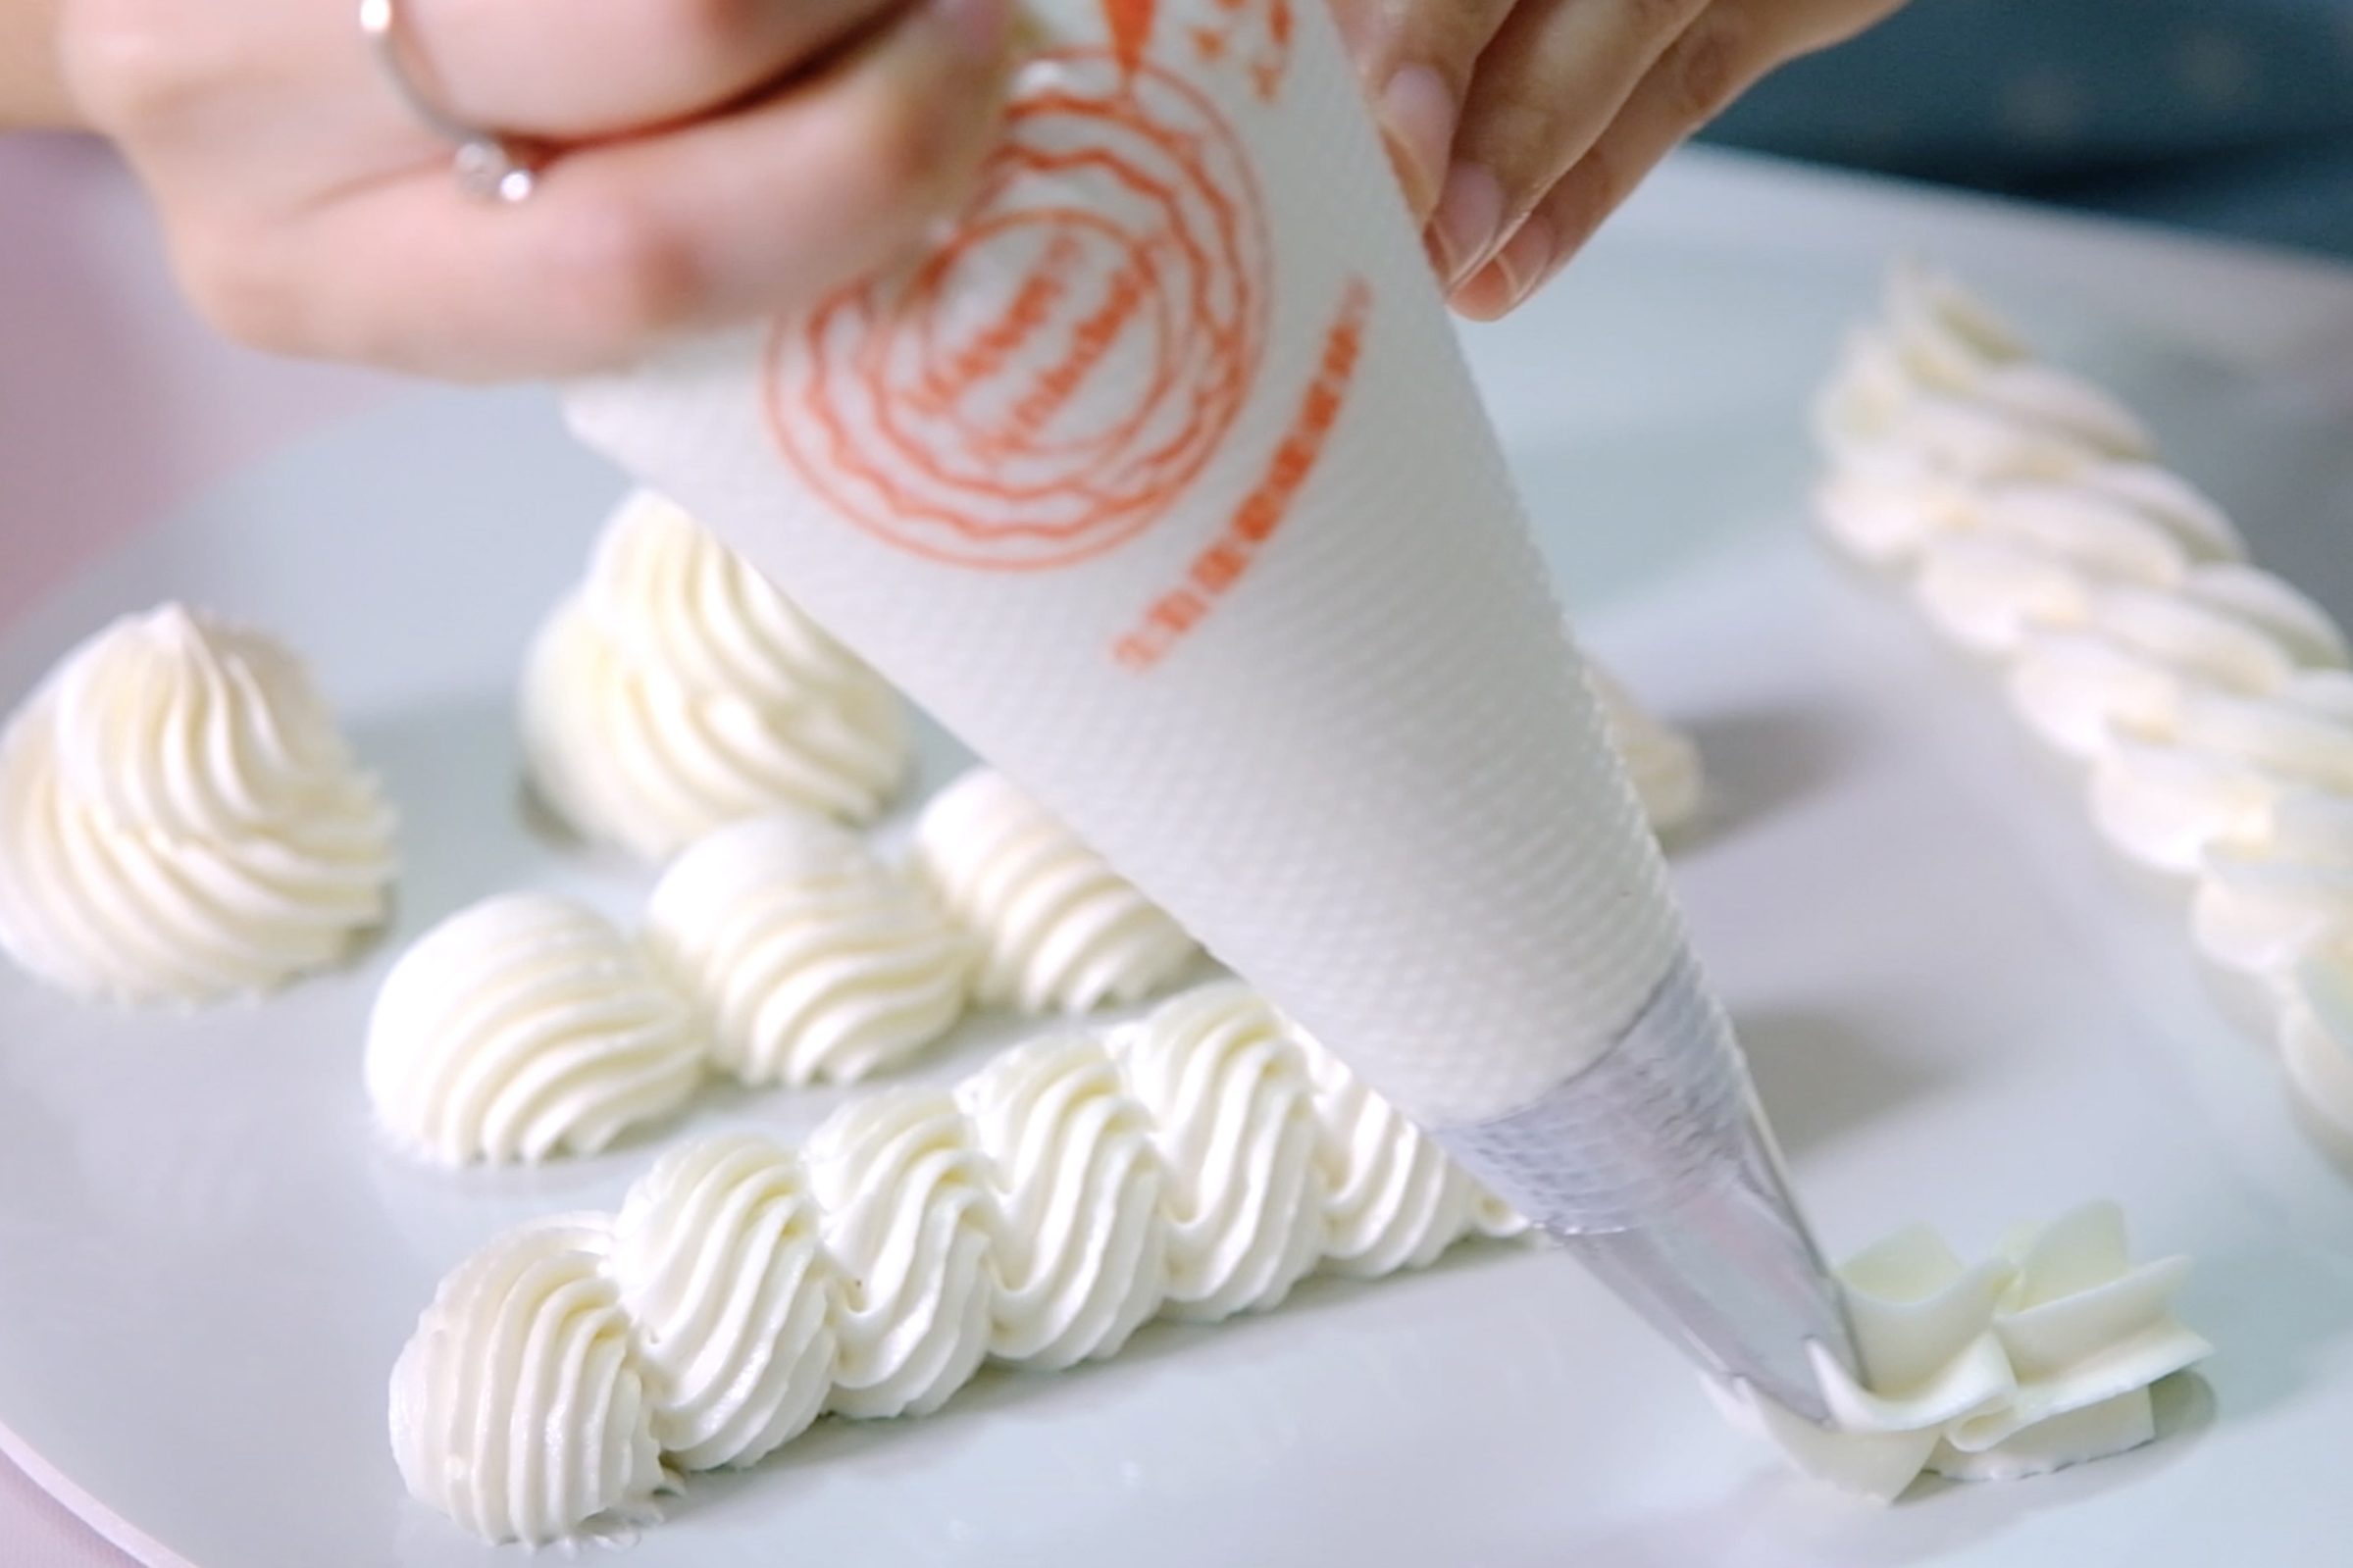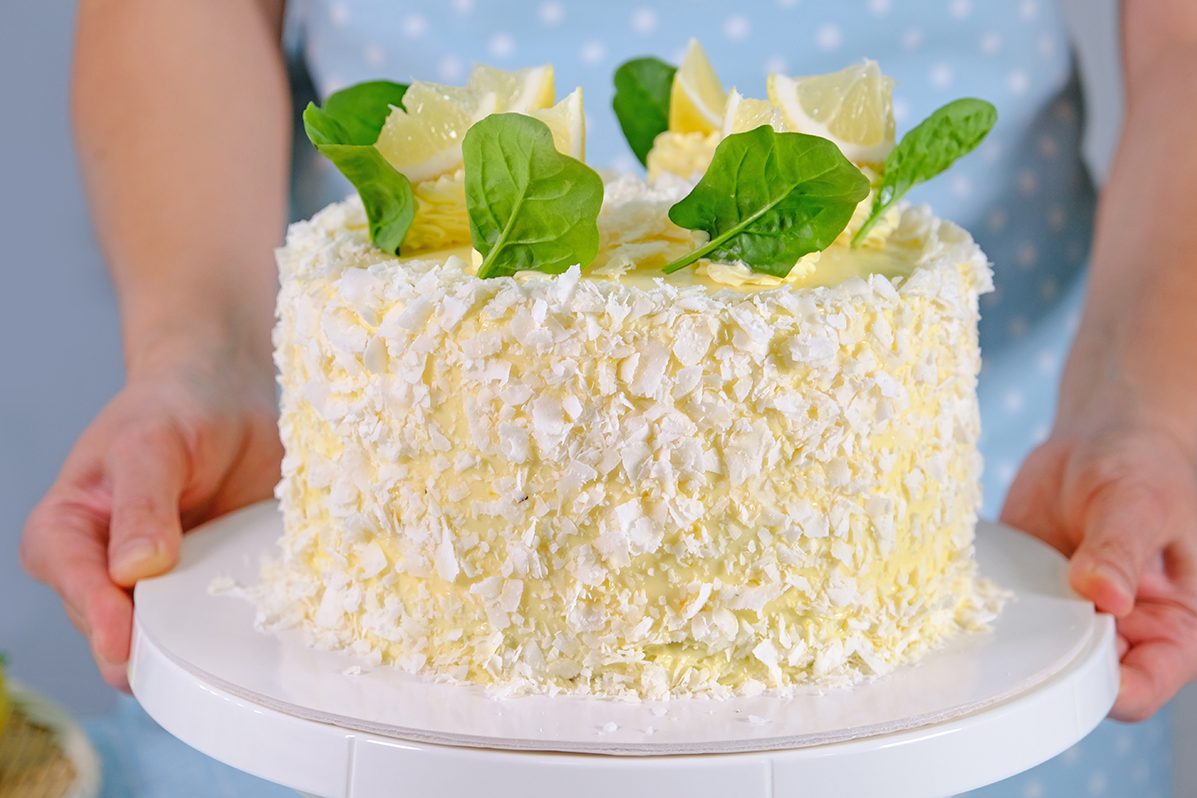
Luscious Spinach 🌱 Lemon🍋Coconut🥥 Cake

Spinach cake sounds unusual, but it’s surprisingly delicious.
Naturally bright green, soft, and full of flavour; This cake is a beautiful balance of colour, texture, and nutrition.

Beautiful green colour ! 🥰

The spinach doesn’t shout or dominate; instead, it melts into the batter, lending a gentle earthiness and a deep green hue that feels both rustic and elegant.

The result is a cake that’s moist, tender, and balanced—sweet, but not cloying, with a subtle complexity that makes you pause for another bite.
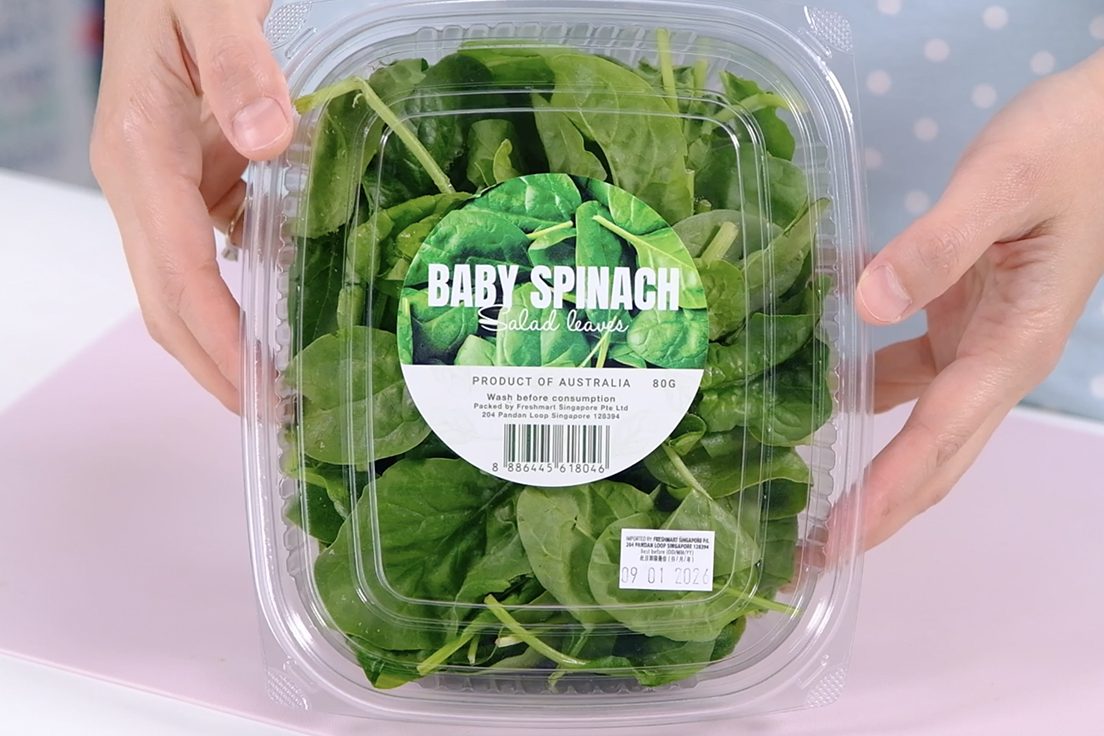
Its tender leaves blend smoothly, while older spinach are harder to fully blend and may leave specks or texture in the crumb

Baby spinach is ideal for spinach cake because it has a mild flavour that doesn’t affect the taste of the cake.

You will need to blanch Spinach in boiling water for 20 seconds,
A quick blanch sets the Chlorophyll, preserving a brighter, more vibrant green color in the cake.
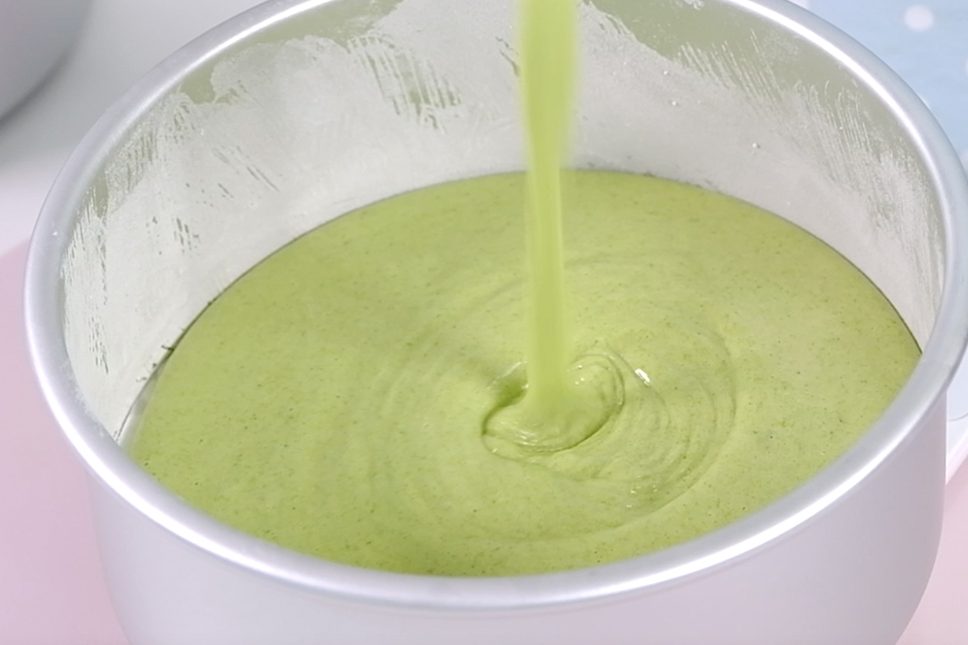
The greens add natural moisture, so the crumb stays soft for days, and they pair beautifully with lemon.
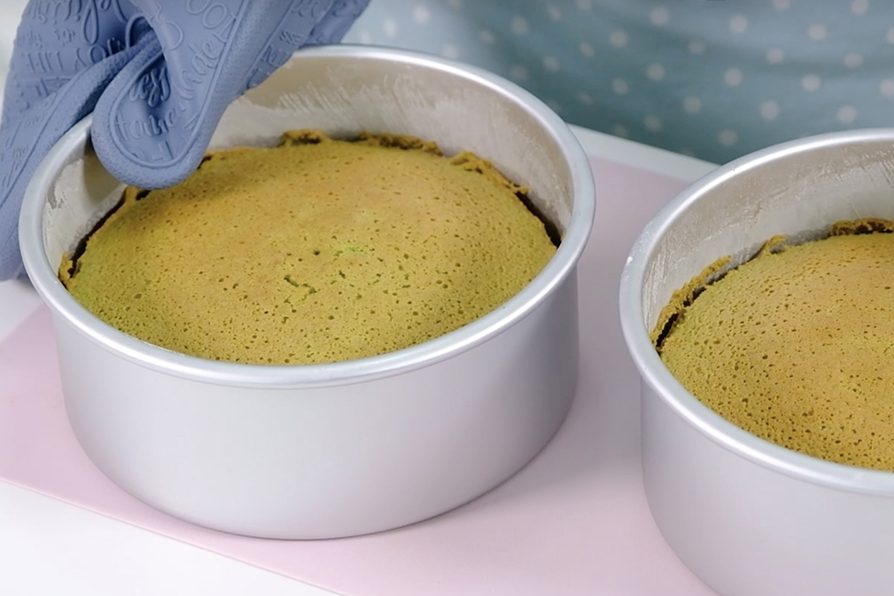
The Lemon Buttercream is where the brightness comes in.
Whipped until light and silky, it brings a sharp, sunny contrast to the mellow cake beneath.

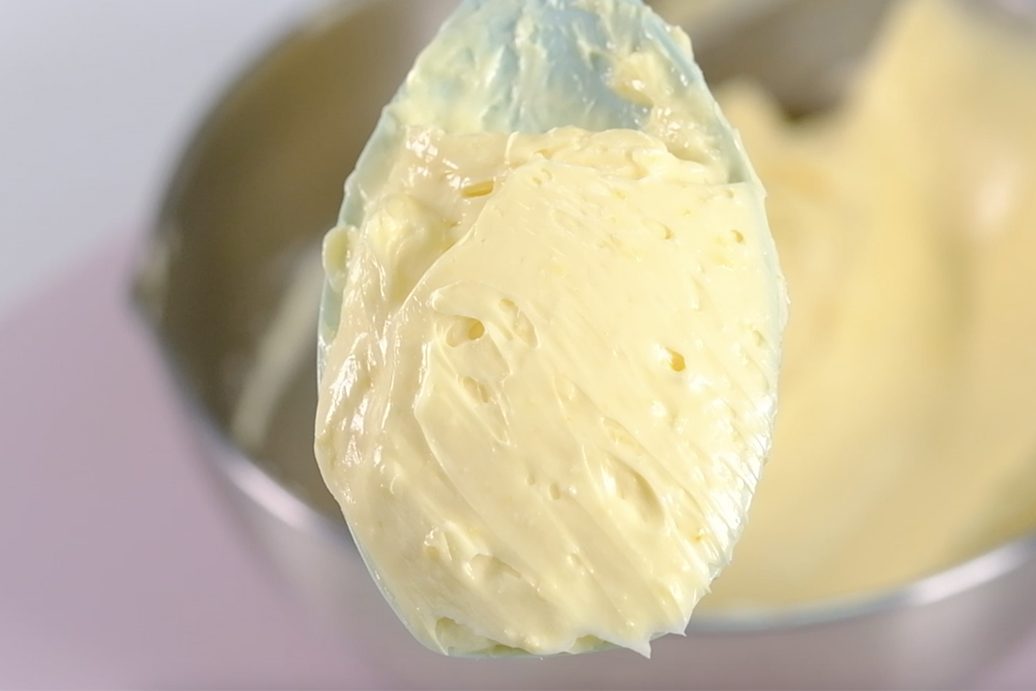
Lemon buttercream is bright, creamy, and impossibly smooth, with a zesty tang that dances on the tongue 😏
🤤

Each forkful balances earthy and zesty, soft and creamy, indulgent but not heavy.

The citrus lifts the cake, turning it from comforting to refreshing.

Decorate however you like 😙😚

Spinach Cake with Lemon Buttercream looks striking on the table 😇
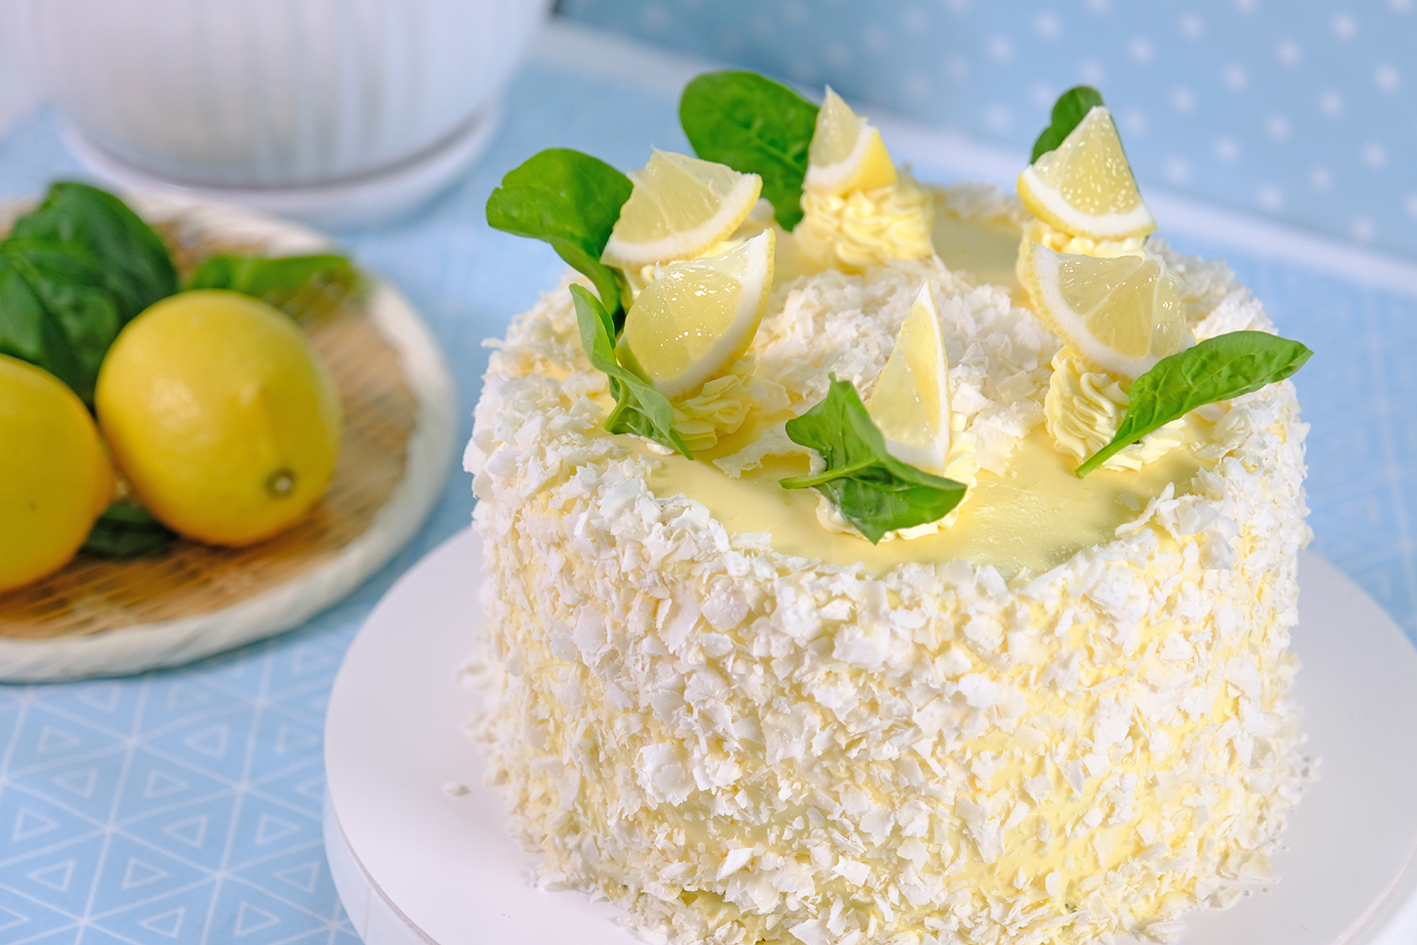
Tastes unexpectedly elegant 😋 😊…

The most common reaction is disbelief: “No way—this has spinach in it?” 😁🙃
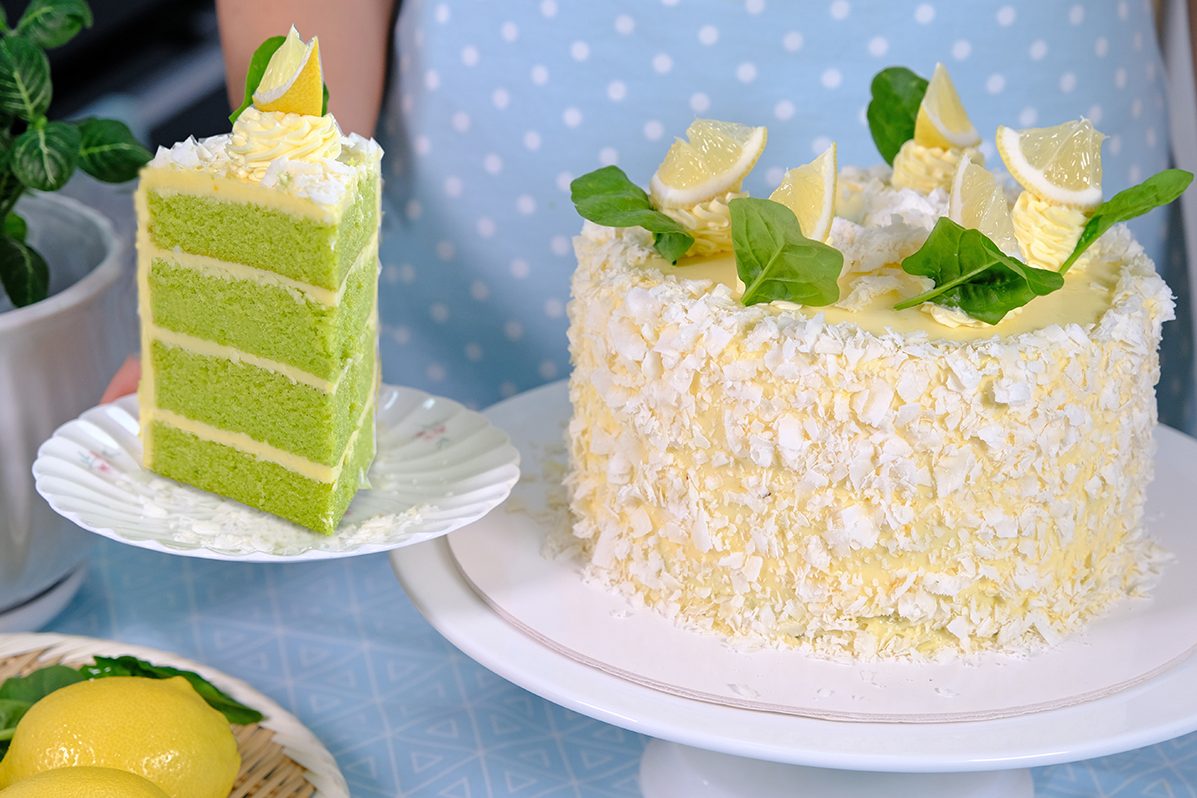
LOVE IT! 😍
🥲 HUNGRY…
🥰 😘

Spinach cake feels wholesome without trying too hard, comforting without being boring, and just a little magical in how something so green can taste so good 😉
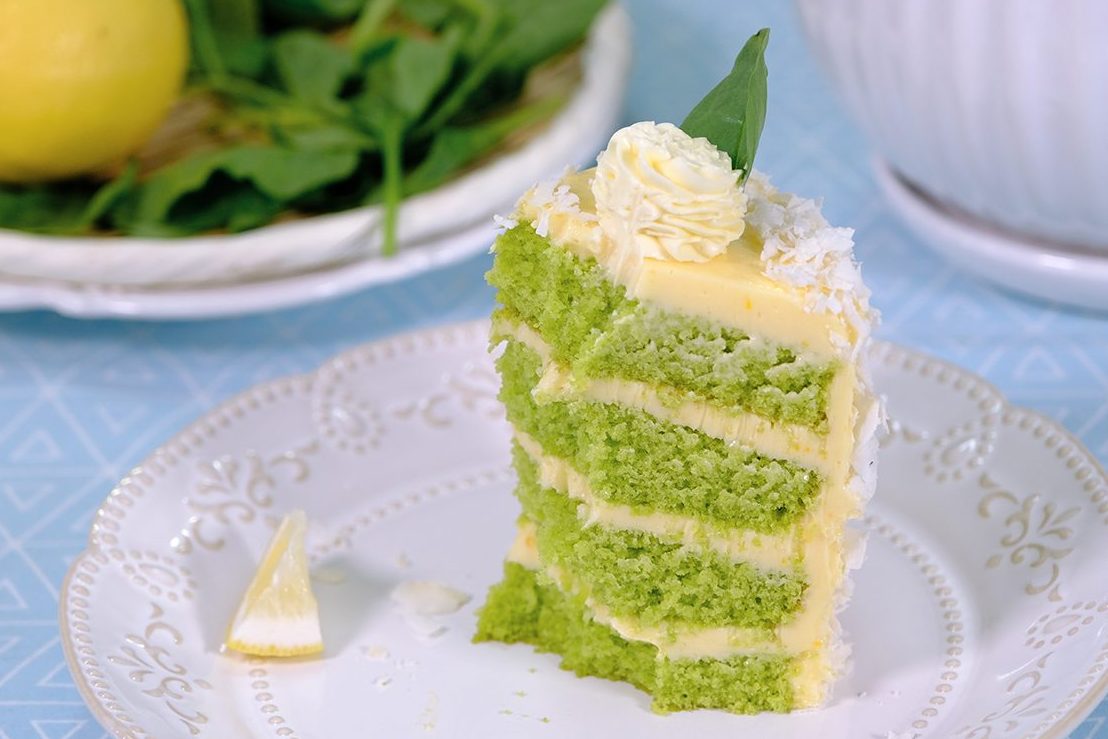
Enjoy every bite !

I hope it adds a little brightness and joy to your table
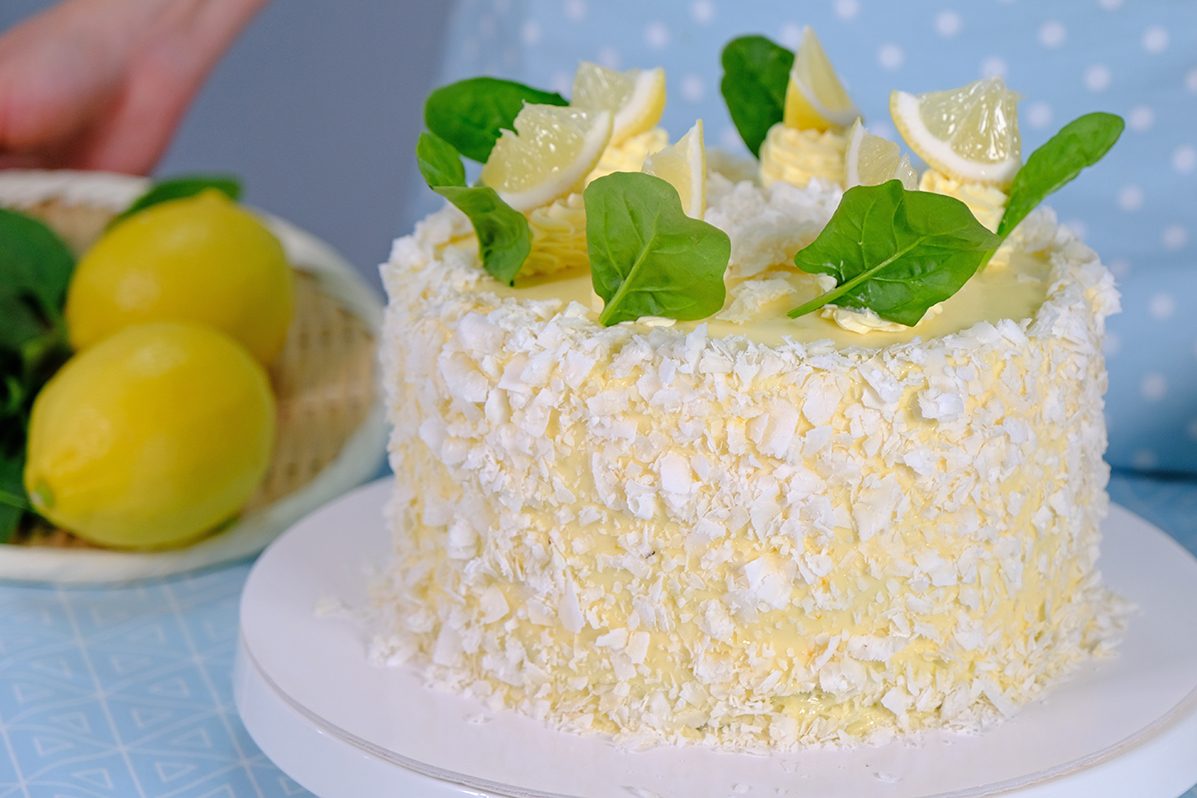
Love you all and happy baking! 💗

WATCH HOW TO MAKE LUSCIOUS SPINACH LEMON COCONUT CAKE

Tips for Success (Please Read First):

  • It’s important that your mixing bowl is clean
    Any residue or fat will prevent the Egg Ehites from whipping properly (wipe the bowl and utensil with lemon juice or vinegar to helps remove grease)
  • Use Baby Spinach for spinach cake because it has a mild flavour that doesn’t affect the taste of the cake; Its tender leaves blend smoothly, while older spinach are harder to fully blend and may leave specks or texture in the crumb
  • Blanch Spinach in boiling water for 20 seconds, A quick blanch sets the chlorophyll, preserving a brighter, more vibrant green color in the cake
    Then immediately cool in cold ice water, squeeze dry
  • Preheat the oven at least 30 minutes before starting
    Once the Cake batter is fully mixed, it needs to be baked right away (if you let the batter sit, that air starts escaping and the batter will lose volume)
  • For the cake; sift the dry ingredients
  • For Lemon Curd, be sure to use fresh Lemons, bottled juice won’t give the same bright flavour
  • Use room-temperature eggs for Lemon Curd, as they blend more smoothly and reduce the risk of curdling
  • Low and slow heat is the key to a good Lemon Curd, so don’t rush the thickening process. Keep the water at a gentle simmer, NOT a boil

RECIPE

LUSCIOUS SPINACH LEMON COCONUT CAKE
Yield: One 7-Inch Round Cake (4 layers)

INGREDIENTS
🌱🍋 Lemon Curd
70 g Caster Sugar
45 g Lemon Juice
1 tsp Lemon Zest
50 g Egg Yolks
40 g Unsalted Butter (room temp.)

🌱🍋 Spinach Cake
70 g Raw Baby Spinach
70 g Cold Water
135 g Unsalted Butter
70 g Whole Milk
180 g Eggs
230 g Caster Sugar
2/3 tsp Vanilla Extract
210 g All-Purpose Flour
2 ½ tsp Baking Powder (double act.)
1/2 tsp Salt

🌱🍋 Lemon Buttercream
200 g Caster Sugar
40 g Water
75 g Egg Whites
1/2 tsp Cream of Tartar
345 g Unsalted Butter
1 tsp Vanilla Extract
1 Batch Lemon Curd Recipe (above)

INSTRUCTION
🌱🍋 Lemon Curd
We will use this Lemon Curd for the Buttercream; Be sure to use fresh Lemons, bottled juice won’t give the same bright flavour

  1. Zest the Lemons first (using only the yellow part, the white pith is bitter);
    Then juice and strain to remove seeds and pulp
  2. In a heatproof bowl, whisk together the Caster Sugar, Lemon Juice,Zest, and Egg Yolks (use room-temperature eggs, as they blend more smoothly and reduce the risk of curdling)
  3. Cook the mixture over a double boiler, making sure the bowl does not touch the water, the heat should come from the steam (keep the water at a gentle simmer, NOT a boil) Low and slow heat is the key to a good Lemon Curd, so don’t rush the thickening process
  4. Whisk occasionally and cook for about 8-10 Minutes until the mixture thickens enough to coat the back of a spoon and leaves a clean line when you run your finger through it (about 170°F / 77°C if using a thermometer)
  5. Once it’s done, take it off from the heat (for an extra-smooth curd, you can strain the mixture)
  6. Add the Unsalted Butter and whisk for about 3 minutes, until it is fully incorporated and the curd becomes silky and glossy
  7. Transfer the Lemon Curd to a shallow heatproof dish; Press plastic wrap directly onto the surface to prevent a skin from forming, then refrigerate until well chilled before using

🌱🍋 Spinach Cake
For the cake, make sure all utensils clean and grease free; Any residue of fat will prevent eggs from beating up properly. Wipe the bowl and beater with Lemon Juice or Vinegar; The acid help remove grease.

  1. Preheat the oven to 160°C fan/ 180°C/ Gas Mark 4
  2. Prepare the pan in advanced (use a metal cake pan for best rise and even baking)
    Grease the bottom and the sides of the pan with Butter; Line the bottom with Parchment Paper
  3. Rinse the Baby Spinach, then blanch it in boiling water for 20 seconds. Immediately transfer to ice water, then squeeze dry
  4. Place the blanched Spinach in a blender, add 70 g cold Water, and blend until completely smooth; set aside
    *This purée must be very fine for good texture and colour
  5. Then, in a medium saucepan heat Unsalted Butter and Milk together over MEDIUM-LOW heat until Butter is fully melted; Let it cool to room temperature
    Set aside
  6. In a large heatproof bowl, combine the Eggs and Caster Sugar; mix well
    Place the bowl over a double boiler and heat gently, stirring, just until the Sugar dissolved (to test, rub small amount between your fingers; if it feels smooth with no grains, it’s done)
    Once the Sugar has completely dissolved, remove the bowl from the heat and beat on HIGH speed for about 10 minutes, until the mixture is pale, thick, and fluffy
    Gently fold in the Spinach Purée and Vanilla Extract, taking care not to deflate the mixture
  7. In another bowl, combine all the dry ingredients, then sift them into the Egg batter (number 6) in two additions; folding gently until just incorporated
  8. Then, in a separate bowl, mix the heated Milk and Butter until fully combined
    Add one-third of the Egg-Flour batter (number 7) to the Milk-Butter mixture and whisk until smooth
    * Using this pre-mix method prevents the Butter and Milk from sinking to the bottom of the bowl, which could cause the cake to not rise properly
    Pour this mixture back into the remaining Egg-Flour batter and gently fold until well blended
    Then use a spatula scrape down the sides and bottom of the bowl, folding carefully to ensure everything is evenly mixed
  9. Divide the batter evenly between two prepared pans
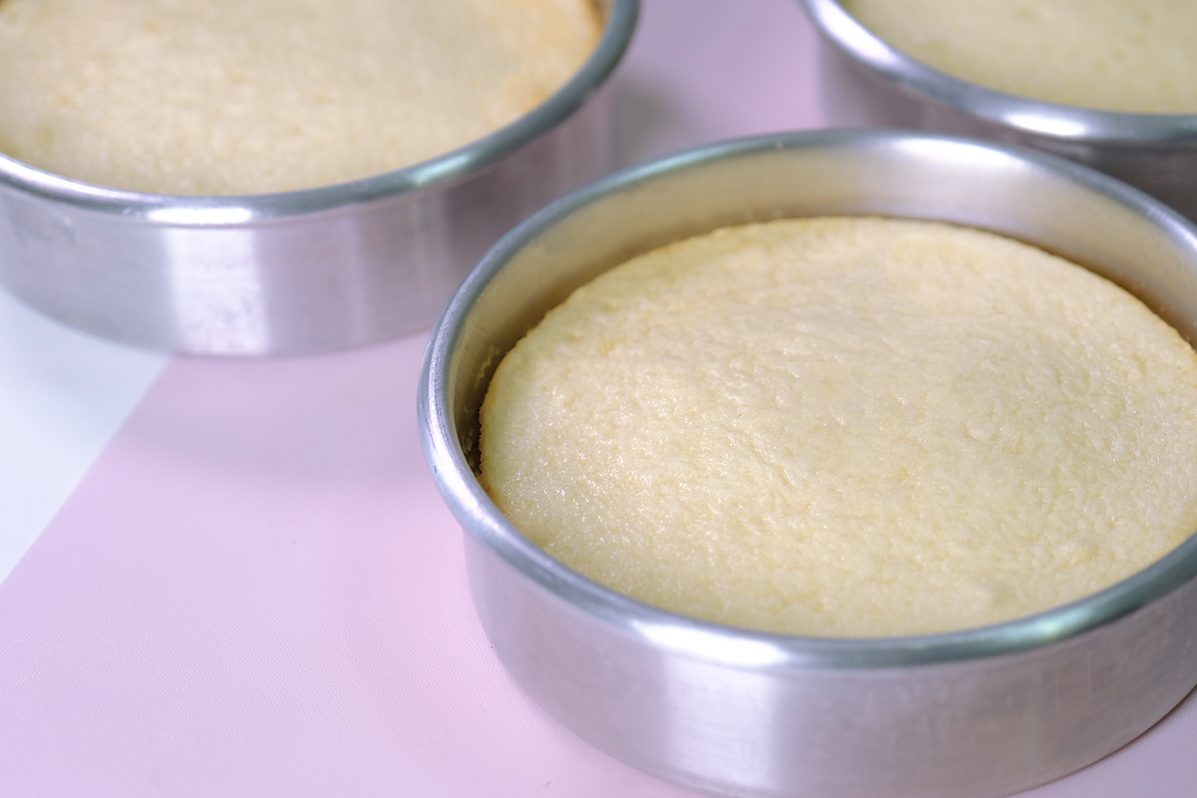
  10. Bake in the preheated oven for 32–35 minutes, or until a skewer inserted into the center comes out clean (begin checking at 32 minutes)
  11. Once baked, let the cakes cool in the pans for 5 minutes, then run a spatula around the edges to loosen them
    Invert onto wire racks and allow to cool completely before decorating


🌱🍋 Lemon Buttercream

  1. Place the Egg Whites and Cream of Tartar in the bowl of a stand mixer, set aside
  2. In a small saucepan, combine the Sugar and Water
    Cook over MEDIUM heat; Stir gently until the Sugar has dissolved, then bring to a boil
    Once boiling, cook until it reaches the soft-ball stage (about 240°F / 115–118°C;
    Remove the syrup from the heat
    * If you don’t have a thermometer, use the cold water test; When the syrup is boiling, drop a small amount of syrup into cold water; If it forms a soft, pliable ball that flattens when pressed, it’s done.
  3. Immediately start whisking the Egg Whites on MEDIUM speed, then slowly pour the hot Sugar Syrup down the side of the bowl in a steady stream
    Then increase the speed to high and beat until the Meringue is thick, glossy, and cool to the touch, about 10 minutes
  4. Once the Meringue is fully cooled, add the Butter in 3 batches, beating well after each addition until the Buttercream becomes smooth and thick
  5. Finally, add the Lemon Curd and Vanilla Extract, and mix until fully combined and silky

🌱🍋 Assemble & Decorate

Once the cake is cooled, you can start decorate the cake

  1. For a neat finish (optional), trim the edges of the cake with a serrated knife to remove the browned crust; And do the same with the top as well
  2. Slice each sponge into two even layers
  3. Sandwich the layers together with about 5 mm of Buttercream (make sure everything is even and straight)
  4. Fill in any gas between the cake layers with Buttercream
  5. Then apply a crumb coat (it’s basically just a thin layer of Buttercream that we are going to apply to the top and the sides of the cake before we do the final coat)
    It doesn’t have to be perfect
  6. Chill for 15 minutes in the freezer or 30 minutes in the fridge to firm it up (this makes it easier to apply the final coat of Buttercream without the layers sifting)
  7. For the final coat, spread about 5 mm of Buttercream over the entire cake
  8. Smooth the top and sides with a spatula (don’t worry about achieving a perfectly smooth finish, as the sides will be coated with Coconut Flakes)
  9. Press the Coconut Flakes onto the sides by hand
  10. Using a star nozzle, pipe buttercream decorations on top; And finish with Spinach Leaves and Lemon Slices


NOTES

  1. To store Lemon Curd
    In the refrigerator (in a sealed container) for up to 7 days
  2. To store Lemon Buttercream
    In the refrigerator (in an airtight container) for up to 5 day (rewhip briefly before use); Can be frozen for up to 1 month
  3. To store Unfrosted Spinach Cake
    Wrap tightly in plastic wrap; Store at room temperature for 1 day or refrigerate for up to 3 days; Can be frozen for up to 2 months (thaw overnight in the fridge)
  4. Fully Assembled Cake
    Store the cake in an airtight container in the refrigerator; it will keep well for 3–4 days Bring to room temperature for 20–30 minutes before serving for the best texture and flavor
  5. To Freeze Fully Assembled Cake
    Chill the fully assembled cake in the refrigerator until the buttercream is firm. Wrap the cake tightly in plastic wrap, then a second layer of foil (or place in an airtight freezer-safe container).
    Freeze for up to 2 weeks for best quality (up to 1 month maximum).
    ** Thawing: Transfer the cake to the refrigerator and thaw overnight Before serving, let it sit at room temperature for 20–30 minutes. Do not unwrap until fully thawed to prevent condensation from damaging the buttercream
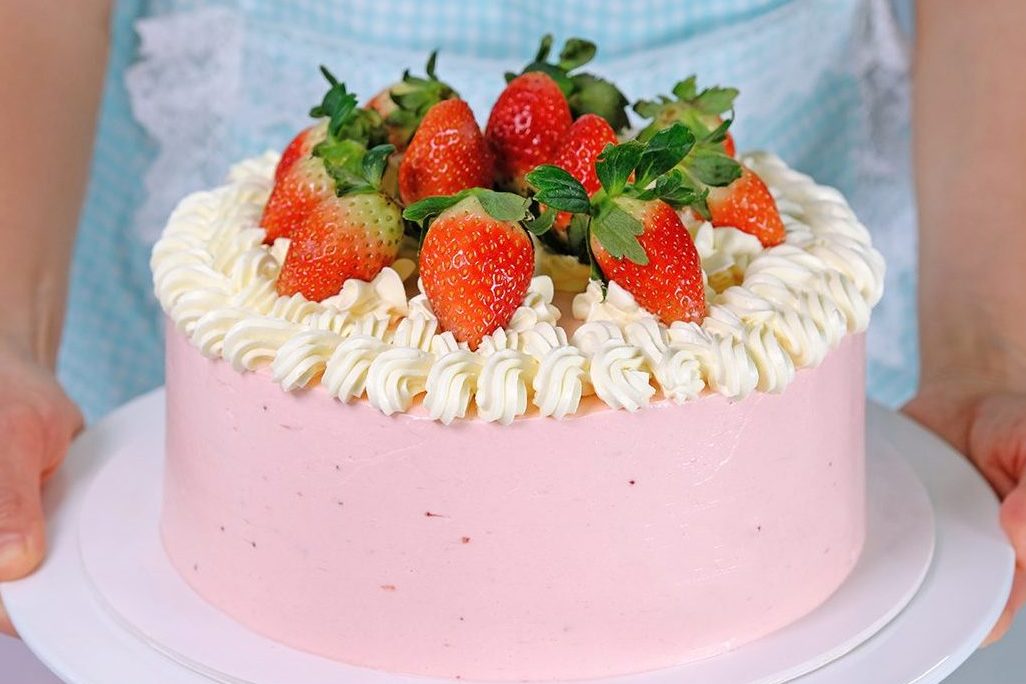
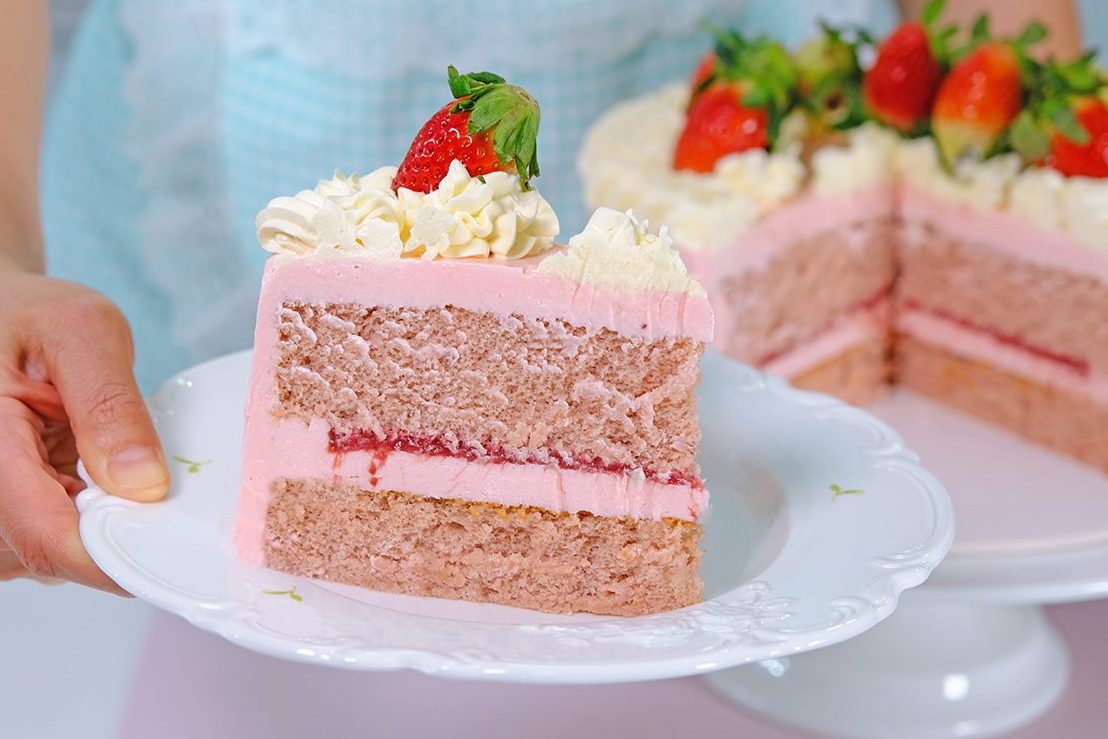
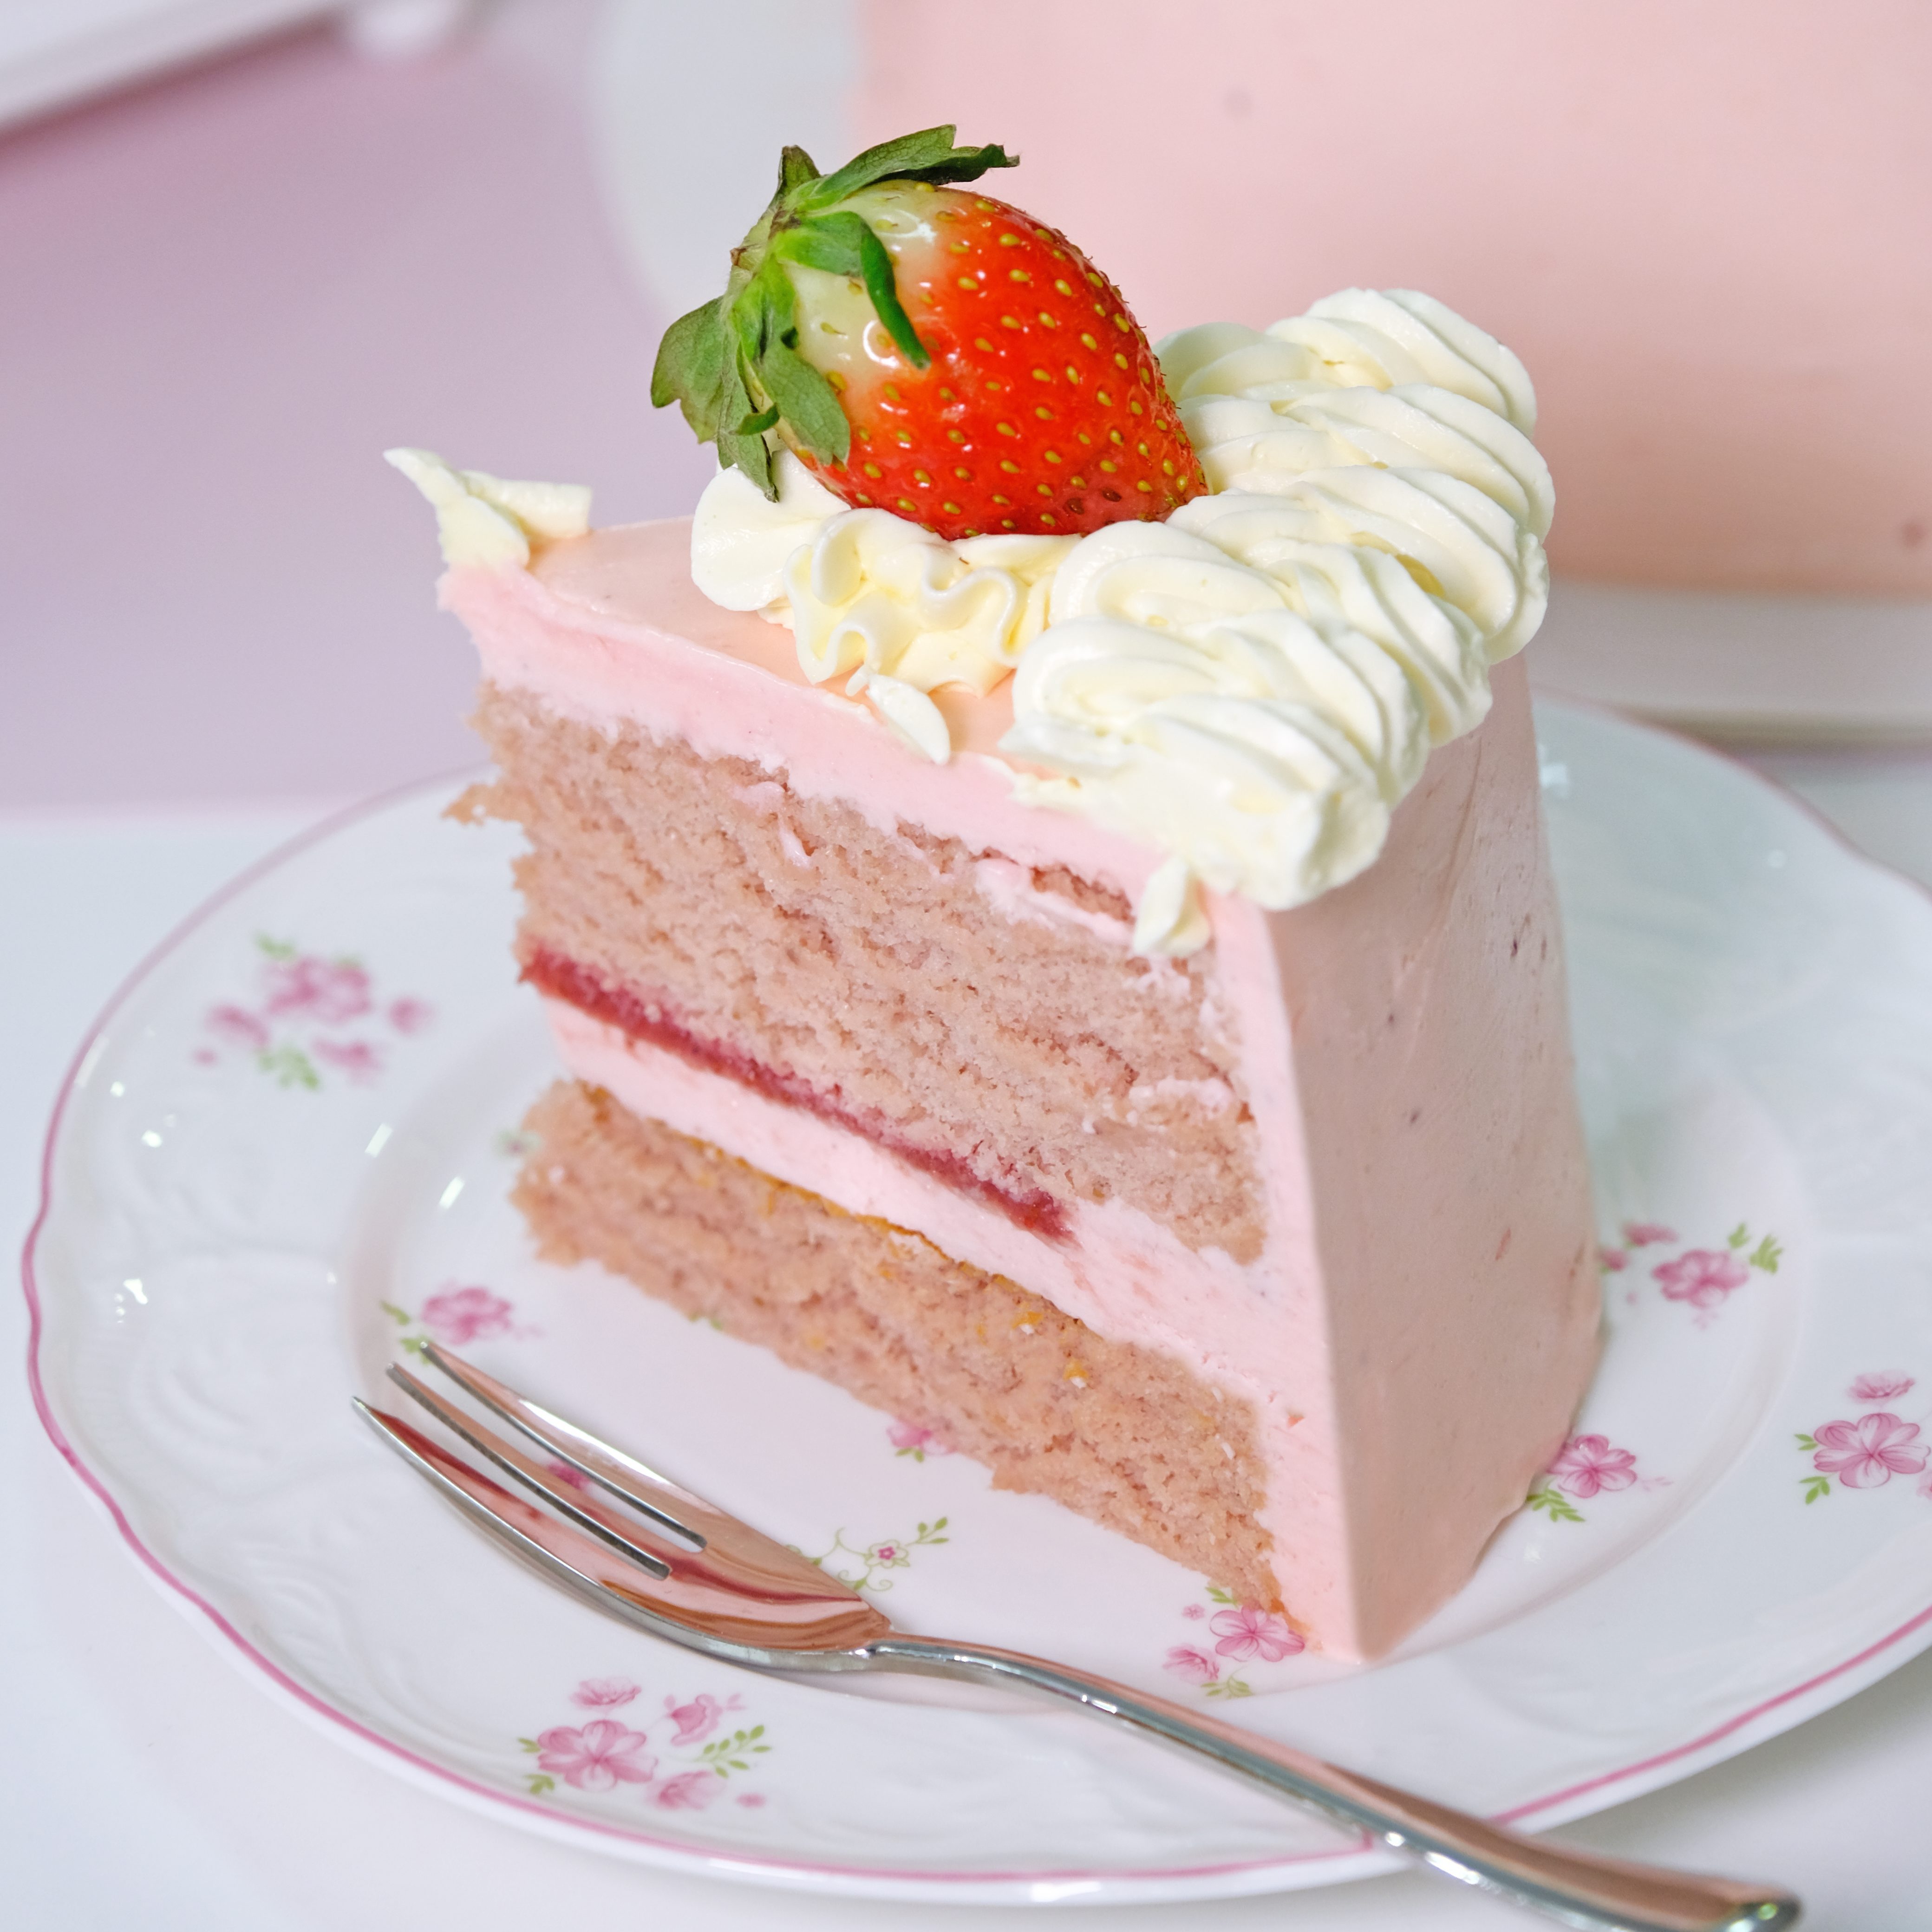
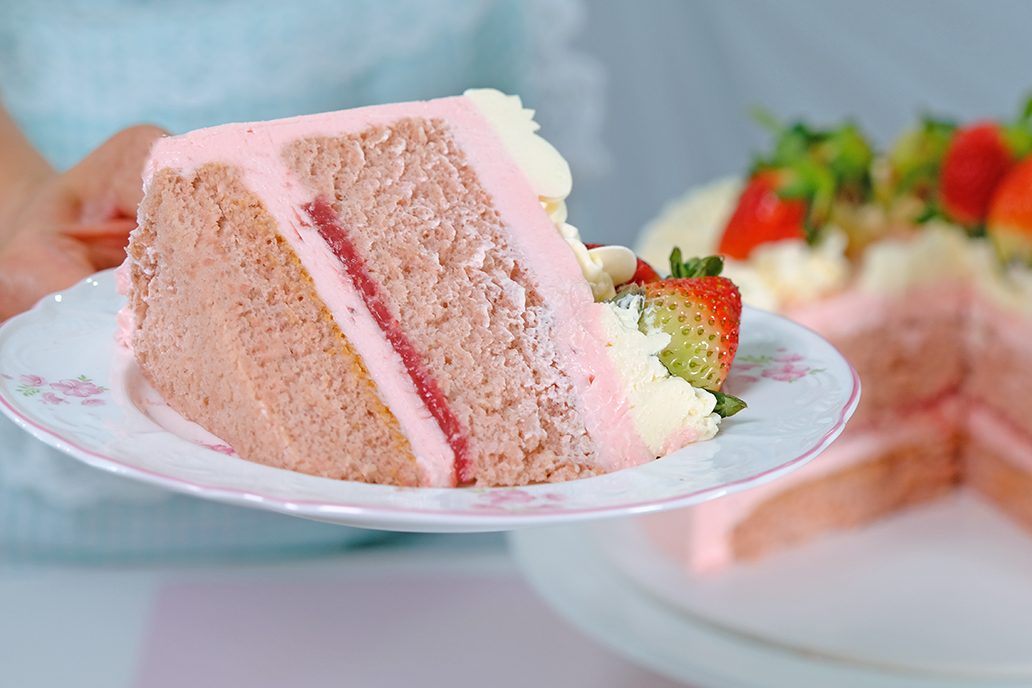
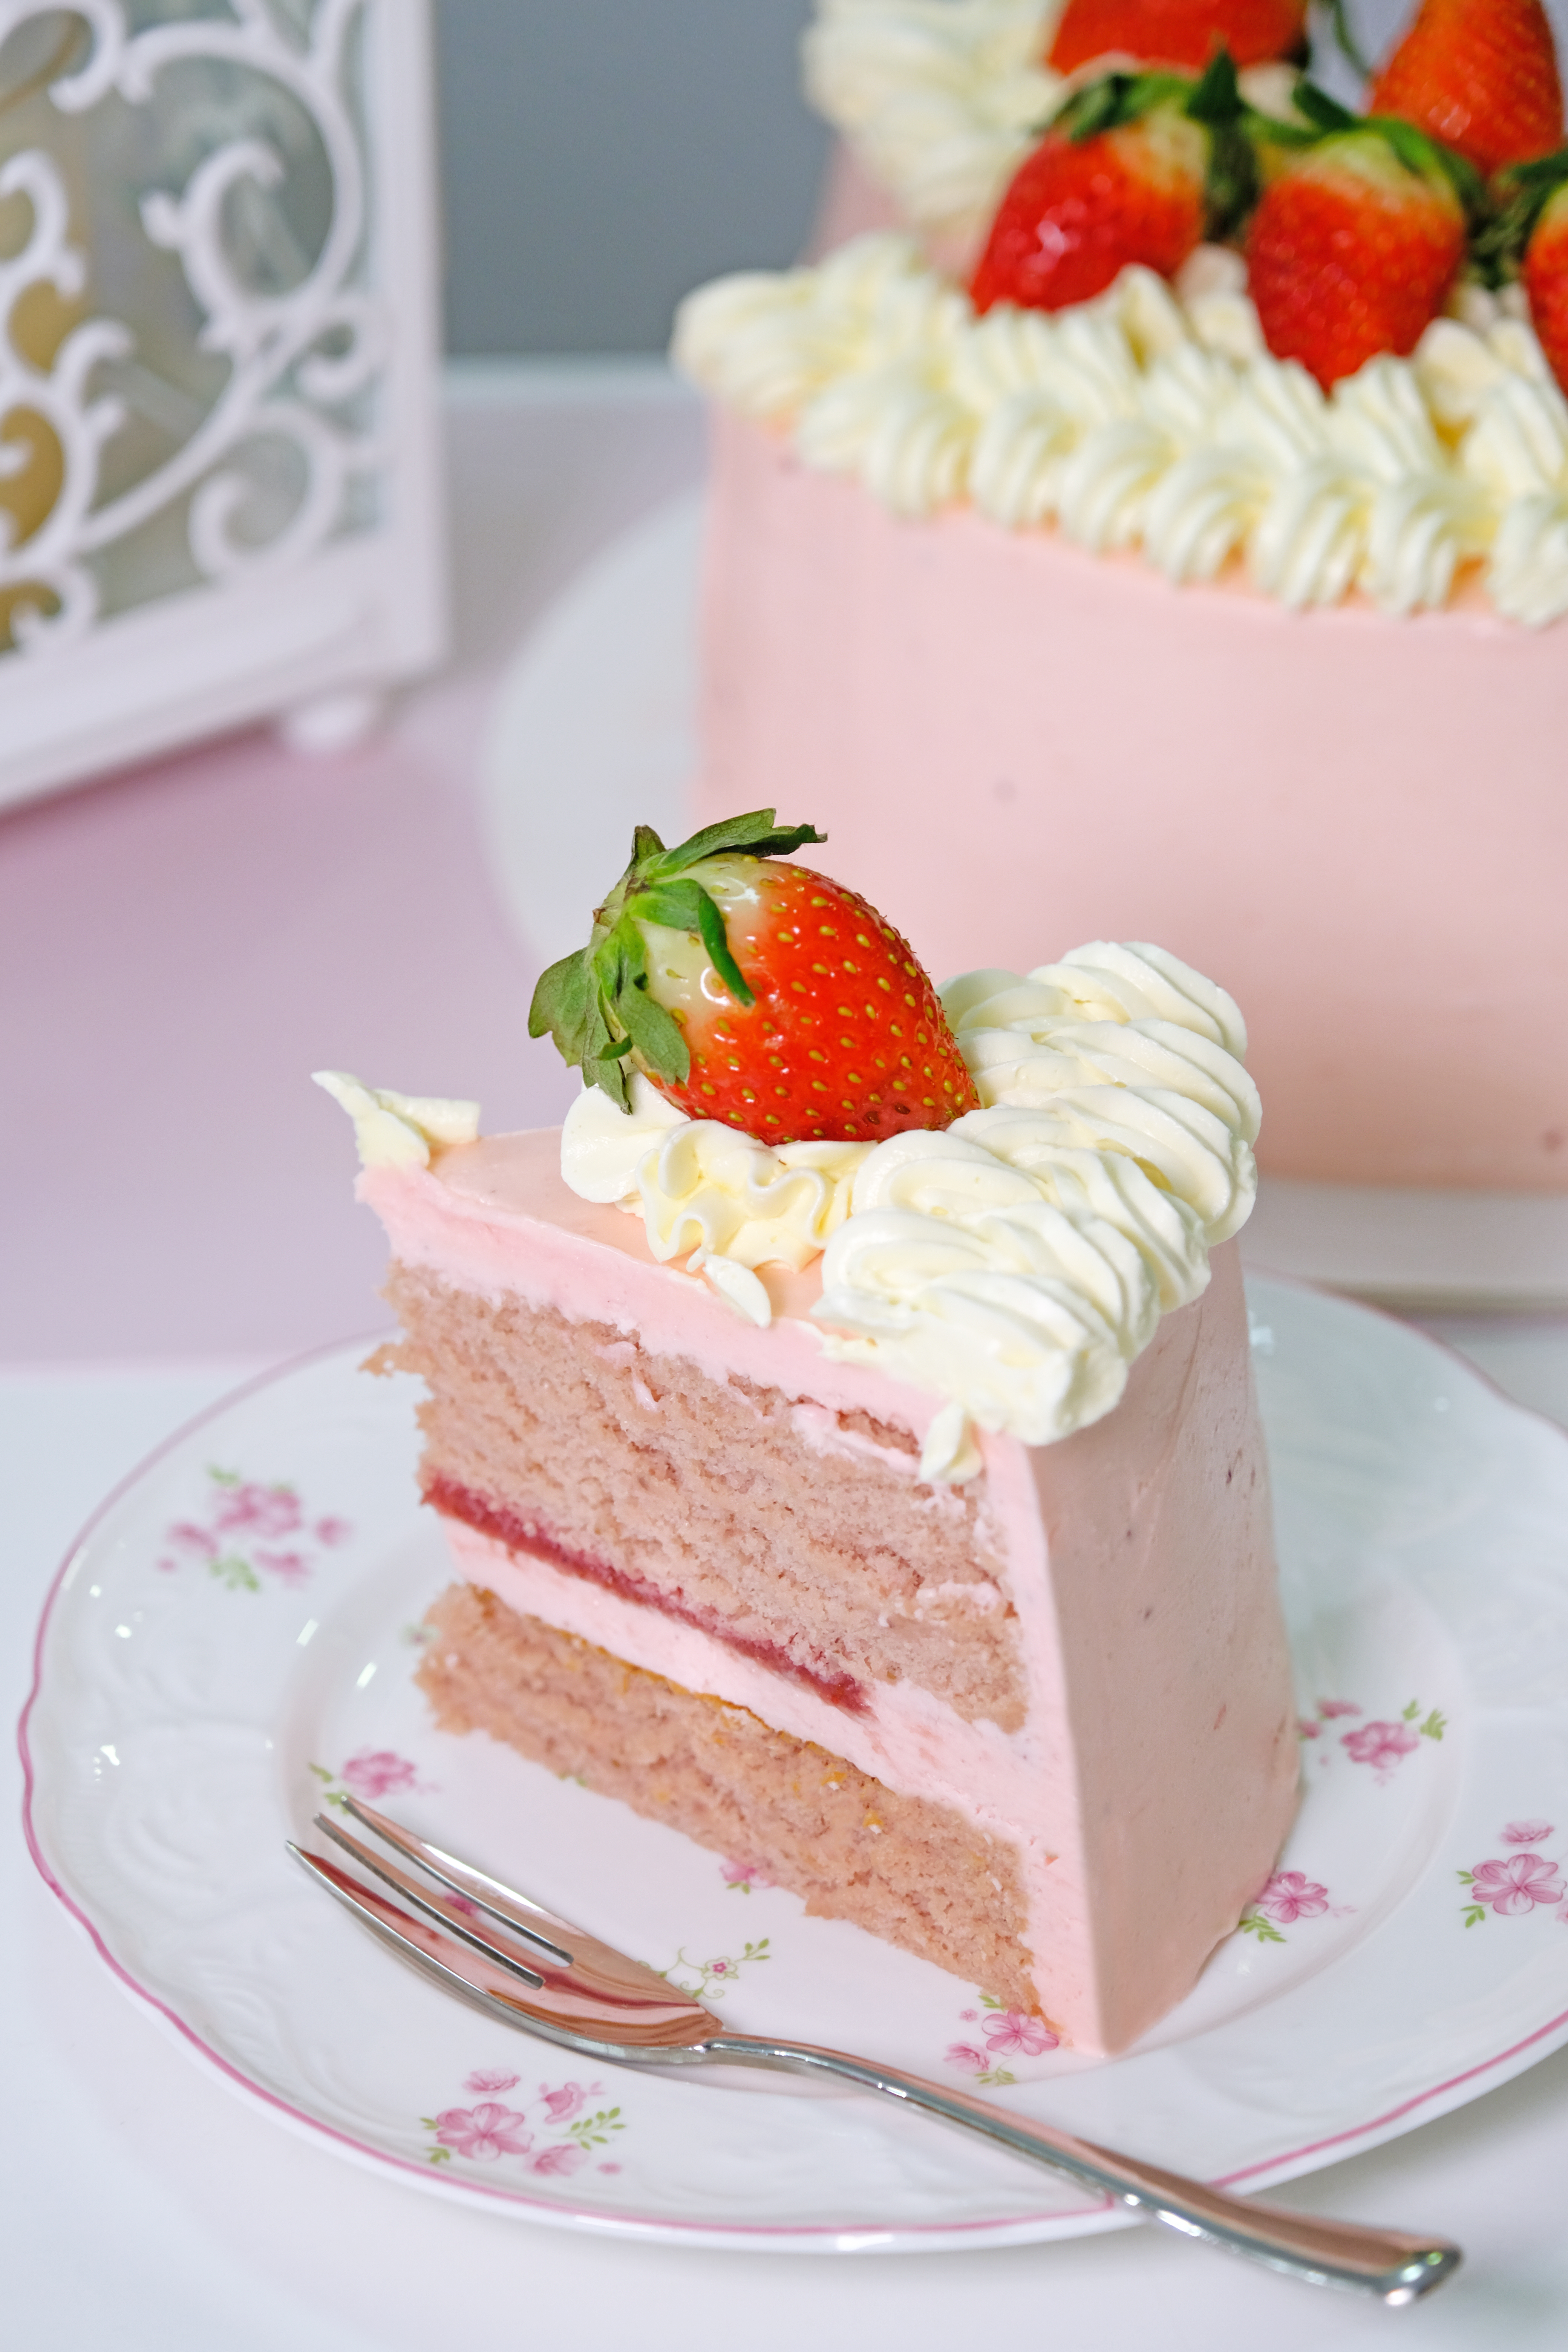
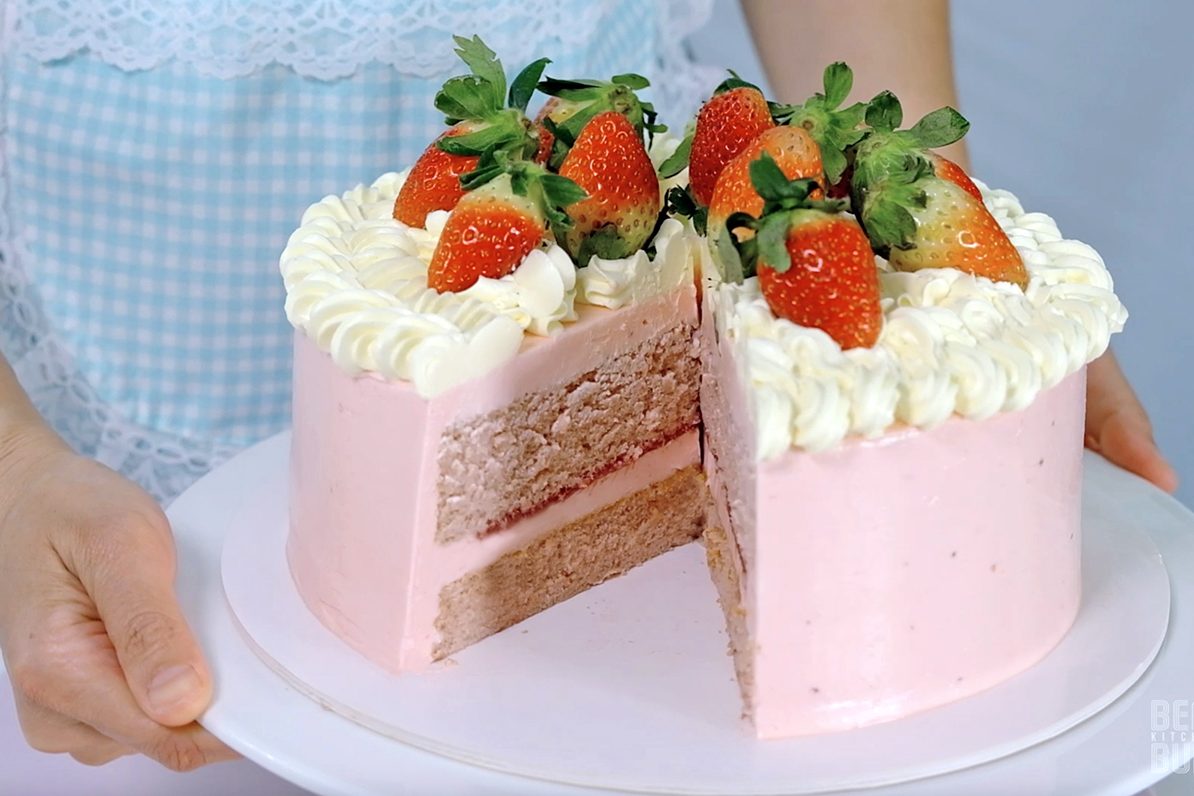
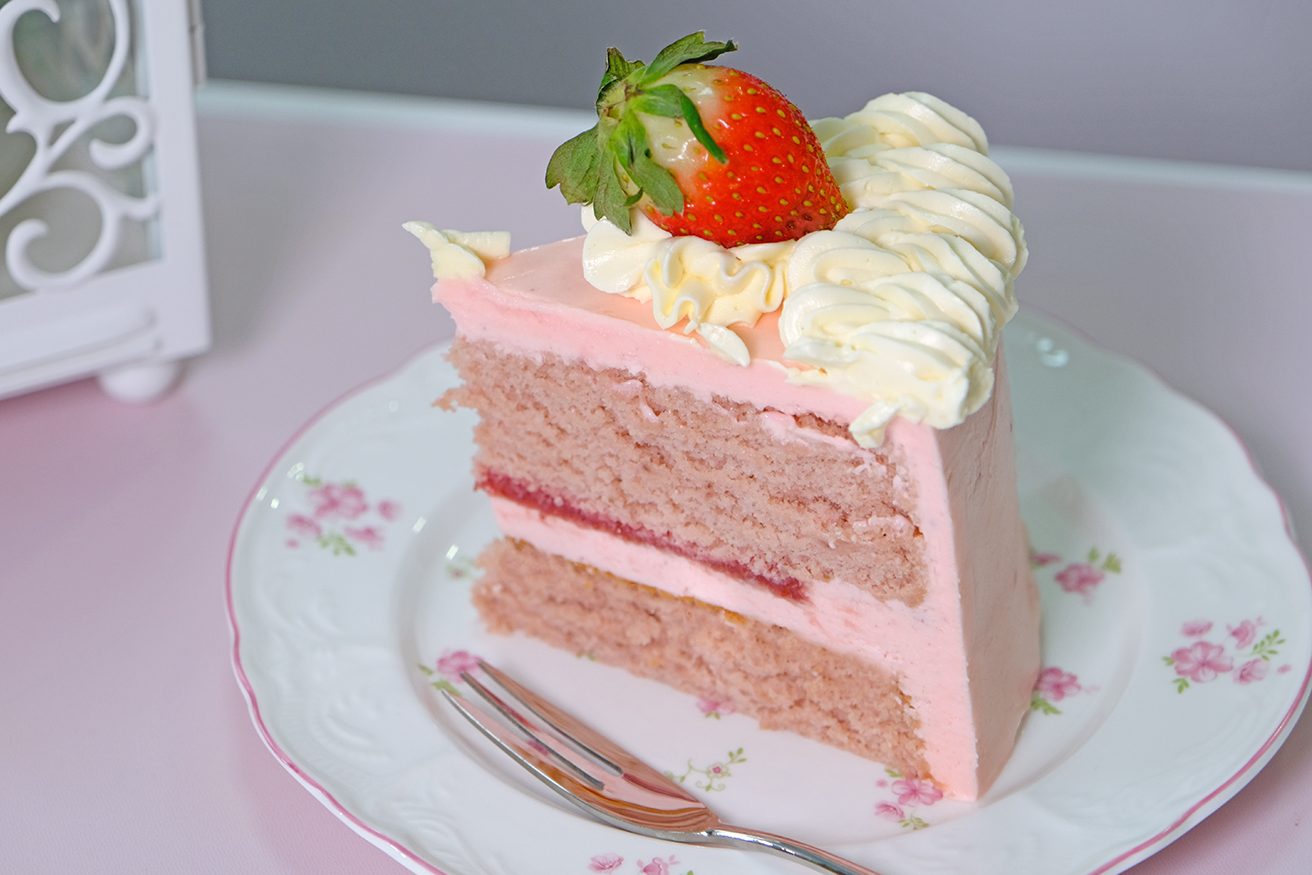
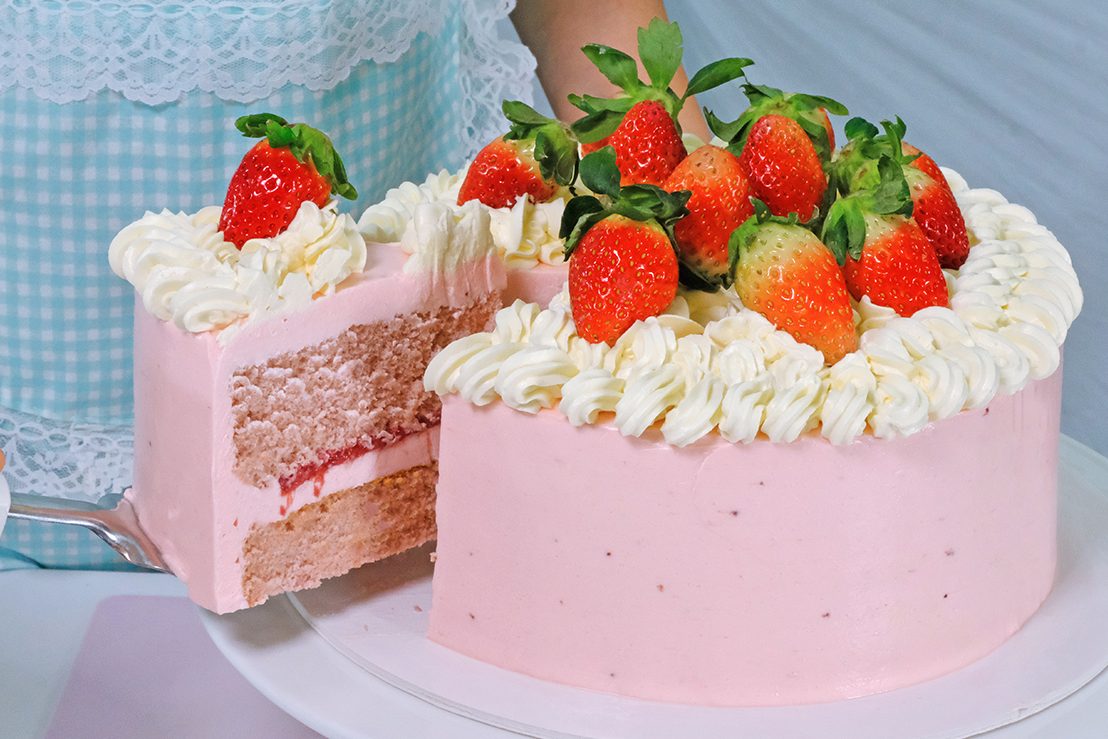
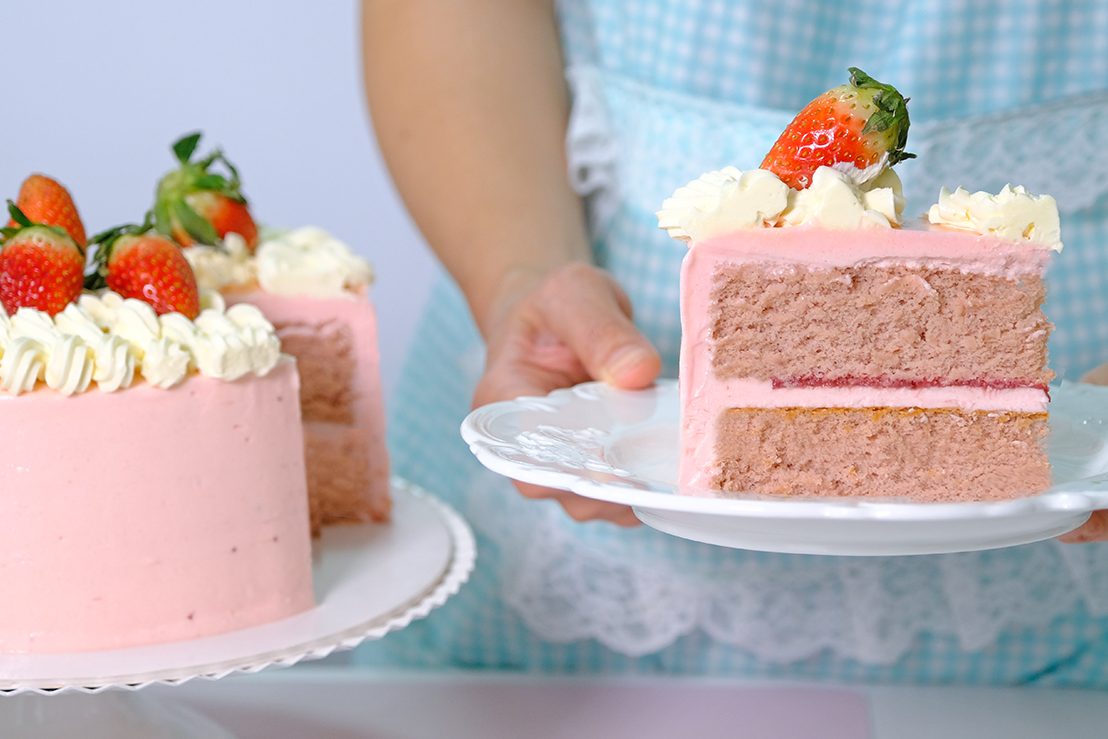
Wonderful Light & Fluffy Strawberry Cake 🍰🍓

The Sweet Dream of a Perfect Strawberry Cake 🍓

I think every girl carries a sweet little dream in her heart—a dream of a pretty, soft, and irresistibly yummy Strawberry Cake.

There’s something magical about it. The gentle pink color, the fresh aroma, and that slightly sour strawberry taste that instantly makes your mouth water

It reminds me of Strawberry Milk in a cute cartoon box, the kind we loved as children. One sip, and suddenly you’re back in childhood—carefree, happy, and smiling without a reason.
That feeling is exactly what I want a strawberry cake to bring 🥰

I’ve been thinking for a long time about how to make the perfect Strawberry Cake. Not just any cake—but one that truly captures the essence of strawberries.

This cake must be made with real strawberry purée, not artificial flavoring. The taste should feel natural and fresh, like biting into a ripe strawberry on a sunny day 🤩

The texture is just as important: light, fluffy, and airy—not heavy, not dense, and definitely not overly sweet. Every bite should melt softly in your mouth, followed by a gentle burst of strawberry flavor.

The Buttercream Matters 🤔

And then comes the buttercream—the soul of the cake. It must also carry a strawberry flavor, but in a soft and delicate way.
Light, smooth, and balanced. Sweet, but not too sweet.

The kind of buttercream that complements the cake instead of overpowering it. When cake and cream come together, they should feel like a perfect harmony.

Of course, the look of the cake matters too 😂

The color of the cake must be baby pink or soft pink—nothing loud, nothing artificial.

🥲

Just a gentle, pastel shade that instantly makes you feel happy and calm. A cake that looks as soft as it tastes. A cake that feels like a hug.

This strawberry cake isn’t just dessert. It’s a memory. It’s nostalgia. It’s childhood joy wrapped in layers of fluffy cake and strawberry cream.

It’s proof that sometimes, the simplest dreams—the pink ones, the sweet ones—are the most beautiful to chase.

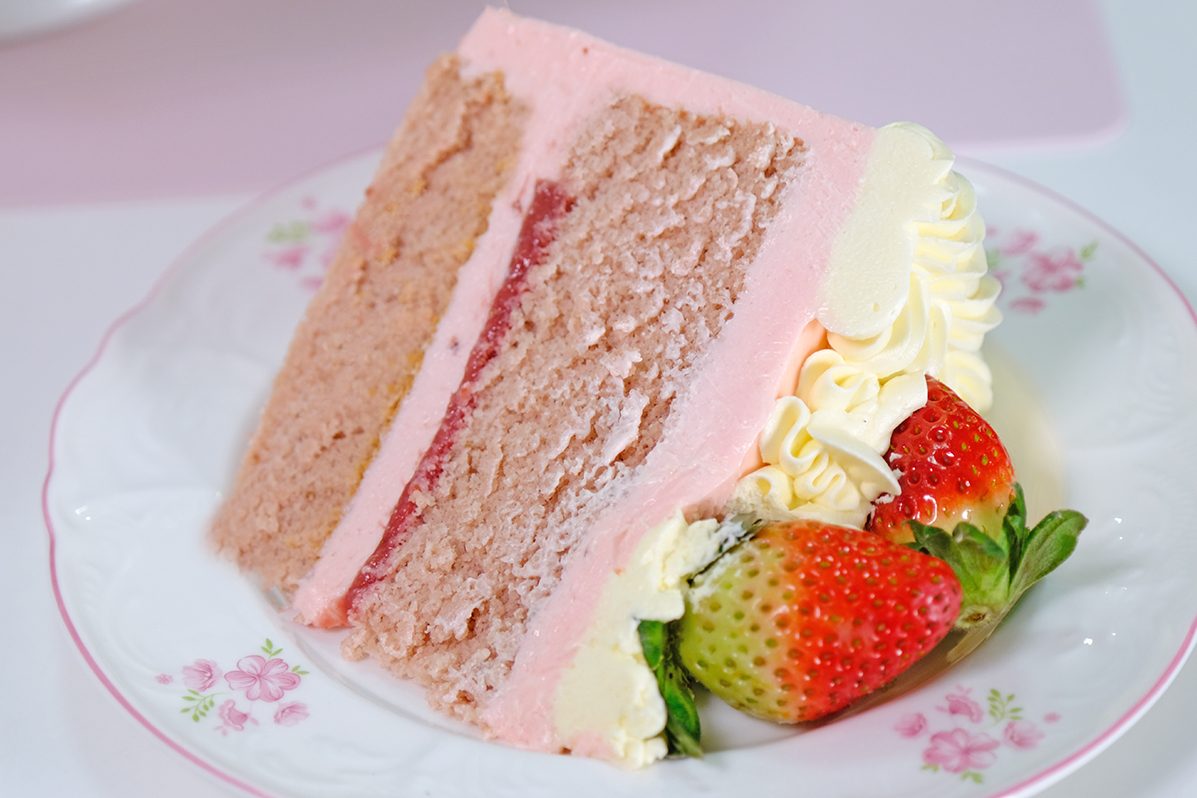
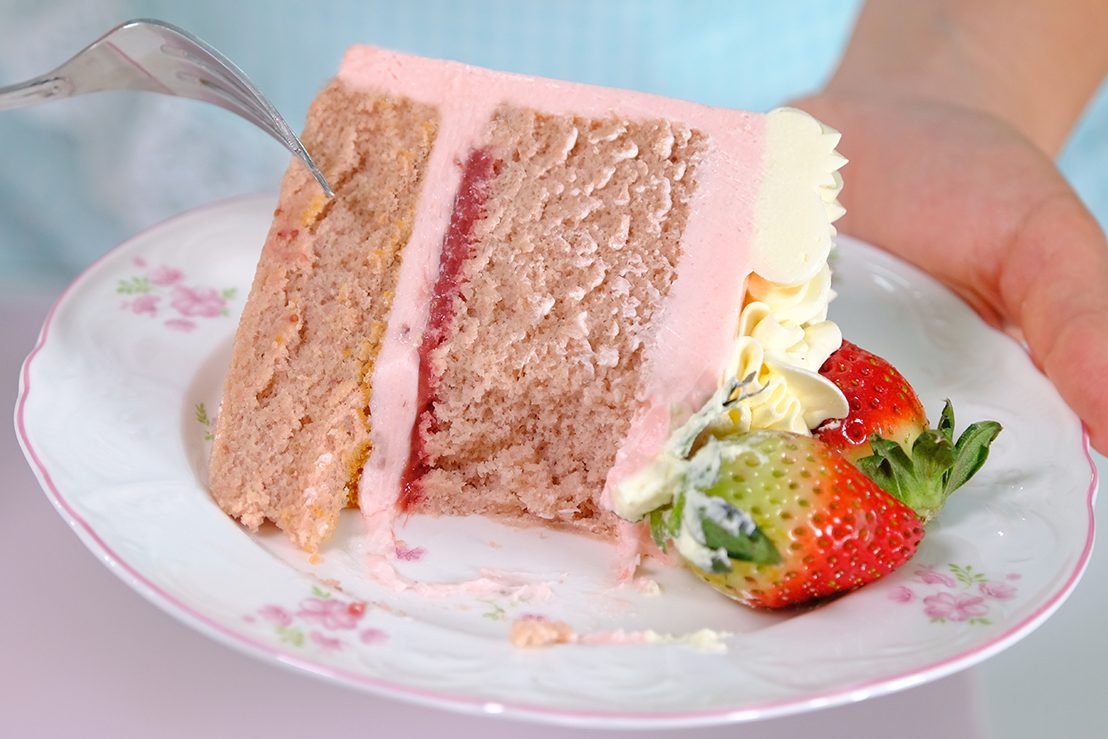
A Soft, moist cake made with real fresh strawberry puree, giving it a beautifully tender texture and a rich, fruity strawberry flavor in every bite.

Whether it’s for a special day, for your loved ones, or simply as a sweet treat;
This strawberry cake is sure to please and bring joy to those you share it with

This cake is full of fresh strawberry flavour, with a soft crumb and delicious strawberry puree
It’s wonderful light and fluffy 😚

I hope you enjoy making and tasting it !

Love you All 🍰🍓

WATCH HOW TO MAKE Wonderful LigHt & Fluffy Strawberry Cake

RECIPE

LIGHT & FLUFFY STRAWBERRY CAKE
Yield: One 8-Inch Round Cake (2 layers)

INGREDIENTS
🍓Strawberry Puree
450 g Frozen or Fresh Strawberries
1 tsp Corn Flour
2 tsp Water

🍓Strawberry Cake
5 Egg Yolks (95-100 g) ~ room temp.
1 Egg (50-55 g) ~ room temp.
50 g Vegetable Oil
40 g Plain Greek Yogurt (room temp.)
80 g Strawberry Puree (room temp.)
90 g Cake Flour (sifted)
A Drop of Pink Liquid Gel Food Colour
5 Egg Whites (165-175 g)~ room temp.
1/4 tsp Salt
1 tbs Lemon Juice
90 g Caster Sugar

🍓Buttercream
180 g Egg whites
300 g Caster Sugar
240 g Icing Sugar
170 g Vegetable Shortening (High Ratio)
454 g Unsalted Butter (room temp.)
2 tbs Strawberry Puree
2 tsp Rose Water
1/4 tsp Salt
A Few Drops of Pink Liquid Gel Food Colour


INSTRUCTIONS
🍓Strawberry Puree
We will use this strawberry puree for the Cake, Buttercream and Filling

  1. Prepare the corn slurry ahead of time; Mix Corn Flour and Water (we’ll use it to thicken the strawberry purée)
  2. In a medium saucepan, heat the Strawberries over medium-high heat
    Once they start to soften and release juice, lower the heat and mash them with a potato masher (no need for a blender or food processor)
  3. Continue cooking over low heat, uncovered, to let the excess water evaporate; this can take a while, so be patient (with frozen strawberries, mine took about 30 minutes to reduce)
  4. Once the purée is thick and most of the water has evaporated, stir in the corn slurry until well combined
  5. Remove from the heat
    Pour the purée into a shallow dish, cover, and chill in the fridge until completely cool
  6. Once cool, set aside 80 grams for the cake batter, 2 tablespoons for the Strawberry Buttercream and the rest for the cake filling


🍓Strawberry Cake

  1. Preheat the oven to 155°C/ 135°C fan, place the rack at the bottom
  2. Make sure your Eggs, Strawberry Puree, and Yogurt are at room temperature (this makes the batter smoother and easier to mix)
  3. Prepare the pans in advance
    Line 8-Inch Round Pan (4-Inch Tall) with parchment paper, but DON’T grease it
    ** You’ll also need a larger pan to create the bain-marie, which will hold the water and support the cake pan while baking
  4. Make sure your bowl and utensils grease free, any residue of fat will prevent egg whites from beating properly;
    Wipe the bowl and utensils with Vinegar or Lemon Juice; the acid in Vinegar or Lemon Juice helps remove grease
  5. In a large mixing bowl, combine the Egg Yolks with one Whole Egg
  6. Stir in the Oil; whisk vigorously until wel combined
  7. Add in the Yogurt along with 80 grams of Strawberry Puree and mix until the mixture is fully combined
  8. Fold in the sifted Flour and mix gently
    DON’T overmix, gently folding keeps the cake light and fluffy instead of dense
  9. Add a touch of pink food colouring (it helps enhance the natural pink colour from the Strawberry Puree); Set this mixture aside
  10. Then in another large bowl, combine the Egg Whites, Salt and Lemon Juice
    Beat over high speed for about 30 seconds until foamy
  11. Add Sugar to the Egg Whites mixture in 3 batches every 1 minute
  12. Once all the Sugar is added, continue beating on HIGH speed until medium peaks for about 3 minutes
    ** Medium peaks are glossy and hold their shape, but the tip of the peaks curl slightly when the beaters are lifted
  13. Then, fold the whipped Egg Whites into the Egg Yolks mixture in 3 batches
    Start by adding 1/3 of the beaten Egg Whites to the Egg Yolk mixture; use a balloon whisk to gently stir (this first addition helps loosen the batter)
    ** Scrape the bottom and sides of the bowl to ensure everything is evenly combined
  14. Add another third of the Egg Whites and fold again (be gentle to avoid deflating the batter)
  15. Finally, pour this mixture into the bowl with the remaining Egg Whites
    Fold carefully until the mixture is smooth and well combined (make sure there are no bits of Egg Whites left)
  16. Then use a spatula to scrape the sides and bottom of the bowl to ensure the mixture is evenly mixed
  17. Slowly pour the batter into the pan from about 15 cm above to help burst an excess air bubbles
  18. Gently run a small metal skewer or spatula through the batter to eliminate any trap air pockets (avoid tapping or shaking the pan as this can cause the bubbles to deflate prematurely, resulting in a denser cake with less volume)
  19. Place your cake pan inside a larger pan and pour hot water around it, about 1 cm up the sides (this water bath helps the cake bake gently and evenly, keeping it soft and preventing cracks)
  20. Bake immediately in the preheated oven for 80 minutes or until a cake tester inserted in the center comes out clean
    ** Avoid opening the oven door during baking, as sudden temperature changes can cause the cake to collapse
  21. Once it’s done, carefully remove the cake pan from the oven and take it out of the water bath
  22. Tap the 8-Inch cake pan 3 times on the counter to release the trapped steam (this helps prevent the cake from shrinking too much)
  23. Then, remove the cake immediately from the pan; scrape the sides of the pan; turn it over, peel the parchment paper, flip again so the top facing up;
    And let it cool completely on a cooling rack

🍓Buttercream

  1. Make sure the Butter and Shortening are at room temperature before you start
    If Butter is too cold, it won’t mix evenly, and you’ll get lumps or grainy buttercream
  2. In a large metal bowl, mix the Egg Whites and Sugar
  3. Then place the bowl over a double boiler and whisk constantly until the mixture reaches about 115°F
    ** If you don’t have a thermometer, you can check by feeling; when the sugar has completely dissolved and is no longer gritty, it’s ready
  4. Remove the bowl from the double boiler
    Whip this mixture on HIGH speed until the mixture is thick, glossy, and white (the peaks should be as firm as possible)
  5. Then pour in the Icing Sugar
    Start mixing on low speed so it doesn’t fly all over (don’t forget to scrape the bowl to mix everything evenly)
  6. Once all the Icing Sugar has been incorporated, add the Butter and Shortening in 2 fast additions
    Then continue whip on HIGH speed for about 5 minutes until smooth and fluffy
  7. Once finished, set aside 250 grams for the decoration on top
  8. Then mix the remaining buttercream with 2 tablespoons of Strawberry Puree, Salt, and Rose Water
  9. Add a touch of pink food colouring to make it pop, mix well
    This silky, smooth Strawberry Buttercream is ready to use;
    It’s lightly sweet, stable, easy to pipe, and holds its shape beautifully

ASSEMBLE & DECORATE THE CAKE
Once the cake is cooled, we can start assemble the cake

  1. Divide the cake into 2 layers
  2. Give your buttercream a good stir with a spatula before filling the piping bag; it helps to eliminate small air pockets that could create bubbles when piping
    Scoop it into the piping bag slowly instead of dumping it in; pressing it down to remove air bubbles (this keeps your piping smooth and even)
  3. Place the first cake layer on your cake board or pedestal
  4. Pipe a layer of Strawberry Buttercream about 1 cm thick on top and spread it evenly
  5. Then pipe a 1-cm-thick ring of Strawberry Buttercream around the edges
  6. Spread the remaining Strawberry Puree in the center
  7. Place the top cake layer on carefully, making sure it’s even and straight
  8. Fill any gaps between the cake layers with Strawberry Buttercream
  9. Apply a crumb coat
    It’s basically just a thin layer of Strawberry Buttercream that you are going to appy to the top and the sides of the cake before you do the final coat (it doesn’t have to be perfect)
  10. Chill the cake for 15 minutes in the freezer or 30 minutes in the fridge to firm it up (this makes it easier to apply the final coat without the layers shifting)
  11. And for the final coat;
    Pipe 1 cm thick of Strawberry Buttercream around the sides and the top of the cake
    Use a spatula to roughly smooth the sides and the top of the cake;
    Then use a scraper to smooth the sides completely
    Clean up the top edges by gently swiping the buttercream inward
  12. Decorate the top however you like with 250 grams basic white buttercream ; finish the cake with lots of fresh strawberries
  13. Once the cake is done, refrigerate for about 1 hour before serving

NOTES
Store the cake in the fridge if not serving immediately, keep away from heat or direct sunlight.
The cake best if consumed within 3 days of baking, but will last for up to 5 days if store in the fridge.

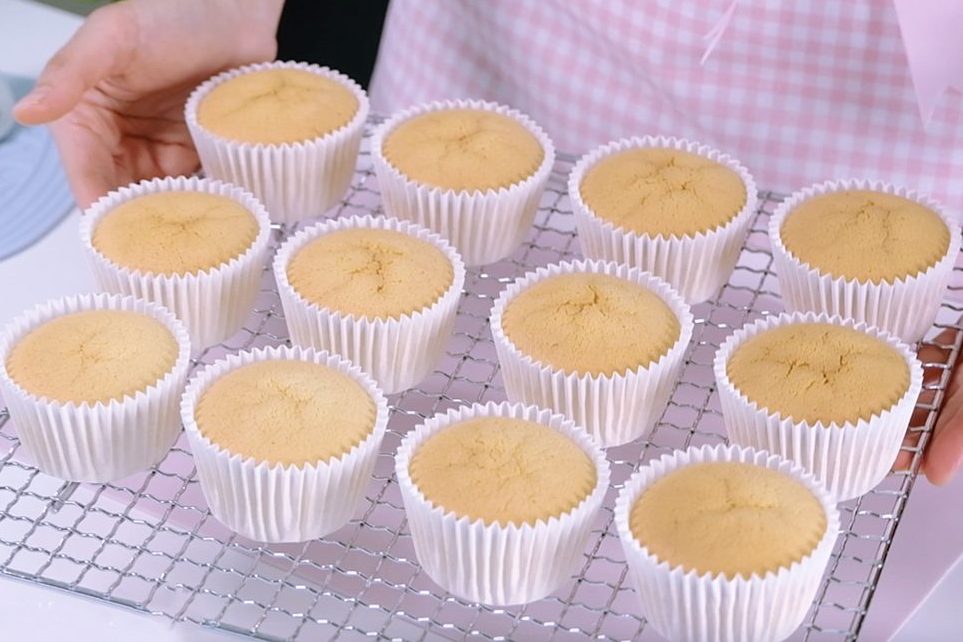
Light Fluffy Vanilla Sponge Cupcakes

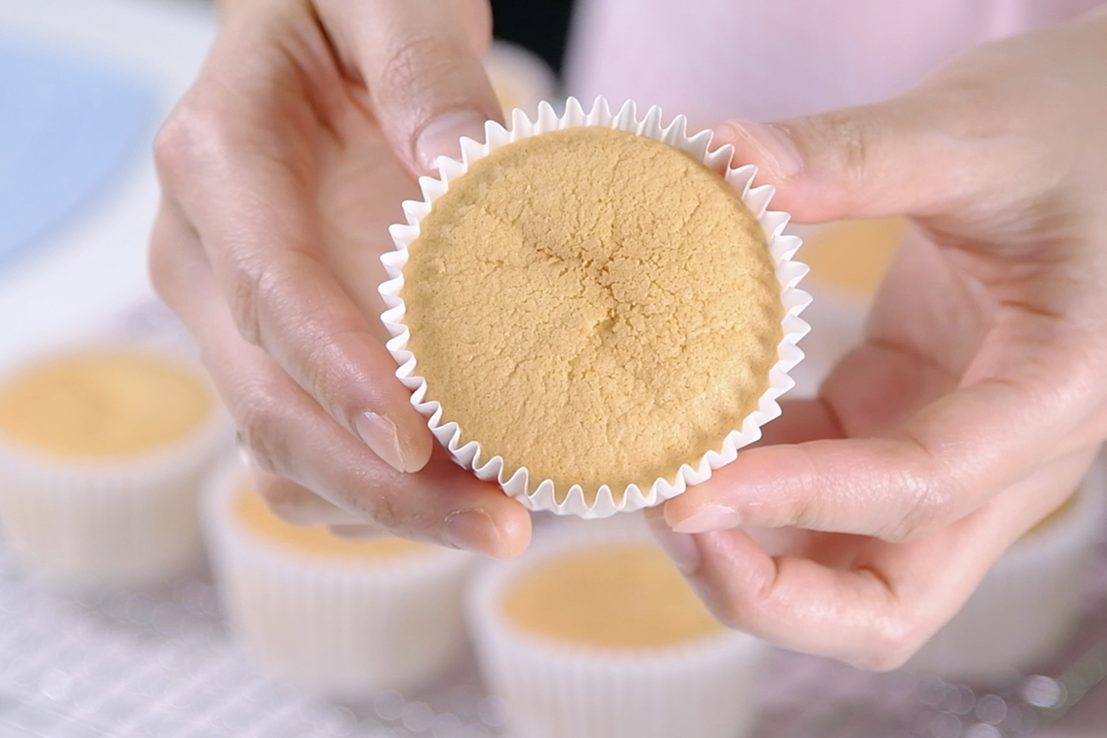
Everyone’s got their own idea of what the perfect Vanilla Cupcake should taste like; And this is my favourite Vanilla Cupcake recipe.

What makes this Cupcake special for me is because it’s light, not heavy, and just the right amount of sweet.

It’s the kind of Vanilla Sponge that pairs beautifully with whatever you like
Whether you’re adding frosting, berries or enjoying it plain.

They stay wonderfully moist for days and have a deep Vanilla flavour.

This Cupcakes are delicate but stable enough to hold the frosting
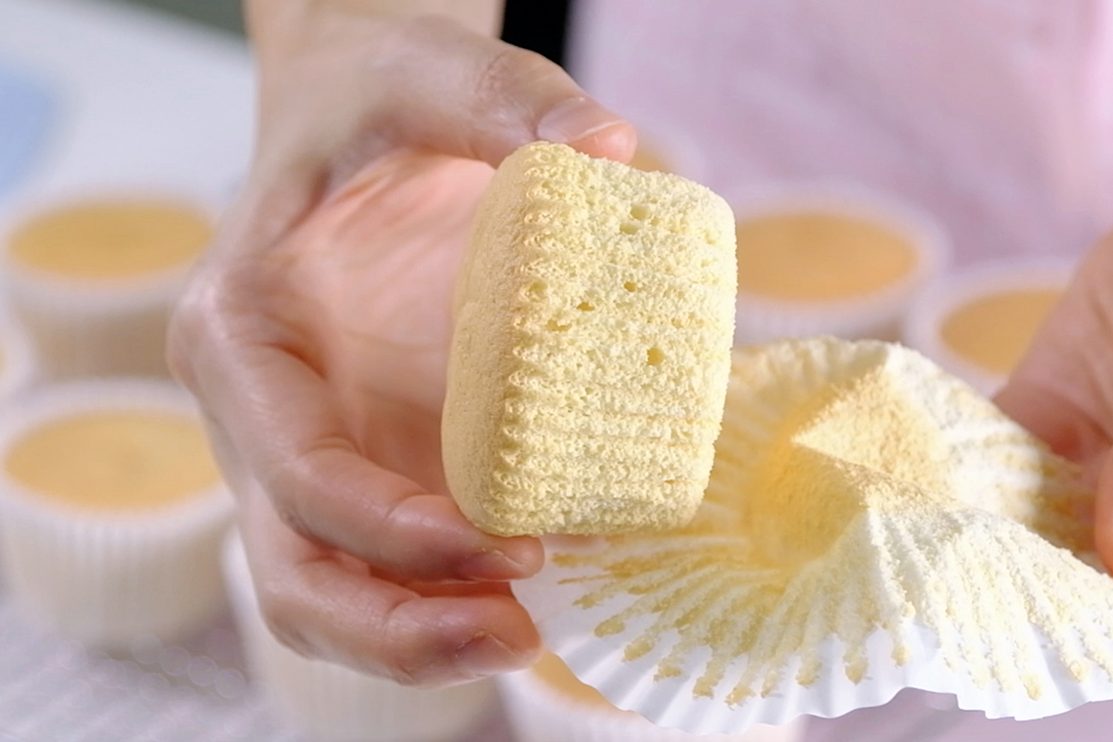
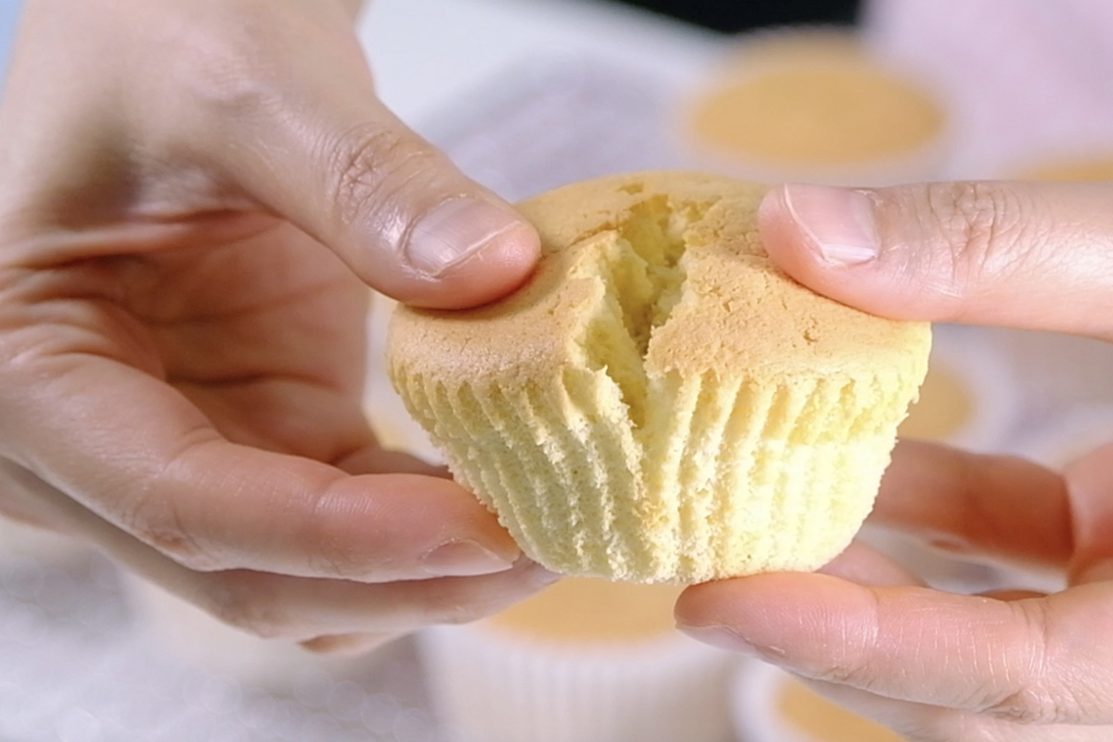
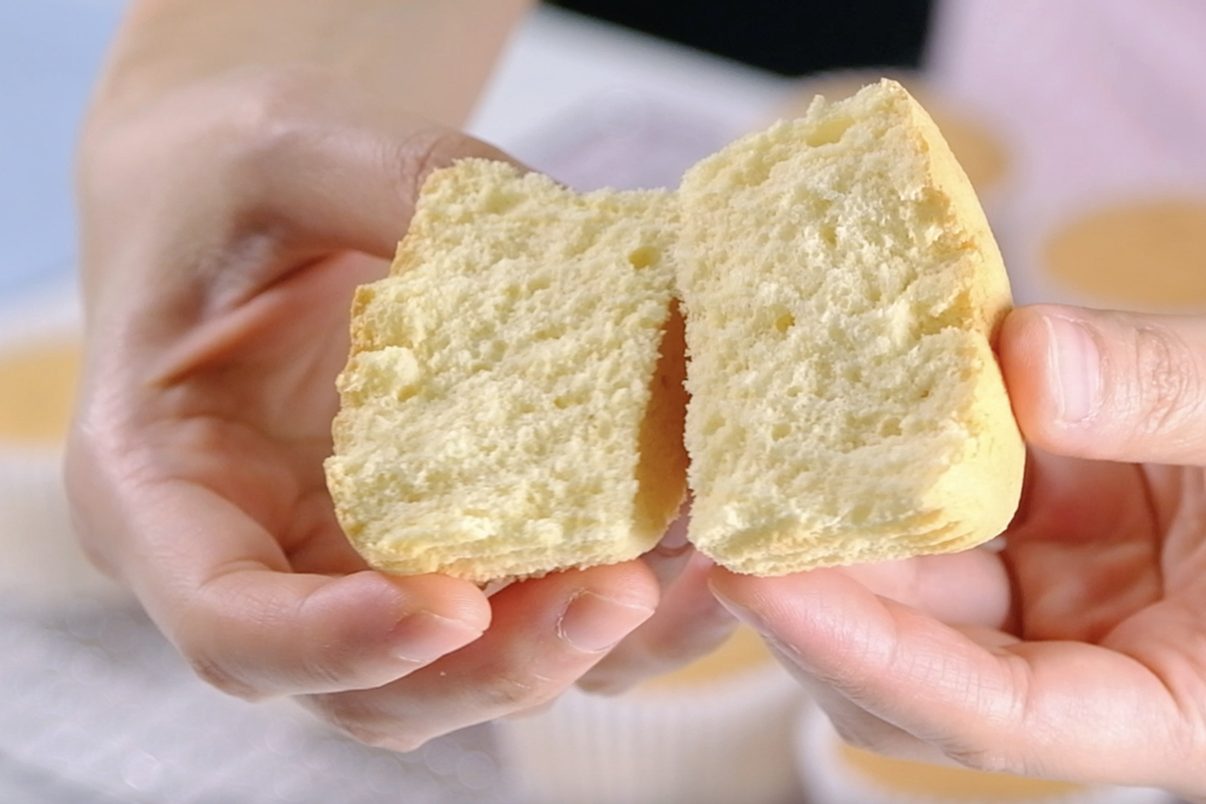
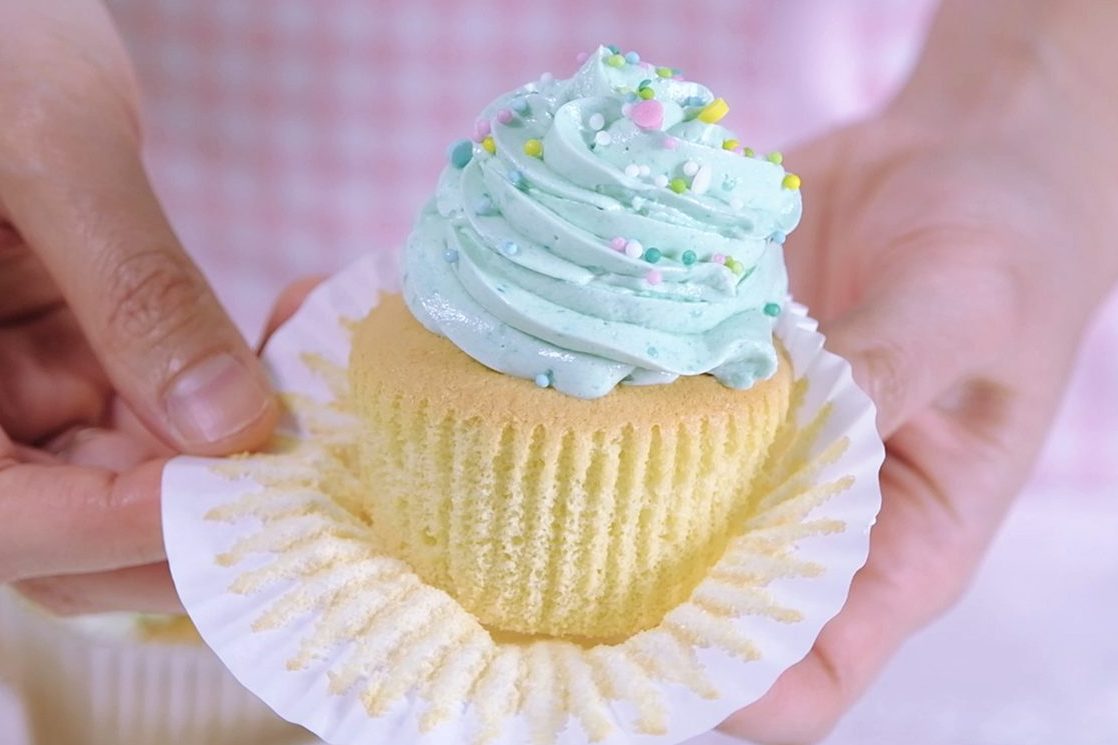
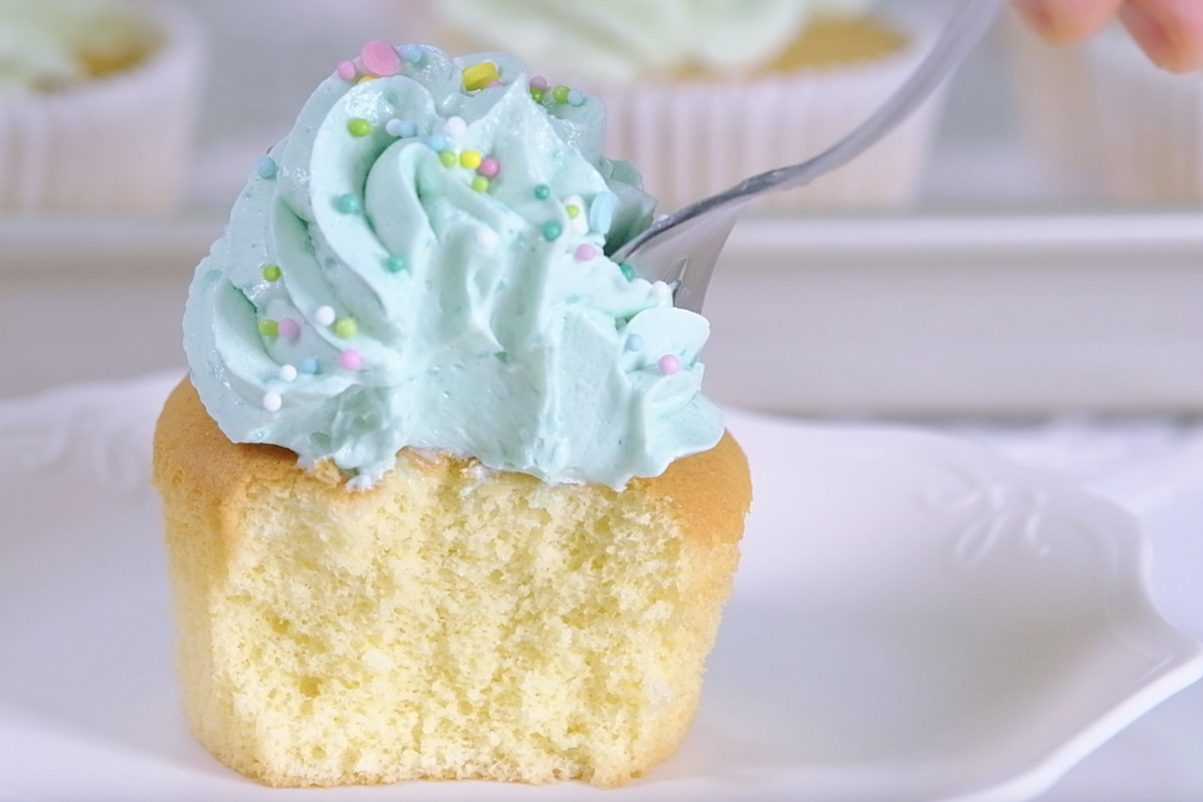
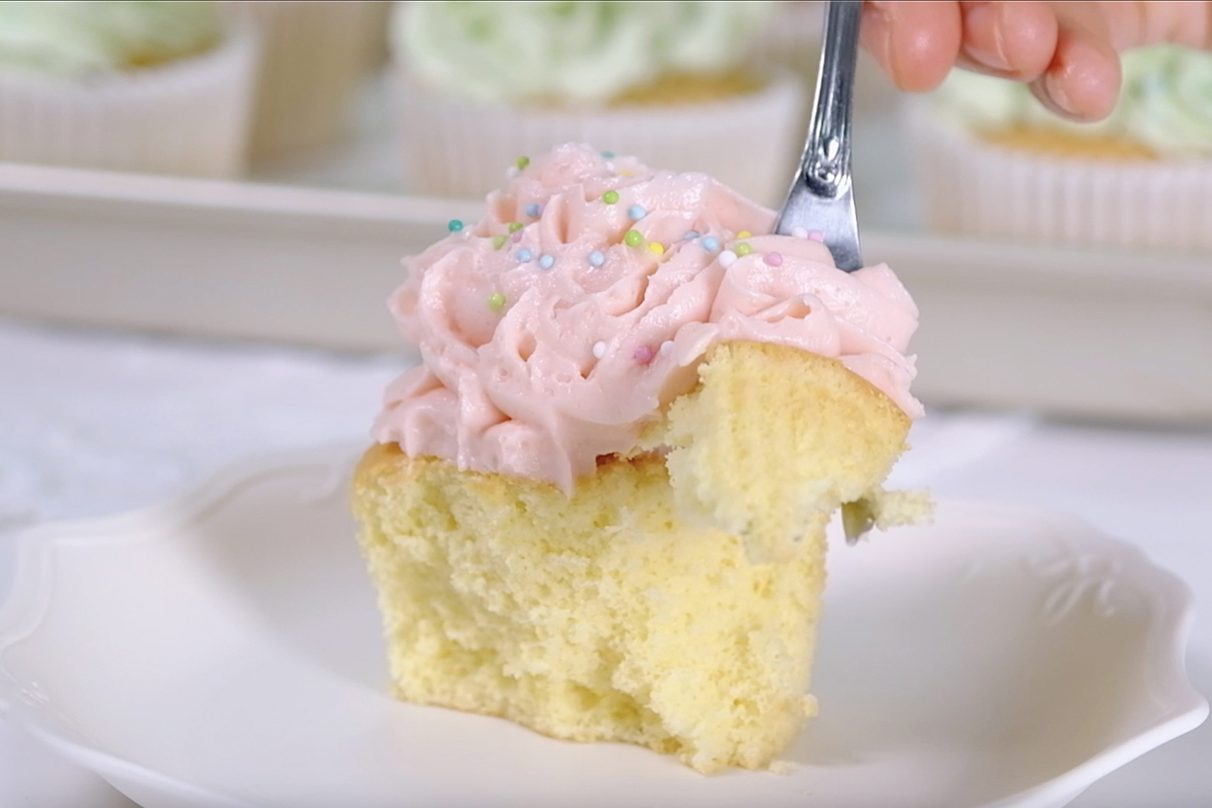
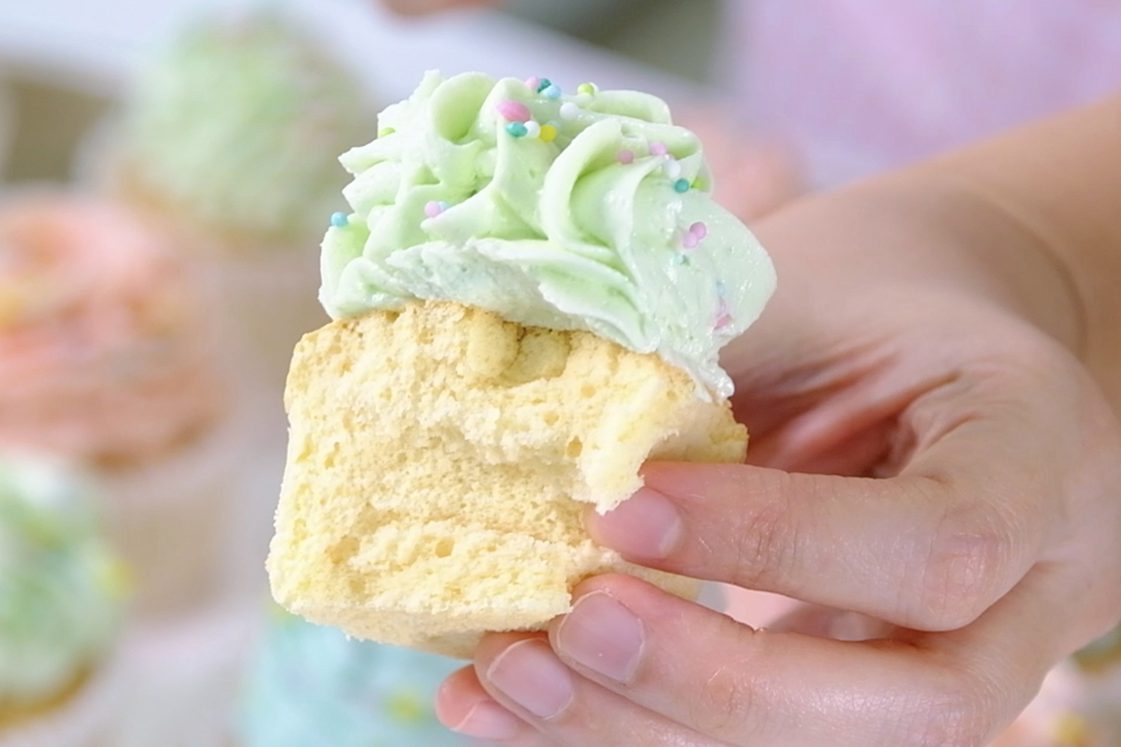
Let’s cut open and l00k inside
☺️
Soft and Moist but not too crumbly
Not too sweet and not heavy
🤗 So soft and fluffy
😍 And what’s the best frosting to pair it with?
The clasic Boiled-Milk Frosting 😘

Boiled Milk Frosting is an old-school buttercream that is not too sweet, not too buttery, and not too heavy.

My version with Icing Sugar is more stable at room temperature.

This beautiful frosting also easy to color and you can create any flavour you want; simply by adding some liquors, flavour oils or emulsions, extracts or even dried fruit powder.

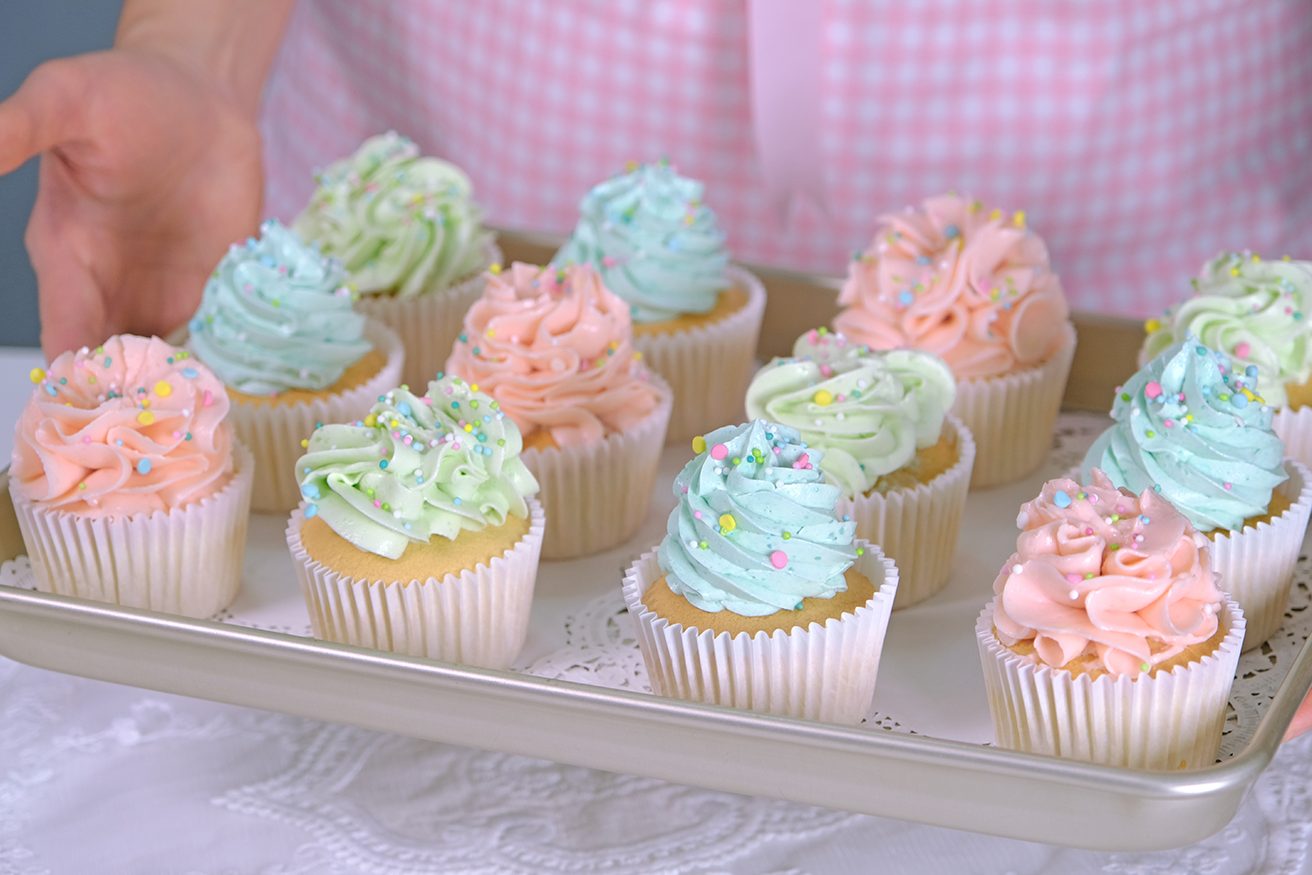
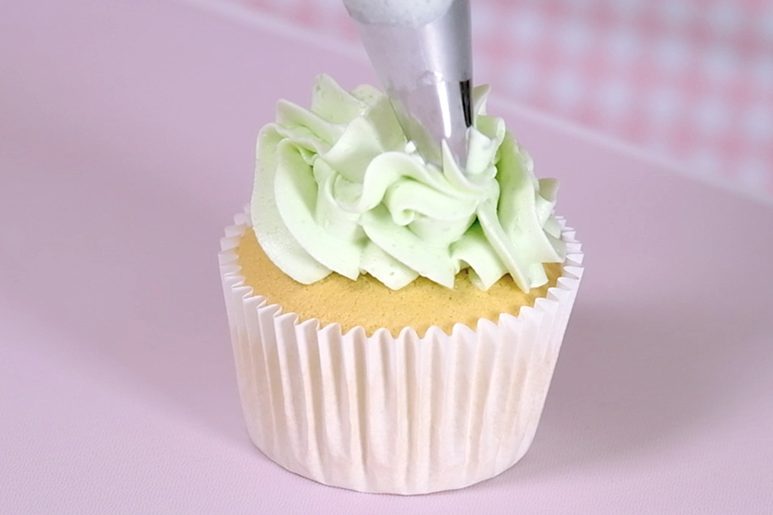
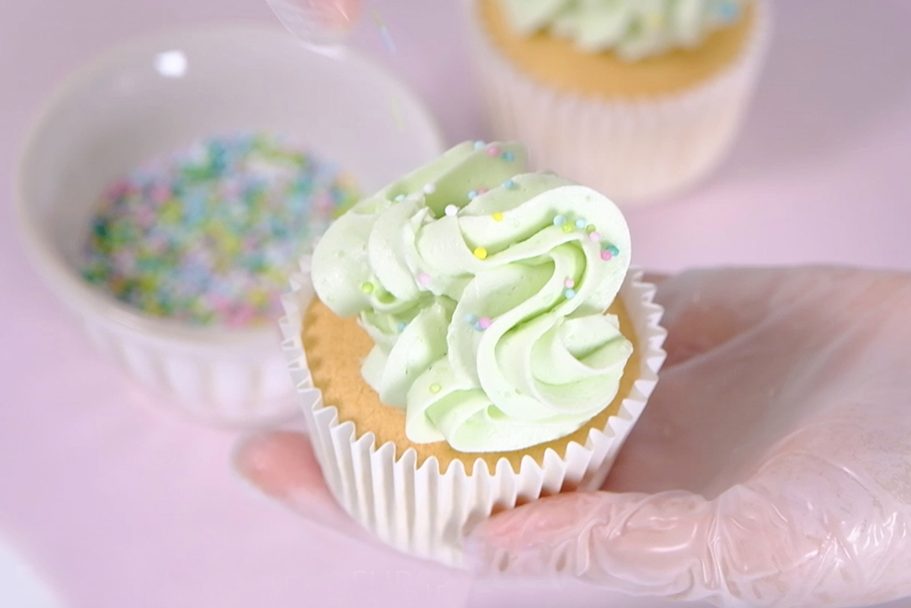
This Russian Ball tip creates beautiful ruffles 🥰
🥲 So beautiful !
Get creative with your own designs !!
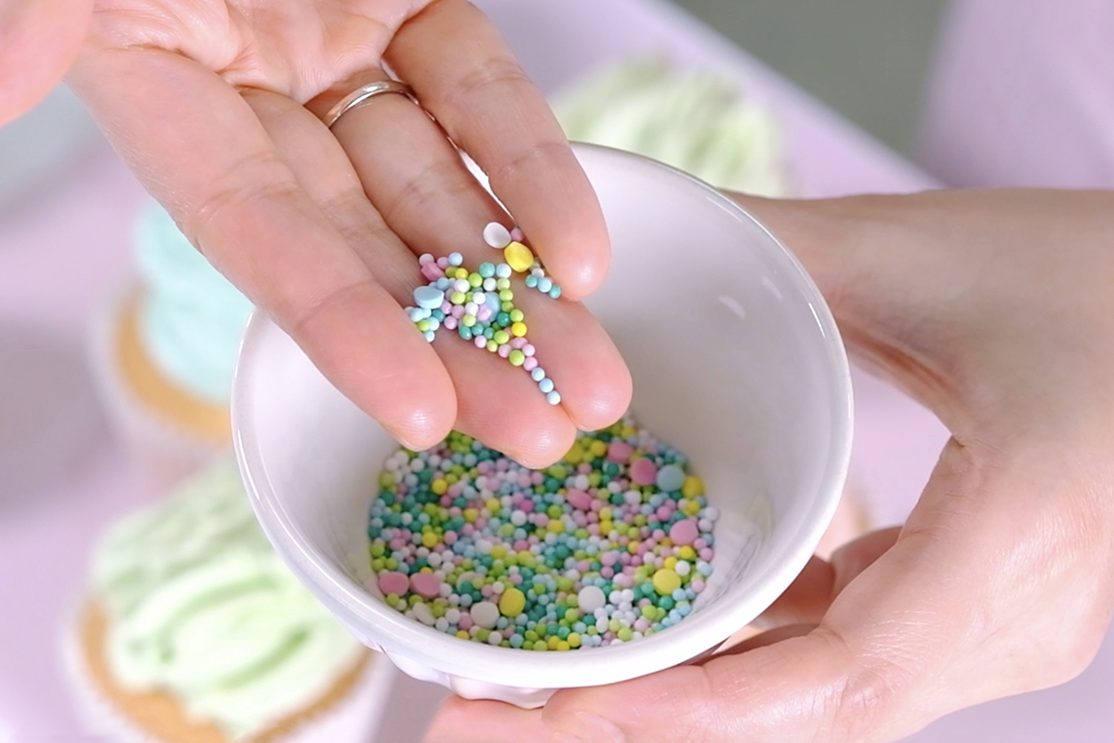
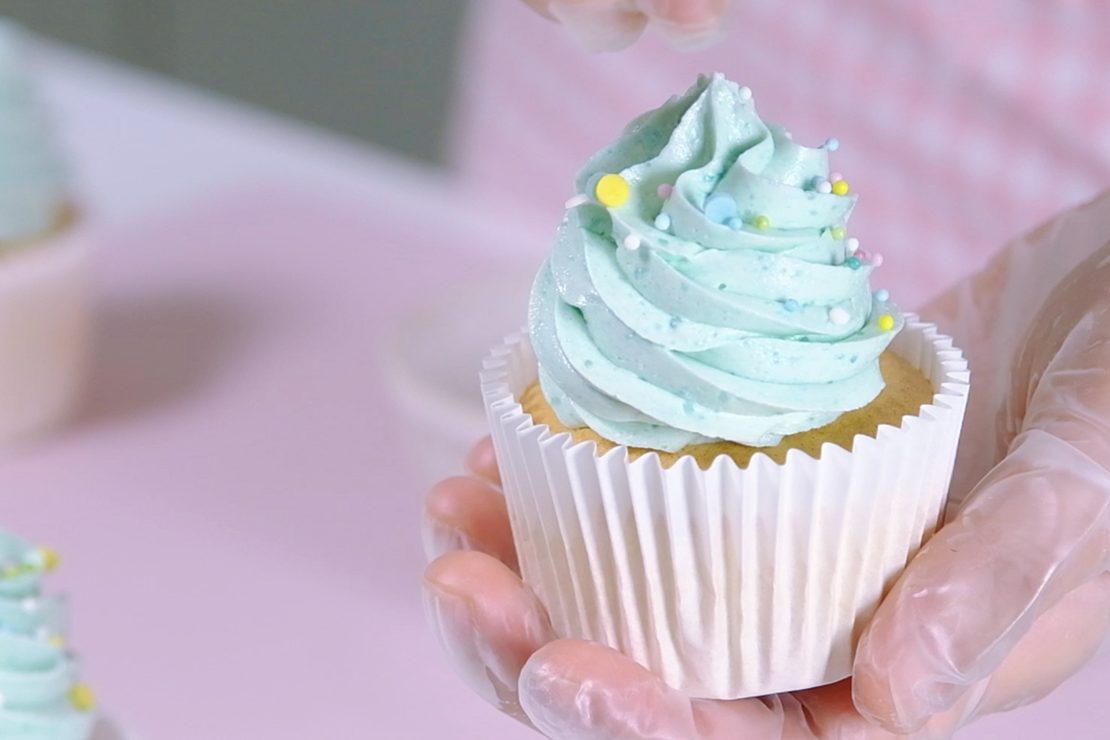
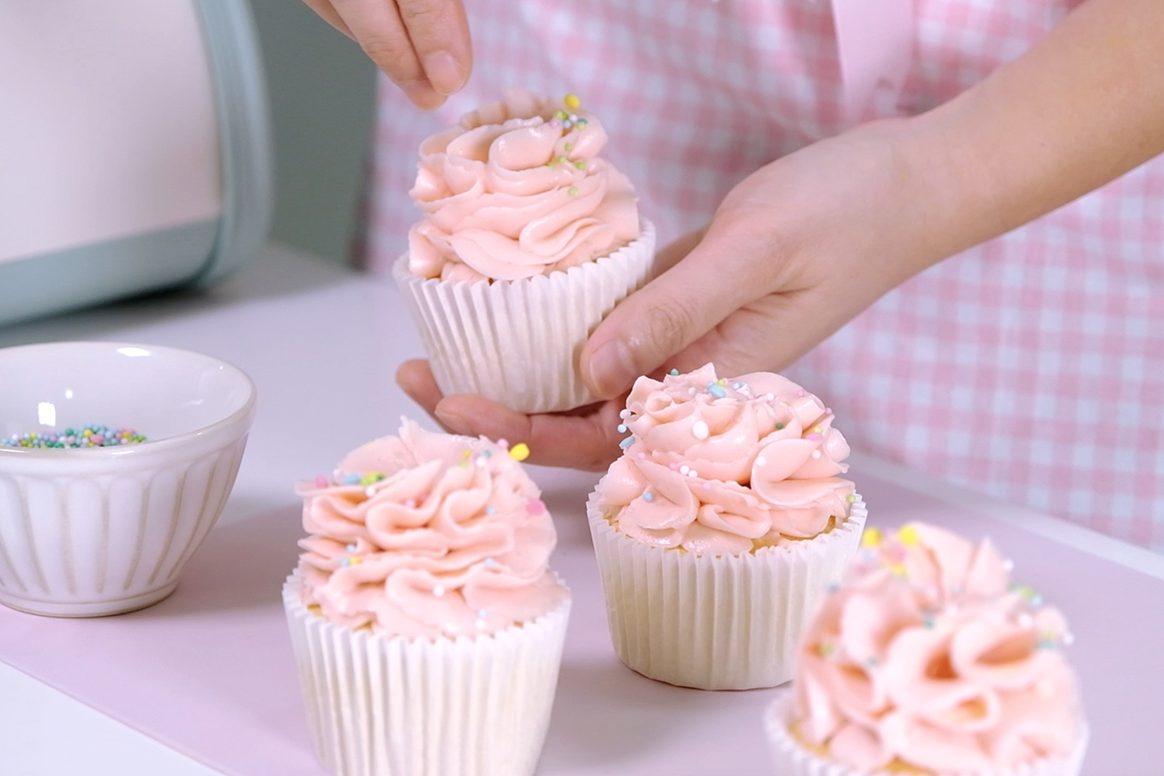
And finish with colourful confetti sprinkles   

So pretty! ☺️

I always flavor my frosting by adding a little at a time and tasting it as I go; Start with ½ teaspoon of extract or emulsion and taste.

Be careful with strong extracts like Almond and Mint,
I suggest starting with 1/8 teaspoon so the flavor doesn’t get too strong.

It’s time to enjoy the cupcakes 🥴

These cupcakes are perfect for any occasion and you can customize them to your taste by choosing your own frosting.

The frosting is a beautiful old-school classic.

It’s incredibly smooth and creamy, but not overly sweet.

With a soft, airy texture that melts in your mouth

🥲
🤤

These cupcakes always make me smile

And I hope they bring a little joy to your kitchen too !!

Love you All and Happy Baking!!

WATCH HOW TO MAKE LIGHT FLUFFY VANILLA SPONGE CUPCAKES

TIPS FOR SUCCESS (PLEASE READ FIRST):

FOR THE BOILED-MILK FROSTING

  • Prepare the Roux in advanced, so it has time to cool completely at room temperature
  • It is important to strain the Roux mixture (before and after cooking), you don’t want any lumps in your frosting
  • Remember to stir the Roux mixture constantly during cooking, otherwise the bottom will burn
  • Once the Roux cooked, place a piece of plastic wrap directly on the surface to prevent a skin forming
  • Always use real Butter (100 percent High Quality Butter)
  • Take the Butter out of the fridge allow to sit on the counter for about 30 minutes before you start making the frosting.
    The Butter must be softened until it is pliable but still cold and holds its shape, rather than melting or becoming too soft.
  • Once you mix the Roux with Butter, it may look curdling at first;
    Keep mixing on medium-high speed for about 3 to 5 minutes, the frosting will become very smooth, light, and fluffy
  • If you find the frosting is too soft to pipe, you can place it in the fridge for about 30 minutes and it will firm up a bit to a nice consistency
     

FOR THE CUPCAKES BATTER

  • Make sure all utensils clean and grease free (wipe the bowl and utensil with lemon juice or vinegar to helps remove grease)
  • Preheat the oven 20 minutes or longer before you start (use an oven thermometer to ensure the temperature is correct)
    Set an oven rack in the middle of the oven
  • Use fresh eggs that are room temperature (other ingredients also must be at room temperature)
  • Beat egg whites until stiff peak
  • Sift the Flour
  • Mix each batches of the flour evenly until there are no lumps
  • Make sure the wet ingredients are combined well with the batter
  • Don’t mix the batter too hard, just make sure it is well blended (the consistency should be thick but flowing)
    If the batter looks runny, it means you’ve over-mixed it and the cupcakes won’t rise properly
  • Don’t let the batter sit too long before baking, bake it immediately (especially if the batter does not use any raising agents at all, there is a risk that the batter will deflate)
  • Resist the urge to open the oven door while baking; this can lead to the cake being too damp in the middle or even falling
  • Once baked, tap the pan on the counter 3 times, this will prevent the cupcakes from shrinking or deflating when they cool
    Then immediately transfer to a cooling rack to cool completely

RECIPE

VANILLA SPONGE CUPCAKES
Yield: 12 regular Cupcakes

Ingredients
🧁 CUPCAKE BATTER
4 Egg Whites (130 g) ~ room temperature
1 tsp Lemon Juice
80 g Caster Sugar
4 Egg Yolks (85 g) ~ room temperature
40 g Milk ~ room temperature
26 g Vegetable Oil
30 g Maple Syrup
1/2 tsp Vanilla Extract
120 g Cake Flour (sifted)
Notes: you can substitute Lemon Juice with 1 tsp White Vinegar or 1/2 tsp of Cream of Tartar

🧁 BOILED-MILK FROSTING
270 g Milk
36 g All-Purpose Flour
1/8 tsp Salt
270 g Unsalted Butter ~ softened at room temperature
135 g Icing Sugar
1/2 tsp Vanilla Extract
Food Colouring

Instructions
PREPARATION

  1. Line 12-cup Muffin Tins with paper liners
  2. Make sure all utensils clean and grease free (wipe the bowl and utensil with Lemon Juice or Vinegar to helps remove grease).
  3. Take the eggs and other cold ingredients out of the fridge
    Separate Egg Whites and Egg Yolks; then let them come to room temperature.
  4. Preheat the oven 180°C/ 160°C fan/ gas mark 4.
  5. Mix the wet ingredients (Milk, Oil, Maple Syrup and Vanilla Extract)


CUPCAKE BATTER

  1. Beat the Egg Whites over HIGH speed for about 30 seconds until foamy.
  2. Add Lemon Juice (or white Vinegar or Cream of Tartar) and continue beating for another 30 seconds.
    * Acid in Lemon Juice/ Vinegar/ Cream of Tartar will help stabilizing the egg whites
  3. Add Sugar in 3 batches every 30 seconds.
  4. Once all the Sugar is added, continue beating on high speed until stiff peak for about 3 to 5 minutes (the mixture will gradually thicken and look shiny).
  5. Pour in the Egg Yolks; Using a hand whisk, stir gently until evenly mixed.
  6. Add sifted Flour in 2 batches (don’t skip this process; by sifting the Flour, it will break up any lumps, create a light, delicate, and fluffy results).
    Stir gently; Make sure that you scrape the entire surface of the bowl so that there is no flour residue on the sides and bottom of the bowl (mix each batches evenly until there are no lumps).
  7. Then take about 1 cup of this egg-flour mixture into the wet ingredients; mix really well.
    * By using this pre-mix method, the milk-oil mixture will incorporated easily with the egg mixture.
    It prevents the oil and milk from falling directly to the bottom of the bowl, which would cause the cake didn’t rise properly
  8. Pour the pre-mix mixture back to the egg-flour mixture; using a hand whisk stir gently (don’t mix too hard, just make sure the mixture is well blended)
  9. Then using spatula, scrape all the bottom and sides of the bowl, make sure it is evenly mixed.
    The batter should be thick but flowing (if the batter looks runny, it means you’ve over-mixed it and the cupcakes won’t rise properly)
  10. Evenly scoop the batter into prepared muffin cups.
  11. Using a skewer make this circular motion to flatten the batter and break the large bubbles.
  12. Bake in the preheated oven at 180°C/ 160°C fan/ gas mark 4 for 23 Minutes (Middle rack).
    * Resist the urge to peek until your cake is done; this can lead to the cake being too damp in the middle or even falling
  13. Once baked, tap the pan on the counter 3 times, this will prevent the cupcakes from shrinking or deflating when they cool.
    And then immediately transfer to a cooling rack to cool completely.


BOILED-MILK FROSTING

  1. In a medium bowl, whisk the Flour and Salt into Milk until smooth
    Strain this mixture to the non-stick pan (you don’t want any lumps in your frosting)
  2. Cook over MEDIUM-HIGH heat, the mixture will gradually thicken.
    Stir constantly until very thick and bubbling, about 3 minutes.
    *It is important to stir the mixture constantly during cooking, otherwise the bottom will burn
  3. Once it’s done, strain the mixture through a fine sieve into a shallow heatproof dish
  4. Place a piece of plastic wrap directly on the surface to prevent a skin forming
  5. Let the Roux cool completely to room temperature (this will take about 2 hours)
  6. After the Roux has cooled,
    Start beating the Butter on medium speed for 1 minute until smooth and creamy
  7. Add the Icing Sugar and Vanilla Extract, continue beating for 1 minute
    * Scrapping down the sides and bottom of the bowl occasionally until all the Sugar has been incorporated
  8. Pour the room temperature Roux, continue mixing (It may look curdling at first) Using spatula, scrape down the sides and bottom of the bowl occasionally to make sure everything is mixed well
    Keep mixing on MEDIUM-HIGH speed for about 3 to 5 minutes, the frosting will become very smooth, light, and fluffy
    * If you find the frosting is too soft to pipe, you can place it in the fridge for about 30 minutes and it will firm up a bit to a nice consistency

NOTES

  1. Make sure the unfrosted Sponge Cupcakes to cool completely before storing
  2. Unfrosted Sponge Cupcakes can be stored at room temperatur for 2-3 days in an airtight container to prevent them from drying out
  3. For longer storage, they can be placed in the refrigerator for up to a week in an airtight container.
    If refrigerated, let the Cupcakes come to room temperature before serving to soften them up. This usually takes about 30 minutes to an hour
  4. Unfrosted Cupcakes can also be frozen for longer storage (up to 1 month). 
    Wrap each cupcake individually in plastic wrap and then place them in a freezer-safe container or bag. 
    To thaw, unwrap the Cupcakes, place in an airtight container and let them come to room temperature. 
  5. To store frosted Sponge Cupcakes; keep them in an airtight container for 1 day,
    If you can’t finish it, preferably refrigerated if the frosting contains dairy or perishable ingredients; they can last up to 5 days.

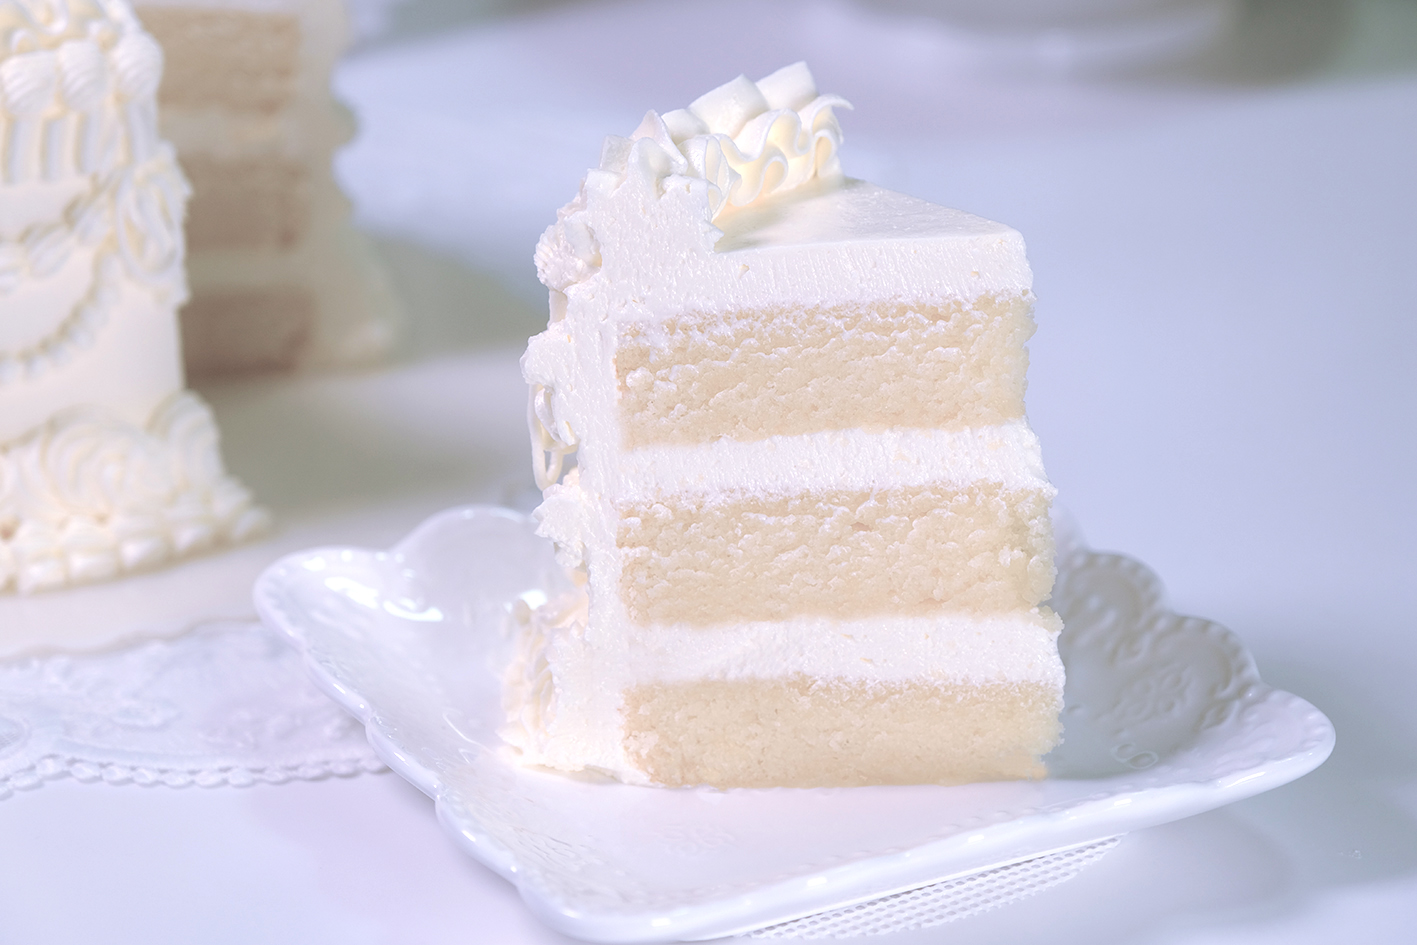
Fluffy Moist Wedding White Cake

This is like my dream cake for the perfect Wedding Cake;
A beautiful white velvet cake that is soft, moist and not too sweet.

White cakes were also once known as Silver Cakes, they became widely available in the later part of the 19th century, and became associated with weddings and christenings
If you’re in search of the “Perfect Homemade White Cake recipe”, you must try this recipe!

What’s so great about this White Cake?
One of the BEST things about this recipe, is the texture. The crumb is so light, soft and pillowy.

What frosting goes with this White Velvet Cake?
This Meringue Buttercream recipe is creamy, silky smooth, holds its shape beautifully;
And the best part and why everyone loves it, is that it’s not overly sweet.

There are several important ingredients that must be considered so that the texture and white color remains nice and bright

FULL FAT CREAM CHEESE
This ingredient is the star of the show. It produces a cake that is softer and richer in taste but still maintains a soft texture.

BUTTERMILK
The extra acidity from the Buttermilk softens the strands of gluten, resulting in an even more tender cake.

CANOLA OIL or EXTRA LIGHT OLIVE OIL
These two oils without strong flavors are the oils I most commonly use for baking.
This allows the flavor of your cake to shine while still achieving a moist texture.

EGG WHITES
The main difference between White Cake and other cakes is the absence of Egg Yolks.
Since we’re making a White Cake recipe, we use egg whites to keep the color nice and bright. Egg whites also produce a lighter, more tender crumb.

UNBLEACED CAKE FLOUR
White Cake typically calls for Cake Flour rather than All-Purpose Flour to create a lighter batter with a finer crumb.
There is no need to use bleached cake flour (I used unbleached cake flour in the recipe). Bleached cake flour can have a slightly bitter taste for people with a sensitive palate.
Apart from health reasons, there is not much difference.

Be Careful when you choose butter 🤔

BUTTER
Pay attention when you choose butter. Some brands have a yellowish tint, which will affect the final colour of your cake.

I recommend LURPAK brand for best results

SUGAR
Make sure you use White Caster Sugar and not Gold Caster Sugar otherwise your cake will be yellowish

VANILLA
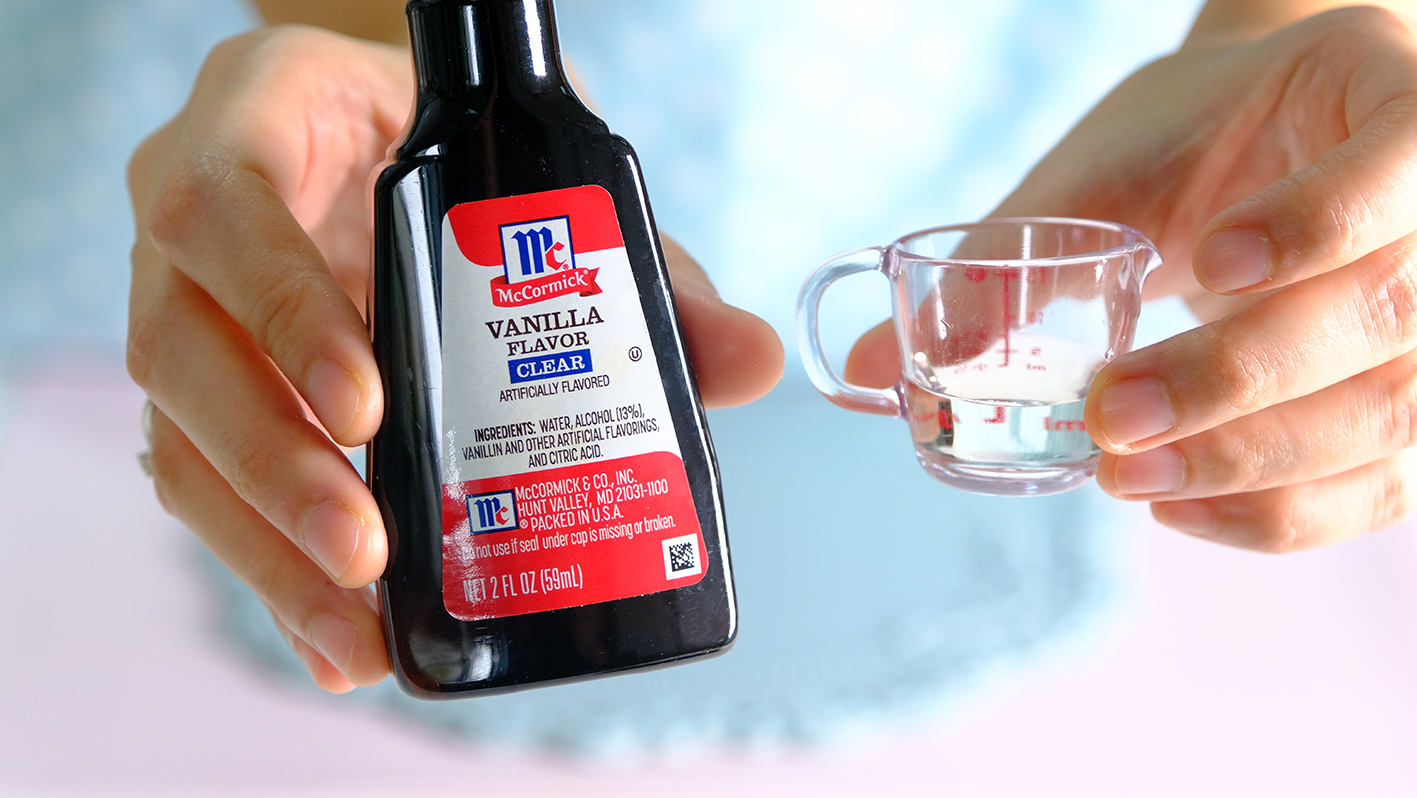
McCormick Clear Vanilla provides a pleasantly sweet, complementary Vanilla taste.
This Artificial Clear Vanilla Flavoured is used to preserve the white color.
You can use real Vanilla Extract but the cake will not be quite as light in colour.

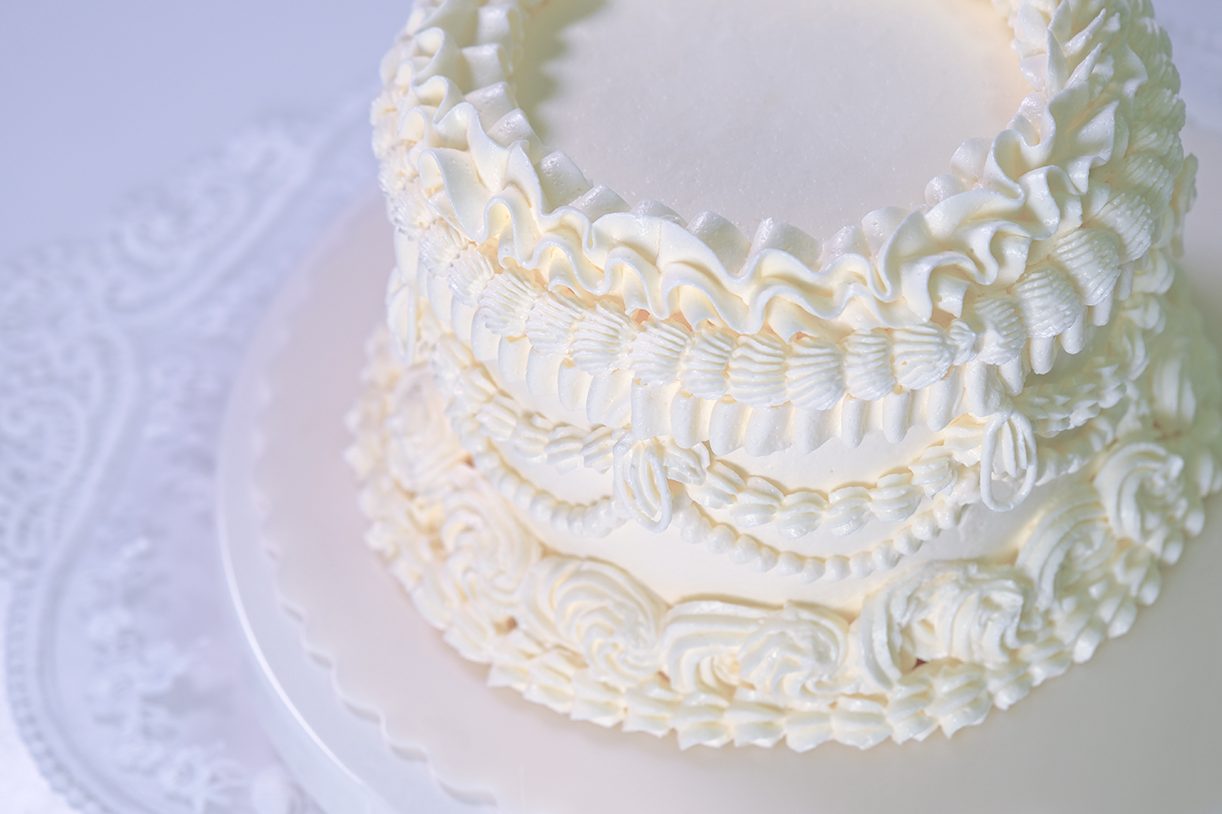
Lambeth Pipe Buttercream Cake is my all-time favorite 🥰

It’s the centuries-old English tradition of “over-piping,” an ornate style of cake decorating.

White cake is a typical choice for tiered Wedding Cakes because of the appearance and texture of the cake.
The idea that white symbolizes purity at a white wedding was invented by the Victorians.

It is also used as the base for brightly colored cakes, such as a rainbow-colored cake; As the food colouring will produce clearer, brighter colors on white cake batter than if the cake has its own color.

The cake is very light, soft and not too sweet ☺️

🤤 so light and yummy

And the creamy buttercream frosting is so fluffy.

🙄 I want another slice

I hope this beautiful heart-warming cake will make you smile from ear to ear 😊
Love you All and Happy Baking!

WATCH HOW TO MAKE WEDDING WHITE CAKE

RECIPE

FLUFFY MOIST WEDDING WHITE CAKE
Yield: One 14 cm diameter round pans (3 layers)

INGREDIENTS
🎂 White Cake
171 g Cake Flour (unbleached)
1 tsp Baking Powder (double acting)
1/4 tsp Baking Soda

1/4 tsp Salt
114 g Whole Milk (room temperature)

1½ tsp Vinegar
27 g Vegetable Oil
1 tsp Clear Vanilla

114 g Full Fat Cream Cheese (softened)

85 g Unsalted Butter (softened)

200 g Caster Sugar

105 g Egg Whites (Approx, 3 Egg Whites at room temperature)

🎂 Meringue Buttercream

140 g Egg Whites (room temperature)

1/4 tsp Salt
2 tbs Caster Sugar
240 g Water
300 g Caster Sugar
340 g Unsalted Butter (softened)
1 tsp Clear Vanilla (optional)

INSTRUCTIONS
🎂 White Cake

  1. Preheat the oven 140°C fan/ 160°C/ Gas Mark 3
  2. Grease three 14 centimeters diameter round pans, adding a circle of parchment paper to the bottom of each pan
  3. Sift all dry ingredients (Cake Flour, Baking Powder, Baking Soda and Salt); Set aside
  4. For the Buttermilk
    Combine Milk and Vinegar, let stand for about 5 minutes
    After 5 minutes, add in the Oil and Vanilla and stir well until evenly mixed; Set aside
  5. In a large mixing bowl, combine the Cream Cheese and Butter and mix at medium speed until smooth
  6. Gradually add the Sugar to the mixing bowl and continue mixing at medium speed for 2-3 minutes
  7. After 3 minutes, reduce speed, add 3 Egg Whites one at a time, mixing until smooth after each addition
  8. Then, alternately add the Flour mixture and the Buttermilk mixture, beginning and ending with the flour mixture (3 additions of the dry mixture, 2 additions of wet)
    * Be careful not to over-mix; Mix the batter just until well combined
  9. Divide the batter between three pans; tap the pan a few times to remove air bubbles
  10. Bake in the preheated 140 degrees C fan oven for 28-30 minutes or until a toothpick inserted into the center comes out clean
  11. Once it’s done, let cool for 5 minutes in the pans; then turn it over and let it cool completely on a cooling rack

🎂 Meringue Buttercream

  1. Cut the Butter into a small cubes and softened at room temperature but not melted, Set aside
  2. In a large mixing bowl, beat the Egg Whites until frothy
    Add the Salt along with 2 tablespoons of Sugar, and beat at MEDIUM SPEED until soft peak; Set aside
  3. Then in a medium saucepan, mix Water and 300 grams of Sugar
    Cook over medium heat, stirring until the Sugar dissolves and bring to a boil
    Once boiling, let it simmer for 3 minutes
    Then slowly pour this Hot Syrup into the Egg Whites mixture; And continue beating until this Meringue is cool to the touch
    * Please be careful when you work with hot sugar syrup as it can cause severe burns!
  4. Once it’s cooled, add softened Butter 1 cubes at a time (the mixture will become runny, it is normal)
    Keep mixing on HIGH SPEED scrape the bowl occasionally to make sure everything is mixed evenly)
    This process will take approximately 5 minutes (if you use a hand mixer, it may take longer for about 10-15 minutes)
  5. When you see the mixture curdling, this is a sign that the Buttercream is almost done; continue mixing, it will come back together and become a smooth buttercream
  6. Once it’s done, switch to the paddle attachment; and beat again on MEDIUM LOW SPEED for another 3-5 minutes
    * This process will help remove air bubbles that form during the beating process, so you will get a silky-smooth texture

NOTES

  1. If stored in the fridge, this cake will last for up to 1 week; however, it will taste at its best for the first 3 days
  2. Serve at room temperature
    Remove from the refrigerator about 1 hours before serving so that it has plenty of time to warm to room temperature for best texture and flavor.

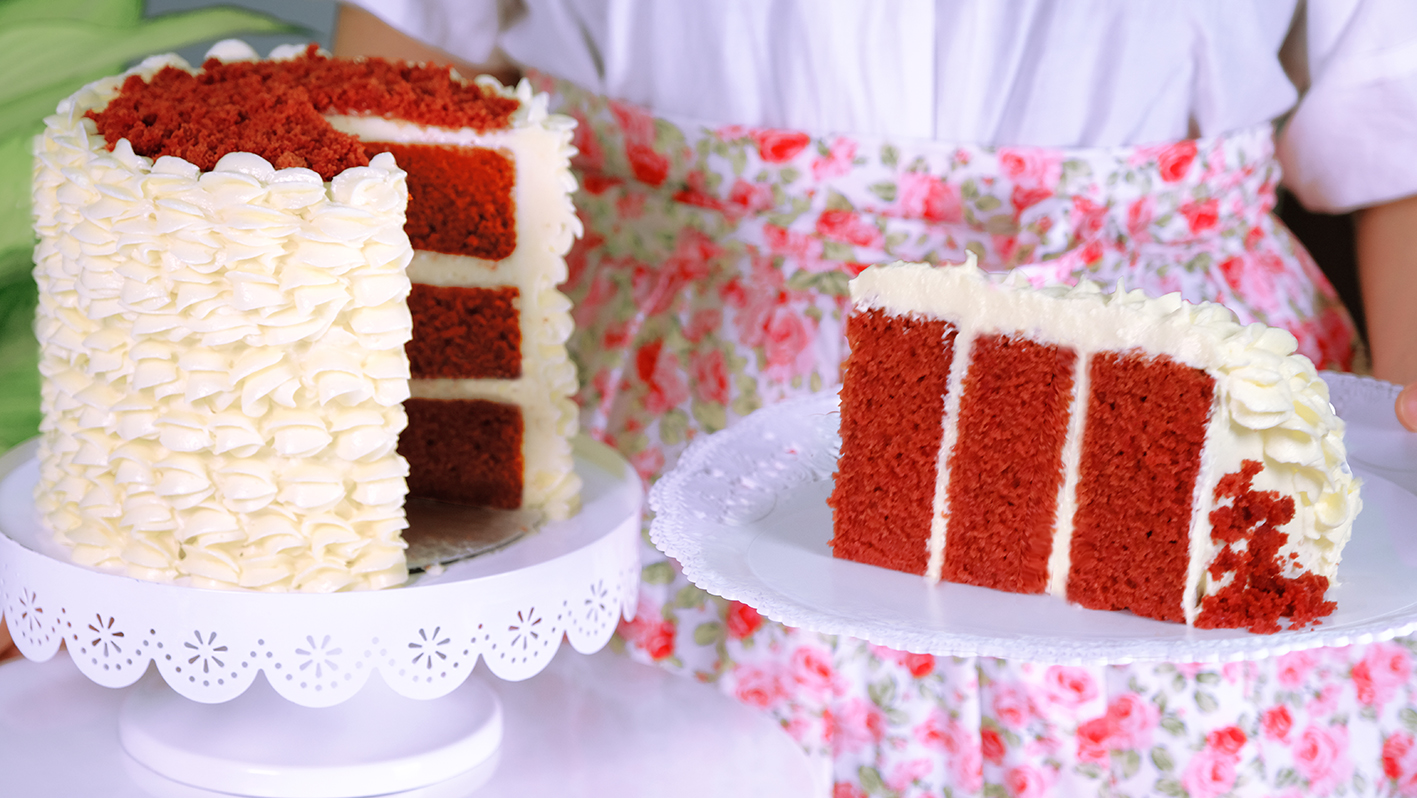
Red Velvet Cake without Artificial Food Colouring

Most red velvet cake recipes use a lot of food coloring.
The Original Red Velvet Cake is actually a chocolate cake, it never contains red coloring.

The reddish color is produced from the use of Raw or Natural Cocoa powder (NOT Dutch Processed) and Brown Sugar in the recipe.

Raw Cacao contains antioxidants called Anthocyanins. When this substance reacts with an acidic ingredient such as Buttermilk or Vinegar, the batter will turn reddish in color after baking.
That is how real Red Velvet Cake is made!

However, in the early 1800s, chocolate factories in the Netherlands began alkalizing Raw Cacao Powder to give them a deeper color, richer taste while reducing acidity, and thus a higher price; that’s what we call Dutch Processed Cocoa.
Nevertheless, the use of Dutch Processed Cocoa tends to produce less or lighter red color than Raw/Natural Cacao.

In terms of appearance, Dutch Processed Cocoa has a deeper chocolate color and taste while Raw Cacao appears lighter in color and has a pleasant citrusy flavor

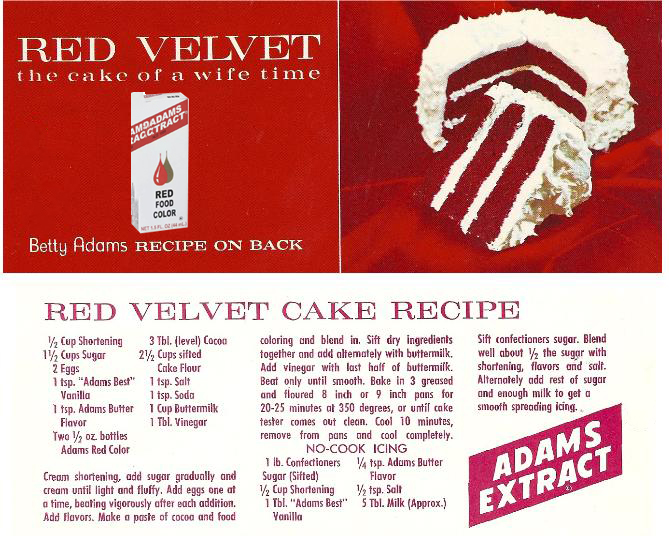
That’s when people started adding RED FOOD COLORING to the Red Velvet Cake recipe to deepen the color (when using dutch processed) and because old-fashioned Red Velvet Cake with Raw Cacao Powder also was considered NOT RED ENOUGH

Adams Extract Recipe Card

Adams Extract is credited with bringing the red velvet cake to kitchens across America during the Great Depression era, by being one of the first to sell red food coloring and other flavor extracts with the use of point-of-sale posters and tear-off recipe cards.

With this No-Dye Red Velvet Layer Cake Recipe, you can make a beautiful Red Velvet Cake without food coloring

Don’t forget to wear gloves to prevent the beets from staining your hands 😉

This cake uses the bright red color of fresh baked beets.
If you are worried about the taste of beets in your cake, I promise you; there is no strange or funny taste at all! ☺️
Beets not only enhance the red colour of the cake but also impart tenderness and a natural sweetness.

Beetroot contains natural red color called Betanin.
This molecule can break down when exposed to oxygen or air over time and even if you stored it in the fridge.

Once they’re broken down, the red beetroots will lose their red colour, instead turning brown.
So make sure you prepare the beets on the same day you are going to make the cake.

The cake batter looks rosy, so beautiful….,🥰 then when it is taken out of the oven it turns dark red 😱 MAGIC !!

This is how the color of the batter looks like before baking

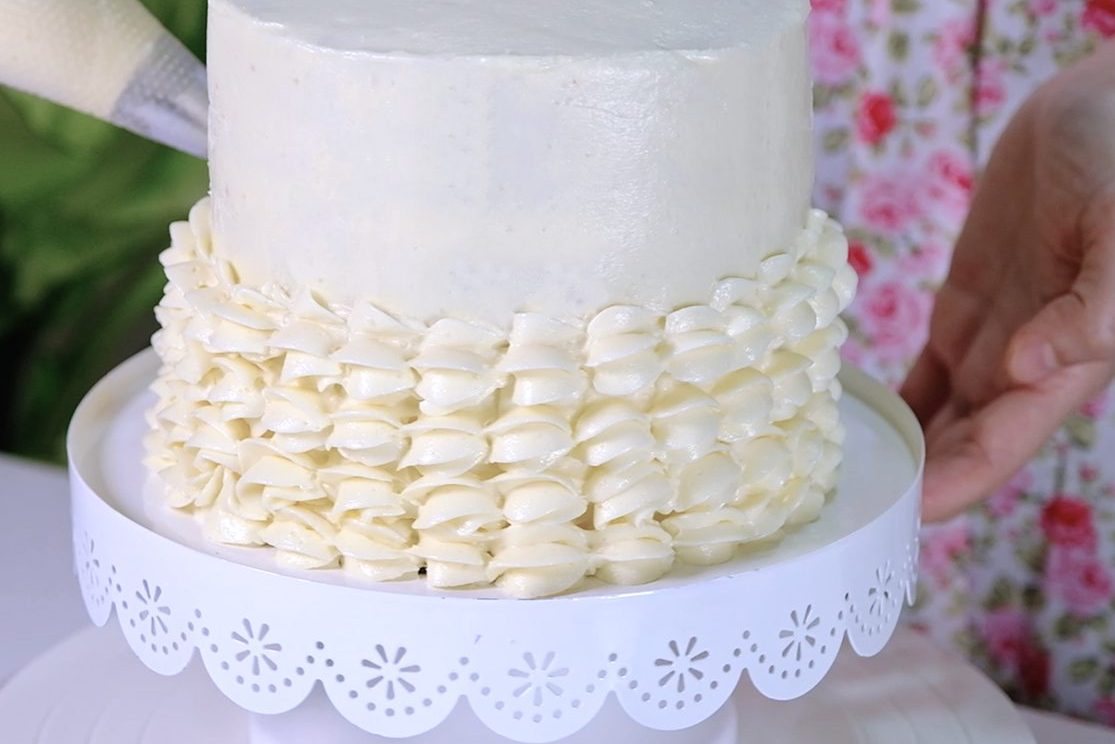
This cake is paired with traditional Ermine Frosting which is very light and fluffy.

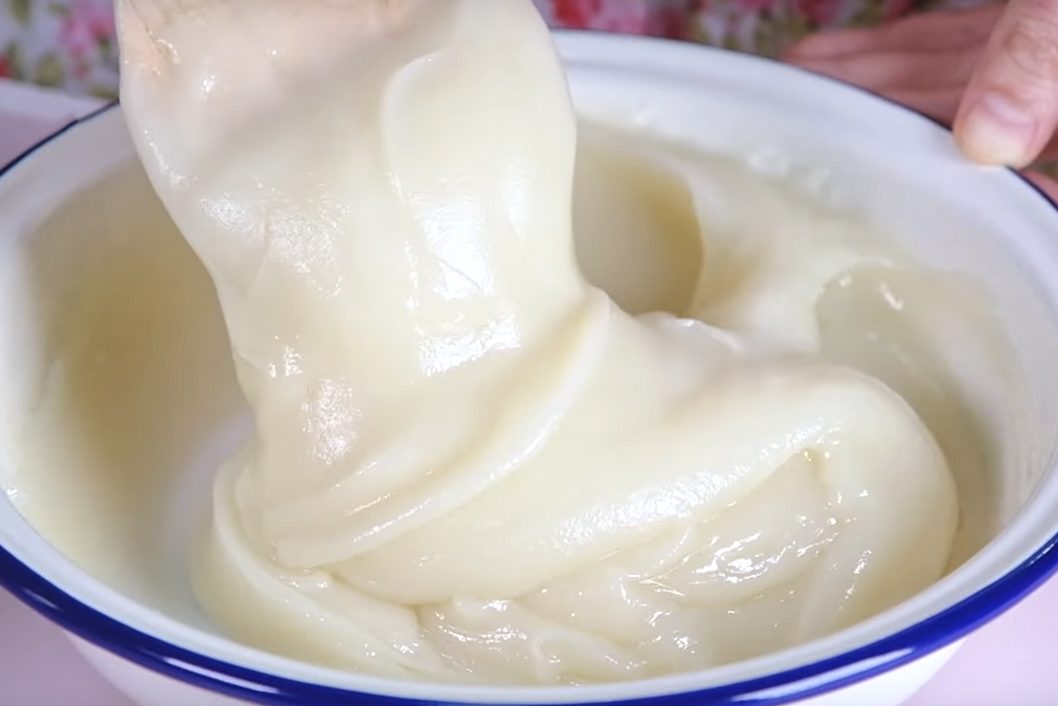
Boiled Milk for the Frosting

Ermine Frosting, also known as Boiled Milk Frosting or Flour Buttercream is the traditional frosting used on a Red Velvet cake, not the Cream Cheese Icing that many of us are familiar with.

An irresistible velvety Ermine Frosting 🤤

So fluffy, silky smooth delicious frosting. If you’re not a fan of overly sweet icing, you will love the milder sweetness yet amazing pipe ability of this frosting.

This frosting can be made a week in advance (store it in airtight container in the fridge); and before using, allow frosting to sit at room temperature for 30 minutes and then re-whip with hand whisk until fluffy.

Deeply moist, earthy and not overly sweet . . .

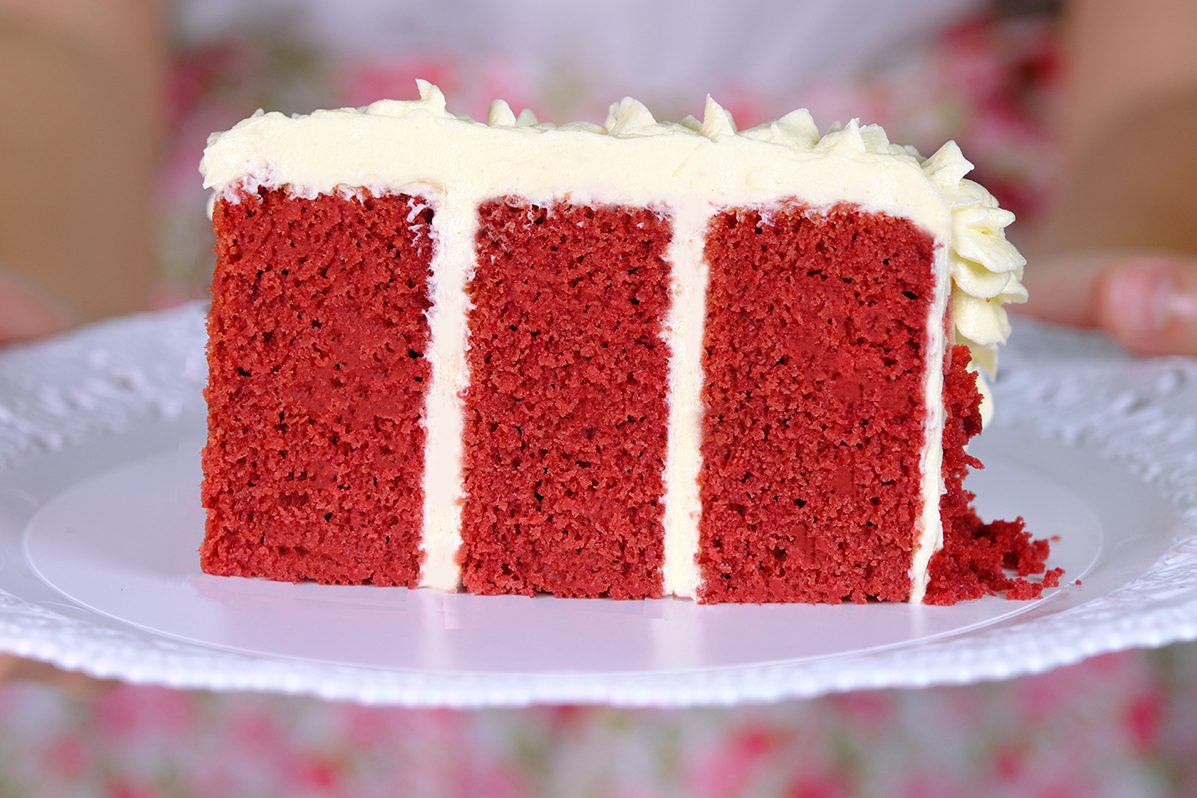
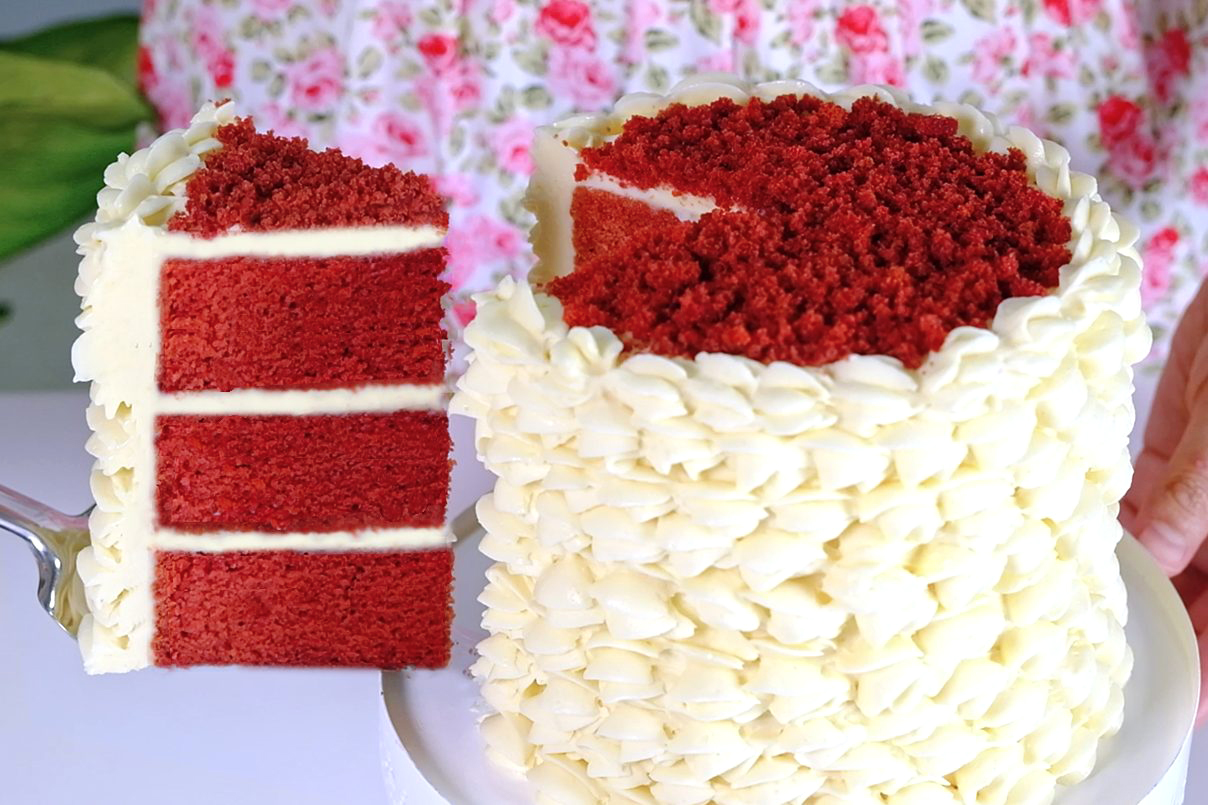
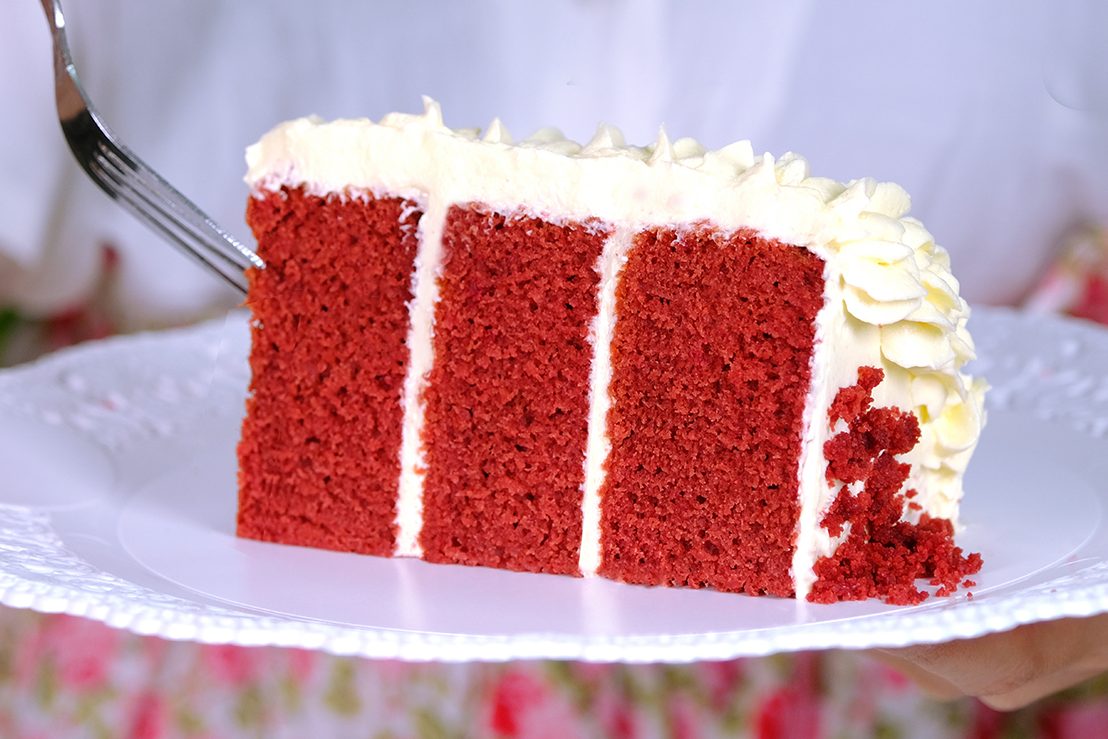
Let’s take a moment to appreciate the sheer beauty of this cake 😚

The word “RED VELVET” describes that the cake will have a red colour with a smooth and soft texture.
“A More Subtle Chocolate Flavor with a Slightly Tanginess“, that’s how I describe the taste of this Red Velvet Cake.

Time to dig in 🤩

With its vibrant red hue and tantalizing Ermine frosting
It’s perfect if you want to bake your way into someone’s heart 😍

I think I need another slice 😅

Once you try it, I’m sure you will fall in love with it! 😍
HAPPY BAKING !

WATCH HOW TO MAKE “NO DYE RED VELVET CAKE”

TIPS FOR SUCCESS (PLEASE READ FIRST):

  • Prepare the beets on the same day you are going to make the cake (DON’T prepare it a day in advance or store roasted beets in the refrigerator, as they will turn brown)
  • Use shallow round sandwich tins to ensure that the cake is not overbaked, causing the color to change
  • Grease and line the bottom of the pan with parchment paper to prevent sticking
  • Preheat the oven before you start (don’t let the batter wait too long)
  • Use Raw Cacao Powder (NOT Dutch Processed) to get the right red colour
  • All ingredients must be at room temperature (including Milk, Eggs and Beet Puree) to get a smoother and more homogeneous batter
  • Sift and stir the dry ingredients first before mixing with the wet ingredients (if the dry ingredients are not mixed well, areas containing concentrated leavening agent in the batter can create holes in the cake)
  • Make sure you are using Baking Powder NOT Soda as a leavening agent or you will get some weird shade of brownish or pinkies gray instead of vibrant red
  • Pour the batter from a position about 15 cm from the pan, so that the excess bubbles can burst
  • Tap the pan a few times on your work surface to remove excess bubbles before baking
  • Resist the urge to peek until your cake is done. Opening the door while you bake will release some of the heat, this can lead to the cake being to damp in the middle or even falling
  • Once it’s baked, let the cake cool completely on a cooling rack before storing or assembling
  • For the frosting
    Prepare the roux starter in advance.
    Make sure that the roux is cool completely before you mix with the butter (you can make it 2 days in advance and store it in the fridge)
    Then before you start making the buttercream, make sure that you take out the roux and butter from the fridge and let sit at room temperature for at least 30 minutes otherwise it’s going to solidify your butter

RECIPE

RED VELVET CAKE
Yield: One 15 cm (15 cm Tall) Round Cake ~ 3 Layers

INGREDIENTS
🪴 Red Velvet Cake
210 g Beet Puree (room temp.)
120 g Whole Milk (room temp.)
39 g Apple Cider Vinegar
300 g Cake Flour (Unbleached)
1 tbs Baking Powder (Double Act.)
21 g Raw Cacao Powder (NOT Dutch)
1/2 tsp Salt
75 g Eggs (room temp.)
300 g Caster Sugar
135 g Vegetable Oil


🪴 Ermine Frosting
82 g All-Purpose Flour (Unbleached)
300 g Granulated/ Caster Sugar
360 g Whole Milk (room temp.)
340 g Unsalted Butter (room temp.)
1 ½ tsp Vanilla Extract (optional)
1/8 tsp Salt

INSTRUCTIONS
🪴 Preparation

  1. To make Beets Puree
    Wash the beets under running water to clean it of any dirt (pat dry)
    Apply some oil and wrap tightly in foil, then bake in the preheated 200°C for 1 hour or until the beets are really soft
    Once its cooked, peel off the skin
    Using a high-speed blender or food processor, puree until smooth (you can add 2 tablespoons of water to help the blending process)
    Set aside 210 grams for the cake and let it cool completely
  2. Lightly grease the pans with oil and place parchment paper at the bottom of each pan
  3. Preheat the oven to 160°C fan/ 180°C/ gas mark 4
  4. Make sure all ingredients including Milk, Eggs and Beet Puree are at room temperature

🪴 Red Velvet Cake

  1. To make the Buttermilk
    Combine Milk with Apple Cider Vinegar, let it sit for 5 minutes to curdle and thicken before using
  2. Sift the dry ingredients (Cake Flour, Raw Cacao Powder and Baking Powder)
    After sifting, stir with a whisk to ensure everything is mixed evenly
  3. In a large mixing bowl, combine 210 grams Beets Puree along with Salt, Eggs, Sugar, Oil and Buttermilk
    Whisk until all the sugar completely dissolved
  4. Add the sifted dry ingredients;
    And whisk again until the batter really smooth
    Scrape the sides and bottom of the bowl to ensure everything is evenly mixed
  5. Divide the batter evenly between the pans
    Slowly pour the batter from a position about 15 cm from the pan, so that the excess bubbles can burst
  6. Using a skewer make this circular motion to flatten the batter and break the large bubbles
  7. Tap the pan to remove excess bubbles
  8. Then immediately bake in the preheated 160°C fan/ 180°C/ gas mark 4 on the middle rack for 30-35 Minutes
    * Resist the urge to peek until your cake is done. Opening the door while you bake will release some of the heat, this can lead to the cake being to damp in the middle or even falling
  9. Once it’s done, let the cake cool in the pan for about 5 minutes; then flip onto a cooling rack to cool completely before storing or assembling

🪴 Ermine Frosting

  1. Prepare the Roux Starter
    In a non-stick pan, combine Flour and Sugar
  2. Cook over medium heat, let the flour toast for about 2 minutes (stir constantly so that the bottom doesn’t burn)
  3. Once the flour has been toasting, you can start adding the milk (slowly pour the milk and stir continuously until smooth, make sure there are no lumps left in the corners and bottom of the pan)
  4. Once the mixture is completely smooth, continue cook over medium high heat;
    the mixture will gradually thicken, resembling a custard
  5. Once it’s start to bubble gently, remove from the heat; strain through a fine-mesh sieve to get rid of any lumps
  6. Place a piece of plastic wrap directly on the surface to prevent skin forming
  7. Store the Roux in the fridge for at least 1 hour to chill
    * Please note; make sure that the roux is cool completely before you mix with the butter
  8. Once it’s cooled, take the Roux Starter and Butter out from the fridge and let sit at room temperature for at least 30 minutes
  9. After 30 minutes
    In a mixing bowl, beat room temperature Butter on medium high speed for 3 minutes until pale and creamy
  10. Add Vanilla and Salt, mix well
  11. Add the room temperature Roux in 4 batches, and beat again on medium speed for another 5 minutes until very smooth and pale in colour
    *Don’t forget to occasionally scrape down the sides and bottom of the bowl to make sure everything is mixed well

🪴 Assembly the Cake

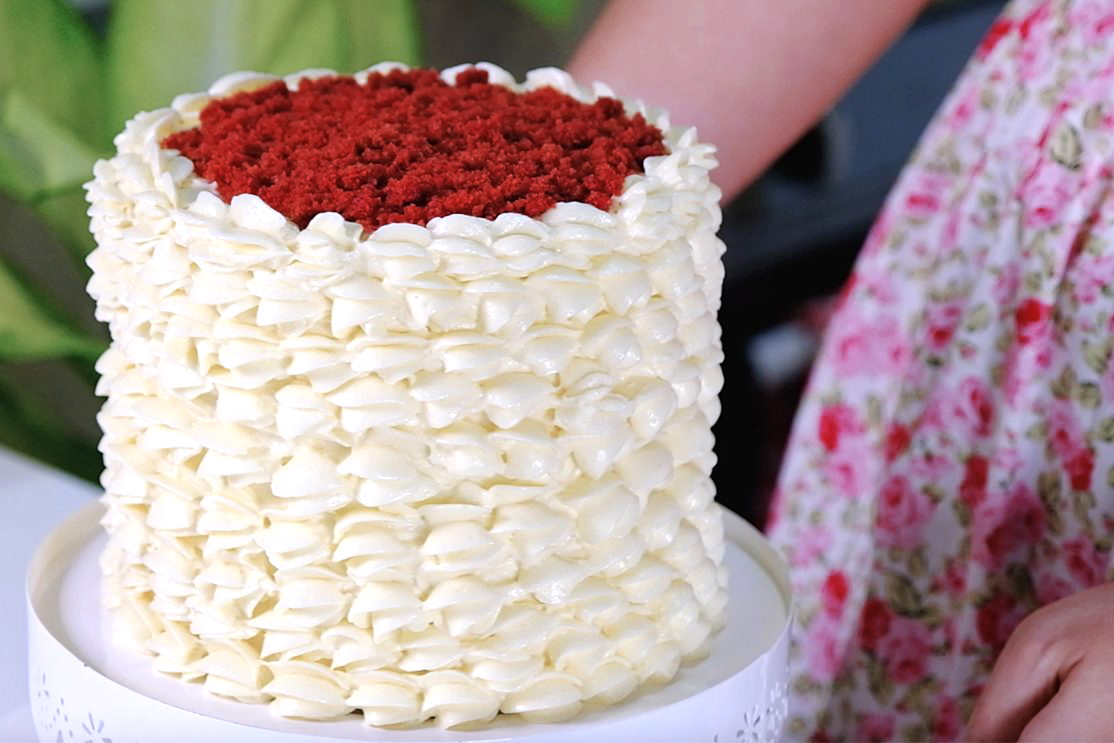
  1. Trim the top of the cake to make sure the layers is nice and flat (don’t throw away the top, you can crush them in a food processor for garnish)
  2. Place the first layer on a cake board
  3. Pipe 1 cm thick frosting on top
  4. Add the second layer of cake, repeat the same process with the remaining layer (make sure everything is even and straight)
  5. Once it’s done place the layered cake in the fridge for about 30 minutes to let the filling harden, so the top layer does not sliding around
  6. Then for the crumb coat; apply just a thin layer of frosting to the top and the sides of the cake before you do the swirls finish on the outside (it doesn’t have to be perfect)
  7. Chill the crumb coated cake for about 20 minutes
  8. After 20 minutes, using 1 M tip pipe the swirls around the cake and spread some garnish on the top


NOTES

  1. This cake will stay fresh at room temperature for up to 2 days; unless if you are living in hot or humid conditions, I suggest that you store it in the fridge
  2. This cake can be refrigerate for up to 1 week
  3. Ermine frosting can be made a week in advance Store it in airtight container in the fridge; Before using, allow frosting to sit at room temperature for 30 minutes and then re-whip with hand whisk until fluffy

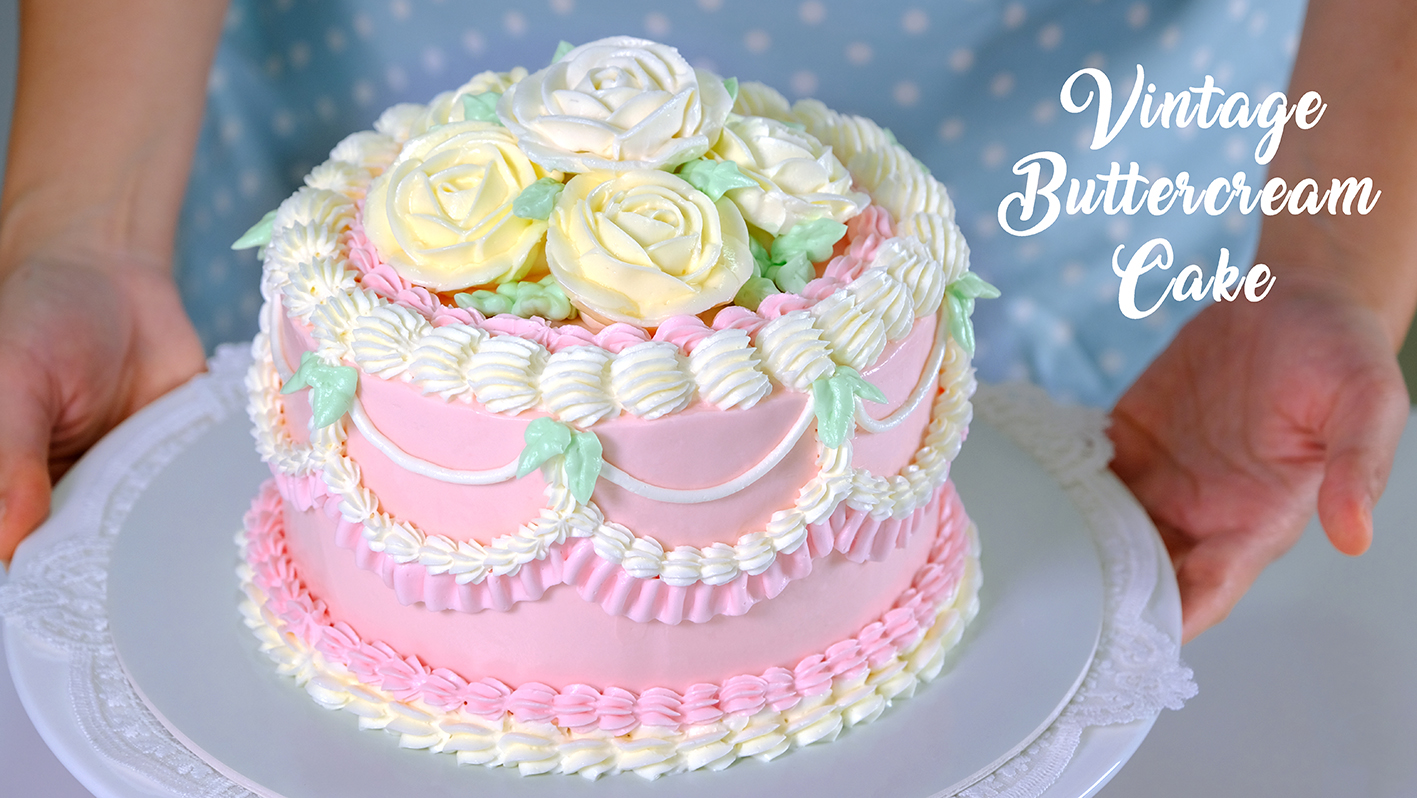
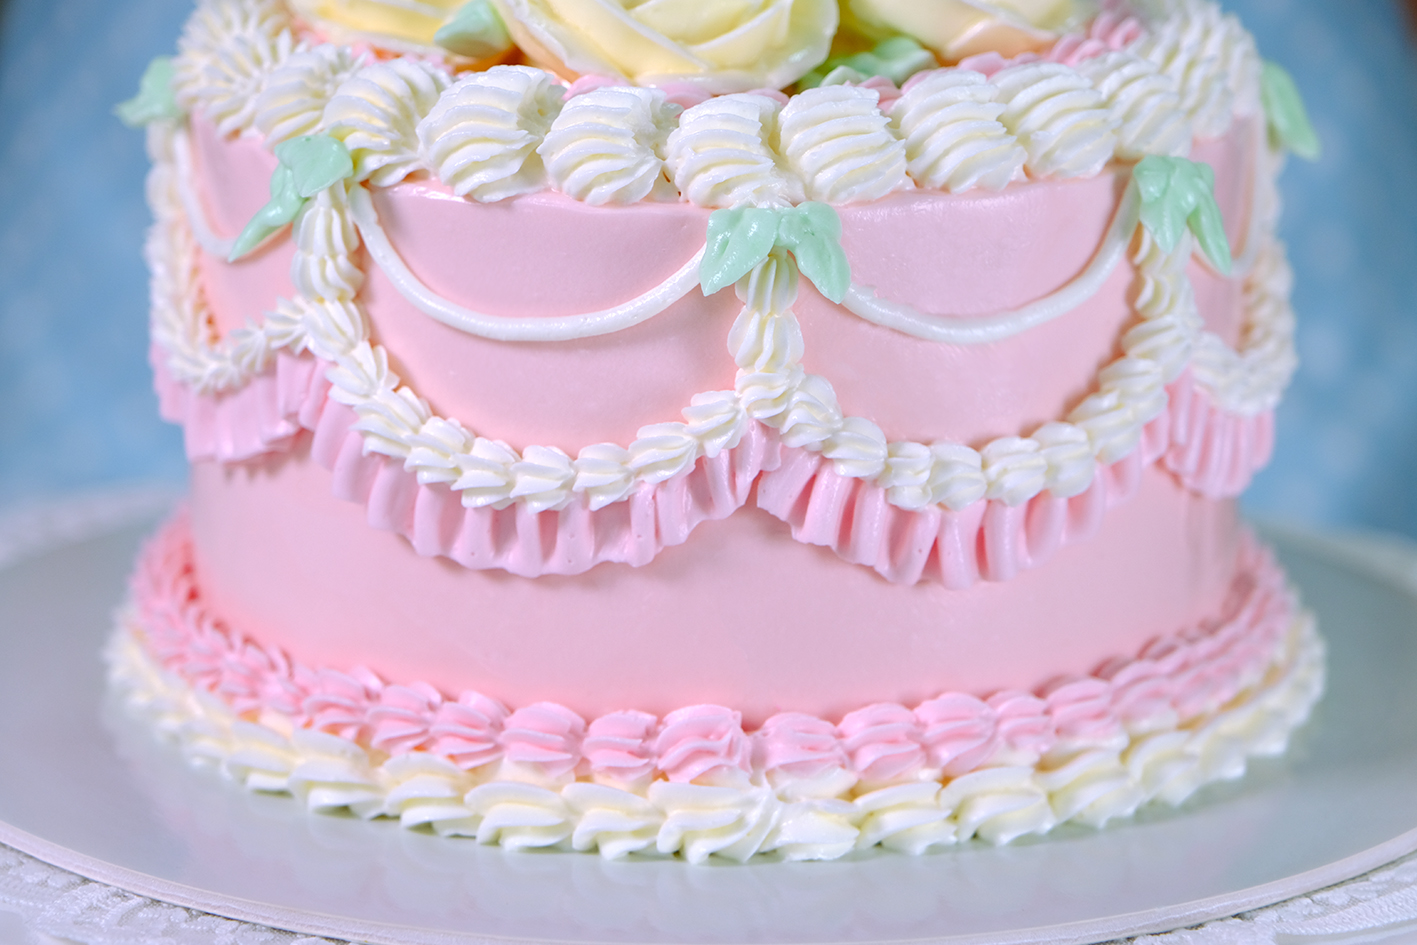
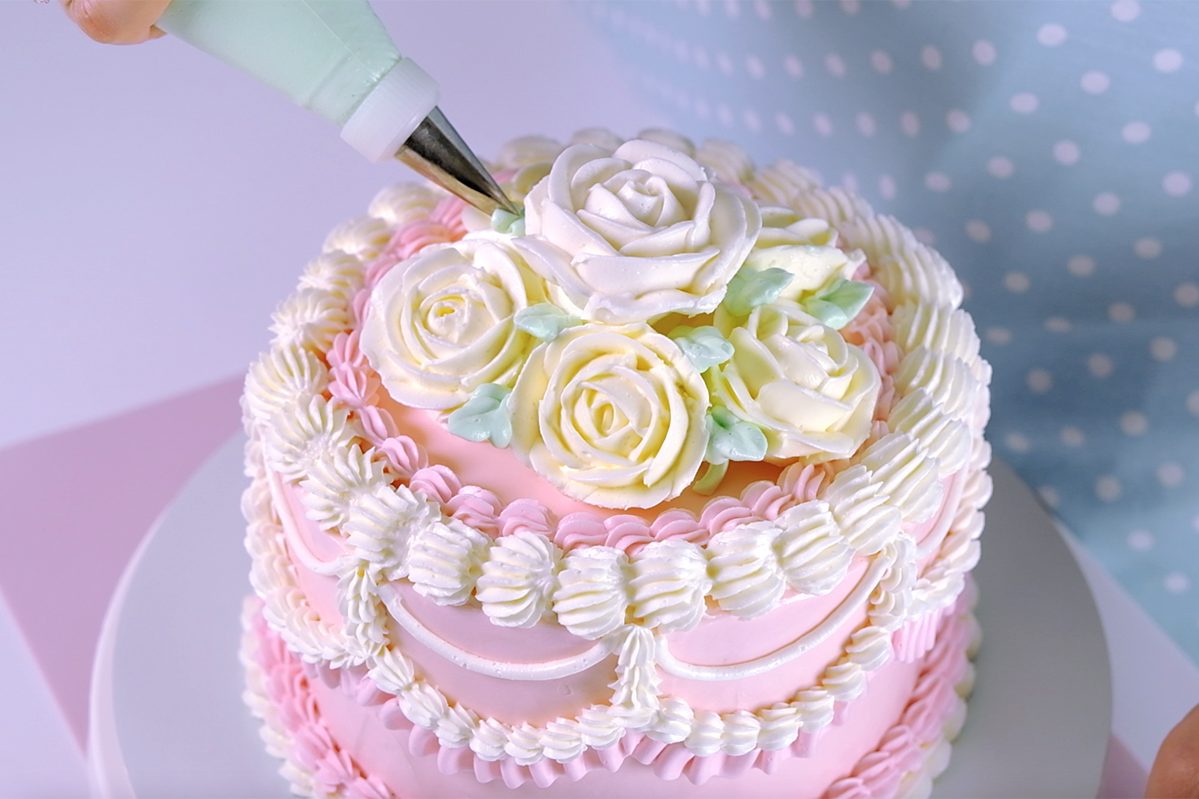
Vintage Buttercream Cake (with Piping Roses Technique)

My love for buttercream cakes goes back to my very early childhood.
I still remember my fifth birthday when my Mum presented me with a lovely Vanilla Buttercream Cake with frills, buttercream flowers and farm animal theme decorations on top.

Kitschy, gaudy, and ornate; layers of buttercream frosting, pastel colours, lace and swirls 🥰

From that point, Vintage Buttercream Cake has become of the cake style that I truly love; my birthday cake was the highlight of my year 😅.
I love looking at them, smelling them, eating them and most importantly now I can make it 😊

I have always cared about how cake looks just as much as how it tastes 🥲

Before you start making any of this recipes, I recommended that you carefully read through my top tips (or watch my videos) for baking the perfect sponge cake and making the buttercream.

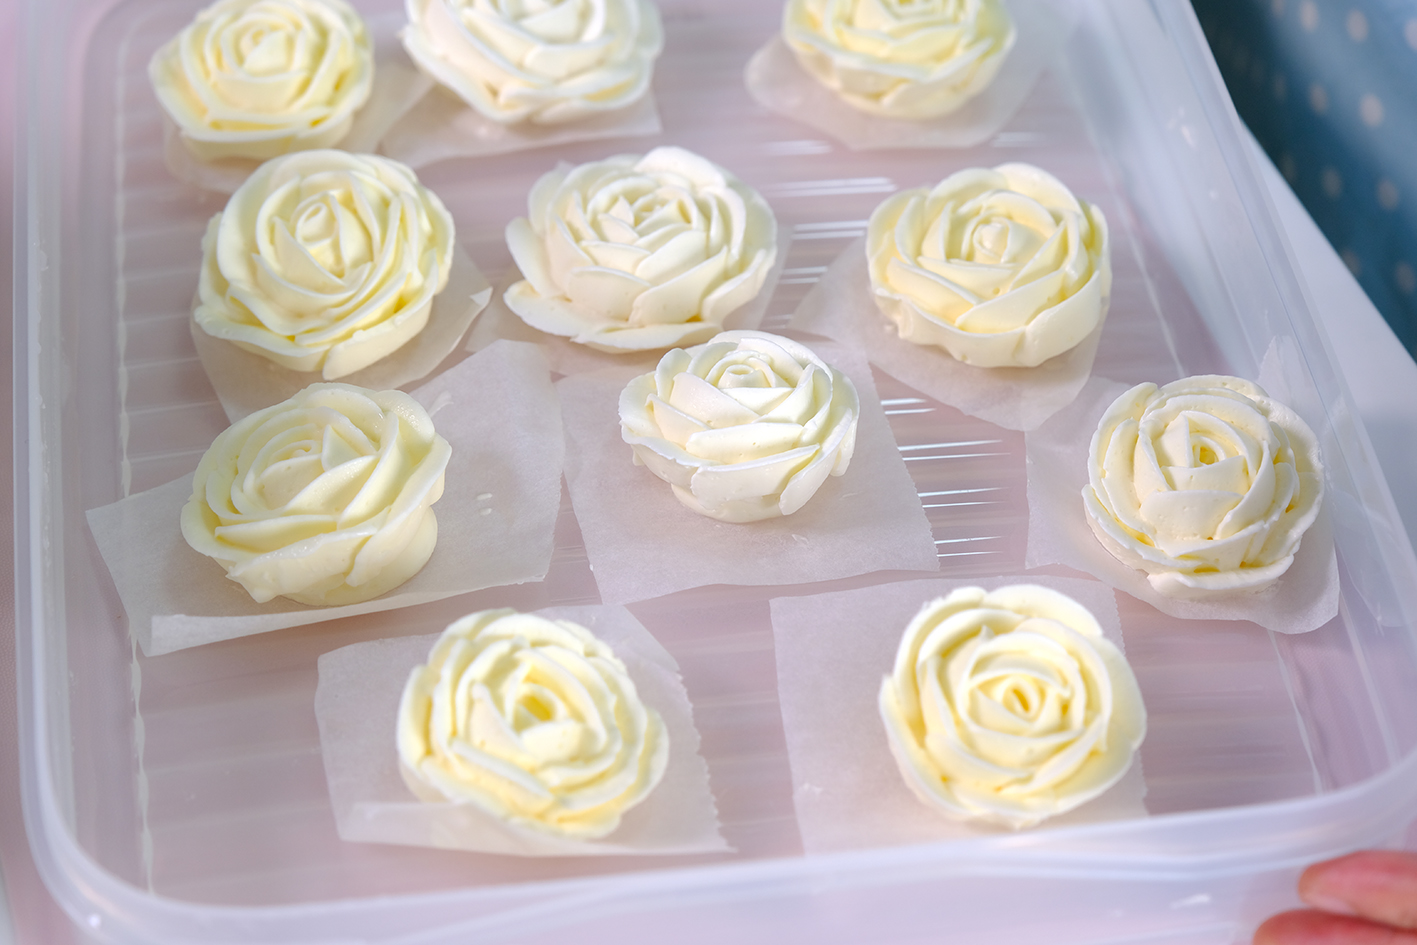
As for the decorations, buttercream flowers elevate any dessert and making them is much easier than you think

If you follow the simple advice given in the recipe, you should avoid the dissapointment when making this cake.

The most important things to have are the right piping tips, buttercream that’s the correct consistency and a little patience

If you’ve never piped with buttercream before, doing some practicing can help!
You can pipe right onto a cake board for practice and then scrape it off and reuse the buttercream.

Everything might seem difficult at first, but once you perfect an action, it will seem like you can do it easily (kindly find the completed instructions in the video).

Here I’m using my “Fluffy Vanilla Sponge Cake” and “Grit Free, Less Sweet American Buttercream”

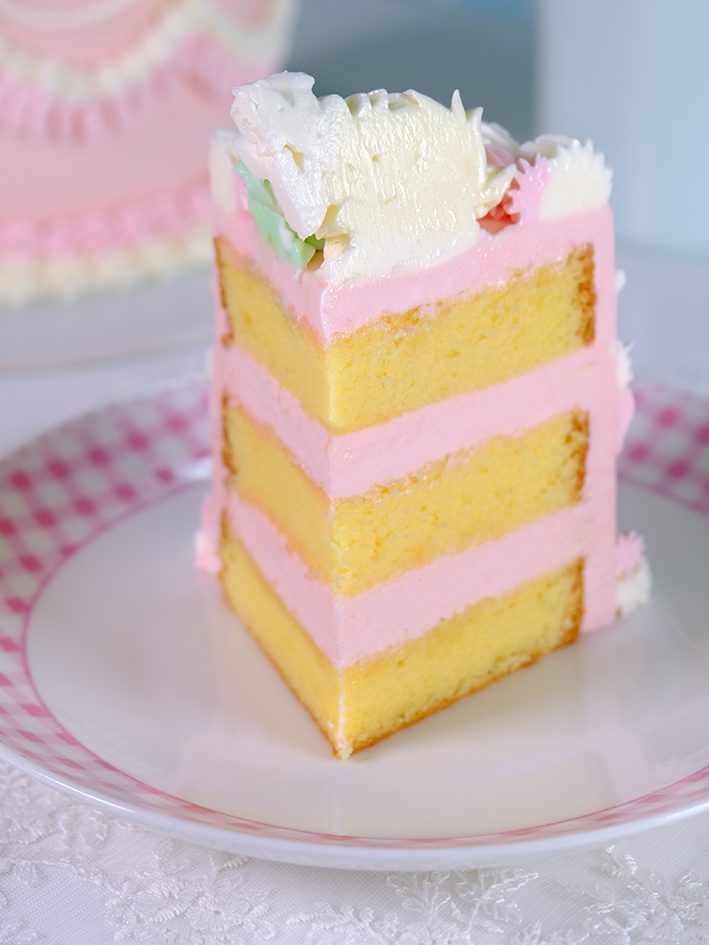
This fluffy sponge cake is not too sweet, light and stays moist even if stored in the refrigerator for several days. It also goes well with a variety of fillings.

The buttercream is super smooth that pipes like a dream, doesn’t crust over.
You can find the complete recipes in the link below.

If you’re looking for a slice of cream cake with old-school buttercream, this is a recipe you must try! 😍

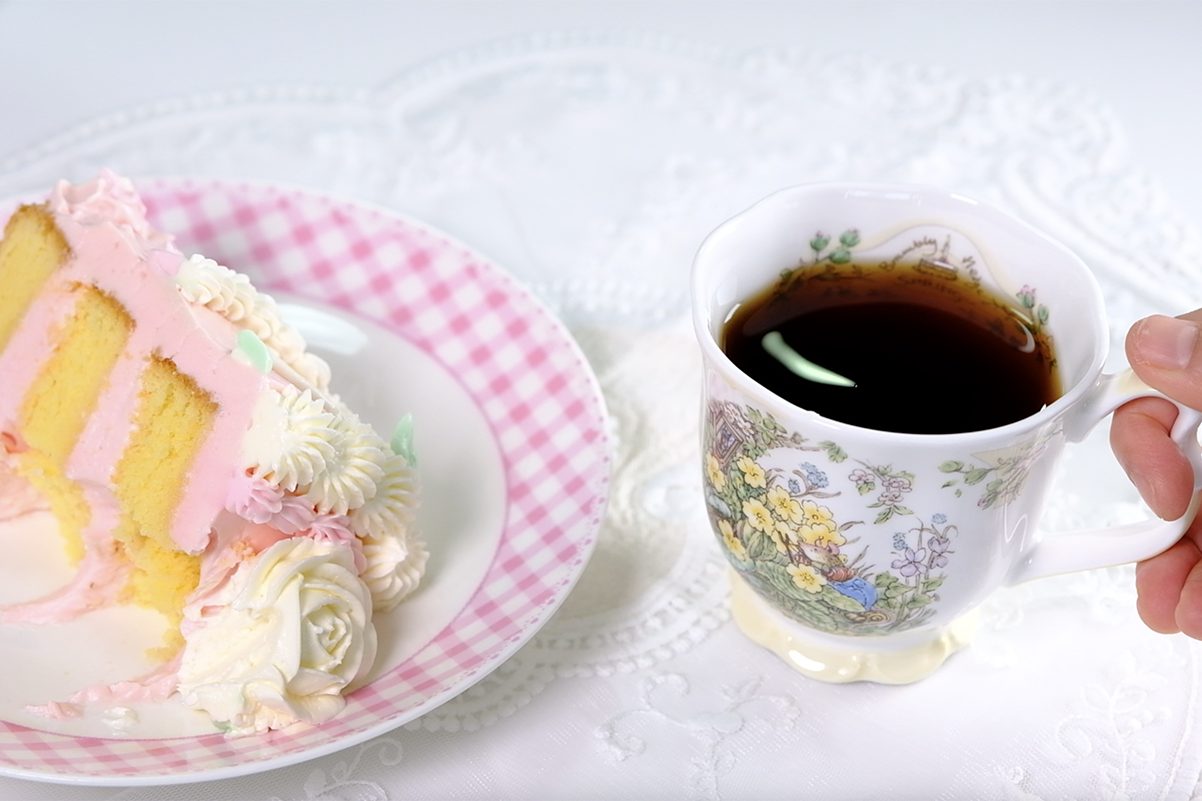
Perfect with a cup of coffee 😉

Even though trends come and go in this day and age, there’s always something timeless about the joy that comes from childhood memories.

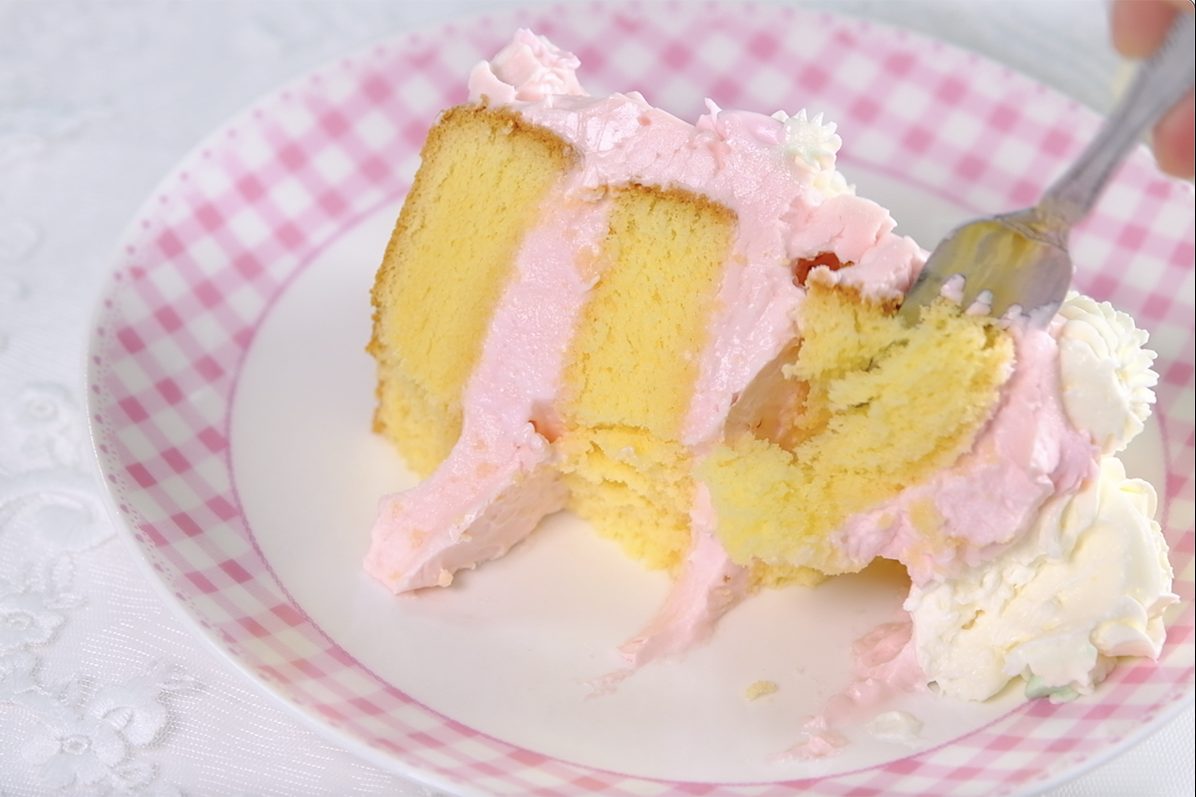
Super moist …😘

And while we’re at it, why not enjoy a fun trip down memory lane with this retro cake.

Creamy …🤤
It always makes me happy … ☺️😚

I hope you will love and appreciate the beauty of this Vintage Buttercream Cakes as much as I do 🤗

Love you All and Happy Decorating 🤗

WATCH HOW TO MAKE “Vintage Buttercream Cake (with Piping Roses Technique)”

RECIPE

VINTAGE BUTTERCREAM CAKE
Yield: One 7-Inch, 12 cm high Cake (3 layers)

❄️ Ingredients

One 7-Inch Fluffy Vanilla Sponge Cake http://bembumkitchen.home.blog/2024/05/08/fluffy-moist-vanilla-sponge-cake/

5 Cups Grit Free-Less Sweet American Buttercream http://bembumkitchen.home.blog/2024/05/17/grit-free-less-sweet-american-buttercream/

Food Gel Colouring (Yellow, Soft Pink, Green)
Sugar Syrup (mix 100g hot boiling water and 100g Caster Sugar)

❄️ Instructions
Kindly watch the video for completed instructions

NOTES

  • Store the cake in the fridge if not serving on the same day; Always serve at room temperature; Keep away from heat or direct sunlight.
  • The cake tastes best within the first 3 days of baking, but will last for up to one week if stored in the fridge.

Stabilized Italian Buttercream

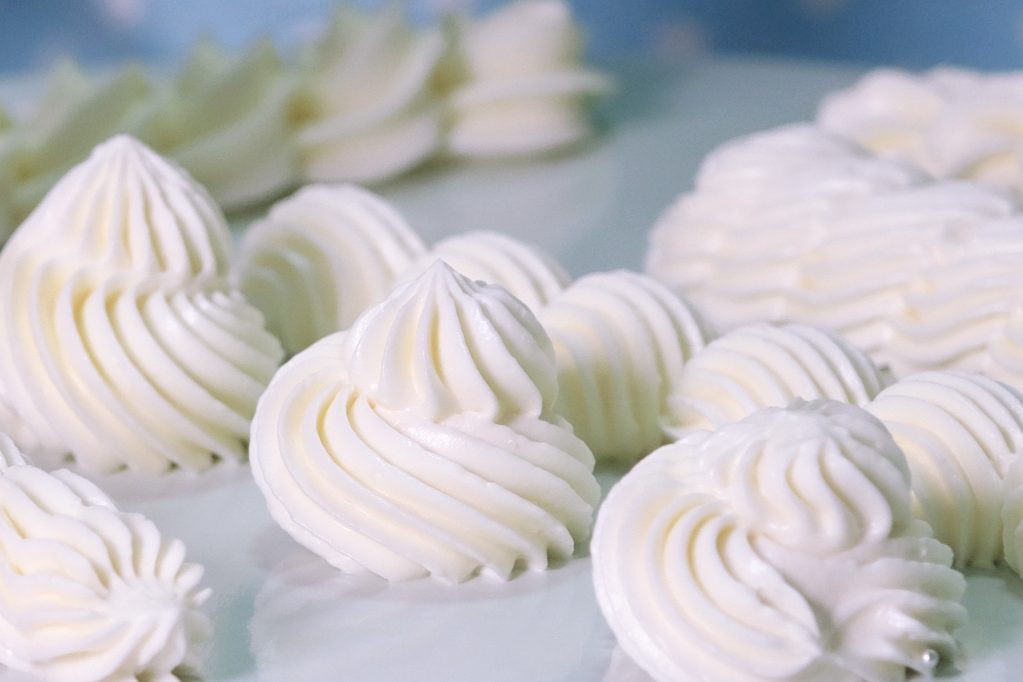
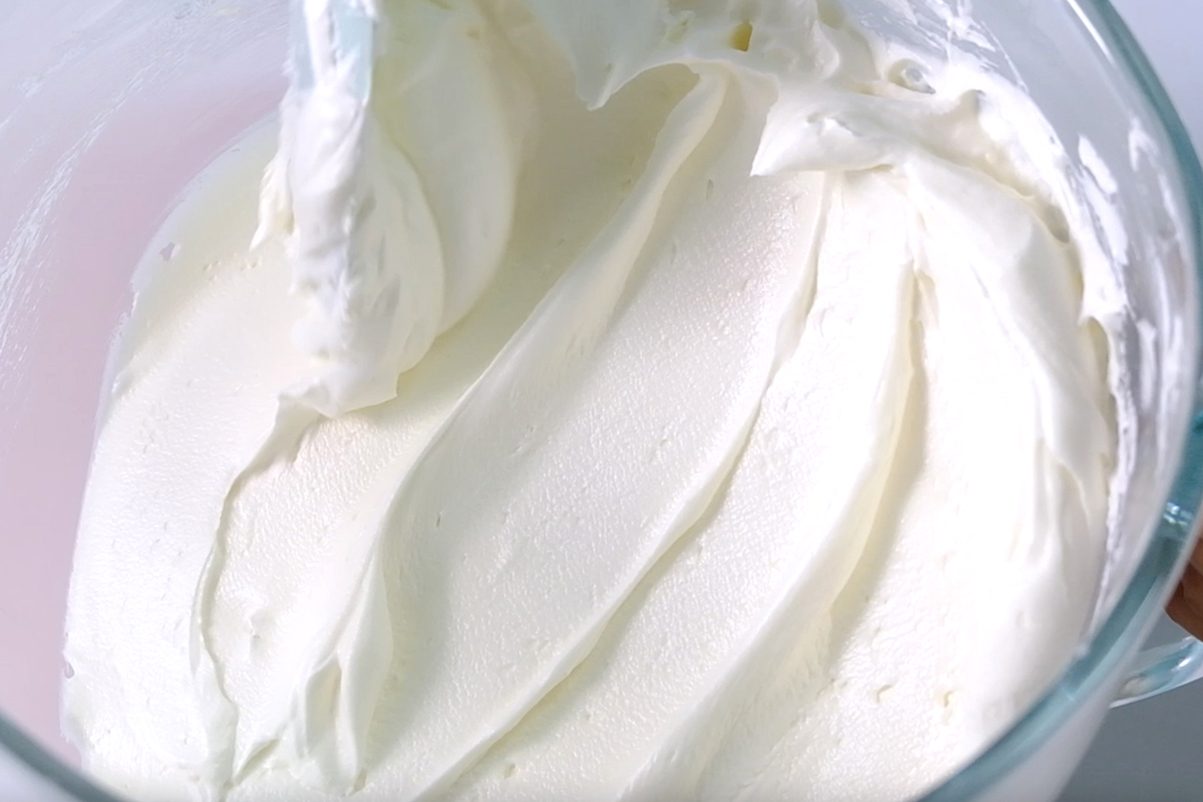
Minimal sweetness, light and fluffy and a dream to work with.
Compared to regular recipe, this Italian Buttercream recipe is more stable, and this is probably the silkiest, smoothest buttercream recipe that I’ve ever had.

In this recipe, the sugar syrup is going to cook the meringue, setting the proteins in the egg whites and creating a stable base for the buttercream.

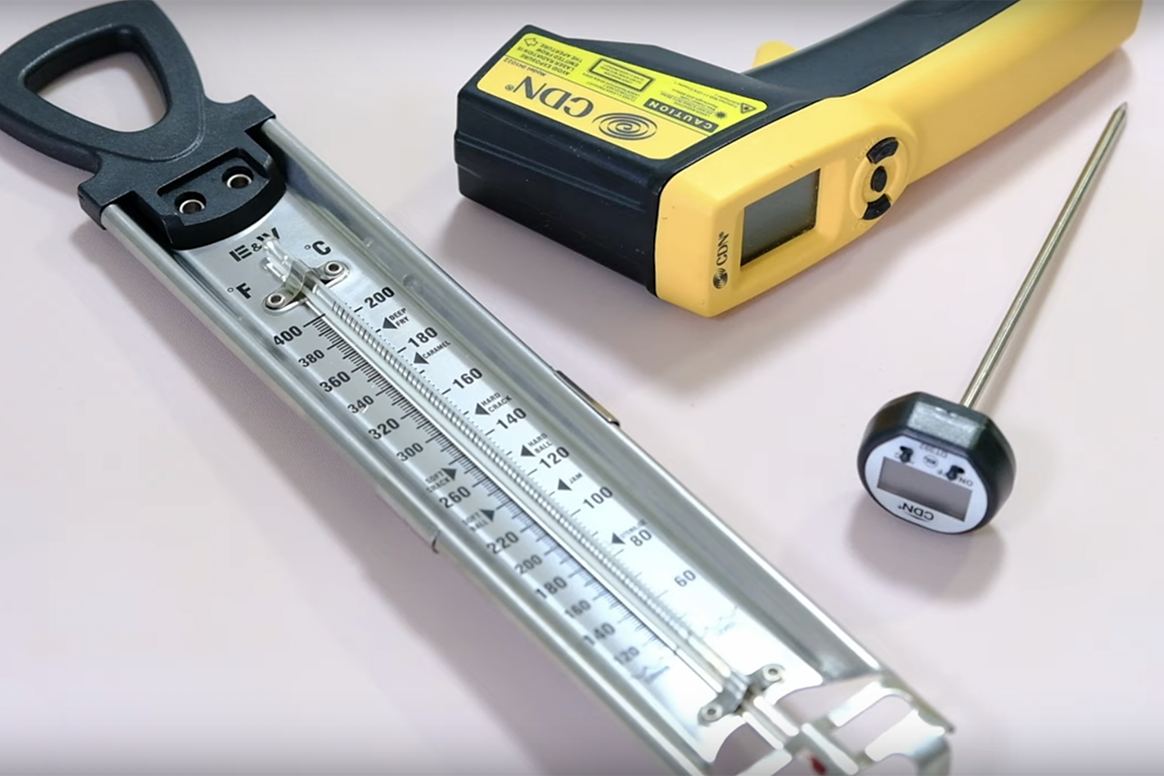
You will need an Instant Read Thermometer or a Candy Thermometer to make the sugar syrup

And for the fat, I am using a mixture of Butter and High Ratio Shortening.

A combination of sugar syrup and Shortening creates a super smooth and stable buttercream.

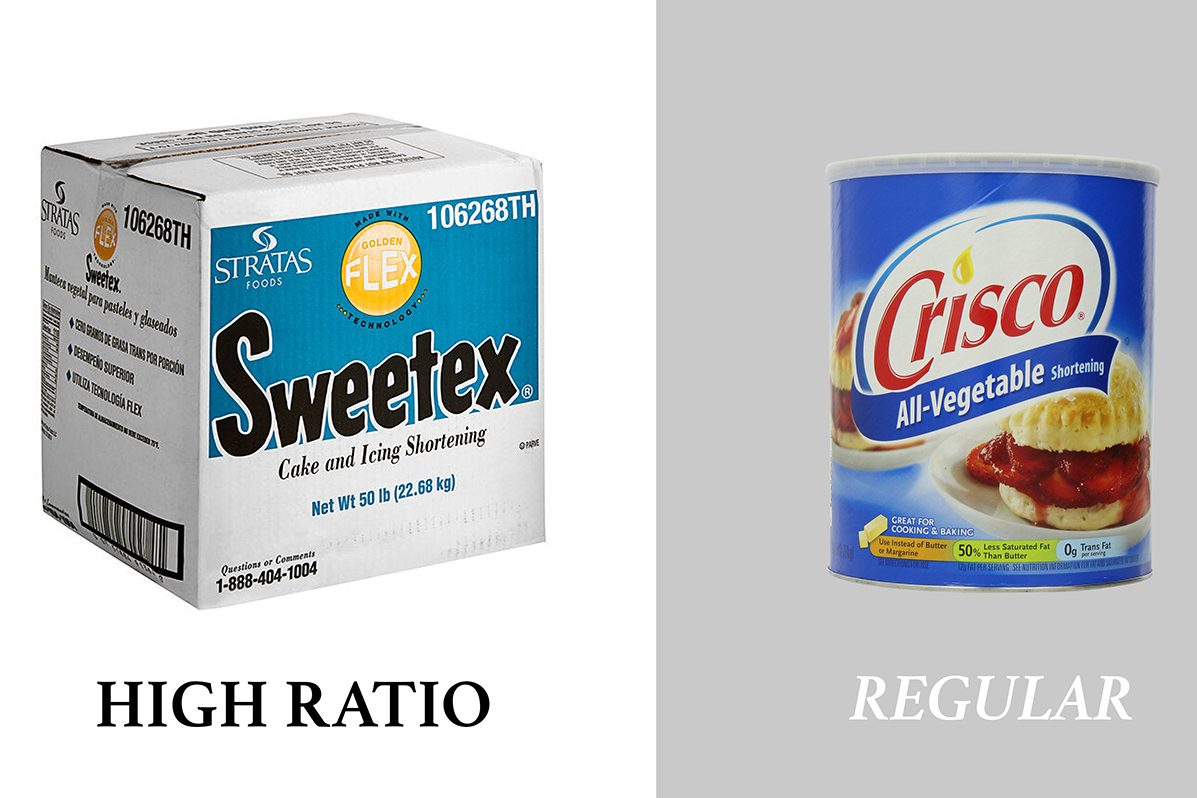
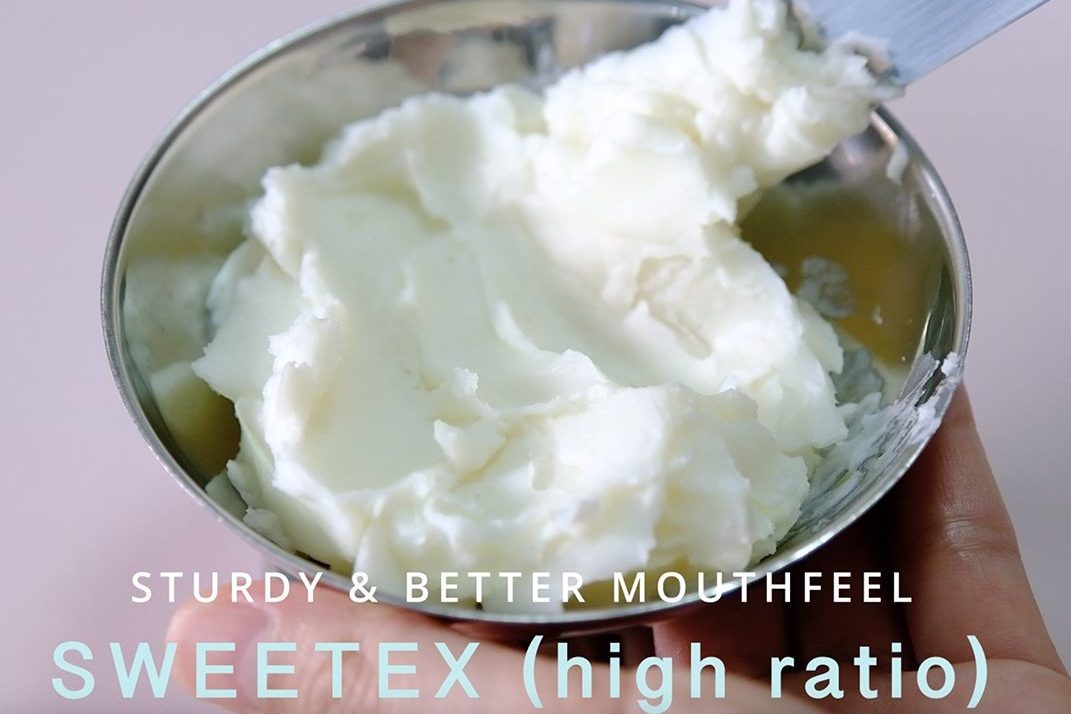
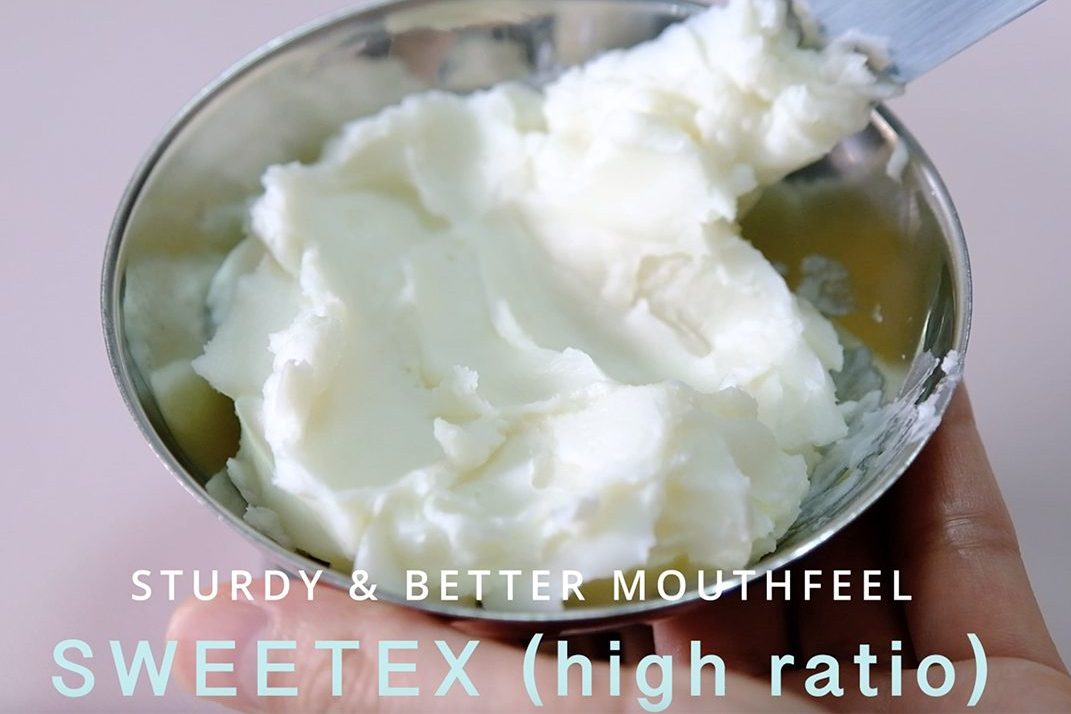
Be sure to use a Hi-Ratio Shortening like Sweetex Brand 😌
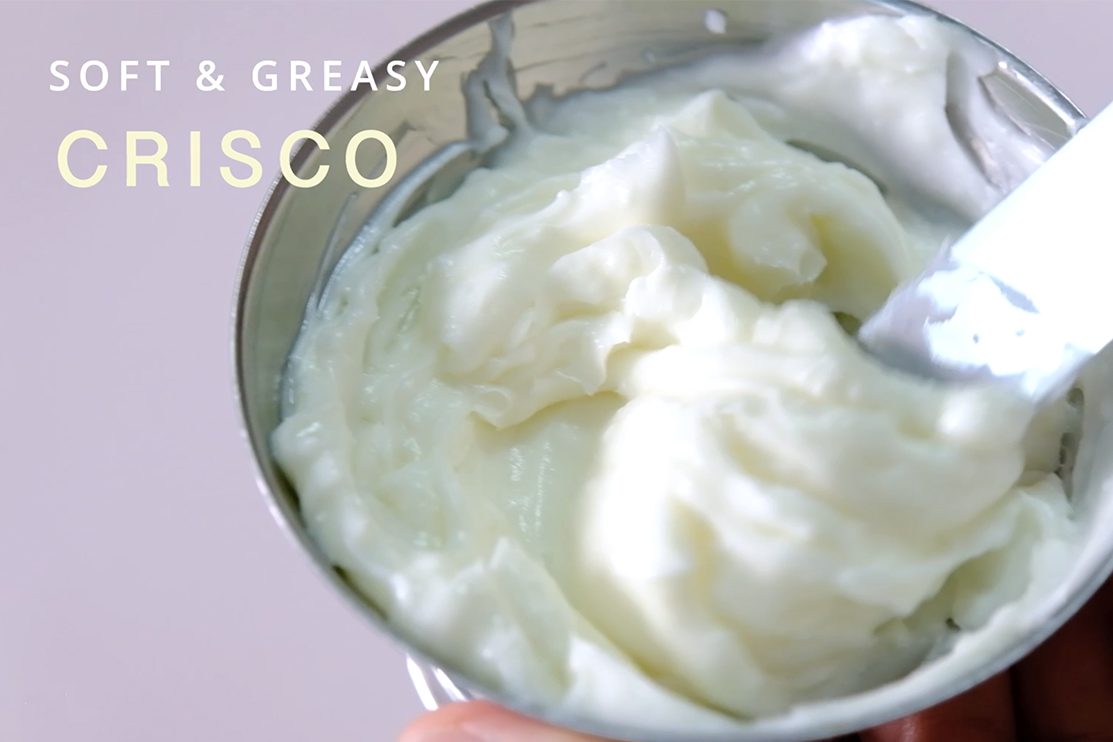
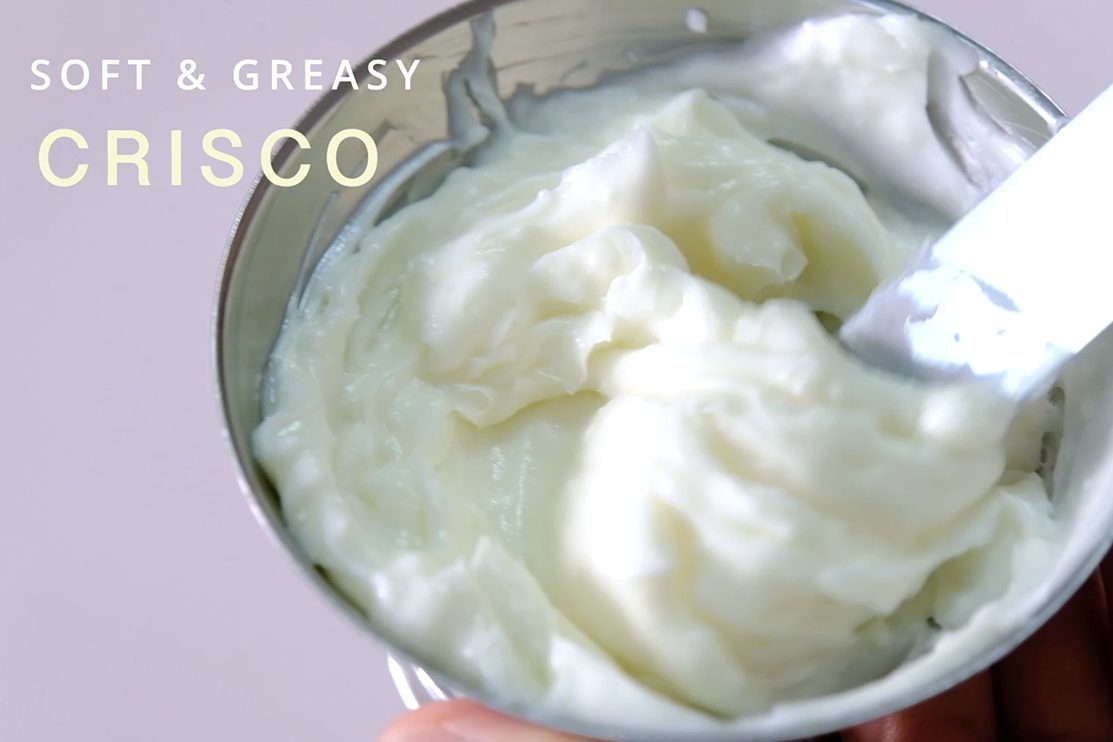
Please AVOID this kind of Shortening 🥲

Unlike regular shortening (CRISCO brand) which is less sturdy and taste greasy.

👍

High-Ratio shortening (SWEETEX brand) has a better mouth feel, smoother and holds better shape.

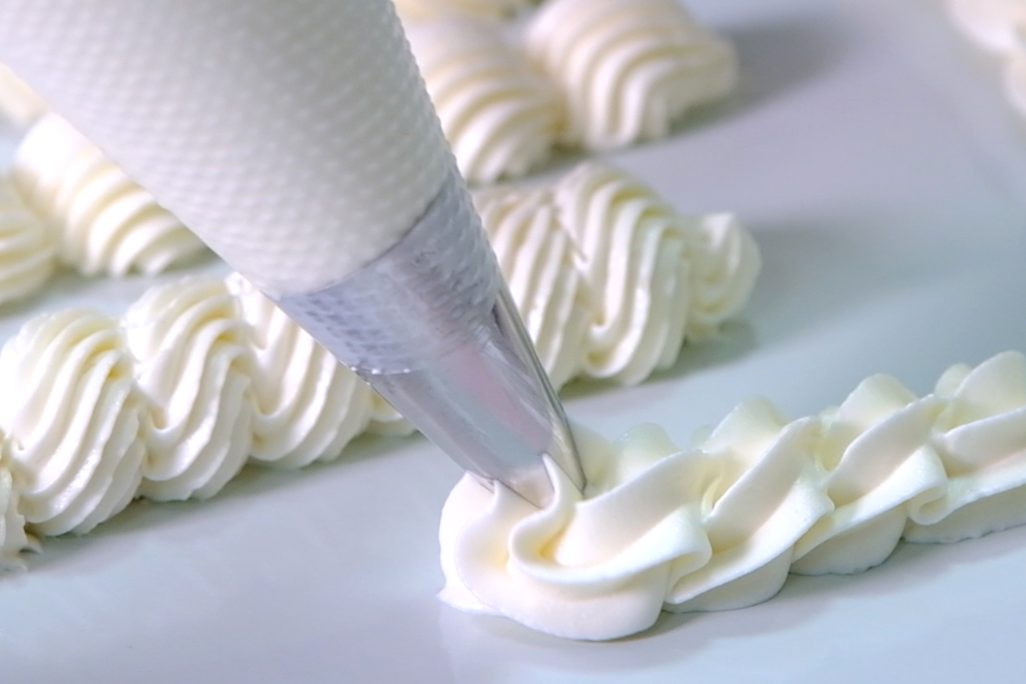
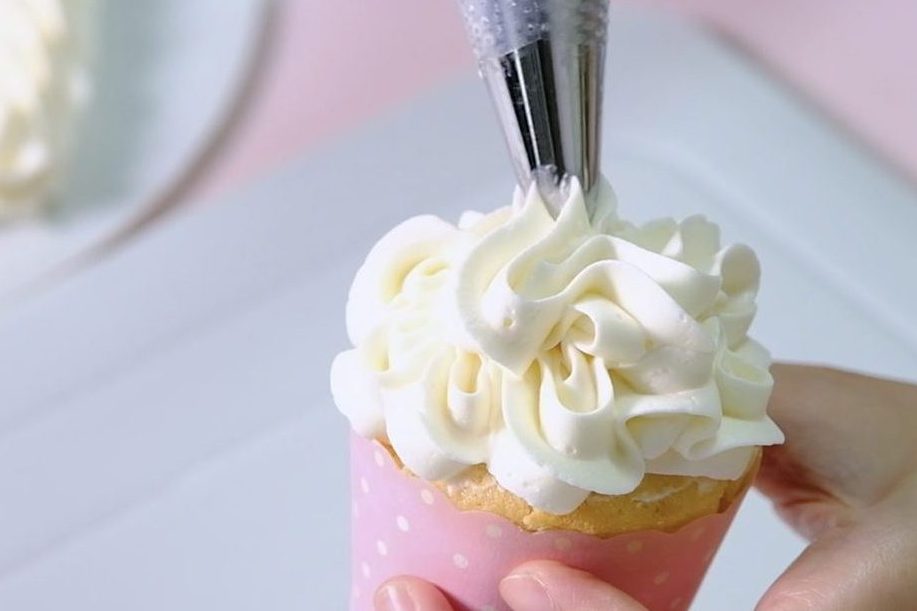
This is one of my go-to buttercream recipes, perfect for hot or humid conditions and the cake will stay on display for hours.

All taste delicious 😚

It’s also a versatile frosting that pairs well with a variety of flavour combinations.
Kindly find the flavor combination recipes below.

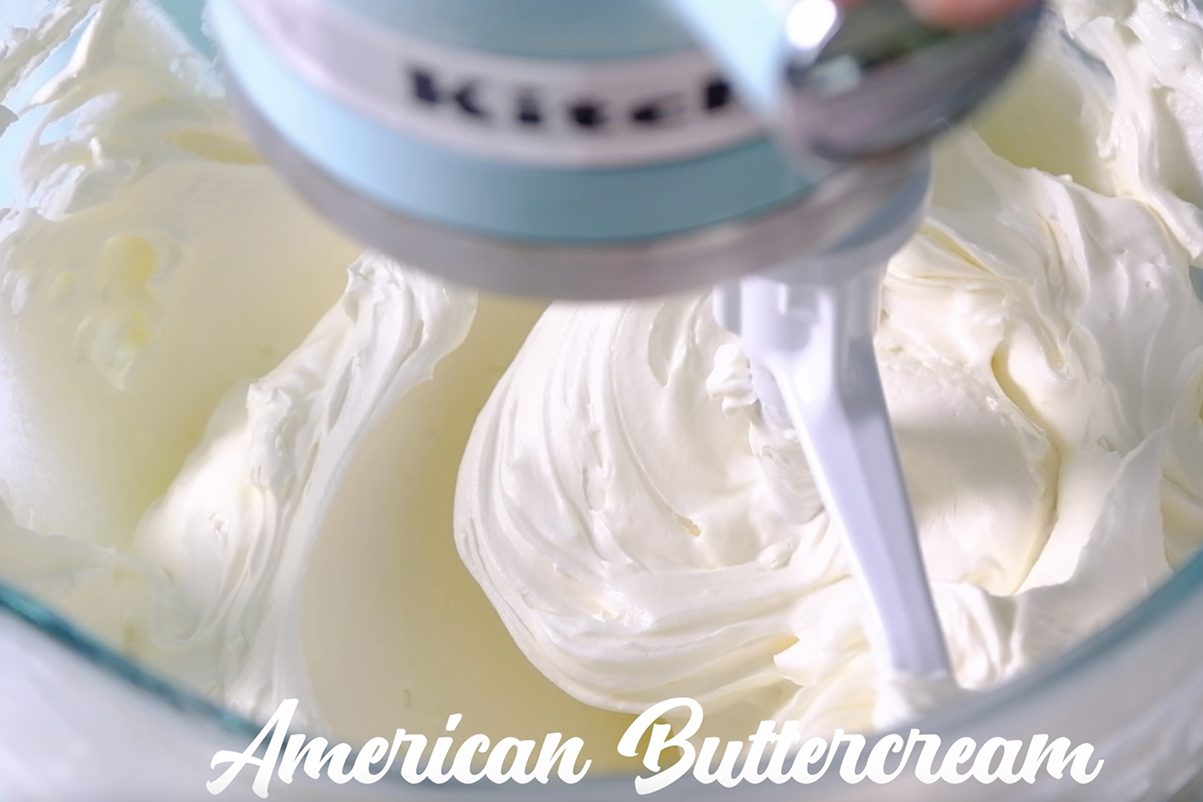
If you don’t like or afraid working with hot sugar syrup, you might want to try my “Grit Free Less Sweet American Buttercream“.
It’s super easy to make and tastes almost exactly like Italian Buttercream.
🎂 Love you All and Happy Decorating!

Watch How To Make “Stabilized Italian Buttercream”

Recipe

STABILIZED ITALIAN BUTTERCREAM
Yield: 5 Cups (enough to cover the top and the sides and to fill 3 layers of a 7-inch round cake)

❄️ Ingredients
160 g Egg Whites
160 g Granulated Sugar (first batch)
135 g Water
160 g Granulated Sugar (second batch)
315 g Unsalted Butter (room temperature)
270 g Shortening (High Ratio)
1 ½ tbs Vanilla Extract


Instructions

  1. Prepare the Egg Whites
    Place Egg Whites and first batch of Granulated Sugar in a mixing bowl with a whisk attachment; set that aside.
    Notes: Make sure all utensils clean and grease free, any residue of fat will prevent egg whites from beating up properly. I usually wipe the bowl and utensils with Lemon Juice or Vinegar (the acid in Lemon Juice or Vinegar helps remove grease).
  2. To make the Hot Sugar Syrup
    In a medium saucepan, combine the Water and second batch of Granulated Sugar.
    Stir over HIGH HEAT just until the sugar is dissolved.
    Then continue boiling without stirring until the sugar syrup reaches 110°C (225°F).
    * Please be cautious when handling hot sugar syrup, as it can cause severe burns if it comes into contact with the skin.
  3. As soon as the sugar reaches 110°C (225°F), you can start beating the Egg Whites;
    Turn ON the mixer to HIGH speed.
  4. Once the Egg Whites are starting to become frothy and white in colour, lower the speed to MEDIUM HIGH and slowly pour the hot sugar syrup down the side of the bowl.
    * Try to avoid splashing the syrup onto the whisk attachment or you will be making spun sugar as it hits the sides of the bowl.
  5. After all the sugar syrup is added, continue whipping on HIGH speed until the mixture has cooled completely.
  6. Once the mixture is cool to touch, you may add the room temperature Butter and Shortening while whipping on MEDIUM HIGH speed.
    * Never add the Butter or Shortening while the mixture is still HOT otherwise you will end up with Butter Soup!
  7. Scrape down the sides of the bowl occasionally to make sure everything is evenly mixed.
    Add the Vanilla Extract and continue beating on medium high speed for another 10 minutes.
  8. Once it’s done, switch to the paddle attachment and beat again on MEDIUM LOW speed for another 3-5 minutes. This process will help to get rid any air bubbles that form during the beating process so you will get a silky-smooth texture.
    *If you are using a hand mixer, you can use the lowest speed.

❄️ OPTIONAL FLAVOURS
For every 1 cup (220 g) buttercream add:

  • Strawberry: 1 ½ tablespoons Strawberry Jam and a few drops of pink food colouring
  • Chocolate: 2 tablespoons Cocoa Powder
  • Mocha: 2 ½ teaspoons Instant Coffee Granules diluted with 1 teaspoon hot water, 2 teaspoon Cocoa Powder and 1 teaspoon Rum Liquor
  • Coffee: 1 tablespoon Instant Coffee Granules diluted with 1 ½ teaspoon hot water
  • Lemon: finely grated zest of 1 Lemon and 2 teaspoons of Lemon Juice
  • Matcha: 2 teaspoons Matcha Powder

NOTES

  • TO STORE
    Keep it sealed in a Ziplog bag; 2 weeks in the fridge (1 month in the freezer)
  • TO DEFROST
    Take it out several hours before you need it and let it get to room temperature, then put it back on the mixer with paddle attachment on medium low speed; let it mix (it will look as if it is broken and curdled, don’t be alarmed this is natural, It will come back eventually).
    You can turn the speed to medium high and it will mix out smooth.

Grit Free, Less Sweet American Buttercream

American buttercream is one of the easiest and most common frostings to make, but its biggest problem for most people is that it has a gritty texture and overly sweet.

This Grit free, Less Sweet American Buttercream recipe not only easy to make, the texture also as smooth as Swiss or Italian Meringue Buttercream.

The important Hot Milk mixture 😚

The main key to this recipe is the Hot Milk Mixture.
By heating the Milk and then mixing it with Icing Sugar, you can ensure the icing sugar is completely dissolved so you won’t feel a gritty or grainy texture in your buttercream.

As for the fat, I use a mixture of High-Ratio Shortening and Butter.
Shortening has a higher melting point, so it can helps butter maintain its structure in warm condition.

Avoid using this type of Shortening 😉

Use High Ratio Shortening such as Sweetex brand instead of regular shortening like Crisco.

Unlike regular shortening which is less sturdy and taste greasy, High Ratio Shortening has a better mouth feel, smoother and holds better shape.

This buttercream has all the characteristics we are looking for; It’s easy to make, white in color, smooth, pipeable and the most importantly not overly sweet.

So pretty! 😘

It is great for layering, decorating and piping flowers; also has good stability, especially during summer and in hot or humid conditions.

Is that flower for me? 🤓

This versatile buttercream pairs well with a variety of flavour combinations that can add character to your cake.
There are lots of options to choose from (Kindly find the flavor combination in the recipes below).

Which one do you prefer? 🤔 I like all the flavors 🤤

Swirls, piping roses, or zigzags?
Now everything is possible … ☺️

I hope my GO TO buttercream recipe will be useful for you..
🍰 Love you All!

Watch How To Make “Grit Free, Less Sweet American Buttercream”

Recipe

GRIT FREE LESS SWEET AMERICAN BUTTERCREAM
Yield: 5 Cups (enough to cover the top and the sides and to fill 3 layers of a 7-inch round cake)

❄️ Ingredients
180 g Milk
2 tbs Vanilla Extract
360 g Icing Sugar
420 g Shortening (High Ratio)
300 g Salted Butter (room temperature)

❄️ Instructions

  1. Prepare the Hot Milk Mixture
    In a saucepan, mix Milk and Vanilla Extract; Cook over medium heat.
    As soon as you see bubbles forming around the edges of the pan, take it off from the heat then immediately pour in the Icing Sugar to this Hot Milk Mixture, stir well until all the sugar dissolved.
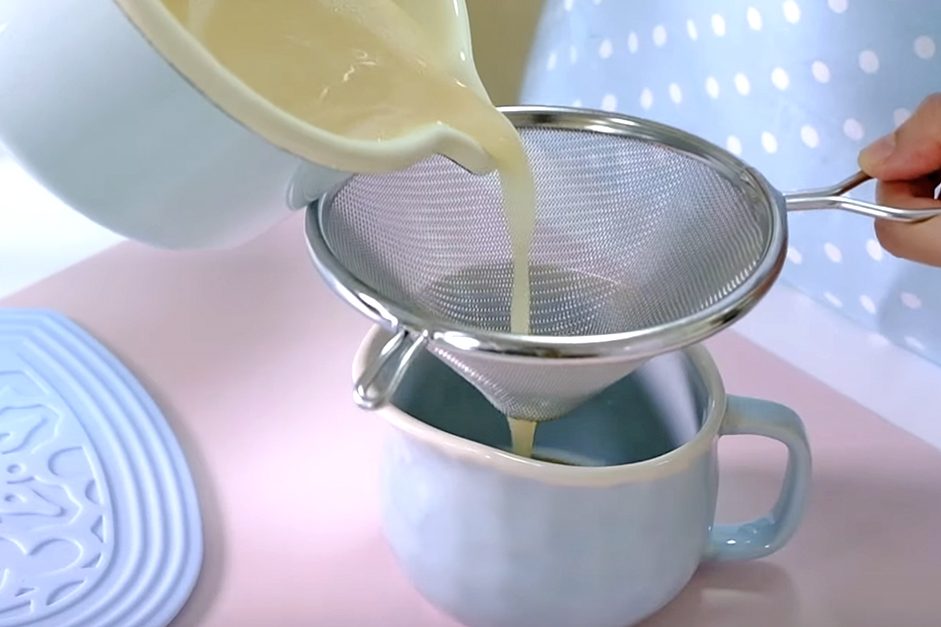
    Strain the mixture to remove any lumps, and let it cool to room temperature.
  2. Once the milk has cooled down; Place Shortening and Butter in the mixing bowl (with a whisk attachment) on medium speed, beat for about 5 minutes until it’s light and fluffy.
  3. Then, slowly pour the cooled milk mixture (scrape down the sides of the bowl occasionally to make sure everything is evenly mixed); And continue beating on medium high speed for another 10 minutes (the color will gradually becomes whiter and the texture is light).
  4. After 10 minutes, switch to the paddle attachment and beat again on medium low speed for another 3-5 minutes (or if you are using a hand mixer, you can use the lowest speed).
    This process will help to get rid any air bubbles that form during the beating process so you will get a silky-smooth texture.

❄️ OPTIONAL FLAVOURS
For every 1 cup (220 g) buttercream add;

  • Strawberry: 1 ½ tablespoons Strawberry Jam and a few drops of pink food colouring
  • Chocolate: 2 tablespoons Cocoa Powder
  • Mocha: 2 ½ teaspoons Instant Coffee Granules diluted with 1 teaspoon hot water, 2 teaspoon Cocoa Powder and 1 teaspoon Rum Liquor
  • Coffee: 1 tablespoon Instant Coffee Granules diluted with 1 ½ teaspoon hot water
  • Lemon: finely grated zest of 1 Lemon and 2 teaspoons of Lemon Juice
  • Matcha: 2 teaspoons Matcha Powder

Notes

  • TO STORE
    Keep it sealed in a Ziplog bag; 2 weeks in the fridge (1 month in the freezer)
  • TO DEFROST
    Take it out several hours before you need it and let it get to room temperature, then put it back on the mixer with paddle attachment on medium low speed; let it mix (it will look as if it is broken and curdled, don’t be alarmed this is natural, It will come back eventually).
    You can turn the speed to medium high and it will mix out smooth.

Totoro Choux au Craquelin (Crispy Cream Puff)

Hi Everyone! Today we are making these cute “Totoro Choux au Craquelin”.
Choux au Craquelin is a dessert made with Choux Pastry, and topped with a thin cookie disc called Craquelin.
It’s only a little step up from classic Cream Puff.

These little GREEN disc is made with a mix of Butter, Sugar and Flour – just like Pie or Shortcrust Pastry.

In contrast to regular Choux Pastry buns, Craquelin adds a layer of sweetness and makes the Cream Puff delightfully crunchy.

Once you’ve tried these, you will never go back to normal Cream Puffs, because these are so delightfull and flavourfull.

That lovely, crackly top takes these Cream Puffs to a whole new level, plus the Craquelin helps keep the Cream Puff Crisp for longer, even when it’s filled with a filling. 

The Craquelin adds a really nice texture and sweetness to the Choux Pastry, they are really perfectly round with that even looking 🤩


The Cream Puff will have beautiful crack on tops and the inside will be hollow, you can fill these with whatever fillings you prefer 😌

I’m using my favorite buttercream fillings which is light, creamy and not too sweet.
I find this buttercream absolutely addictive! 

Do whatever kind of designs you like!

🙄… 🤤 hungry

Have fun getting creative with it!
Love you all! 🥰

WATCH HOW TO MAKE TOTORO CHOUX AU CRAQUELIN


TOTORO CHOUX AU CRAQUELIN
Yield: 10 pieces
Active time: 1 1/2 hour
Total time: 2 1/2 hours

INGREDIETNS
🍀 Craquelin Dough
40 grams Unsalted Butter
50 grams All-Purpose Flour
50 grams Granulated Sugar
Mint Green Food Colouring

🍀 Choux Pastry
100 grams water
63 grams Unsalted Butter
1/8 teaspoon Salt
75 grams All-Purpose Flour
Approx. 100 grams Eggs

🍀 Buttercream
270 grams Milk
4 ½ tablespoons All-Purpose Flour
270 grams Unsalted Butter
135 grams Icing Sugar
1 ½ tablespoons Vanilla Extract

INSTRUCTIONS
Preheat the oven to 200°C, put a tray at the bottom of the oven.
🍀 Craquelin Dough

  1. Mix all ingredients together until it’s form a dough ball.
    Add some food colouring or flavouring (optional), mix until the colour incorporated.
  2. Transfer the dough onto a Parchment Paper, and place another piece of Parchment Paper on top.
    Roll the dough for about 3 mm thick, freeze it for about 20 minutes to firm up a bit.
  3. Take it out off the freezer, cut out it individual little disk (cut the dough with a round cookie cutter that slightly smaller that the size of the Choux Pastry).
    Let the little disk sit in the freezer while preparing the Choux Pastry dough.


🍀 Choux Pastry

  1. In a sauce pan combine Butter, Water and Salt.
    Cook over a MEDIUM heat until the Butter dissolved and the Water stars to boil.
  2. As soon as the Water comes to a boil, turn OFF the heat
    Add in the Flour in all at once; stir vigorously so that it absorbs all of the water.
  3. When the Flour has absorbed the Water and it’s forming a dough, return the pan to the stove, then cook the dough on LOW heat for about 2 – 5 minutes (keep beating, cook until you get a dough that pulls away from the sides and leaves a little bit of the skin on the bottom of the pan).
    Take it off from the heat and let it cool down slightly for a few minutes.
  4. Once it the mixture feels warm,
    With a wooden spoon, slowly pour in a little by little of the Eggs.
    Mix the dough while adding the Eggs one at a time, mixing well after each addition (what we are looking for is we want the mixture to fall of the spoon within about 3 seconds and it should have slightly soft peak).
  5. Once it’s done; transfer the dough to a pastry bag with a 1 cm round tip.
    Press the bag flat with hands to get rid air bubbles out.
  6. Place the template underneath the Parchment Paper (it’s about 4,5 cm round diameter each).
    Don’t forget to give some space between them coz the pastry will raise pretty much later
  7. Get ready for piping
    Hold the bag vertically, squeeze with even pressure (you want to pipe this pretty high).
  8. Take your little Craquelin disk out off the freezer.
    Carefully place them on top of the piped Choux Pastry, press them gently (make sure they are in the center).
  9. In the preheated 200° C oven, throw in some water to the tray that we’ve have been place at the bottom so it creates a steam.
    Put Choux Pastry in, close the door and drop the temperature to 160° C, bake it for about 35 minutes.
  10. Once it’s done, turn OFF the oven, open the door slightly and let it sets in the oven for another 5 minutes.
    Then, take it out from the oven and let it cool completely on the cooling rack.


🍀 Buttercream

  1. Mix the Milk and Flour until no lumps, then Microwave it in 20 seconds intervals or cook on the stove until it just become a paste, then set aside to cool completely.
  2. In a large bowl, cream the Butter until it gets a really smooth consistency;
    Add in the Icing Sugar along with Vanilla Extract, mix well.
    Add in the cooled Flour Paste, mix until it’s incorporated.
  3. Create Totoro or other design character that you like.


ASSEMBLE
Take one of our Choux au Craquelin, cut the top with serated knife;
Fill it with buttercream (or other fillings you prefer) then place your adorable character on top.


NOTES

  1. For the Choux, there’s no the exact amount for the Eggs; You might need more or you might need less.
    The amount off Egg you use depends on the Flours (you might have different All Purpose Flour in your country which has different kind of absorption properties).
    If you add too much Egg and it’s too runny, then your Choux Pastry won’t raise
  2. Do not open the door while baking, to prevent the pastries from collapsing.
  3. These pastry can be kept at room temperature for 1 day and 3 days in the fridge.

Rilakkuma Deco Roll Cake

Hi Everyone! Today we are making these adorable “Rilakkuma Deco Roll Cake”.
Cake roll painted with cute Rilakkuma and filled with the most delicious and cloud-like buttercream frosting called Ermine.

The cake is super light, moist and really fluffy, no cracks, and rolls beautifully 🥰

Some people use different recipe for the decorating batter, but I found that the best method is to use the same batter as your Sponge Cake batter.
You can use any pattern or draw your own to create a beautiful and delicious roll cake.

You can use a small round tip if it makes you more comfortable when piping the finer details of your pattern. I just cut a small hole in the piping bag to fill in the larger sections

Ermine Frosting tastes really good!
The frosting is super smooth and creamy, not overly sweet and egg-free. A nice light Vanilla Flavor and no hint of a flour taste. I promise!😉

This might sound like a bizarre process (it did to me at first) but it’s actually a delicious frosting! Ermine frosting is a very light and almost like Whipped Cream 😚

The frosting (also called Roux Frosting or Boiled Milk Frosting) is made by cooking flour and milk to make a sweet paste. This paste is then whipped into Softened Butter and Icing Sugar until light and fluffy, then Vanilla is added for flavoring.

I really love these cake so much and have a lot of fun making these!
Hope you guys try this and have a lot of fun with this recipe.

Rillakuma and Friend Design Template

WATCH HOW TO MAKE RILAKKUMA DECO ROLL CAKE


RILAKKUMA DECO ROLL CAKE
Yield: One 10-inch square pan
Active time: 1 hours
Total time: 2 hours

INGREDIENTS
🍰 Decorating Batter
30 g Unsalted Butter
8 g Milk
45 g Cake Flour
40 g Egg Yolks
38 g Whole Eggs
1/4 teaspoon Vanilla Extract
30 g Milk
70 g Egg Whites
1/4 teaspoon Vinegar
45 g Granulated Sugar

🍰 Cake Batter
50 g Unsalted Butter
13 g Milk
75 g Cake Flour
68 g Egg Yolks
63 g Whole Eggs
3/4 teaspoon Vanilla Extract
50 g Milk
113 g Egg Whites
3/4 teaspoon Vinegar
75 g Granulated Sugar

🍰 Buttercream
90 g Milk
1 ½ tablespoons All-Purpose Flour
90 g Unsalted Butter
45 g Icing Sugar
1 ½ teaspoons Vanilla Extract


INSTRUCTIONS (please watch the video for complete instructions)
🍰 Design Preparation
Print the A4 Rilakkuma design template (or any design you want).
Over the top of the design, place a piece of Baking Parchment that’s fit exactly the bottom of the 10-inch square pan. Secure them each other with some tape so they stop slipping around.

🍰 Making Decorating Batter (for the Cake Batter the instructions are the same)

  1. Preheat the oven to 340 F/ 170 C.
  2. Place Butter and 8 grams Milk in a saucepan (for cake batter it’s 13 grams of Milk).
    Cook over a LOW heat until simmer and the Butter melted, then turn of the heat. Add in the sifted flour, mix well; stir until it’s form a dough ball, then transfer it to a bowl.
  3. Wait until the dough a bit warm, slowly add the mixture of the Egg Yolk, Whole Egg and Vanilla Extract, mix until no lumps and well combine.
  4. Then in another pan, heat the 30 grams of Milk (for cake batter it’s 50 grams of Milk) until just warm, gradually add in to the Eggs Batter while keep stirring; mix until well combined.
    Strain the batter so there’s no lumps remain, set aside.
  5. In a large bowl, whisk the Egg Whites and Vinegar, once it’s get nice and foamy, slowly add in the Granulated Sugar in 3 batches, whip until they form stiff peak.
  6. Fold 1/3 of the whipped Egg Whites into the Egg Yolks Mixture;
    Then pour this mixture to the remain 2/3 Egg Whites mixture and continue folding until everything is incorporated.
  7. Divide the batter into a couple small bowls (using one bowl for each colour that you want to use) then transfer each colour to a piping bag.
  8. To decorate
    Start with the outline, after the outline is done you can continue with the colouring.
  9. After finish with all the design, carefully transfer the design paper onto a Grease pan, bake it for about 1 to 2 minutes (just until it gets kind like a skin on top so this way it won’t bleed into our Cake Batter when we add our Cake Batter on top).
  10. Next, prepare the Cake Batter
    (please follow the same 1-5 instructions as above).
  11. Pour the Cake Batter into the pan, and very gently spread the batter evenly, being careful not to disturb the Rilakkuma design underneath.
  12. Shake and give a couple tap to even it out and get rid of the excess air bubbles, bake it for about 15-18 minutes.
  13. Once it comes out from the oven, tap the pan so it wont’ shrink too much, then turn it out onto a cooling rack that has some Parchment Paper on top.
    Peel the parchment paper carefully, then quickly cover it with some more parchment paper to prevent your cake roll dry out
  14. Once cool;
    Trim off the edges of the cake to make it more neat and beautiful.
    Spread the buttercream evenly on top of the cake, and then roll it up.
    Let it sit for about 15-30 minutes to set up a bit.

🍰 Making Buttercream
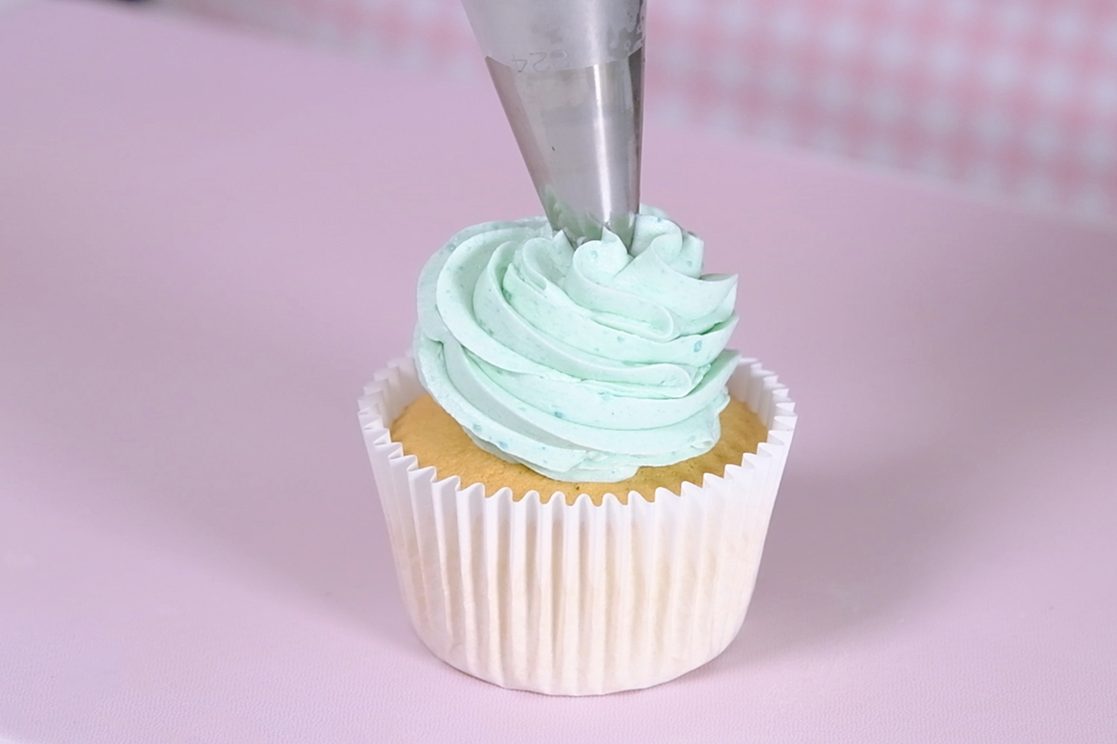
  1. Mix the Milk and Flour until there are no lumps;
    Microwave it in 20 seconds intervals or cook on the stove until it just become a paste, set aside to cool completely.
  2. In a large bowl, cream the Butter until it gets a really smooth consistency, add in the Icing Sugar along with Vanilla Extract, mix until well combined.
    Add in the cooled Flour Paste, mix until it’s incorporated.


NOTES

  1. To make the Cake Batter, please follow 1-5 Decorating Batter instruction.
  2. Make sure that you use Parchment Paper for the design paper, they are used in baking as a disposable non-stick surface (DO NOT use wax paper).
  3. Ermine frosting can be left at room temperature for 6 hours as long as it’s not too hot.
    Because it contains milk, leftovers should be refrigerated for up to a week or frozen for up to 6 months.
  4. The cake can be kept at room temperature for 1 day and 3 days in the refrigerator.
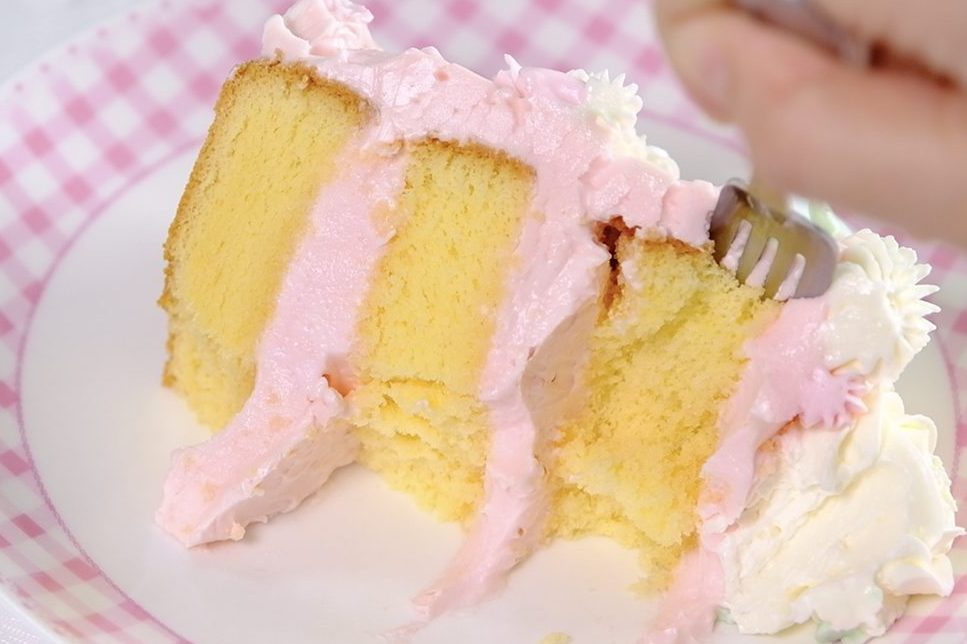
  5. Bring your cake out of the fridge for an hour or two before consuming.