Pao De Queijo (Chessy Dip Chewy Cheese Balls)

Hellooo friends and welcome back!! Today we are making some delicious “Chessy Dip Chewy Cheese Balls”  a.k.a “Pao de Queijo“.

It was crunchy outside but amazingly soft and chewy inside, these little cheese balls with their addictive cheesiness, they are super easy to make at home.

These Brazilian Cheese Bread is tasty as it gets, since they are so flavorful due to the Cheese and the Tapioca Flour.
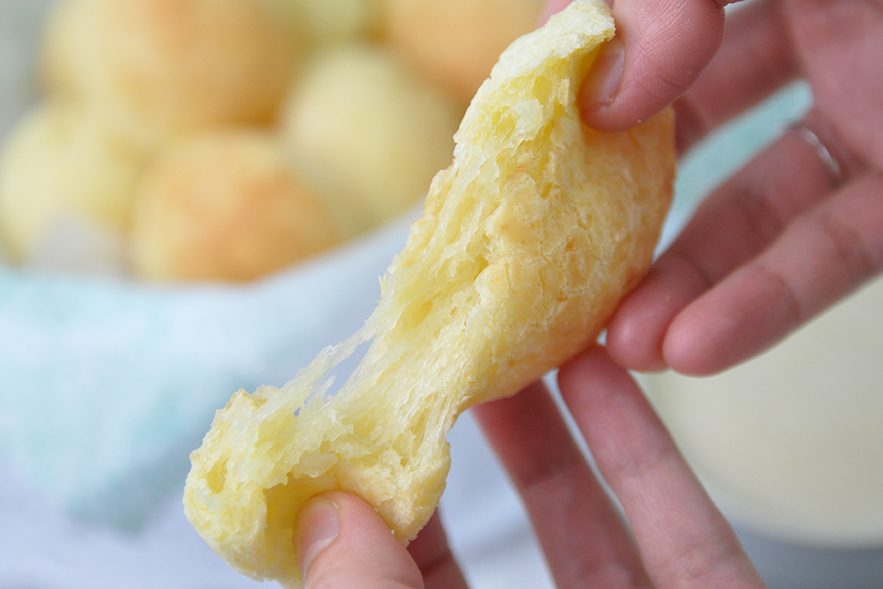
It’s really the most comforting and satisfying snack for a Cheese Lover .
These flavor was so haunting and I still dream about it. 🤤

However, it’s even better if you serve them with  these mild creamy and velvety chessy dip sauce.
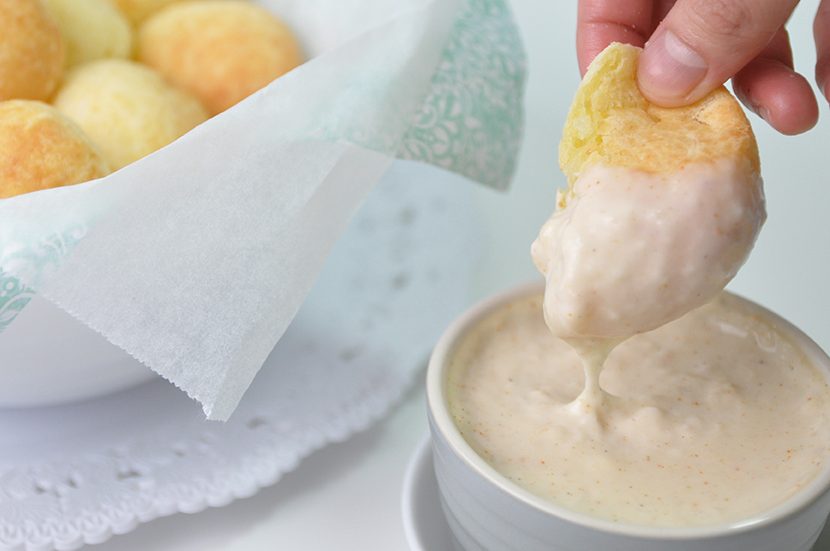
🥲 I want !!

The recipe is super easy, fail proof and absolutely mouthwatering. Try to make these at home and go enjoy your ooey gooey “Pao de Queijo” !

WATCH HOW TO MAKE Pao De Queijo (Chessy Dip Chewy Cheese Balls)


CHESSY DIP CHEWY CHEESE BALLS (PAO DE QUEIJO)
Yield: 16 pieces
Active time: 20 minutes
Total time: 1 hours

INGREDIENTS
🧀 Cheese Balls
120 grams Milk
80 grams Water
3 tablespoons Vegetable Oil
200 grams Tapioca Starch
50 grams Eggs (beaten)
80 grams Parmesan Cheese (Grated)

🧀 Cheesy Dip
160 grams Milk
2 ⅔ teaspoons All-Purpose Flour
1/4 teaspoon Salt
1/4 teaspoon Ground Black Peper
1/4 teaspoon Ceyenne Pepper
40 grams Cheedar Cheese (Grated)

INSTRUCTIONS
🧀 Cheese Balls

  1. Preheat the oven to 180 C/ 350 F.
  2. In a medium saucepan, combine the Milk, Water and Vegetable Oil.
    Heat the mixture until just before it begins to boil, then take it OFF from the heat.
  3. Place the Tapioca Starch in a large bowl,
    Pour the Milk Mixture into a bowl of Tapioca Starch, then quickly combine the mixture (BE CAREFUL the mixture is quite hot, you can use a fork or wodden spoon to mix this).
  4. Add the beaten Eggs and continue mixing
  5. When the dough is cool enough to touch, you can knead it by hand
  6. Add the grated Parmesan Cheese; continue kneading the dough until the Cheese is mixed evenly.
  7. Take about 1 tablespoonful of the dough (about 35 grams each) and shape it into a ball.
    Place Cheese Balls onto a baking sheet lined with a parchment paper (Don’t worry if the balls are uneven, they will become round while baking).
  8. Bake it for about 20 minutes. Place the balls onto a cooling rack to cool down a bit.

🧀 Cheesy Dip

  1. In a medium saucepan combine Milk, Flour, Salt, Black Pepper and Cayenne Pepper (If you don’t like spicy, you can omit the Cayenne Pepper).
  2. Bring to a boil over MEDIUM heat, stirring constantly until slightly thickened. Remove from heat, add the grated Cheedar Cheese, stir until well combined.


NOTES

  1. Some people use All-Purpose Flour to make this; I personally don’t recommend it because you won’t get the chewy texture that you are you are looking for.
    So, better stick with the Tapioca Starch.
  2. You can adjust and add the amount of Cheese if you want.
  3. It’s best to serve it hot, coz it will be a bit tough when it’s gets cold.
  4. To reheat, either Microwave them on a paper towel for about 20 seconds (they won’t be crispy at all),
    OR if you want that crispy-chewy texture, pop them in a 350 F oven for about 8-12 minutes. Keep an eye on them so you don’t end up burning them.

Homemade Healthy Caramel Popcorn (No Bake) Free of Corn Syrup and Baking Soda

Hi Everyone, today we are making these “Homemade Healthy Caramel Popcorn” .
This Easy Homemade Caramel Popcorn is super delicious, it’s buttery, crunchy, sweet, caramely and salty all at once.

I love everything about this recipe, especially that it only requires a few inexpensive ingredients that I usually have on hand and it could not be easier to make ☺️

It’s pretty foolproof, and you DON’T need Baking Soda, Corn Syrup or a Candy Thermometer like a lot of Caramel Popcorn recipes call for.
In my opinion, this is a healthier way to make Caramel Popcorn.

😉 Unpopped popcorn kernels are super easy to find. You can generally find them at the supermarket.

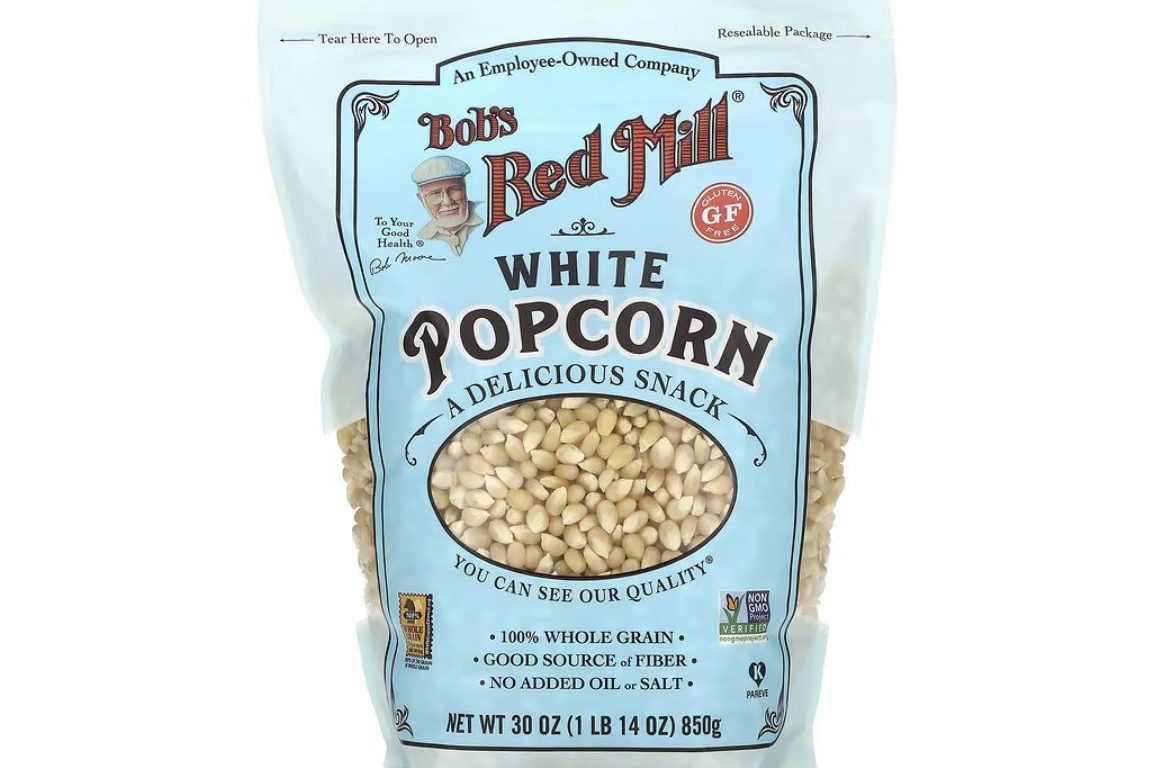
I love to buy an expensive container of white kernels from Bob’s Red Mill.
That’s because Bob’s Red Mill Whole White Popcorn Kernels are contain the perfect moisture content for optimum popping.

When these premium kernels pop, they burst their hulls and transform into wonderfully fluffy blossoms of corn with a delightful crunch. https://www.bobsredmill.com/white-popcorn.html

🤩 are you ready for movie night??

I don’t know about you, but Caramel Popcorn and I are BFF’s.
It’s a super easy snack for movie night, or perfect to package up and give as gifts around the holidays!

WATCH HOW TO MAKE NO BAKE CARAMEL POPCORN


NO BAKE CARAMEL POPCORN
Yield: 8 Cups
Active time: 15 minutes
Total time: 1/2 hours

INGREDIENTS
🍿 Popcorn
100 grams Popcorn Kernels
2 tablespoons Vegetable Oil

🍿 Caramel
120 grams Granulated Sugar
30 grams Unsalted butter
1/4 teaspoon Salt


INSTRUCTIONS
🍿 Popcorn
Pour the Popcorn Kernels into 13-inch wok or bigger, then add in the Vegetable Oil, pop the lid on.
When popping starts, lower the heat to MEDIUM.
When popping slows down, turn OFF heat.
Wait till popping stops completely (which is when you think it’s stopped, plus 30 seconds) before removing cover.
Transfer corn to a bowl.

🍿 Caramel

  1. Pour Sugar into a wok. Over MEDIUM heat, cook till sugar starts to melt.
    Swirl wok to heat evenly till melted Sugar is reach just lovely rich amber colour (never stir the caramel otherwise it crystallizes)
    **Be carefull DO NOT over cooked or you might burnt the sugar
  2. Reduce heat to LOW, add Butter; stir till thoroughly mixed.
    Add Salt, mix well
  3. Tip Popcorn into wok.
    Caramel may now thicken because popcorn is cold or at most warm.
    Working fast, toss till corn is evenly coated. Turn OFF heat.
  4. Transfer Popcorn to a bowl, break into small pieces.
    Taste and sprinkle with more Salt if necessary.
    Serve immediately or keep in airtight container.

NOTES
With homemade Popcorn, you can adjust the sweetness to your preference.
I don’t have a sweet tooth, so for me this is just a perfect amount of Caramel.
Don’t reduce the amount of Sugar because the popcorn won’t be crunchy if there’s too little Caramel.
If you do have a sweet tooth, you can double the Caramel recipe.

Kawaii Mitarashi Dango

Hi Guys, today we are making these adorable “Kawaii Mitarashi Dango”.  Have you ever eaten Japanese confectionery DANGO? Small round sweet dumpling balls are skewered on bamboo sticks and covered with a gooey brown sauce.  

Mitarashi dango are my favorite traditional sweet, they are quite satisfying without being overly sweet 🤤

The shiny brown colored sauce (which is called Mitarashi Sauce) is sweet and savory at the same time.
It goes perfectly with the bland, slightly chewy Dango or dumplings (Dango is the name for unfilled solid dumplings.)

This traditional Dango dessert is not as difficult as you may think. I hope you enjoy these traditional snacks and a taste of history today!

WATCH HOW TO MAKE KAWAII MITARASHI DANGO


KAWAII MITARASHI DANGO
Yield: 18 pieces
Active time: 1 1/2 hour
Total time: 2 hours

INGREDIENTS
🍡 Dango
240 grams Glutinous Rice Flour
60 grams Icing Sugar
260 grams Japanese Silken Tofu
Cocoa Powder
Food Colouring (Black, Red)

🍡 Mitarashi Sauce
130 grams Water
20 grams Soy Sauce
10 grams Corn Starch
45 grams Brown Sugar


INSTRUCTIONS
🍡 Dango

  1. In a large bowl, mix together Glutinous Rice Flour, Icing Sugar and Japanese Silken Tofu. Simply mix the ingredients together until it’s form a dough ball.
    *If the dough is too dry, you can add more tofu and if it’s too sticky to handle just add more Glutinous Rice Flour.
  2. Once the dough reach the right consistency, you can start to colouring them (for the extra flavor, instead of using food colouring I’m using Cocoa Powder for the brown colour).
    *You can create any design and colour you want, just take note that after boiling, the colour will be darker than before, so be mindfull with the colour.
  3. Take about 20-25 grams of dough and roll it into a ball shape (for Teddy Bear, Lucky Cat and Panda head).
    Place EACH head onto a small piece of Greaseproof Paper, then add the details as shown in the video.
  4. To cook Dangos
    After finish with all the design, bring a small pot of water to a boil, then lower the heat to a simmer.
    Carefully lift the Greaseproof Paper; place the dangos into the simmering water (you can cook a few of them at a time). Remove the floating Greaseproof Paper.
  5. When Dangos start to float, that means they are ready to be picked up! (it will takes for about 3-5 minutes).
    Scoop them out and place it into a bowl of ice water so they don’t stick together.
  6. After cooling down a bit, take out the Dangos from the ice water, then simply stick the Dango into a skewer. Make sure that you stick it right in the middle of the head

🍡 Mitarashi Sauce
Put all the mitarashi ingredients in a saucepan, then set on a medium heat and bring it to a boil; Keep stiring until the sauce has thickened.
Pour it onto the Dangos and serve.

NOTES

  1. Dango comes with many different varieties, so they are usually named after the various seasonings served on or with it.
  2. In Japan, this Dango is easily found in markets or convenience stores and I think you also might find it at Japan store in your country.
  3. Some people use water to make these, but I’m prefer to use Tofu for a hint of extra flavor and it will give the Dangos a light and fluffy texture.
  4. It’s best to serve it hot, coz the colder it gets, the chewier it will become.
  5. Put the Dango in an airtight container and keep at room temperature up to 2 days.
    If you live in hot place, I recommend to put them in an airtight container or a ziplock bag and store them in the refrigerartor.
    If you can’t eat them after a day or 2, you might try freezing them (you can keep them for about a month in a freezer).
    When you want to eat them, It is the best to thaw them naturally at room temperature (this takes about 30-60 minutes) or you can Microwave it.
  6. As for the uncooked Dango, although you can freeze them in ziplock bag for up to 3 months, these method will dry them out and they cracked slightly around the edges.
    They did cook as per normal once they were dropped into the boiling water, but the cracked edges are not as perfect as you’ll like them to be, so better not freeze them too long.