
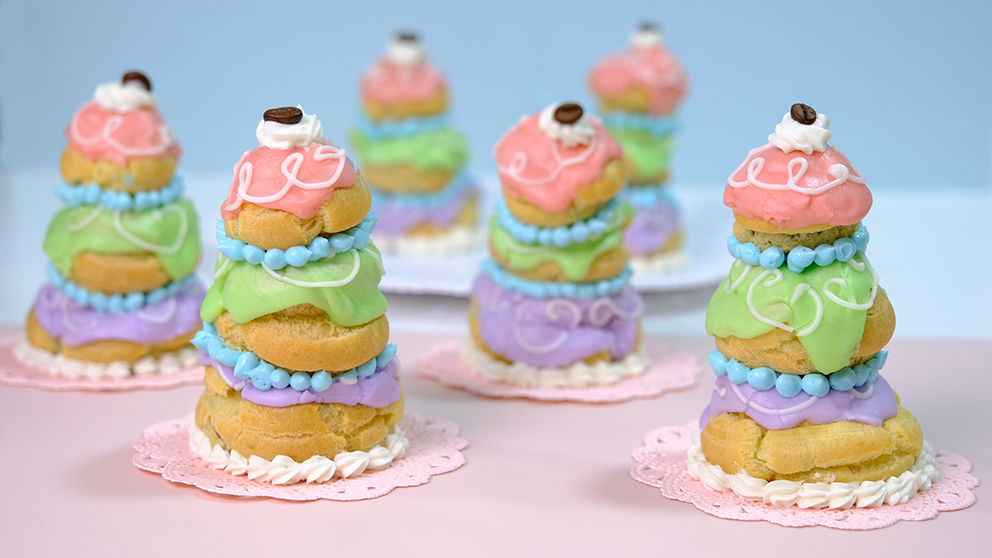
Hey Guys, today we will recreate a very whimsical Choux Pastry “Courtesan au Chocolat.”

These pastry was featured in Wes Anderson’s movie “The Grand Budapest Hotel”.
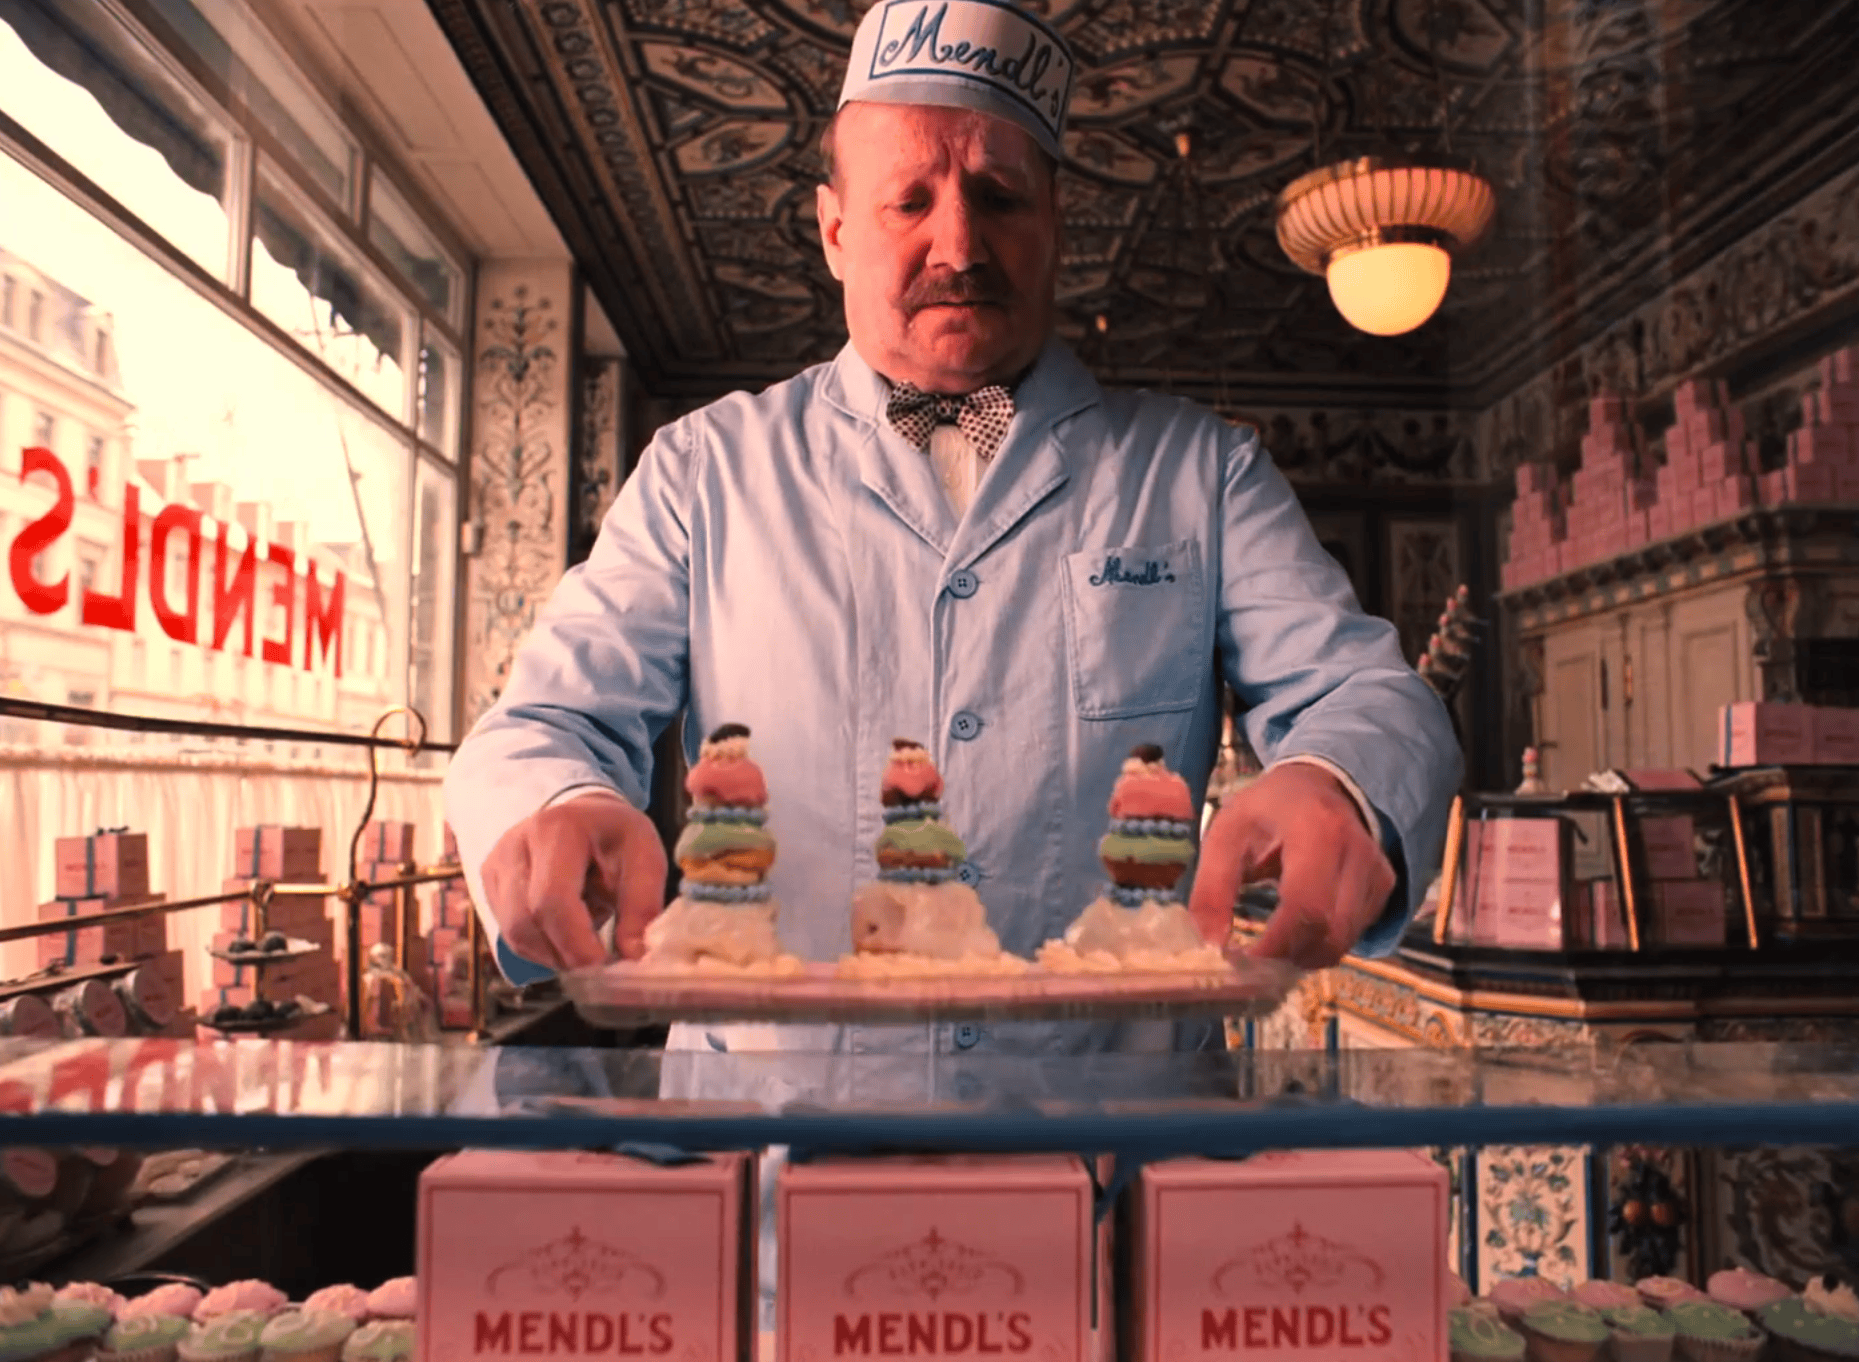
I am just happy just to see them. These cream-filled pastry not only beautiful but it also looks regal and elegant.
If you’ve seen the movie, you no doubt are in love with these pretty pastries from Mendl’s Bakery, carefully crafted by the lovely Agatha.
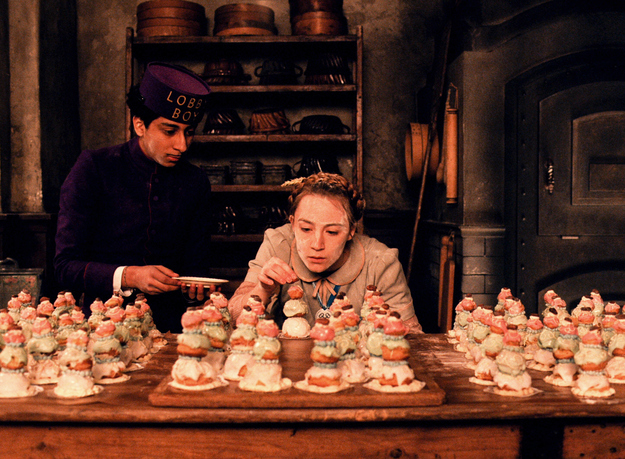
In a brilliant promotional video for Wes Anderson’s new movie, there’s a tutorial that shows you how to make your own Courtesan au Chocolat.
Choux Pastry filled with a rich Chocolate Creme Patisserie, glaze with a creamy colourful icing glaze on top and decorate with an American Buttercream Frosting.
Very good recipe! Pretty sweet, but it was delicious!
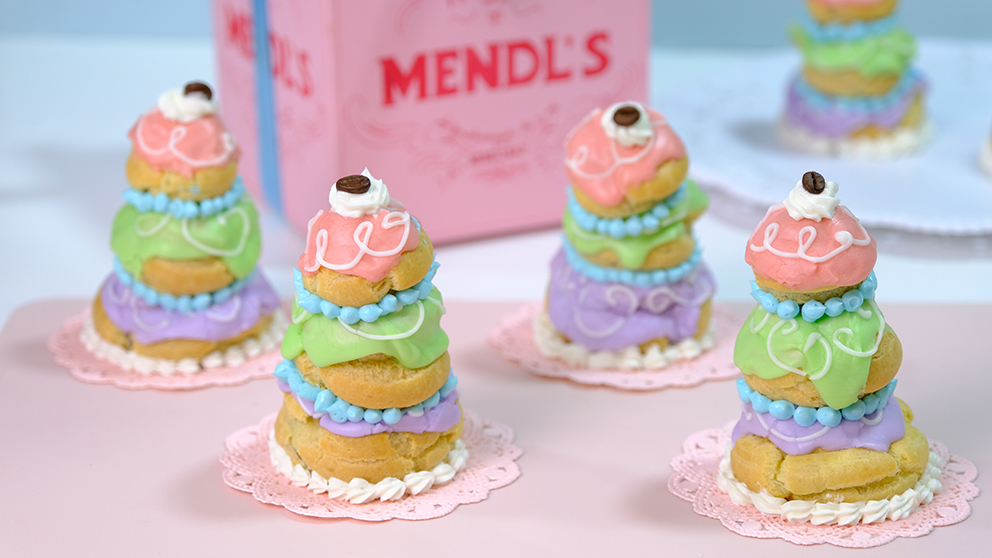
And the fun part is how you interpret them and make them your own.
With a little bit twist and tweak from the original recipe; this recipe is not overly sweet, still delicious, happily coloured and playful decorated.
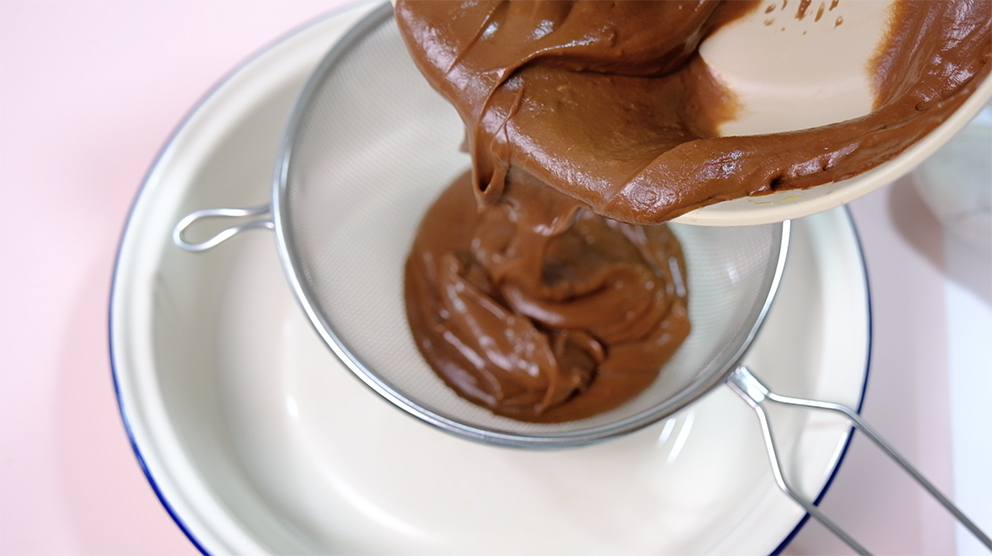
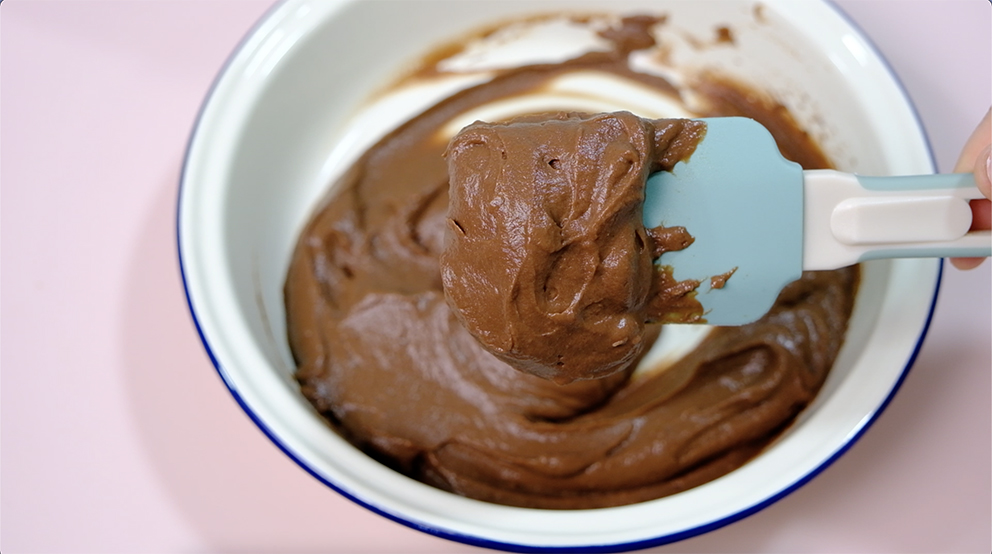
The Chocolate Creme Patisserie is the main component in this pastry.
I try to reduce the amount of the sugar to balance the sweetness of the icing glaze.
Make sure that you don’t overfill the medium and small size Choux Pastry because it will be too heavy and difficult when stacked.
Some people are afraid of making Choux Pastry, because the amount of eggs added is variable.
If you aren’t experienced in making Choux Pastry, it can be a little bit tricky.
You need to have enough practice to know how much eggs you should add to reach the desired consistency.
BUT no need to worry so much, trust me practice always makes perfect!
When I first learnt how to make Choux, I was told to incorporate the eggs by hand as I could have more control.
However, I would say adding the eggs by hands is only suitable for a small recipe as it can be really exhausting.
That said,if you are confident enough, feel free to use the machine right away!
Just be mindful that a tiny extra amount of egg can make the Choux too wet to pipe properly, and you might have to start all over again.
To prevent the dough from being too runny, I like to have all the eggs whisked well in a bowl first before adding it into the dough.
And then I will add it a little at a time, mix in each addition until I get the right consistency.
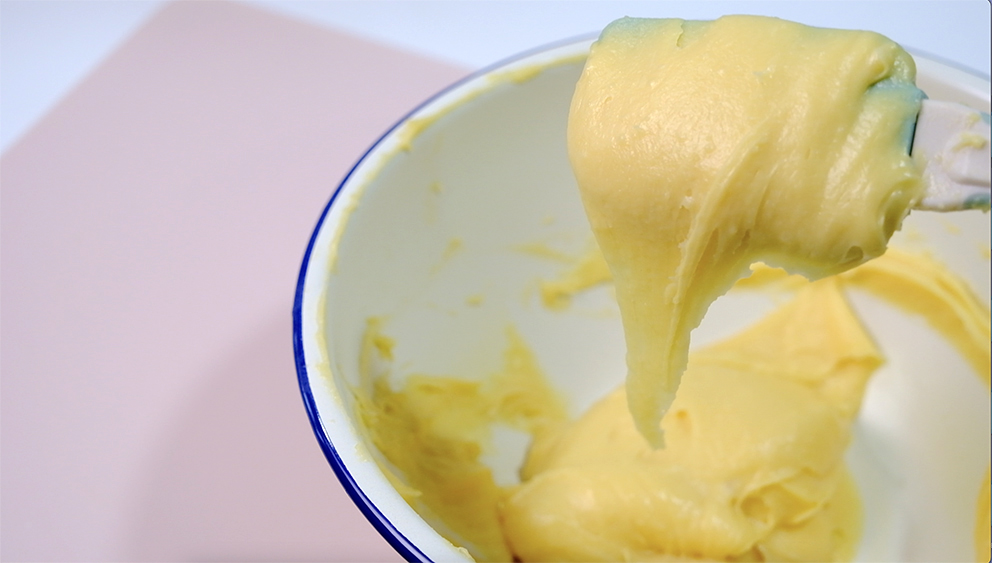
What you’re looking for; is a dough that looks glossy, but still thick, can hold it’s shape and pipeable.
You can do the V test to make sure it’s the right consistency; If you stir and scoop the dough with a rubber spatula and slowly lift the spatula straight up. The dough should form a V hanging shape, that’s what we are looking for!

And when you pipe the dough; remember to hold the pastry bag and tip upright when you’re piping, and you’re not doing it at an angle.
This way your Choux Pastry will rise perfectly upwards, and not be lopsided.
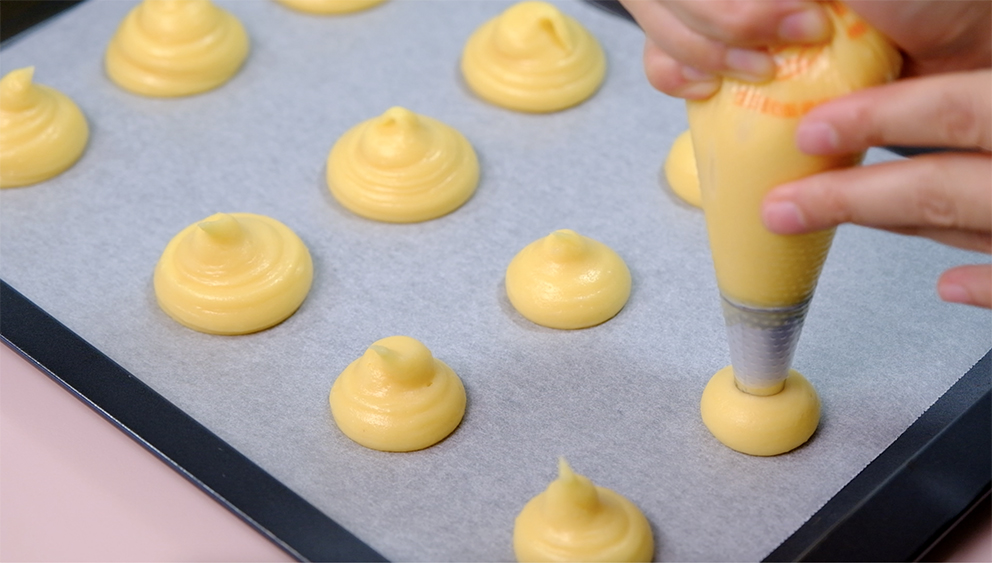
Place the large and medium size on first pan, and the smallest size on a second pan as they will cook more quickly, and then bake one pan at a time.

And before you bake them; it is important to use a damp finger to flatten the apex or any points, so it will be easier when stacking them later.

Some recipes call for Choux Pastry to be baked at two different temperatures (high and low). If this works for you, go ahead. I find that the high temperature makes the shells expand too much, causing cracks.
I’m prefer to bake it at one constant temperature for perfect Choux Pastries, every single time.

And since choux pastry relies on steam to expand while baking, it’s VERY important to not open the oven door until the choux pastry shells have set properly.
This means you should never open the door during the first 25-30 minutes of baking (for standard-sized choux pastry; the time goes down for smaller shells and up for larger ones).
Wait till the shells are golden colour before opening the door. This prevents steam from escaping too early, which will cause the shells to collapse.
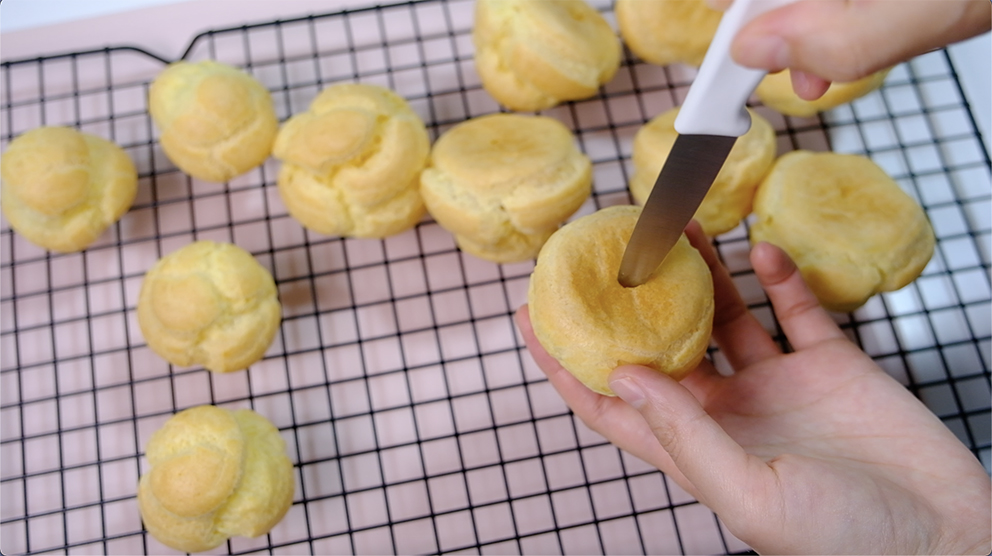
As soon as they came out from the oven, using sharp knife prick each bottom of the shell to allow the steam to escape and dry out the shell faster; and let them cool completely on a cooling rack.
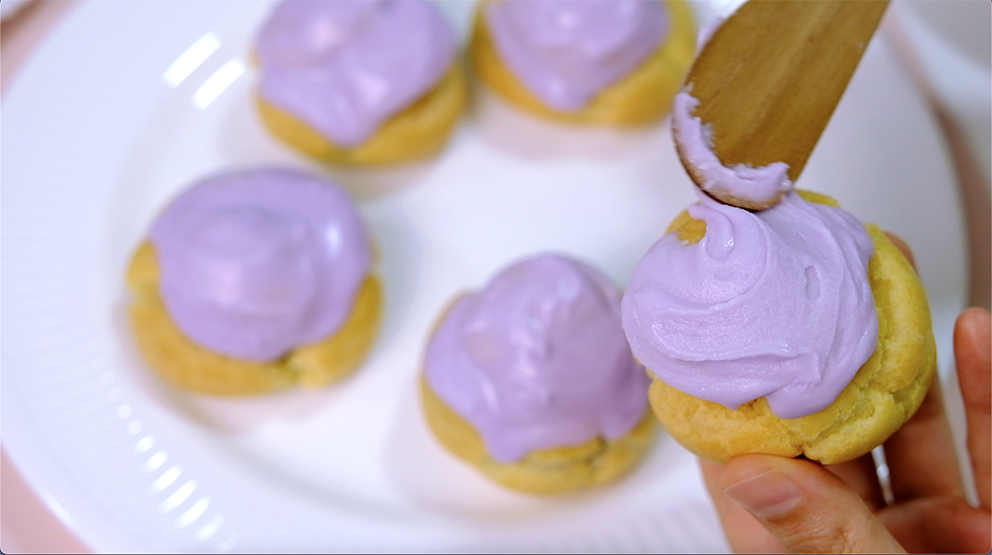
I’m prefer to use my small spatula to apply the glaze on my Choux rather than dip into it
For the icing glaze, the idea is to aim for a thicker consistency, don’t be tempted to add too much milk, otherwise the glaze will slip right off your pastry balls.

Allow the icing to dry a bit before you decorate the balls with filigree of white icing glaze as desired.
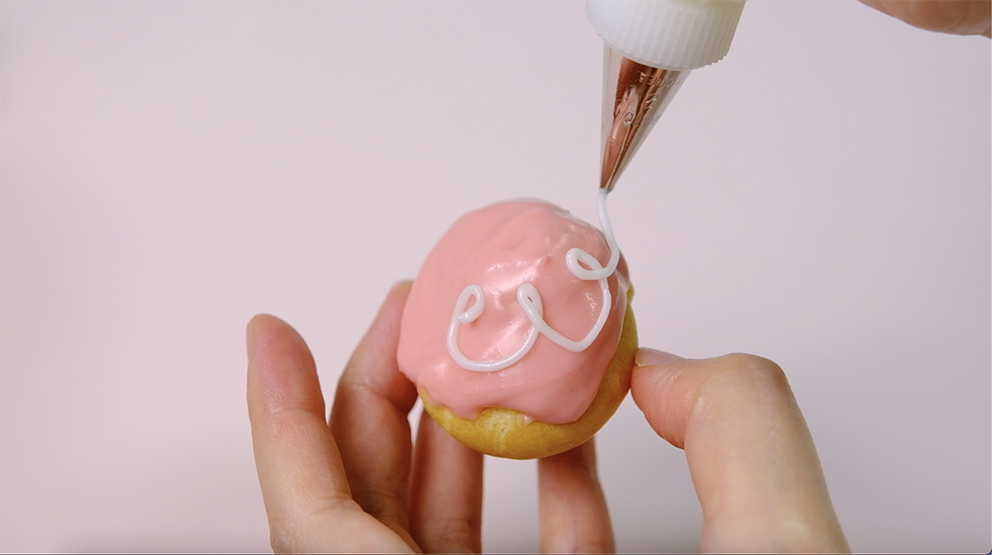
Used left over white icing glaze as a glue; dye it with blue colour and add 1/2 tsp of the icing sugar to make it thicker.
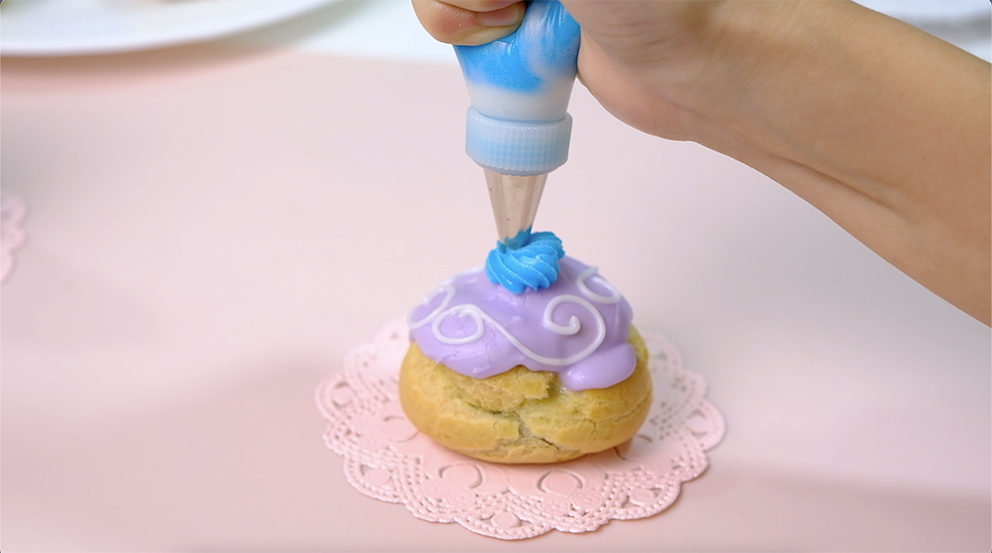
I love the movie so much not only because the movie made me smile, but also because this pastry makes me happy 😊.

Decorate the joint space with the blue buttercream…

And the bottom part with white buttercream…I fell like Agatha 😚

Then place a single cocoa bean on the star as garnish ☺️

Oh.. it’s so beautiful and elegant pastry tower! 😘

I was happy when I first saw it in the movie, happy when I was making it, and happy when I was finally able to taste it.
I hope you Guys are inspired as much as I am 🥰 LOVE YOU ALL!
MENDL’S COURTESAN AU CHOCOLAT
Yield: 6 towers
Active time: 1 hour
Total time: 2 hours
INGREDIENTS
Creme Patisserie/ Pastry Creme:
- 15 Corn Flour
- 50 g Sugar
- 10 g Cocoa Powder
- 50 g Milk
- 40 g Egg Yolks
- 200 g Milk
- 25 g Dark Chocolate (70 %)
- 1 tbs Rum Liquor
Choux Pastry:
- 100 g Water
- 65 g Salted Butter
- 1/8 tsp Salt
- 75 g All Purpose Flour
- 2-3 Eggs (110-165 g)
Buttercream:
- 80 g Shortening
- 20 g Salted Butter
- 20 g Condensed Milk
- 1/2 tsp Rum Liqueur
Icing Glaze:
- 230 g Icing Sugar
- 2 ½ tbs Milk
- 1/2 tbs Unsalted Butter
- 1/4 tsp Rum Liqueur
- Food Colouring (Purple, Mint green, Soft Pink)
Edible Glue:
- Left over white icing glaze
- Blue food colouring
- 1/2 tsp Icing Sugar
INSTRUCTIONS
Creme Patisserie / Pastry Creme
- In a medium bowl combine the corn flour, sugar, cocoa powder and 50 grams of milk. Mix well, set aside.
- In a medium saucepan heat the 200 grams of milk, add in the dark chocolate. Continue stirring until all the chocolate melted (make sure that you use a good quality of chocolate for a rich flavour).
- Once the chocolate melted, turn off the heat.
Combine the egg yolk into the corn flour mixture, mix really well; and then slowly pour this mixture into the hot chocolate milk mixture. Whisking constantly to temper the egg mix. - Back to the stove; on medium low heat continue cook while stirring until the mixture starts to thicken, allow the pastry cream to come to a boil.
After you see the first bubbles break the surface, lower the heat and let it cook further for about 1 – 2 minutes so that the corn starch will cook well and you won’t be left with a starchy flavour. - Take it off from the heat, add in the rum or Vanilla Extract; mix well.
Your Pastry Cream should be nice and smooth (I always like to sift it to make sure there’s no lumpy at all). - Once the Pastry Cream is cooked, spread it in a shallow pan; cover it with a cling wrap. Press the plastic down down, make sure the plastic touch the surface of the Pastry Creme to prevent a Pastry Creme skin from forming on top.
- Store it in the fridge for at least 1 hours.
Choux Pastry
- Sift the flour, set aside.
- In a medium saucepan combine the butter, water and salt. Bring it to a simmer, turn off the heat.
- Pour in the sifted flour in one go, mix immediately. Make sure that you mix it really well and there are no lumps visible.
- Over medium low heat, continue cook the dough until it comes together and the dough leaving a thin film at the bottom of the saucepan
- Take it off from the heat and the next step is wait for the dough to cool down or until warm.
Place the dough in a bowl and then flatten the dough along the sides of the bowl (this increases the surface area, so it cools down faster and more water evaporates as you do this). - After your dough is cool enough, now we can start adding the eggs. The amount of eggs added is variable.
To prevent the dough from being too runny, I like to have all the eggs whisked well in a bowl first, before adding it into the dough. - Add the eggs to the dough a little at a time, mix in each addition; until you get the right consistency.
What you’re looking for; is a dough that looks glossy but still thick, can hold it’s shape and pipeable.
You can do the V test to make sure it’s the right consistency; If you stir and scoop the dough with a rubber spatula, and slowly lift the spatula, straight up. The dough should form a V hanging shape. - Once the dough is ready, place the dough in a pipping bag with a 1.2 cm (#2A) round nozzle.
- Pipe the dough into large (5 cm diameter), medium (3.5 cm diameter) and small (2.5 cm diameter) size dollops on a pan lined with a parchment paper.
Remember to hold the pastry bag and tip upright when you’re piping, and you’re not doing it at an angle. This way your Choux Pastry will rise perfectly upwards, and not be lopsided.
Place the large and medium size on first pan, and the smallest size on a second pan as they will cook more quickly. - Use a damp finger to flatten the apex or any points, so it will be easier when stacking them later.
- Bake them in the preheated 180°C oven (25 minutes for the Large and Medium size) and (20 minutes for the small size).
Since choux pastry relies on steam to expand while baking, it’s VERY important to not open the oven door until the choux pastry shells have set properly. - As soon as they came out from the oven, using sharp knife prick each bottom of the shell to allow the steam to escape and dry out the shell faster. Let them cool completely on a cooling rack.
Buttercream
- In a medium bowl, mix the shortening, butter and condensed milk until well combined. Add in the rum and whisk together for about 5 minutes until it become really light and smooth
- Place half portion into the pipping bag with #17 star nozzle. Colour the rest with blue colour and place it into another piping bag with #7 round nozzle.
Icing Glaze
- Simply combine all the ingredients. The idea is to aim for a thicker consistency. Don’t be tempted to add too much milk, otherwise the glaze will slip right off your pastry balls.
- Divide the glaze into each colour portions; add food colouring for each portions (remember always cover the icing glaze to prevent from drying out):
Light Purple: 90 grams
Mint Green: 70 grams
Soft Pink: 40 grams
White: 60 grams (place in the pipping bag with #1 round nozzle)
Edible Glue
Combine the left over white icing glaze, a bit of blue food colouring and icing sugar; mix well. Place it in the pipping bag with #17 star nozzle.
ASSEMBLY
- Place the cooled cream patisserie in a pipping bag with a long round nozzle.
Pipe into each size portions of a pastry ball (large 40 grams, medium 20 grams, small 5 grams). - Using small spatula glaze the pastry ball with each colour of the icing glaze; light purple for the large, pale mint green for the medium and soft pink for the small size.
Allow the icing to dry a bit; and then you can decorate the balls with filigree of white icing glaze as desired. - To assemble
Place the large purple ball at the bottom, pipe a dollop of the blue icing glaze on top of a purple ball.
Take a medium mint green ball and press it gently on top of the large one so it stick in place.
Pipe the blue icing again as a glue; and finally place the smallest pink ball on top of a medium green ball.
Decorate the joint space with the blue buttercream; and the bottom part with white buttercream.
Make a white star buttercream on top and place a single cocoa bean on the star as garnish.
NOTE
- These pastry are best eaten the day you made them.
- You can store the left over Courtesan au Chocolat in the fridge for up to 2 days; however the glaze will become watery as they absorb the moisture in the fridge.


