Double Dark Chocolate Cupcakes

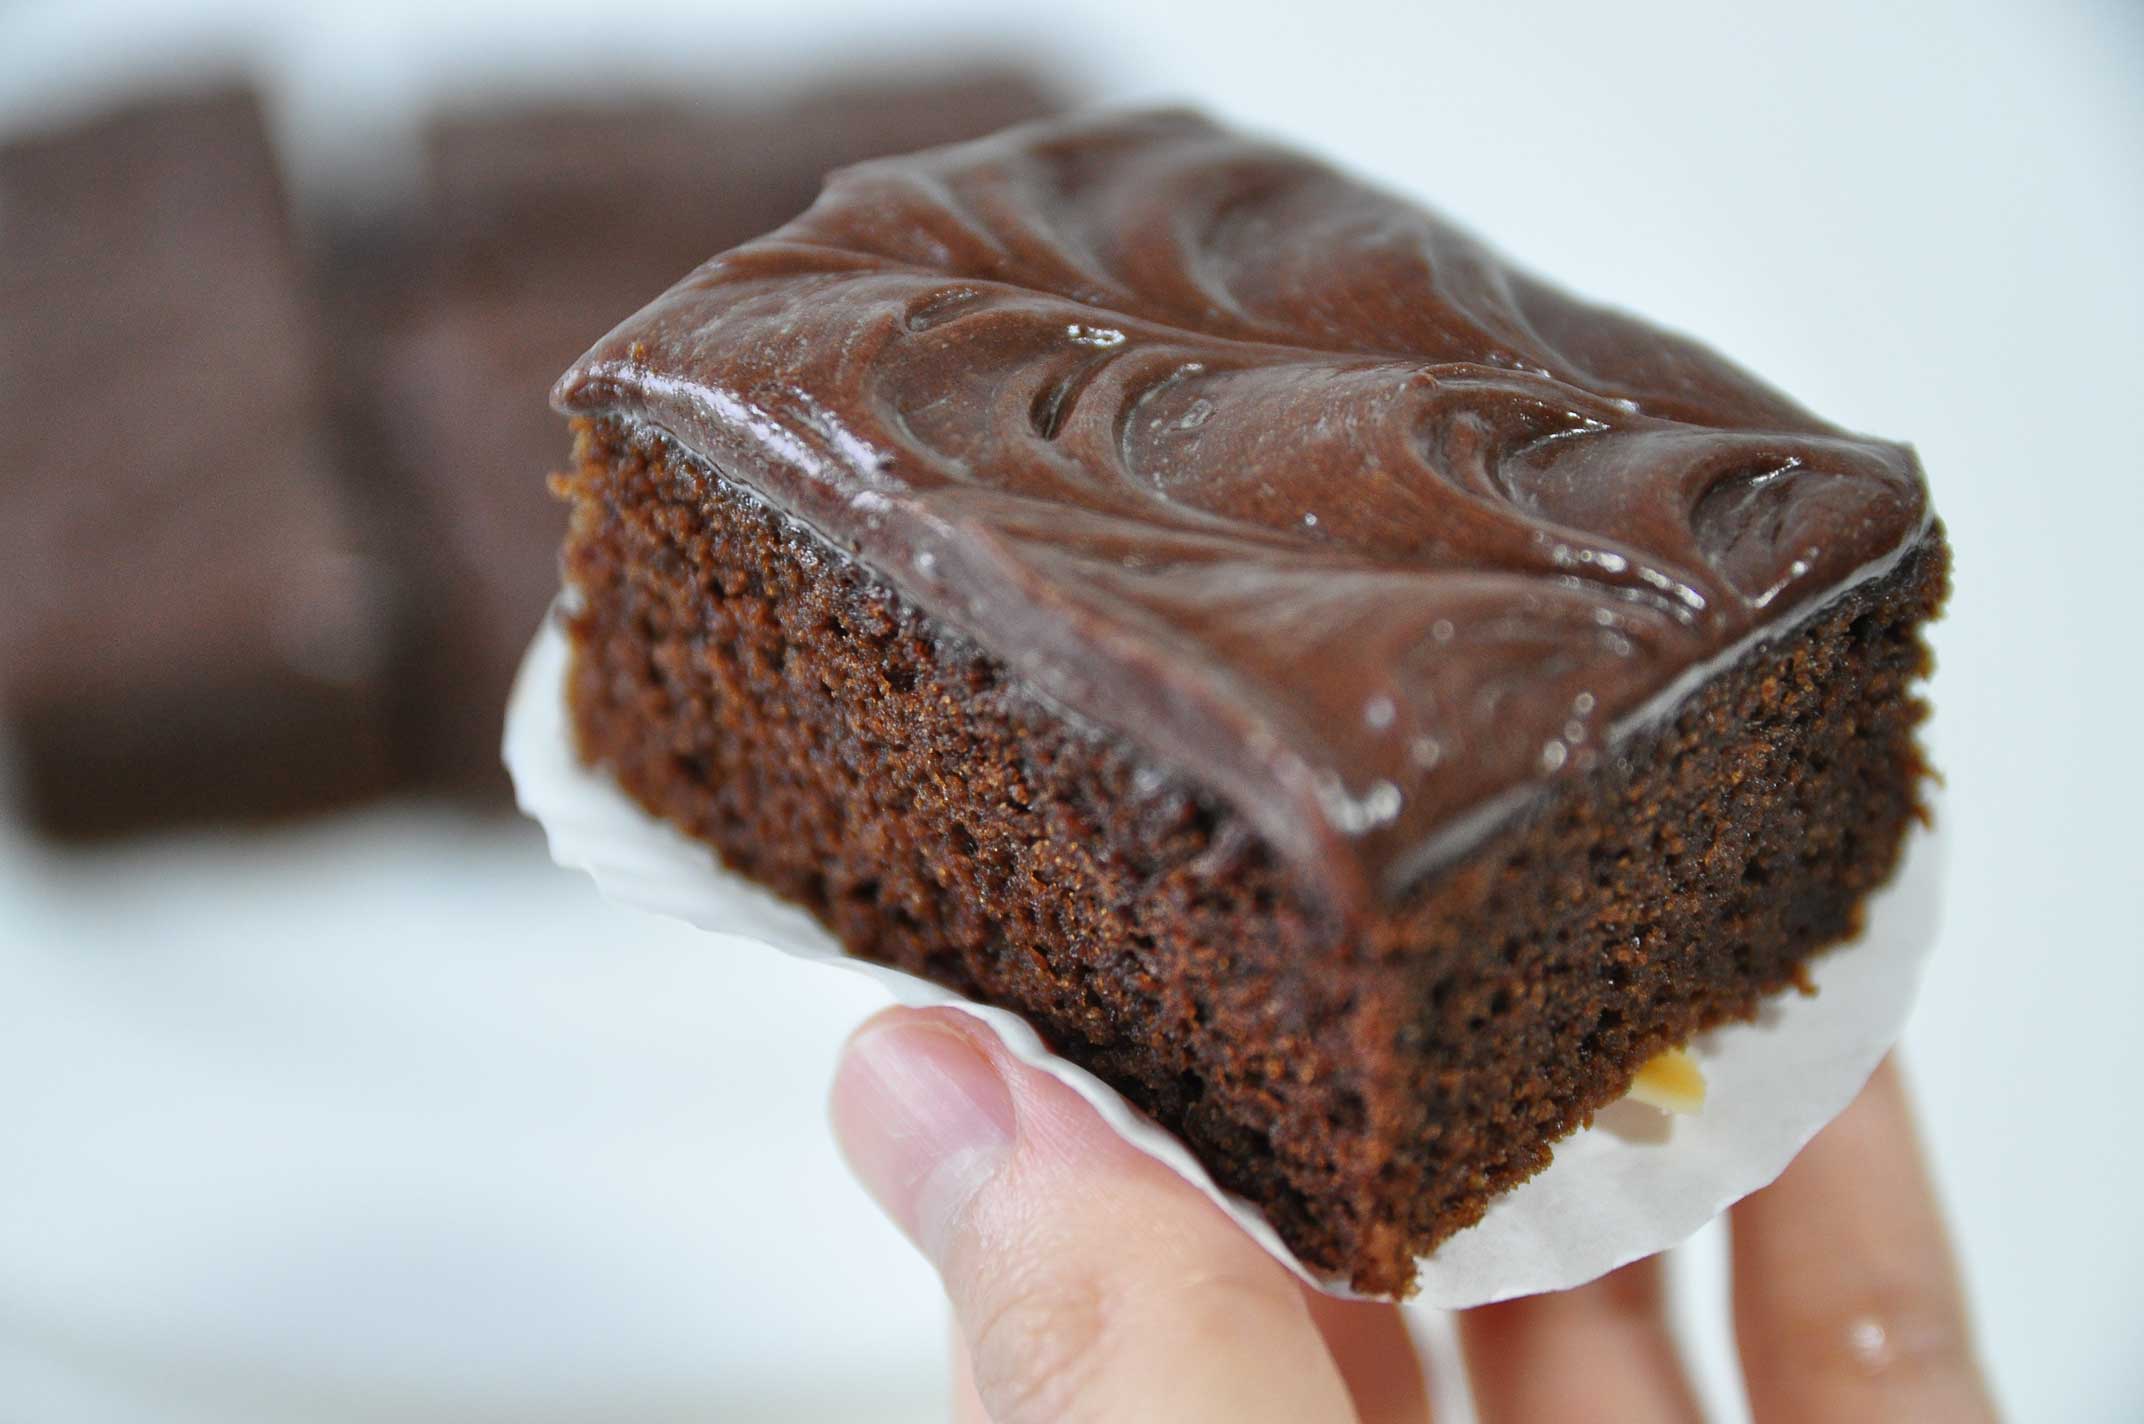
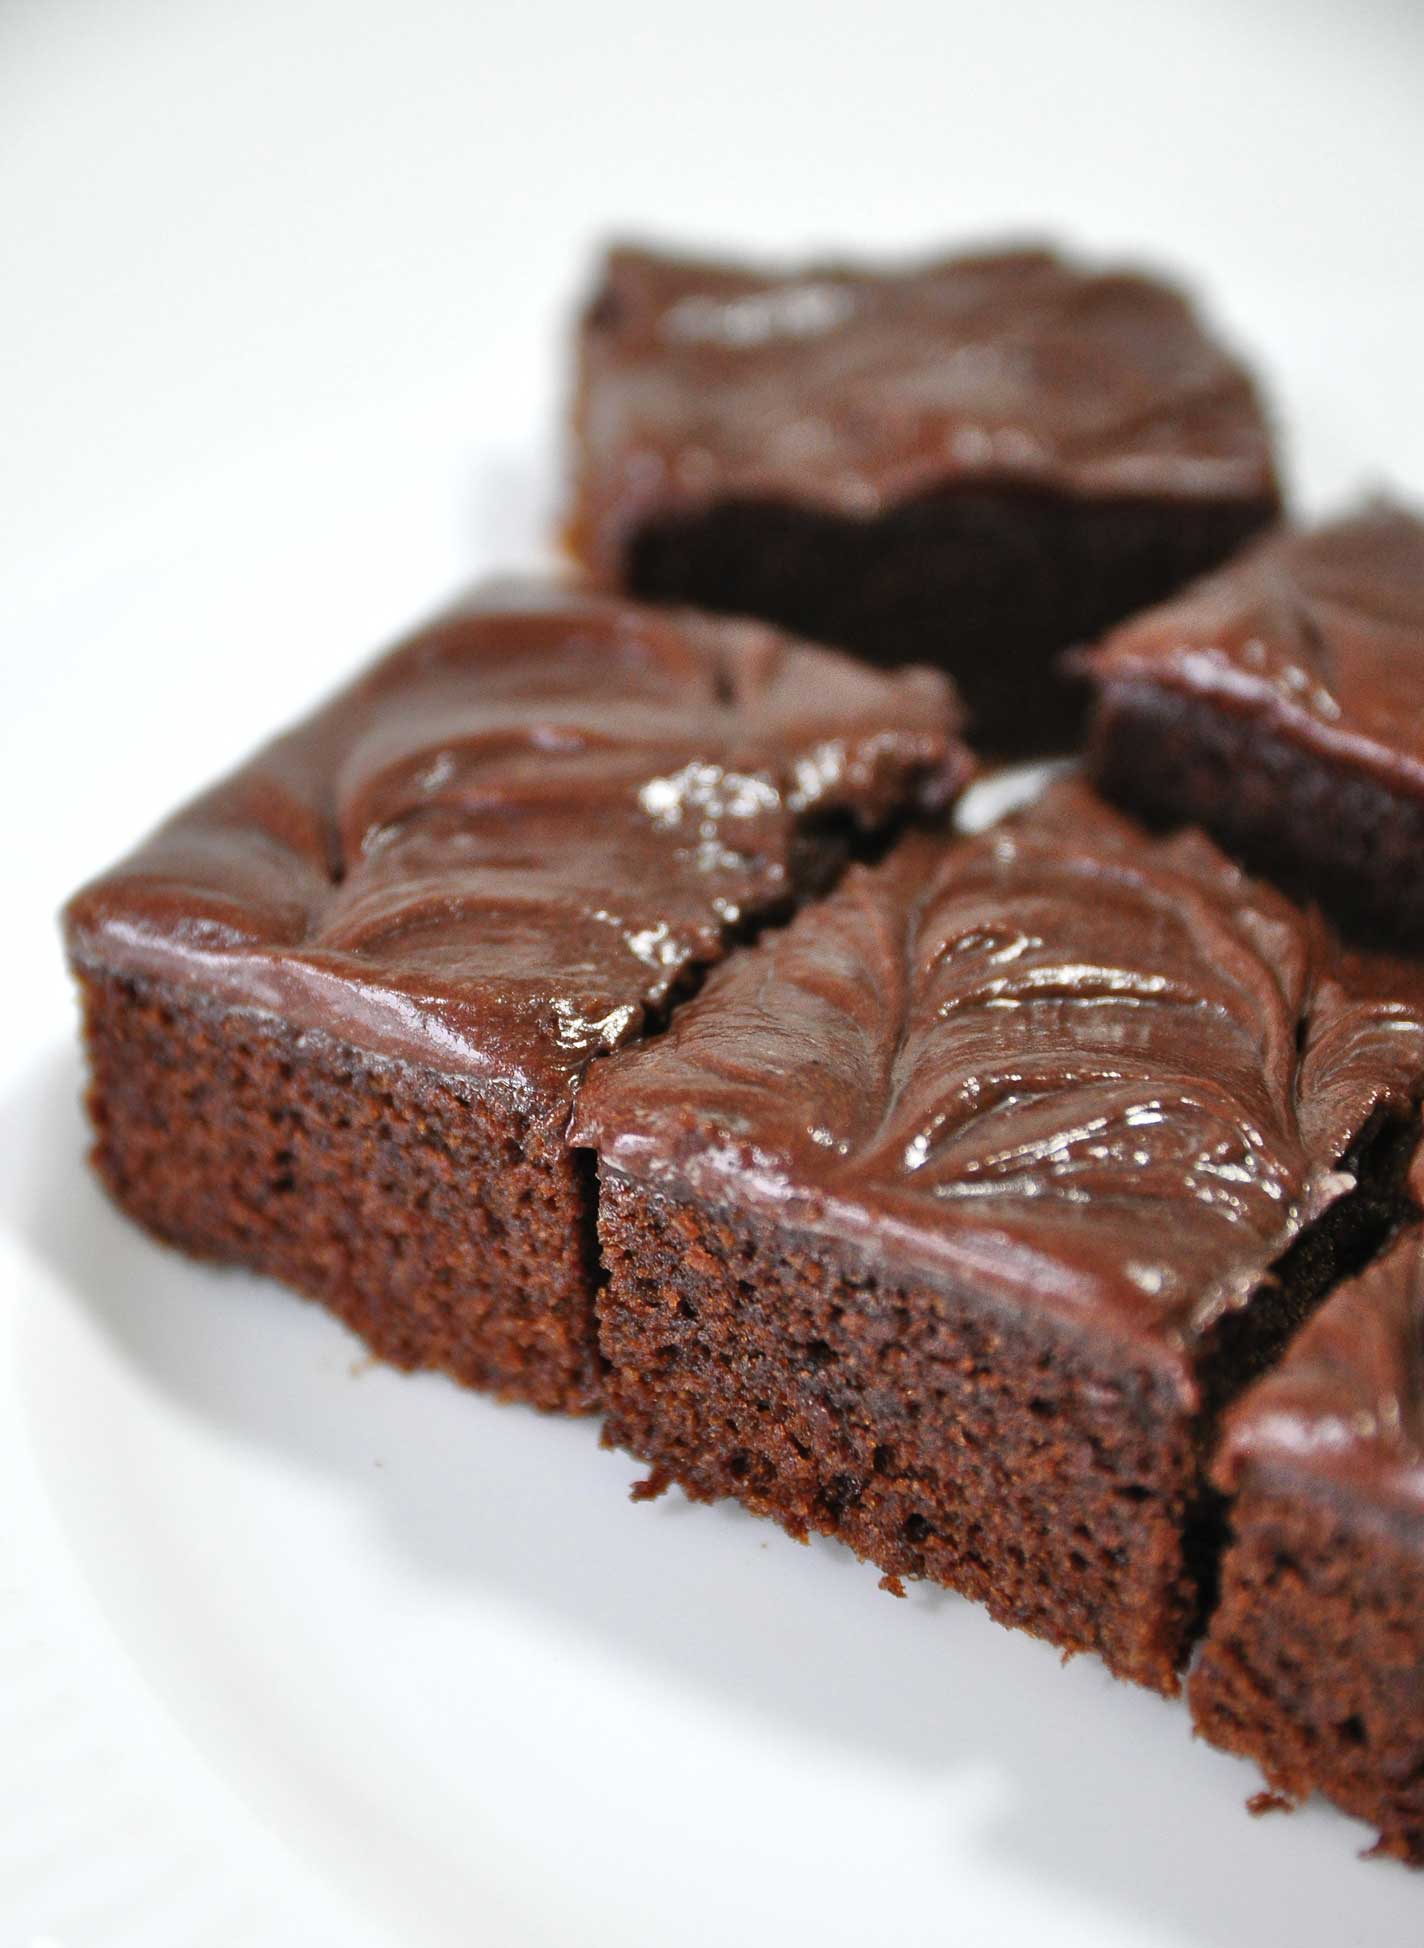
Hellloooo friends!!! Today we are making this “Double Dark Chocolate Cupcakes” This has been my go-to dark chocolate cupcake recipe for years now šŸ˜€ It makes the softest, PERFECTLY CHOCOLATY, moist and fluffy cupcake paired with whipped dark chocolate ganache frosting”.

The batter isn’t as thick as you would think. We don’t really want a super thick chocolate batter because that would yield a cupcake similar to brownies. Dense. We don’t want dense! We want spongey, cakey, and rich. So the batter is thin.

The chocolate cupcake just melts in your mouth, they are light and fluffy and stay moist for days. Seriously Guys, no other cupcake recipe can compare! I hope you make these Moist Chocolate Cupcakes and I know you Guys are going to love them!! Look forward to more videos coming soon 😊

DARK CHOCOLATE CUPCAKES
Yield: 6 pieces
Active times: 1 hour
Total time: 2 hours

INGREDIENTS
Cupcakes:

  • 30 grams Cocoa powder
  • 1/4 + 1/8 teaspoon Baking soda
  • 90 grams Boiling water
  • 45 grams Unsalted butter (melted)
  • 35 grams Vegetable oil
  • 150 grams Granulated sugar
  • 1/8 teaspoon Salt
  • 40 grams Eggs
  • 15 grams Egg yolks
  • 45 grams Heavy whipping cream
  • 95 grams All-purpose flour

Whipped Chocolate Ganache Frosting:

  • 80 grams Heavy whipping cream
  • 160 grams Dark Chocolate
  • 1 tablespoons Rhum (optional)

INSTRUCTIONS
Cupcakes:

  1. Preheat oven to 350 degrees Farenheit.
  2. In large heat proof mixing bowl, whisk together cocoa powder, baking soda and boiling water. Whisk until bubbling subsides and mixture is well blended, allow to cool for 5 minutes, set aside.
  3. Meanwhile, in a separate large mixing bowl, blend together melted butter, vegetable oil, granulated sugar and salt until well combined. Mix in egg and eggs yolk. Blend in lukewarm cocoa mixture. Then blend in heavy cream. Finally add flour and blend until well combined.
  4. Divide batter among 6 paper lined muffin cups filling each about 2/3 full. 
  5. Bake in preheated oven until toothpick inserted into center comes out clean, about 17 – 20 minutes. 
  6. Remove from oven and allow to cool in muffin pan several minutes before transferring to wire rack to cool.
  7. Cool completely then frost with whipped dark chocolate ganache frosting.

Whipped Dark Chocolate Ganache Frosting

  1. In a double boiler or in the microwave, melt dark chocolate and heavy cream together and stir until smooth.
  2. Let it cool in the fridge for about 1 hour or until you can spoon some out and keeps it’s form.
  3. Place in your hand mixer, add some rhum (as desired), whip until stiff. It should take for about 4-5 minutes.
  4. Pipe onto cooled cupcakes and top with sprinkles (optional).

NOTES

  • Store unfrosted cupcakes in an airtight container for up to seven days in the refrigerator or keep on the counter for two days.
  • Remove the cupcakes from the refrigerator an hour to two before you intend to eat them to allow them to come to room temperature.
  • The general rule is that classic ganache may stay at room temperature for up to 2 days then must be refrigerated. If you’d rather be safe (which I recommend), keep it refrigerated for all storage. 
  • Ganache can be frozen for up to 1 month. Thaw in the fridge then let come to room temperature before using.

One Hour Fluffy Cinnamon Rolls

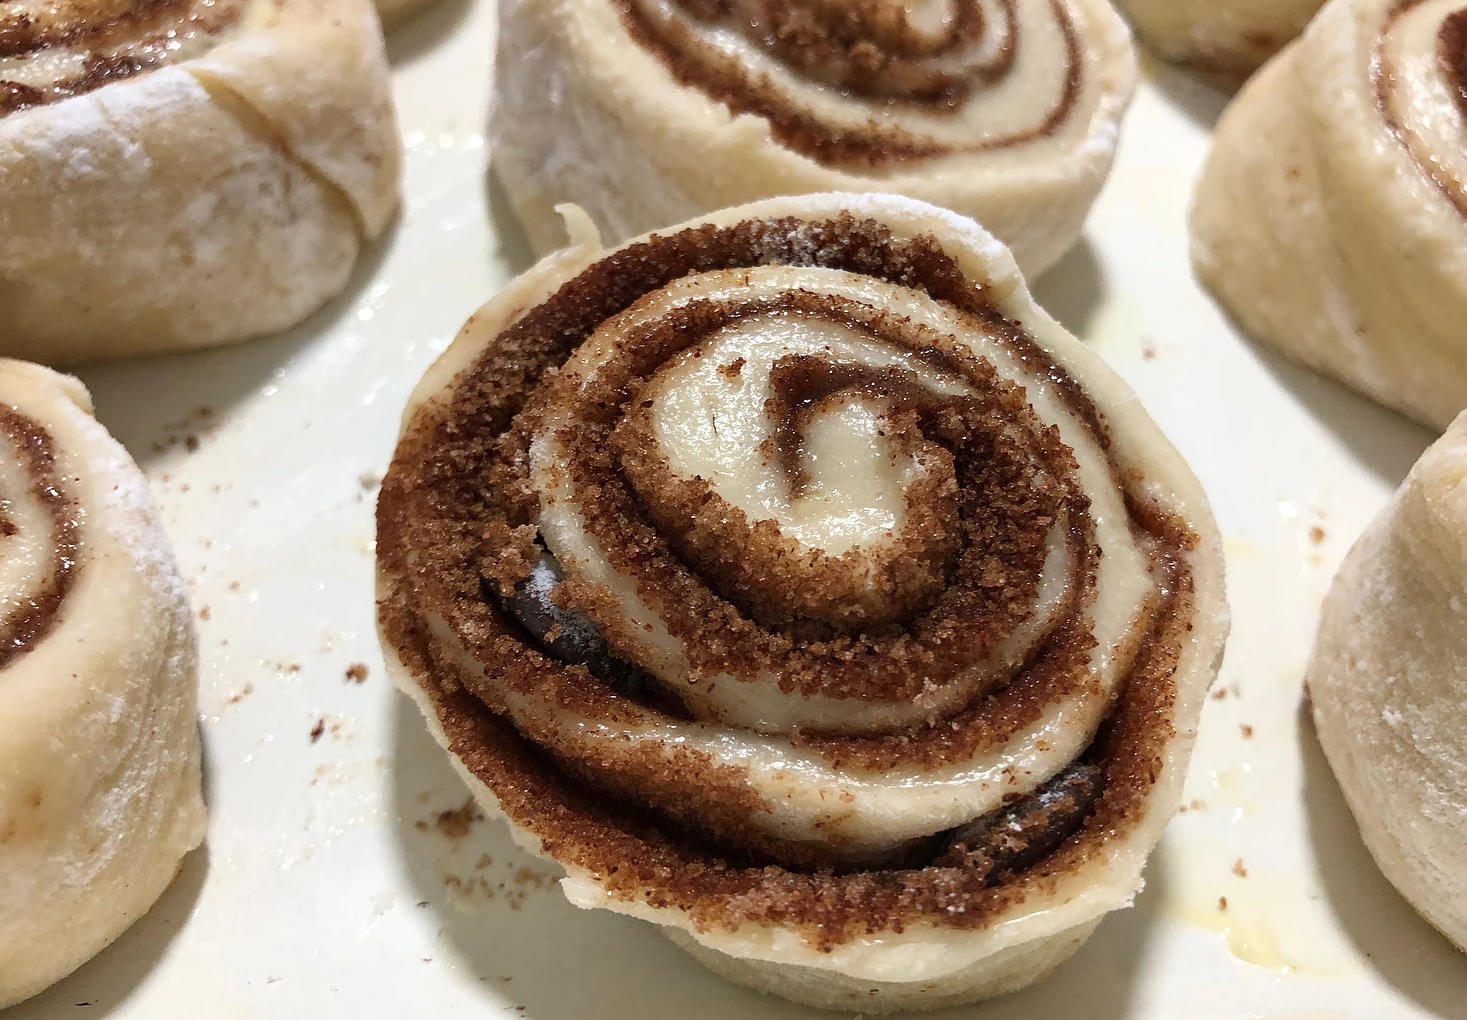
Helloooo and welcome back!! Today we are making my favorite bread “Cinnamon Rolls”!
One is never enough, that’s how I love cinnamon rolls šŸ˜‰ My entire family also is OBSESSED with these rolls, especially when they require only 60 MINUTES to make! .
They are super soft and result in a quick, mouth-watering cinnamon treat. The rolls were tasted just as good as regular version, BUT – they were made in an hour! How awesome is that?!


I have to say, these ONE HOUR cinnamon rolls are not only quick and easy, but they taste just as amazing.
The dough is perfectly buttery and flaky, and every bit of that brown-sugar-butter-cinnamon-toast-crunch topping is crunchy and sweet and unbelievably good.


The smell of fresh yeasty dough in the air, followed shortly after by sizzling butter and warming sugar and cinnamon, there’s nothing better than a warm, gooey cinnamon roll covered in a sweet layer of cream cheese icing.


These recipe are everything you want in a cinnamon roll;
I am hooked on them and believe you will love this cinnamon rolls recipe too!!! Look forward to more videos coming soon šŸ˜›


ONE HOUR FLUFFY CINNAMON ROLLS
Yield: 6 pieces
Active times: 1 hour
Total time: 1 1/2 hours

INGREDIENTS
Dough

  • 192 grams all-purpose flour
  • 1 1/8 teaspoons instant yeast (NOT the active dry)
  • 1/2 teaspoon salt
  • 60 grams water
  • 14 grams unsalted butter
  • 30 grams milk
  • 25 grams granulated sugar
  • 25 grams eggs


Cinnamon Filling

  • 28 grams unsalted butter (melted)
  • 67 grams brown sugar
  • 1/2 tablespoon cinnamon powder

Cream Cheese Frosting

  • 45 grams cream cheese
  • 95 grams icing sugar
  • 1 tablespoon milk


INSTRUCTIONS
Dough

  1. Grease 10″ x 8″ baking dish with butter.
  2. In a microwave safe container, combine water, butter, milk, and sugar. Heat in the microwave or on the stove until the butter and sugar melted, set aside.
  3. In a large bowl combine flour and yeast, mix well. Then and salt, and mix again. Please remember, don’tĀ bring theĀ yeastĀ andĀ saltĀ into direct contact. Because saltĀ can kill theĀ yeast,Ā there will be no chance that your dough will rise.
    Add in eggs, mix. The slowly drizzle the warm butter-milk mixture, knead with by hand for 4 about minutes. You know your dough is the right texture if it’s doesn’t really sticks to your fingers with a light touch.
  4. Cover the bowl with plastic wrap, let the dough rest for about 10 minutes.
  5. Preheat oven to 200 F/ 100 C, then turn it off when it reaches 200 F /100 C. This is where you’ll allow the rolls to rise.
  6. Roll out cinnamon roll dough into a 12″ x 9″ rectangle, then spread cinnamon roll filling on top. Leave a 1″ border on the bottom long edge of the dough.
    Roll dough with your fingertips, starting from the long end without a border, pinch the seam to seal, then cut roll into 6 equal pieces. Arrange pieces in a 10″ x 8″ baking dish greased with butter.
  7. Place pan in warmed oven and let rise for 20-25 minutes or until doubled in size .
  8. Remove rolls from the oven, then turn oven to 375F/ 180 C. Once oven is preheated, bake the rolls for 15-18 minutes.
  9. Remove from the oven, drizzle the cream cheese icing on top.

Cinnamon Filling
Melt butter in the microwave, then stir in sugar, cinnamon, and vanilla; mix well.

Cream Cheese Icing
Mix cream cheese, powdered sugar and milk together until smooth

NOTES

  • Rolls in an airtight container will keep at room temperature for up to 3 days, 5 days in the refrigerator, and up to 2-3 months in the freezer.
  • To reheat; remove the roll from the container, preheat the oven or toaster until the temperature reaches 350 degrees F. Put the cinnamon buns on a baking sheet and cover with aluminum foil and place them in the oven or toaster. Let the rolls heat up for about 10-15 minutes.
    Another option is using the microwave; place the cinnamon rolls in the microwave for about 15 to 30 seconds. Check on them to ensure they don’t become soggy.

Chocolate Fudge Brownies

Hi Guys!!! how are you today?? Today we are making some Chocolate Fudge Brownies that I promise taste just as good as they look šŸ™‚
After testing what feels like a lifetime of brownies, these FINALLY came out a perfect texture, and have been made weekly ever since.

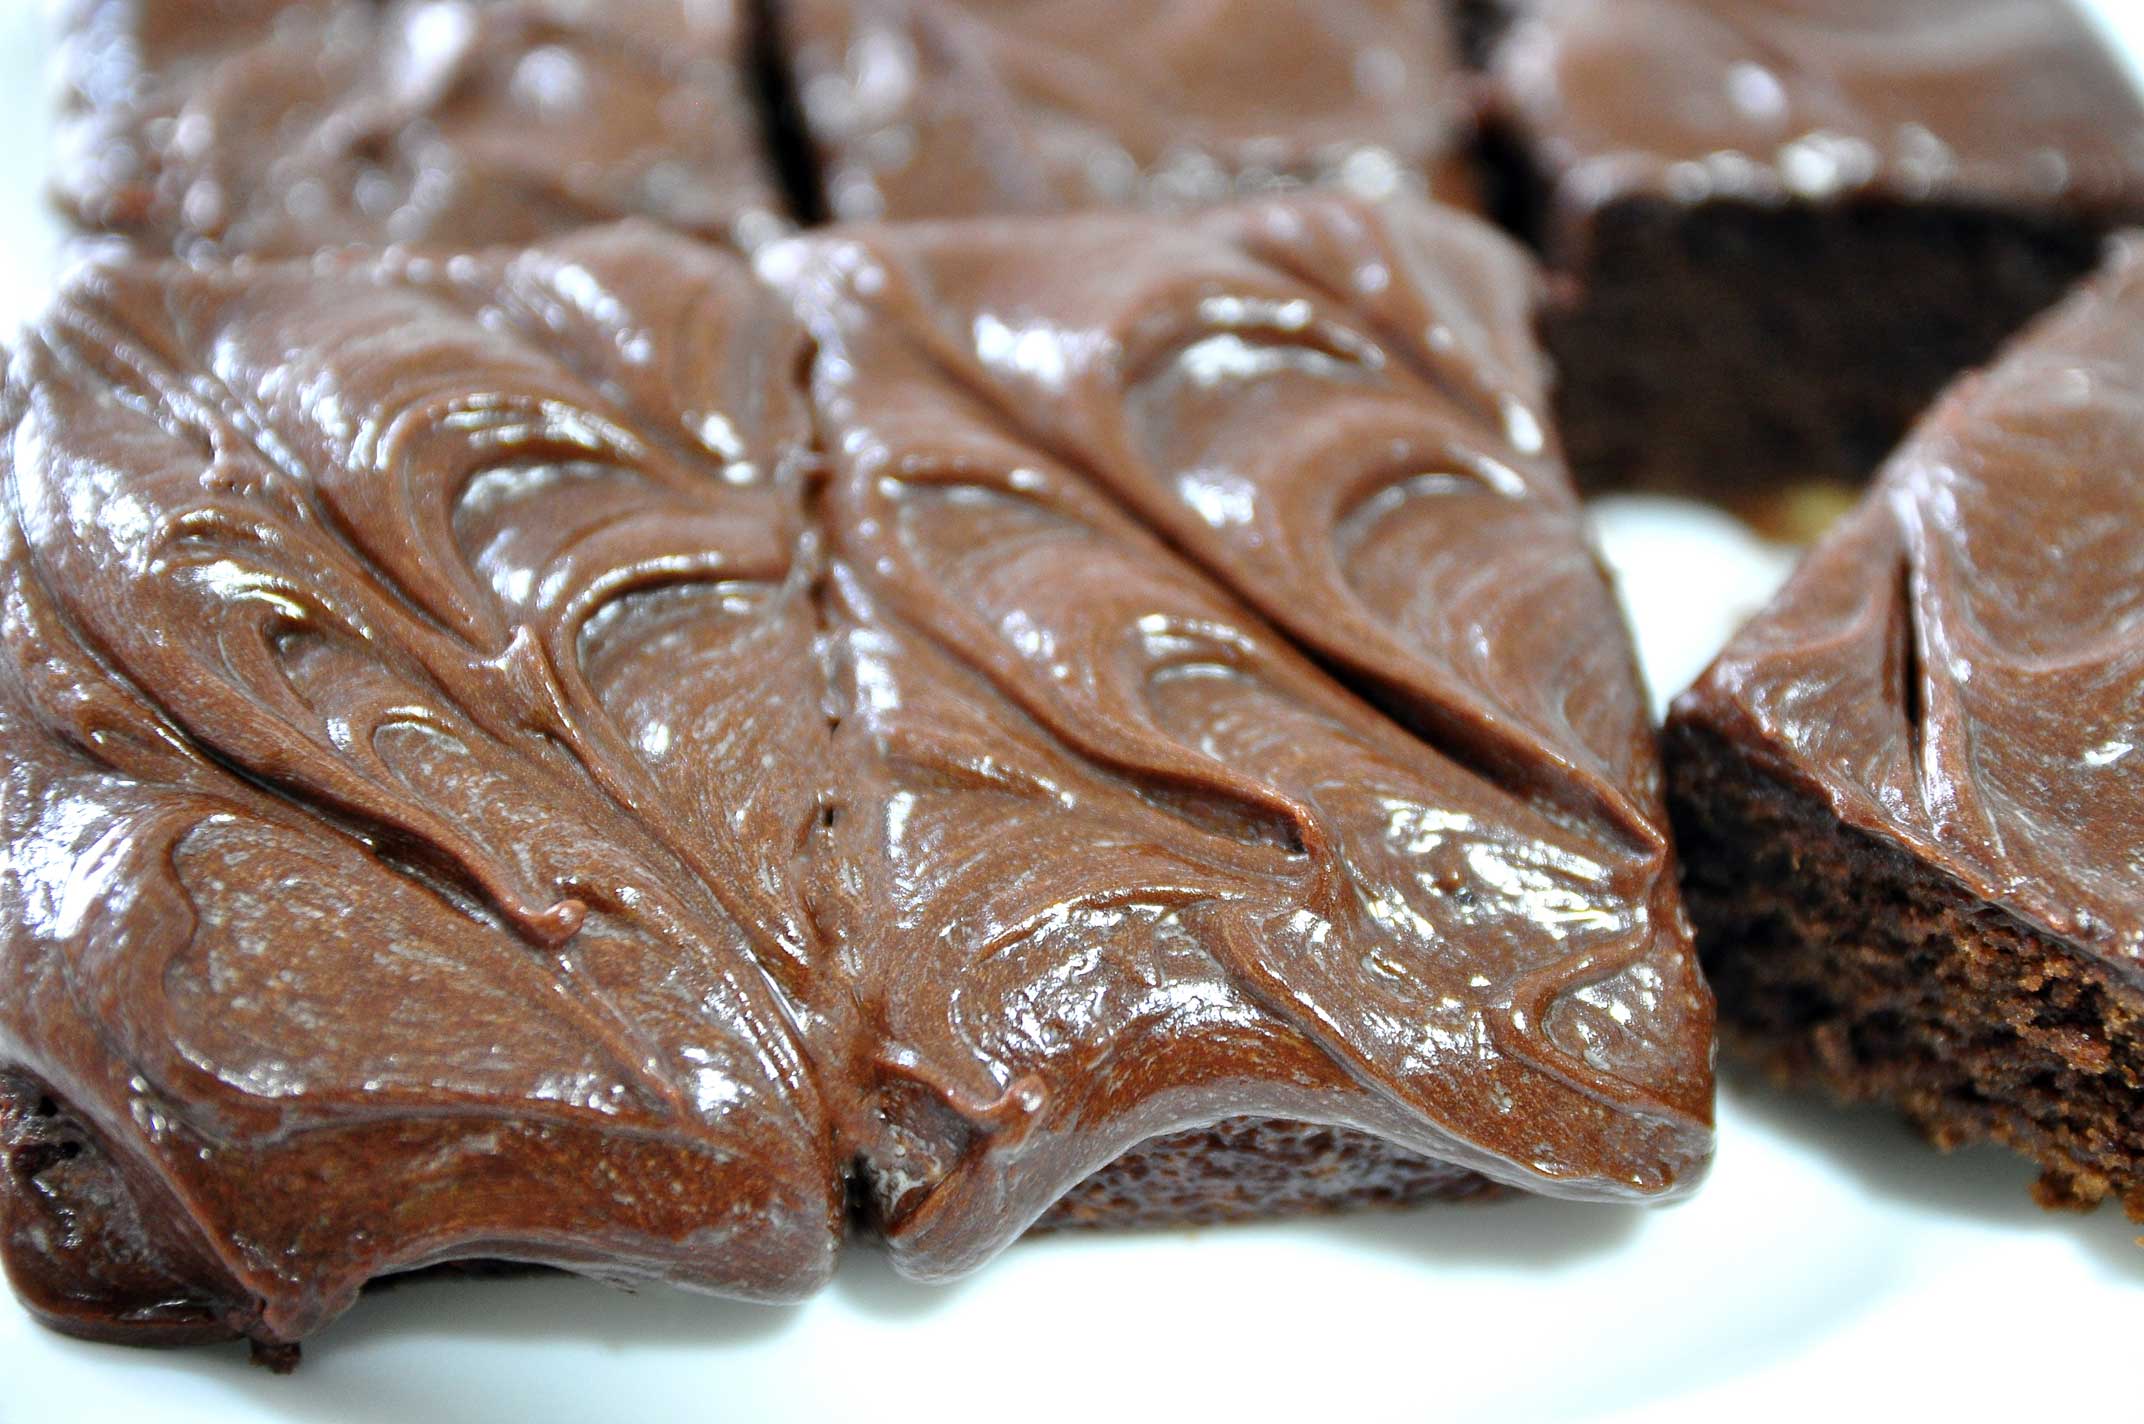
These Brownies are so chewy and gooey with the addition of Fudge Icing on top you can’t go wrong! For those of you prefer a less sweet, more ā€œadult styleā€ icing I urge you to try them with Ganache Icing (you can find the recipe below)!


Just one bowl and 5 minutes bringing it all together to make the BEST freaking brownies you’ve ever eaten in this lifetime. I hope you enjoy the recipe and see ya soon!!!


CHOCOLATE FUDGE BROWNIES
Yield: 7-inch square pan
Active times: 1 hour
Total time: 1 1/2 hours

INGREDIENTS
Brownies

  • 42 grams all-purpose flour
  • 1/2 teaspoon baking powder
  • 1/4 teaspoon salt
  • 113 grams semi sweet baking chocolate
  • 75 grams unsalted butter
  • 100 grams granulated sugar
  • 2 eggs (100 grams)
  • 15 grams chopped nuts (as desired)


Fudge Icing

  • 13 grams granulated sugar
  • 1 tablespoon water
  • 8 grams corn syrup
  • 18 grams cocoa powder
  • 6 grams vegetable oil
  • 5 grams shortening
  • 16 grams corn syrup
  • 45 grams unsalted butter
  • 20 grams icing sugar

Chocolate Ganache Icing (less sweet “adult style” icing)

  • 80 grams Heavy whipping cream
  • 160 grams Dark Chocolate


INSTRUCTIONS
Brownies

  1. Preheat oven to 350 F/ 180 C.
  2. In a microwave safe bowl or over a double boiler melt the butter and the chocolate together (if using the microwave, on medium power 15-25 seconds at a time and stirring between each interval).
  3. Whisk together flour, baking powder and salt, set aside.
  4. In a large bowl, combine the sugar and the eggs. Whisk together vigorously to incorporate evenly. Add the melted chocolate and butter mixture, mix. Then add all of the dry ingredients at once and mix just until incorporated.
  5. Pour entire batter in prepared pan.
  6. Sprinkle nuts as desired.
  7. Bake for 17-20 minutes or until a toothpick inserted into center produces a moist crumb. Let it cool completely in a pan.
  8. When completely cooled, ice with fudge icing.

Fudge Icing

  1. For the simple syrup, combine the first 3 ingredients (sugar, water and 8 grams of corn syrup). Boil for about 2-3 minutes then pour into a bowl and allow to sit in the freezer to rapid cool while you gather the other ingredients.
  2. In a large mixing bowl with, add the cocoa powder and cooled but still warm simple syrup and mix until it forms a firm mass. Add the vegetable oil, shortening, butter and 16 grams of corn syrup and mix well. Then add the sifted confectioners sugar a little bit at a time and mix until smooth.

Chocolate Ganache Icing

  1. In a double boiler or in the microwave, melt dark chocolate and heavy cream together and stir until smooth.
  2. Once cooled, just spread the icing on the brownies .

NOTES

  • Iced brownies in an airtight container, at room temperature best eaten within 1 to 2 days.
  • A whole pan’s worth, uncut and well wrapped in plastic, will keep at room temperature for up to 3 days, 5 days in the refrigerator, and up to 3 months in the freezer.
  • To thaw the frozen brownies leave the cut up brownie squares to thaw at room temperature for two to three hours, then reheat the brownies using a microwave or a toaster.

Nian Gao

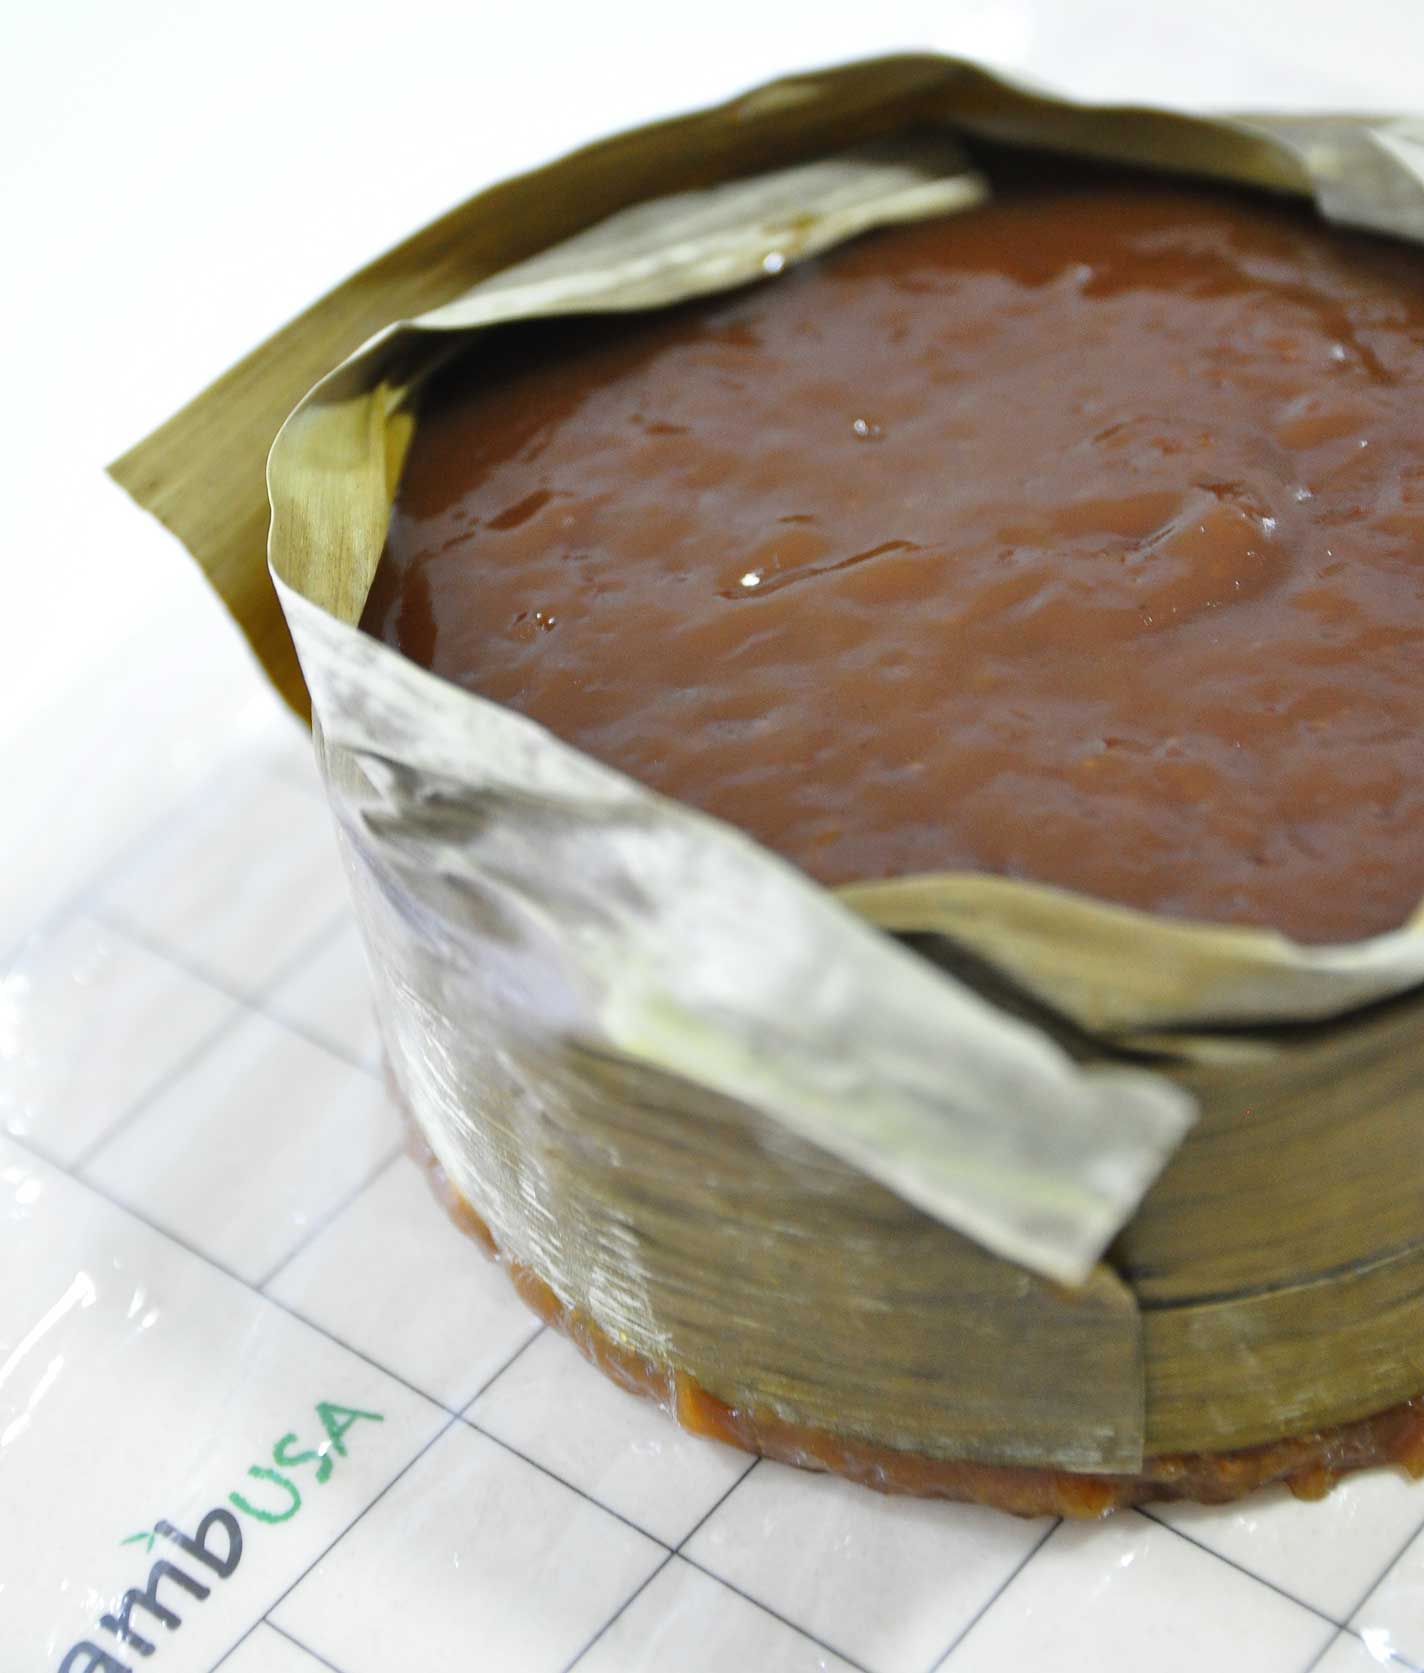
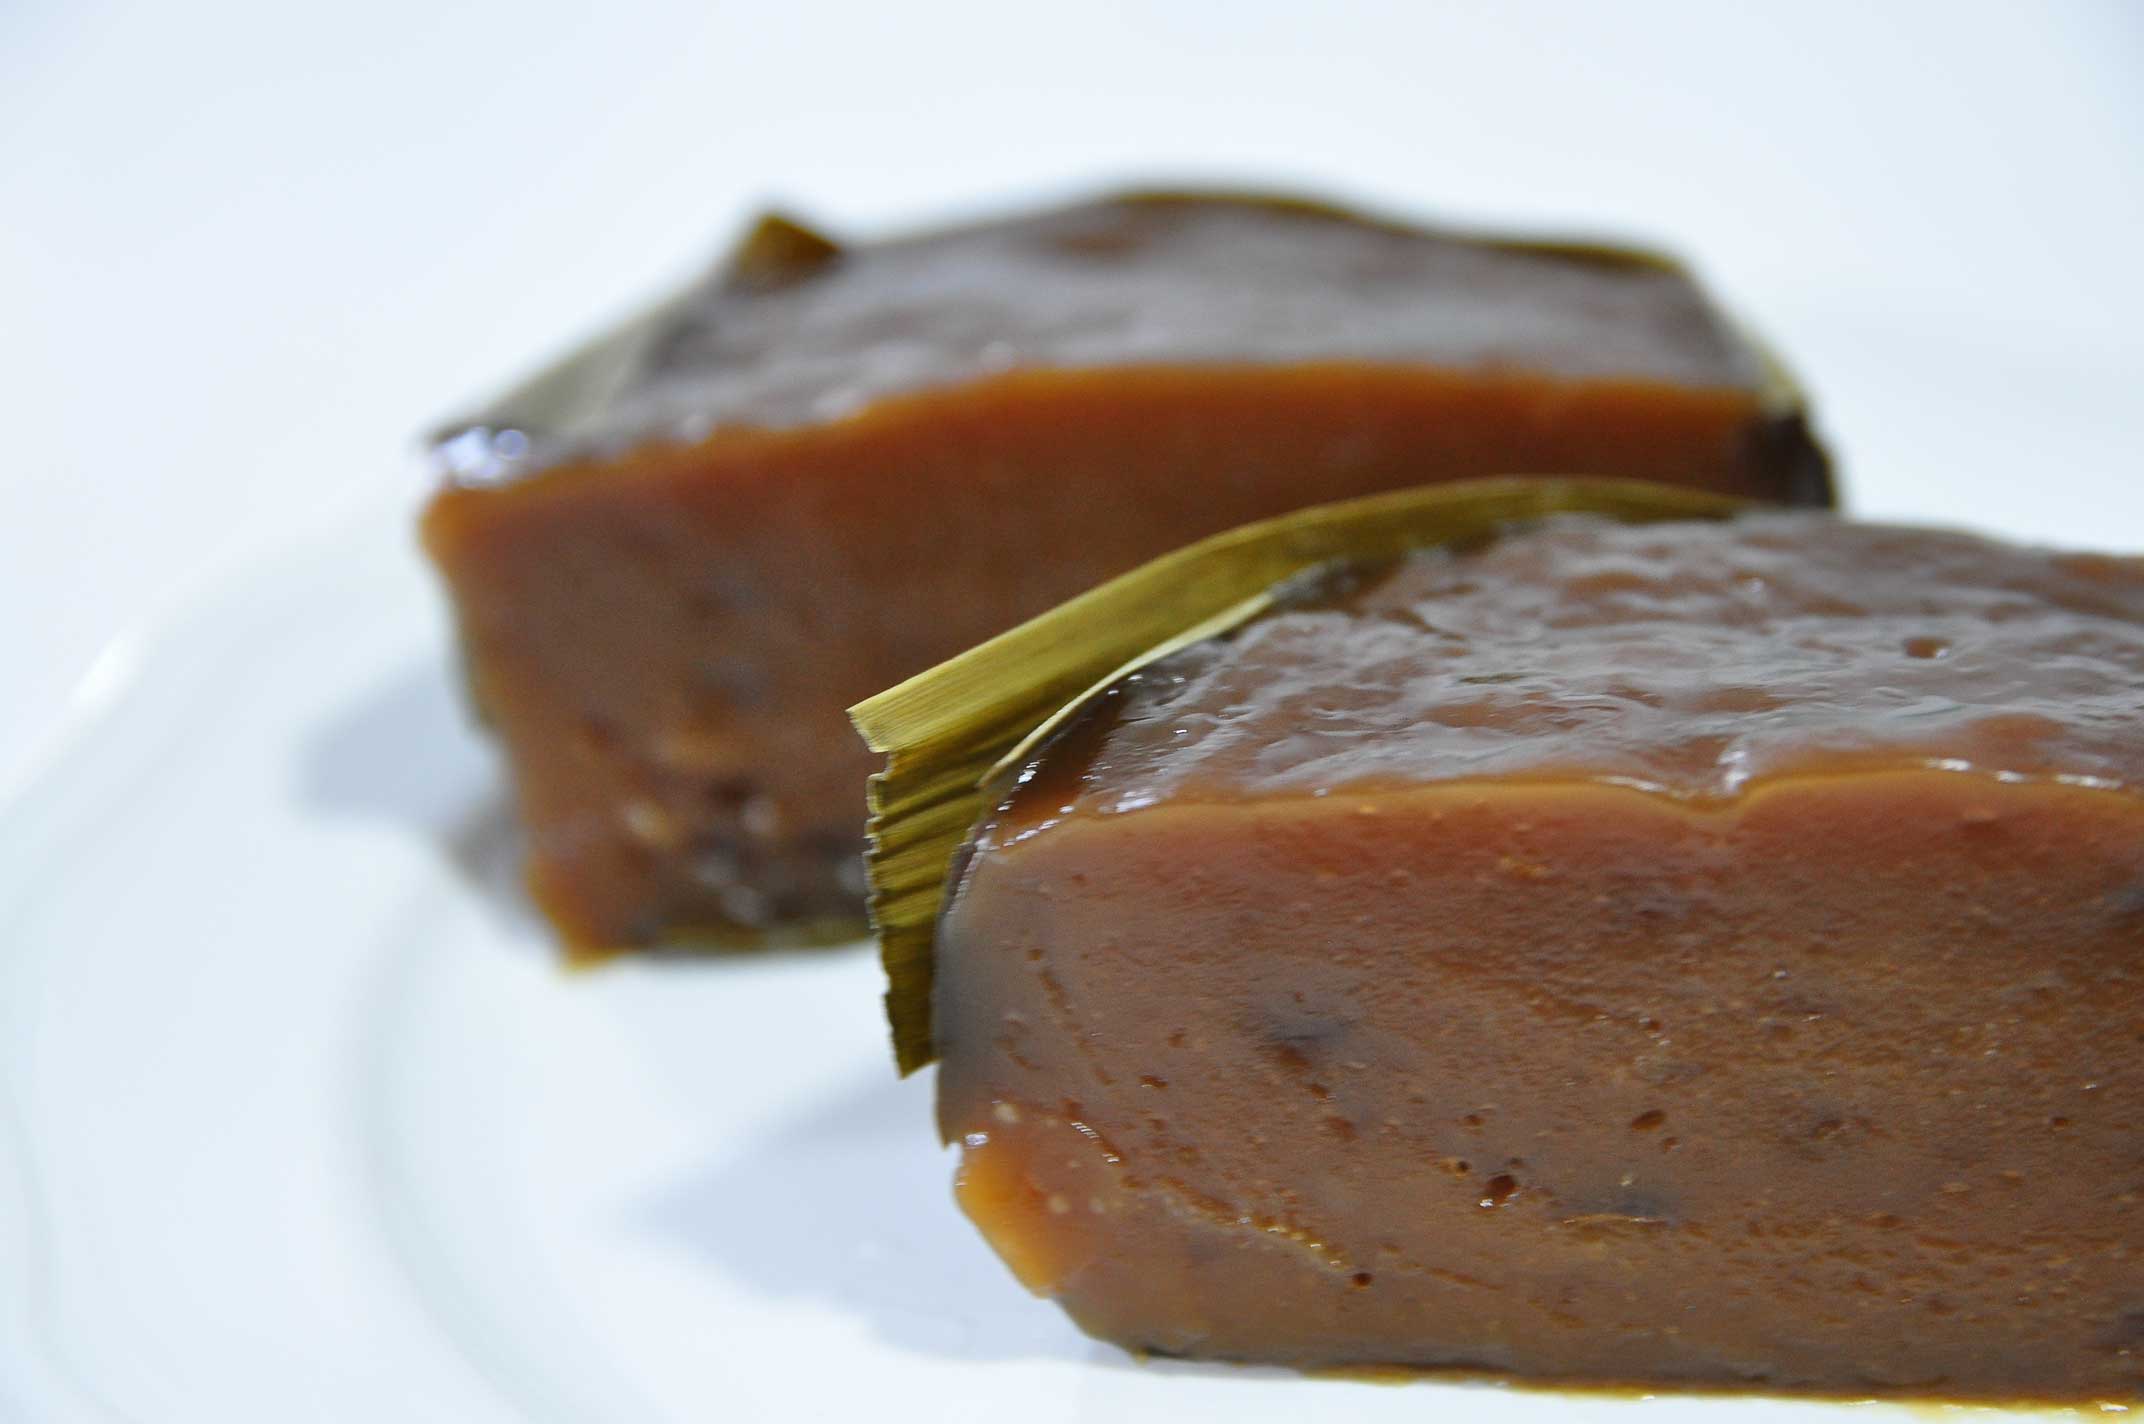
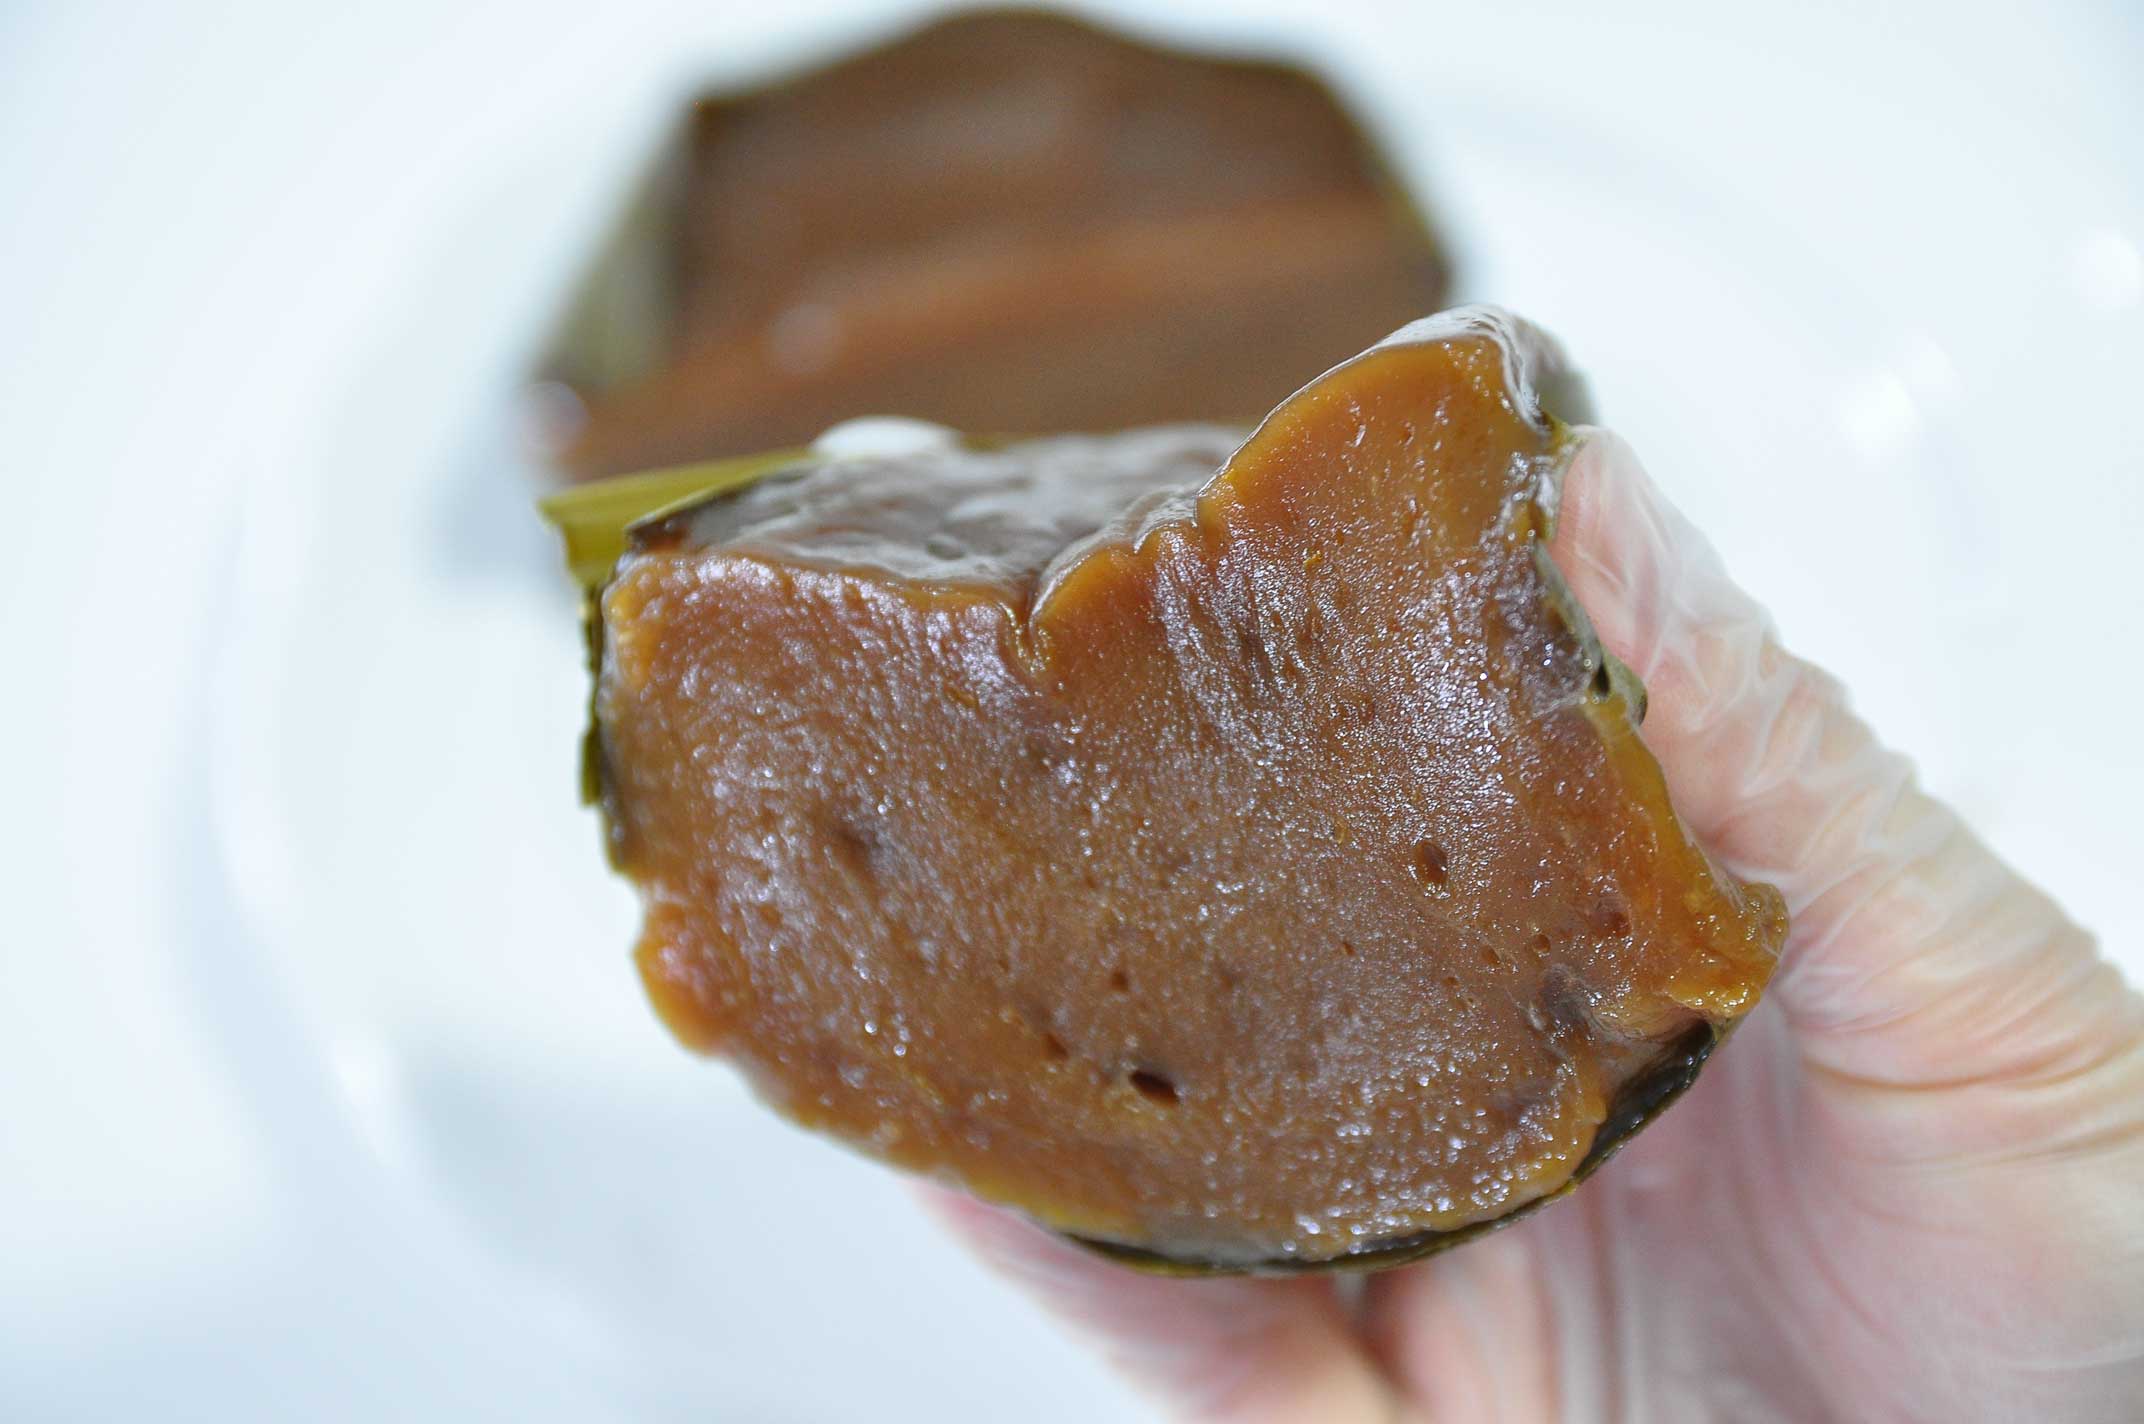
Hellooo there! Today we’re making “Nian Gao” a sticky cake that EVERYONE must have during Chinese New Year, and you know why???
The Chinese word 粘 (niĆ”n), meaning “sticky”, is identical in sound to 幓, meaning “year”, and the word 糕 (gāo), meaning “cake” is identical in sound to 高, meaning “high or tall”. As such, eating nian gao has the symbolism of raising oneself taller in each coming year (幓幓高升 niĆ”nniĆ”n gāoshēng). Other names for these lucky rice cakes include kuih bakul, teekuih and kue keranjang.

I still remembers my first sticky cake. ā€œI was really little, and the smell was just overwhelming – sweet but not too sweet. It filled the whole house.ā€ I can say the cake – slabs or shapes of sweetened glutinous rice – is still among my favourite foods. ā€œThere’s nothing quite like it!ā€

This sweet and sticky rice cake is readily available only once a year during the Chinese New Year season (you can imagine how I will miss it so much :P), however the nian gao can be kept quite long time. My mom usually buy a lot of Nian Gao in bulk, cut and then stored in the freezer for up to a year.

Soft and sticky

Traditionally, making Nian Gao involves 3 simple ingredients, however it takes a VERY long time to cook. It was a tough work to produce this cake, 10-12 hours of steaming šŸ˜› Did I just give you a heart attack?
Don’t worry, this recipe only need a short steaming time, so what are you waiting for, learn the secret in the video–enjoy!


NIAN GAO
Yield: three 5-inch round containers
Active times: 1 hour
Total time: 3 hours

INGREDIENTS
Banana Leaves
3 crushed Pandan Leaves
1/2 teaspoon Salt
380 grams Gula Melaka
120 grams Granulated Sugar
500 ml Water
200 ml Coconut Milk
600 grams Glutinous Rice Flour
Zest of one Orange (optional)

INSTRUCTIONS
Banana Leaves

  1. Soften banana leaves by boiling them in hot water for about 10 minutes.
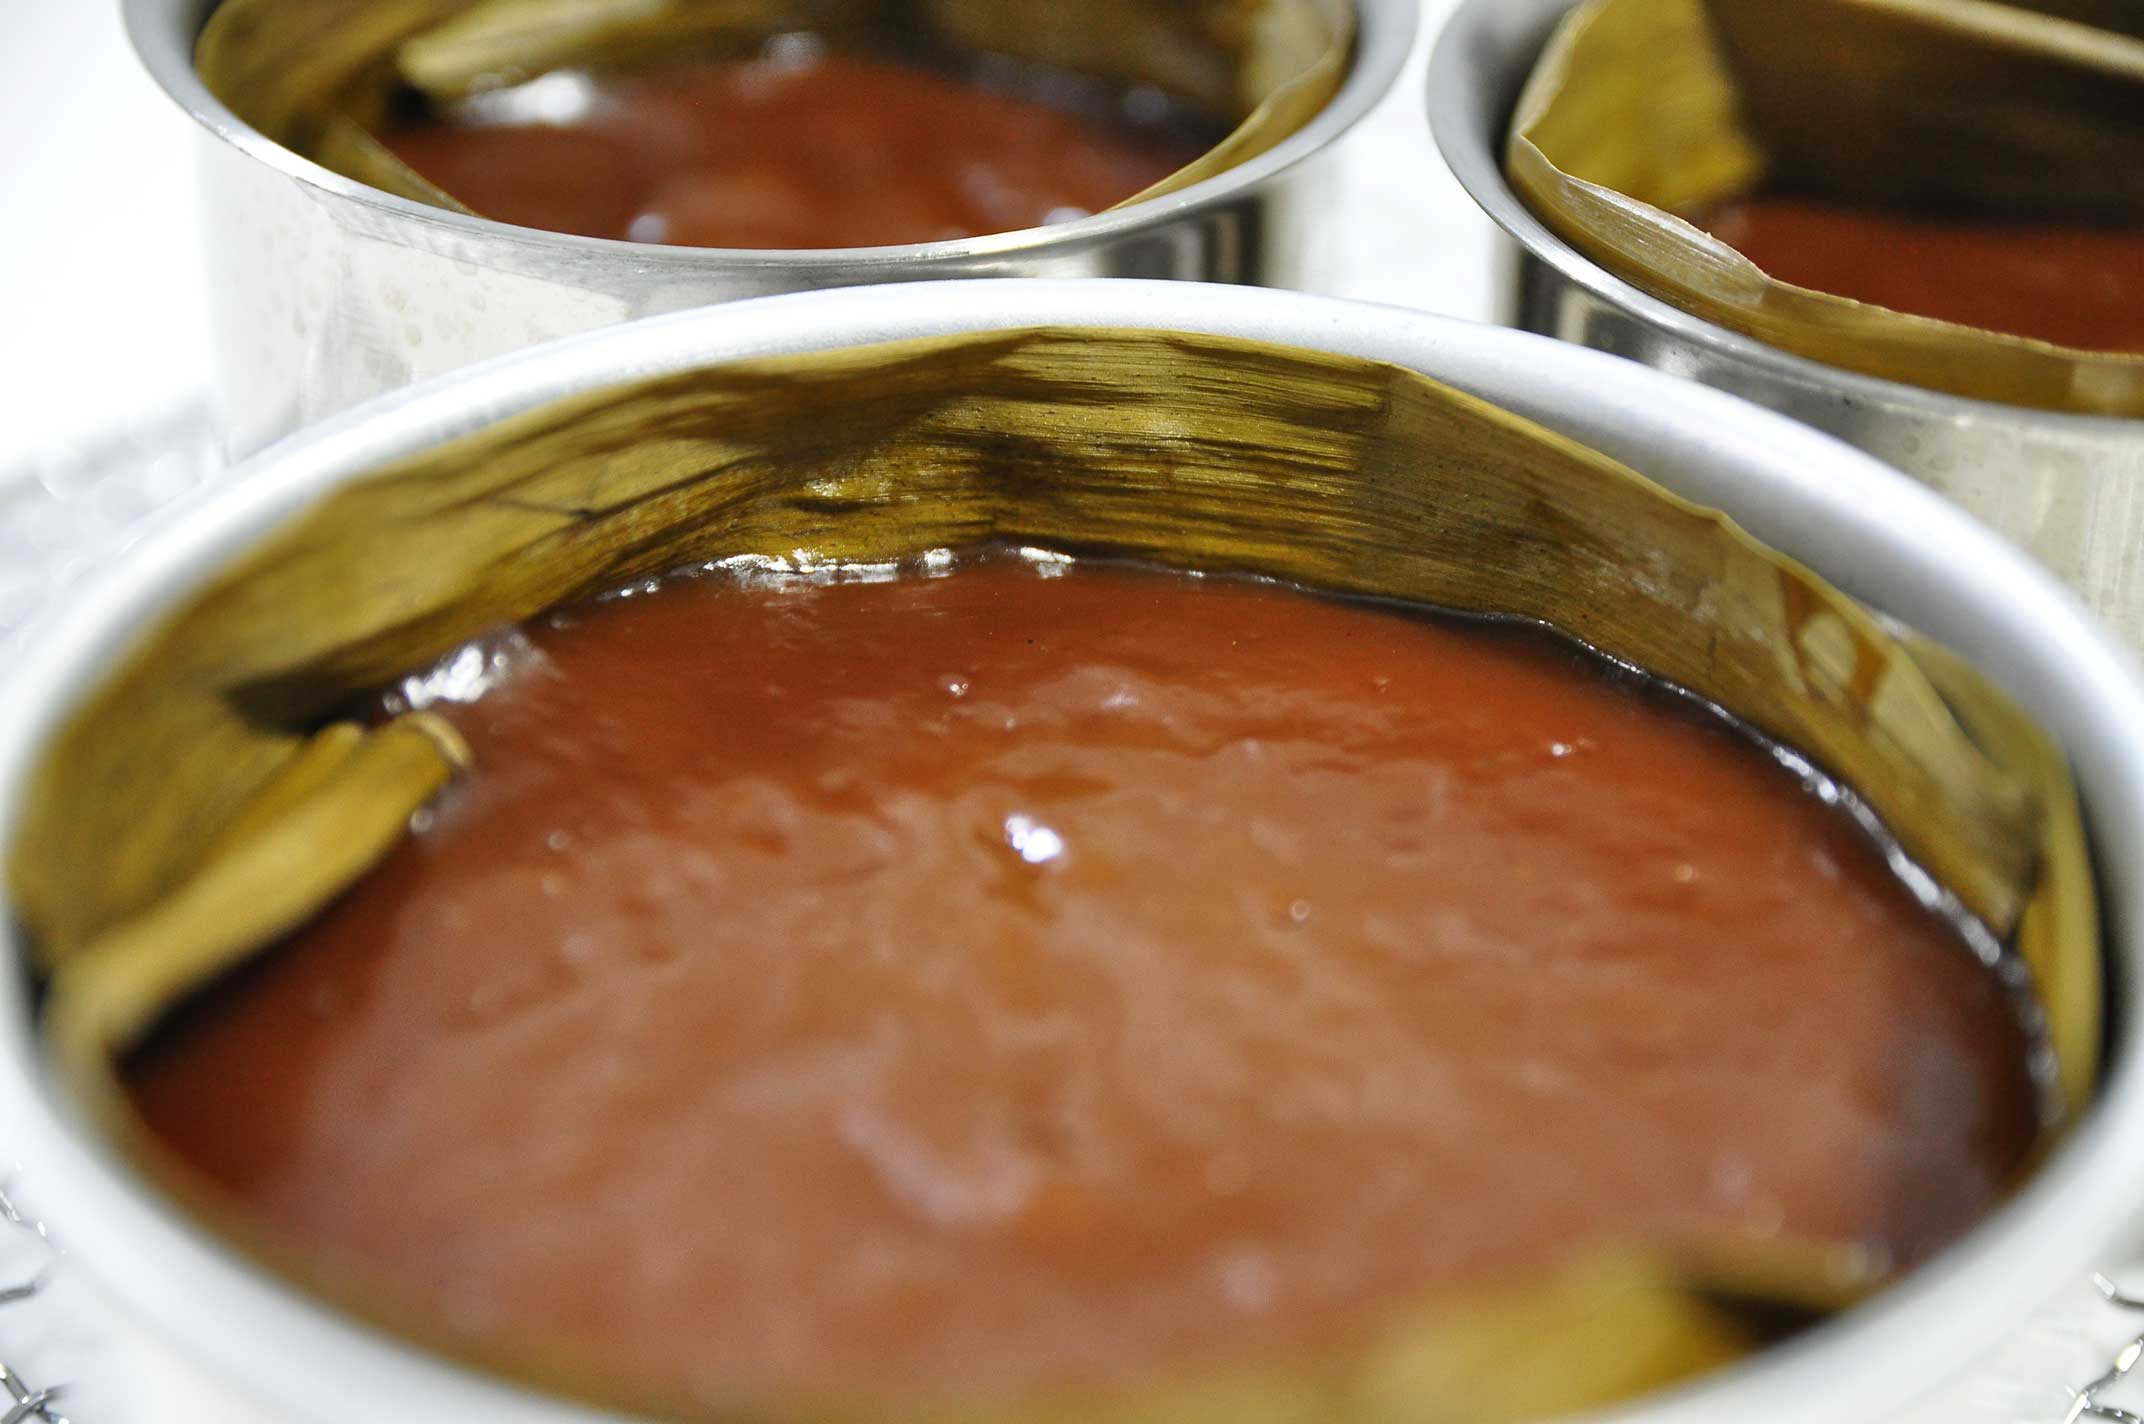
  2. Cut the softened banana leaves to size and line the inside of container.


Batter

  1. Mix gula melaka and water in a pot, add the salt and crushed pandan leaves. Bring to boil until gula melaka dissolves, then add the granulated sugar.
  2. Stir in the coconut milk into the gula melaka mixture and mix well. Then sieve the mixture into a bowl and set aside to cool down.
  3. In a large bowl, sieve glutinous rice flour. Slowly add the cooled down gula melaka mixture a little at a time and mix well, then sieve mixture into a pot.
  4. Cook batter over low heat till batter thickens, add the orange zest.
  5. Slowly pour the thickened batter into the coconut leaves lined containers. Arrange containers in a steamer and steam at low heat for 2 hours, top up water when the water level drops in the steamer.
  6. After 2 hours, turn off the heat. Leave containers in the hot steamer for several hours to make use of the residual heat. Thereafter, remove it from steamer and set aside to cool down.
  7. Once it has cooled down, loosen the sides with a spatula. Place a plate over it and turn over, cut it with grease oil knife.


NOTES

  1. Increase the amount of sugar if you prefer Nian Gao to be sweeter.
  2. Nian Gao can be stored at room temperature for a day or two, in the refrigerator for up to a week, or in the freezer for several months.
  3. Ensure it cools completely and is wrapped tightly in plastic wrap or an airtight container to prevent drying out.Ā 
  4. Thaw frozen Nian Gao in the refrigerator before reheating.
  5. To reheat, you can steam the Nian Gao until it softens or pan-fry it until crispy.Ā 
  6. Fried Nian Gao can be reheated in a toaster, oven, or air fryer.Ā