Foolproof Fluffy Pandan Chiffon Cake

Pandan Chiffon Cake is a light, fluffy, green-coloured sponge cake flavoured with the juice or extract of Pandanus amaryllifolius leaves. This fragrant and airy dessert is especially popular in several Southeast Asian countries, including Malaysia, Indonesia, and Singapore.
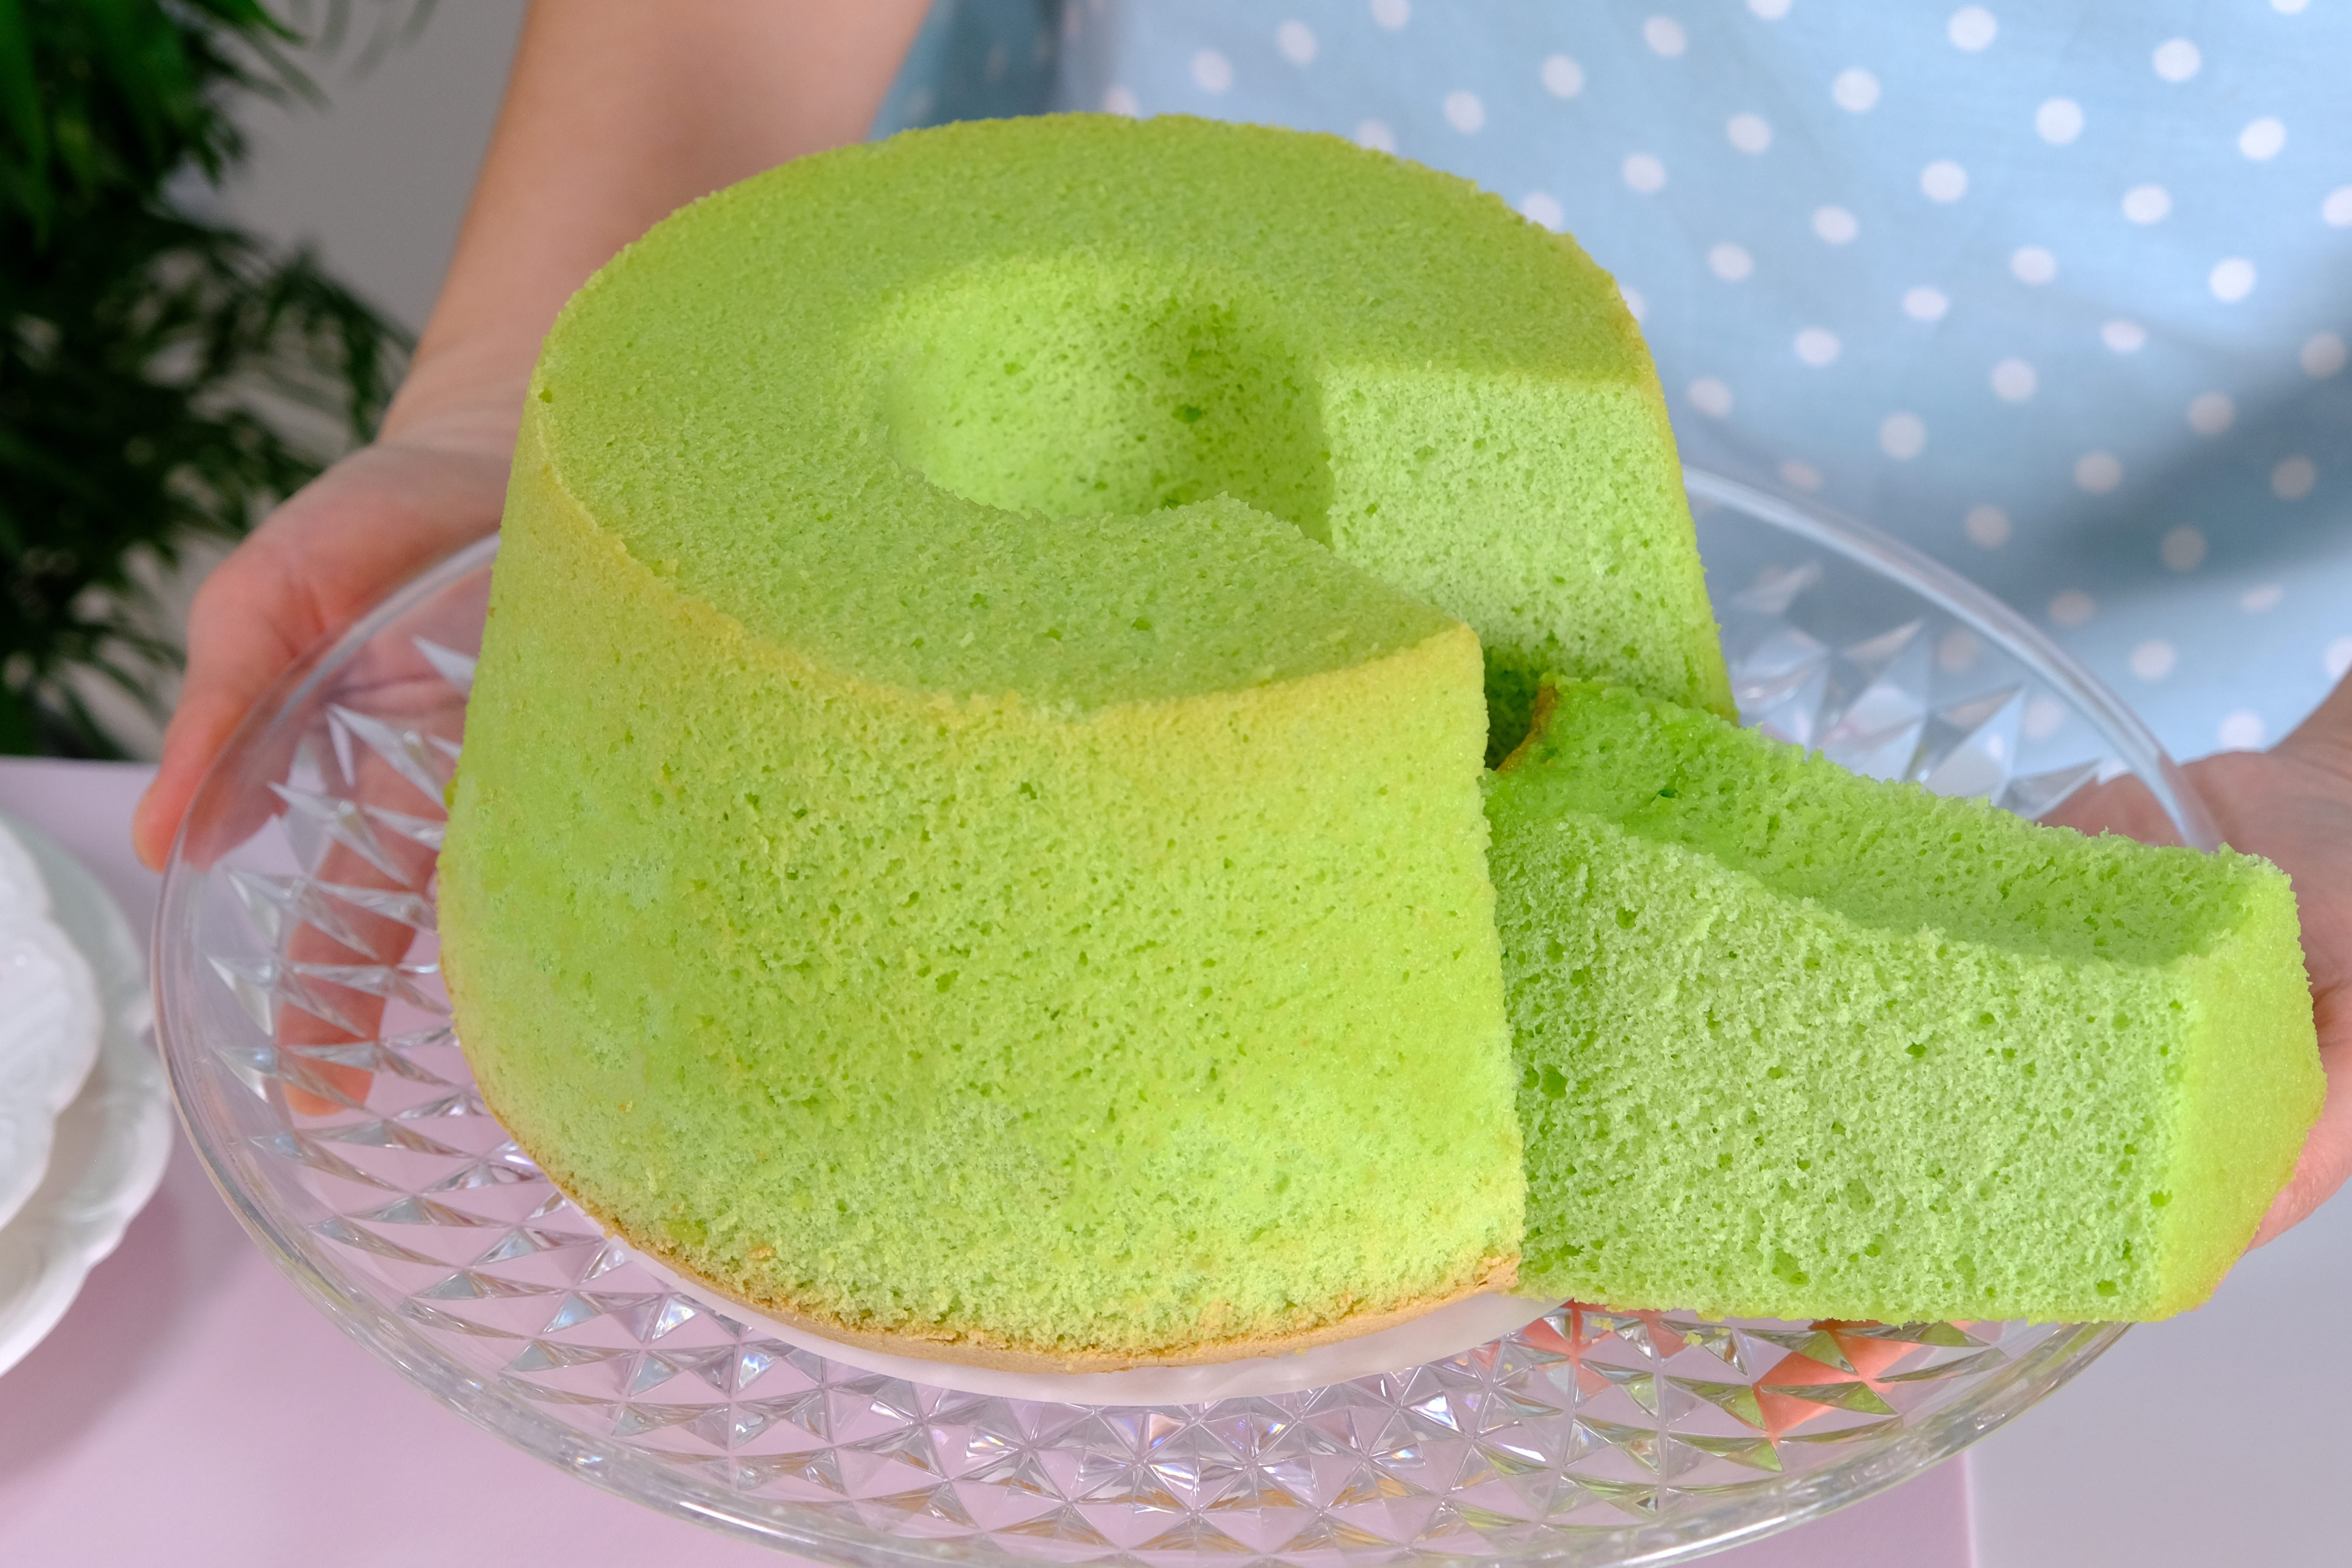
Chiffon Cakes are traditionally baked in tube pans because their delicate structure requires support from both the center tube and the sides of the pan.
This allows the cake to rise properly during baking and prevents it from collapsing as it cools.
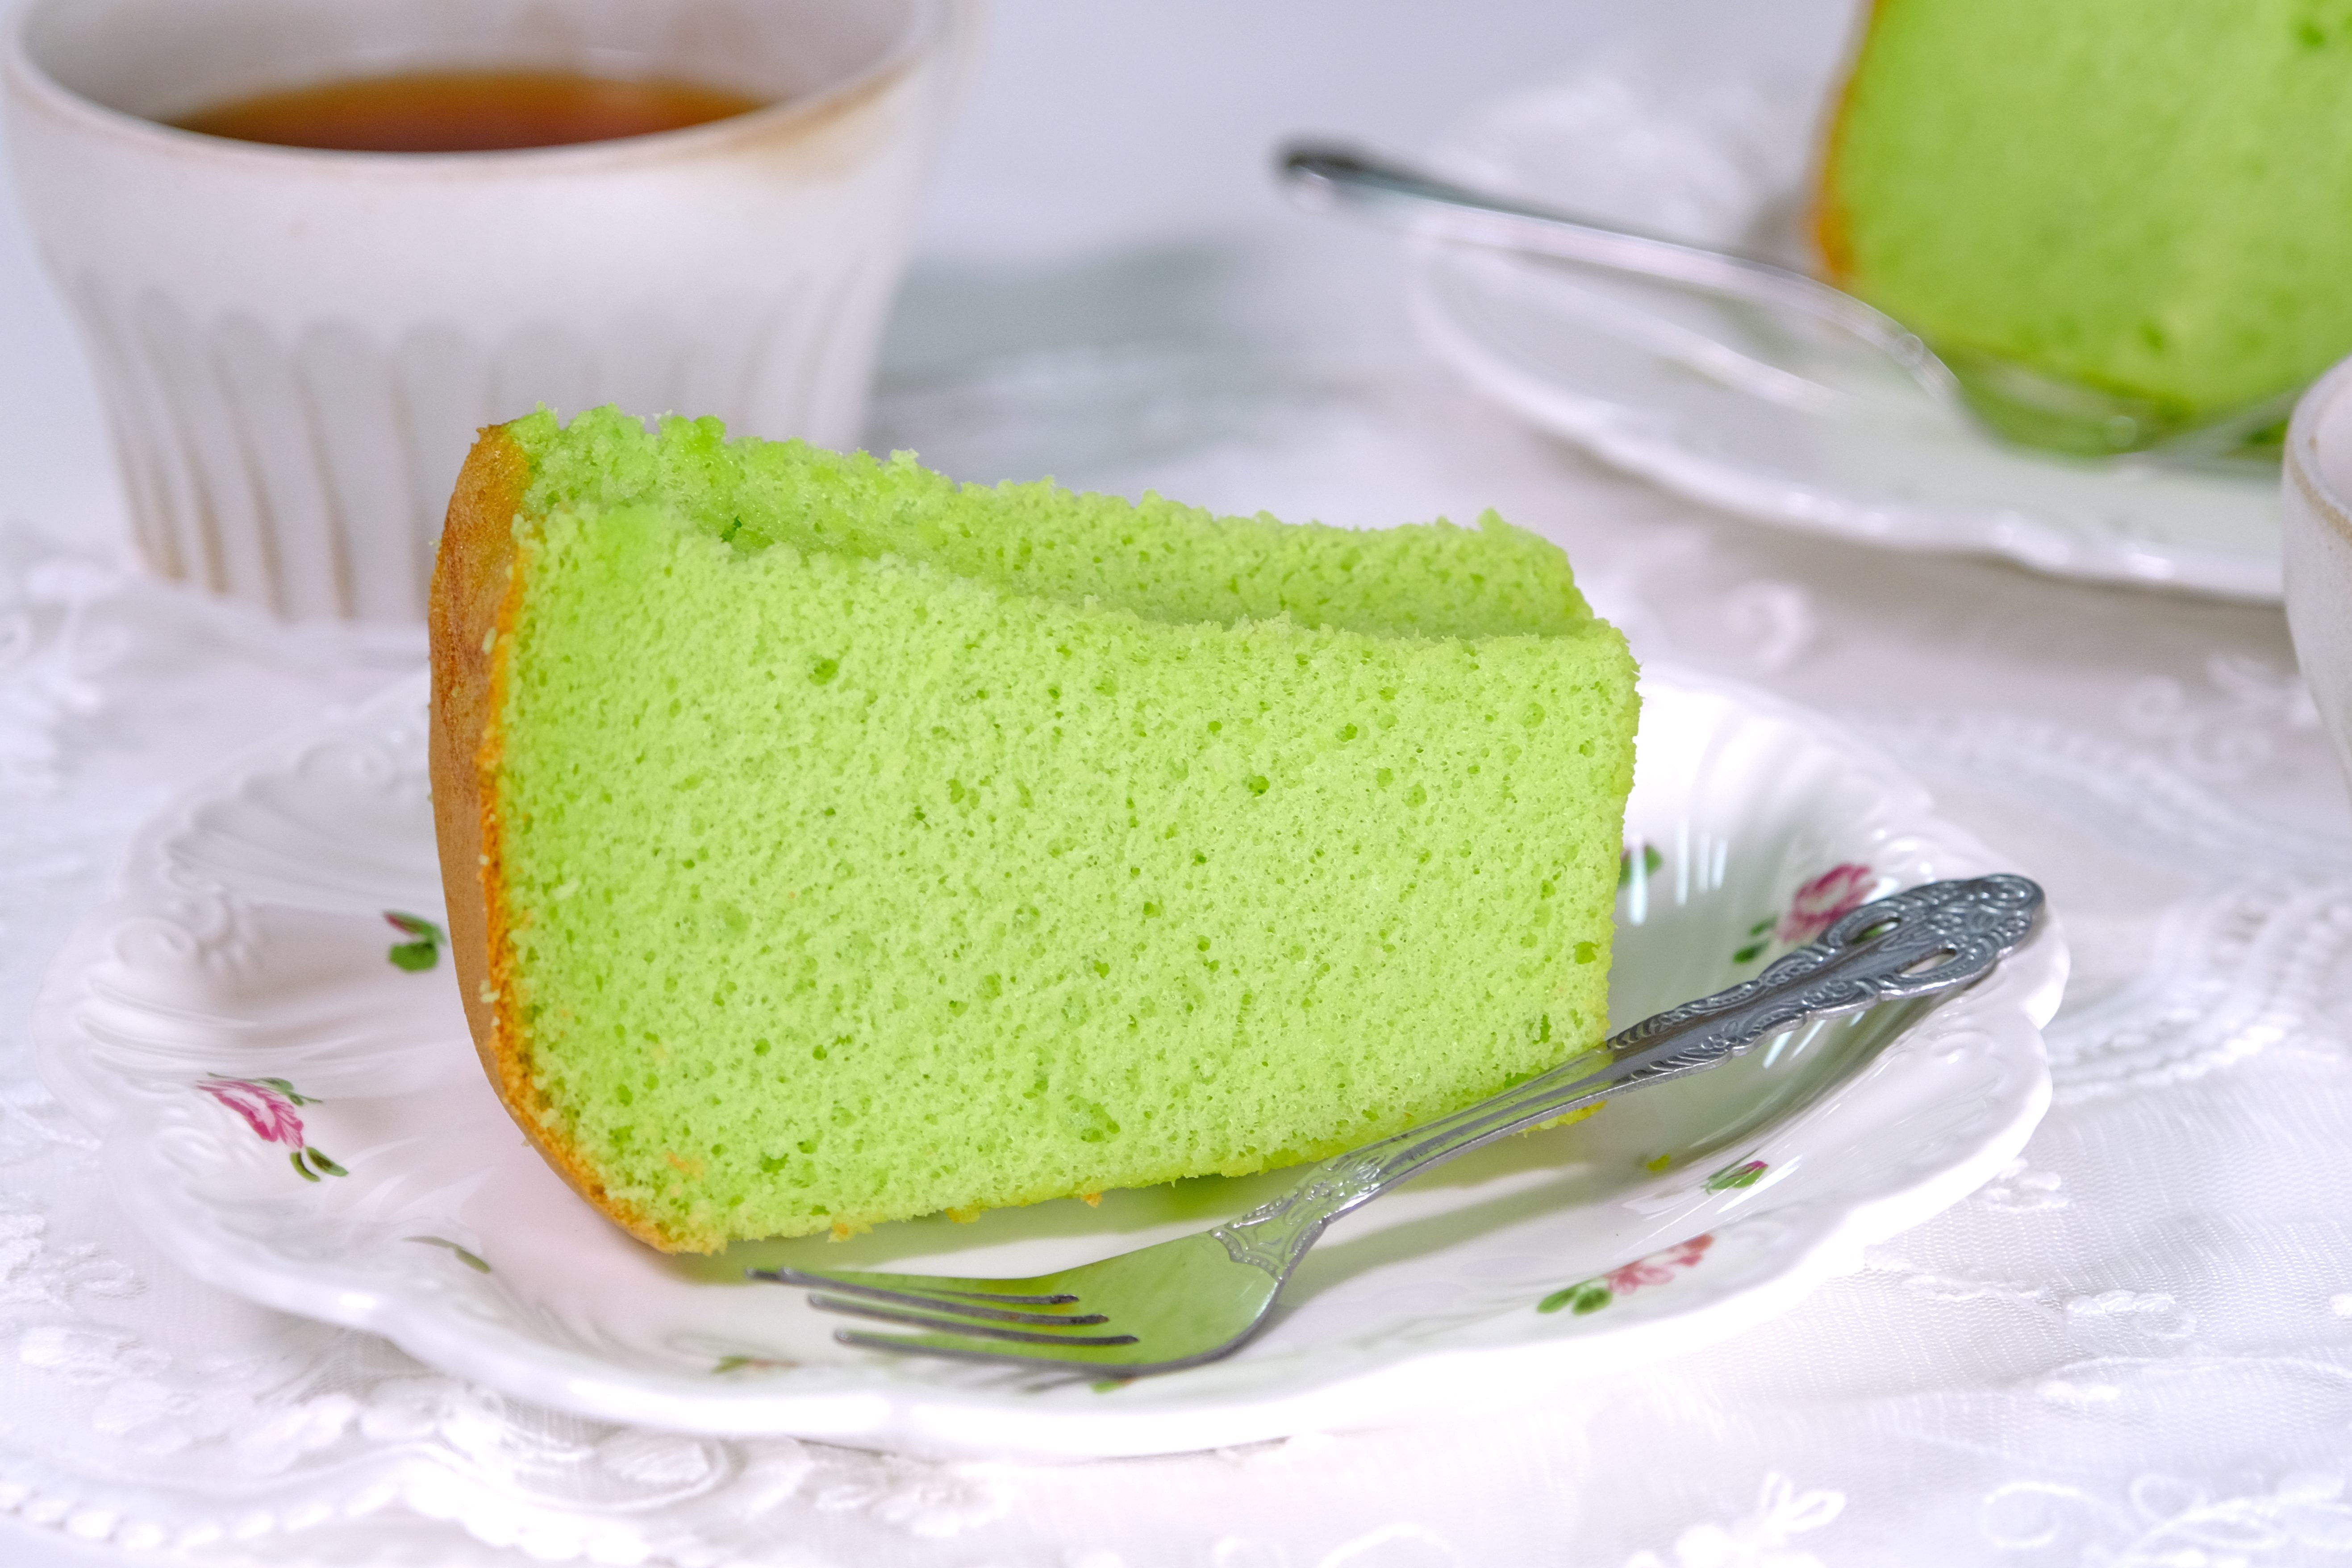
🤩 beautiful bright colour 😉

For this reason, Chiffon tube pans should NOT be greased, and non-stick pans should be avoided, as the batter needs to cling to the sides and center tube to rise properly.
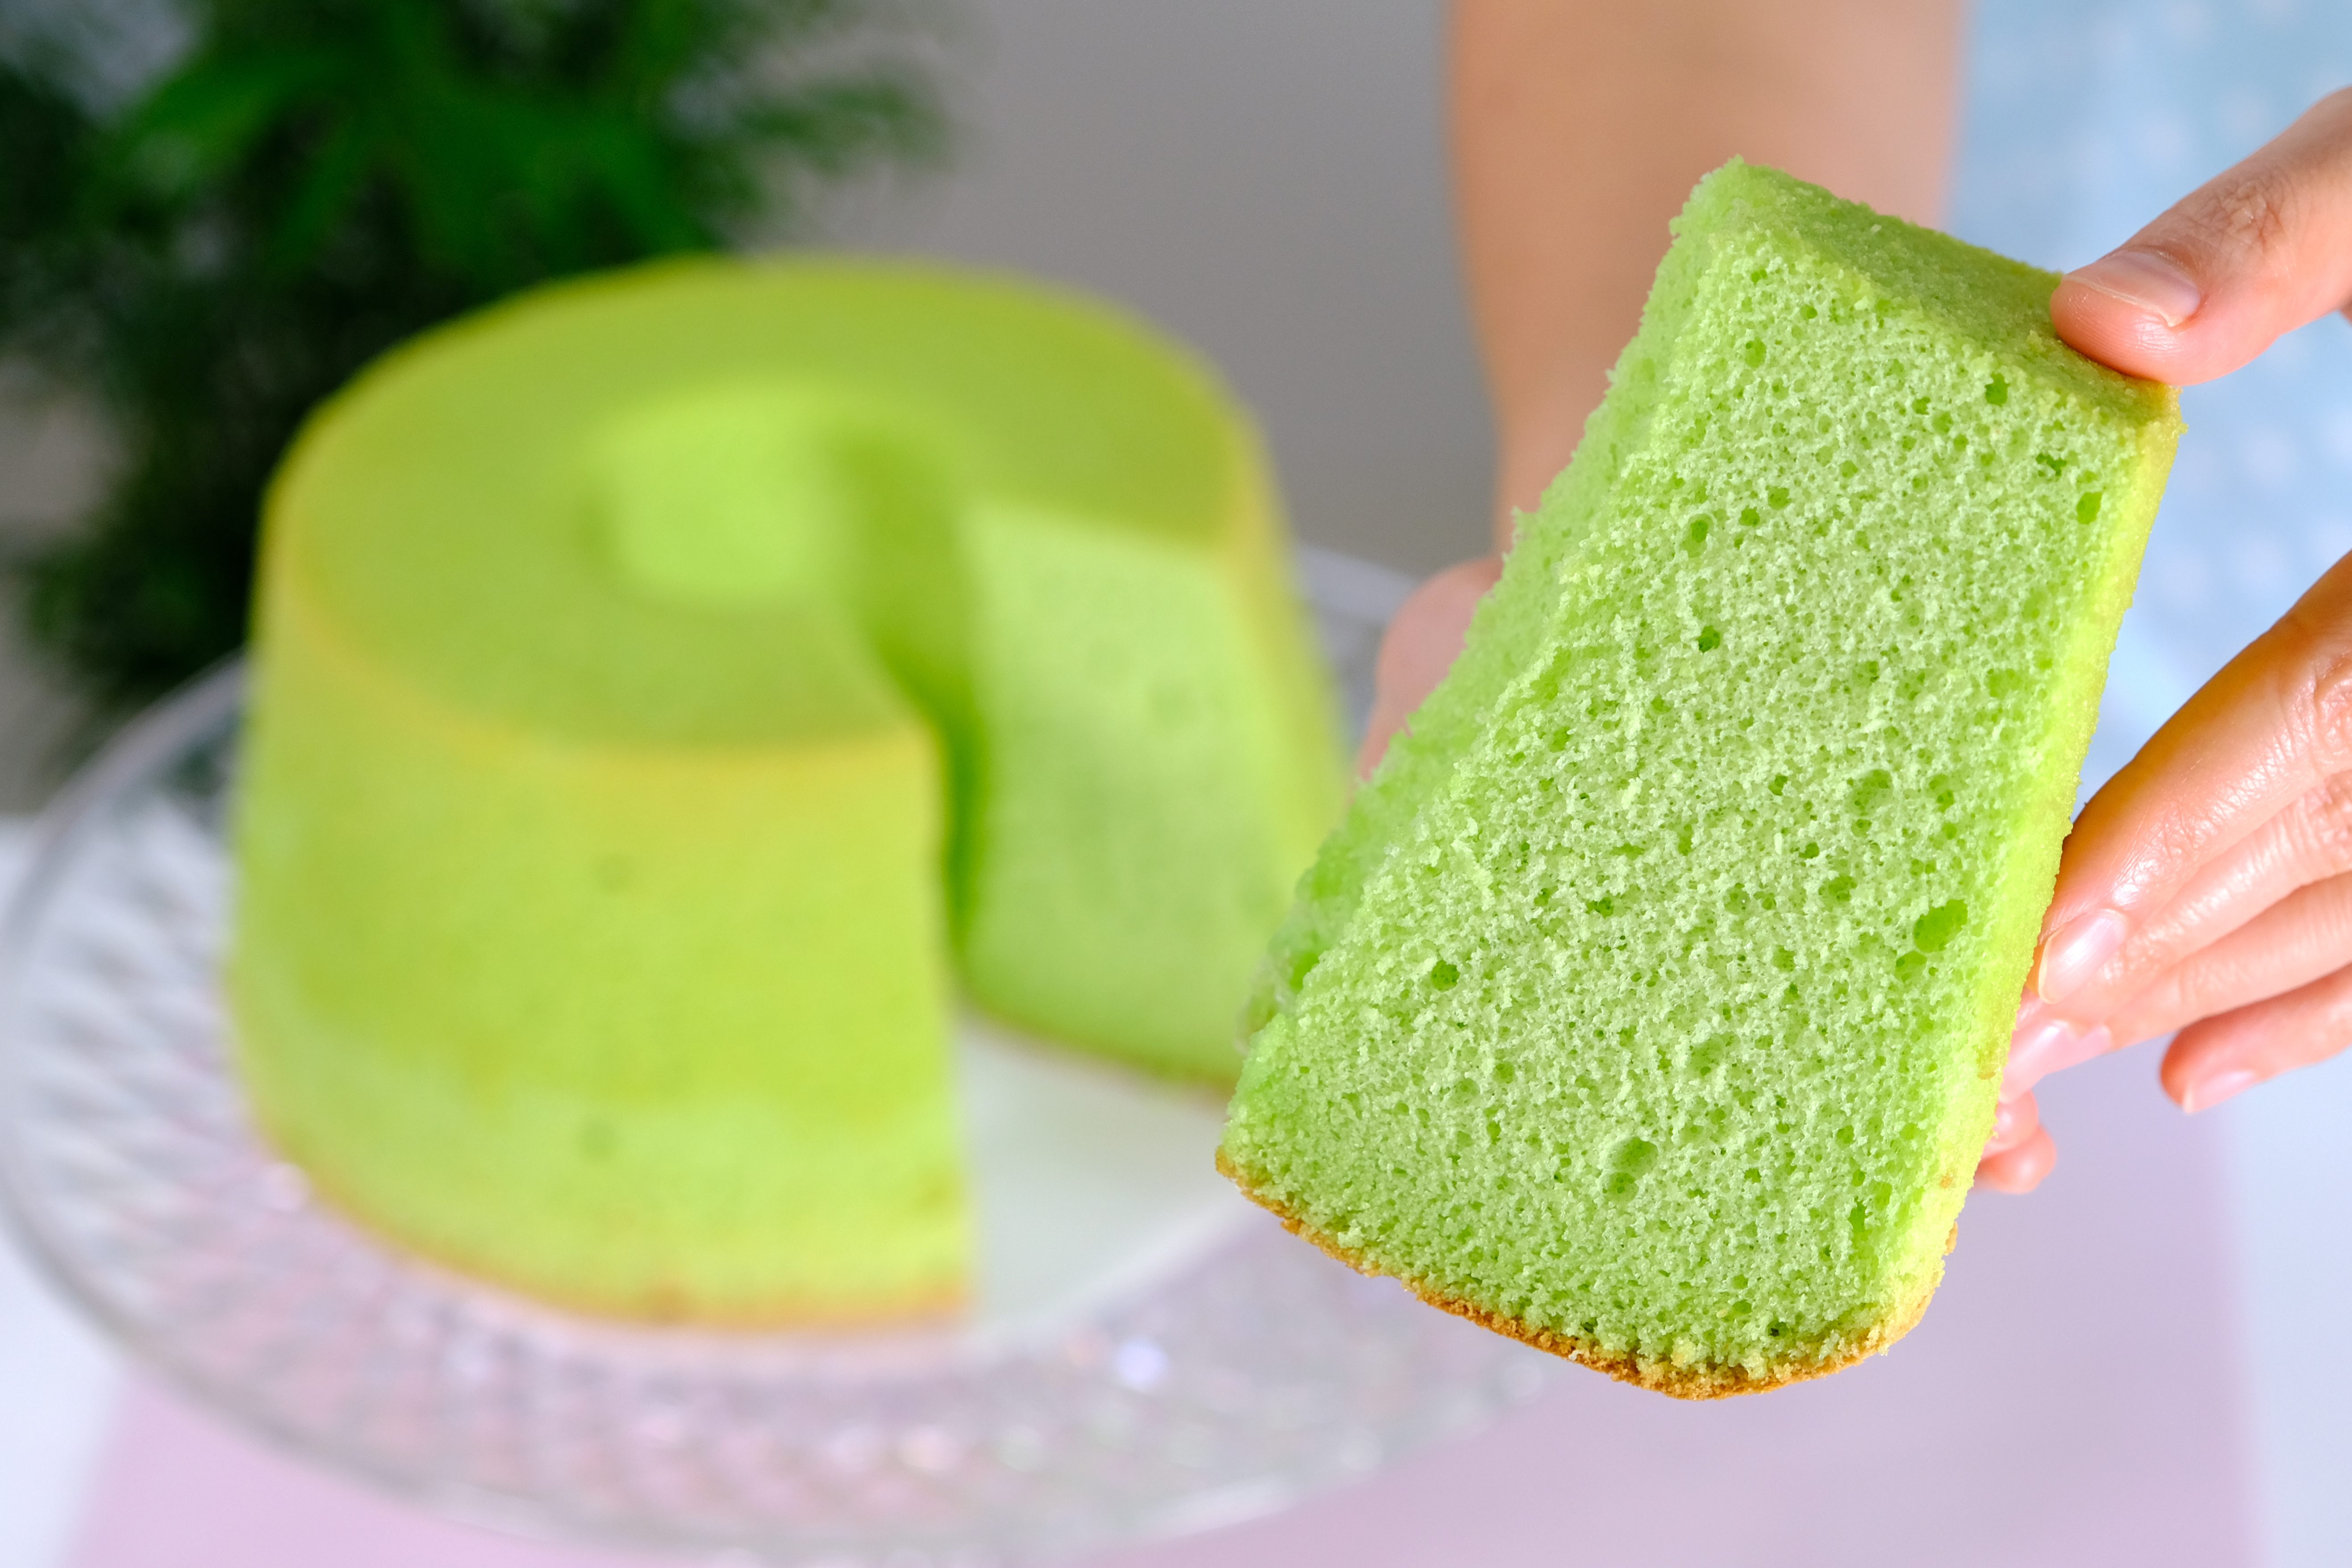
I prefer using Pandan Paste, it gives a strong, consistent flavor and saves time compared to extracting it from fresh leaves

When adding Pandan Paste, start with a small amount, I usually begin with ¼ teaspoon.
Be careful when using Pandan Paste, as it’s very concentrated; too much can leave a bitter or artificial aftertaste. It can also turn the green color overly intense and unappealing.

Making this cake is not difficult, but it does require precision and attention to the making technique.
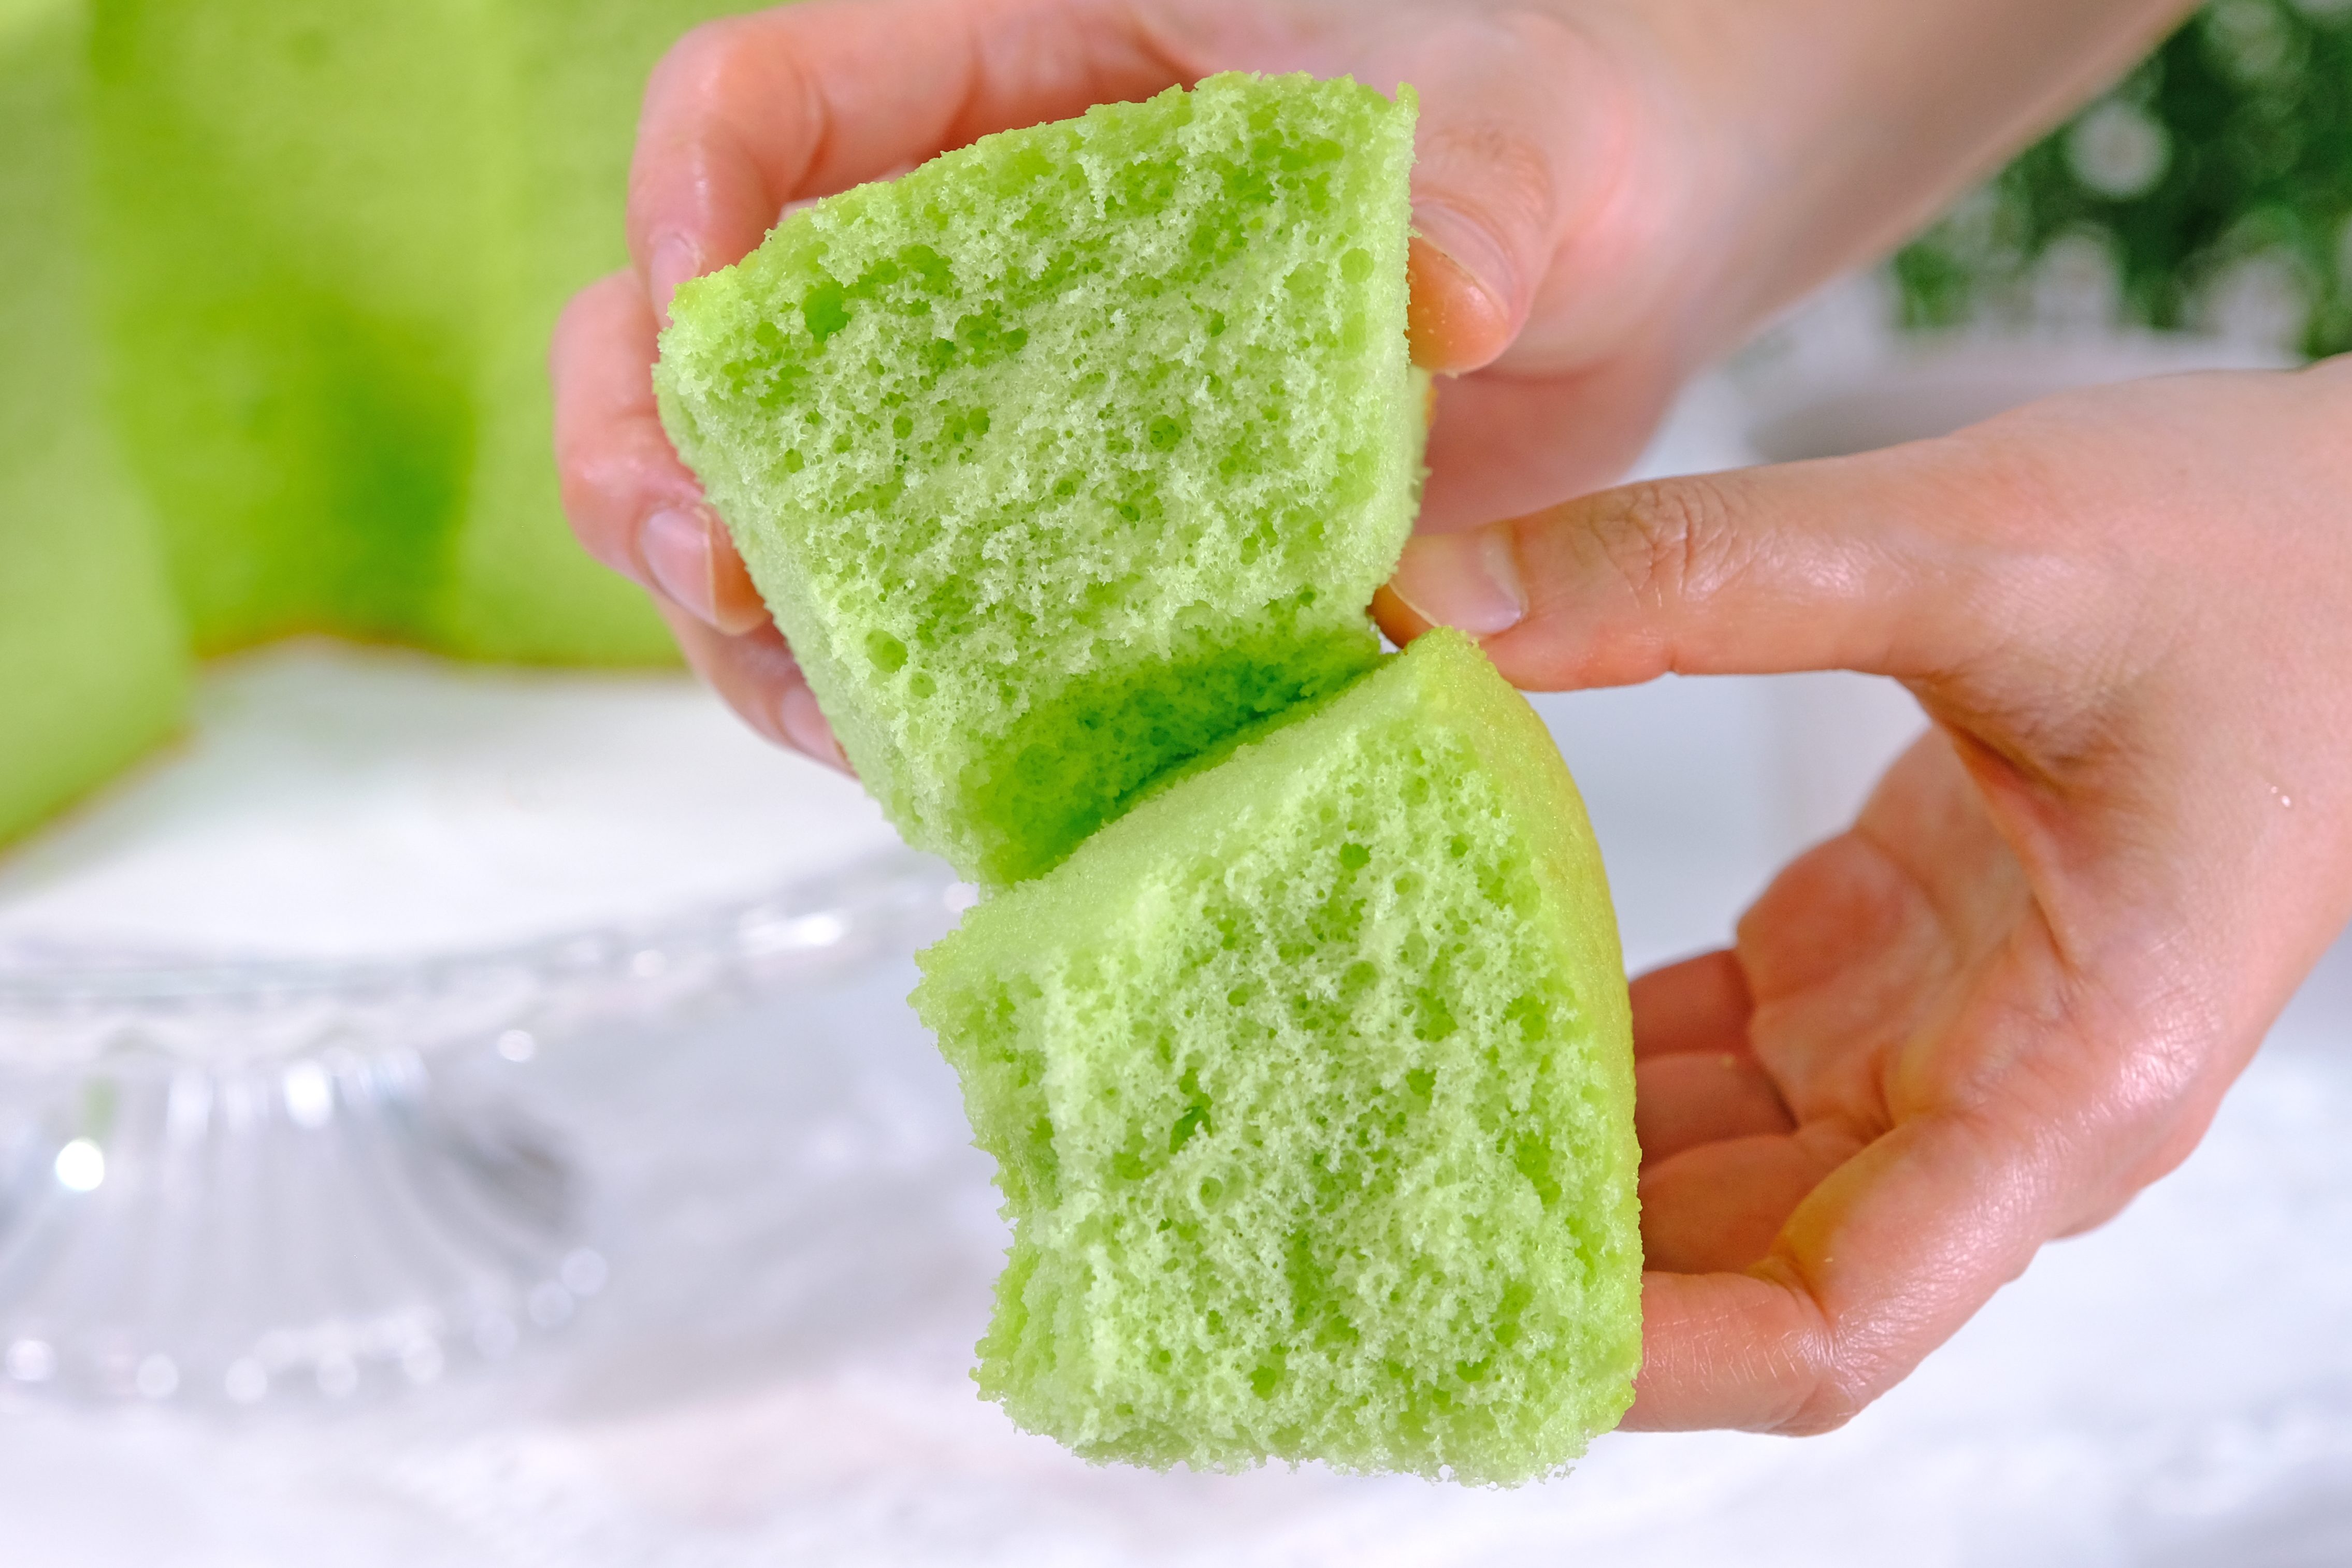
In this recipe, I will be sharing some helpful tips to make sure your Chiffon Cake turns out perfectly soft and airy.
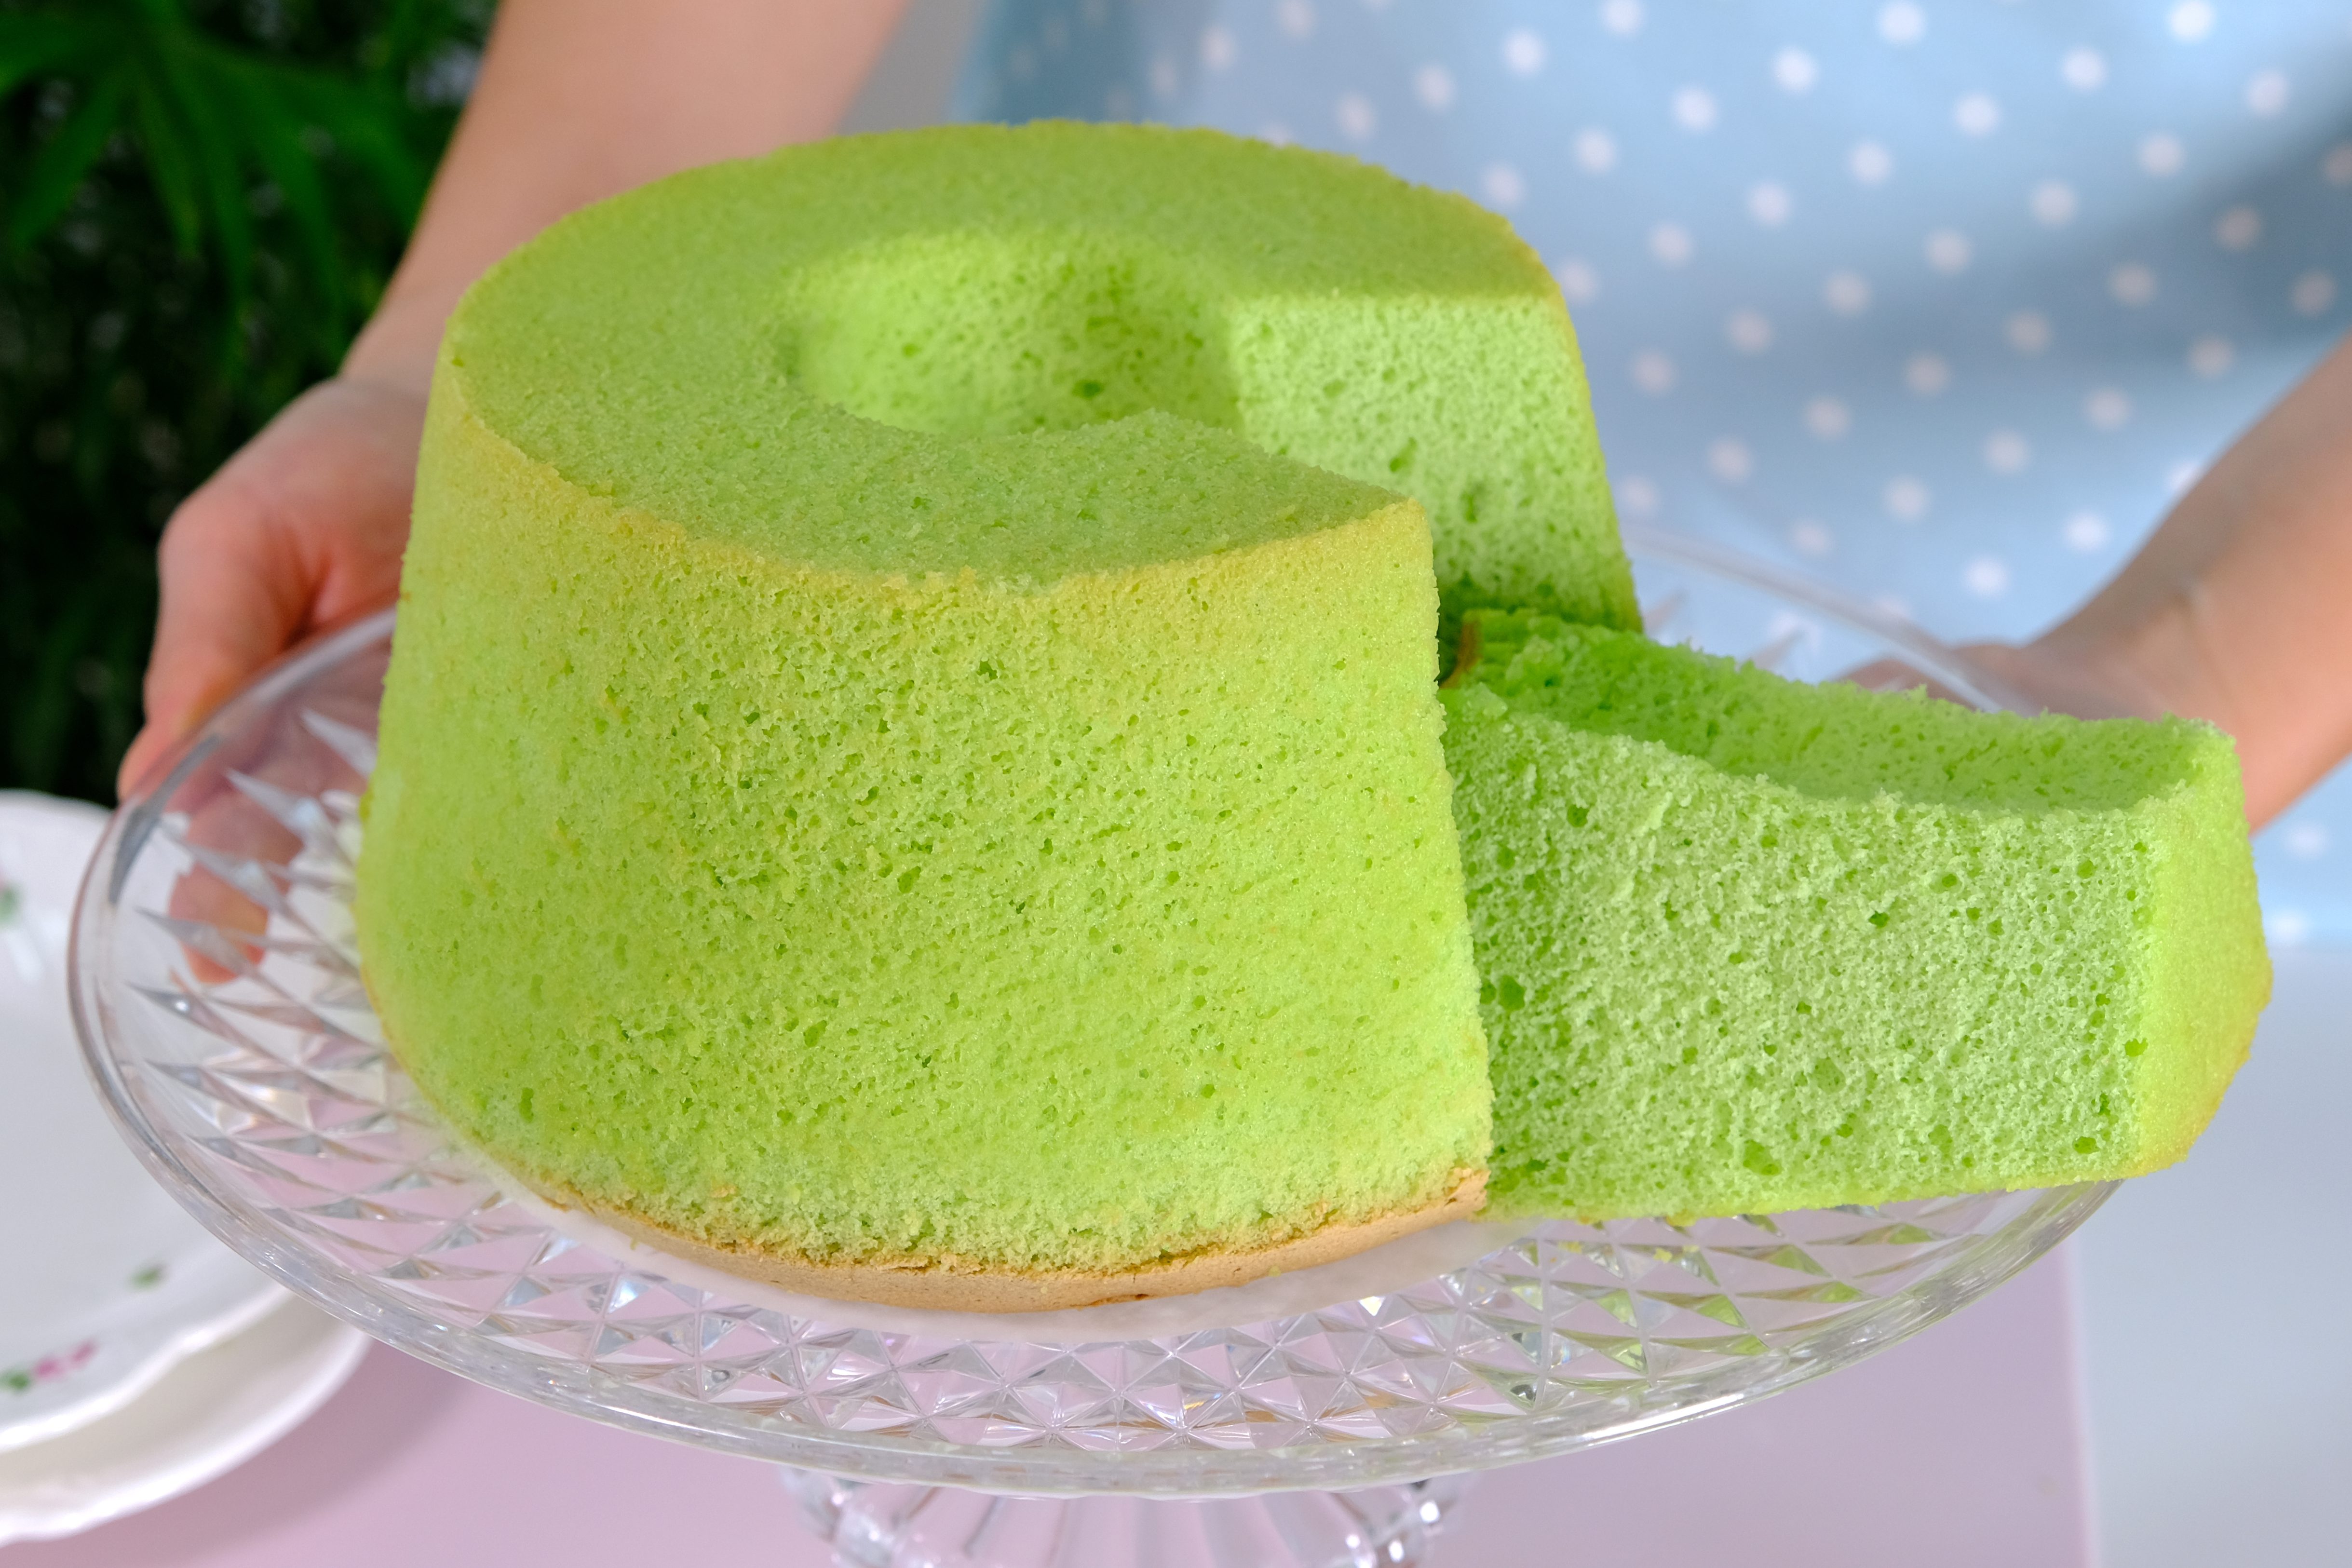
Pandan Chiffon Cake offers a delicate, fragrant, and slightly nutty flavour — a refreshing change from more traditional cake varieties.
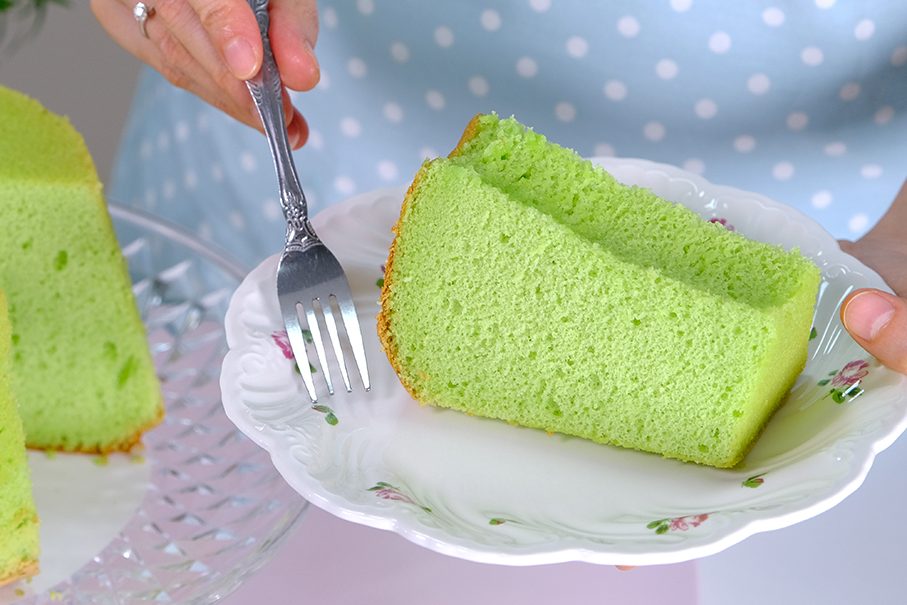
Its soft, fluffy texture practically melts in your mouth, making it an ideal choice for those who enjoy light, airy desserts.
I hope you will enjoy this recipe 🥰

Watch How To Make “foolproof fluffy pandan chiffon cake”

Tips for Success (Please Read First):

  • It’s very important NOT to grease the Chiffon Cake Pan because the batter needs to cling to the sides to rise properly
  • Preheat the oven at least 30 minutes before starting
    Once the Chiffon Cake batter is fully mixed, it needs to be baked right away (if you let the batter sit, that air starts escaping and the batter will lose volume)
  • It’s important that your mixing bowl is clean
    Any residue or fat will prevent the Egg Ehites from whipping properly (wipe the bowl and utensil with lemon juice or vinegar to helps remove grease)
  • Use fresh Eggs that are room temperature
    Other ingredients also must be at room temperature
  • Be careful when using Pandan Paste, as it’s very concentrated
    Too much can leave a bitter or artificial aftertaste, it can also turn the green color overly intense and unappealing
  • Sift the dry ingredients
  • Make sure the Egg Yolk mixture is well blended before folding it into the beaten Egg Whites
  • Beat Egg Whites until stiff peak
  • Fold the whipped Egg Whites into the Egg Yolk mixture in three batches
    Be gentle to avoid deflating the batter, fold carefully until the mixture is smooth and well combined (make sure there are no bits of egg whites left)
  • Slowly pour the batter into the pan from about 15 cm above to help burst any excess air bubbles
    Gently run a small metal skewer or spatula through the batter to eliminate any trapped air pockets
  • Avoid tapping or shaking the pan as this can cause the bubbles to deflate prematurely, resulting in a denser cake with less volume
  • Don’t let the batter sit too long before baking, bake it immediately
  • Avoid opening the oven door during baking, as sudden temperature changes can cause the Chiffon Cake to collapse
  • When the cake is done, immediately invert the pan onto a wire rack (if your pan has built-in supports)
    If your pan doesn’t have supports, you can place the tube hole over the neck of a soda or wine bottle to hang it high above the table, and cool the cake completely in the pan
  • Once cool, when unmold the cake; Don’t use a spatula to loosen the edges of the cake (this can cause the edges to become rough and uneven)
    Use your hand to gently press along the sides, going all the way around; Carefully peel about 1 cm of the cake away from the edges
    Similarly, gently press the center of the cake down with your index finger, about 1 cm deep, to loosen the middle (kindly watch the video for clearer instructions)
  • Chiffon Cake should generally be kept in an airtight container and refrigerated
    They are delicious cold, straight from the fridge

RECIPE

PANDAN CHIFFON CAKE
Yield: One 20 cm diameter Chiffon Pan

🌿 Ingredients
85 g Egg Yolks (room temp.)
60 g Coconut Milk (room temp.)
1/4 tsp Pandan Paste
125 g Cake Flour
(3/4 + 1/8) tsp Baking Powder (Double Act.)
(1/4 +1/8) tsp Salt
80 g Caster Sugar
70 g Vegetable Oil
160 g Egg Whites (room temp.)
1/4 tsp Cream of Tartar
85 g Caster Sugar

Notes: you can substitute Cream of Tartar with 1/2 tsp Lemon Juice or White Vinegar (or Apple Cider Vinegar)


🌿 Instructions
Preparation

  1. It’s very important NOT to grease the chiffon cake pan because the batter needs to cling to the sides to rise properly. I’m using 20 cm diameter pan for this recipe
  2. Preheat the oven at least 30 minutes before starting 160°C fan/ 180°C/ gas mark 4
  3. It’s important that your mixing bowl is clean
    Any residue or fat will prevent the Egg Whites from whipping properly (wipe the bowl and utensil with lemon juice or vinegar to helps remove grease)
  4. Take the Eggs and other cold ingredients out of the fridge
    Separate Egg Whites and Egg Yolks; then let them come to room temperature

To Make Pandan Chiffon Cake

  1. Combine Egg Yolks, Coconut Milk, and Pandan Paste in a medium mixing bowl
  2. Add the sifted dry ingredients (Cake Flour, Baking Soda and Salt) along with 80 grams of Caster Sugar, stir using a balloon whisk until well mixed
  3. Pour in the Vegetable Oil and mix until the batter looks smooth and well blended; Set this mixture aside
  4. In another large mixing bowl, beat the Egg Whites and Cream of Tartar until foamy
    Add the 85 grams of Caster Sugar in 3 batches, adding each portion every 30 seconds
    Once all the sugar is added, continue beating on high speed until stiff peak for about 3 minutes (the mixture will gradually thicken and looks shiny)
  5. Fold the whipped Egg Whites into the Egg Yolk mixture in 3 batches
    Start by adding one-third of the beaten Egg Whites to the Egg Yolk mixture (this first addition helps loosen the batter)
    Use a balloon whisk to gently stir, scrape the bottom and sides of the bowl to ensure everything is evenly combined
  6. Add another third of the Egg Whites and fold again (be gentle to avoid deflating the batter)
  7. Finally, pour the Egg Yolk mixture into the bowl with the remaining Egg Whites
    Fold carefully until the mixture is smooth and well combined (make sure there are no bits of egg whites left)
    Use a spatula to scrape the sides and bottom of the bowl to ensure the mixture is evenly mixed
  8. Slowly pour the batter into the pan from about 15 cm above to help burst any excess air bubbles.
    Gently run a small metal skewer or spatula through the batter to eliminate any trapped air pockets (avoid tapping or shaking the pan as this can cause the bubbles to deflate prematurely, resulting in a denser cake with less volume)
  9. Bake immediately in the preheated 160°C fan/ 180°C/ gas mark 4 oven for 45 minutes or until a cake tester inserted in the center comes out clean
    * Avoid opening the oven door during baking, as sudden temperature changes can cause the chiffon cake to collapse
  10. When the cake is done, immediately invert the pan onto a wire rack (if your pan has built-in supports)
    If your pan doesn’t have supports, you can place the tube hole over the neck of a soda or wine bottle to hang it high above the table, and cool the cake completely in the pan (This takes about 1½ to 2 hours, do not touch until completely cool)
  11. Once cool, you can unmold the cake
    Don’t use a spatula to loosen the edges of the cake; this can cause the edges to become rough and uneven
    Use your hand to gently press along the sides, going all the way around
    Carefully peel about 1 cm of the cake away from the edges
    Similarly, gently press the center of the cake down with your index finger, about 1 cm deep, to loosen the middle
    Then place your fingers on the bottom of the pan and press down firmly to lift out the center tube
    Finally, press the entire bottom of the cake inward to release it from the bottom of the pan (handle with care as the cake is very light and fluffy)
    “Kindly watch the video for clearer insturctions”


NOTES

  1. Ensure the cake has cooled completely before storing, as warmth creates condensation, which makes the cake soggy and encourages mold growth
  2. Chiffon Cake should generally be stored in an airtight container and kept refrigerated. This is especially important for Pandan Chiffon Cake, as it contains Coconut Milk, which can spoil more quickly at room temperature.
    The cake tastes delicious when served cold, straight from the fridge.
  3. This cake can last for up to 5 days to a week in the refrigerator.
  4. Chiffon cake freezes well
    Wrap individual slices tightly in plastic wrap, then add a layer of aluminum foil to prevent freezer burn.
  5. This cake can be frozen for up to 2 months
  6. Thawing: Thaw the frozen cake in the refrigerator overnight or at room temperature for a couple of hours before serving. Avoid using a Microwave for thawing, as this can affect the texture. 

Light Fluffy Vanilla Sponge Cupcakes

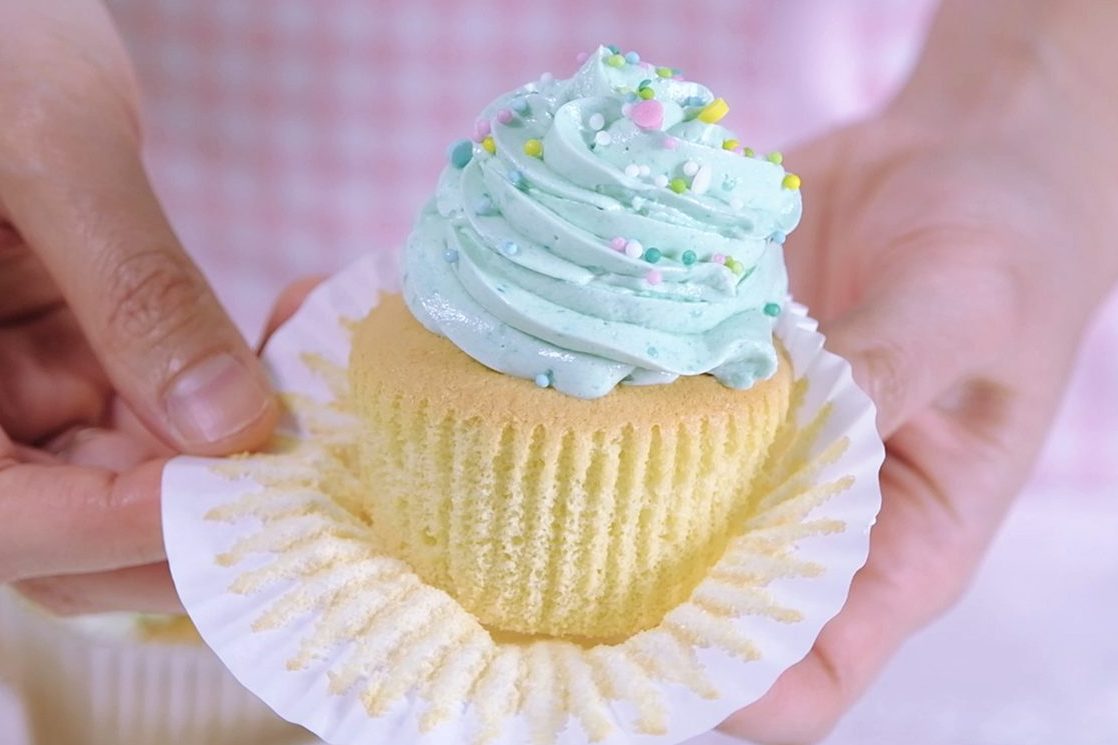
Everyone’s got their own idea of what the perfect Vanilla Cupcake should taste like; And this is my favourite Vanilla Cupcake recipe.

What makes this Cupcake special for me is because it’s light, not heavy, and just the right amount of sweet.

It’s the kind of Vanilla Sponge that pairs beautifully with whatever you like
Whether you’re adding frosting, berries or enjoying it plain.

They stay wonderfully moist for days and have a deep Vanilla flavour.

This Cupcakes are delicate but stable enough to hold the frosting
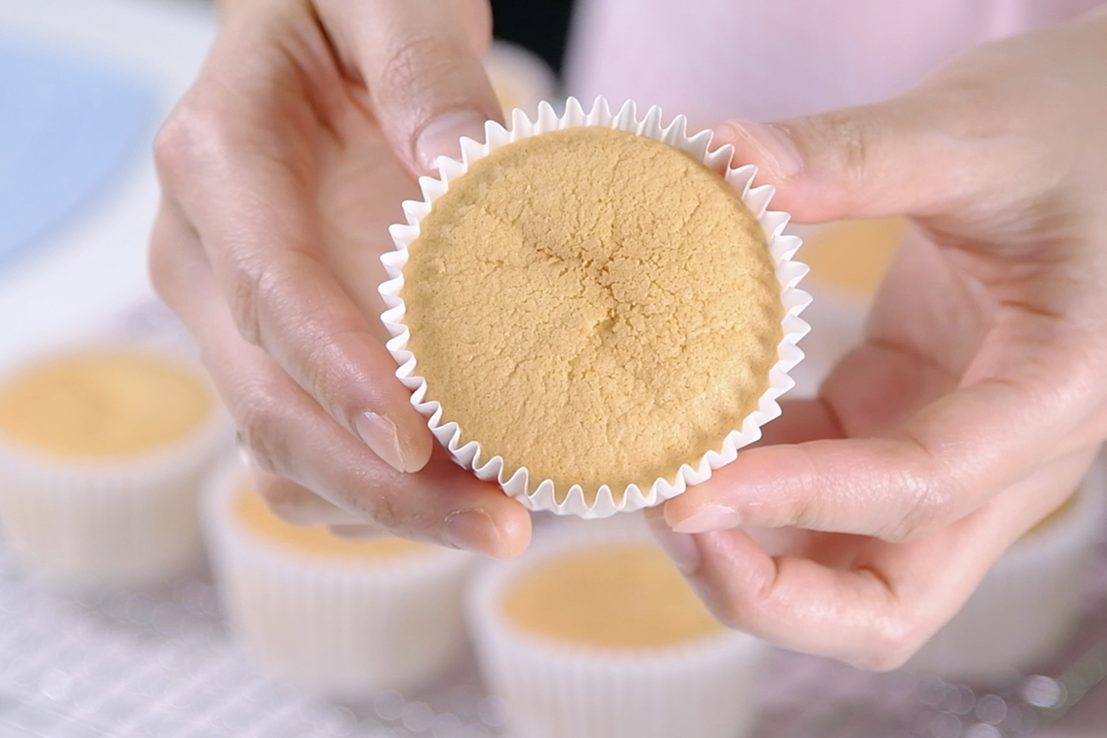
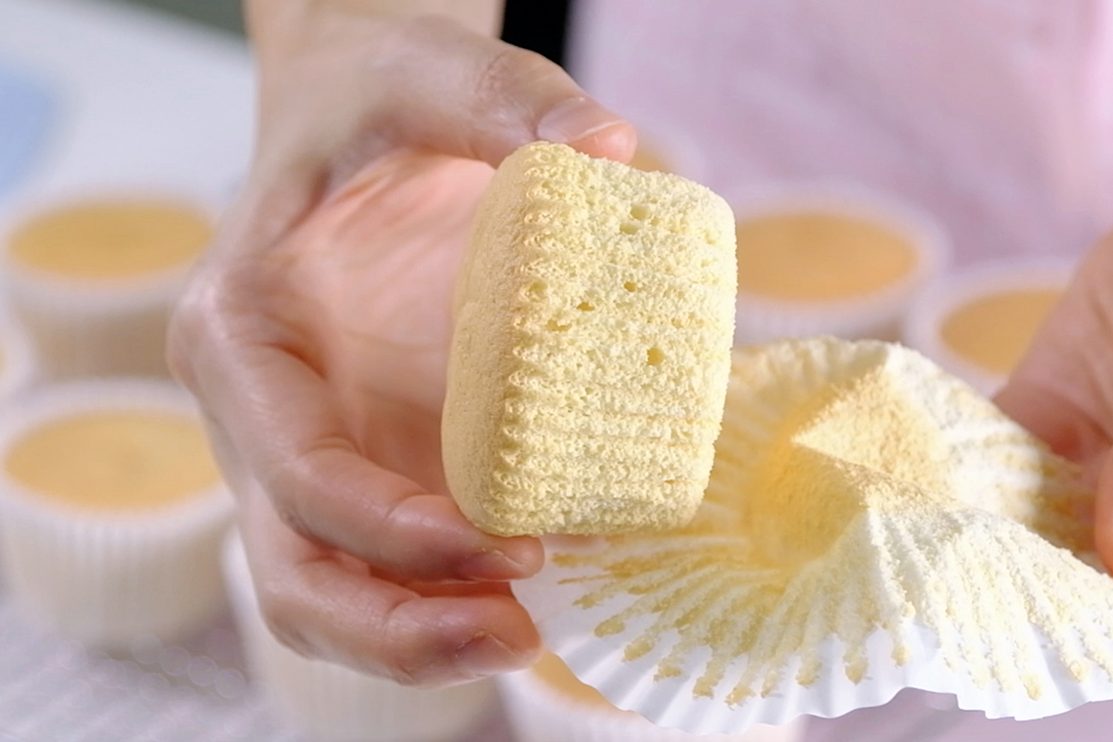
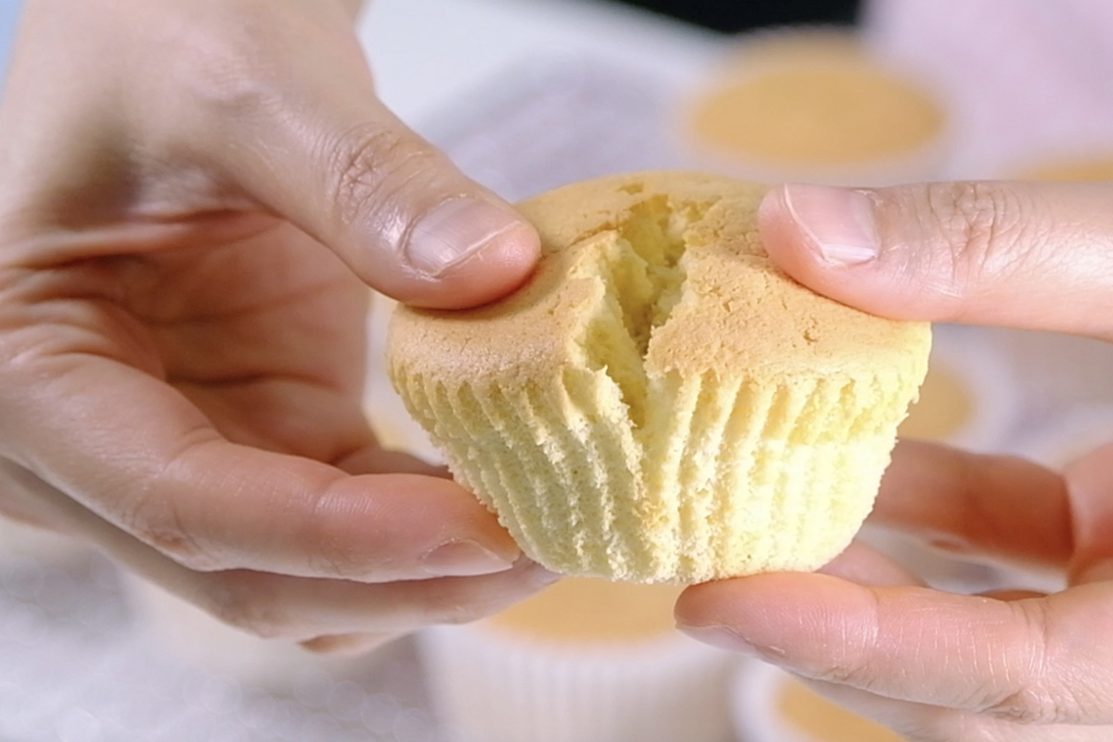
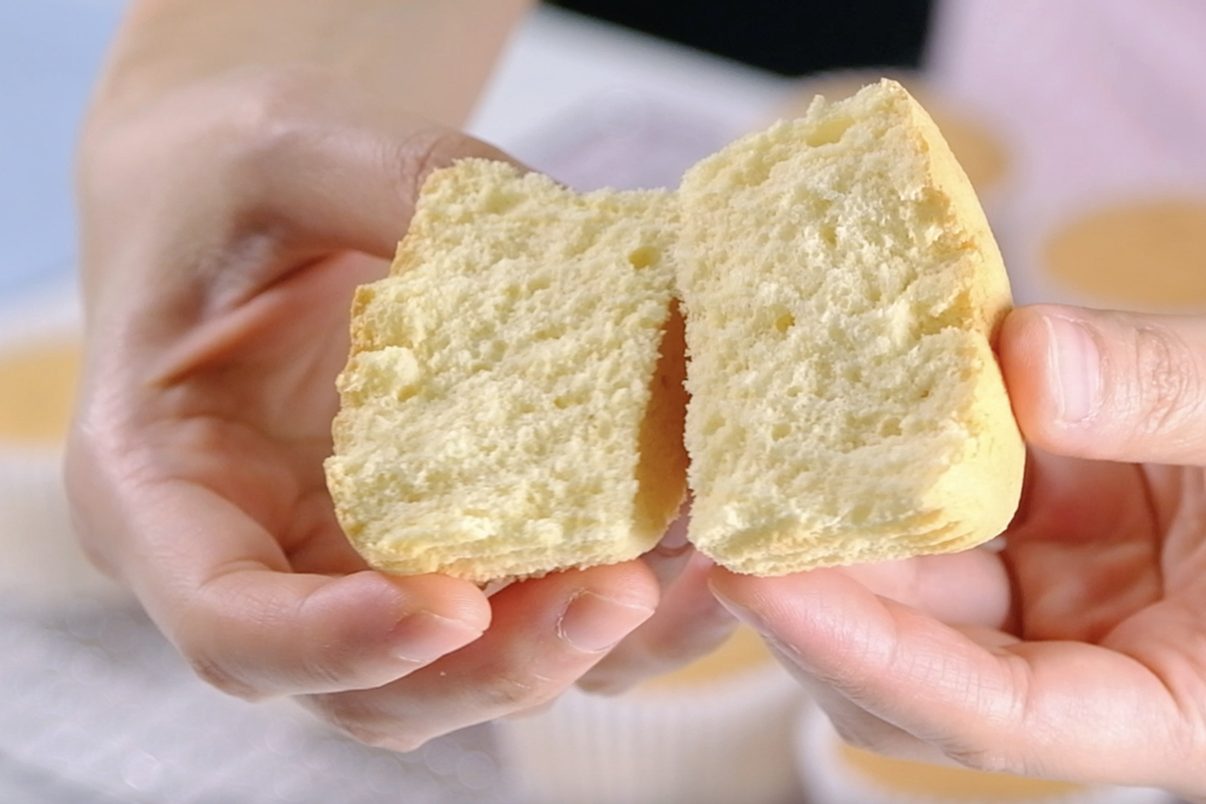
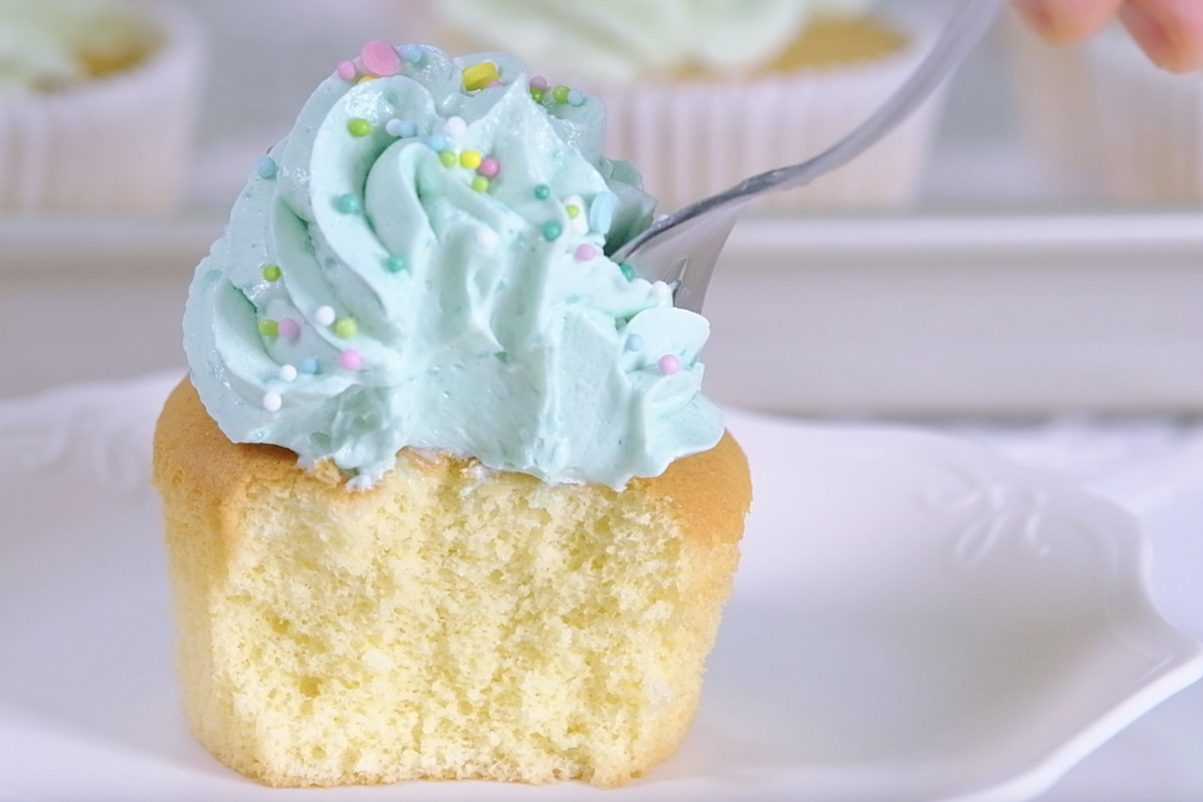
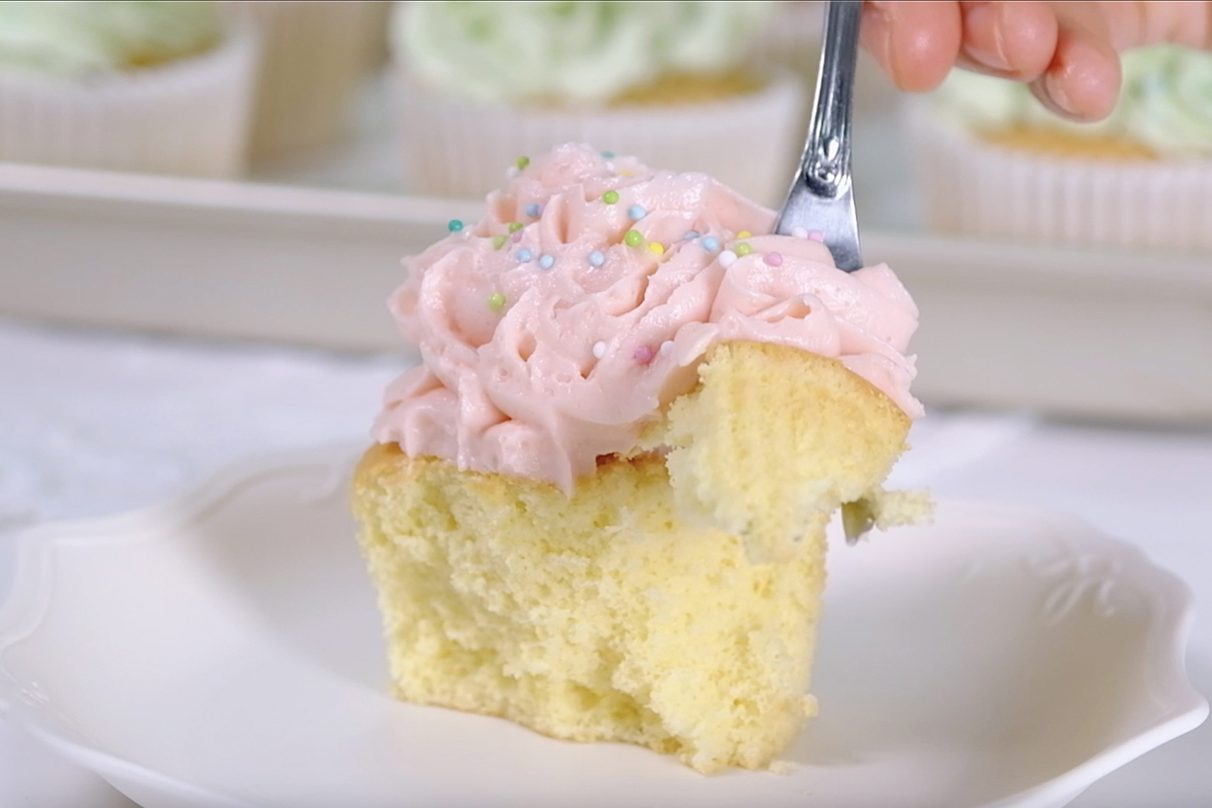
Let’s cut open and l00k inside
☺️
Soft and Moist but not too crumbly
Not too sweet and not heavy
🤗 So soft and fluffy
😍 And what’s the best frosting to pair it with?
The clasic Boiled-Milk Frosting 😘

Boiled Milk Frosting is an old-school buttercream that is not too sweet, not too buttery, and not too heavy.

My version with Icing Sugar is more stable at room temperature.

This beautiful frosting also easy to color and you can create any flavour you want; simply by adding some liquors, flavour oils or emulsions, extracts or even dried fruit powder.

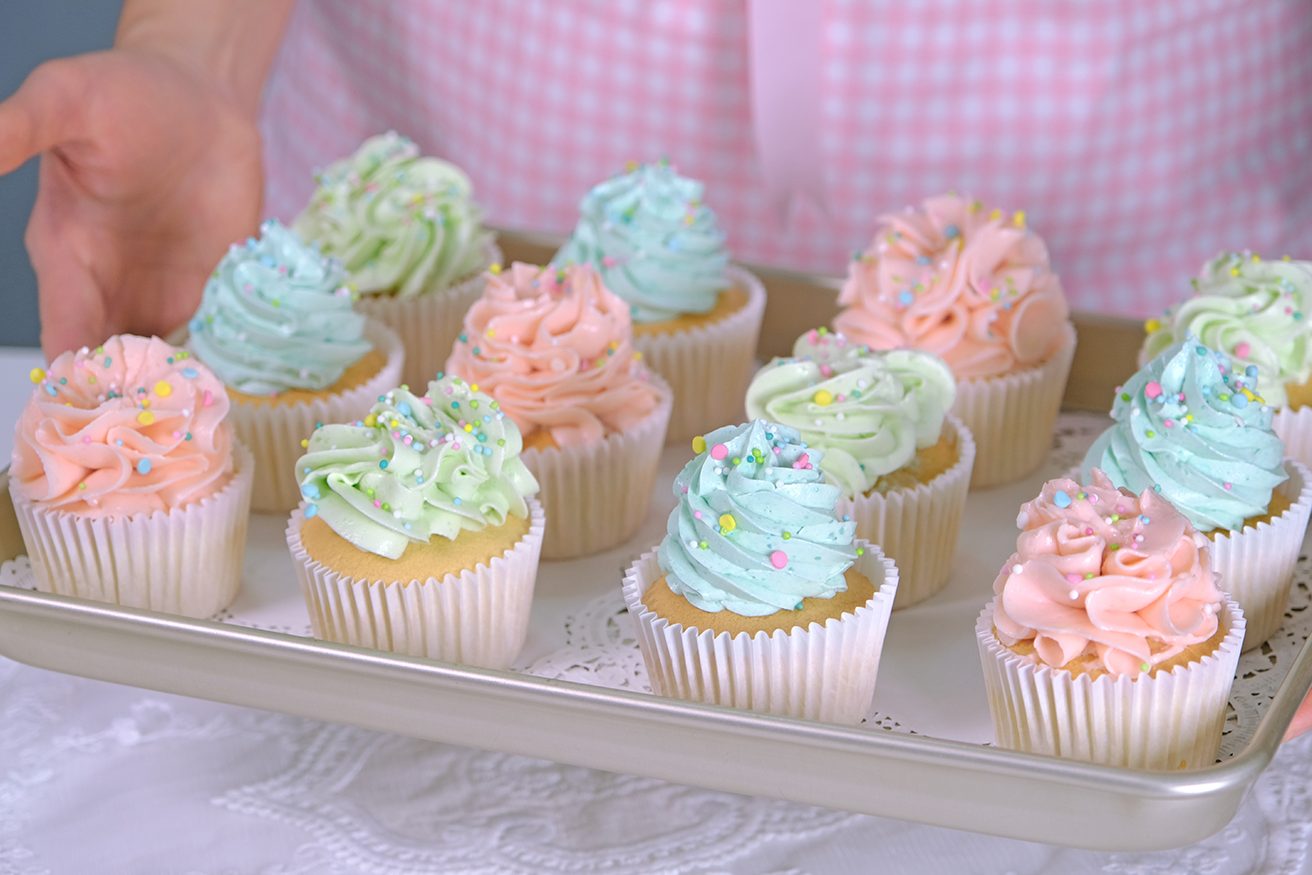
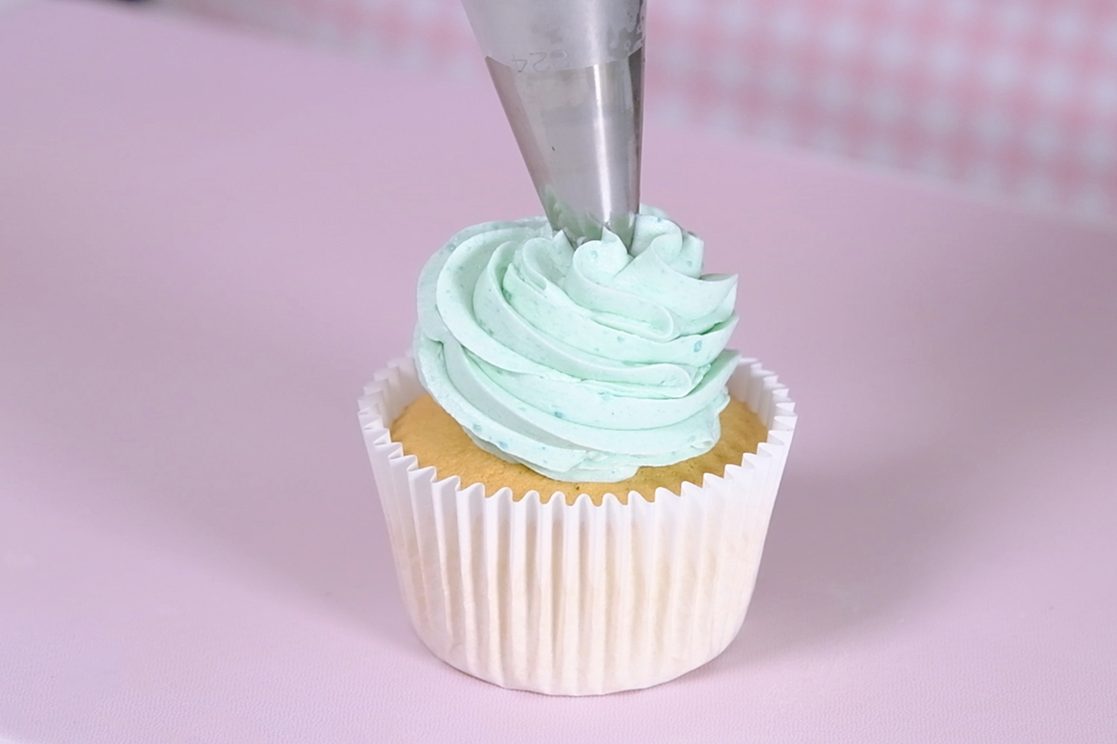
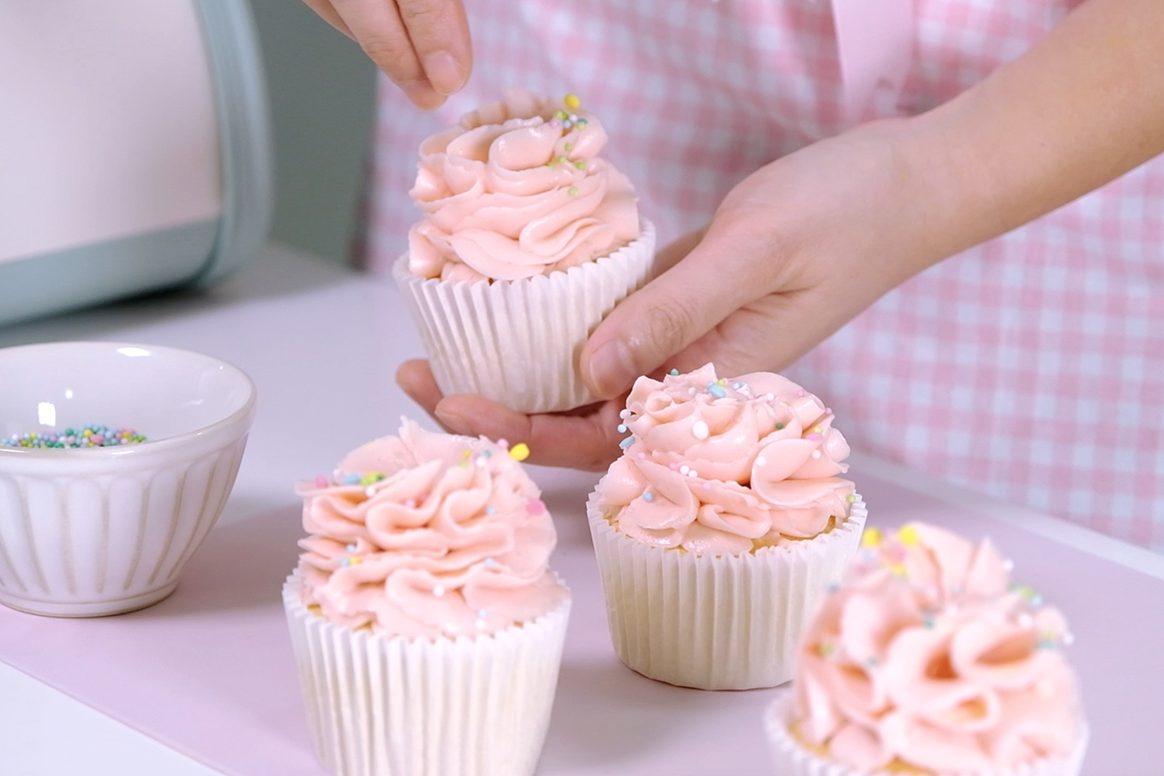
This Russian Ball tip creates beautiful ruffles 🥰
🥲 So beautiful !
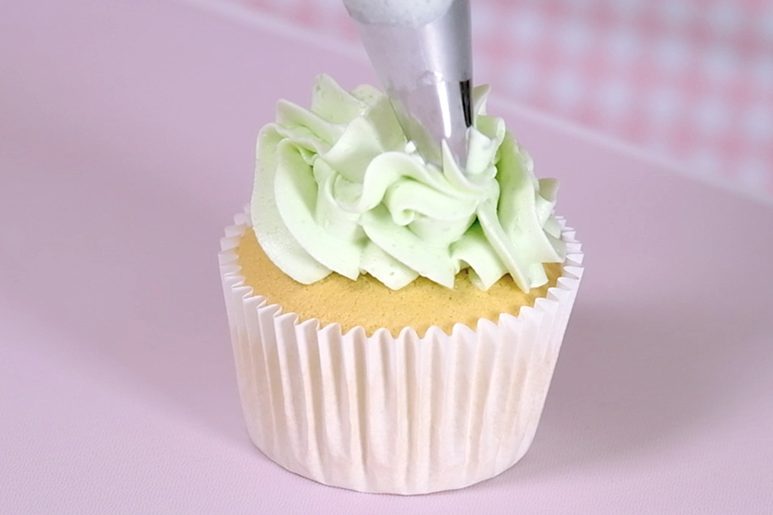
Get creative with your own designs !!
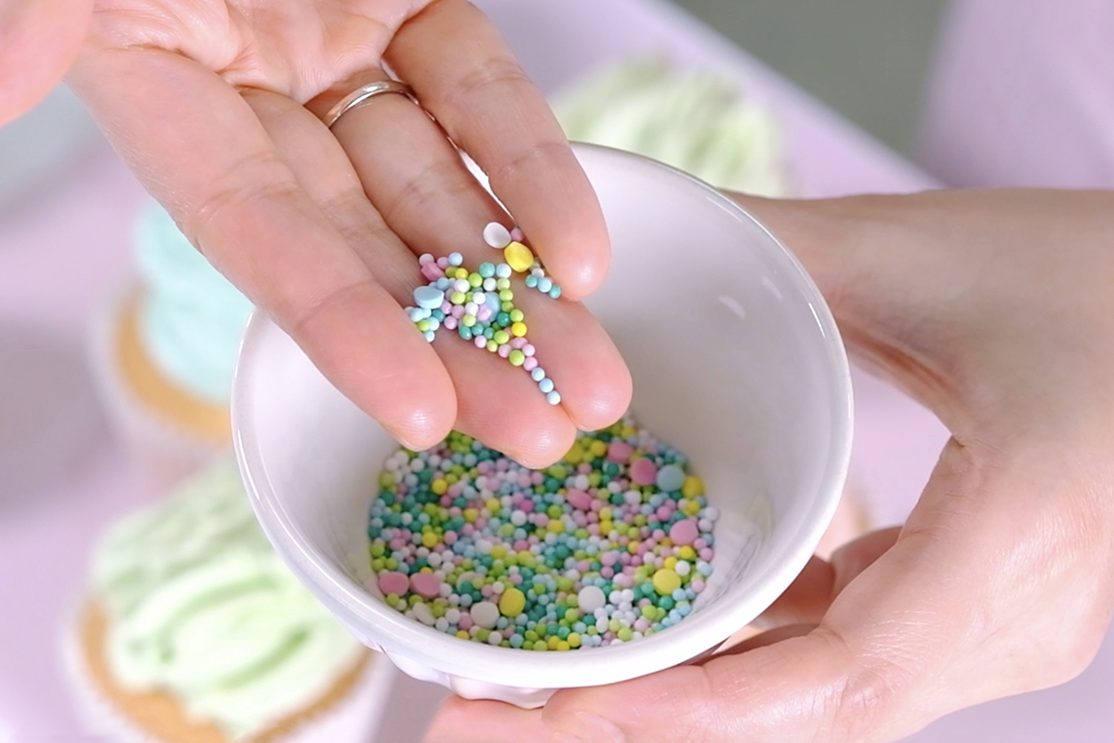
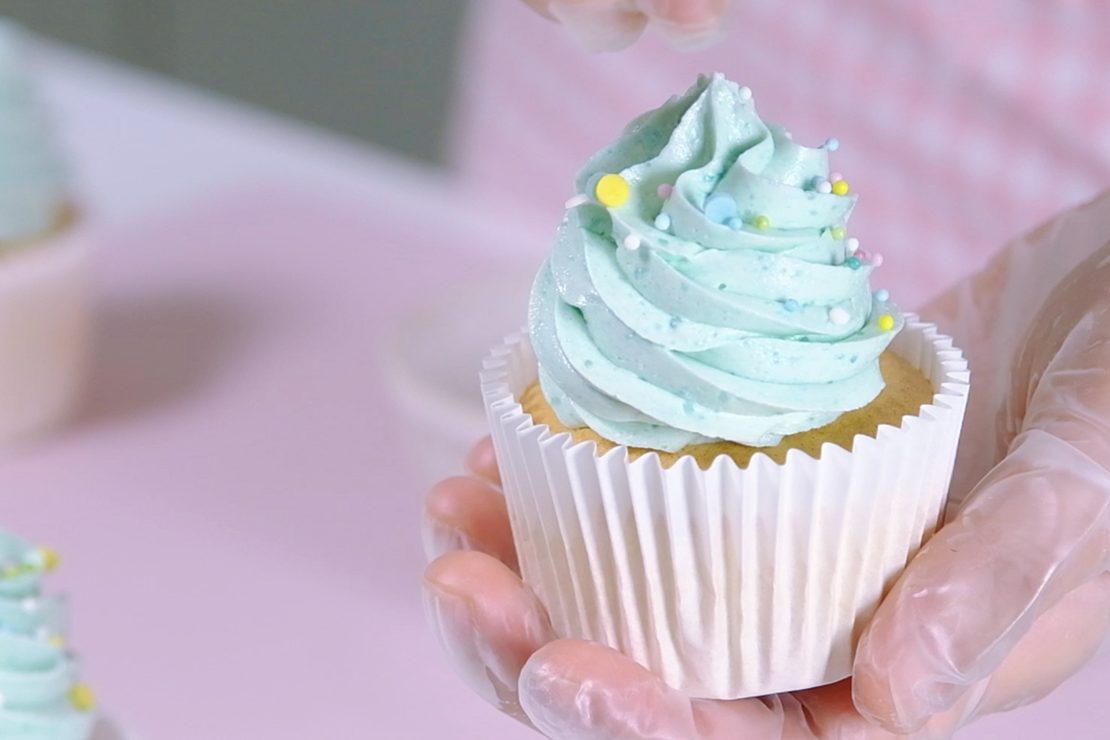
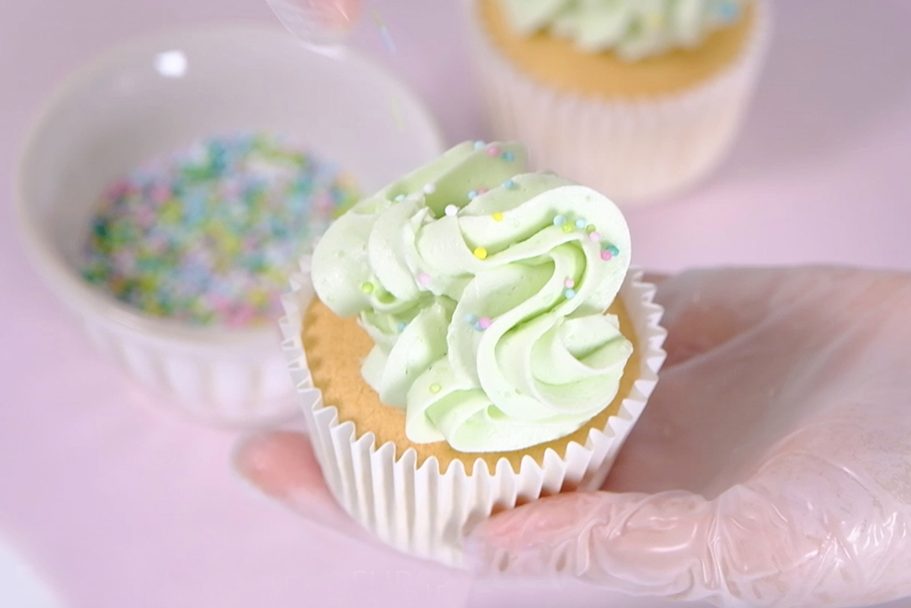
And finish with colourful confetti sprinkles   

So pretty! ☺️

I always flavor my frosting by adding a little at a time and tasting it as I go; Start with ½ teaspoon of extract or emulsion and taste.

Be careful with strong extracts like Almond and Mint,
I suggest starting with 1/8 teaspoon so the flavor doesn’t get too strong.

It’s time to enjoy the cupcakes 🥴

These cupcakes are perfect for any occasion and you can customize them to your taste by choosing your own frosting.

The frosting is a beautiful old-school classic.

It’s incredibly smooth and creamy, but not overly sweet.

With a soft, airy texture that melts in your mouth

🥲
🤤

These cupcakes always make me smile

And I hope they bring a little joy to your kitchen too !!

Love you All and Happy Baking!!

WATCH HOW TO MAKE LIGHT FLUFFY VANILLA SPONGE CUPCAKES

TIPS FOR SUCCESS (PLEASE READ FIRST):

FOR THE BOILED-MILK FROSTING

  • Prepare the Roux in advanced, so it has time to cool completely at room temperature
  • It is important to strain the Roux mixture (before and after cooking), you don’t want any lumps in your frosting
  • Remember to stir the Roux mixture constantly during cooking, otherwise the bottom will burn
  • Once the Roux cooked, place a piece of plastic wrap directly on the surface to prevent a skin forming
  • Always use real Butter (100 percent High Quality Butter)
  • Take the Butter out of the fridge allow to sit on the counter for about 30 minutes before you start making the frosting.
    The Butter must be softened until it is pliable but still cold and holds its shape, rather than melting or becoming too soft.
  • Once you mix the Roux with Butter, it may look curdling at first;
    Keep mixing on medium-high speed for about 3 to 5 minutes, the frosting will become very smooth, light, and fluffy
  • If you find the frosting is too soft to pipe, you can place it in the fridge for about 30 minutes and it will firm up a bit to a nice consistency
     

FOR THE CUPCAKES BATTER

  • Make sure all utensils clean and grease free (wipe the bowl and utensil with lemon juice or vinegar to helps remove grease)
  • Preheat the oven 20 minutes or longer before you start (use an oven thermometer to ensure the temperature is correct)
    Set an oven rack in the middle of the oven
  • Use fresh eggs that are room temperature (other ingredients also must be at room temperature)
  • Beat egg whites until stiff peak
  • Sift the Flour
  • Mix each batches of the flour evenly until there are no lumps
  • Make sure the wet ingredients are combined well with the batter
  • Don’t mix the batter too hard, just make sure it is well blended (the consistency should be thick but flowing)
    If the batter looks runny, it means you’ve over-mixed it and the cupcakes won’t rise properly
  • Don’t let the batter sit too long before baking, bake it immediately (especially if the batter does not use any raising agents at all, there is a risk that the batter will deflate)
  • Resist the urge to open the oven door while baking; this can lead to the cake being too damp in the middle or even falling
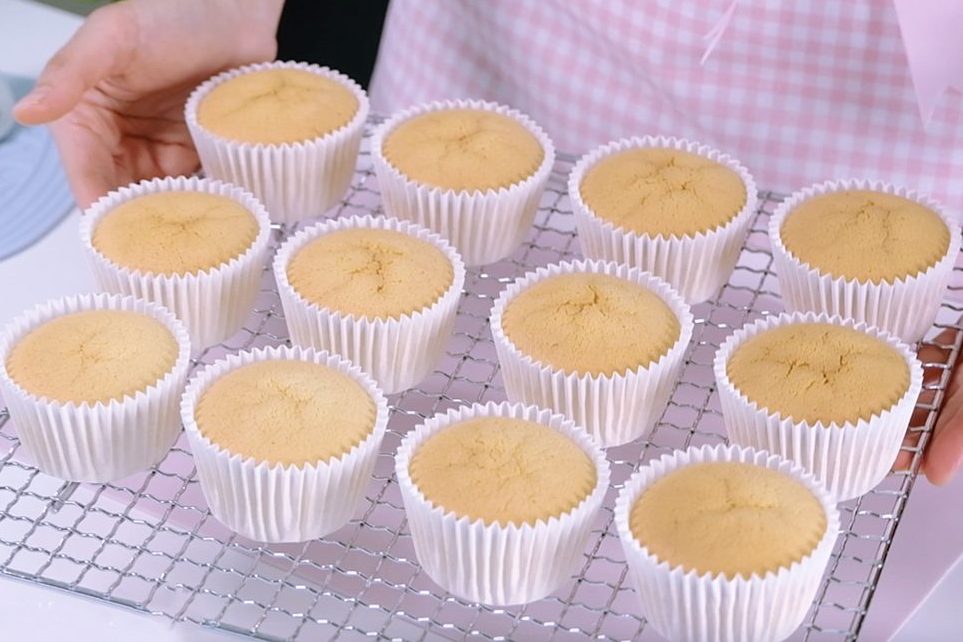
  • Once baked, tap the pan on the counter 3 times, this will prevent the cupcakes from shrinking or deflating when they cool
    Then immediately transfer to a cooling rack to cool completely

RECIPE

VANILLA SPONGE CUPCAKES
Yield: 12 regular Cupcakes

Ingredients
🧁 CUPCAKE BATTER
4 Egg Whites (130 g) ~ room temperature
1 tsp Lemon Juice
80 g Caster Sugar
4 Egg Yolks (85 g) ~ room temperature
40 g Milk ~ room temperature
26 g Vegetable Oil
30 g Maple Syrup
1/2 tsp Vanilla Extract
120 g Cake Flour (sifted)
Notes: you can substitute Lemon Juice with 1 tsp White Vinegar or 1/2 tsp of Cream of Tartar

🧁 BOILED-MILK FROSTING
270 g Milk
36 g All-Purpose Flour
1/8 tsp Salt
270 g Unsalted Butter ~ softened at room temperature
135 g Icing Sugar
1/2 tsp Vanilla Extract
Food Colouring

Instructions
PREPARATION

  1. Line 12-cup Muffin Tins with paper liners
  2. Make sure all utensils clean and grease free (wipe the bowl and utensil with Lemon Juice or Vinegar to helps remove grease).
  3. Take the eggs and other cold ingredients out of the fridge
    Separate Egg Whites and Egg Yolks; then let them come to room temperature.
  4. Preheat the oven 180°C/ 160°C fan/ gas mark 4.
  5. Mix the wet ingredients (Milk, Oil, Maple Syrup and Vanilla Extract)


CUPCAKE BATTER

  1. Beat the Egg Whites over HIGH speed for about 30 seconds until foamy.
  2. Add Lemon Juice (or white Vinegar or Cream of Tartar) and continue beating for another 30 seconds.
    * Acid in Lemon Juice/ Vinegar/ Cream of Tartar will help stabilizing the egg whites
  3. Add Sugar in 3 batches every 30 seconds.
  4. Once all the Sugar is added, continue beating on high speed until stiff peak for about 3 to 5 minutes (the mixture will gradually thicken and look shiny).
  5. Pour in the Egg Yolks; Using a hand whisk, stir gently until evenly mixed.
  6. Add sifted Flour in 2 batches (don’t skip this process; by sifting the Flour, it will break up any lumps, create a light, delicate, and fluffy results).
    Stir gently; Make sure that you scrape the entire surface of the bowl so that there is no flour residue on the sides and bottom of the bowl (mix each batches evenly until there are no lumps).
  7. Then take about 1 cup of this egg-flour mixture into the wet ingredients; mix really well.
    * By using this pre-mix method, the milk-oil mixture will incorporated easily with the egg mixture.
    It prevents the oil and milk from falling directly to the bottom of the bowl, which would cause the cake didn’t rise properly
  8. Pour the pre-mix mixture back to the egg-flour mixture; using a hand whisk stir gently (don’t mix too hard, just make sure the mixture is well blended)
  9. Then using spatula, scrape all the bottom and sides of the bowl, make sure it is evenly mixed.
    The batter should be thick but flowing (if the batter looks runny, it means you’ve over-mixed it and the cupcakes won’t rise properly)
  10. Evenly scoop the batter into prepared muffin cups.
  11. Using a skewer make this circular motion to flatten the batter and break the large bubbles.
  12. Bake in the preheated oven at 180°C/ 160°C fan/ gas mark 4 for 23 Minutes (Middle rack).
    * Resist the urge to peek until your cake is done; this can lead to the cake being too damp in the middle or even falling
  13. Once baked, tap the pan on the counter 3 times, this will prevent the cupcakes from shrinking or deflating when they cool.
    And then immediately transfer to a cooling rack to cool completely.


BOILED-MILK FROSTING

  1. In a medium bowl, whisk the Flour and Salt into Milk until smooth
    Strain this mixture to the non-stick pan (you don’t want any lumps in your frosting)
  2. Cook over MEDIUM-HIGH heat, the mixture will gradually thicken.
    Stir constantly until very thick and bubbling, about 3 minutes.
    *It is important to stir the mixture constantly during cooking, otherwise the bottom will burn
  3. Once it’s done, strain the mixture through a fine sieve into a shallow heatproof dish
  4. Place a piece of plastic wrap directly on the surface to prevent a skin forming
  5. Let the Roux cool completely to room temperature (this will take about 2 hours)
  6. After the Roux has cooled,
    Start beating the Butter on medium speed for 1 minute until smooth and creamy
  7. Add the Icing Sugar and Vanilla Extract, continue beating for 1 minute
    * Scrapping down the sides and bottom of the bowl occasionally until all the Sugar has been incorporated
  8. Pour the room temperature Roux, continue mixing (It may look curdling at first) Using spatula, scrape down the sides and bottom of the bowl occasionally to make sure everything is mixed well
    Keep mixing on MEDIUM-HIGH speed for about 3 to 5 minutes, the frosting will become very smooth, light, and fluffy
    * If you find the frosting is too soft to pipe, you can place it in the fridge for about 30 minutes and it will firm up a bit to a nice consistency

NOTES

  1. Make sure the unfrosted Sponge Cupcakes to cool completely before storing
  2. Unfrosted Sponge Cupcakes can be stored at room temperatur for 2-3 days in an airtight container to prevent them from drying out
  3. For longer storage, they can be placed in the refrigerator for up to a week in an airtight container.
    If refrigerated, let the Cupcakes come to room temperature before serving to soften them up. This usually takes about 30 minutes to an hour
  4. Unfrosted Cupcakes can also be frozen for longer storage (up to 1 month). 
    Wrap each cupcake individually in plastic wrap and then place them in a freezer-safe container or bag. 
    To thaw, unwrap the Cupcakes, place in an airtight container and let them come to room temperature. 
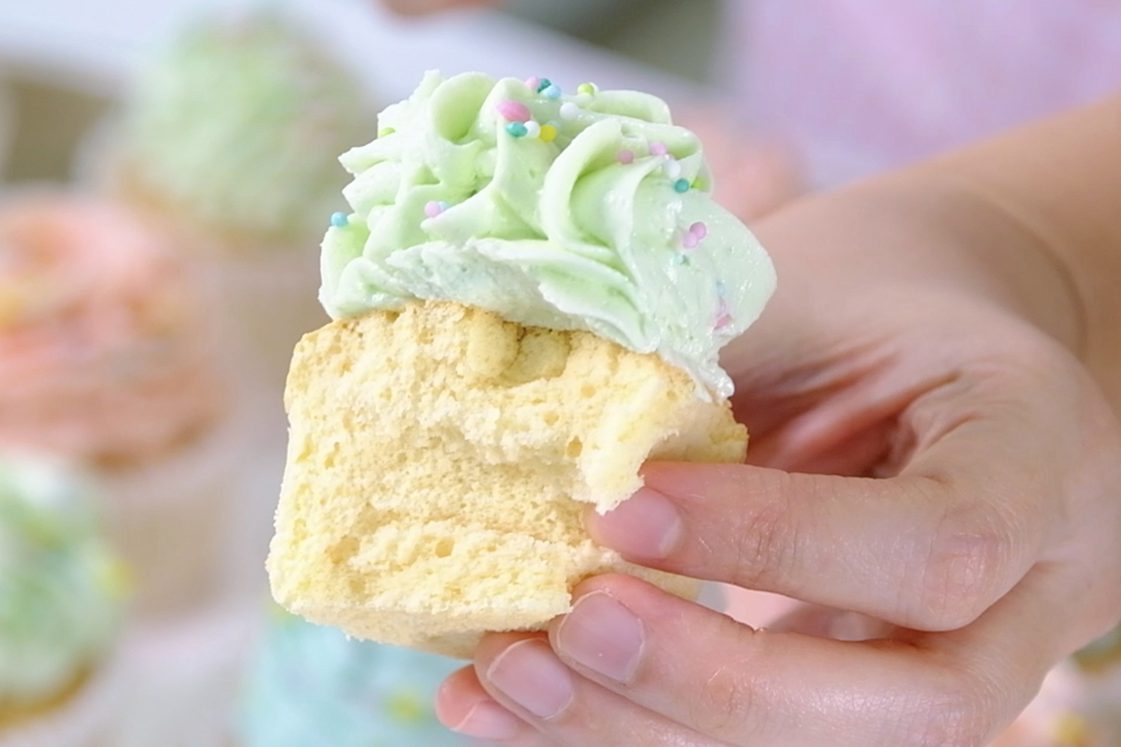
  5. To store frosted Sponge Cupcakes; keep them in an airtight container for 1 day,
    If you can’t finish it, preferably refrigerated if the frosting contains dairy or perishable ingredients; they can last up to 5 days.

How to Convert Cake Recipes for Any Cake Tin or Pan

One of the most popular questions I get asked is “How to convert cake recipes for different size pans with the same height?”.
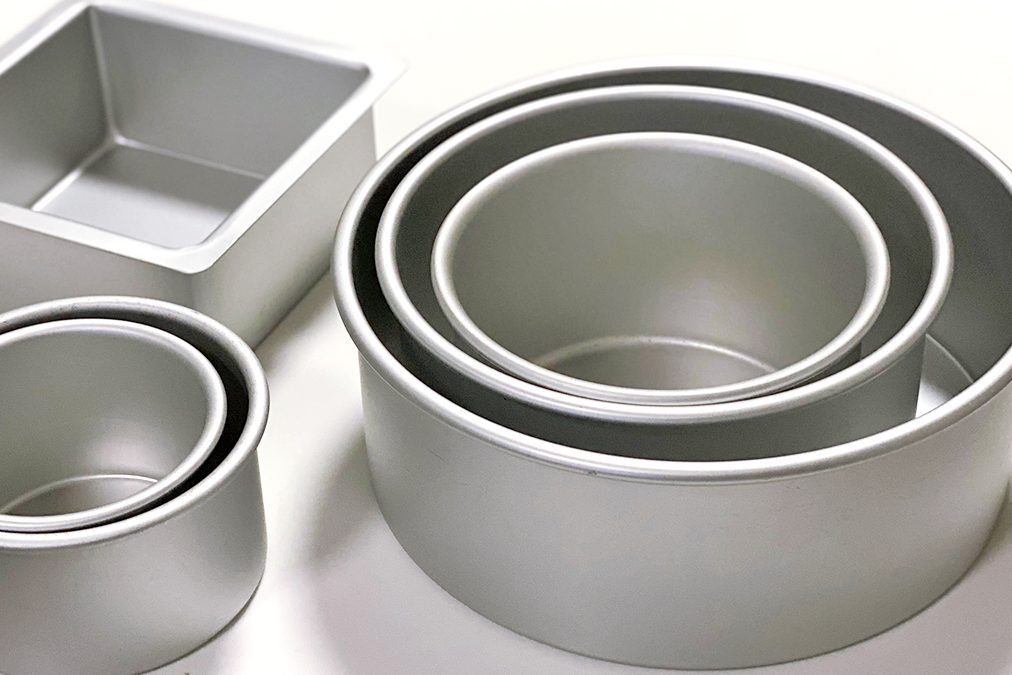
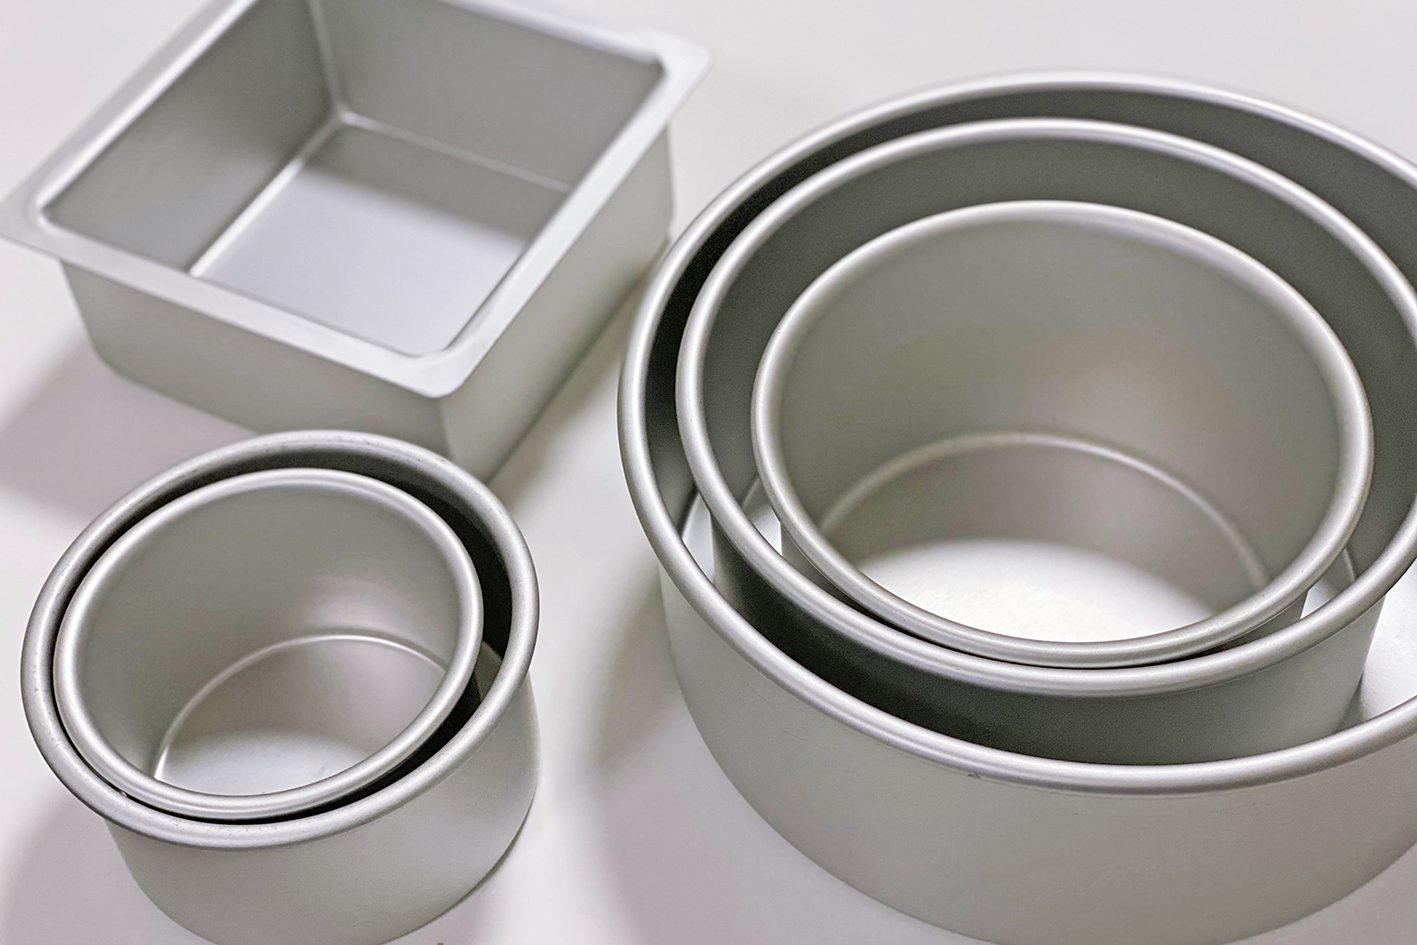
Maybe you have a recipe that tells you to use a 6-inch pan, but all you have at home is an 8-inch pan or what do you do when you don’t have the right cake pan?

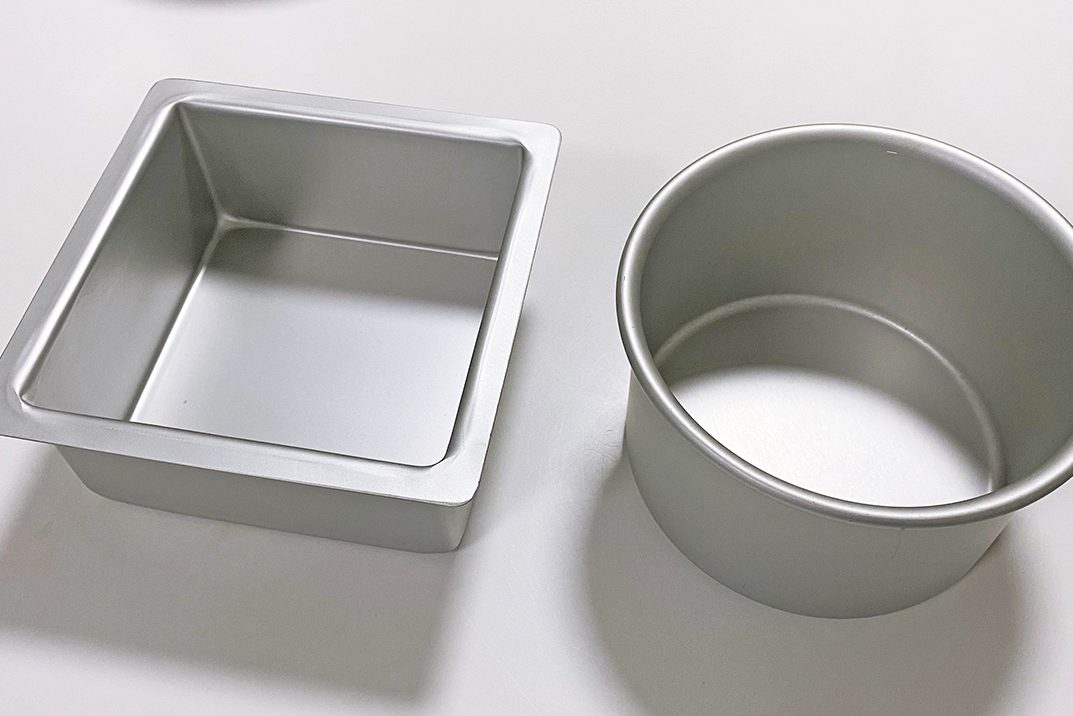
When converting cake recipes, first thing that you need to know is “How much the surface area of each of the pans?” (the pan you want to use and the pan the original recipe calls for).

There is a little maths involved in working this out, but to make it a little easier I have done this for you by using the simple chart below:

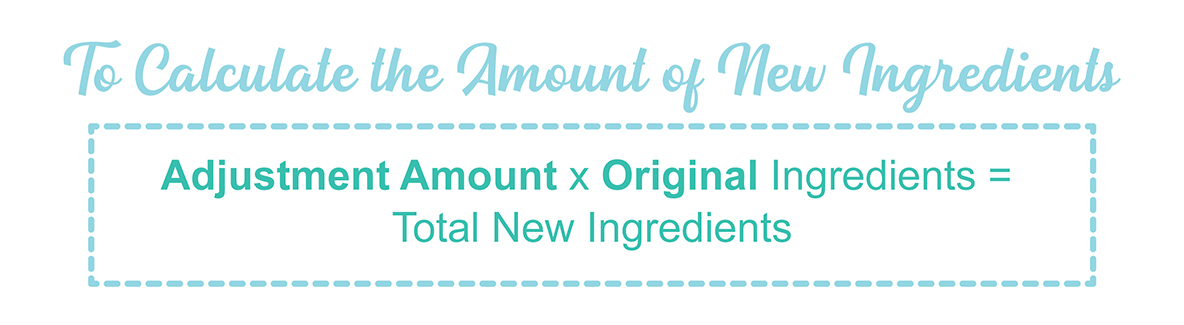
Once you have your 2 surface areas you can work out your Adjustment Amount

Then you can use the adjustment amount to convert the original recipe; by multiplying the value of the adjustment amount by the amount of each original ingredient

EXAMPLE OF ADJUSTING RECIPE

Here’s an example of how I converted one of my cake recipes;
My Vanilla Cake Recipe was for a 6-Inch Round cake and I wanted to use my 8-Inch Round Pan

The surface area of 6-Inch Round Pan (according to chart) is 29; and 8-Inch Round Pan is 50
To get the Adjustment Amount, I will divide 50 by 29 = 1,72

After multiplying all ingredients by 1,72 (as shown by the math above), I was able to bake the cake in my 8″ cake pans which produced the same height, texture and consistency as my 6″ cake pans.

WHAT ABOUT EGGS, BAKING POWDER/ Soda, SALT AND EXTRACT?!

For eggs – work off of a standard egg weighing 50g (out of the shell).
If you only need 25 grams of an egg, crack an egg into a cup whisk and measure out 25g using scales (save the leftovers for other purposes).

For ingredients like Baking Powder/ Soda or Lemon Juice
I round up or down e.g. if 1 tsp Lemon Juice is needed for 6″ , I round 1,72 up to 1, 75 (which is 1 ¾ tsp)

Another helpful trick is to follow the rule; the standard ratio is 1 teaspoon Baking Powder per cup of Flour and 1/4 teaspoon Baking Soda per cup of Flour.

Salt and vanilla are little more easier to play around with seeing as they are flavour enhancers only and don’t affect the structure of the cake. 
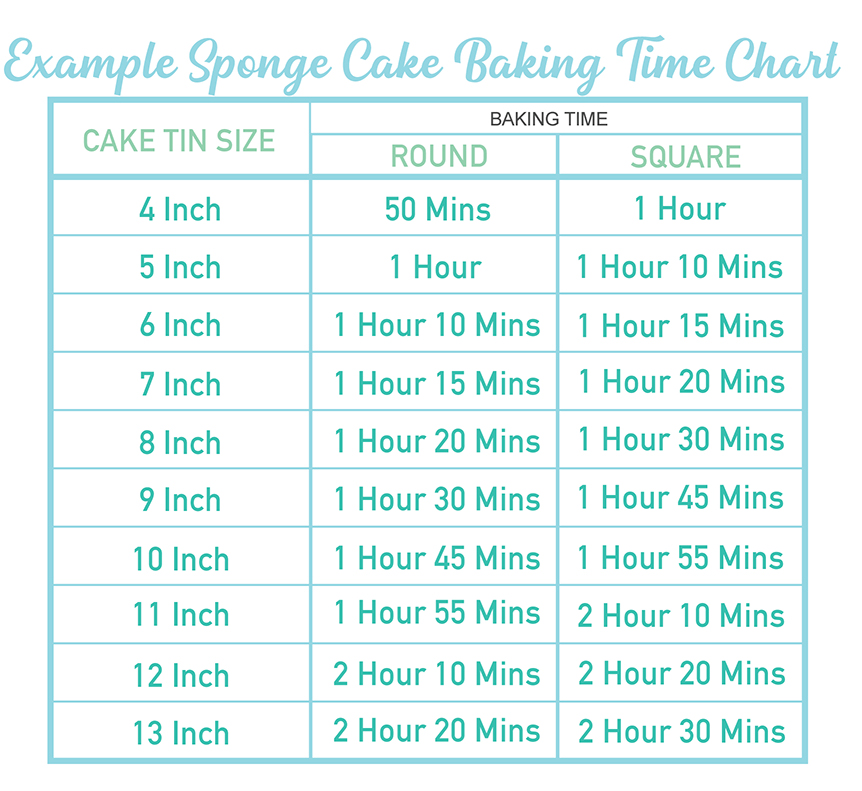
DO I NEED TO ADJUST THE BAKING TIME?

Please note that changing pan sizes may change your baking time, so DON’T forget to adjust the baking time.
It is hard to tell how much you will need to adjust the time by as this will depend on the size difference; generally, a bigger pan has more liquid and needs more time baking.

An 8″ square pan will have a larger volume than an 8″ round pan

For a SMALLER pan start checking 5-10 minutes prior to the stated time, and for a LARGER pan add time in 5-minute increments until it is baked
(Below is an example of how I increased and decreased the baking time)

DO I HAVE TO DO THE MATH?

If this all seems like too much hard work, I get it!
If you are using a smaller cake pan than what the recipe states, you could just make the recipe as usual and follow the general rule of thumb which is to fill the cake tin 2/3’s full.
Any left over cake mixture can be used for mini cupcakes to be frozen and used for another time.

In the opposite scenario (the cake pan you have is larger than the required in the recipe), then you could multiply the recipe by 1.5 or 2 depending on how much larger the cake tin is; But in fairness, if you’re going to do some math anyway you may as well do it precisely and get it right with the method above.

I hope this was helpful for you.
Happy baking! 🥰