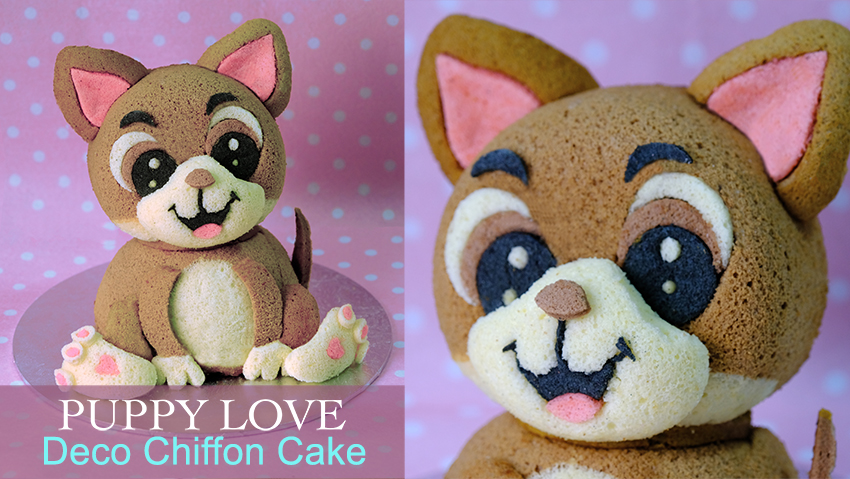
Chiffon cakes are typically baked in standard tubed pans.
But did you know…
You can also bake them in all sorts of exciting shapes or sizes and give them patterns or decorations created using the same cake batter as well.
These “Puppy Love Deco Chiffon Cakes” are pretty enough to stand alone as the centrepiece at a party and a perfect surprise gift for your loves one.

Template in an actual cake size is very important as a size guidelines, especially when cutting the cake details
Another thing that you will need to prepare is the pan or mould which as much as possible represents the shape of each puppies details. It can be baked in a variety of moulds, such as glass, metal, silicone and paper cones.
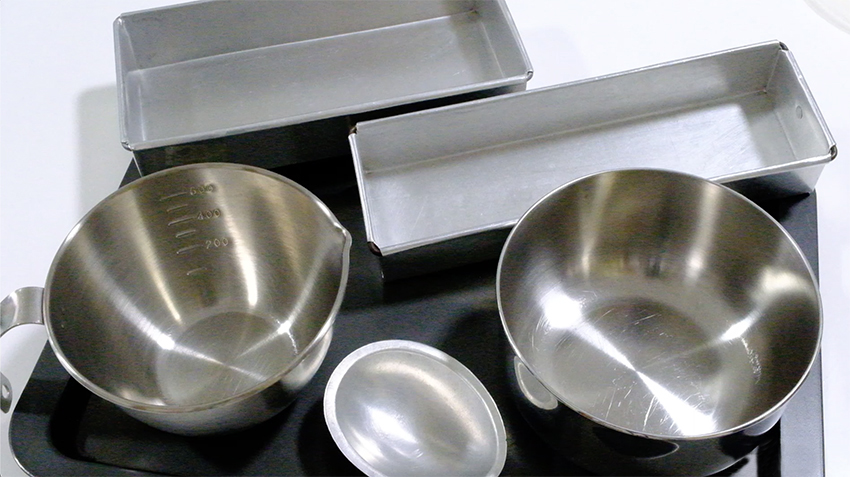
For example, I will use some egg shape pans to create the mouth, feet, hands and ears.
I also need shallow baking pans for baking the thin layer used for decorating purpose.
The size of the shallow pan that we used is depend on the decoration required, for example if very little decoration required then the smaller pan is used.
Another pans that we use here is 5-inch, 6 cm deep round pan for the head and also 750 ml stainless steel cup for the body (wonder mold doll cake which is similar to this works well too).
Make sure that you prepare all the pans in advance and preheat the oven so the batter won’t sit too long, allowing air bubbles to escape and deteriorate.
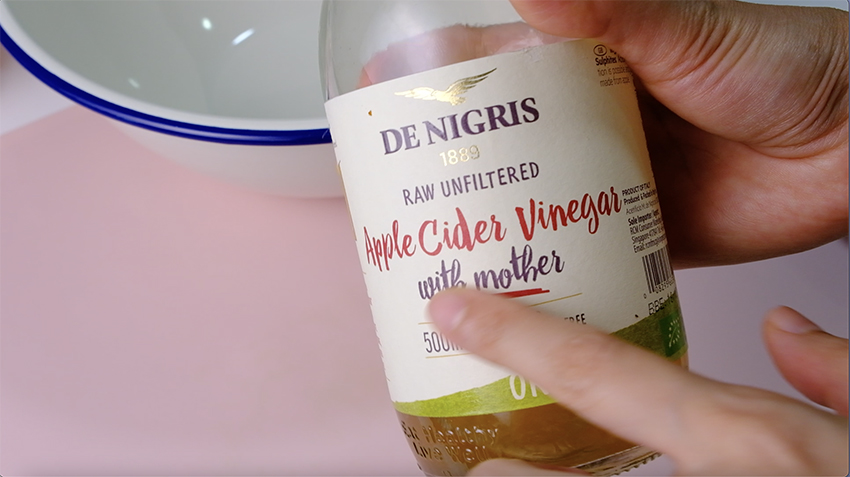
For meringue batter, I highly recommend to wipe the bowl and beater attachment with lemon juice of vinegar to make sure that it’s clean and grease free as the presence of grease may affect the foaming properties of the egg whites.

Once it’s baked, it’s important to invert the pan immediately on the cooling rack layered with greaseproof paper and let them cool completely.
Moulds with a bigger volume are preferably inverted during the cooling stage so that gravity can help pull the cake to its maximum height before the cake structure stabilizes.
On the other hand smaller moulds, inverting does not make a difference to the height of the cooled cake.

And because of the structure of chiffon cake not as strong as any other type of cake, it was a good idea if we can add some buffer around the body part to support the weight of the Puppie’s head.
how about some delicious pockey stick? since it was edible and sturdy enough (use pockey part which is covered with chocolate).
Another important tip, when it comes to stacking cakes I always use bubble tea straw in the middle as a centre pole to helps stabilize the cake structure (wooden chopstick works well too).
Always cover each part of chiffon cakes with plastic wrap during the process to prevent from drying out.

OH.. MY lovely Puppy !!!
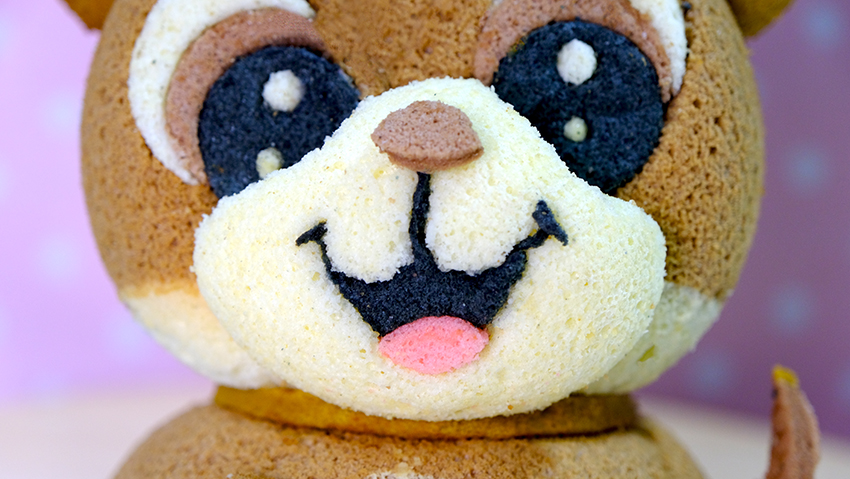
I’m sure that people will fall in love once they see him!

The cake is so fluffy, low in sugar and very tasty, these are healthy treats suitable for people of all ages. It’s a very light and simple, yet delicious cake

I hope that once you recreating these recipe, you will have more confidence to create your own stunning design.
Thank you so much for staying with me…
LOVE YOU ALL!!
PUPPY LOVE DECO CHIFFON CAKE
Yield: 1 Deco Chiffon Cake (Width: 17 cm, Height: 25 cm)
Active time: 2 1/2 hours
Total time: 4 1/2 hours
INGREDIENTS
Egg Yolk Batter:
- 50 grams Egg Yolks
- 25 grams Caster Sugar
- 100 grams Vegetable Oil
- 100 grams Water
- 1 teaspoon Vanilla Extract
- 150 grams Cake Flour
- 1/4 teaspoon Salt
Meringue Batter:
- 350 grams Egg Whites
- 1/2 teaspoon Cream of Tartar
- 100 grams Castor Sugar
- Food Colouring (soft pink, brown, black, yellow)
Pans/ Moulds:
- 6 pieces Egg Pans (@50 ml)
- 2 Rectangular Pan (22 cm x 10 cm) & (25 cm x 7,5 cm)
- 1 Round Pan (12 cm diameter, 6 cm height)
- 1 Wonder Pan (750 ml)
Edible Glue
- 3 tablespoons Icing Sugar
- 1 teaspoon Water
INSTRUCTIONS
Pans
- Grease the bottom part of the 2 rectangular pan with some butter and layered with parchment paper for easy release.
- Don’t grease the Egg, Round and Wonder pan.
Cake Batter
- Preheat the oven to 150° C.
- Egg Yolks Batter
In a medium bowl, beat the egg yolks and sugar until pale, thick and creamy (ribbon stage). Add in the oil, water and vanilla extract, mix well.
Gradually add sifted flour along with salt, whisking until just evenly mixed, set aside. - Meringue Batter
Wipe the bowl and beater attachment with lemon juice of vinegar to make sure that it’s clean and grease free (the presence of grease may affect the foaming properties of the egg whites).
Pour in the egg whites along with cream of tartar to the bowl, using electric hand mixer whisk at high speed until foamy. Add in half of the sugar and whisk until soft peaks form.
Then add in the remaining sugar, continue whisking until it reach a stiff peaks. - Fold the meringue into the egg yolk batter in 3 batches, gently fold it with hand whisk in one direction.
Mix after each addition until no white streaks visible and well combined.
Make sure there’s no egg yolk mixture left at the bottom of the bowl. - To Colour and Bake
FIRST BATCH (wonder and round pans);
Draw the white part of the puppies body and head with some plain batter (please refer to the template) for about 1/2 cm thick (make sure it’s an even thickness) and bake them immediately in the preheated 150 °C oven for about 3 minutes.
*I suggest to place the pan vertically while baking this, to make sure the batter stays in place.
SECOND BATCH (2 rectangular pans);
– Divide 22 cm x 10 cm rectangular pan into 2 equal sections, place soft pink and plain batter side by side for about 25 grams each.
– Divide 25 cm x 7,5 cm rectangular pan into 3 equal sections, place soft brown, dark brown and black batter side by side for about 20 grams each.
Tap the pans a few times to flatten the surface and then bake them immediately in the preheated 150°C oven for about 15-20 minutes or until it doesn’t stick to your hands when you touch it.
* Once it baked, invert sheet cakes immediately onto a cooling rack layered with greaseproof paper and let it cool completely.
THIRD BATCH (6 egg, wonder and round pans)
Fill 3 egg shape pans with plain batter and another 3 with dark brown batter for about 20 grams each.
Colour the rest of the batter with dark brown colour and divide them onto wonder and round pan.I suggest to fill the pan almost to the top rather than ¾ full so we can achieve full round head and body shapes.
Tap the pan a bit to remove air bubbles and bake them in the preheated 150°C oven (please note the bigger the pan, the longer it will takes)
– 25 minutes for egg pans
– 35 minutes for round pan
– 40 minutes for wonder pan, reduce the heat to 140°C and continue baking for another 10 minutes or until toothpick inserted comes out clean.
* Once it’s baked, invert them immediately on the cooling rack layered with greaseproof paper and let them cool completely.
Edible Glue
Simply mix icing sugar with water and mix until well combined.
To Unmold the Cake
Gently pull cake away from sides of pan to loosen the cake and peel greaseproof paper from the sheet cake.
* Always cover each part of chiffon cakes with plastic wrap during the process to prevent from drying out.
DETAILS & ASSEMBLY
Kindly follow template and instructions in the video (for the body buffer, use pockey stick which is covered with chocolate otherwise it will be mushy)
NOTES
- To colour the cake; try to use natural food colouring such as cocoa powder, charcoal or matcha powder as much as possible (diluted with a bit of hot water before adding to the batter).
- Cream of tartar is used for stabilising egg whites, it also helps to increase the volume of meringue.
*You can substitute cream of tartar with lemon juice or vinegar (replace every ½ tsp cream of tartar with 1 tsp lemon juice or vinegar). - Chiffon cakes can be baked in a variety of moulds, such as glass, metal, silicone and paper cones.
*Never use non-stick baking pan for chiffon cakes. - Never grease the pan (except pans for baking the thin layer used for decorating purpose) coz this type of cake needs to cling to the sides of the pan to enable rising during baking.
- Moulds with a bigger volume are preferably inverted during the cooling stage so that gravity can help pull the cake to its maximum height before the cake structure stabilizes”
- Oven mays vary, if the chiffon cake browns, hiding the colour/pattern, try reducing the oven temperature by 10°C each time until you get the right temperature.
- To store
Always keep chiffon cakes well wrapped up or in airtight container to prevent them from drying out.
Store in airtight containers, chiffon cakes will keep up to 2 days at room temperature or up to 5 days refrigerated.