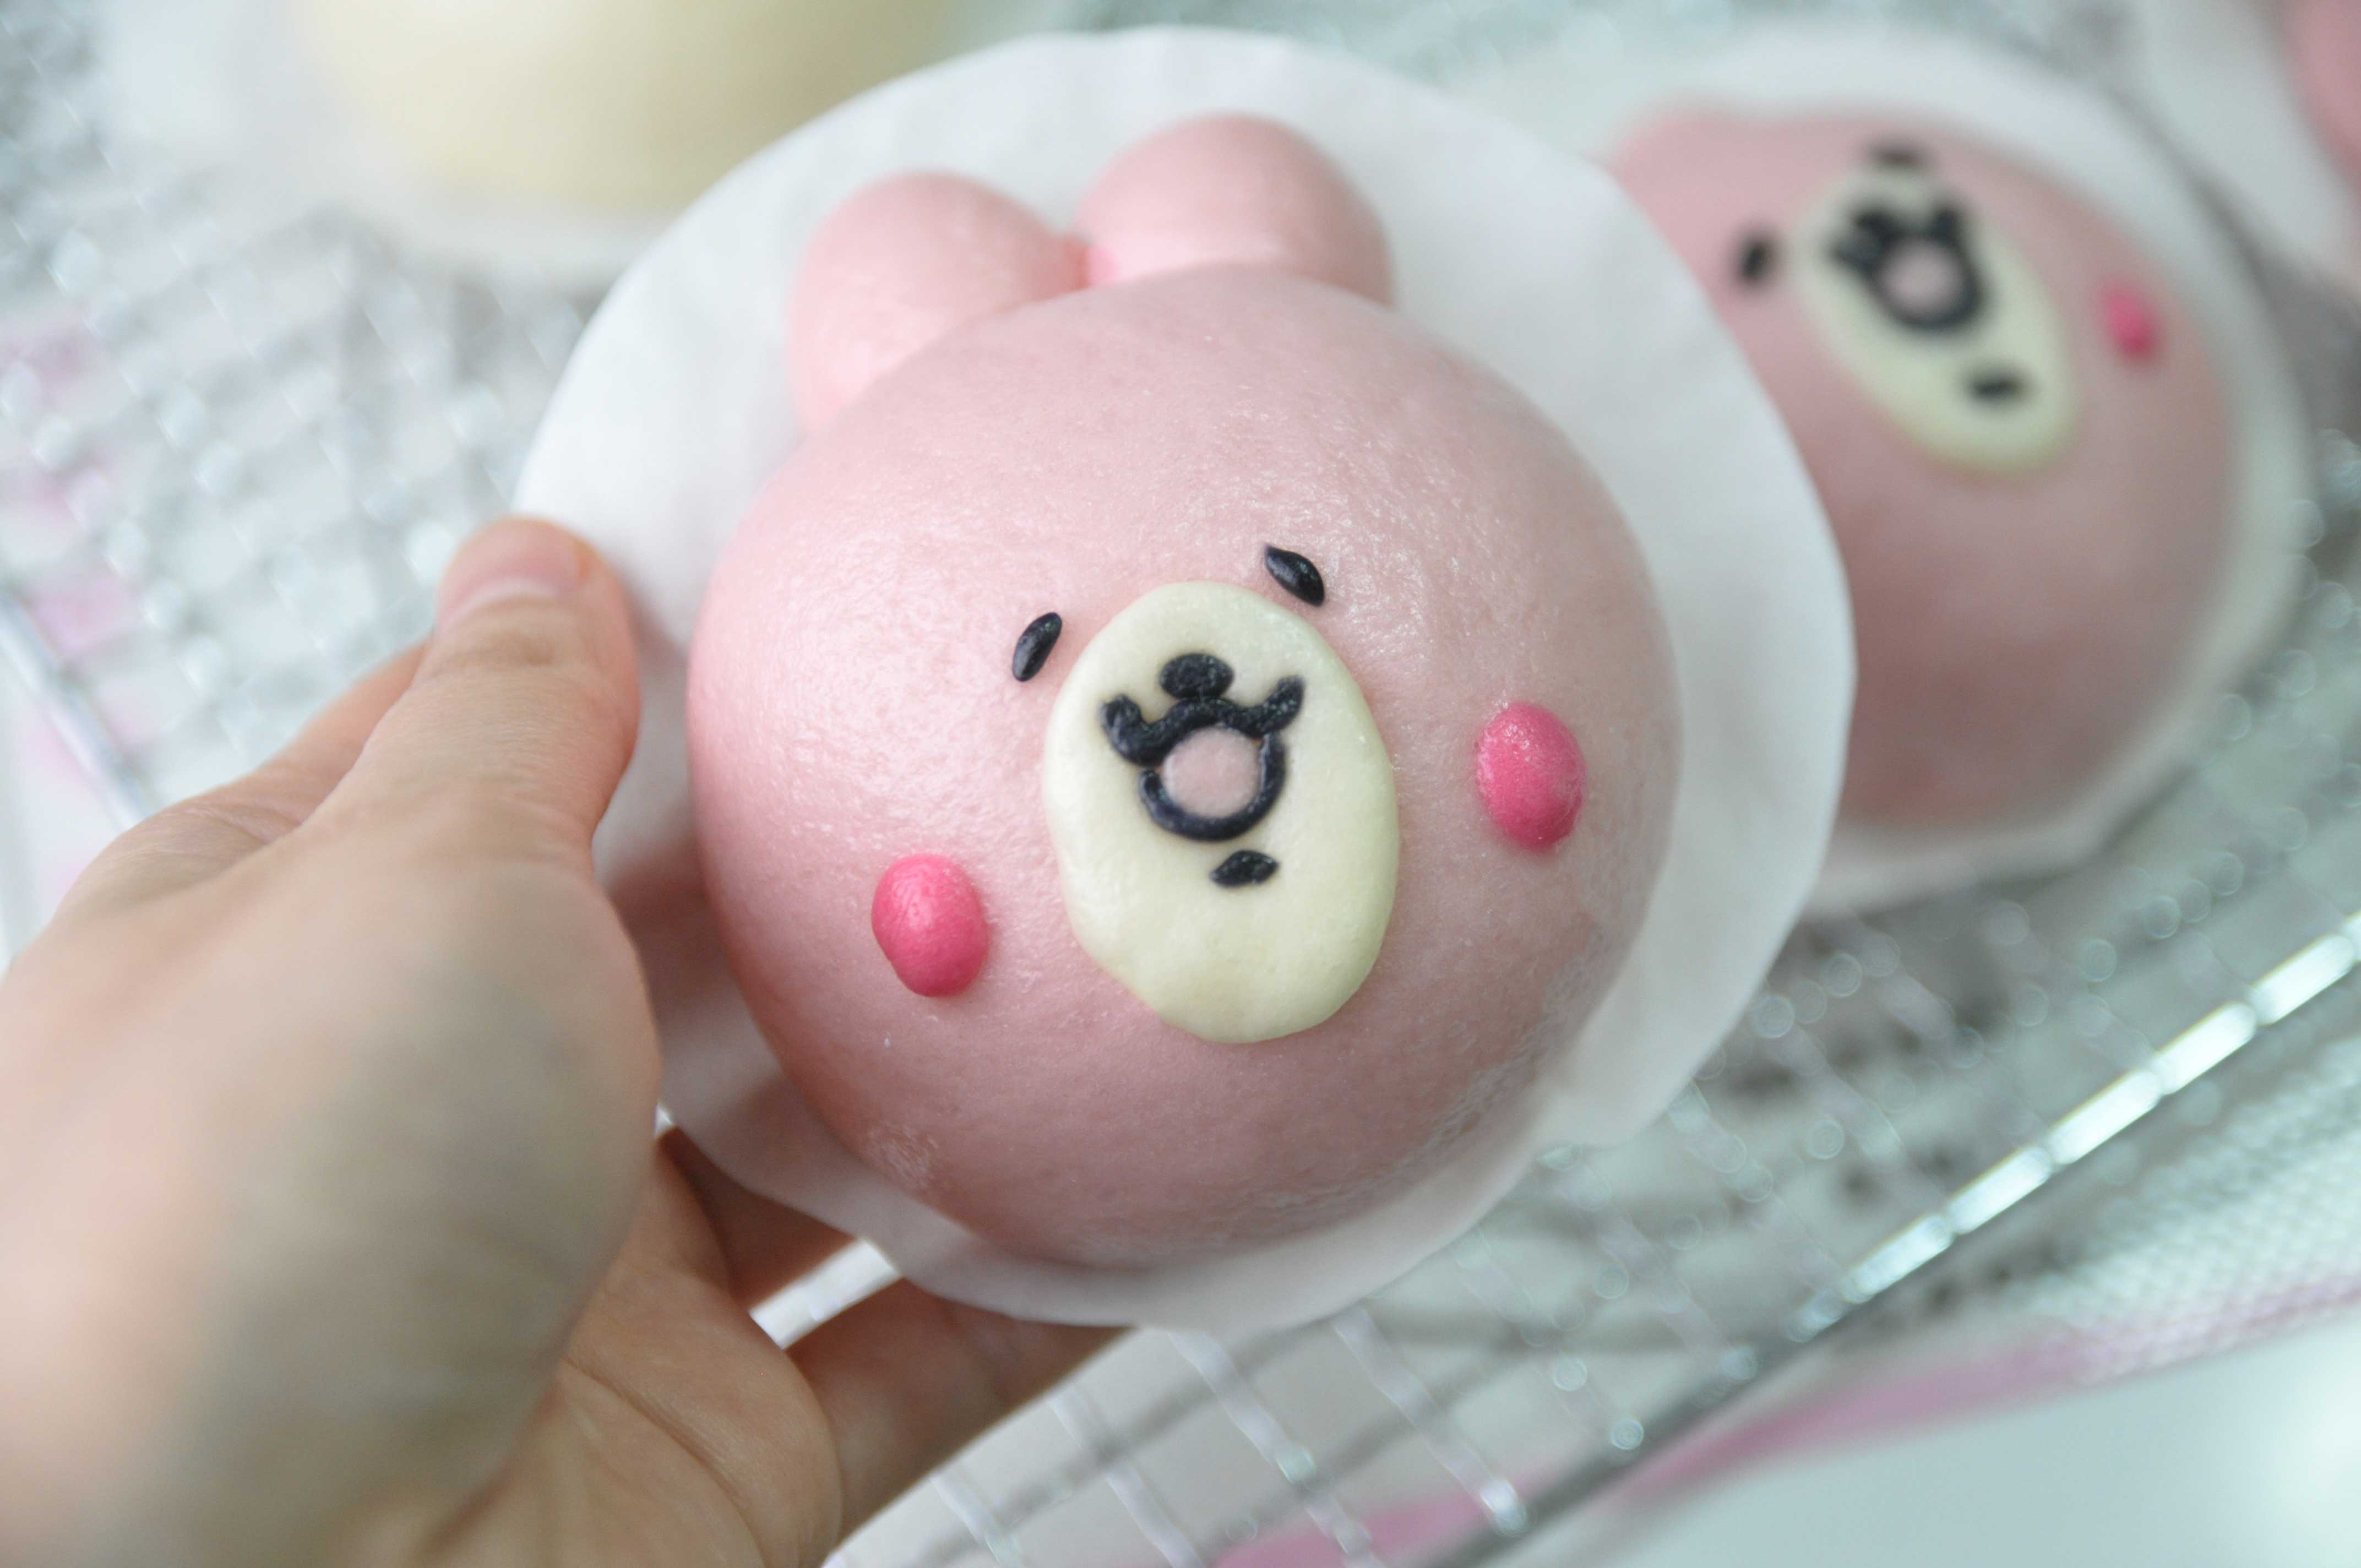
Hi Everyone, today we are making these cute “Homemade Kanahei Usagi Steamed Bun”.
Too cute to eat? But again there’s no such things as too cute to eat at Our Kitchen 😛

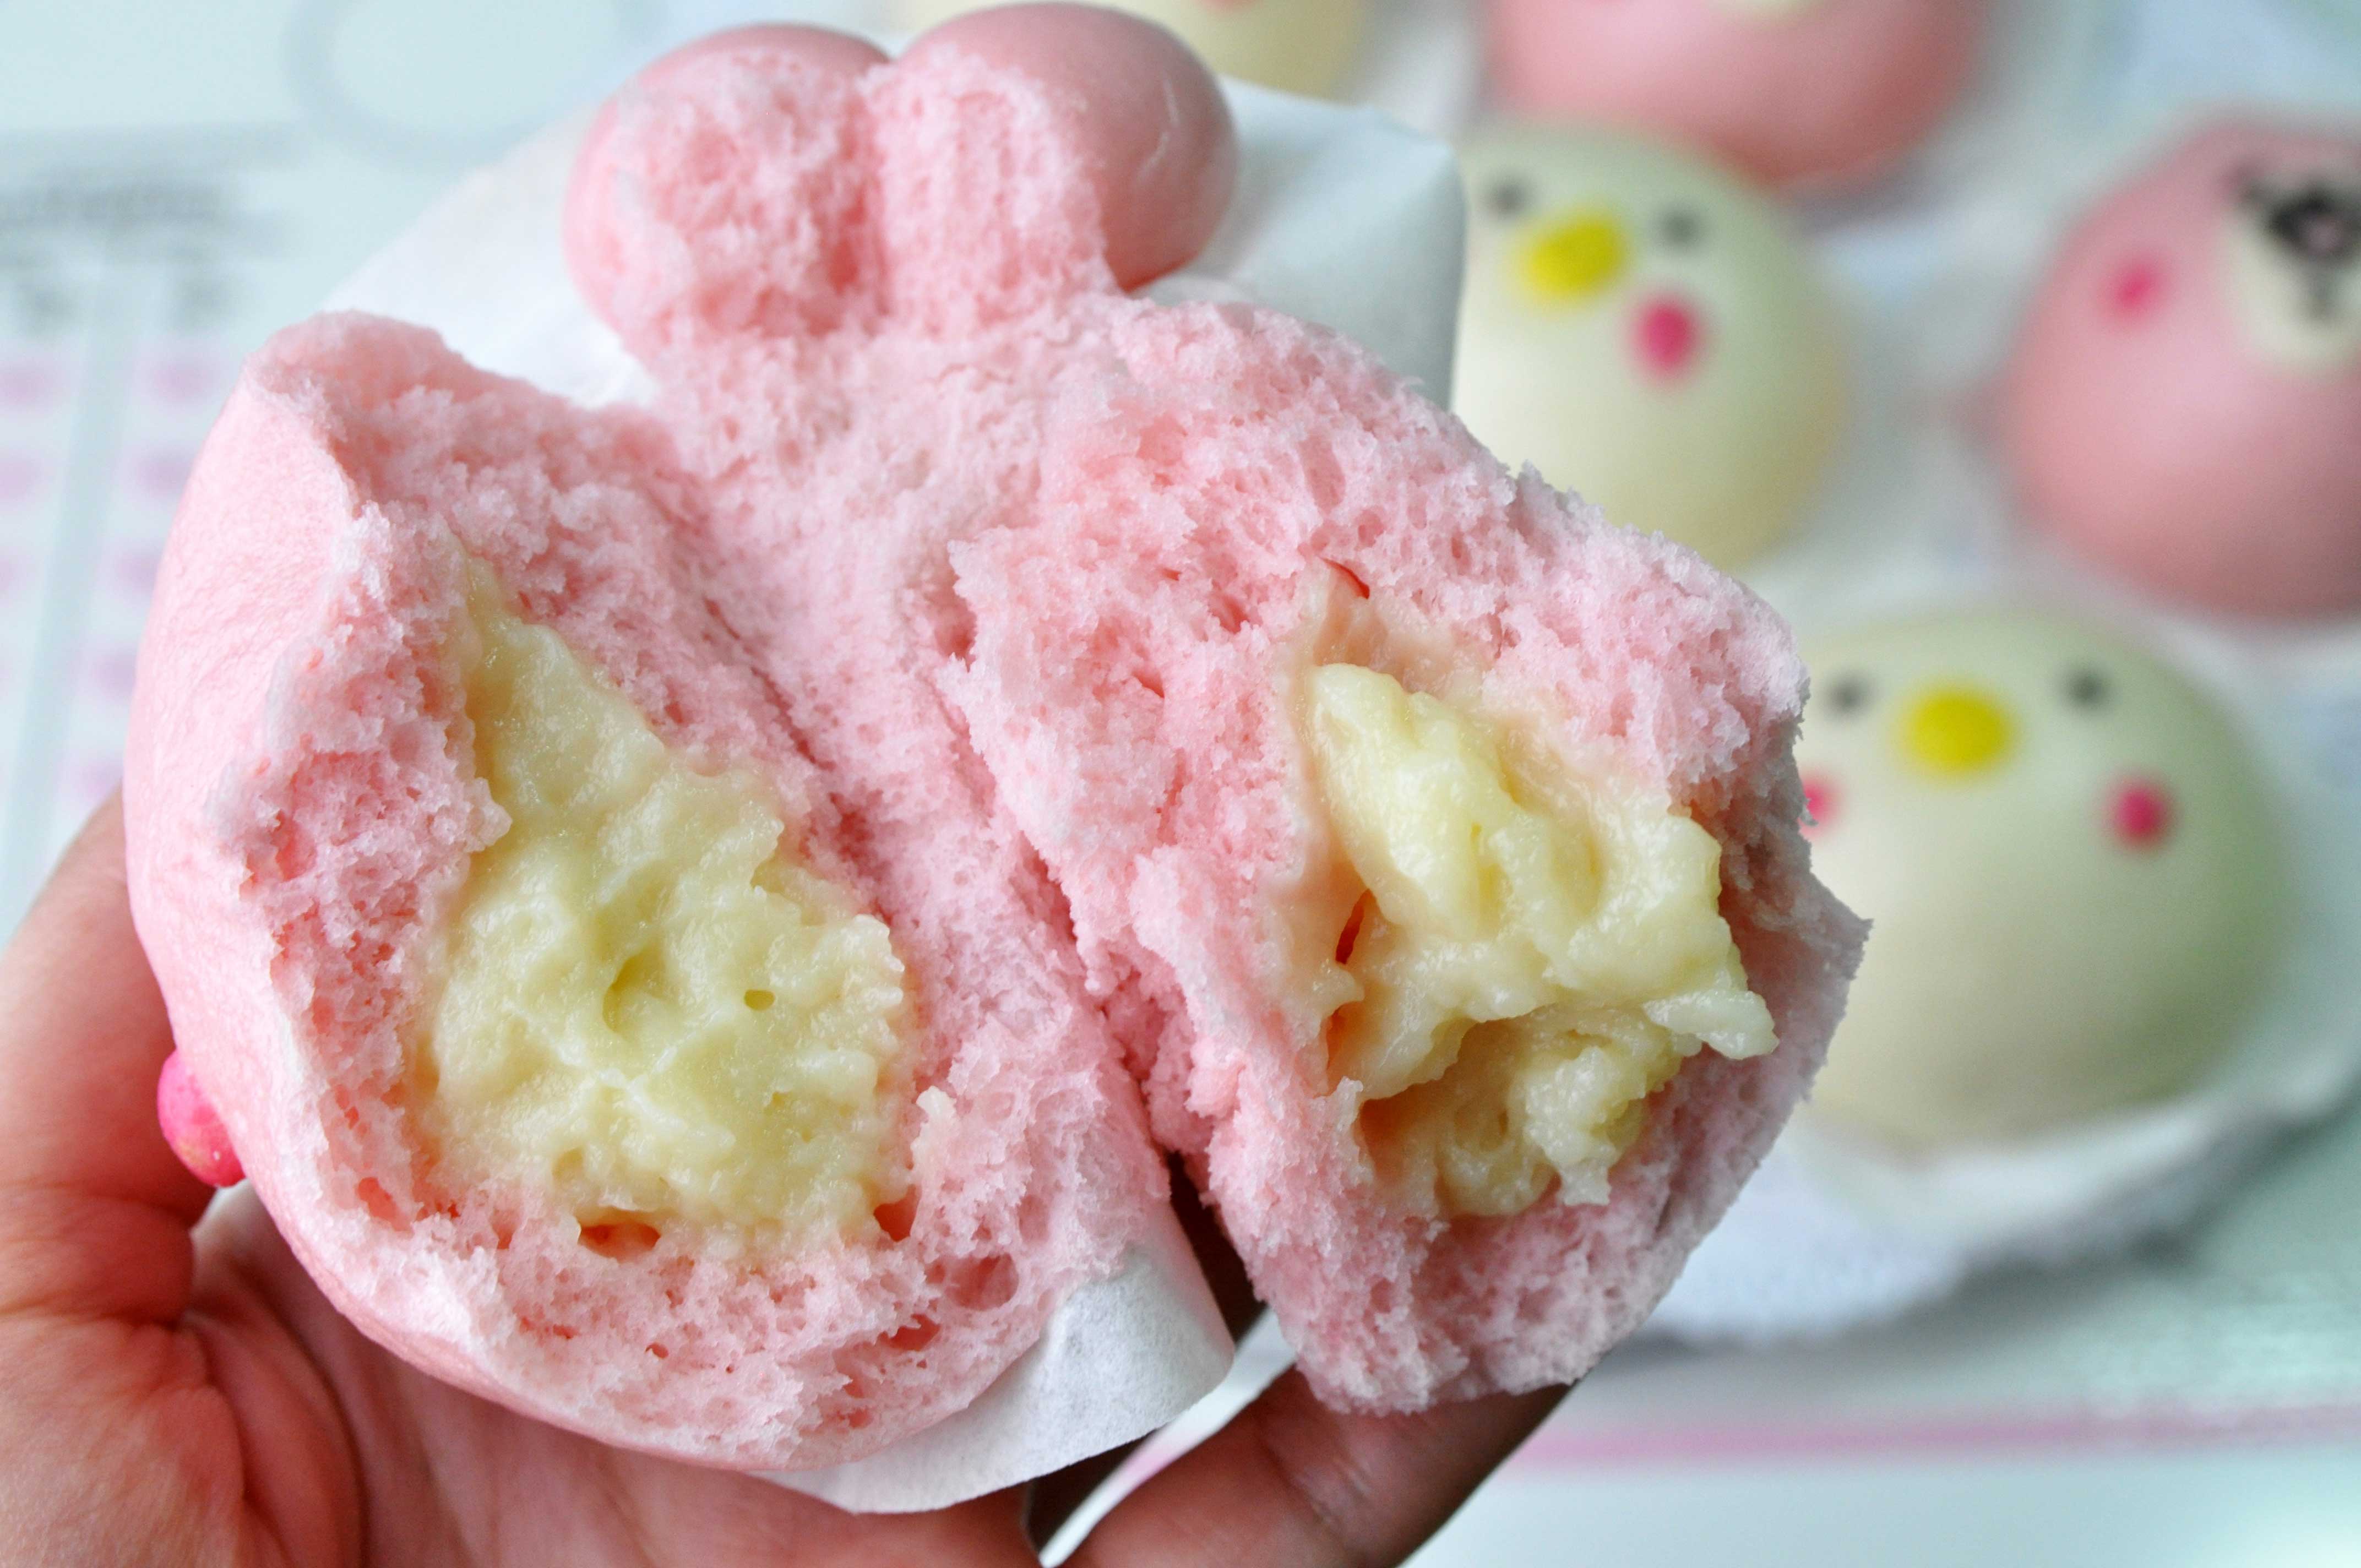
These soft fluffy steamed buns are just basic lightly steamed buns with a yummy milky filling. They are so fun to make though.
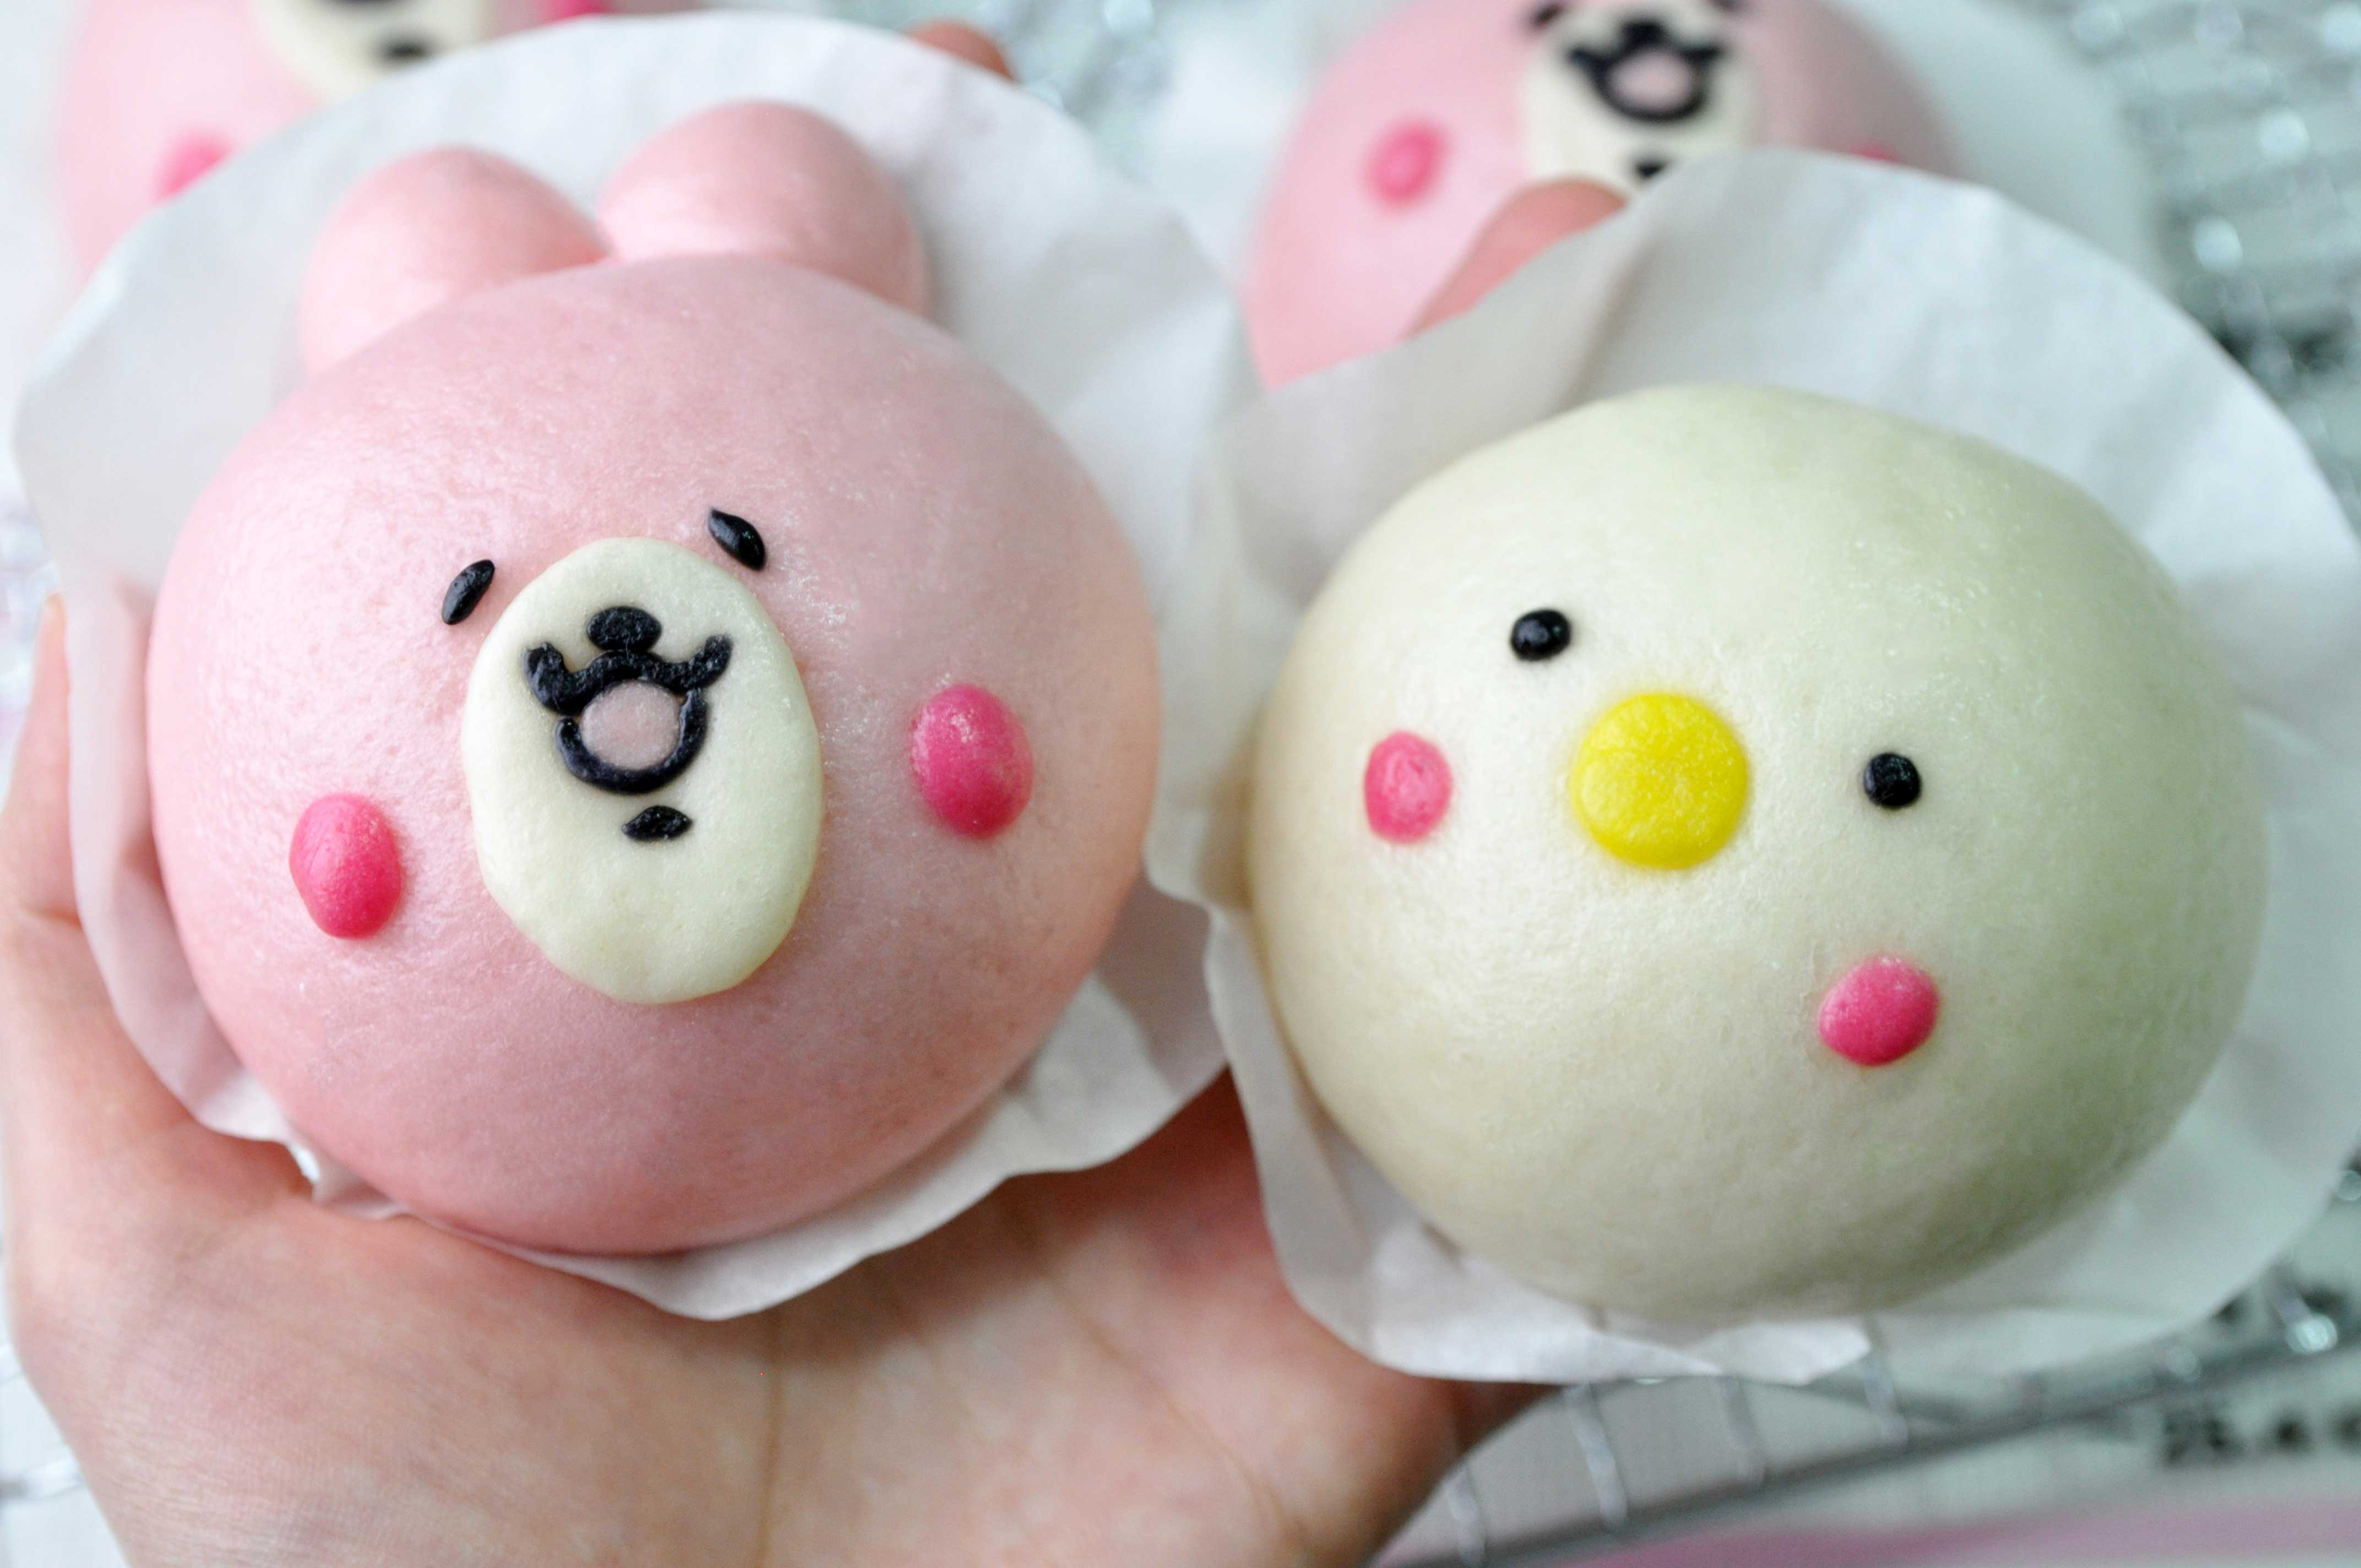
Making them is as fun as eating them. Opening the lid of the steamer to reveal all these cute rabbits and chicks inside just melts my heart 🙂
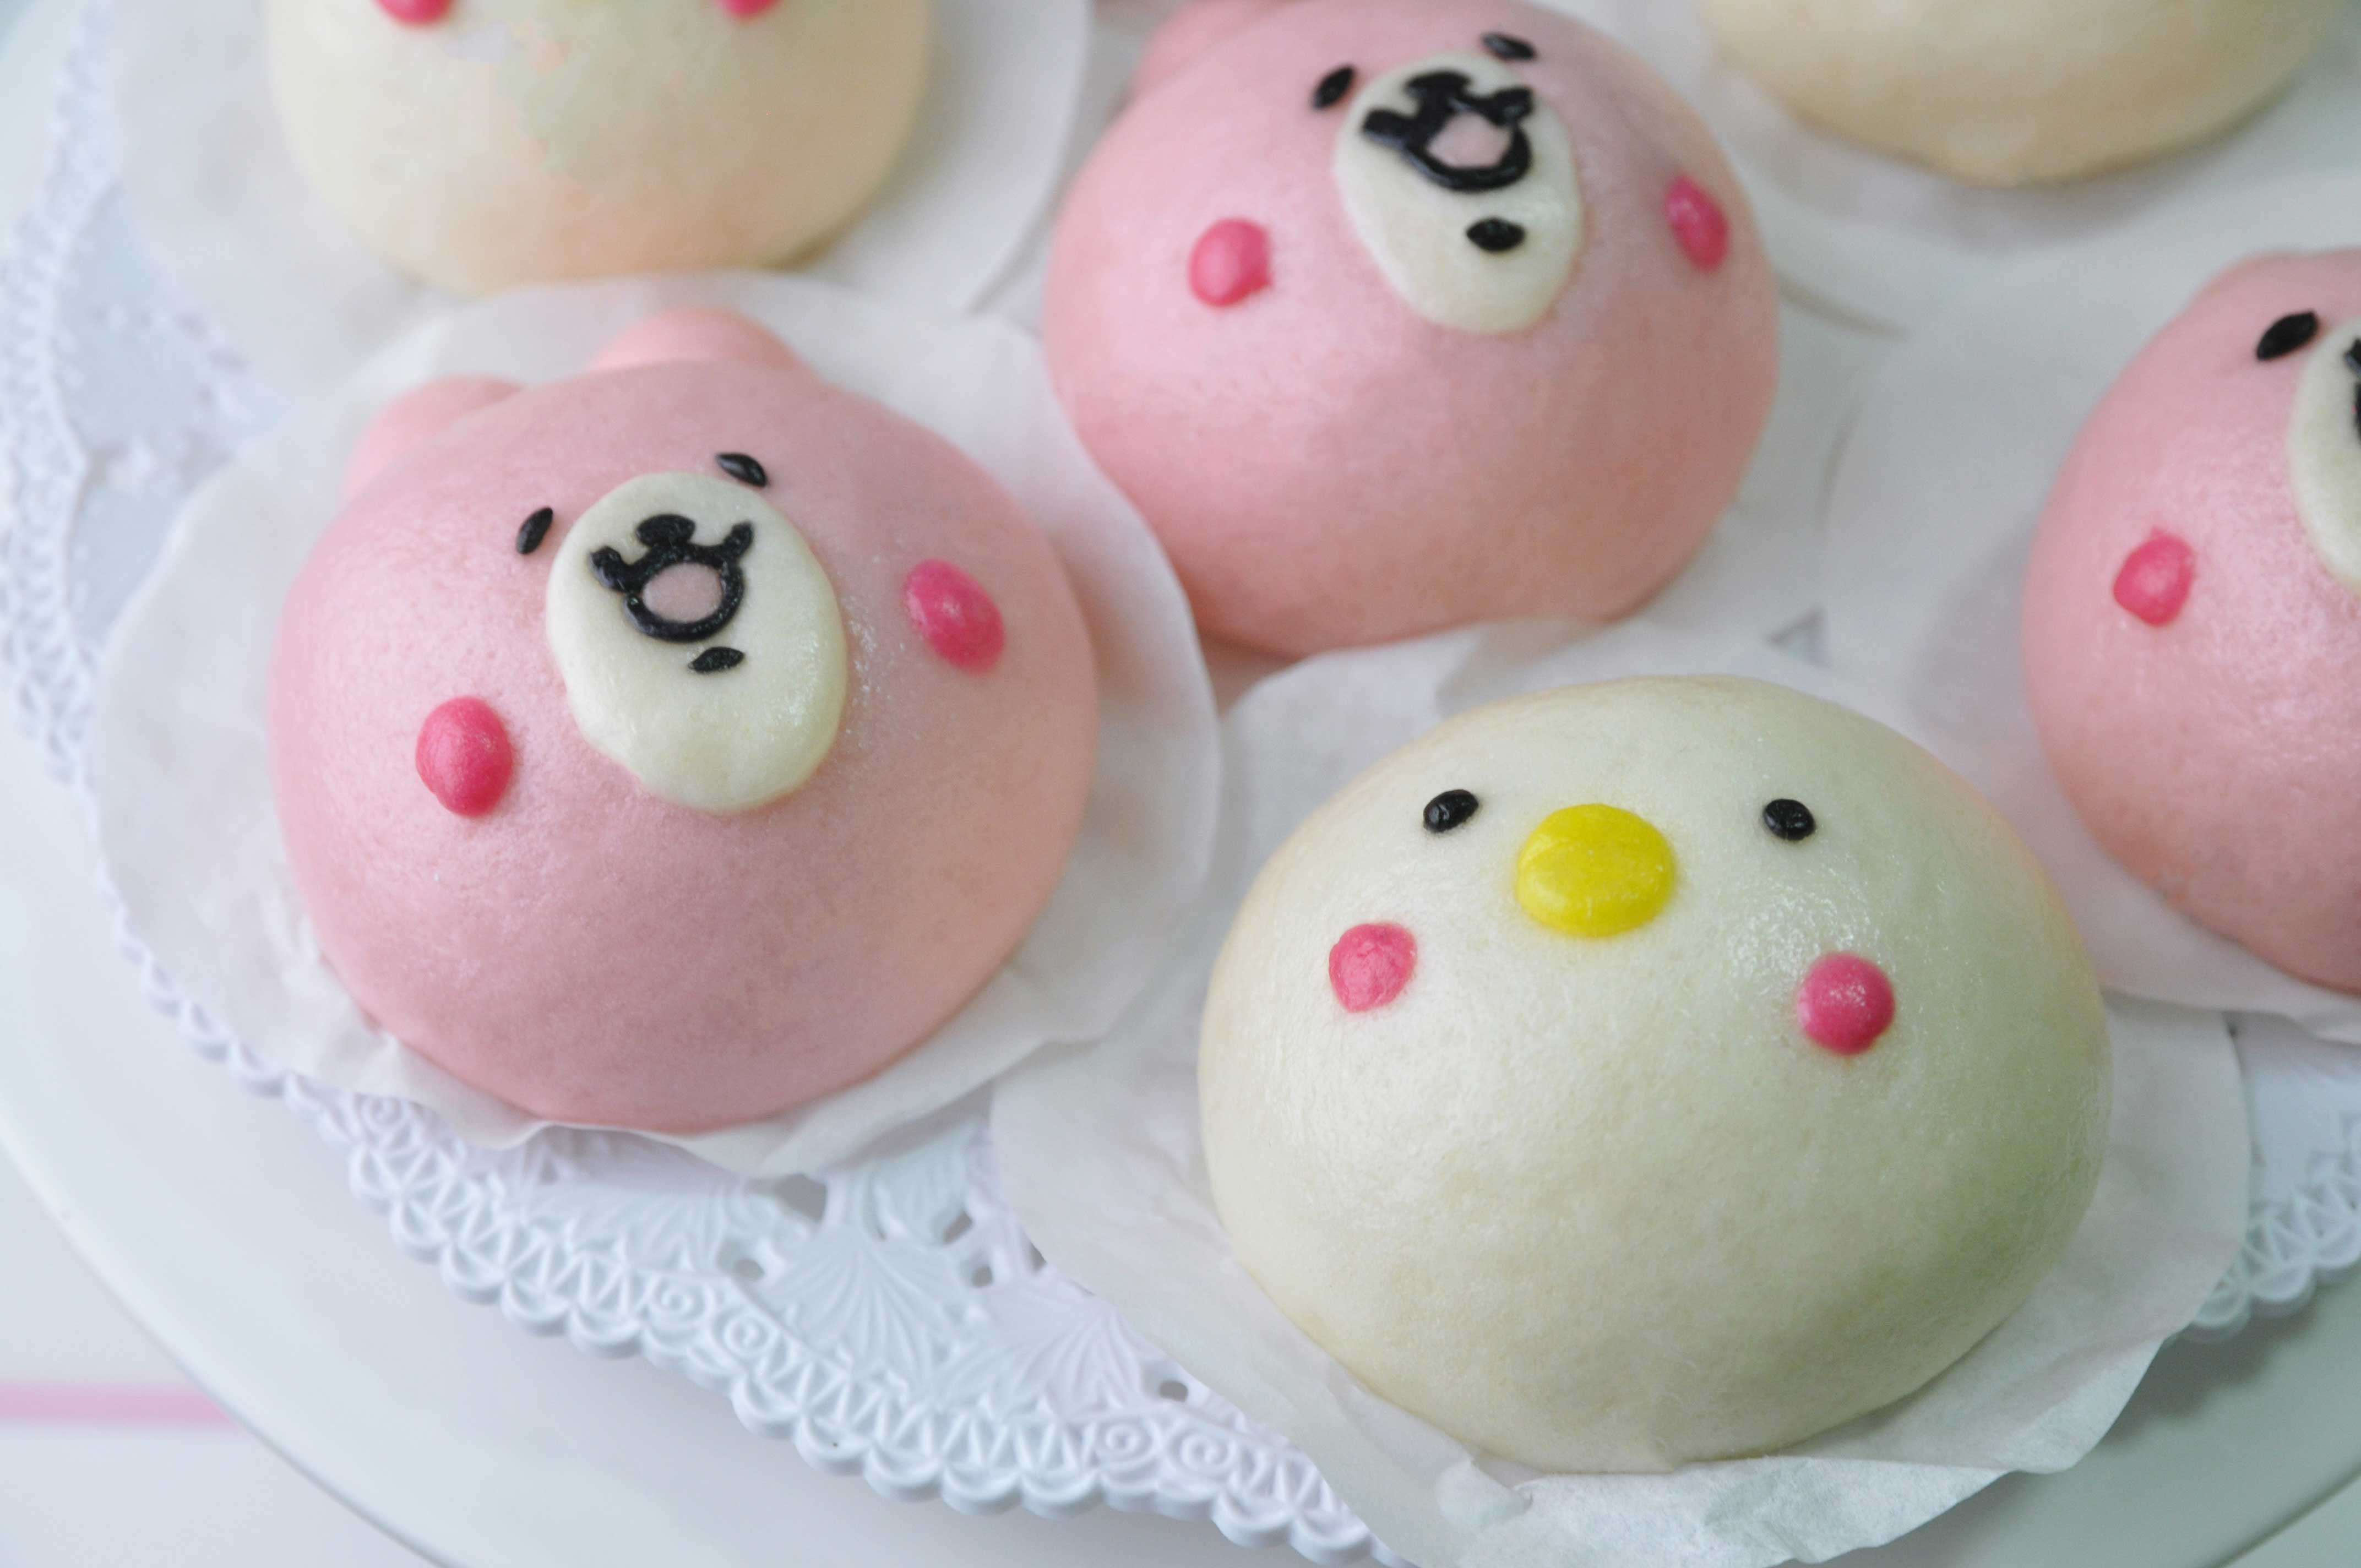
These cute character buns aren’t super hard to make, especially if you have already made steamed Chinese buns before.
I made them with these soft and creamy milky filling, but you can certainly stuff them with other sweet fillings such as red bean paste or lotus seed paste or custard or even any savory stuffing.
Feel free to get creative with the character. I went with Kanahei Usagi as my favorite character but I’d love to see what other character you guys can come up with :). Enjoy Guys!
KANAHEI USAGI STEAMED BUN
Yield: 10 pieces
Active time: 2 1/2 hours
Total time: 3 hours
INGREDIENTS
Milky Filling:
- 38 grams All-purpose flour
- 30 grams Milk powder
- 90 grams Granulated sugar
- 190 grams Milk
- 15 grams Condensed milk
- 15 grams Unsalted butter
- 1/2 teaspoon Vanilla extract (optional)
Bun Dough:
- 1 tablespoon Warm water
- 1/2 + 1/4 teaspoon Active dry yeast
- 250 grams All-purpose flour
- 75 grams Glutinous rice flour
- 50 grams Granulated sugar (spare 1 tablespoon to activate the yeast)
- 1 teaspoon Baking powder
- 150 grams Milk
- 1 tablespoon Heavy cream
- 1 Egg white
- Food Colouring (Red, Black, Yellow)
INSTRUCTIONS
Milky Filling:
- In a large heavy saucepan combine all purpose flour, milk powder, granulated sugar, milk and condensed milk. Mix well.
- Then add in the unsalted butter, cook over medium-low heat, stirring constantly until the mixture thickens and comes to a boil.
- Add in vanilla extract, mix well. Set aside and let it cool completey.
Buns Dough:
- To activate the dried yeast; Pour warm water into a small bowl, add a tablespoon of sugar then add in the yeast. Stir until the yeast completely dissolved, let the mixture stand for a while until yeast begins to foam vigorously for about 5 – 10 minutes.
- In a large mixing bowl, mix the all purpose flour, glutinous flour, the rest sugar and baking powder. Mix until well combined.
- Stir in milk, heavy cream, egg white and the activated yeast mixture to the dry ingredients. Stir until the dry and wet ingredients incorporated and then start to knead it.
- Knead the dough manually by hand until it’s form a smooth dough ball for about 20 minutes. You can use your bread maker or stand mixer to make this (if using machine, this process will takes for about 10 minutes).
Note: Sometimes different brand flour can have different moisture level. So if it’s to dry, you can just add a tablespoon of milk or heavy cream and if it’s too wet, just add a bit of flour. - Divide the dough by 2 equal part. Colour the one part dough soft pink. Spare a bit of white dough. Colour it dark pink, black and yellow for the details.
- Cover and Let the dough rest for about 10-15 minutes (to relax the gluten).
- After the dough has been rested, divide the white and soft pink dough for about 45 grams each (this recipe can produce 5 steamed buns for each characters, so total will be 10 pieces).
*** Please remember always cover the rest dough with plastic wrap, because the dough tend to gets dry if you leave them uncovered. - Roll each pieces dough round. Hold and roll the dough with our hands in “C” shape give a little pressure on it until create a smooth ball, set aside.
- Create the Head: Take a dough ball, press it out from edge to center, rotate, and repeat until it forms a 3-inches circle. The center should be slightly thicker than the edges.
- Add about 25 grams of filling to the center, and then fold and twist the bun repeatedly until the top is closed.
After closing, if you want the buns round and plump using your palms press inward, then raise it up a bit (that will make it stay up after fermentation and they will become more round after steaming). - After rolling put the dough onto a piece of steam paper. Don’t forget to cover them with a plastic wrap to prevent them getting dry after shaping.
- Add the buns details: eyes, nose, mouth and blush (as shown in the video).
- For the fermentation: After all the details is done, let the buns sit in a warm place (covered with plastic wrap) for about 1 hour.
Note: This step is very important, because if the ferment is not enough, the buns texture will be hard after steaming and when the ferment is overtime, the skin will be not smooth or bright. - If the volume is double in size and if pressing hard on the sides it’s sink, that’s means the fermentation is completed and we can get ready to steam them.
- Preheat the steamer on medium high heat (about 3 cm of water level is enough). Wrap the lid with some cloth to prevent the water condensation from steam drops to the buns.
- Put the buns in the steamer, steam for about 8 minutes. Remember to keep a distance from each other, don’t make the steam paper overlap too much or they will stick together after fermentation and steaming.
Note: if your steamer is not big enough, you can steam half of them first and then continue with the other batch. - Don’t take off the lip immediately after turning off the heat. Let it sit for about 3 minutes, then open the lid (don’t make the buns stay in the steamer too long, they will get sticky and wet)
- Cool the bun completely on the cooling rack.
NOTES
- Fermentation time is depends on room temperature, if the weather is hot it can ferment more quickly than when it’s cold.
- There are two ways to decide whether it’s finished or not by hand touching and volume. If the volume is double in size and if pressing hard on the sides it’s sink, that’s means the fermentation is completed and we can get ready to steam them.
- If you cant finish them all, you can store them for 3 days in the refrigerator and 1 month in the freezer. Store them in the sealed bag or a plastic container to prevent the buns dry.
- To reheat the buns: Place them in your microwave safe plate (30 seconds) or in the steamer (20 minutes) and heat them.