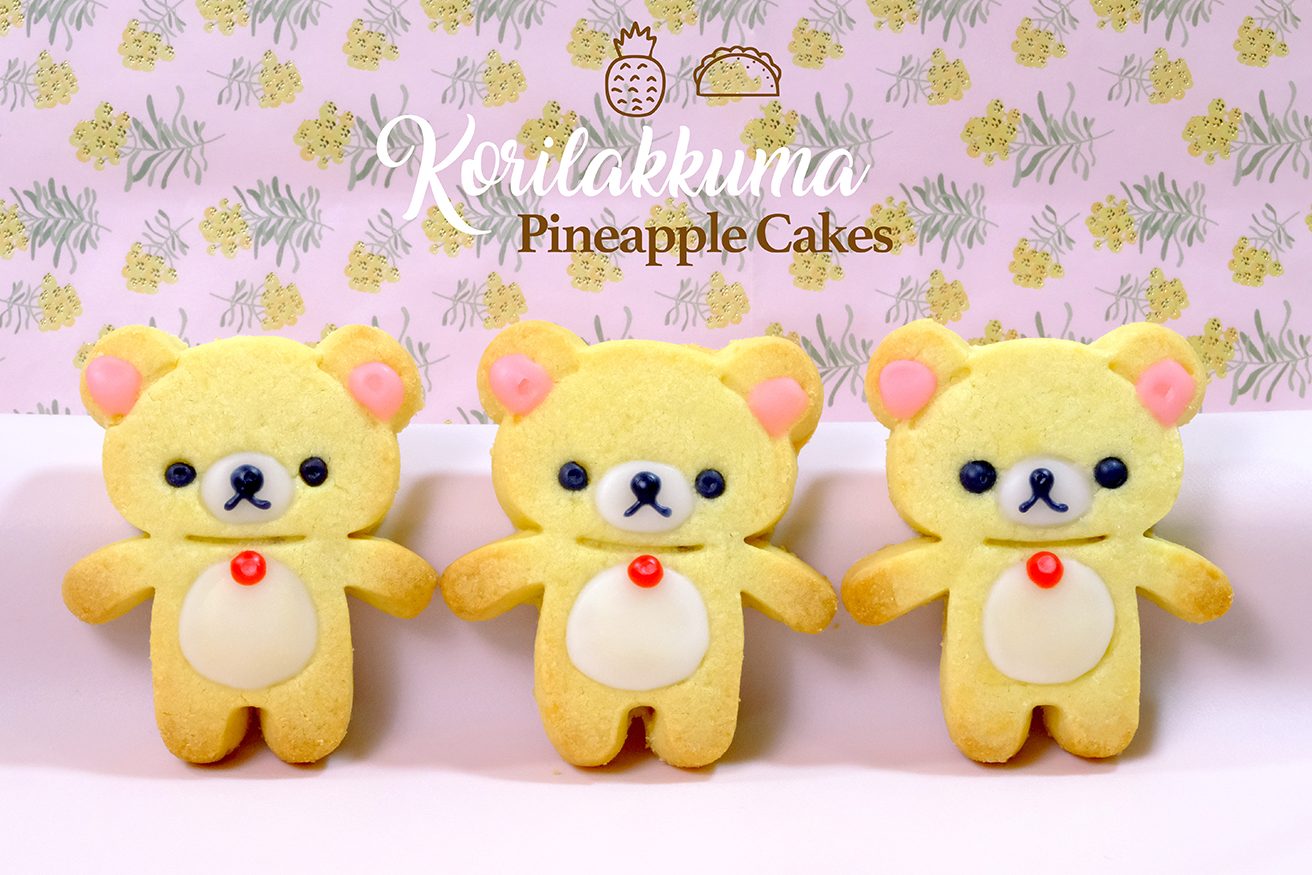
This unique Taiwanese Pineapple Cakes no longer makes us bored with the standard rectangular shape; And I’m sure that your kids will love it too
Hi Everyone, today I am making these cute “Korilakkuma Taiwanese Pineapple Cakes”.
Taiwanese Pineapple Cakes actually almost similar to other Asian Pineapple Cakes; but typically larger than the Singaporean / Malaysian Pineapple Cakes.
They are made with butter pastry crust filled with thick pineapple jam. The cakes are baked in an individual mould, usually in square or rectangle mould.

I was told by several Taiwanese-style bakeries that the traditional kind of Taiwanese pineapple cakes are made of pineapple jam that is made of winter melon and maltose syrup so that the jam is extra sweet, heavy and sticky.

However, due to the change of time, most consumers are becoming more health conscious these days and prefer the less sweet and sticky version of pineapple cakes (I personally don’t like food that overly sweet). For this reason, in this recipe I would like to stick to my regular pineapple jam with NO winter melon and maltose syrup.

And I always think, how to make these Pineapple Cakes look more attractive?
This cute Rilakkuma cookie cutter with facial stamp really make life easier;
No longer makes us bored with the standard rectangular shape and I’m sure that your kids will love it too.

The crust to filling proportion is spot-on; thin crust with the right amount of filling.

And people often ask, what is the tips so that the crust is tender?
As soon as the bottom and edges golden brown, take them out from the oven.
Let it stay in the pan for about 5 minutes; Don’t wait it to cool, put in the sealed box while still hot (place kitchen paper on the bottom and the top to absorb the excess moisture).

This way, the cakes won’t be hardened and the crust will be tender.
These Pineapple Cakes will keep well for up to 3 months in the fridge, in an airtight container.

Some people use chocolate for the details;
I prefer royal icing because the chocolate that comes out of the fridge will “sweat”, melt easily, it definitely will ruin the look of your Korilakkuma.

Pineapple cakes make a great Chinese New Year gift for family and friends or a tasty birthday gift for loved ones!

The filling is just perfect not too sweet, they are such an addictive tea snack.
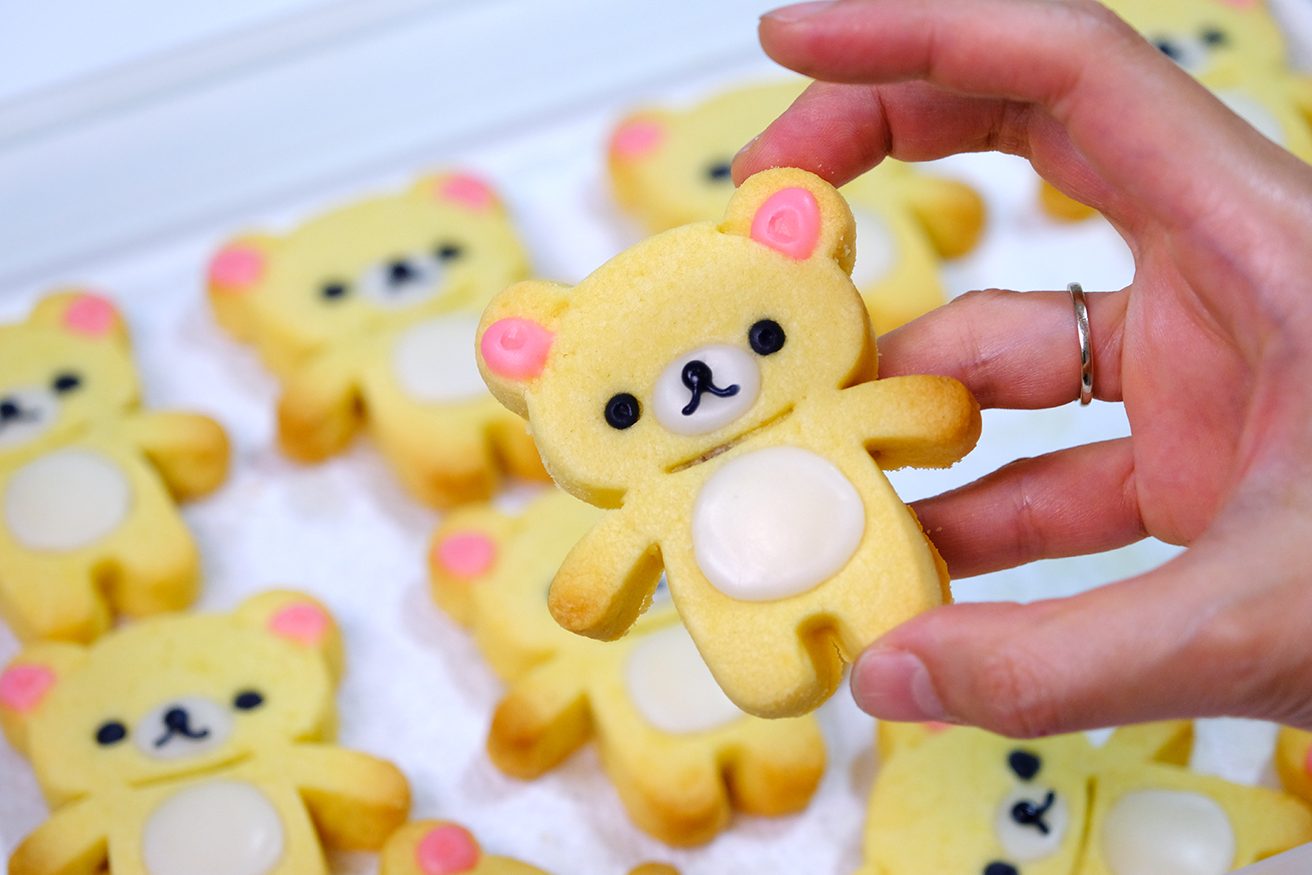
Tender buttery crust with a sweet and tang of homemade pineapple filling inside.
The crust is crumbly and melt-in-the-mouth and the pineapple jam is just perfectly thick but not tough.

I hope this korilakkuma cake can make everyone smile 🙃❤️.

Love you All 🥰
KORILAKKUMA PINEAPPLE CAKES
Yield: 40 pieces
Active Time: 3 hours
Total Time: 4 hours
🌿 Pineapple Filling
1000 g Pineapple (after peeled)
200 g Granulated Sugar
10 ml Lemon Juice
1/8 tsp Salt
🌿 Crust Dough
340 g Salted Butter (soft)
100 g Icing Sugar
85 g Egg Yolks
75 g Condensed Milk
530 g Cake Flour
1/2 tsp Salt
🌿 Royal Icing
130 g Icing Sugar (sifted)
4 tsp Lemon Juice
30 g Corn Syrup
Rilakkuma Cookie Cutter: https://amzn.to/3Y6iNvu
INSTRUCTIONS
🌿 Pineapple Filling
- Cut pineapple in half (the lower part of the core is a bit hard, so you need to remove it). 1000 g Pineapple (after peeled)
- Shred pineapple into small pieces (about 1×1 cm), cut he core thinly.
- Place the shredded pineapples along with the juice into a non-stick pan.
- Pour in the sugar along with lemon juice and salt; and then bring it to a boil. 200 g Granulated Sugar; 10 ml Lemon Juice; 1/8 tsp Salt
There’s no need to cover with a lid, what you need to do now is to evaporate all the liquid.
Cook over high heat (as long as there is a water in a pot, it will not burn the bottom). - Once the pineapple juice almost completely dry, lower the heat to medium low;
And continue cooking until it turn into dark brown caramel colour, take it off from the heat. - When the filling is cooled completely, it will become sticky and a bit hard; make it easier to wrap.
Divide them into small portions; 10 grams each;
Roll each portion into an oval shape, flatten it; And cover them with a cling wrap to prevent from drying out.
🌿 Crust Dough
- In a large bowl, using whisk or mixer; beat the soft butter for a few seconds. 340 g Salted Butter (soft)
- Add in the icing sugar and continue beat over high speed until the mixture is pale and fluffy (about 5 minutes). 100 g Icing Sugar
- Mix in the egg yolks (this yolks is going to give extra flaky texture). 85 g Egg Yolks
- Pour in the condensed milk, mix it really well. 75 g Condensed Milk
- Sift in the flour along with the salt; mix until well combined. 530 g Cake Flour; 1/2 tsp Salt
You don’t want to over-mix it, you can use whisk or mixer first (low speed) and then using spatula to make sure all is well combined and there’s no butter mixture left at the bottom of the bowl. - Cover the bowl with a cling wrap and let the dough rest for half hour.
- After 30 minutes, the dough is ready.
Divide it into small pieces; 30 grams each. Roll each piece into a smooth ball.
Cover the balls with a cling wrap to prevent from drying out.
🌿 Moulding the Cake
- Take 1 piece of the crust dough, roll into a cylinder shape;
- Press down in the middle and place the filling in the centre; Wrap it up
- Then over a piece of parchment paper, put the filled dough inside the cutter with the smooth side facing down.
- Using your palm; press down while spreading the dough, filling in the blanks (this step will be time consuming especially hands part, so be patient).
- Release the cake from the cutter with a smooth part facing up (baking sheet lined with a parchment paper); And carefully; press the facial stamp on top of each cake.
- Store the cakes in the fridge for about 30 min before baking so it doesn’t spread too much
- Bake them in the preheated 170°C oven for about 18-20 minutes (rotate the pan halfway through baking).
- As soon as the bottom and edges golden brown, take them out.
Let the cakes stay in the pan for 5 minutes; Don’t wait it to cool, put in the sealed box while still hot (place kitchen paper on the bottom and the top to absorb the excess moisture).
This way, the Pineapple Cake won’t be hardened and the crust will be tender. - On the next day, you can continue with the details.
🌿 Royal Icing
Simply combine the sifted icing sugar, lemon juice and Corn Syrup. 130 g Icing Sugar (sifted); 4 tsp Lemon Juice; 30 g Corn Syrup
*If you feel the consistency is too thick, you can add a little bit of boiling water; on the other hand if it’s too thin; add more icing sugar.
🌿 Notes
- These Pineapple Cakes will keep well for up to 3 months in the fridge, in an airtight container.
- For the details
Some people use chocolate, I prefer royal icing because the chocolate that comes out of the fridge will “sweat”, melt easily, it definitely will ruin the look of your Korilakkuma.
Let the first layer of the icing sets hard before you add another details on top.
If you are in humid conditions, you can turn on the air conditioner to speed up the drying process.


