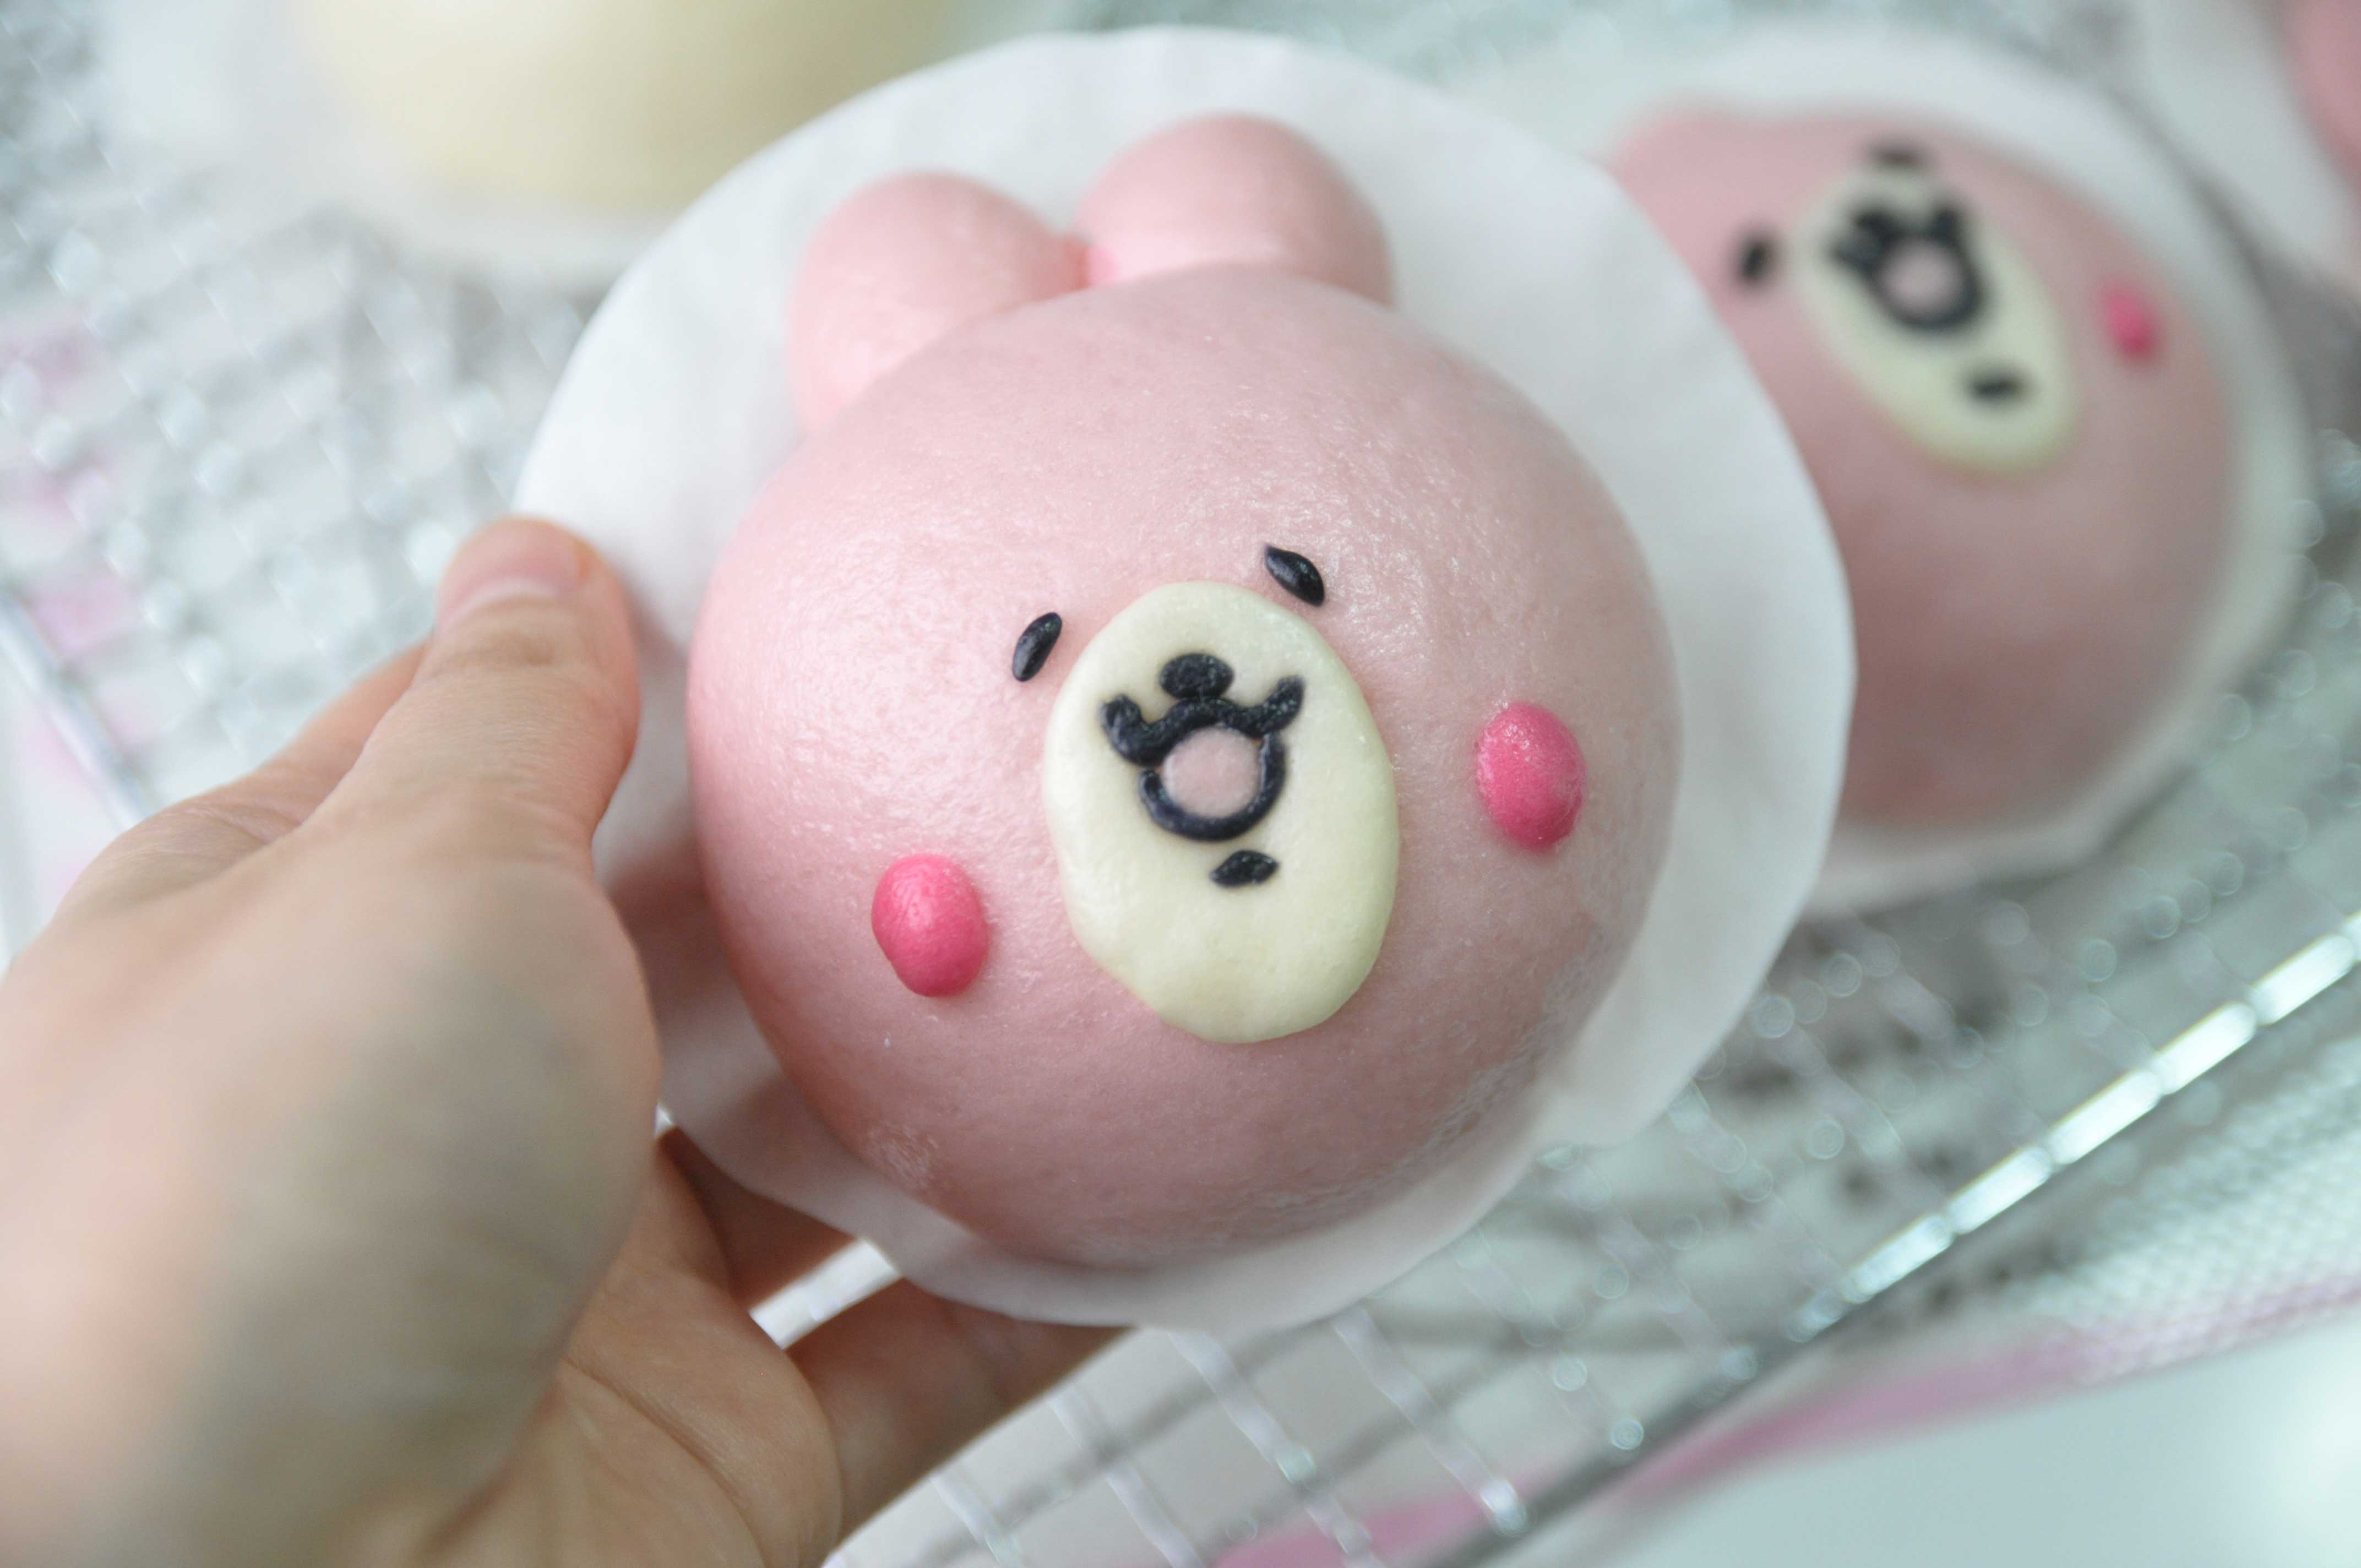
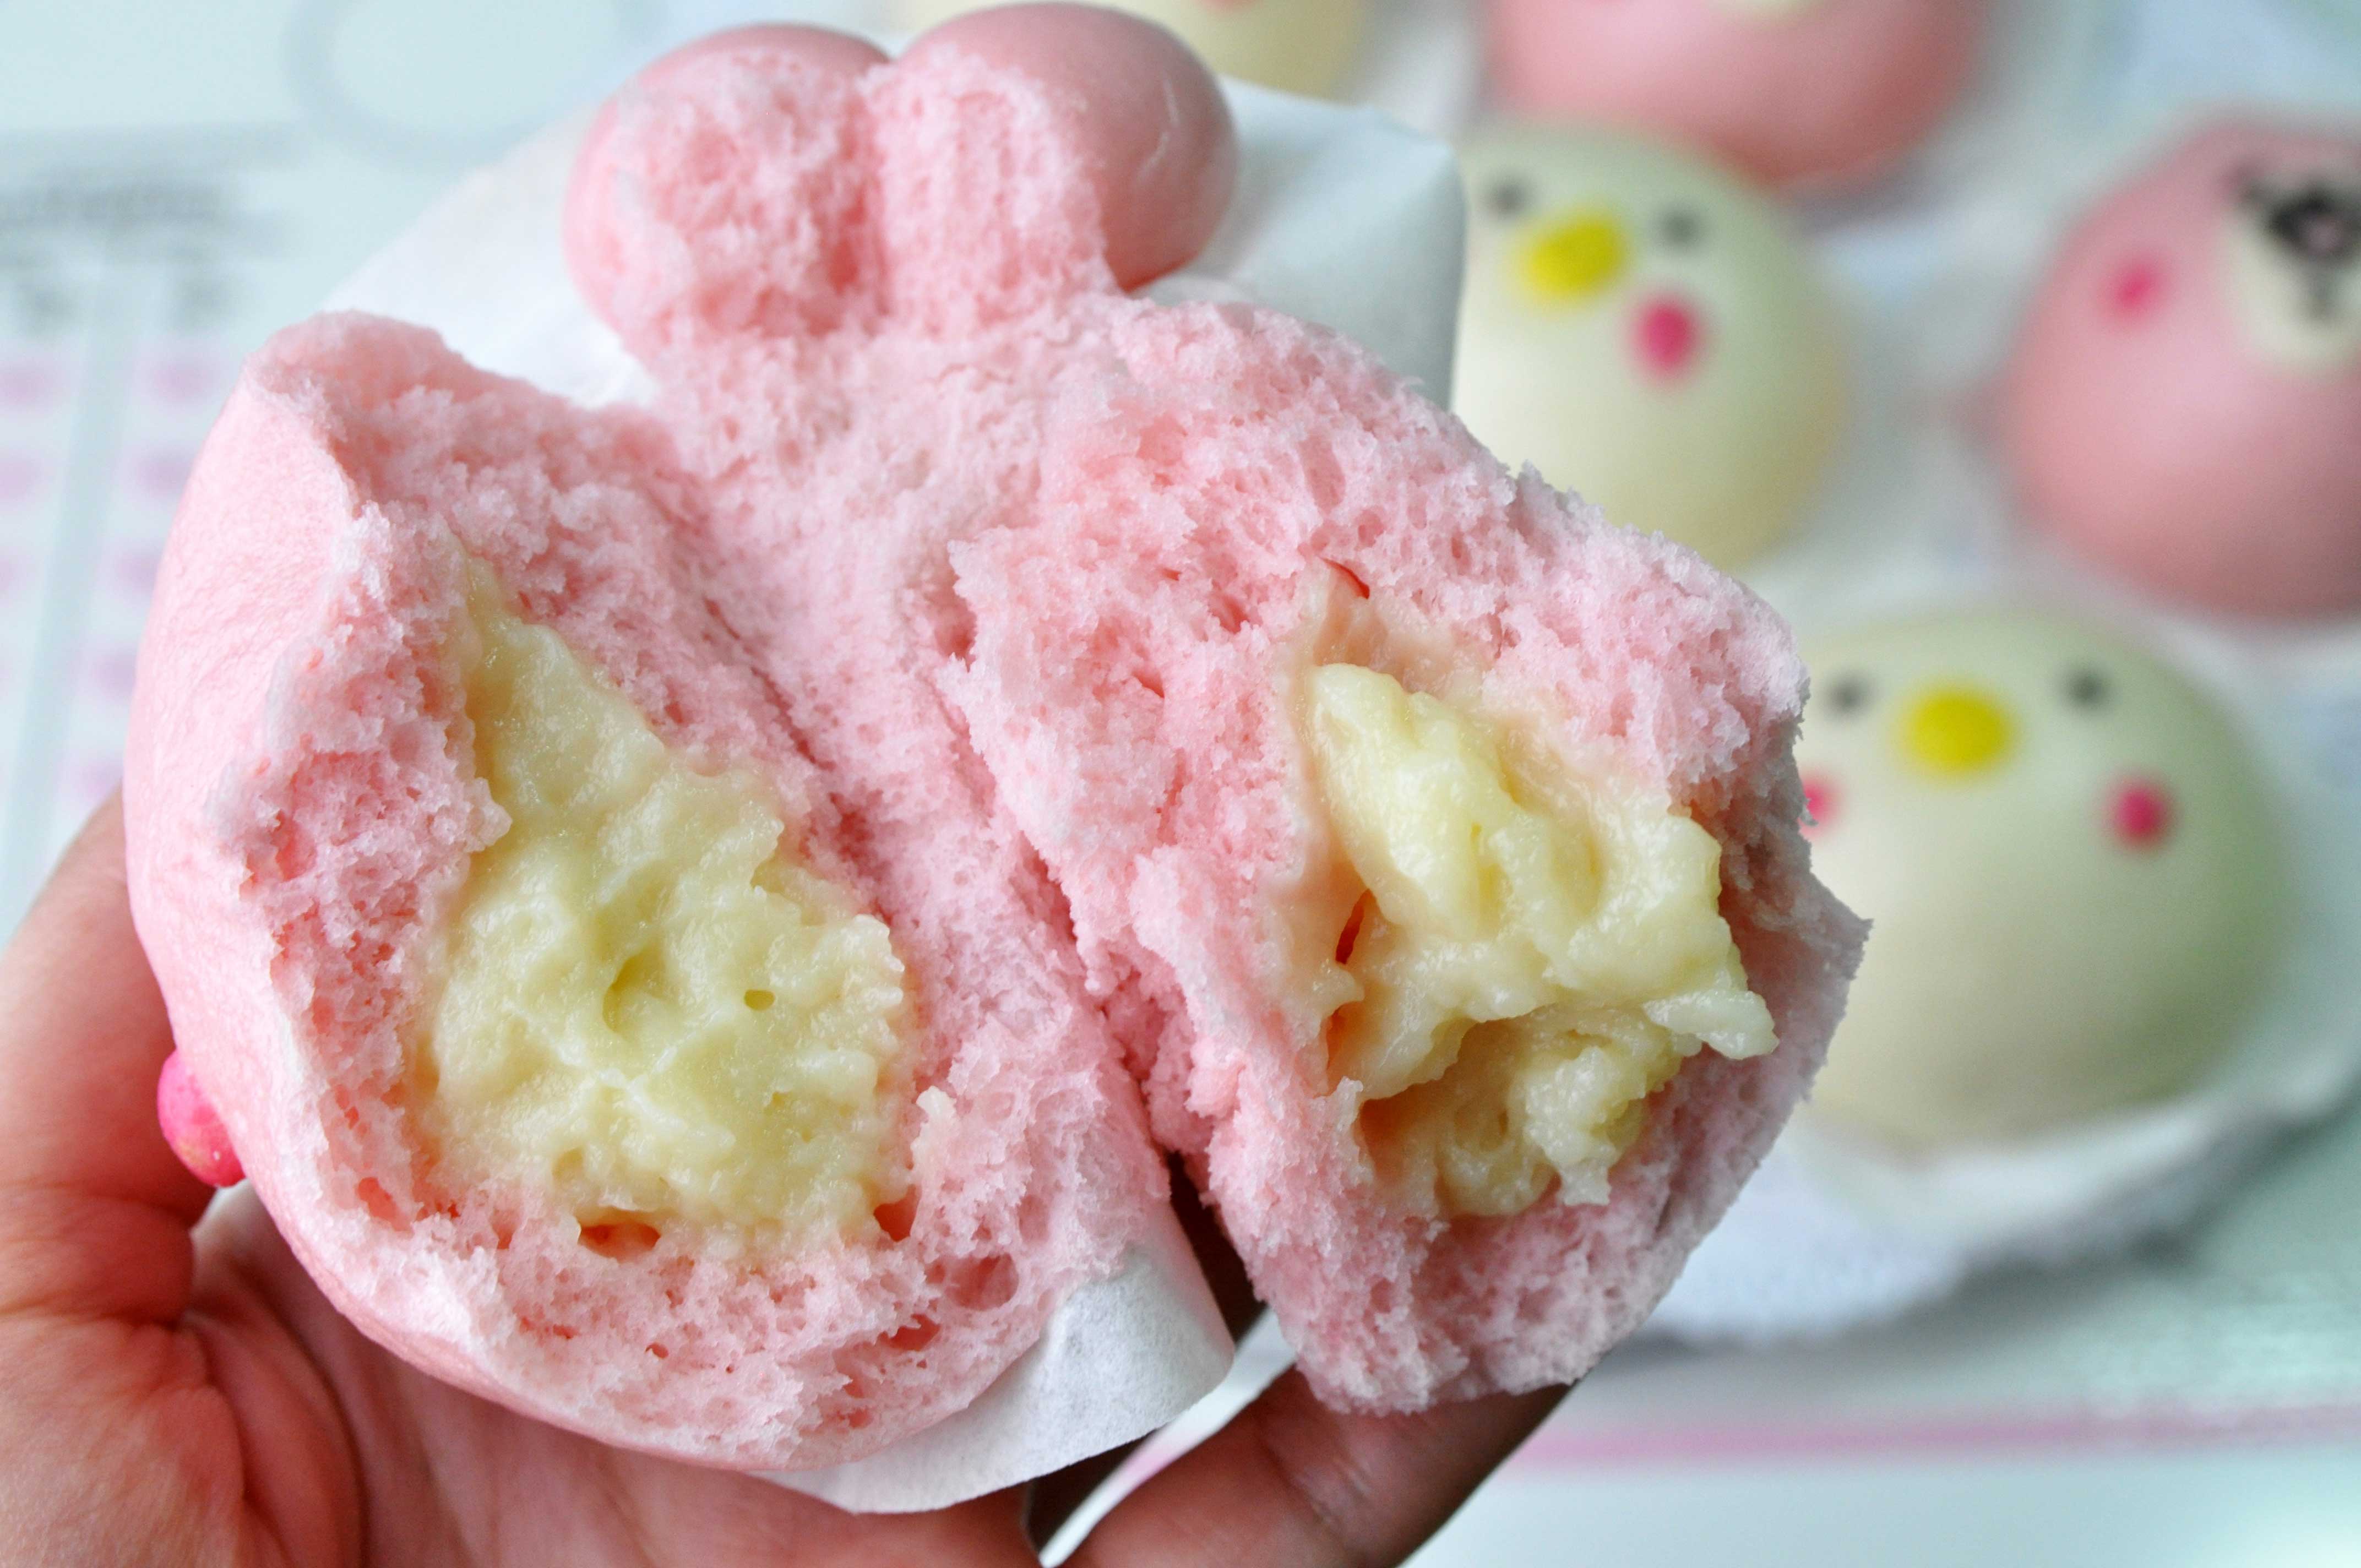
Many people struggle making Steamed Meat Buns; A common mistake is that the Steamed Buns end up collapse or come out wrinkled.

Making steamed Pork buns is not complicated if you get the right tips and of course like they say practice makes perfect.
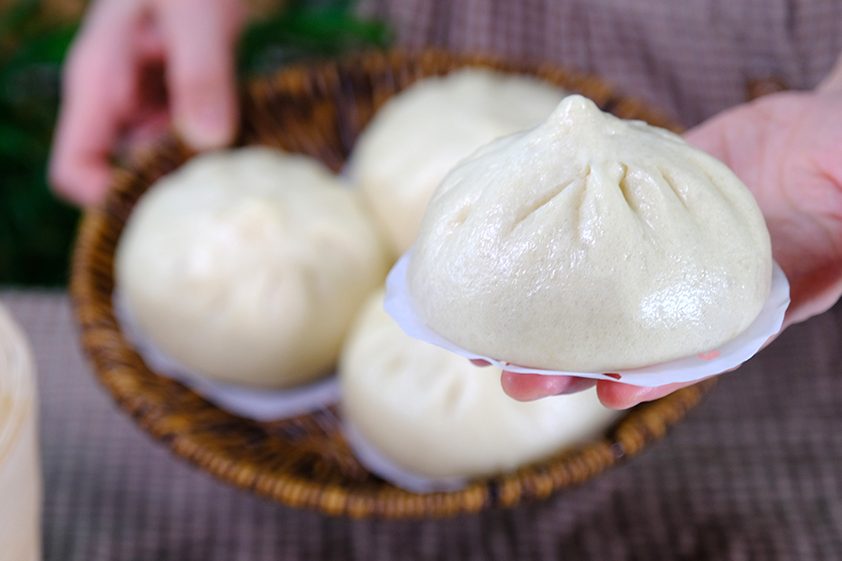
Homemade Pork Buns fresh out of the steamer are delicious to eat, and they taste even better if you make the dough yourself.
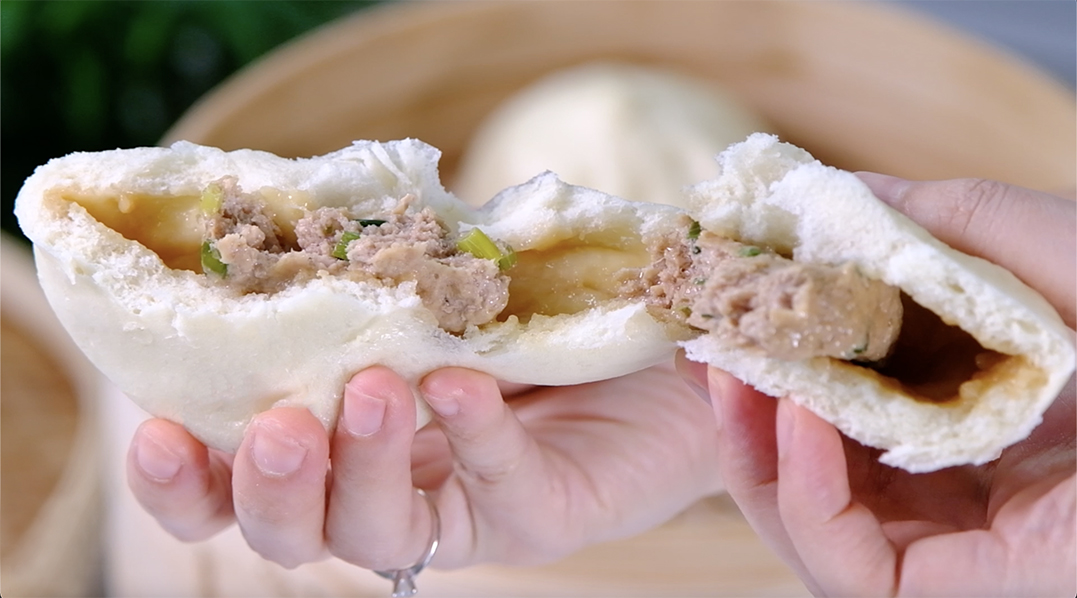
The filling is juicy, and you can taste the savoury broth as soon as you bite into them 🥲
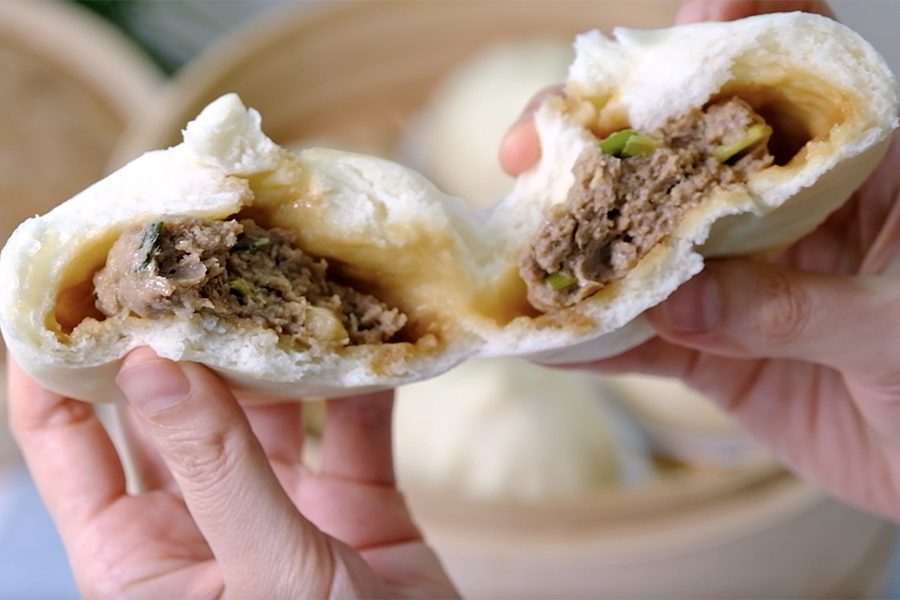
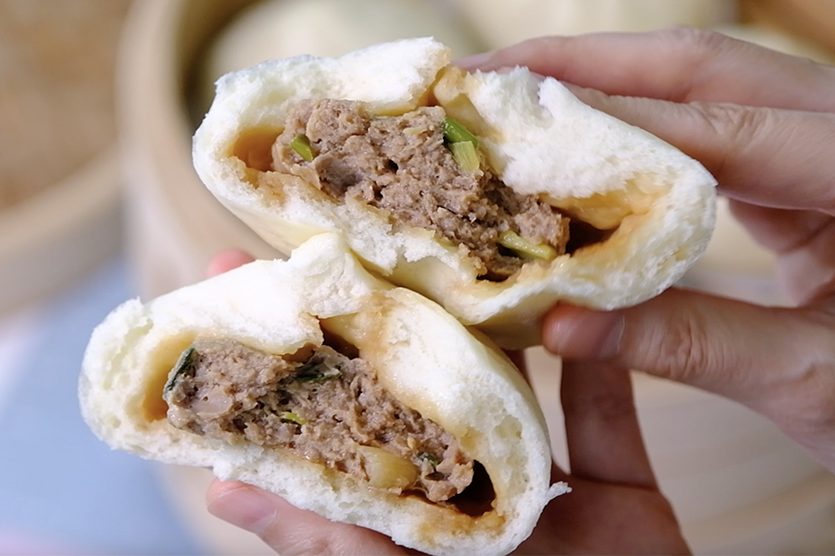
It spring back when pressed lightly 🤗
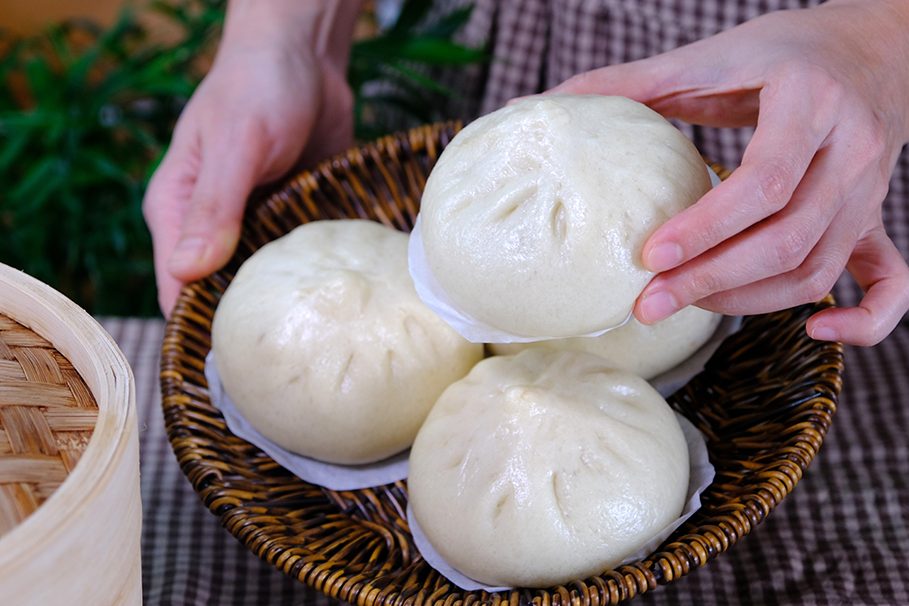
The buns are incredibly soft and won’t deflate or wrinkle after steaming
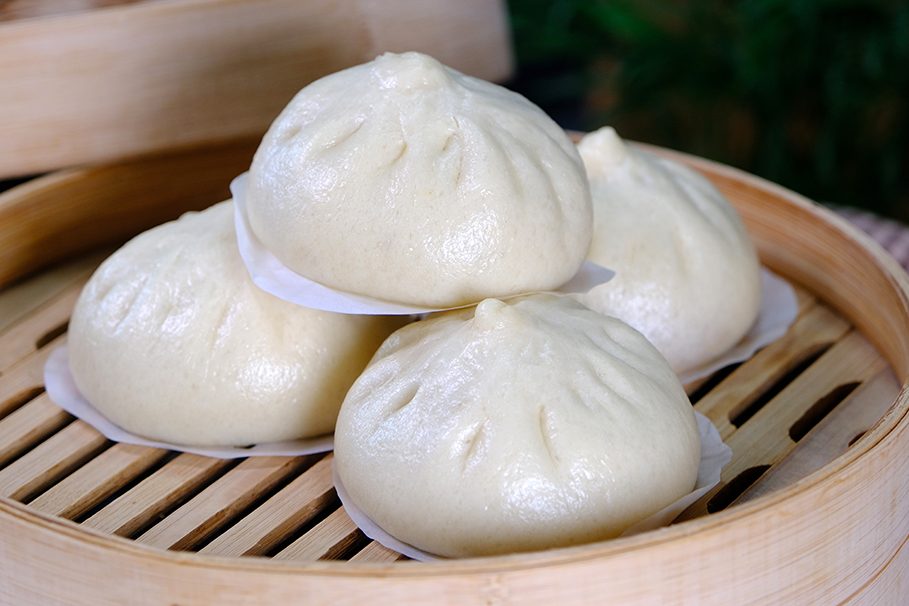

Hopefully, this recipe will give you more confidence in making your own Steamed Buns!
🍀 Love you All!
WATCH HOW TO MAKE FLUFFY STEAMED PORK BUN
TIPS FOR SUCCESS (PLEASE READ FIRST):
THE SECRET OF A DELICIOUS JUICY FILLING
When mixing the filling, it’s important to stir it in one direction; usually clockwise or counterclockwise (This is a traditional technique in Chinese cooking)
Stirring in one direction activates and aligns the meat proteins, which creates a stronger bind; this results in a firm, springy, and juicy filling that holds together well during steaming
- The infused liquid Soak Star Anise and Sichuan Peppercorn in a boiling water. This infused liquid adds depth of flavor and helps maintain a juicy texture in the pork filling after steaming.
- Minced Pork Using minced pork with some fat is definitely better than using lean meat alone (70/30 or 80/20 LEAN-to-FAT ratio is ideal)
Fat adds essential moisture to the filling, it will taste richer and more savoury - Light Soy Sauce & Dark Soy Sauce
Light Soy Sauce gives the dish a salty base.
Dark Soy Sauce is generally thicker, less salty and slightly sweeter than Light Soy Sauce; it completes the salty template while giving the dish a richer color (you can add a little more if you like a slightly darker filling) - Caster Sugar Sugar balances the savory and salty elements in the filling
- Ginger Ginger neutralizes Pork odor and brings a fresh, zesty heat that lifts the overall flavor of the filling
- Oyster Sauce and White Pepper This will adds depth and complexity to the flavor profile
- Sesame Oil and Vegetable Oil Sesame Oil adds a rich, nutty aroma and deep flavor that’s iconic in Chinese cooking; while Vegetable Oil keeps the filling moist and tender during steaming
- Spring Onion Spring onion adds fresh flavor, balances richness, boosts aroma, and gives authentic character to the pork filling (making it more delicious and well-rounded)
WHAT IS IMPORTANT IN MAKING DOUGH SKIN ?
- Yeast Instant Yeast is more stable than Active Dry Yeast
This allows the dough to rise more consistently, which is important for achieving a fluffy bun texture - Water The water should be lukewarm around 35–38°C (95–100°F); Avoid water that is too hot, as it can kill the yeast
- Flour I use Unbleached All-Purpose Flour, which has a protein content around 9.3–10.3%, making it suitable for soft Steamed Buns.
I do not recommend using bleached wheat flour as it can leave a slightly chemical aftertaste and can weaken gluten development - Baking Powder Double Acting Baking Powder gives buns a reliable two-stage rise, perfect for steaming; It creates fluffiness, helps with shaping, and can boost yeast
- Sugar Caster sugar dissolves quickly, sweetens evenly, boosts yeast, and improves dough texture (making it perfect for smooth, fluffy buns)
RECIPE
STEAMED PORK BUN
Yield: 6 pieces
INGREDIENTS
🍀 Filling
1/2 tsp Chinese Peppercorn
3 Star Anise
15 g Boiling Water
250 g Minced Pork (with fat 70/30 or 80/20 LEAN-to-FAT ratio is ideal )
1 tbs Light Soy Sauce
2/3 tsp Dark Soy Sauce
2/3 tsp Caster Sugar
1⅓ tsp Ginger (grated)
1⅓ tsp Oyster Sauce
1/8 tsp White Pepper
1½ tsp Sesame Oil
1½ tsp Vegetable Oil
20 g Spring Onion (chopped)
🍀 Dough Skin
210 g All-Purpose Flour (Unbleached, 9.3–10.3% Protein)
1 tsp Instant Yeast
1½ tbs Caster Sugar
3/4 tsp Baking Powder (Double Act.)
125 g Lukewarm Water (35-38°C)
INSTRUCTIONS
🍀 Filling
- Soak Star Anise and Sichuan Peppercorn in a boiling Water, let it sit for 10 minutes
- In a medium bowl, combine Minced Pork, Light Soy Sauce, Dark Soy Sauce, Caster Sugar, Grated Ginger, Oyster Sauce and White Pepper
Use chopsticks or a wooden spoon, stir evenly in one direction - Pour in the infused Water that we prepared earlier and stir until well combined
- Add Sesame Oil and Vegetable Oil; stir vigorously in one direction until the mixture becomes sticky and cohesive
- Add chopped Spring Onion and mix again
- Cover and store the filling in the fridge for at least 30 minutes before using; it will firms up, making it even easier to wrap into buns
🍀 Dough Skin
- Mix all dry ingredients (All-Purpose Flour, Instant Yeast, Caster Sugar, Baking Powder)
- Slowly add lukewarn Water to the dry ingredients; and stir until it clump together
- Then, knead the dough by hand for 10 minutes until smooth and elastic
- Once it’s done, shape it into a ball;
Place the dough in a lightly oiled mixing bowl, brush the dough lightly with oil
Cover and let stand at room temperature until doubled in size
Please note, proofing time varies depending on room temperature
My dough took 30 minutes; a warmer room temperature means a faster proofing time, and vice versa - Once proofed; you’ll notice that a well-fermented dough should have doubled in size (poke the center with your finger, the dough should not deflate)
Knead again for 3 minutes to knock back any air bubbles; then cover and leave to rest for another 10 minutes - After 10 minutes, sprinkle a little flour on your work surface to prevent sticking and transfer the dough onto it
Shape the dough into a long sausage and knead until the dough becomes longer, then fold the dough into thirds
Repeat this process six times
By kneading and pressing the dough, the gas will be distributed evenly, the buns will have a smoother texture and also prevent the risk of the filling leaking due to large air bubbles - Then, divide the dough into 6 equal pieces (about 60 grams each)
Round each piece into a ball
Cover the dough with plastic wrap during the process to prevent it from drying out - To shape the bun (kindly watch the video for completed instructions)
– Take the first dough; roll the dough into a thick disc 10 cm in diameter
– Then grab the dough with your left hand and rolling pin on the other hand; use a rolling pin to flatten the edges of the dough while turning it little by little (the center part should be thicker so it gives more support to hold juicy meat fillings without collapsing or leaking during steaming) The wrapper should be 13 cm in diameter
– Turn it over; sprinkle flour on your hands and place the wrapper in the palm of your hand
– Add about 50 grams of the Pork filling to the centre of the dough (flatten the filling with a spatula, leaving about 1.5 cm of skin around the edges)
– Place your right thumb on top of the wrapper and your index finger underneath it; And the thumb that holding the wrapper should hold the filling
Start folding the dough around the filling in a circular motion while using your left thumb to lightly press the filling down (press each fold firmly)
– Once all the edges are centered, twist the center of the bun to close it (pinch the top of the bun to make sure it is sealed tightly otherwise the filling will leak out) - Once it’s done, place the bun on a work surface; then rotate it between your palms to shape it
- Then place the bun on a piece of Parchment Paper and lay on the base of a Bamboo or Metal Steamer; put the lid on while continuing with the remaining dough
Meanwhile, you can start preheat your steamer
Leave some space between the buns to allow them to expand during steaming - Once the buns have formed, immediately steam them over HIGH heat for 15 minutes; final proofing is not necessary, as it will overproofed the buns and cause the buns to collapse
If you use a metal or plastic steamer, cover the lid with a cloth so condensation doesn’t drip onto the buns
If you cook two layers at once, as I did; place the last batch on the bottom; It is closer to the water, which helps the dough rise faster - After 15 minutes, turn OFF the heat, remove the lid and let it sit for 5 minutes to let the excess steam to dissipate
- You can serve the steamed buns immediately or let them cool completely on a cooling rack if you want to store them
NOTES
- AVOID leaving buns at room temperature for more than 2 hours, especially if they contain meat — it’s unsafe
- AVOID Refrigerating buns uncovered — they’ll dry out quickly.
- Storage
– Fridge: place in an airtight container or ziplock bag with the air squeezed out; store in the refrigerator for up to 2 days.
– Freezer: wrap each bun individually in plastic wrap or Parchment Paper to prevent freezer burn; place wrapped buns in a freezer bag or airtight container (label with the date and freeze for up to 2 months) - Reheat
– From the Fridge: Steam for 5–8 minutes over boiling water until hot and soft
Or Microwave with a damp paper towel for 30–60 seconds (avoid overheating or they’ll dry out)
– From the Freezer: DO NOT THAW— reheat directly from frozen
Steam for 10–15 minutes until fully hot Or Microwave with a damp paper towel for 1–2 minutes in 30-second intervals