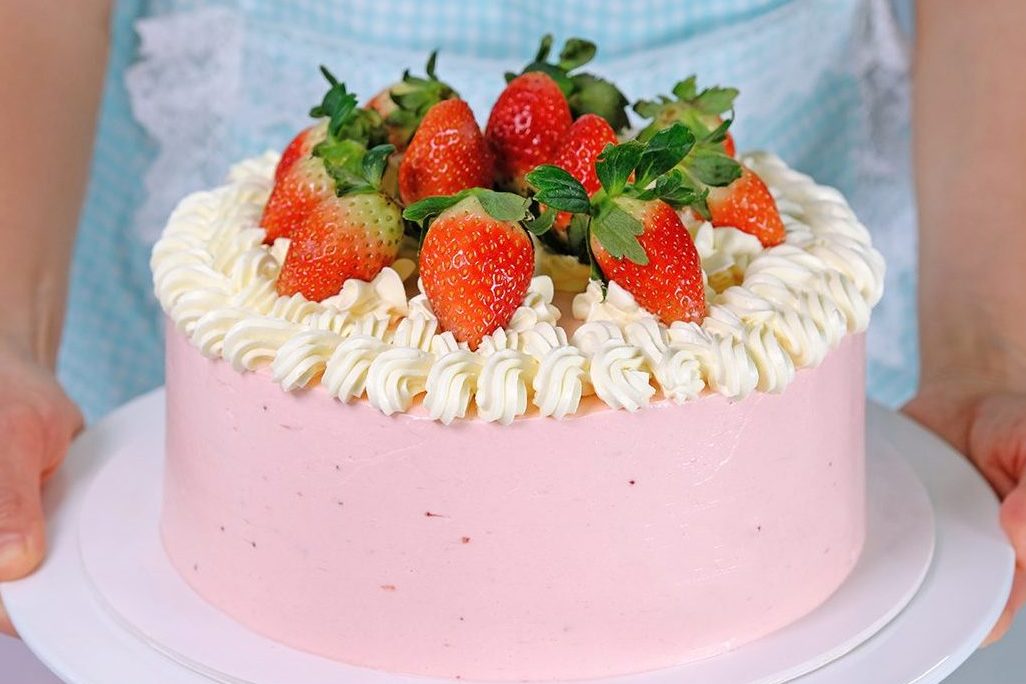
I think every girl carries a sweet little dream in her heart—a dream of a pretty, soft, and irresistibly yummy Strawberry Cake.
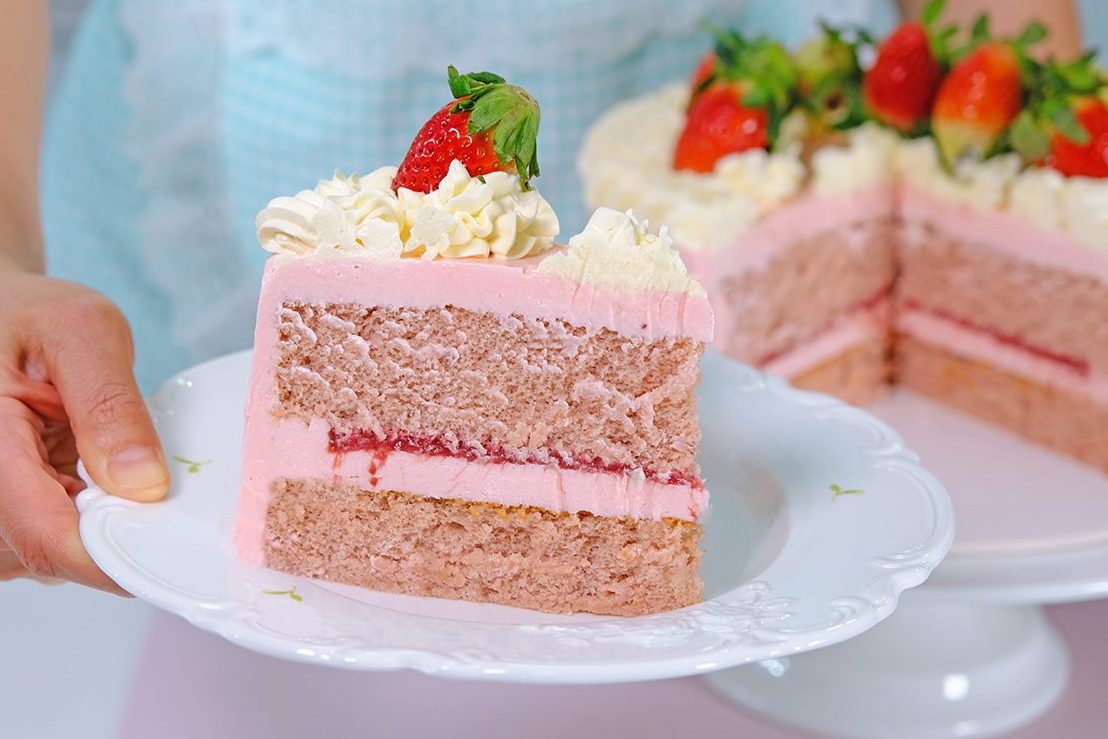
It reminds me of Strawberry Milk in a cute cartoon box, the kind we loved as children. One sip, and suddenly you’re back in childhood—carefree, happy, and smiling without a reason.
That feeling is exactly what I want a strawberry cake to bring 🥰

I’ve been thinking for a long time about how to make the perfect Strawberry Cake. Not just any cake—but one that truly captures the essence of strawberries.
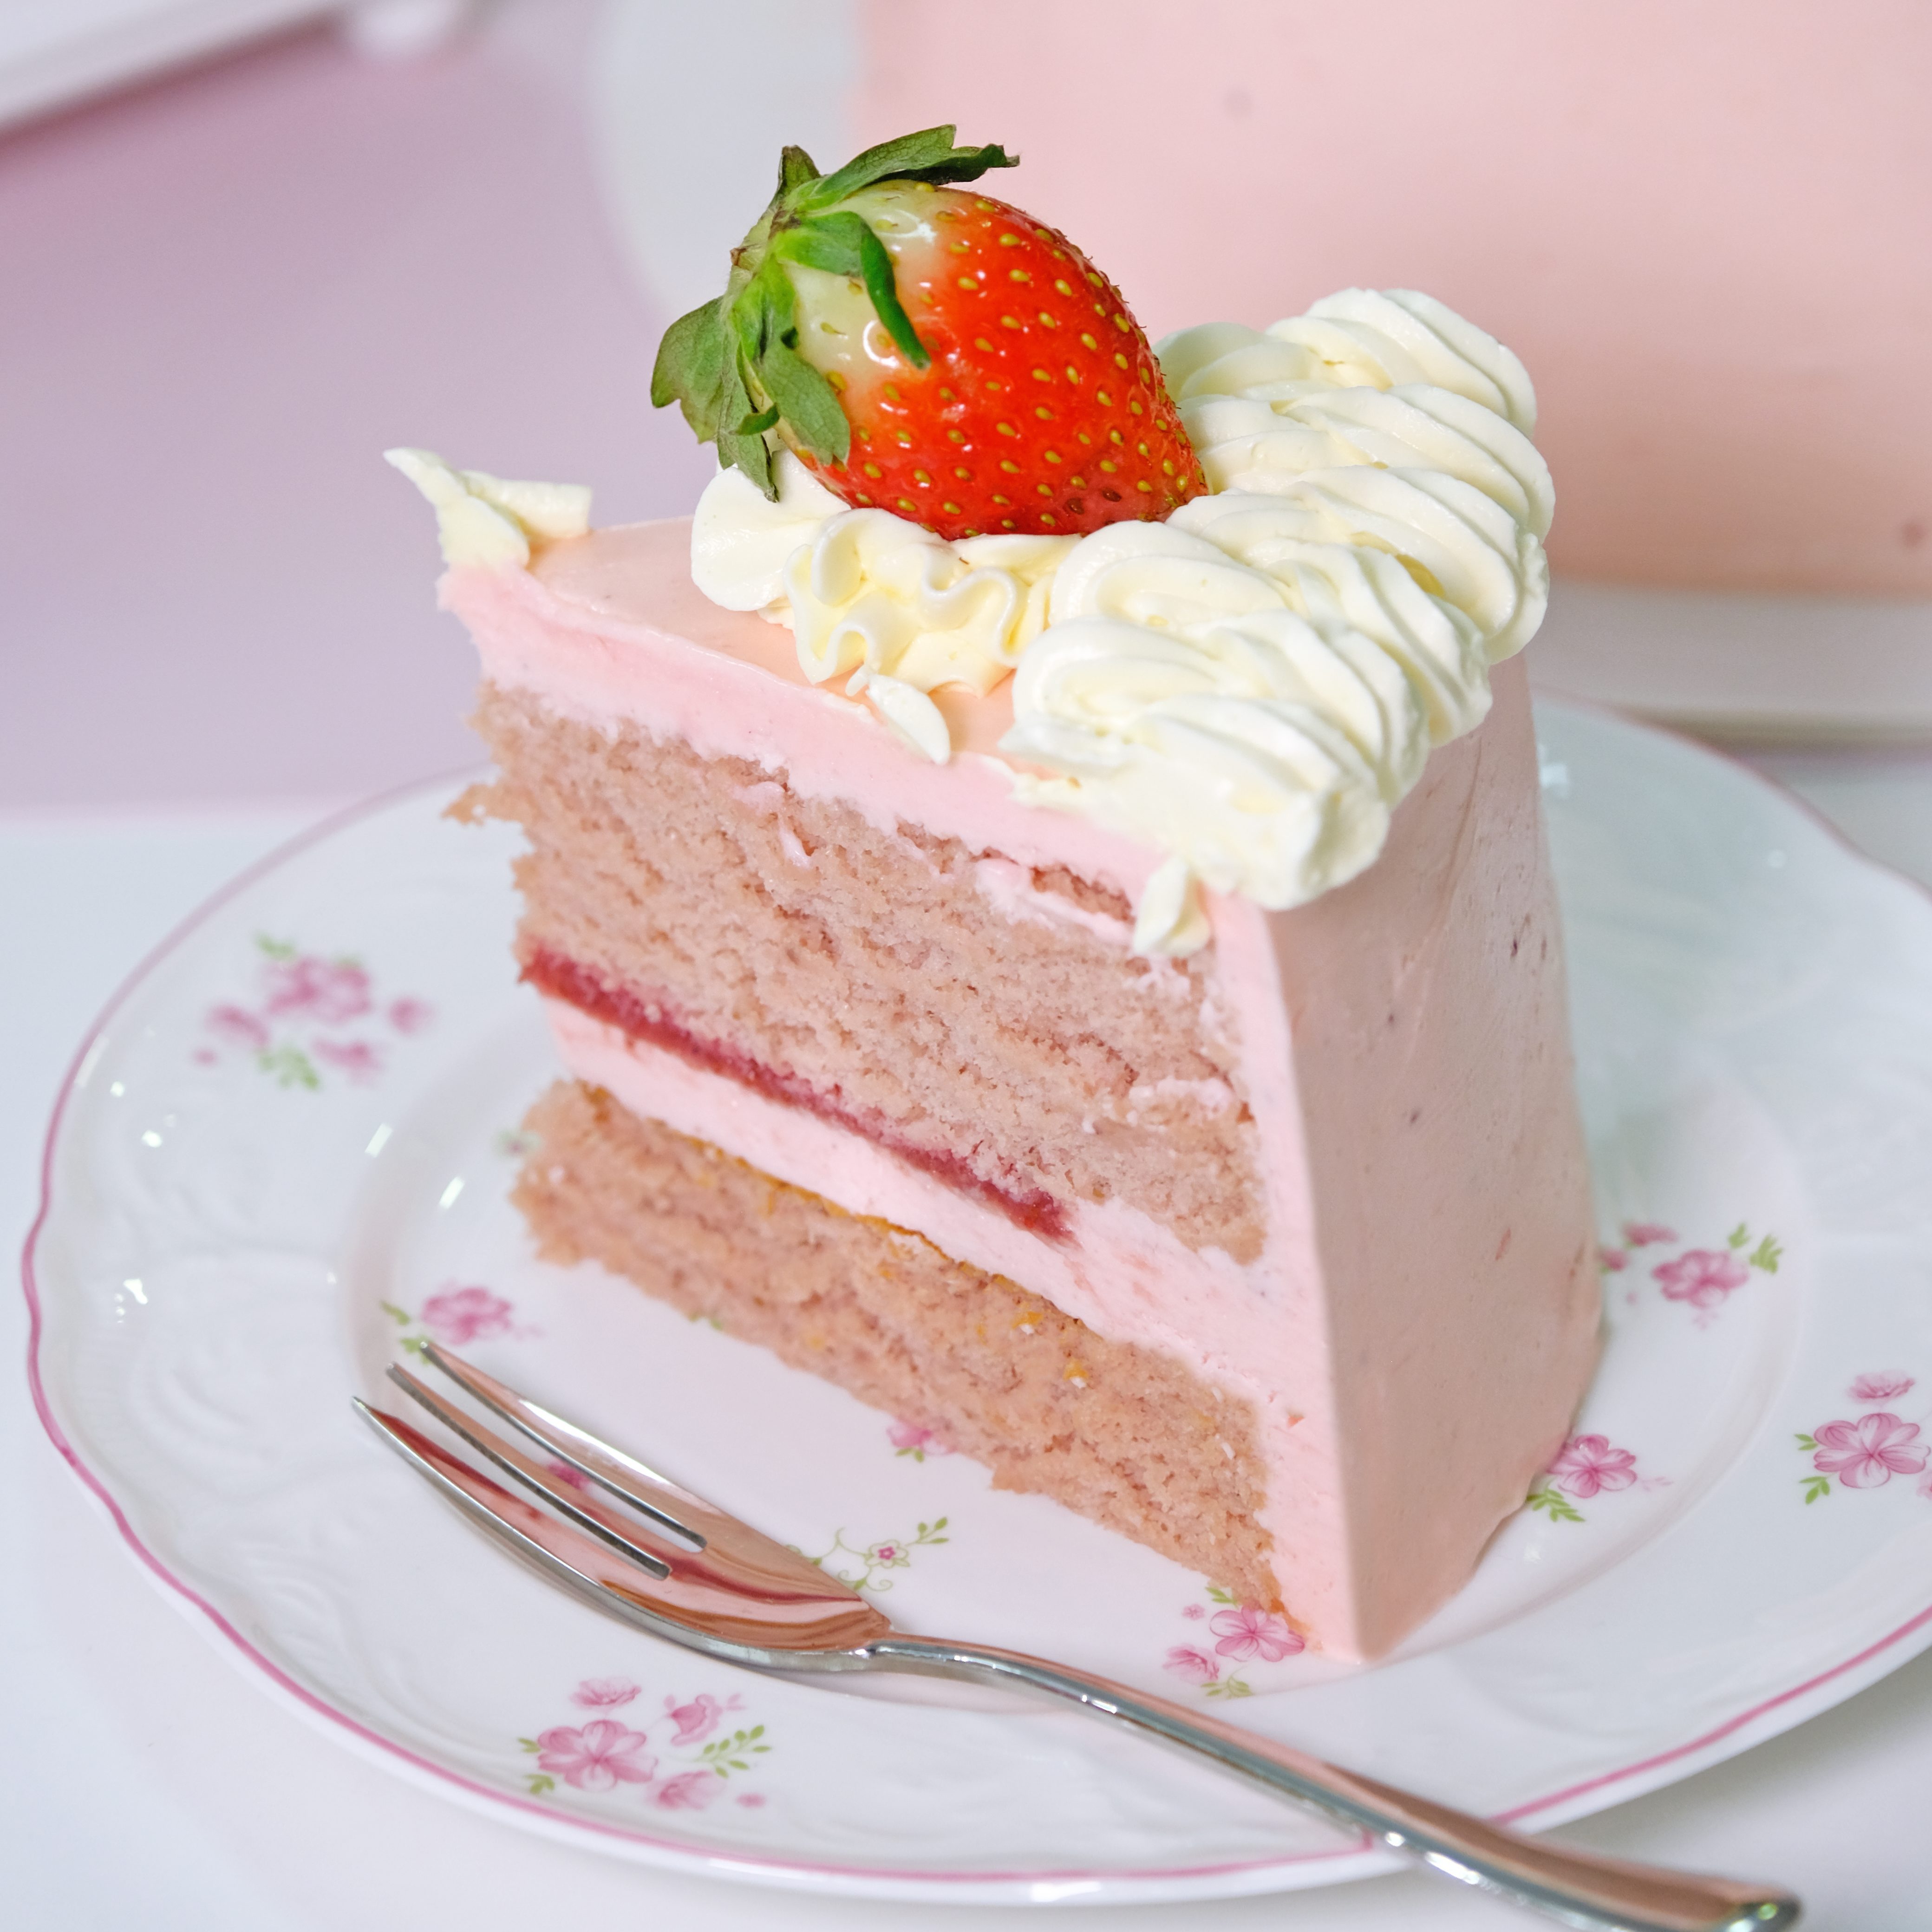
The texture is just as important: light, fluffy, and airy—not heavy, not dense, and definitely not overly sweet. Every bite should melt softly in your mouth, followed by a gentle burst of strawberry flavor.
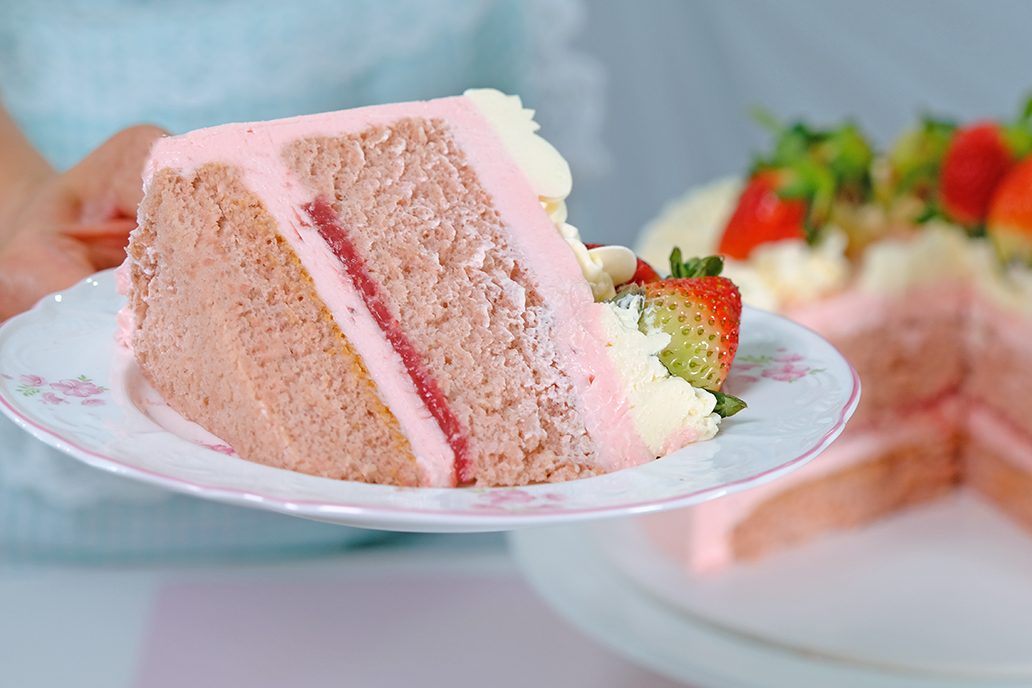
And then comes the buttercream—the soul of the cake. It must also carry a strawberry flavor, but in a soft and delicate way.
Light, smooth, and balanced. Sweet, but not too sweet.

The kind of buttercream that complements the cake instead of overpowering it. When cake and cream come together, they should feel like a perfect harmony.
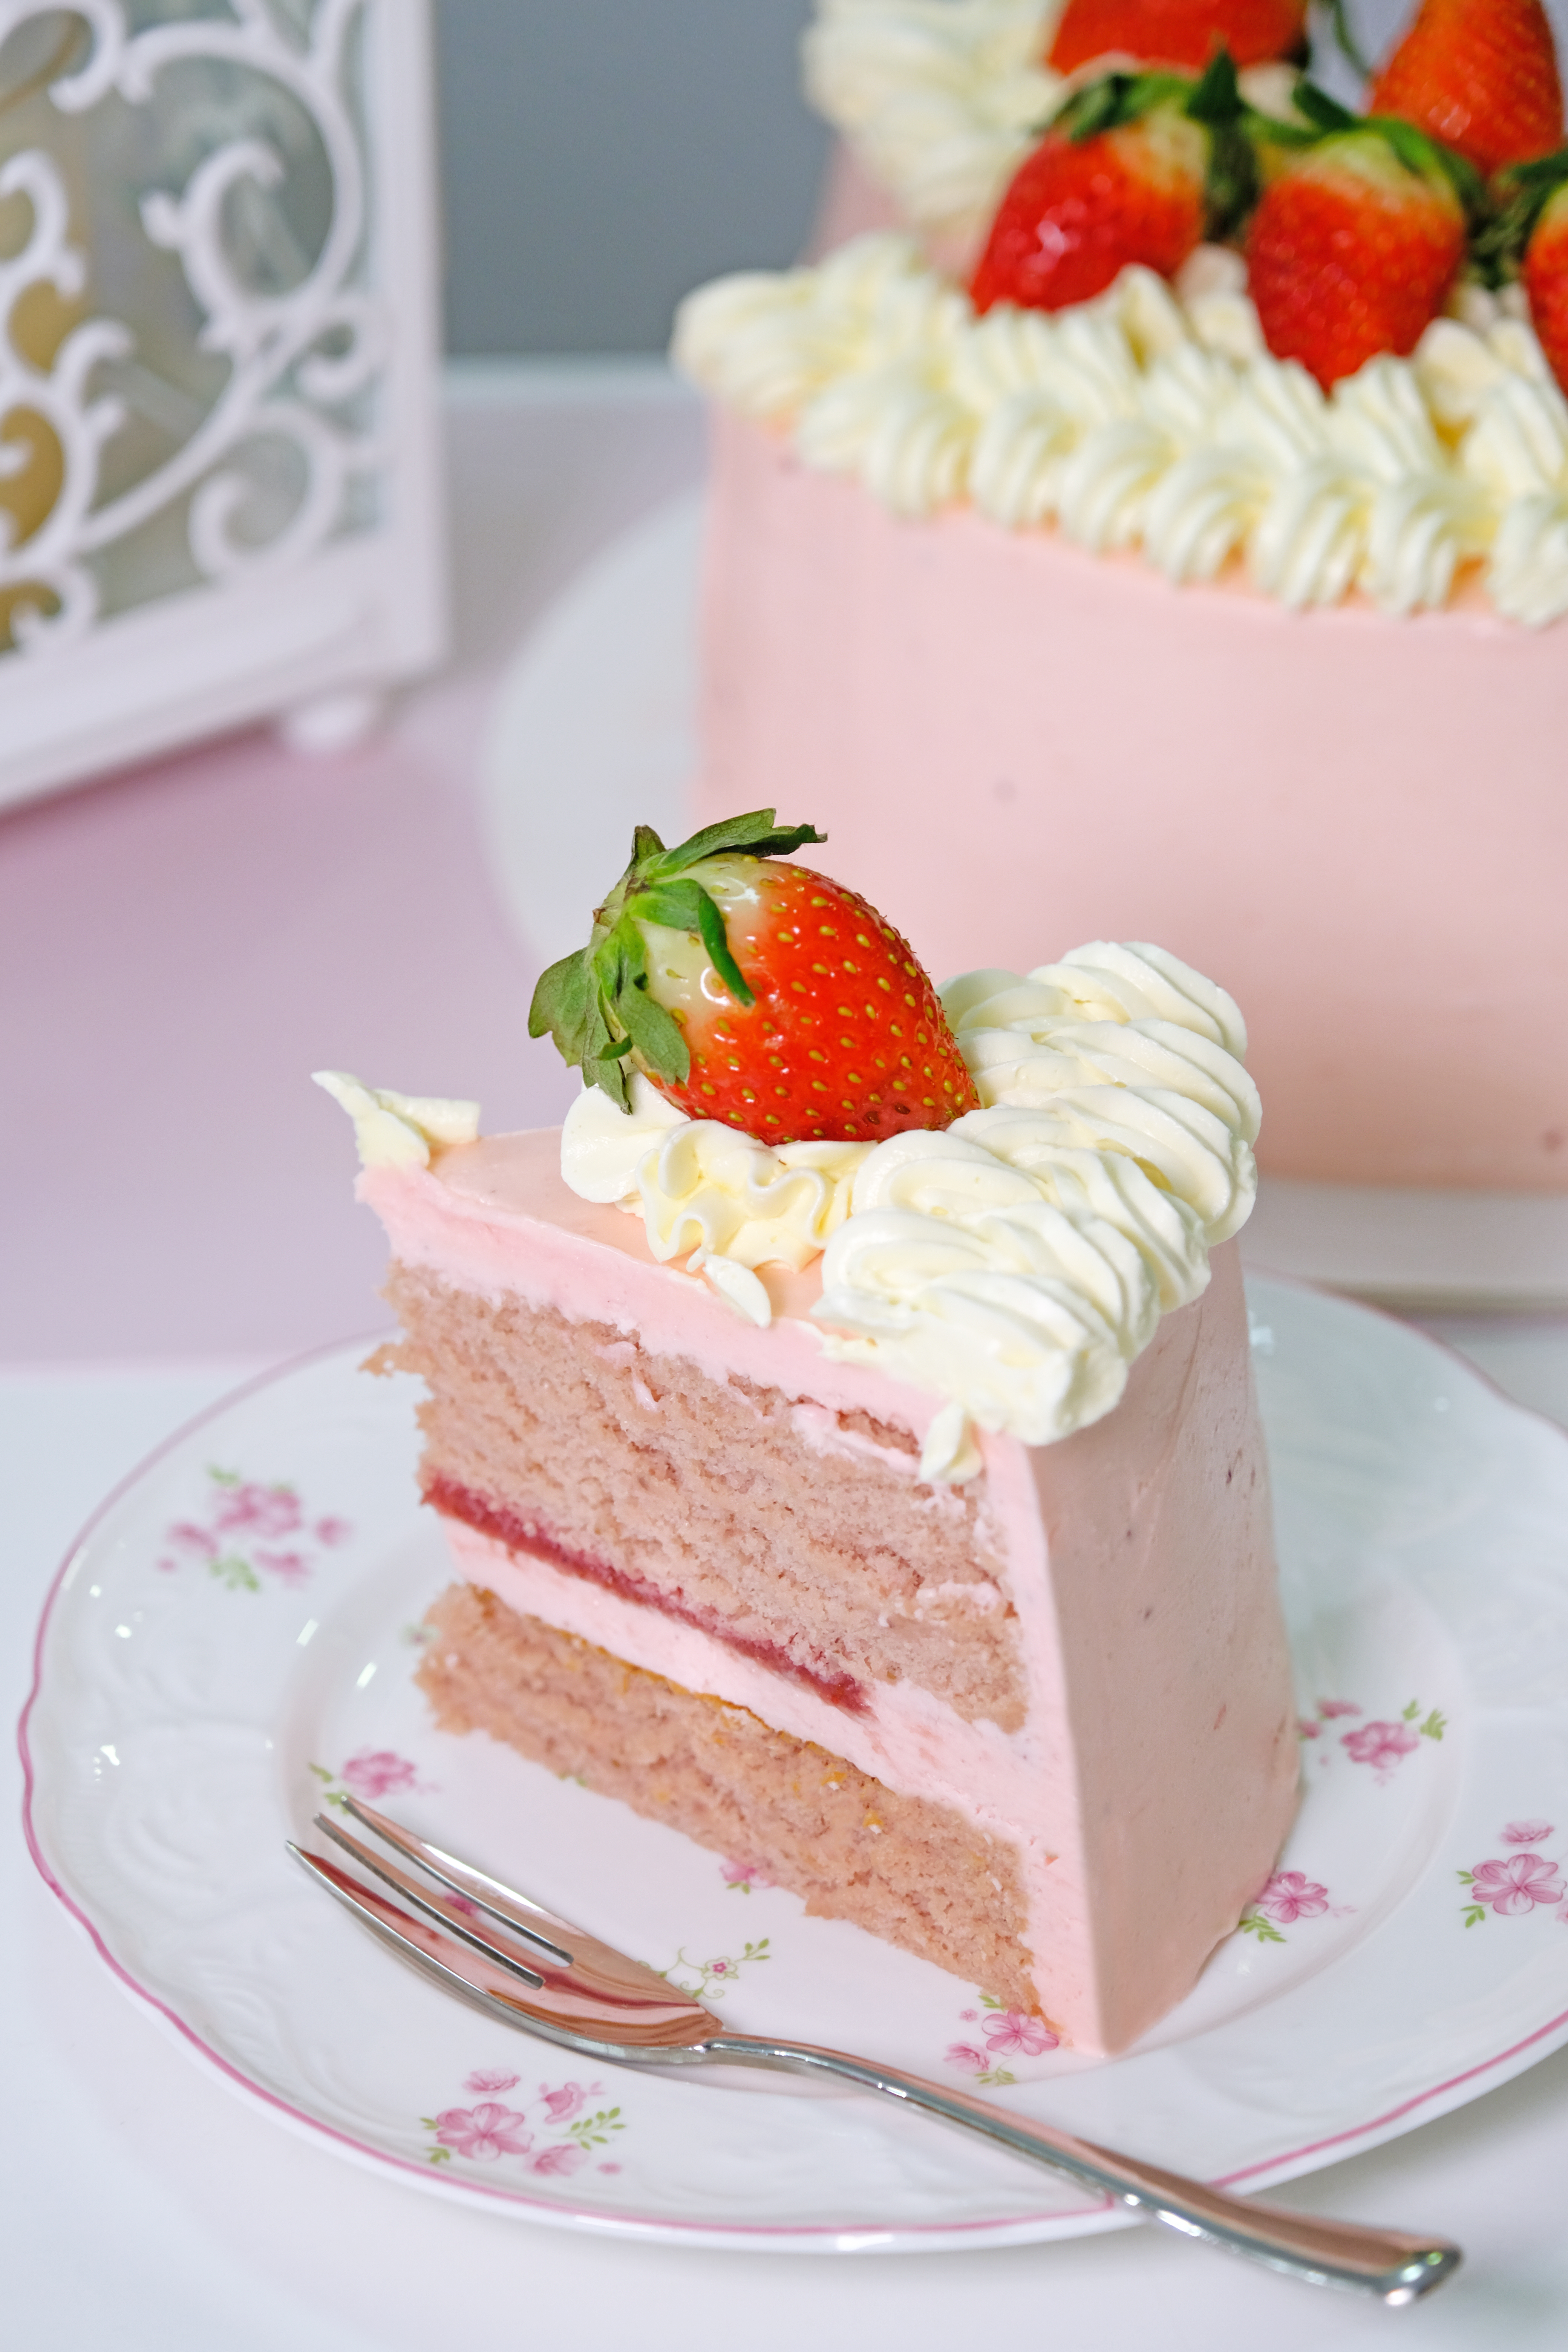
The color of the cake must be baby pink or soft pink—nothing loud, nothing artificial.
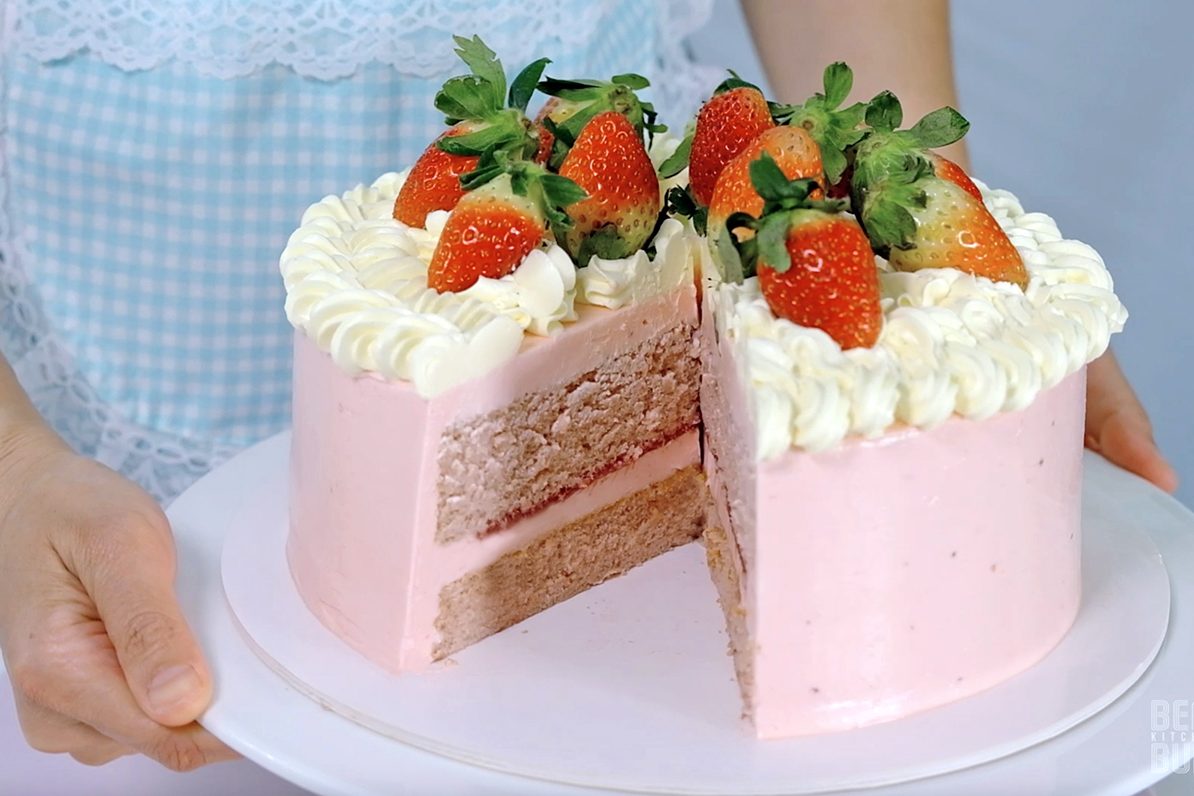

Just a gentle, pastel shade that instantly makes you feel happy and calm. A cake that looks as soft as it tastes. A cake that feels like a hug.

This strawberry cake isn’t just dessert. It’s a memory. It’s nostalgia. It’s childhood joy wrapped in layers of fluffy cake and strawberry cream.
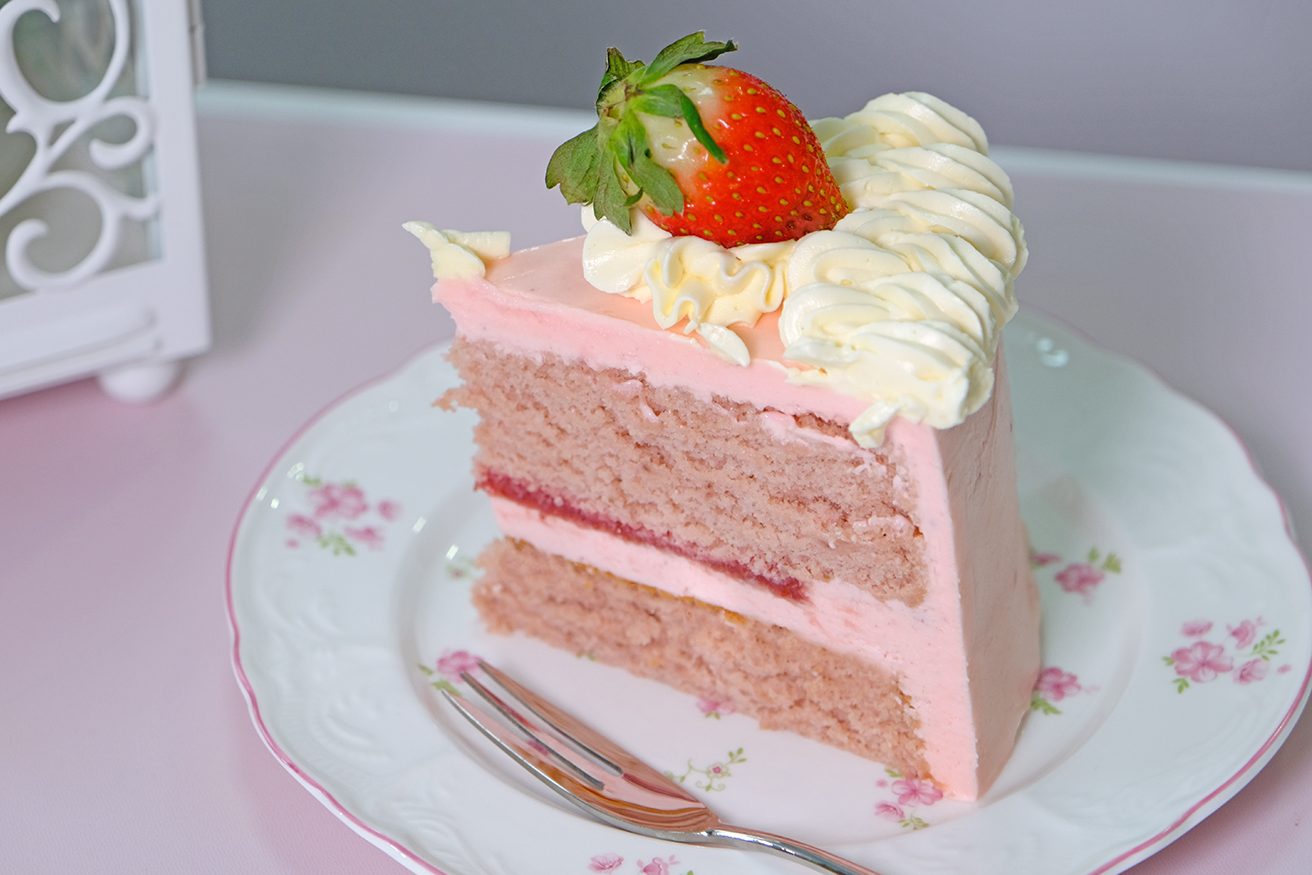
It’s proof that sometimes, the simplest dreams—the pink ones, the sweet ones—are the most beautiful to chase.
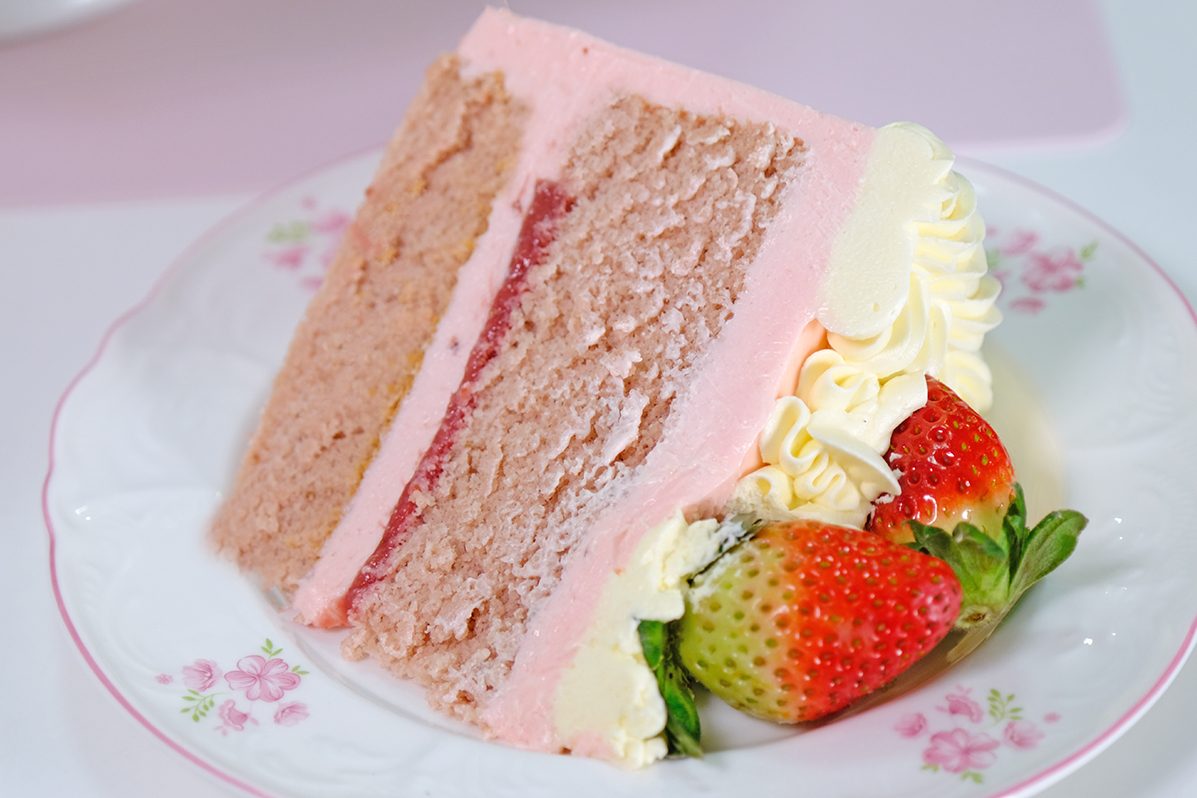
A Soft, moist cake made with real fresh strawberry puree, giving it a beautifully tender texture and a rich, fruity strawberry flavor in every bite.
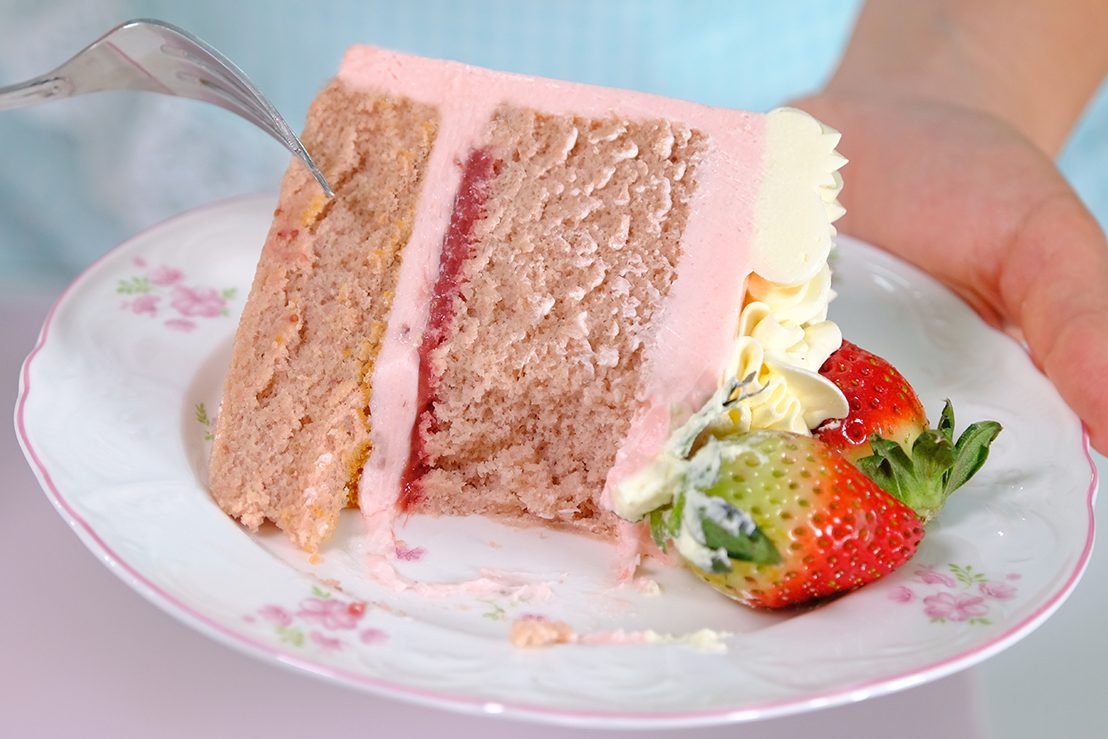
Whether it’s for a special day, for your loved ones, or simply as a sweet treat;
This strawberry cake is sure to please and bring joy to those you share it with
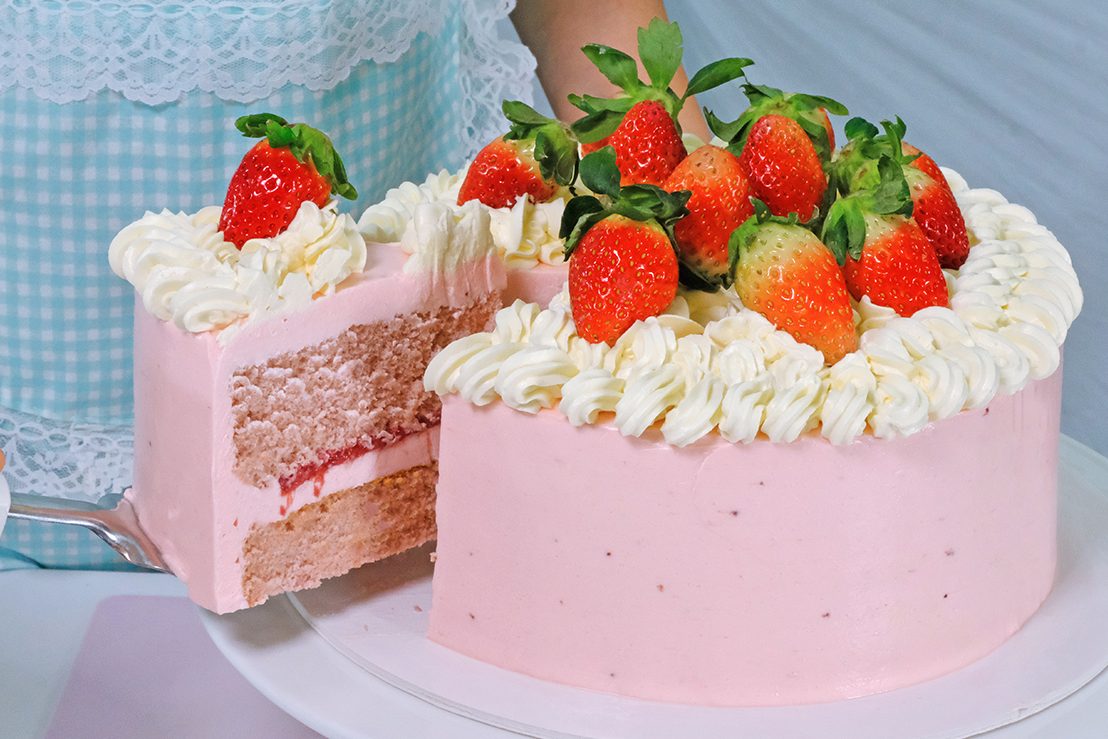
It’s wonderful light and fluffy 😚
I hope you enjoy making and tasting it !
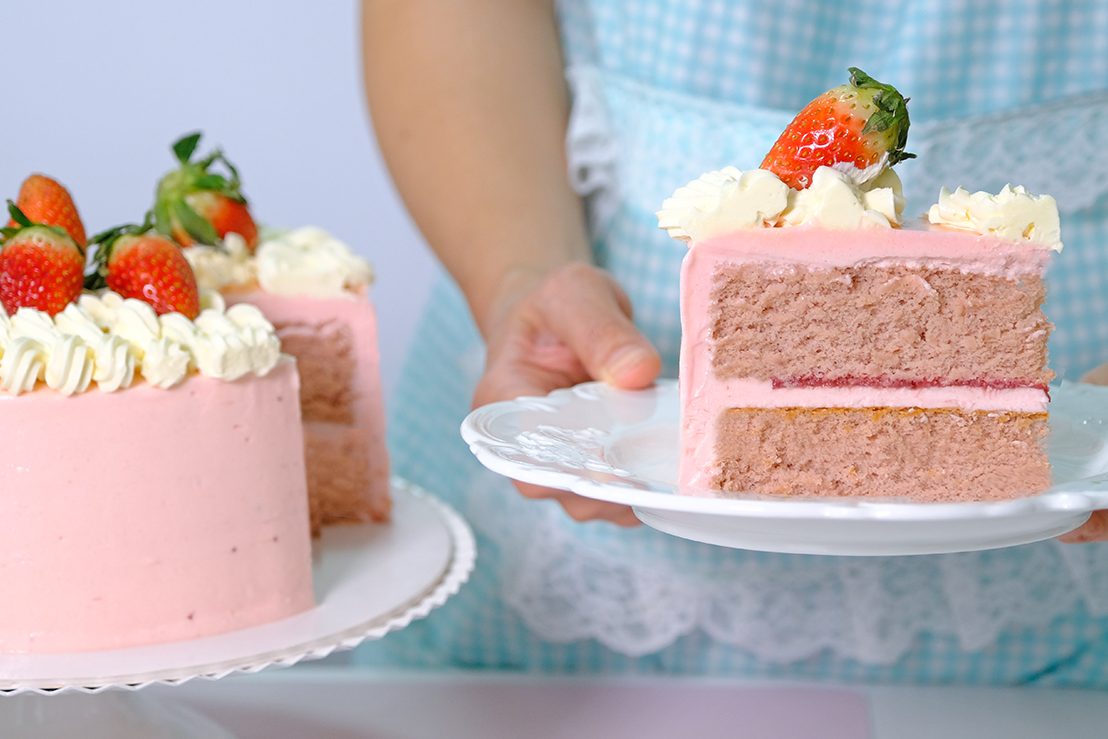
Love you All 🍰🍓
WATCH HOW TO MAKE Wonderful LigHt & Fluffy Strawberry Cake
RECIPE
LIGHT & FLUFFY STRAWBERRY CAKE
Yield: One 8-Inch Round Cake (2 layers)
INGREDIENTS
🍓Strawberry Puree
450 g Frozen or Fresh Strawberries
1 tsp Corn Flour
2 tsp Water
🍓Strawberry Cake
5 Egg Yolks (95-100 g) ~ room temp.
1 Egg (50-55 g) ~ room temp.
50 g Vegetable Oil
40 g Plain Greek Yogurt (room temp.)
80 g Strawberry Puree (room temp.)
90 g Cake Flour (sifted)
A Drop of Pink Liquid Gel Food Colour
5 Egg Whites (165-175 g)~ room temp.
1/4 tsp Salt
1 tbs Lemon Juice
90 g Caster Sugar
🍓Buttercream
180 g Egg whites
300 g Caster Sugar
240 g Icing Sugar
170 g Vegetable Shortening (High Ratio)
454 g Unsalted Butter (room temp.)
2 tbs Strawberry Puree
2 tsp Rose Water
1/4 tsp Salt
A Few Drops of Pink Liquid Gel Food Colour
INSTRUCTIONS
🍓Strawberry Puree
We will use this strawberry puree for the Cake, Buttercream and Filling
- Prepare the corn slurry ahead of time; Mix Corn Flour and Water (we’ll use it to thicken the strawberry purée)
- In a medium saucepan, heat the Strawberries over medium-high heat
Once they start to soften and release juice, lower the heat and mash them with a potato masher (no need for a blender or food processor) - Continue cooking over low heat, uncovered, to let the excess water evaporate; this can take a while, so be patient (with frozen strawberries, mine took about 30 minutes to reduce)
- Once the purée is thick and most of the water has evaporated, stir in the corn slurry until well combined
- Remove from the heat
Pour the purée into a shallow dish, cover, and chill in the fridge until completely cool - Once cool, set aside 80 grams for the cake batter, 2 tablespoons for the Strawberry Buttercream and the rest for the cake filling
🍓Strawberry Cake
- Preheat the oven to 155°C/ 135°C fan, place the rack at the bottom
- Make sure your Eggs, Strawberry Puree, and Yogurt are at room temperature (this makes the batter smoother and easier to mix)
- Prepare the pans in advance
Line 8-Inch Round Pan (4-Inch Tall) with parchment paper, but DON’T grease it
** You’ll also need a larger pan to create the bain-marie, which will hold the water and support the cake pan while baking - Make sure your bowl and utensils grease free, any residue of fat will prevent egg whites from beating properly;
Wipe the bowl and utensils with Vinegar or Lemon Juice; the acid in Vinegar or Lemon Juice helps remove grease - In a large mixing bowl, combine the Egg Yolks with one Whole Egg
- Stir in the Oil; whisk vigorously until wel combined
- Add in the Yogurt along with 80 grams of Strawberry Puree and mix until the mixture is fully combined
- Fold in the sifted Flour and mix gently
DON’T overmix, gently folding keeps the cake light and fluffy instead of dense - Add a touch of pink food colouring (it helps enhance the natural pink colour from the Strawberry Puree); Set this mixture aside
- Then in another large bowl, combine the Egg Whites, Salt and Lemon Juice
Beat over high speed for about 30 seconds until foamy - Add Sugar to the Egg Whites mixture in 3 batches every 1 minute
- Once all the Sugar is added, continue beating on HIGH speed until medium peaks for about 3 minutes
** Medium peaks are glossy and hold their shape, but the tip of the peaks curl slightly when the beaters are lifted - Then, fold the whipped Egg Whites into the Egg Yolks mixture in 3 batches
Start by adding 1/3 of the beaten Egg Whites to the Egg Yolk mixture; use a balloon whisk to gently stir (this first addition helps loosen the batter)
** Scrape the bottom and sides of the bowl to ensure everything is evenly combined - Add another third of the Egg Whites and fold again (be gentle to avoid deflating the batter)
- Finally, pour this mixture into the bowl with the remaining Egg Whites
Fold carefully until the mixture is smooth and well combined (make sure there are no bits of Egg Whites left) - Then use a spatula to scrape the sides and bottom of the bowl to ensure the mixture is evenly mixed
- Slowly pour the batter into the pan from about 15 cm above to help burst an excess air bubbles
- Gently run a small metal skewer or spatula through the batter to eliminate any trap air pockets (avoid tapping or shaking the pan as this can cause the bubbles to deflate prematurely, resulting in a denser cake with less volume)
- Place your cake pan inside a larger pan and pour hot water around it, about 1 cm up the sides (this water bath helps the cake bake gently and evenly, keeping it soft and preventing cracks)
- Bake immediately in the preheated oven for 80 minutes or until a cake tester inserted in the center comes out clean
** Avoid opening the oven door during baking, as sudden temperature changes can cause the cake to collapse - Once it’s done, carefully remove the cake pan from the oven and take it out of the water bath
- Tap the 8-Inch cake pan 3 times on the counter to release the trapped steam (this helps prevent the cake from shrinking too much)
- Then, remove the cake immediately from the pan; scrape the sides of the pan; turn it over, peel the parchment paper, flip again so the top facing up;
And let it cool completely on a cooling rack
🍓Buttercream
- Make sure the Butter and Shortening are at room temperature before you start
If Butter is too cold, it won’t mix evenly, and you’ll get lumps or grainy buttercream - In a large metal bowl, mix the Egg Whites and Sugar
- Then place the bowl over a double boiler and whisk constantly until the mixture reaches about 115°F
** If you don’t have a thermometer, you can check by feeling; when the sugar has completely dissolved and is no longer gritty, it’s ready - Remove the bowl from the double boiler
Whip this mixture on HIGH speed until the mixture is thick, glossy, and white (the peaks should be as firm as possible) - Then pour in the Icing Sugar
Start mixing on low speed so it doesn’t fly all over (don’t forget to scrape the bowl to mix everything evenly) - Once all the Icing Sugar has been incorporated, add the Butter and Shortening in 2 fast additions
Then continue whip on HIGH speed for about 5 minutes until smooth and fluffy - Once finished, set aside 250 grams for the decoration on top
- Then mix the remaining buttercream with 2 tablespoons of Strawberry Puree, Salt, and Rose Water
- Add a touch of pink food colouring to make it pop, mix well
This silky, smooth Strawberry Buttercream is ready to use;
It’s lightly sweet, stable, easy to pipe, and holds its shape beautifully
ASSEMBLE & DECORATE THE CAKE
Once the cake is cooled, we can start assemble the cake
- Divide the cake into 2 layers
- Give your buttercream a good stir with a spatula before filling the piping bag; it helps to eliminate small air pockets that could create bubbles when piping
Scoop it into the piping bag slowly instead of dumping it in; pressing it down to remove air bubbles (this keeps your piping smooth and even) - Place the first cake layer on your cake board or pedestal
- Pipe a layer of Strawberry Buttercream about 1 cm thick on top and spread it evenly
- Then pipe a 1-cm-thick ring of Strawberry Buttercream around the edges
- Spread the remaining Strawberry Puree in the center
- Place the top cake layer on carefully, making sure it’s even and straight
- Fill any gaps between the cake layers with Strawberry Buttercream
- Apply a crumb coat
It’s basically just a thin layer of Strawberry Buttercream that you are going to appy to the top and the sides of the cake before you do the final coat (it doesn’t have to be perfect) - Chill the cake for 15 minutes in the freezer or 30 minutes in the fridge to firm it up (this makes it easier to apply the final coat without the layers shifting)
- And for the final coat;
Pipe 1 cm thick of Strawberry Buttercream around the sides and the top of the cake
Use a spatula to roughly smooth the sides and the top of the cake;
Then use a scraper to smooth the sides completely
Clean up the top edges by gently swiping the buttercream inward - Decorate the top however you like with 250 grams basic white buttercream ; finish the cake with lots of fresh strawberries
- Once the cake is done, refrigerate for about 1 hour before serving
NOTES
Store the cake in the fridge if not serving immediately, keep away from heat or direct sunlight.
The cake best if consumed within 3 days of baking, but will last for up to 5 days if store in the fridge.