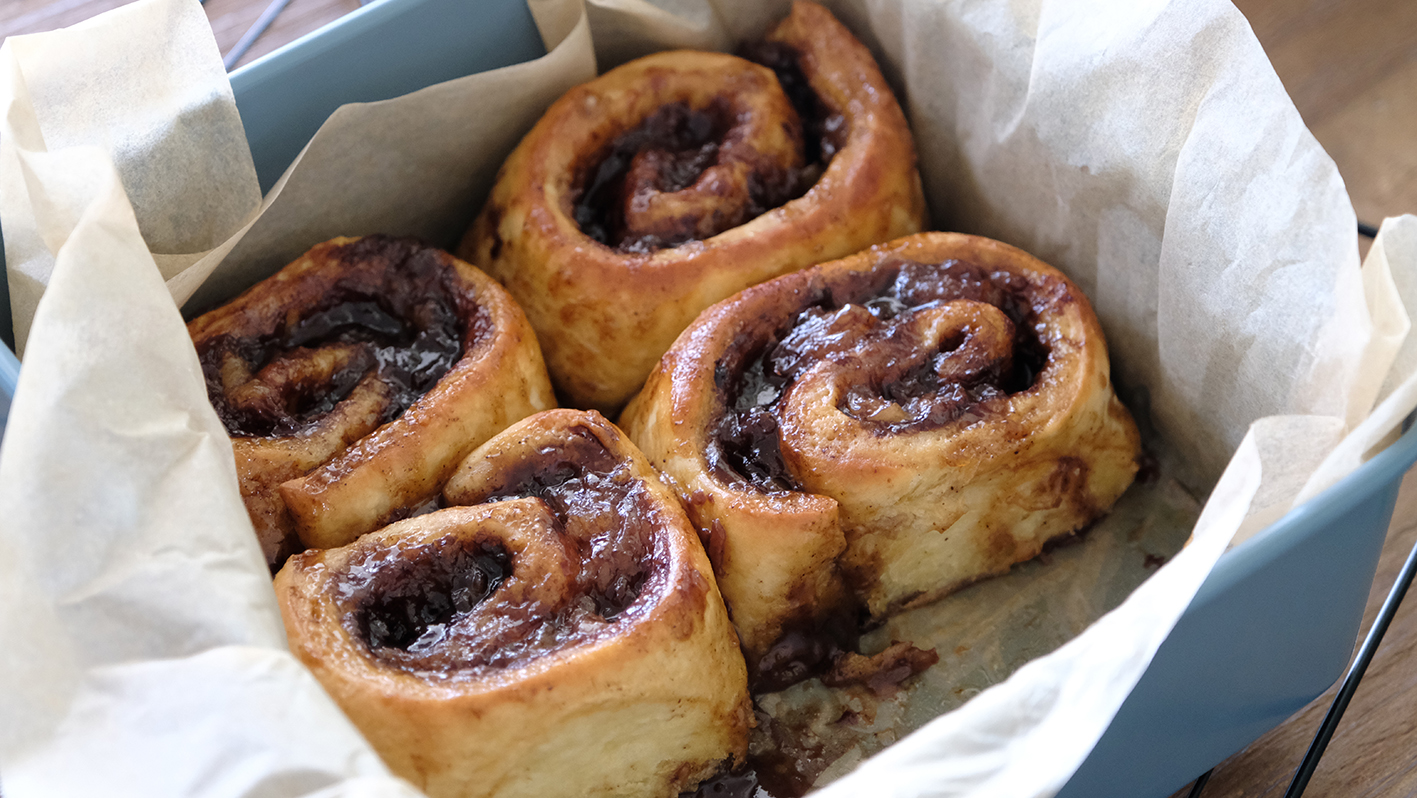
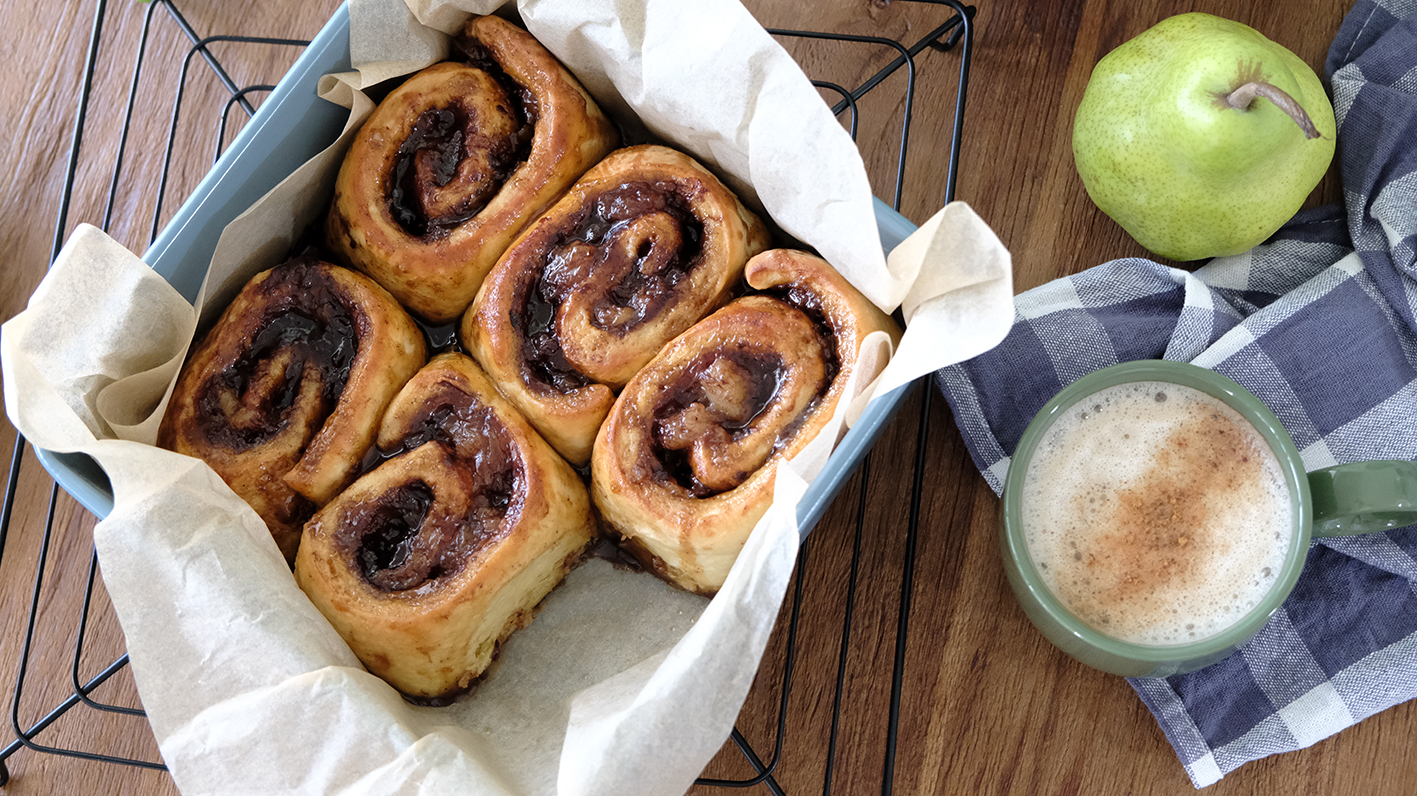
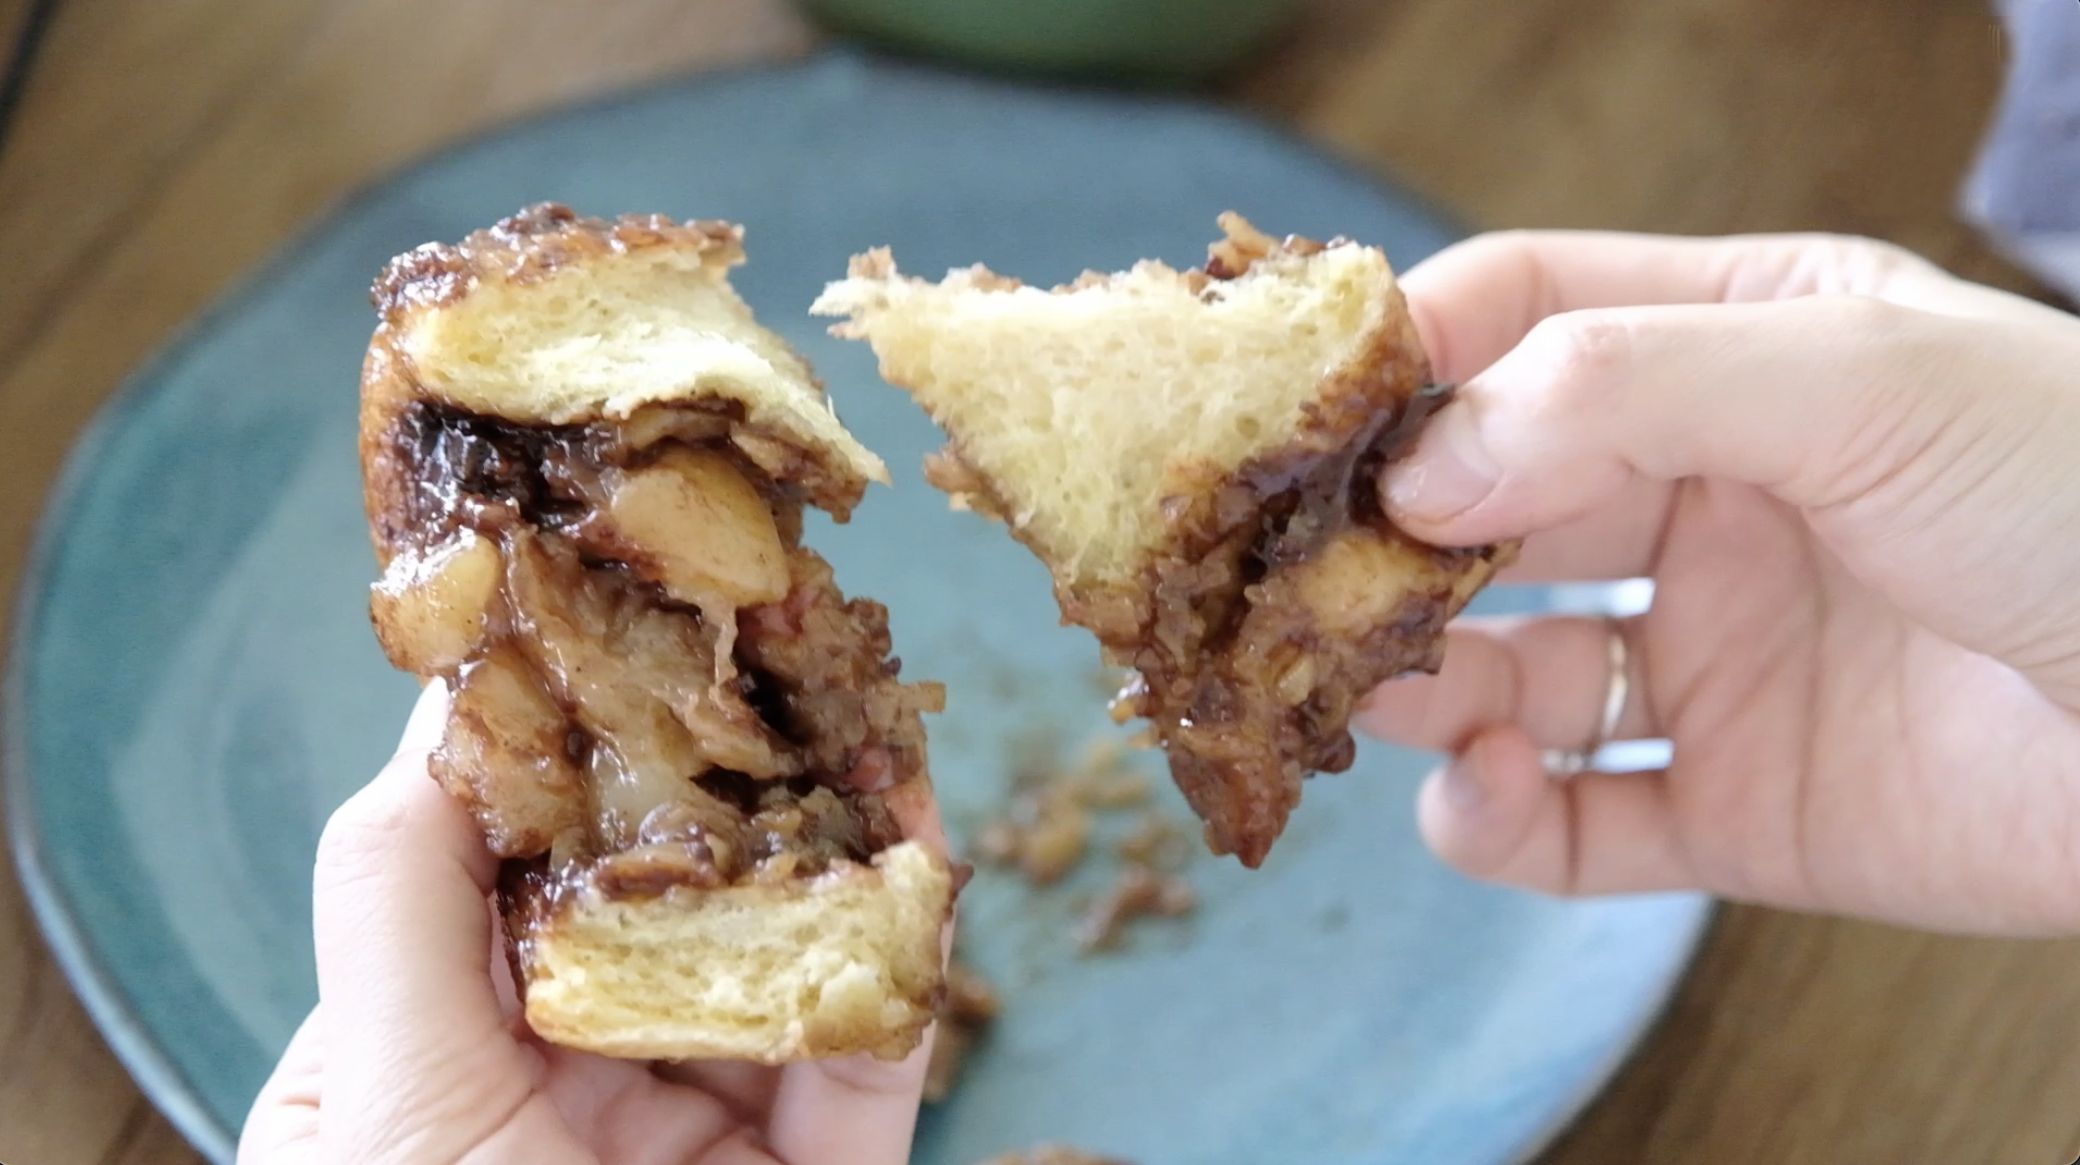
Sophisticated bread these are not, but there is beauty in simplicity
Soft and delicious, with just a touch of sweetness

Hi Everyone, today we are making these “NO Butter Sweet Bread” which is my Grandmother’s old school recipe. These breads are processed traditionally and has been passed down from generation to generation.

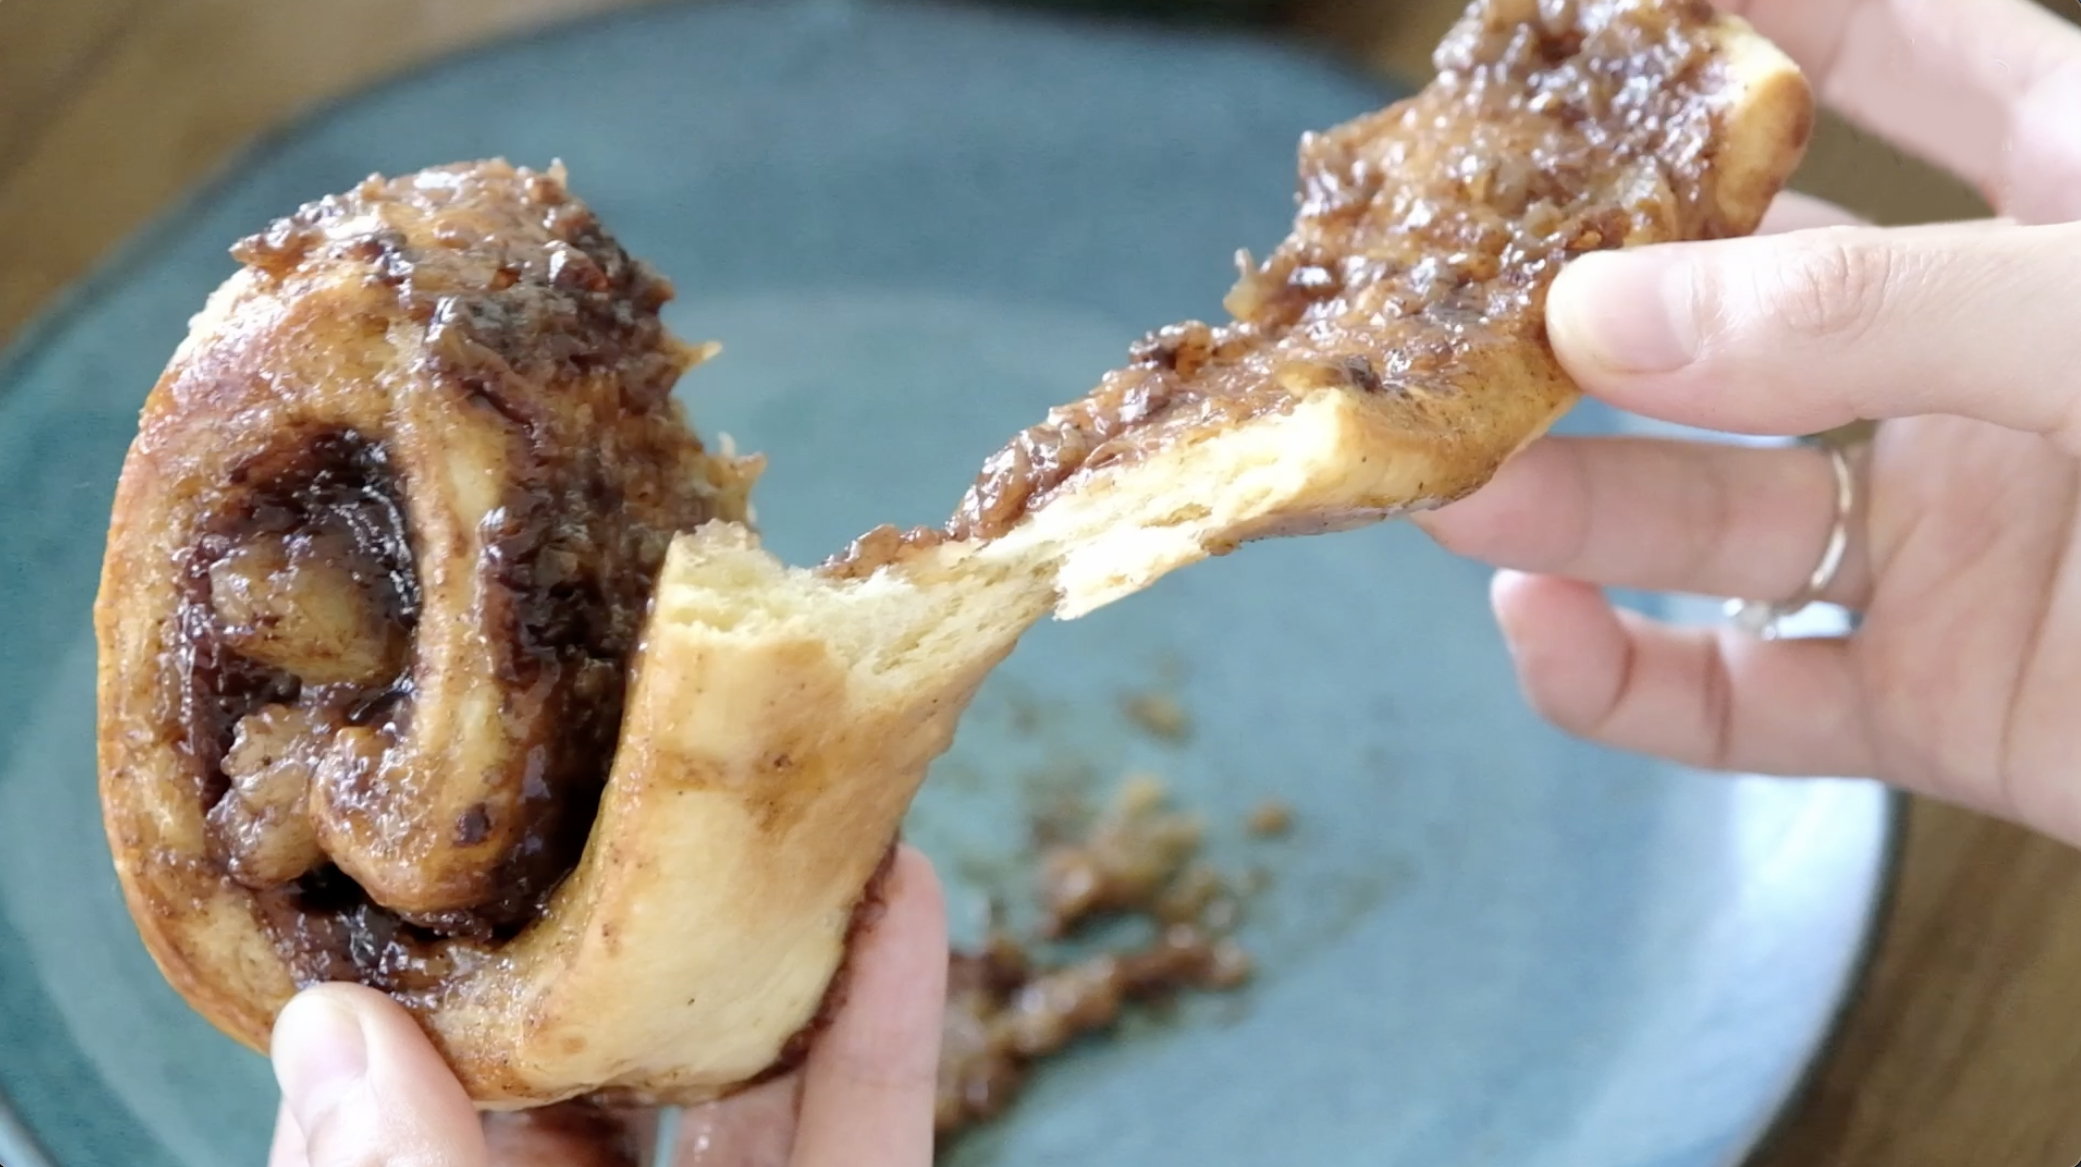
The main reason I like this old-fashioned bread is because the texture is very soft, they are healthier (there’s NO chemical such as bread improver or preservatives, etc.)
The filling is also dense and sticky and tastes deliciously sweet.

Instead of using butter as a fat, we are going to use oil in this recipe.
You will be surprise that the bread is really soft and fluffy, even if you store them in the fridge for a few days.
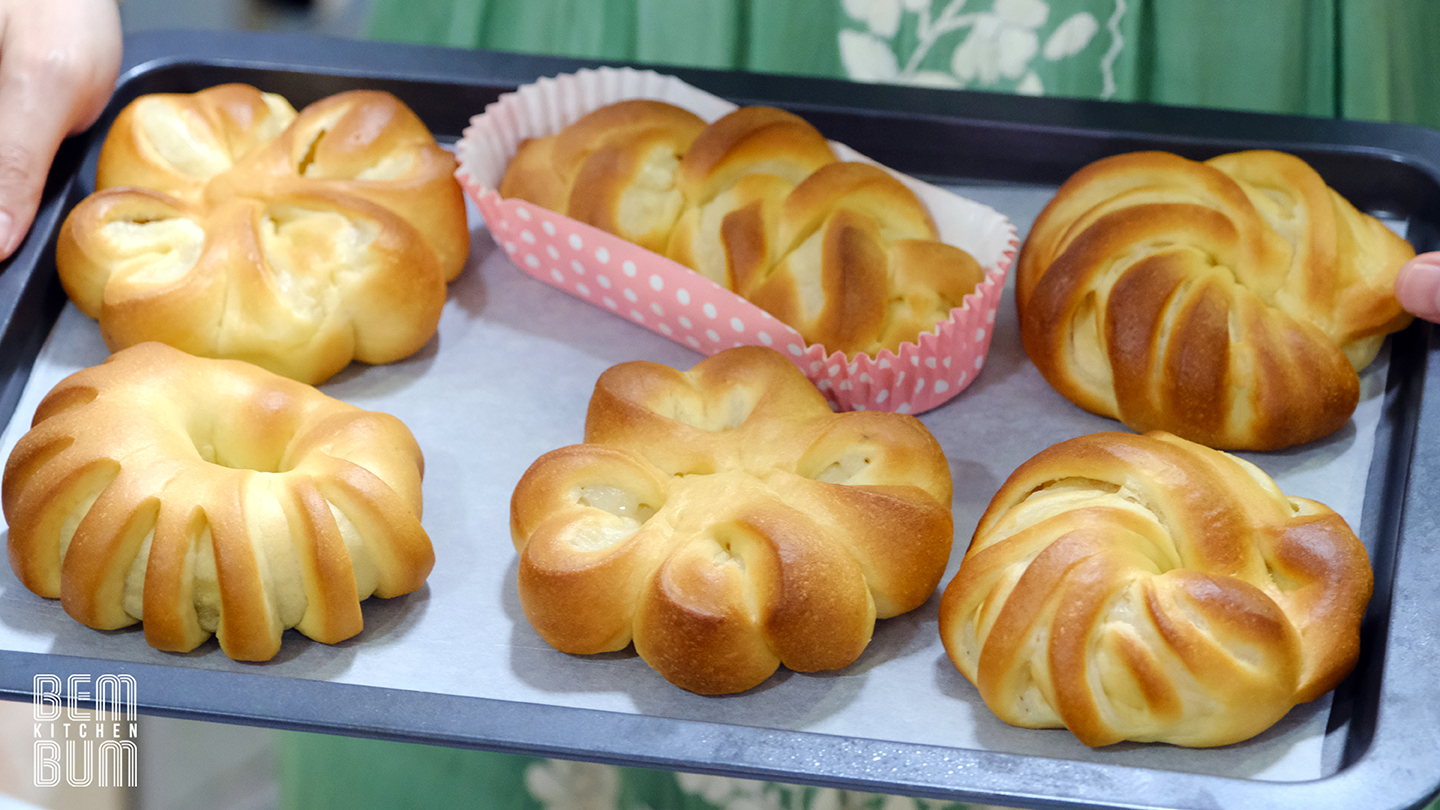
In this recipe, I will also share with you how to make 2 flavours of Old School Filling (Chocolate and Milk Butter Filling) along with 6 methods of shaping bread (kindly follow video instructions).

Considering that no preservatives are used, these bread can only last around 2 days at room temperature (in a dry; NOT in a humid conditions) and up to a week if stored in the refrigerator.
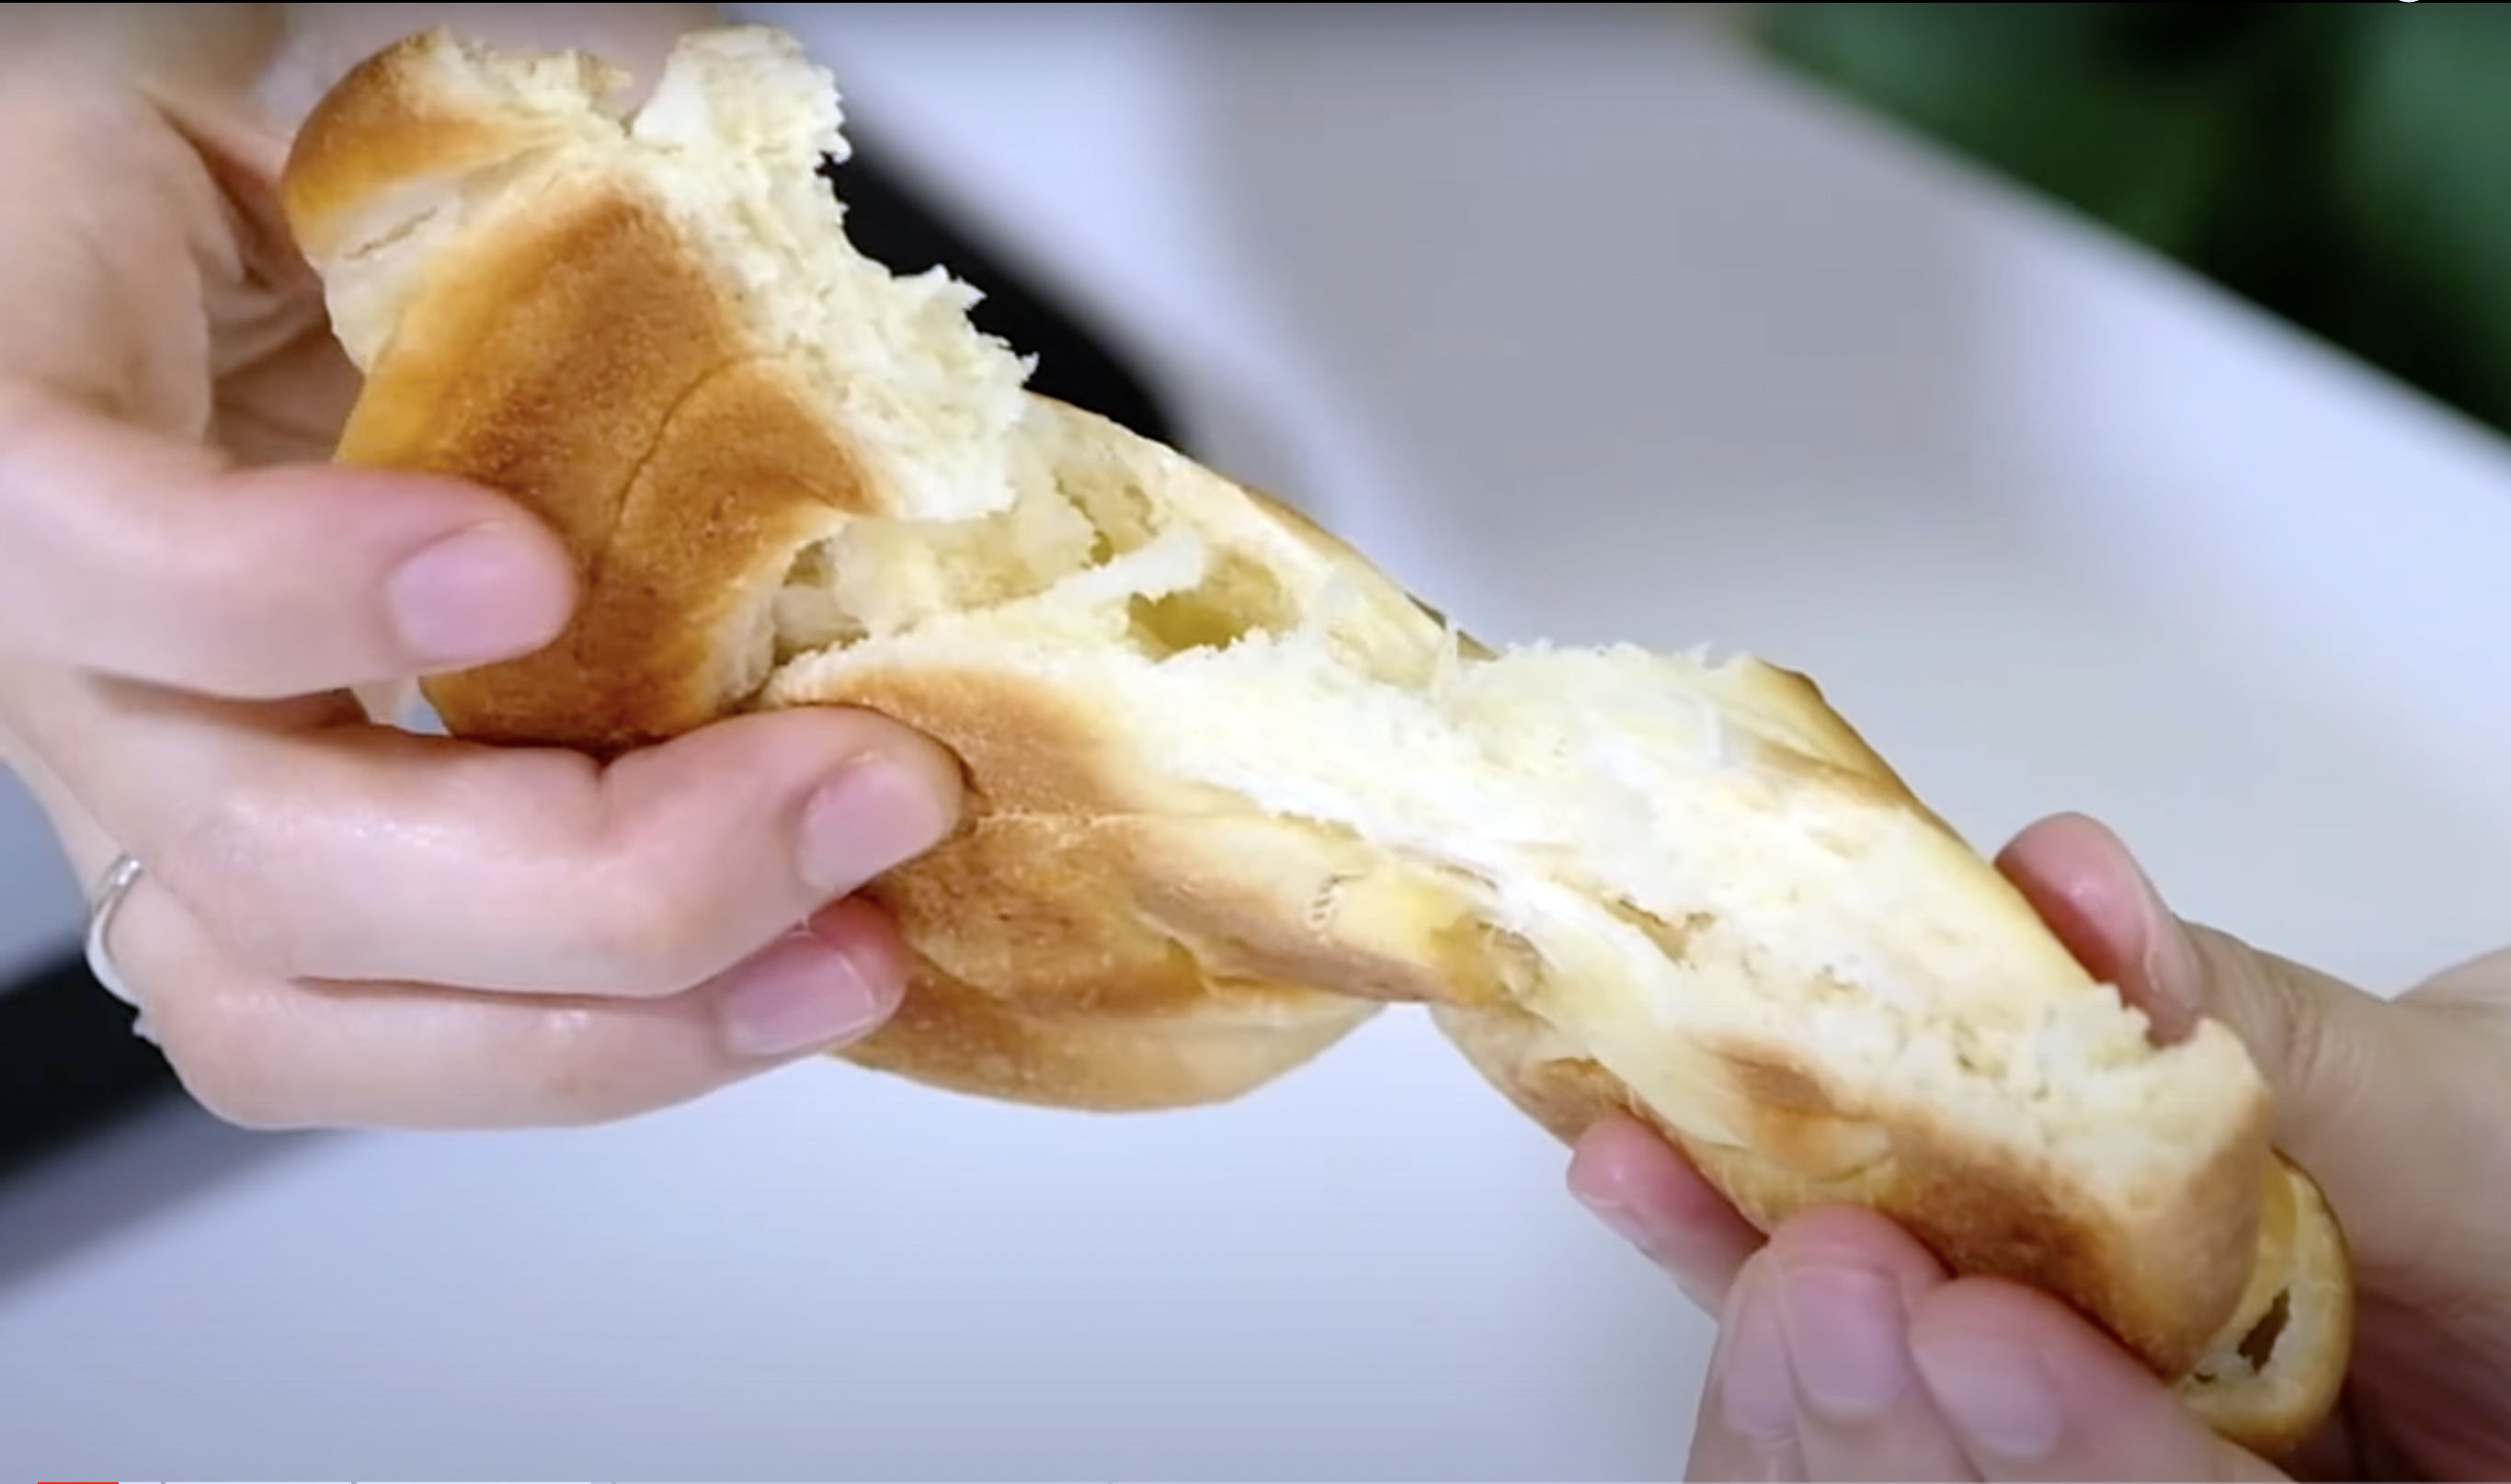
Nothing beats the unique taste and beautiful texture of the old school bread.

This recipe has been handed down from my Grandma, and now I am passing it along to you!
I hope you like it can enjoy it as much as I do!
WATCH HOW TO MAKE OLD-FASHIONED SWEET BREAD
RECIPE
GRANDMA’S SUPER SOFT OLD-FASHIONED SWEET BREAD
Yield: 9 Bread
Active Time: 2 Hours
Total Time: 4 Hours
Ingredients
☘️ Chocolate Filling
40 g Caster Sugar
1 tbs Milk Powder
15 g Cocoa Powder
50 g Eggs
1 tsp Vanilla Extract
15 g Unsalted Butter (room temp.)
☘️ Milk Butter Filling
125 g Full Cream Milk
35 g Caster Sugar
25 g All-Purpose Flour
1/8 tsp Salt (A pinch)
1 tsp Vanilla Extract
10 g Unsalted Butter (room temp.)
☘️ Bread Dough
200 g Bread Flour
50 g All-Purpose Flour
60 g Caster Sugar
10 g Milk Powder
6 g Instant Yeast
5 g Salt
45 g Vegetable Oil (Canola/ Palm/ Extra Light Olive Oil)
30 g Egg Yolks
100 g Water (room temp.)
Instructions
Chocolate Filling
- In a non-stick pan simply combine all the ingredients; Mix it really well until no lumps visible. 40 g Caster Sugar; 1 tbs Milk Powder; 15 g Cocoa Powder; 50 g Eggs; 1 tsp Vanilla Extract; 15 g Unsalted Butter (room temp.)
- Cook over medium low heat until the mixture thickens, forms a paste and no longer sticks to the pan.
- Once it’s done, take it off from the heat.
Cover with a cling wrap so it doesn’t dry out (open a little gap so the steam can escape) and let it cool completely.
Milk Butter Filling
- In a non-stick pan combine all the ingredients (except the butter); Mix it really well.
125 g Full Cream Milk; 35 g Caster Sugar; 25 g All-Purpose Flour; 1/8 tsp Salt (A pinch);
1 tsp Vanilla Extract - Strain the mixture to remove any lumps.
- Add in the butter, cook over medium heat and keep stirring. 10 g Unsalted Butter (room temp.)
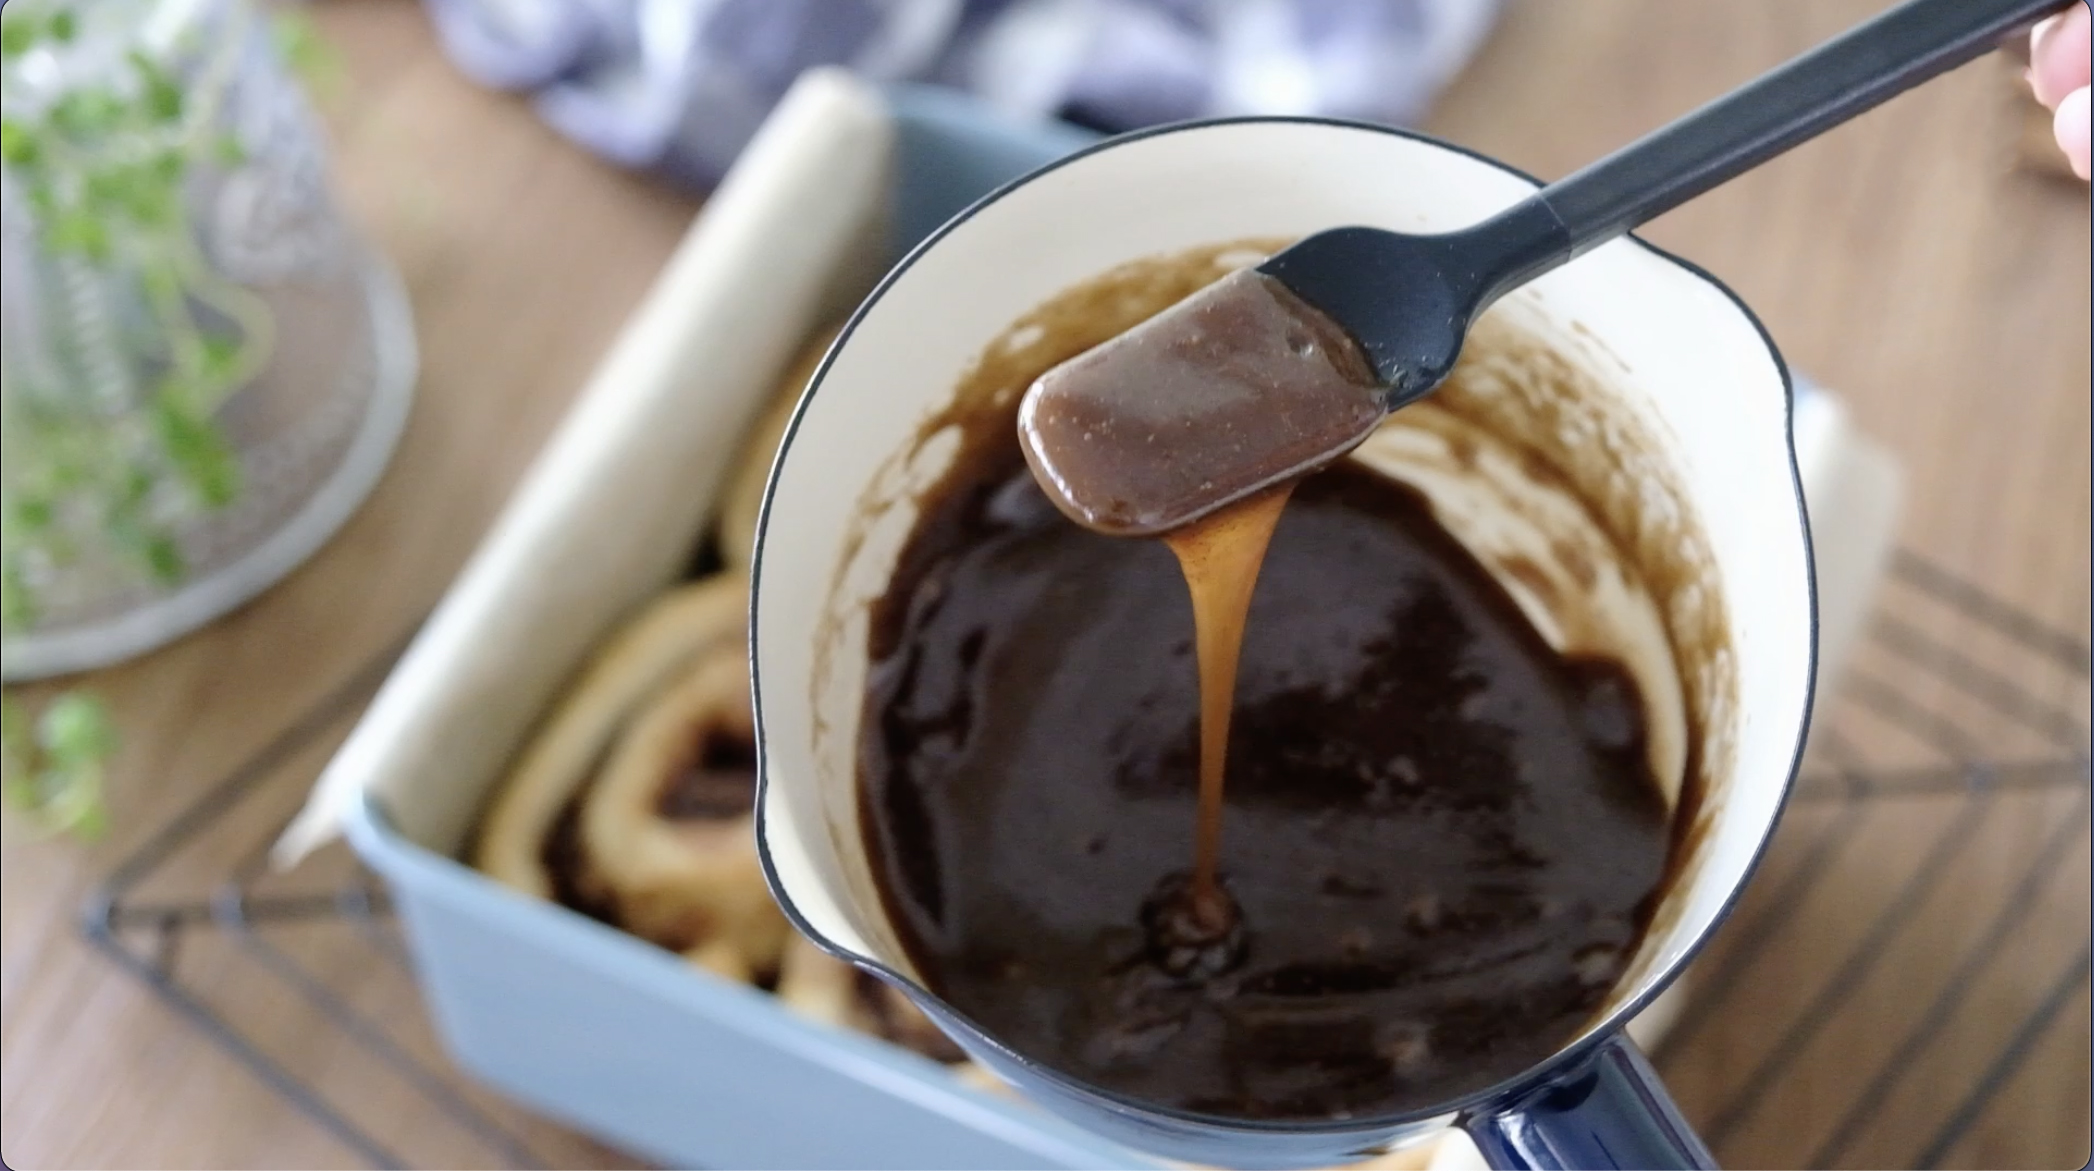
- When the mixture starts to thickens, lower the heat (be careful not to burned it); The dough will looks like a glue.
- Once you see the boiling bubbles appears on the surface, take it off from the heat.
Pour the mixture into a heat proof plate, spread it evenly so it cool faster. - Cover with a cling wrap (open a little gap so the steam can escape); Let it cool completely.
Bread Dough
- In a large bowl combine the two kinds of Flour along with Caster Sugar, Milk Powder and Instant Yeast; Mix well. 200 g Bread Flour; 50 g All-Purpose Flour; 60 g Caster Sugar; 10 g Milk Powder; 6 g Instant Yeast
- Add in the rest ingredients. 5 g Salt; 45 g Vegetable Oil; 30 g Egg Yolks; 100 g Water (room temp.)
* Please note never add salt directly on top of yeast because the salt will indeed kill the yeast - Knead the dough (with dough hook) on medium speed (kitchen aid speed 4) for 12-15 minutes * If you knead it by hand, it will take longer, for about 20-25 minutes; Knead until the dough no longer sticks to your hands (don’t be tempted to add more flour, it will make the bread tough).
- Once it’s done, divide the dough into 9 equal portions (about 55 grams each).
Roll each dough into a smooth ball; Cover with a greased plastic wrap so it doesn’t dry out and then let them rest for 30 minutes to relax the gluten. - After 30 minute, we can start shaping our bread (kindly follow video instructions).
Please note: Don’t forget always cover the dough with a greased plastic wrap along the process to prevent it from drying out. - Once it’s done, place them on the pan lined with parchment paper (make sure that you give some space in between the bread so they won’t stick one another after fermentation or baking).
- Cover and allow to rise for about 1 hour (please pay attention, it depends on room temperature, it may take longer or may not take that long).
- After fermentation, the proofed bread will look puffier and rise about 50% of their original size. If you gently press it gently with your finger, the dough will make indentation and be able to slowly bounce back into shape.
- Bake them in the preheated 180°C Oven for 13-15 minutes.
Once it’s done, lightly brush the top of the bread with melted butter (this will give the bread a softer shiny beautiful crust and richer flavour) - Let them cool completely on a cooling rack.
Notes
- To store
– In a cool room temperature (in a dry-NOT in a humid conditions): in an airtight container for 2 days
-Fridge (airtight container) for 4 days
– Freezer (airtight container) for 3 weeks. - Reheat
– From Fridge: preheated 160° C oven ~ 10 minutes (the bread actually will stay soft in the fridge)
– From Freezer: preheated 160°C oven 15-20 minutes