
Hey Guys, today we are making these “Salted Caramel Mexican Coffee Buns”. A sweet buns which is basically made with coffee topping and butter filling.
It’s actually originated in Malaysia and quite popular around Asia. Papparoti and Rotiboy are the most famous brands for these delicious coffee-coated buns, while in Singapore was popular with Roti Mum.
They even customized the buns with other flavours combination such as chocolate, cheese, kaya and peanut

The familiar and alluring smell of the coffee buns will always be the first scent that greets the nose and they go perfectly well with coffee, hot coffee preferably.
The aroma of this Mexican coffee bun is really tantalizing and makes you just want to eat it piping hot.

In this recipe, I’m gonna show you how to use Tangzhong Method in bread making. One of the most reliable method to produce soft and fluffy breads. This method contributes to the ultra airy, pillowy texture of this bread.
Tangzhong starter or called roux starter is basically a liquid (milk or water) and flour that is being cooked into a paste and then incorporated into the dough.

Some people (I used to) scared of making bread and the FAQ is “How to tell if your bread dough is fully kneaded?”
Actually, we can check to see if your dough is well-formed by doing the windowpane test by stretch it out into a thin membrane without breaking it. That’s an indication that the gluten is
well-formed.

For the Coffee Topping, YES! you can substitute it with espresso powder if you don’t have instant coffee on hand, but I really don’t recommend it coz it will make your buns taste a lot less flavorful
So.. try stick to instant coffee!
Use the best instant coffee you can get coz this is the thing that will spell the difference for your coffee buns.
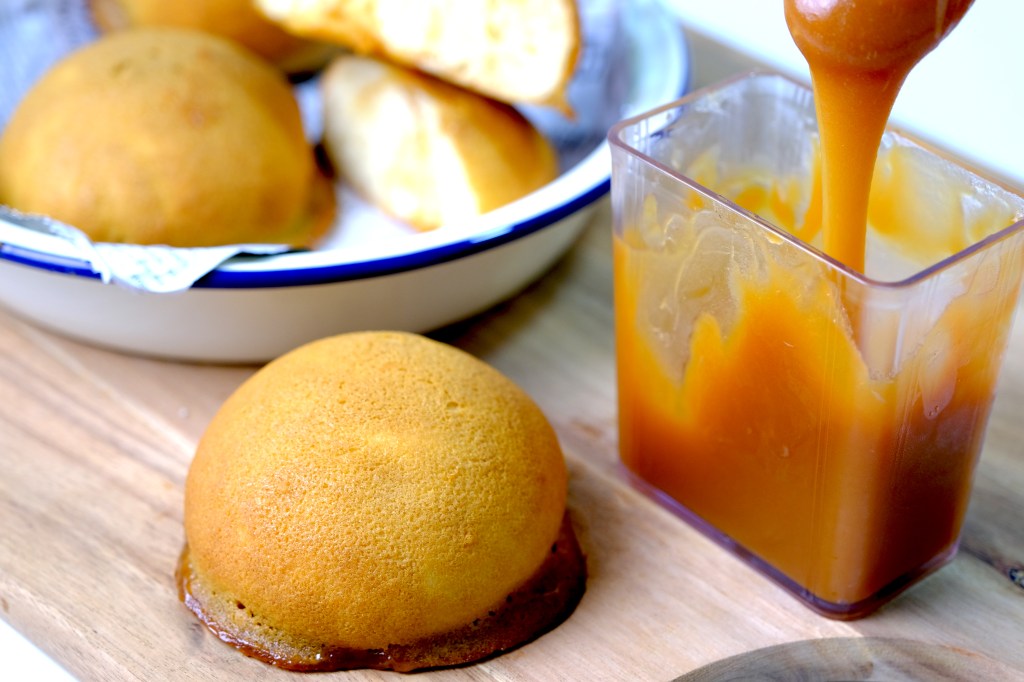
And instead of butter, I will use my homemade salted caramel sauce for the bread filling, which is so tasty. It’s melty and slightly savory against the sweet cookie crust and buns!
The combination of the soft bread with the sweet, salty, velvety smooth caramel sauce is completely divine!
This caramel sauce is so good! Left over can be refrigerated for up to 1 month and taste great on everything, especially for your favorite ice cream sundaes.

Please note, you don’t want to pipe down this beautiful aromatic mixture all the way because that will be WAY too much topping, coz once you put these into the oven they will melt downwards and form a coffee shell over the buns.
If you pipe until the bottom, the topping will just ooze down all over the place.
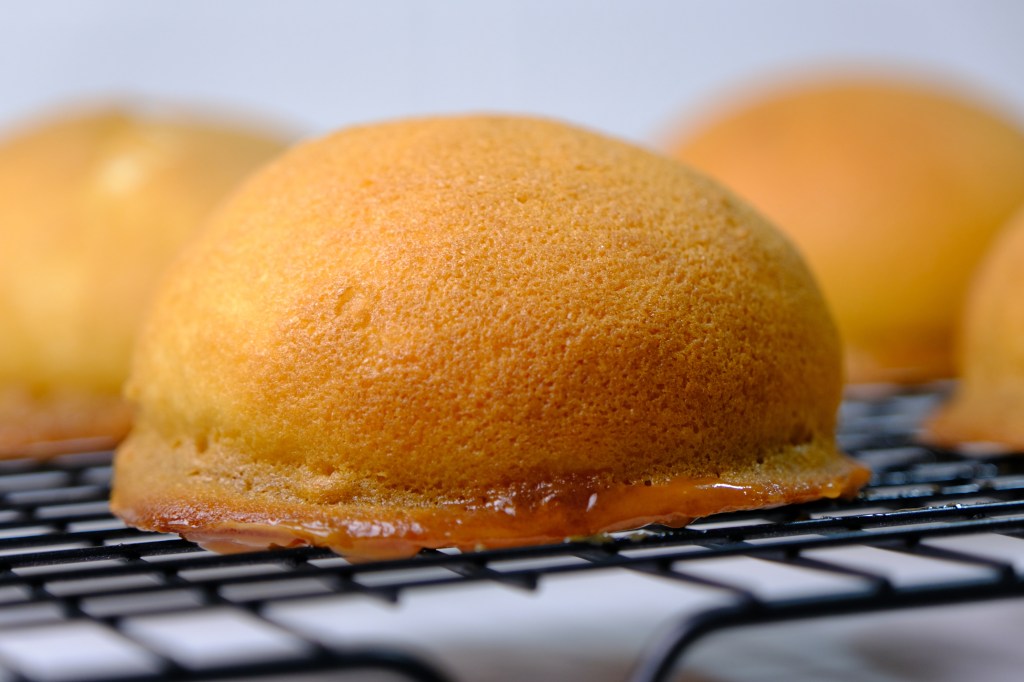
Look how amazing these buns are! It not too oily and It doesn’t flattens at all.
The caramel inside is melty, it’s leaked out as they baked, the gooey crusty texture on the bottom of the buns intensely flavorful and so aromatic. Just one whiff of these is enough to make my mouth watery! They are so difficult to resist.

I don’t think making these buns are difficult, although they do require some time and a number of steps.
If you keen to sell these, this a good choice to start baking business ideas in my opinion coz the ingredients quite cheap and it’s easy to produce. This bread also addicting for some people, that’s a good thing!
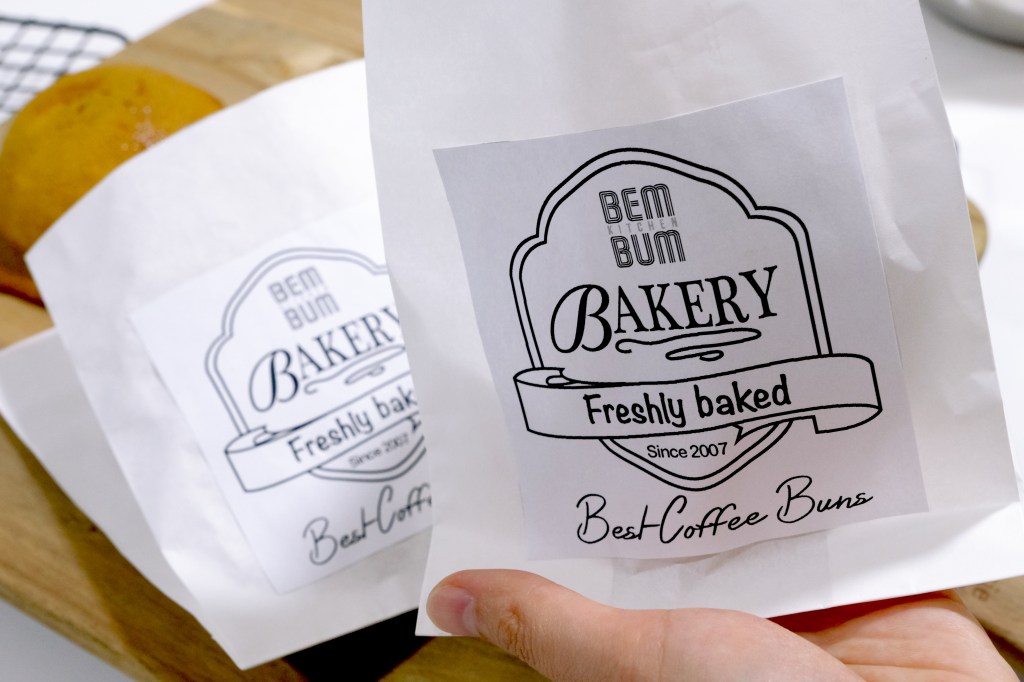
And Yes, packaging is really important for selling point, but the main key of success still on the taste of our baking goods.
As home bakers, we don’t need to produce such a mass packaging for starter which can cost a lot of money. Yet, we can simply use ready made paper bag or even make DIY packaging with our own design, like what I did here.
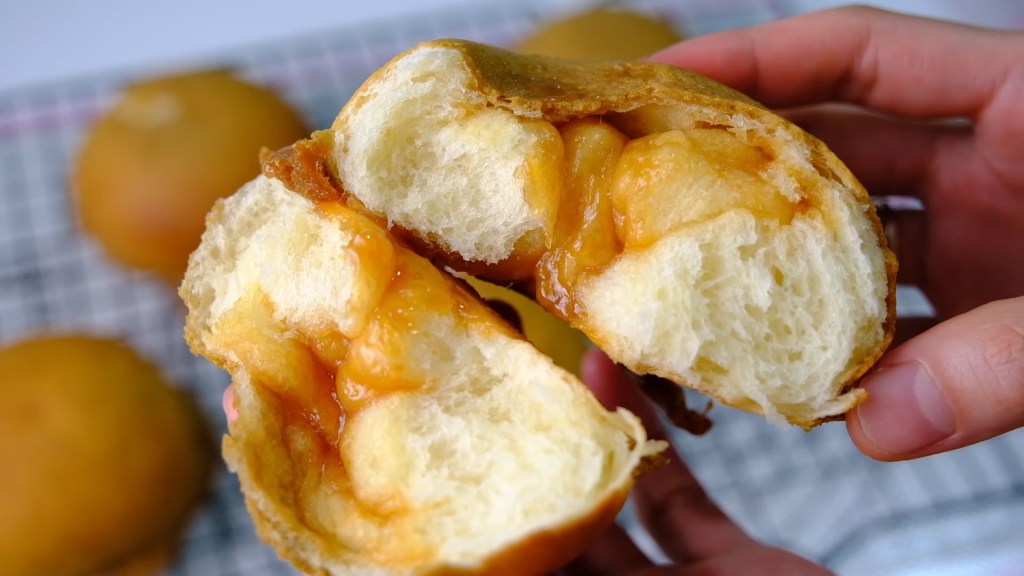
These bread has a perfectly moist, creamy interior with a crisp outer crust. Crispy on the outside, soft bread in the inside, with an additional salted caramel in the center of the soft bun.
Oh I Love Caramel so much! It’s really addictive and they really gone too fast.
I hope you will enjoy the recipe of these memorable taste of the caramel coffee-coated buns and let’s spread the love for coffee buns!
SALTED CARAMEL MEXICAN COFFEE BUNS
Yield: 5 Pieces
Active time: 1 1/2 hour
Total time: 5 hour
INGREDIENTS
Caramel Filling:
- 100 grams Granulated Sugar
- 40 grams Unsalted Butter
- 60 grams Heavy Cream
- 1/2 teaspoon Salt
Coffee Topping:
- 3/4 teaspoon Instant
- 1/4 teaspoon Hot Water
- 1/4 teaspoon Vanilla Extract
- 25 grams Unsalted Butter
- 25 grams Granulated Sugar
- 25 grams Eggs
- 25 grams Cake Flour
Tangzhong Starter:
- 10 grams Bread Flour
- 60 grams Water
Bread Dough:
- 120 grams Bread Flour
- 30 grams Cake Flour
- 10 grams Milk Powder
- 20 grams Granulated Sugar
- 3 grams Instant Yeast
- 15 grams Eggs
- 45 grams Water
- 40 grams Tangzhong Starter
- 1/4 teaspoon Salt
- 10 grams Unsalted Butter
INSTRUCTIONS
Caramel Filling
- In a medium heavy pan, heat the sugar over medium heat until melted, swirl the pan occasionally. Continue cooking until the sugar has reached a deep amber color (almost a reddish-brown colored and have a slight toasted aroma).
* Be careful, at this point the caramel can go from perfect to burnt in a matter of seconds, so keep a close eye. - When the caramel reaches its sweet spot, turn off the heat, add in the butter (watch out, it will bubble up). Stir until the butter is completely melted.
- Remove it from the heat, slowly pour in the cream (be careful, it will bubble up ferociously). Whisk until all of the cream has been incorporated and smooth.
- Add in salt, stir well. Set aside to cool for about 10-15 minutes, pour into your favorite glass jar, let it cool completely, close the lid and store in the fridge to harden it.
Coffee Topping
- Dissolve instant coffee with a small amount of hot water, add in vanilla extract, set aside.
- In a medium bowl, beat the butter and sugar until fluffy and pale in color. Gradually add in the eggs, mix well.
- Add in the coffee mixture and mix, fold in the flour and mix until smooth.Transfer the mixture into a piping bag and chill in the fridge to firm up.
Tangzhong Starter
- In a medium pan, mix the bread flour and water until no lumps remain.
- Cook over medium low heat, keep stirring until the mixture turn into a sticky paste (be careful not to burned the paste).
- Take it off from the heat, cover it with plastic wrap, pressing the wrap onto the surface of the mixture to prevent the skin form on the surface, let it cool completely.
Bread Dough
- In a large bowl, mix the bread flour, cake flour, milk powder, sugar and yeast. Add in the eggs, water, Tangzhong Starter and salt. Mix for a minute until a sticky dough forms.|
Add in the softened butter and fold it into the dough with your hands until well combined.
*It will be sticky at first, it’s not necessary to add additional flour and then end up with a tough bread. - Transfer the dough onto a work surface and continue kneading (10-15 minutes), feel free to use electric mixer. As you knead the dough, it will be less and less sticky, knead until the dough becomes smooth and elastic.
* Check if your dough is well-formed by doing the Windowpane Test; Take a little bit of dough, stretch it out into a thin membrane without breaking it. That’s an indication that the gluten is well-formed. - Round and place the dough into a clean grease bowl. Cover with a plastic wrap and let it rise until it almost doubles in size.
- Punch down the risen dough, divide dough into 5 equal pieces (55 grams each)
Roll each dough into round, pull around the edges, tuck underside into itself.
Hold and roll the dough with our hands in “C” shape, give a little pressure on it, smoothing top and sides at same time as turning.
Cover each roll with plastic wrap and let it rest for about 10-15 minutes (to relax the gluten). - After being rested, flatten each ball into a disc, place a half tablespoon caramel filling in center, enclose it by pulling the seams of the dough over and around it.
Hold and roll the dough with our hands in “C” shape into a ball and place it on baking sheet lined with parchment paper (spare at least 3-inches space around each buns as they will expand during final proof and while baking). - Cover the shaped buns with plastic wrap or kitchen towel, let them rise for 30 to 40 minutes or until almost double in size.
In the meantime take out your coffee toppings from the fridge and preheat the oven to 180°C. - Once the buns has risen, pipe the coffee topping in a tight circular pattern. Starting from the top of the buns down to about the middle part of the sides of your coffee buns.
*Don’t pipe down all the way because that will be WAY too much topping which will just ooze down all over the place. - Bake the buns for about 12-15 minutes. Take it off from the heat, transfer and let them cool completely on the cooling rack.
NOTES
- I don’t recommend to use espresso powder for the coffee toping coz it will make your buns taste a lot less flavourfull.
- To proof the dough in cold days; place them in the preheated 60°C oven that has been turned off.
- Buns best eaten freshly baked while still warm. You can store them in the fridge for 2 days.
- Reheat; in the preheated 180°C oven or toaster for obout 5-7 minutes, take it out.
The top will soft at first, let them sit for about 5-10 minutes, it will become crispy.