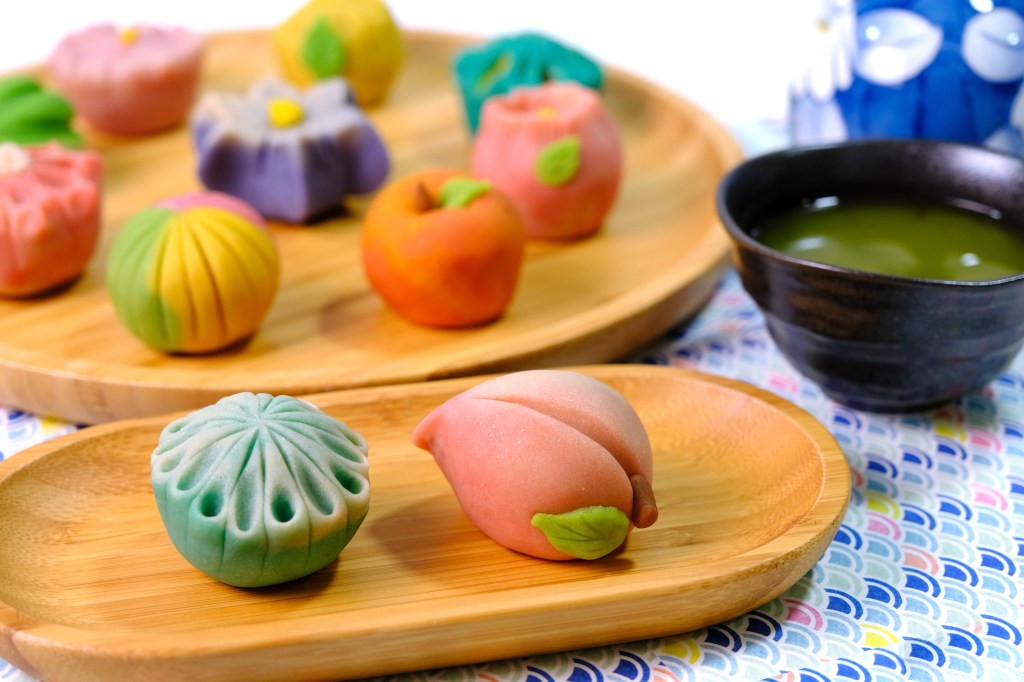
Hey Guys, today we are making these beautiful Japanese dessert “Nerikiri Wagashi”. The word of wagashi refer to Japanese traditional sweet which are delightful tea treats eaten across Japan.
Compare to the other type, I found that Nerikiri is the most artistic and interesting wagashi that meticulously hand-carved.

The outside layer Nerikiri dough made by combining white bean paste called Shiro-An with the soft mochi dough called Gyuhi.
By adding Gyuhi, it adds a smooth chewy texture to it. A very moldable malleable type of paste that can be design into various shapes.
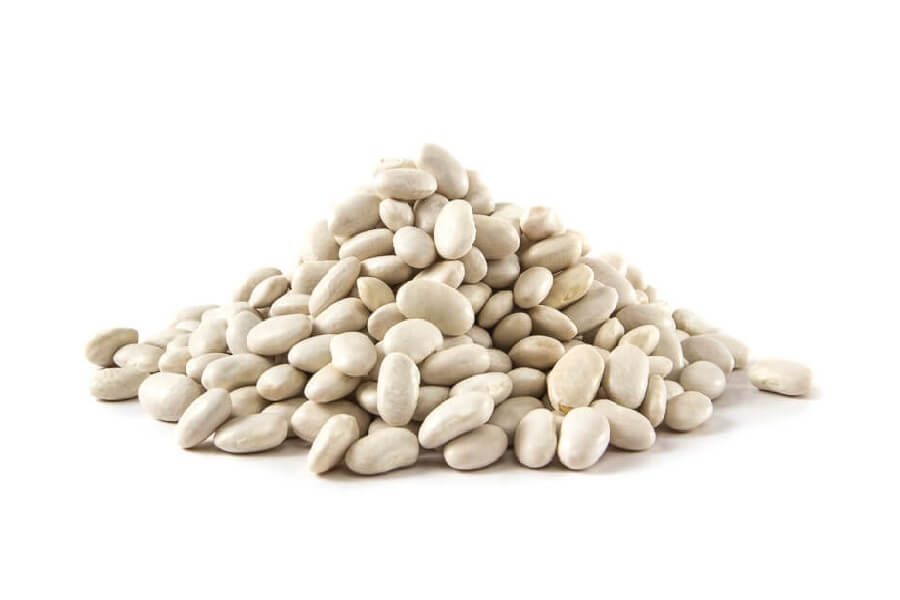
And while you can easily buy red bean paste in Japanese or Asian grocery stores, premade white bean paste almost impossible to find outside of Japan.
It’s actually quite simple to make from fresh Lima or Navy beans, but that kind of beans are also hard to find and the process does take some time.
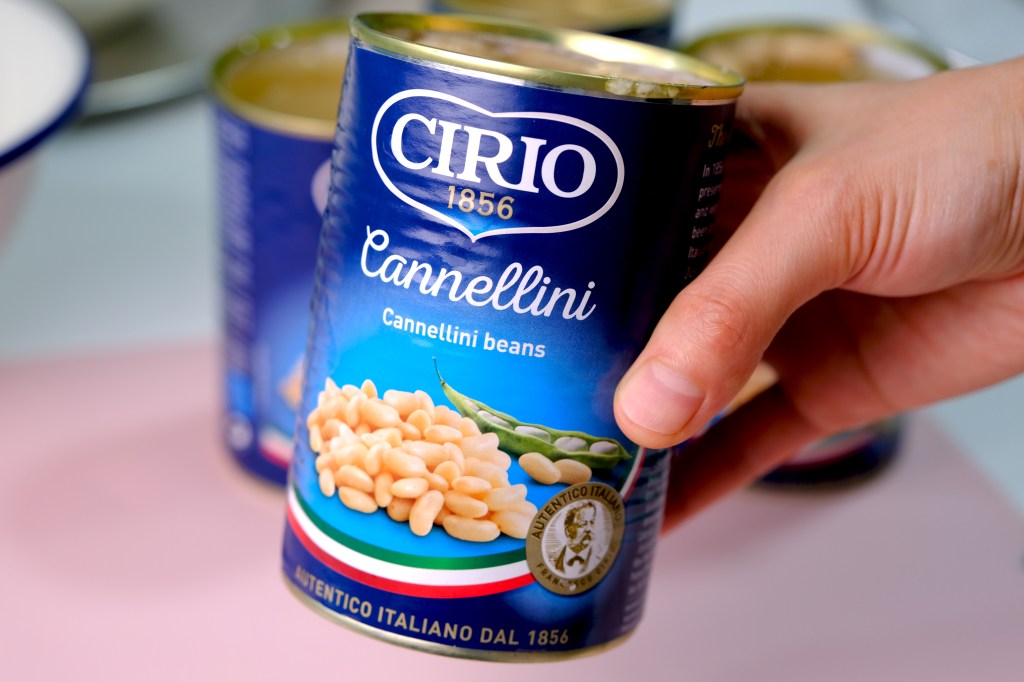
In this recipe, I will show you how to make Quick and Easy Nerikiri dough using Cannellini Canned Beans.
With this method you can skip a few step of making fresh white bean paste from scratch, the process will be faster and even simpler.

It won’t be as white as the authentic fresh Nerikiri Dough, the colour will be slightly beige, but still taste really good.

We will be use back side of flour sifter to separate the skin from the bean paste, but if you don’t have it on hand, just use regular strainer. It will be harder and more time consuming, but still works well.

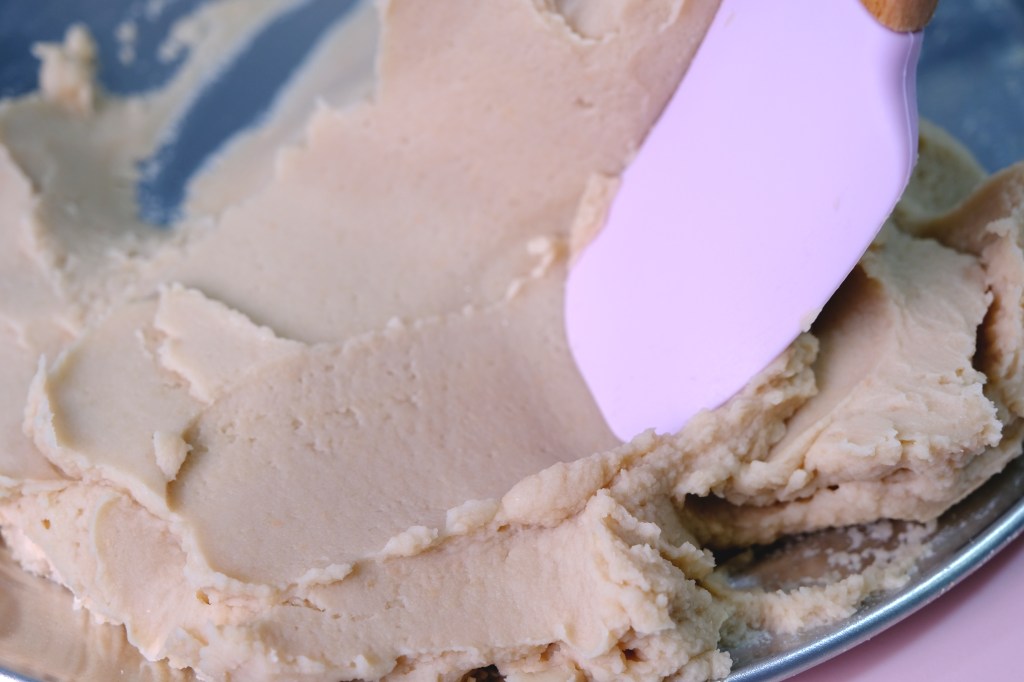
Look! The bean paste is so soft and creamy with slightly beige in colour.
You can choose to color the Shiro-An or Nerikiri dough with either natural colors like powders made from the vibrant red beetroot, cocoa powder and matcha or even food colouring
Whenever I make Nerikiri I try to use natural food colouring as much as I can. It’s not just because healthier, yet the fragrance and flavour also makes your sweets more appetising and delightful to enjoy.

And for the tools, there are specific traditional tools used in shaping the Nerikiri.
This wooden triangle stick is one of the most common wagashi tools that are not easy to come by. It has 3 different shapes in one stick and cost around 3000 to 4000 yen.

I personally a fan of the plastic fondant or clay modelling tools as they are cheaper and easier to find. Compare to triangle stick, they even have so many different shapes that allow us to create more various forms.

Each piece of Nerikiri are unique and has their own names; A cherry blossom, fireworks, chrysanthemum, papple pear.
It’s an art form that serves meaningful purposes and traditions of the Japanese culture.

They are delicate and beautiful, SO MUCH! that you may actually find it hard to eat in the end.
I’m usually keeping my homemade nerikiri in my freezer to show off to all my family before I finally decide to enjoy them with my tea!

Even though nerikiri are not your everyday snacks, They are perfect for the festive seasons as gifts.
A box of 10 edible art pieces can brighten up anyone’s day.

And don’t forget, once we finished we got to enjoy some matcha green tea with the elegant sweets we had made.

Nerikiri being slightly sweeter than other typical Japanese traditional sweets.
It’s perfectly complement the matcha, it’s balance the sweetness with a little bit bitterness of the tea creating a harmonious flavour palette that enhances the already amazing tea ceremony experience.

The texture is really soft, it’s much more firm, not too chewy like dango and you can really taste the white bean paste.
It’s very light, much softer than the typical red bean.
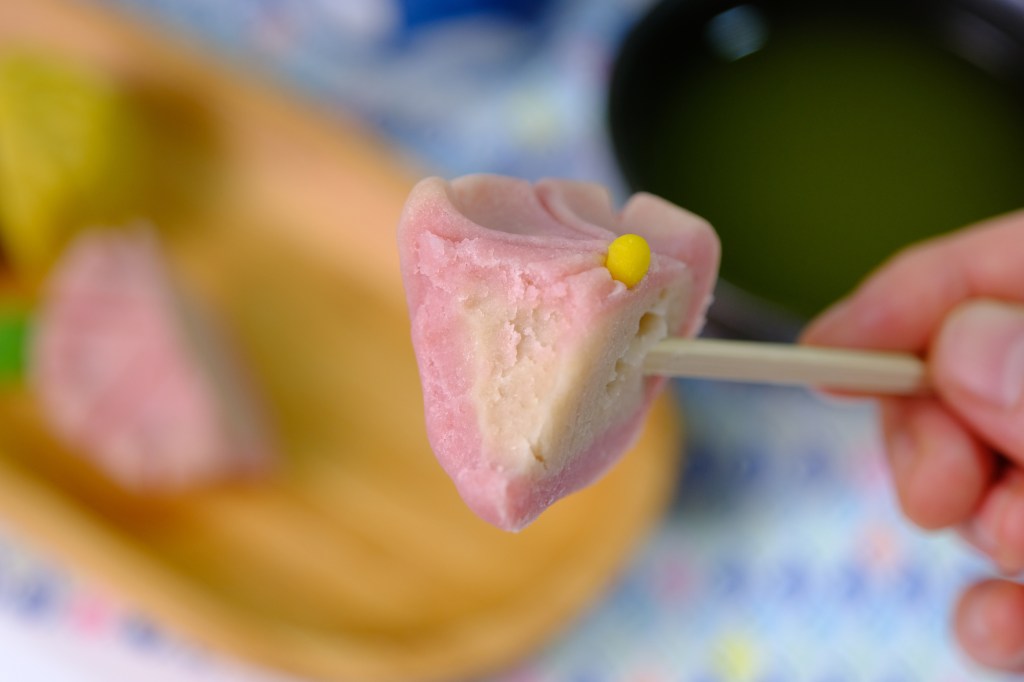
I hope that you will love the recipe, take your time to finish this process nicely, enjoy the art of beautiful Nerikiri!
QUICK AND EASY NERIKIRI WAGASHI
Yield: 10-12 pieces (about 55-60 grams each)
Active time: 3 hours
Total time: 3 1/2 hours
INGREDIENTS
Shiro-An (White Bean Paste):
- 960 grams Cannellini Canned Beans (4 cans)
- 200 grams Granulated Sugar
Gyuhi (Soft Mochi Dough):
- 32 grams Glutinous Rice Flour
- 44 grams Water
Food Colouring
INSTRUCTIONS
Shiro-An (White Bean Paste)
- Strain and place Cannellini Beans in a large heatproof bowl, then pour enough of the boiling water to cover the beans for about 1-inch.
Soak the beans for about 10 minutes, then transfer to a fine-mesh strainer to drain.
Rinse the beans under cold running water and drain.
*Soaking and rinsing purpose is to remove some of the beany smell and taste. - To mash the beans
Set the flour sifter upside down on top of a flat tray, using spatula or rice spoon press the beans against the walls of the sifter to separate the skin from the bean paste.
Continue to smash and push the beans against the sifter in a side to side motion until you have pressed all the beans through the mesh. A lot of skins will be left behind on the top of the sifter, these can be discarded.
*You can use regular strainer to do this. - Place the bean paste onto heavy bottomed non-stick pan, add in the sugar, cook over medium heat stirring constantly until all the sugar melted.
It will be wet at first as the sugar melts, keep stirring until it gets drier.
*I took about 50 minutes to cook this, if you have bigger pan that will be a good option coz in larger surface, the water will evaporate faster, so you can shorten the cooking process. - When the dough starts to dry, lower the heat while keep stirring so it doesn’t gets burn.
The dough is done when it’s forming a thick paste and you can see a few dry doughs left on the bottom and sides of the pan.
At this point, you should be able to make a lasting indentation in the bean paste with your finger and the paste should not stick to your hands. If it still very sticky, cook for about 5 or 10 minutes longer.
* Important Tip: Make sure that you remove enough water out of Shiro-An before you mix it with the Gyuhi coz if it still contains too much water while mix it with Gyuhi, the final Nerikiri dough will become watery, too soft, hard to shape, and there’s no turning back. - Take it off from the heat and spread the Shiro-An inside the pan to cool completely (some moisture will evaporate while doing this).
*Please note, any dough or bean paste or wagashi should not be exposed to air too long, coz if it dries too much, it will gets hard and it won’t be easy to moistened or softened. - Once it cools down at room temperature, spare the 200 grams of Shiro-An for the filling (cover in a plastic wrap) and keep the rest for Nerikiri Dough.
Nerikiri Dough
- To make the Gyuhi (Soft Mochi Dough)
In a small pan, combine the glutinous rice flour and water. Mix until no lumps remain.
Cook over medium low heat, keep stirring until the mixture becomes a bit transparent, sticky and thick, remove from the heat and let it cool a bit. - To combine Shiro-An and Gyuhi
The ratio of Shiro-An and Gyuhi should be 10 by 1; for example if I have 500 grams of Shiro-An, I need around 50 grams of Gyuhi.
Cut the Gyuhi into small pieces and place them into the Shiro-An, mix well until uniform in texture.
Squish the dough together with your hands for about 2 minutes until the mixture is soft and pliable (the dough should not stick to your finger too much).
Transfer the dough onto a clean cotton cloth, using your hands fold and knead the dough inside the cloth (repeat this process a few times for about 1 to 2 minutes).
Then pull and tear the dough into small pieces, place them inside the cotton cloth, let them rest for 1 minute.
After 1 minute, gather all small pieces together and knead again for 1 minute (you will notice that the dough will become smooth and really soft). Immediately cover the dough in a plastic wrap.
- Proceed with colouring, shaping and moulding according to the video.
*Please note 1 portion Nerikiri will need 20 grams of Shiro-An (white bean paste) filling and 35 grams of Nerikiri Dough.
NOTES
- Nerikiri dough and Shiro-An can be made ahead of time, tightly sealed and frozen up to 1 month or refrigerate for up to 4 days. It can be easily reheated until it’s pliable again and ready to use.
- I highly recommend to divide Nerikiri Dough into each serving (35 gr each), wrap them individually with a plastic wrap and then store them in the freezer (in an airtight container) to use later.
- When making Nerikiri, always prepare some cooked glutinous rice flour (cook in the pan for 5 minutes) and vegetable oil to prevent stickiness.
*If you feel the dough a bit soft and sticky, add a little bit of cooked glutinous rice flour or you can apply a little bit of vegetable oil on your palm and the tools to prevent stickiness. - It’s completely up to you to decide how you want the wagashi to turn out. Kindly color and flavor your Nerikiri Dough and Shiro-An filling according to your preference.
I like to use natural food colouring for Nerikiri because besides it gives beautiful colours, the fragrance and flavour makes your sweets more delightful to enjoy. - To store Nerikiri; fridge for up to 5 days and 1 month in the freezer.
- To defrost
Whenever you need want to make several “Nerikiri Wagashi”, take a few portions out from the freezer, thaw them on the counter at room temperature. Don’t open the plastic wrap while defrost, press the dough once in a time until you can feel that it soft and pliable again. Unwrap the dough, knead a while then you can use them.