
Marble Cake is my classic childhood baking memory 🥰
Swirls of tender Vanilla and rich Chocolate Cake baked together in one beautiful Tube Pan.
This cake was a childhood favorite, but it seems a bit dated now; which is a shame, because it’s worth the energy it takes to bake.
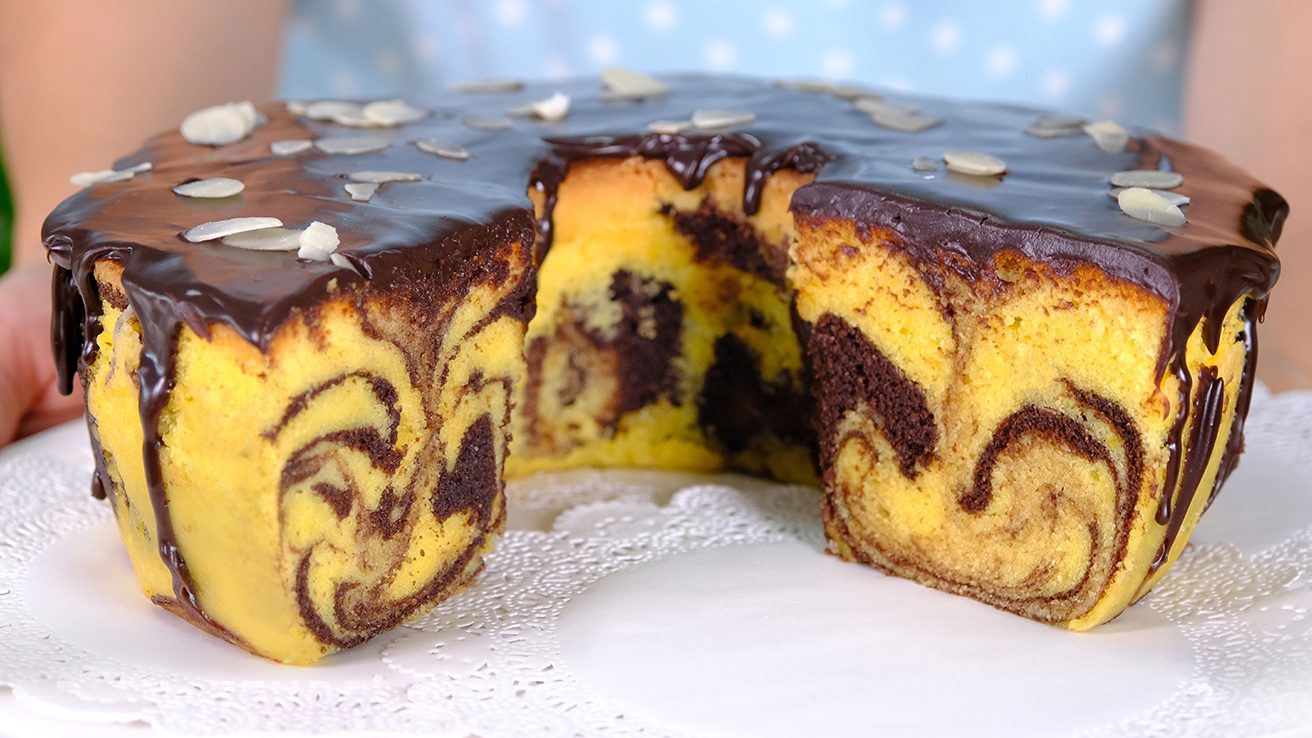
Many Marble Cake recipes will simply use a basic Pound Cake recipe, and introduce a couple of tablespoons of Cocoa Powder to half of the batter.
A pound cake recipe is an extremely useful one to have up your sleeve; but for me, it isn’t the perfect Marble Cake recipe.
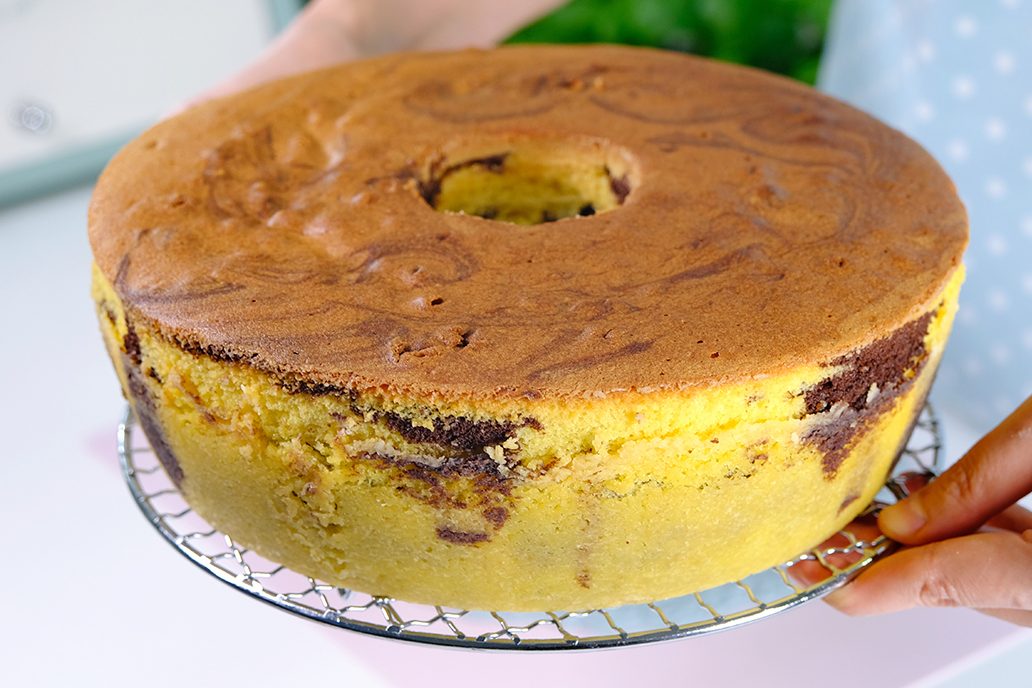
So this recipe is based on a Vanilla Sour Cream Cake that I’ve been making for years: as well as the tang of the Sour Cream softening the sugar content,
Adding Sour Cream will result in a richer, super moist and soft cake.
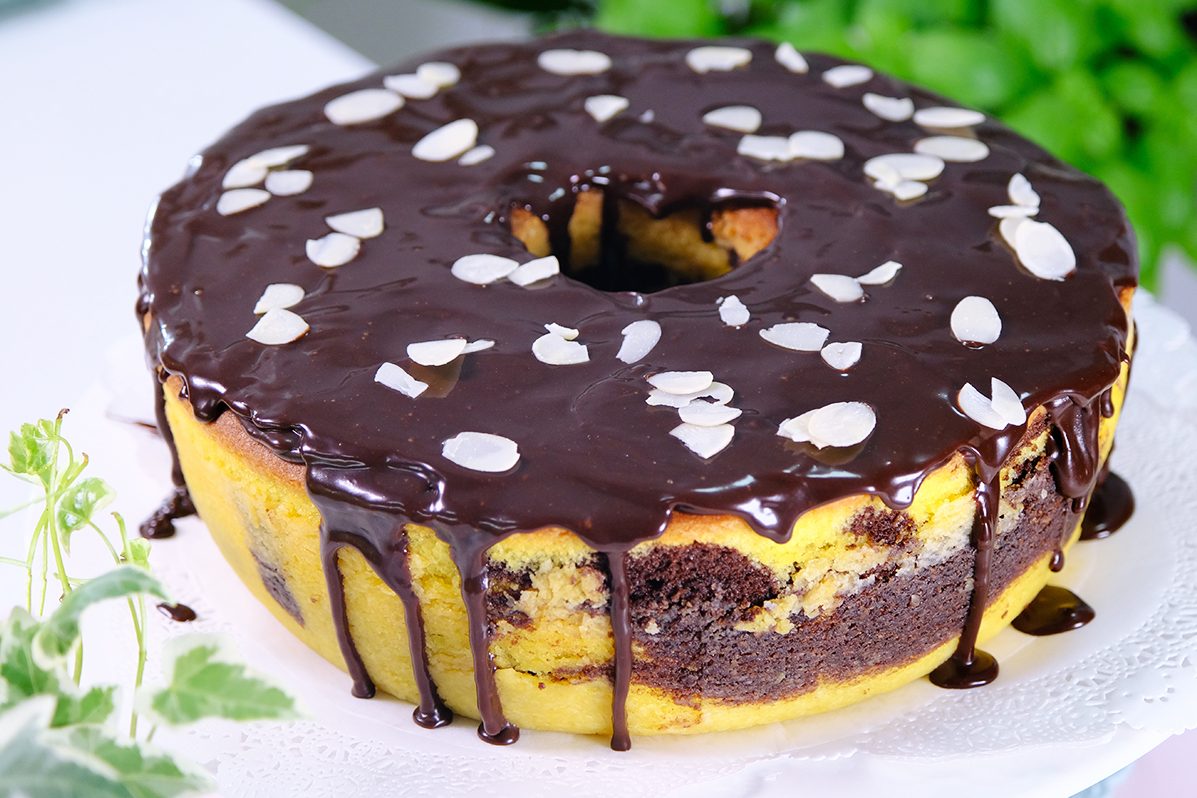
The cake is ridiculously moist and keeps extremely well (Unglazed Marble Cake should last 4 days at room temperature in an airtight container, without becoming dry or stale).
Likewise, the mixture of Cocoa Powder and melted Butter in the darker batter creates richness and depth of flavor; no dry or bland cake here.
I used the Flour Batter Mixing Method to make this cake.
This method produces a more tender cake because the Butter coats some of the gluten-forming proteins in the flour at the beginning of the mixing process, preventing excessive gluten formation.

Flour Batter Method works only if the Butter is softened or 65° to 75°F/ 19° to 23°C.
At this temperature, the Butter when whipped will hold the maximum amount of air; And make sure that all other ingredients are room temperature as well, this includes Eggs and Sour Cream.

I love to serve this cake with Chocolate Glaze, but you can serve it just plain or dust the top with Icing Sugar.
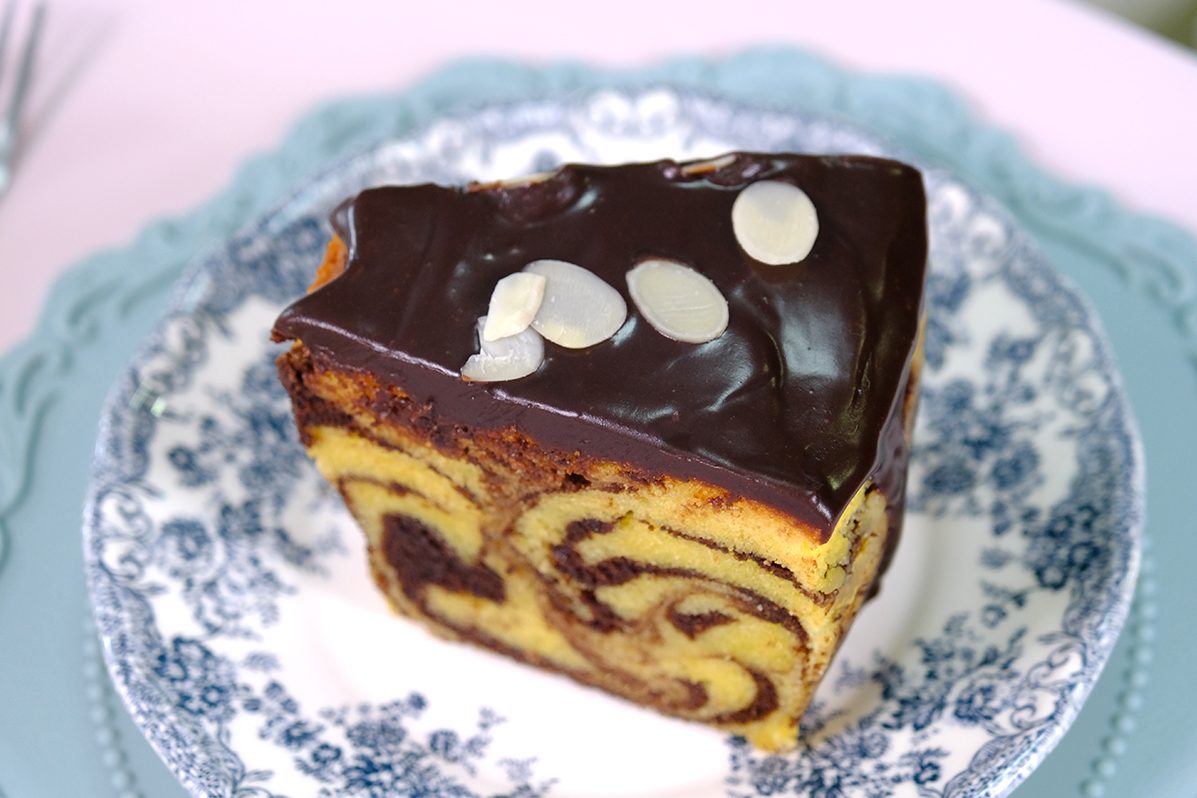
Once the glaze is poured, I highly recommend storing it in the refrigerator, since the glaze contains Butter as a perishable ingredient.
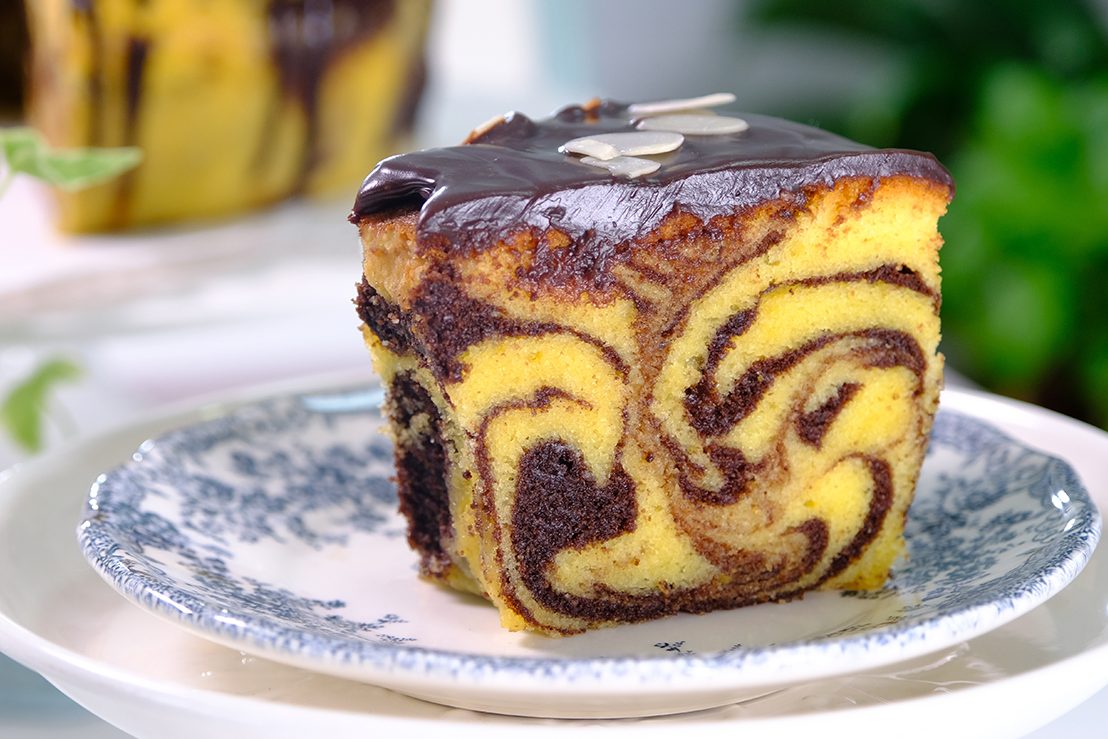
The cake smells amazing 🤪 🙃 😘 …
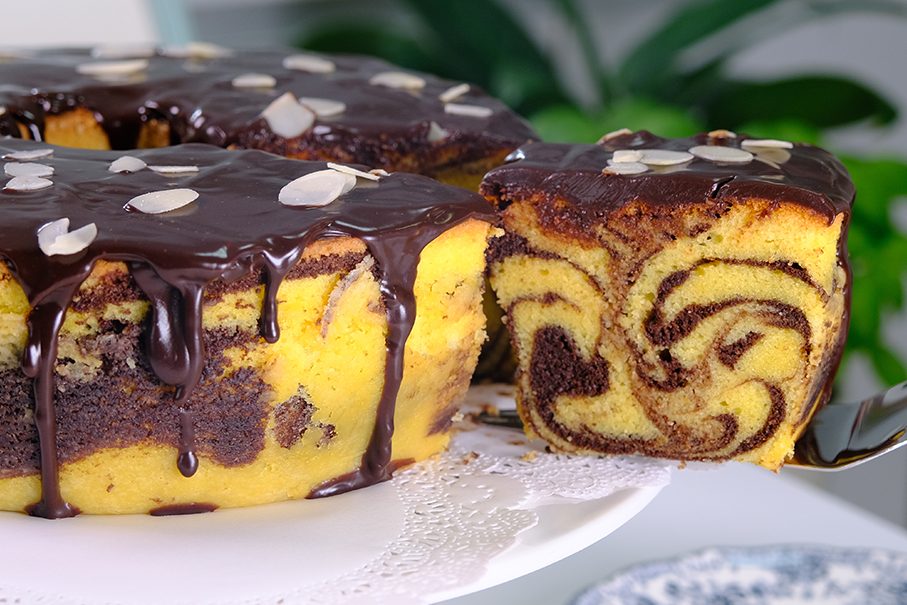
There is something special about a classic marble cake, it catches the eye but also makes you excited to bite into it because it has two different flavors.
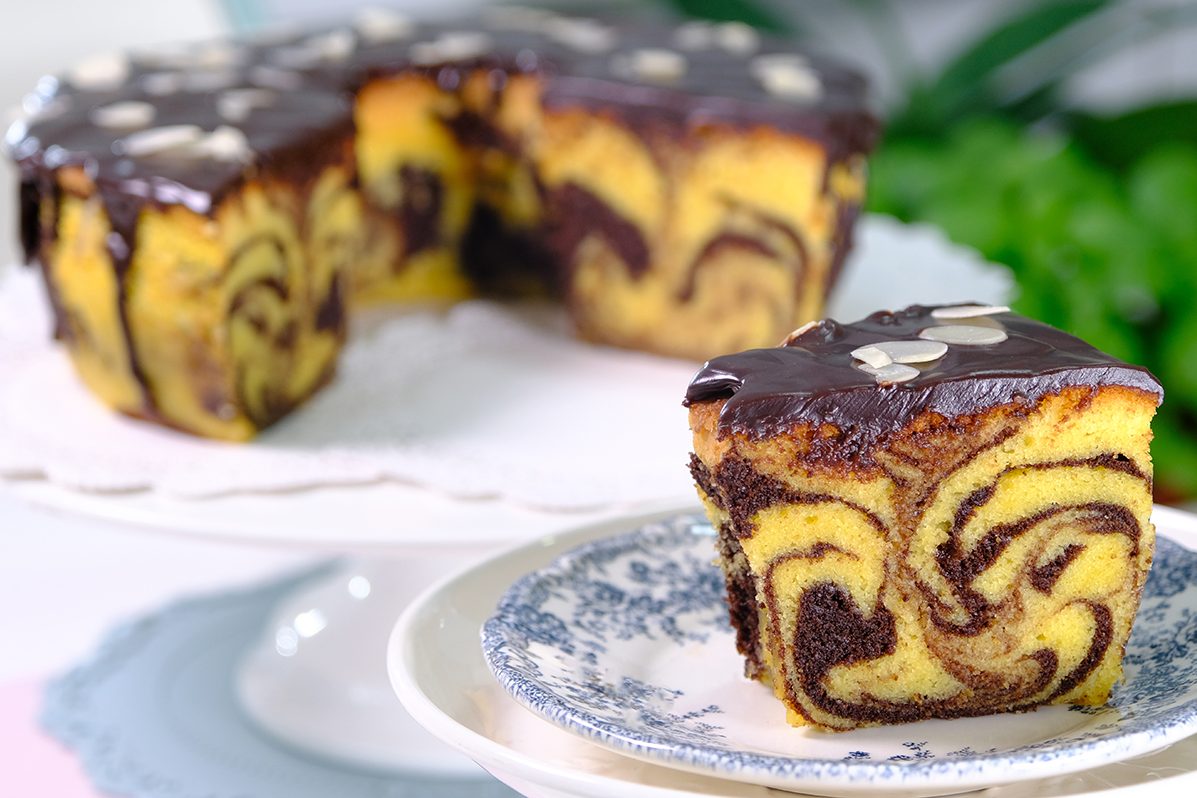
You can use a Bundt Pan to make this simple homemade treat much more sophisticated.

It is wonderfully rich and buttery with a moist and tender crumb.

If you love soft, velvet Marble Cake then please give this cake a try.
I will also show you how to get the perfect Marble swirl (kindly watch the video)
This beautiful moist cake perfect for serving with a cup of tea or coffee.

Marble cake is a simple concept, but the baked result is very satisfying, with a delightful look when you cut into the cake and reveal the hidden pattern.
I hope you will enjoy it as much as I do 😃
WATCH HOW TO MAKE RICH FLUFFY MOIST CLASSIC MARBLE CAKE
TIPS FOR SUCCESS (PLEASE READ FIRST):
- Choose the right pan
Use a cake pan made of a highly conductive metal such as Aluminium
If you prefer to use a Bundt Pan, make sure that you choose a thick, non-stick metal pan that is not too dark, since they are sturdy and conduct heat consistently - Make sure every crack and crevice of your pan has been greased with solid Shortening and flour to ensure a perfect crust
- Preheat the oven 20 minutes or longer before you start (use an oven thermometer to ensure the temperature is correct)
Set an oven rack in the lower third of the oven - Start with room temperature ingredients (the Butter must be softened or 65° to 75°F/ 19° to 23°C).
I usually take the ingredients out of the fridge (including Eggs and Sour Cream), allow to sit on the counter for about 30 minutes before I start making the cake. The amount of time depends on the weather and how cool you keep your kitchen (the temperature where I live is 29.5°C)
DON’T heat the butter in the Microwave, melted Butter won’t cream properly - Always use real Butter (100 percent High Quality Butter)
- Sift the Flour Mixture (160 grams of Flour, Baking Powder and Salt)
- When adding Flour mixture and Sour Cream, DON’T overmix
- When making the marbling effect, DO NOT overdo it (2 rounds max) as you want the Vanilla and Chocolate swirls to be clearly visible
- NEVER try to speed up the baking process and DO NOT open the oven door until your cake has baked at least three-quarters of the recommended baking time
- Once it’s baked, let Marble Cake rest for at least 15 minutes in the pan; then remove the pan and let it cool completely on a cooling rack
- Marble cake is best eaten the day after baking
Once cool, store Marble Cake at room temperature (in an airtight plastic bag) overnight
And the next day; you can pour the glaze on top and serve.
RECIPE
MARBLE CAKE
Yield: One 10-Inch (7 cm tall) TUBE PAN
❄️ Ingredients
CAKE BATTER
🪴Cocoa Mixture:
40 g Unsalted Butter (melted)
20 g Cocoa Powder (Dutch-Processed)
🪴 Creamed Butter Mixture:
255 g Unsalted Butter ~ softened at room temperature
180 g All-Purpose Flour
🪴Flour Mixture:
160 g All-Purpose Flour
2 ¼ tsp Baking Powder (Double Acting)
3/4 tsp Salt
240 g Sour Cream (room temp.)
1/2 tbs Vanilla Extract
225 Whole Eggs (room temp.)
90 g Egg Yolks (room temp.)
375 g Caster Sugar
CHOCOLATE GLAZE
170 g Dark Chocolate Compound (Semi-Sweet)
120 g Heavy Cream
20 g Unsalted Butter
1 tbs Dark Rum
❄️ Instructions
Preparation
- Coat the entire inside of the pan with solid Shortening
After greasing the pan, sprinkle some All-Purpose Flour, tilt the pan and rotate it (tapping the sides to spread the flour evenly)
Invert the pan and tap it lightly to get rid of any excess flour (make sure every nook and cranny of the pan is greased and floured to ensure a perfect crust) - Preheat the oven 20 minutes or longer before you start 160°C fan/ 180°C/ Gas Mark 4 (use an oven thermometer to ensure the temperature is correct)
Set an oven rack in the lower third of the oven - Make sure all utensils clean and grease free (wipe the bowl and utensil with lemon juice or vinegar to helps remove grease).
- Make sure all ingredients are at room temperature
Take the Butter, Eggs and Sour Cream out of the fridge, allow to sit on the counter for about 30 minutes before you start making the cake (the amount of time depends on the weather and how cool you keep your kitchen. The temperature where I live is 29.5°C)
The Butter must be softened or 65° to 75°F/ 19° to 23°C; To test poke it with your finger; your finger should make an indent without sinking into the Butter (it should not be shiny or greasy and cool to touch, not warm)
DON’T take a shortcut and Microwave the Butter because it will not heat evenly - Melt 40 grams of Unsalted Butter in the double boiler, then mix with Cocoa Powder until smooth; set aside
- Using a baloon whisk, combine the Flour Mixture (160 grams of All-Purpose Flour, Baking Powder and Salt), set aside
- Mix Sour Cream and Vanilla Extract, set aside
To Make Marble Cake
- In the first bowl
Beat the softened 255 grams Unsalted Butter for 30 seconds until soft
Add 180 grams of All-Purpose Flour, mix on LOW SPEED first until the dry ingredients are moistened; then raise the speed to MEDIUM-HIGH and continue beat for about 3 minutes until light, fluffy and pale in color (scrape the sides and bottom of the bowl occasionally to make sure everything is evenly mixed)
This method produces a more tender cake because the Butter coats some of the gluten-forming proteins in the flour at the beginning of the mixing process, preventing excessive gluten formation
Set aside - In a second bowl
Beat the Eggs and Caster Sugar at MEDIUM-HIGH speed for about 3 Minutes to form a semi-firm foam
The egg whipping is not as thorough as that needed for a Sponge Cake - Using a hand whisk, gently combine the Beaten Eggs to the Creamed Butter Mixture in 3 batches (mixing well after each addition)
- Then gradually add sifted Flour Mixture alternately with Sour Cream that we prepared earlier in 3 batches (beginning and ending with Flour Mixture).
Please note that the flour mixture must be sifted
Mix gently with a hand whisk until just combined after each addition
Make sure that you scrape the entire surface of the bowl so there is no flour residue on the sides and bottom of the bowl (avoid over-mixing the batter or your Marble Cake will be tough) - Using a spatula, scrape down the sides of the bowl, making sure everything is mixed well (the consistency should be thick)
- For the Chocolate batter, pour 360 grams of the batter into another bowl
Add the Cocoa mixture that we have prepared earlier and stir until well combined - Scoop the batter into the prepared pan
Place 1/3 of the Vanilla batter first
Then 1/2 of the Chocolate batter
Repeat the process
Finished with the Vanilla batter - For marbling effect
Using a wide spoon, fold through bit by bit
Then use a spatula, lightly swirling the batter in a spiral motion (make sure the spatula doesn’t touch the bottom of the pan)
Don’t overdo it here, 2 rounds max, as you want the Vanilla and Chocolate swirls to be clearly visible (this process will also help to flatten the batter and break the large bubbles) - Tap the pan to remove excess bubbles
- Bake in the preheated 160°C fan/ 180°C/ Gas Mark 4 (the lower third rack) for 1 hour or until a skewer inserted into the center comes out clean
Never try to speed up the baking process and Do not open the oven door until your cake has baked at least three-quarters of the recommended baking time
The rush of cold air that hits the cake when the door is opened could cause the cake to collapse
** If you feel your cake is a little too brown, what you can do is after 45 minutes of baking, cover the pan loosely with Aluminium Foil to prevent overbrowning and continue bake for another 15 minutes until the cake is done - Once it’s baked, let the cake cool in the pan for about 15 minutes
- 15 minutes later, remove the pan and let it cool completely on a cooling rack
- Marble cake is best eaten the day after baking
Once it’s cools completely, wrap tightly with airtight plastic and let it sit at room temperature overnight. This storage method can maximize the moisture of the Marble Cake
To Make Chocolate Glaze
- Heat the Heavy Cream in a medium saucepan until start to simmer
- Remove from heat, add in the chopped Chocolate, let it sit for 30 seconds then whisk until smooth
- Add the Butter while the mixture still hot (Butter fat adds a creamier, shinier, and more stable Ganache)
- Pour in Dark Rum, this is optional and mix until well combined
Now you can see, the consistency of the glaze is runny
Let the glaze cool to lukewarm and thickened for about 20 minutes - After 20 Minutes the glaze will be thicken
Drizzle over the cake and sprinkle with some toasted Almonds
NOTES
- DON’T use Butter to grease the pan
Shortening is preferable to Butter because it is solid at room temperature; It will stick the pan and provides a better barrier
Butter unless it is clarified will leave gaps where the flour will not adhere but the cake unfailingly will - Ensure the cake is completely cooled before wrapping or storing
If you are wrapping a warm Marble Cake, condensation may occur, which can make the cake soggy and sticky
That moisture buildup can affect the crumb—making it feel overly dense or gummy
Condensation = Mold Risk; If it’s wrapped warm and stored for a while, that trapped moisture can speed up spoilage - The unglazed Marble Cake can simply be stored at room temperature (wrap the cake tightly in plastic wrap or place it in an airtight container); store in a cool, dry place away from direct sunlight, it can last for 3-4 days at room temperature
- Once the glaze is poured, I highly recommend storing it in the refrigerator, since the glaze contains Butter as a perishable ingredient
- If storing in the refrigerator, wrap the cake well to prevent it from drying out and absorbing odors; Marble Cake can be kept in the refrigerator for up to a week
- For longer storage, it can be frozen for up to 3 months
Wrap the cake or individual slices tightly in plastic wrap and then foil; Store in an airtight container or freezer bag
To thaw, remove from the freezer and let it sit at room temperature for a few hours