Giant Gingerbread Man Cake (Bonus Snowman Cake Pops)

Hi Guys, I’m back here with another Christmas treats ideas.
Today we are making these cute giant Gingerbread Man Cake along with Snowman Gingerbread Cake Pops.

They are great for a Christmas party which is never complete without loads of gingerbread around.

As you can see, They all look so adorable and they are really great for Christmas showstopper cakes.

This moist cakes is laced with all the best spices and it’s brimming with robust flavors.

The flavors are so rich and just layers upon layers of spice are to be found in so many sweet delights.

I am not sure if I said this before, but I love winter time baking. I had so much fun with this one and I know you will too! Enjoy Guys!

GIANT GINGERBREAD MAN CAKE (BONUS CAKE POPS)
Yield: One 8 x 11 inch Square Pan Cake & 10 pieces Cake Pops
Active time: 2 1/5 hours
Total time: 3 hours

INGREDIENTS
Fondant:

  • 200 grams Marshmallow
  • 2-3 tablespoons Water
  • 400 grams Icing Sugar
  • 50 grams Vegetable Shortening

Frosting:

  • 180 grams Milk
  • 3 tablespoons All-Purpose Flour
  • 80 grams Brown Sugar
  • 180 grams Unsalted Butter
  • 1/4 teaspoon Salt
  • 2 teaspoons Ginger Powder
  • 1 teaspoon Cinnamon Powder
  • 1/2 teaspoon Cloves
  • 1/2 teaspoon Nutmeg
  • 1 teaspoon Vanilla Extract

Cake Batter:

  • 290 grams All-Purpose Flour
  • 2 2/3 teaspoon Ginger Powder
  • 1 1/3 teaspoon Cinnamon Powder
  • 1/3 teaspoon Nutmeg
  • 1/6 teapoon Cloves
  • 2/3 teaspoon Baking Powder
  • 1/3 teaspoon Salt
  • 240 grams Boiling Water
  • 2/3 teaspoon Baking Soda
  • 265 grams Unsulphured Molasses
  • 200 grams Granulated Sugar
  • 96 grams Vegetable Oil
  • 133 grams Whole Eggs
  • 15 grams Mixed Peel

Cake Pops: White and Dark Chocolate Lolipop Stick


INSTRUCTIONS
Marshmallow Fondant

  1. Mix marshmallows and water, microwave it in 30 seconds intervals (or in double boiler), stirring in between, until the marshmallows completely melted.
  2. Add in ¾ of the icing sugar and mix (you can add any flavouring extract if you want).
  3. After the fondant comes together, turn marshmallow mixture onto the counter. Add some more left over icing sugar, and continue kneading until it’s form a firm nice and smooth elastic ball (if it starts to feel a bit dry, add 1/2 tablespoon of water at a time and knead it again until it feels soft and pliable).
  4. Once it’s kneaded, grease the outside of the ball with shortening to prevent dryness and then store them in a ziplock bag to keep it moist.
  5. Colour it as needed.

Cake Batter

  1. Preheat the oven to 180 C.
  2. Grease the pan, line bottom with a parchment paper, and grease it again.
  3. In a large bowl, combine the flour, ginger, cinnamon, nutmeg, cloves, baking powder and salt. Mix well.
  4. For molasses mixture, mix the baking soda, boiling water, molasses and the granulated sugar, mix it all through (it’s gonna fizz up a bit, keep on stiring until the sugar dissolved).
  5. Add in the vegetable oil and eggs, mix well.
  6. Then whisk in the dry ingredients into molasses mixture 1/3 at a time, mixing well after each addition.
  7. Strain the batter to remove any lumps.
  8. Pour mixture into a prepared pan, sprinkle some mixed peel and sink them into cake mixture.
  9. Bake it in the preheated 180 C oven for about 30-35 minutes until toothpick inserted into center comes out clean. After baking, remove it from the pan, let it cool completely on the cooling rack.

Brown Sugar Buttercream Frosting

  1. Mix the flour and milk together, strain the mixture to remove any lumps. Cook on the stove or just microwave it in 20 seconds intervals until it just become a paste. Set aside and cool completely.
  2. In a large bowl, cream the butter, brown sugar, and salt together until it gets a really smooth consistency. Add in the cooled flour paste, beat for about 5 minutes on medium-high to high until it looks like whipped cream. Add in all the spices, ginger, cinnamon, cloves, nutmeg along with Vanilla Extract. Mix until well combined.


ASSEMBLE
Gingerbread Man Cake

  1. Slice the cake into 2 layers, top with a layer of frosting. Smooth it out. Place the second layer of cake on top.
  2. Using gingerbread man template cutting the cake layers with a serated knife.
  3. Cover the cake with frosting; using small spatula, apply a thin layer all over the cake (this is just going to lock in all of those little crumbs). Smooth it out , put it in the fridge for about 25 minutes to firm up a bit.
  4. Rolling out the fondant on a corn starch surface to about 3 mm thick. Draping it over chilled cake. Working quickly with my hands just to get all the air pushed out from underneath that fondant (going around the head and the arms and the legs, gently press in the fondant). Using serated knife cut around the excess fondant.
  5. Decorate them with gingerbread man fondant details.

Snowman Gingerbread Cake Pops

  1. Crush left over cakes into fine crumbs. Take about 25 grams for the body, 10 grams for the head, roll it into a ball. Put the cake balls in the freezer for about 15 minutes (you don’t want them to be frozen), so after about 15 minutes put them in the fridge and let them stay chilled there. 2.
  2. Dip the lollipop stick it into the melted chocolate just about a half inch, take it out and insert it straight into the large cake ball (insert it until past the cake ball). And then dip it into melted chocolate again, insert it into the small cake ball.
  3. Dip all into the melted chocolate, tap it off with a gentle motion to remove any excess. Place it in your Styrofoam block to dry.
  4. Decorate them with fondant and melted chocolate.

Blackforest Mousse Christmas Bombe Cakes

Hi Guys, Christmas is coming soon and today we are making some Blackforest Mousse Christmas Bombe Cakes. It’s really a special dessert. They have a Chocolate Sponge on the bottom, filled with Dark Sweet Cherries and White Chocolate Mousse. And it’s all covered with a chocolate shell and of course decorated with different Christmas characters.

These are so perfect for holiday season, because we are all so busy around this time of year. You can make these ahead of time for a stress free dessert at Christmas, just keep them in the fridge for up to three days before servings.

It’s glamorous and gorgeous and definitely centerpiece-worthy. The bombe looks seriously complicated and I love that about it, but is easier to make than it looks. 
I have to admit, this are kind of a lot of work but there’s no step that’s really difficult. It’s just a lot of small easy steps.

The cake is super soft and moist, a hint of Rum from Cherries and White Chocolate Mousse is so flavourfull, the modelling chocolate for decoration is really yummy, it’s really good Guys!

These showstopping bombe desserts are perfect for special occasions, I hope you can impress your friends and family over the festive season. Have fun with it!

BLACKFOREST MOUSSE CHRISTMAS BOMBE CAKES
Yield: 5 pieces (4 oz each)
Active time: 2 hour
Total time: 4 hours

INGREDIENTS
Modeling Chocolate (Using Candy Melts):

  • 200 grams White Candy Melts
  • 50 grams Corn Syrup
  • Food Colouring

Modeling Chocolate (Using Real Chocolate):

  • 200 grams White Chocolate
  • 75 grams Corn Syrup
  • Food Colouring

Chocolate Mousse:

  • 1 teaspoon Gelatine Powder
  • 30 grams Water
  • 108 grams White Baking Chocolate
  • 40 grams Milk
  • 238 grams Heavy Cream
  • 8 grams Icing Sugar
  • 1 tablespoon Rum (optional)

Chocolate Sponge Cake:

  • 23 grams Vegetable Oil
  • 8 grams Cocoa Powder
  • 23 grams Granulated Sugar
  • 45 grams Water
  • A Pinch of Salt
  • 3/4 teaspoon Vanilla Extract
  • 45 grams Egg Yolks
  • 53 grams Cake Flour
  • 120 grams Egg Whites
  • 30 grams Granulated Sugar

Cake Shells: Candy Melts or White Chocolate Compound with Candy Colouring
Assembly: Dark Sweet Cherry, Rum

INSTRUCTIONS
Modeling Chocolate:

  1. Melt the chocolate in the microwave or a double boiler (let it cool to the touch). Add the corn syrup, stir just until it turns into a thick, smooth paste.
  2. Pick up the dough as soon as you can easily handle it and knead it over the bowl (knead out as much oil as possible).
  3. Pat the surface of the dough with some paper towel to sop up the oil (pat the dough quickly because the dough is quite sticky at this stage,if the paper sits too long it will get stuck in it).
  4. Once patted dry, wrap it tightly in plastic. Store in an airtight container. Allow the dough to sit 8-10 hours at room temperature or in the fridge to set faster.

Cherries
Strain the cherries, soak it with a generous amount of rum, let it sit for about 1-2 hours.

Chocolate Mousse:

  1. Sprinkle the gelatine over cold water, let it stand for 5 minutes. Then gently melt it in the microwave or in a small pot on the stove (do not boil).
  2. Heat the milk and chocolate until the chocolate melted.
    Combine the gelatin with the chocolate mixture, mix well. Let it cool so it’s no longer hot.
  3. Whip the heavy cream and the icing sugar until firm peaks. Fold 1/3 of the whipped cream to lighten the chocolate mixture, then fold in gently the remaining cream. Add in the rhum. Cover and let them set in the fridge for about 2 hours (it’s very liquidy like soup now, but it will firm up as the gelatine and chocolate sets).

Cake Shell
Melted some chocolate candy melts, use a pastry brush and brush mould on some thin layers of chocolate (let it set in between each layer), 3 coats in total.

Chocolate Sponge Cake

  1. Preheat the oven to 170 degress C.
  2. Grease the pan (10 inch square), place the parchment paper at the bottom of the pan.
  3. Heat the oil until warm, add in to the cocoa powder, mix.
    Add in the sugar, mix. Pour in the water, mix. Add in salt, vanilla, the egg yolks, mix well.
    Sift half of the cake flour into the mixture, mix. Sift in the remaining flour, mix until well combined.
  4. Whisk egg whites until forthy, gradually add sugar, continue whisk until stiff peaks.
  5. Combine the egg whites to the cake mixture (in 2 batches), whisk after each addition, using spatula scrape down and fold it (make sure the batter is well combined).
  6. Pour the batter into the pan. Spread with spatula, Jjggle vigorously till the batter even, tap pan against work surface twice, bake for about 20 minutes.
  7. Once come out off the oven, drop the pan from 2 inch high for about 3 times. Unmould the cake from the pan, peel the parchment paper from sides of the cake and let it cool completely.

Decoration
Knead and colour the Modeling Chocolate as needed. Using template as guide, create the details.

Assembly

  1. Cut the cake (using 2 size of round cookie cutters, one is that the same size as the hemisphere mold and other size is half size of the mold).
  2. Pipe a little bit of mousse into each chocolate shell. Sink in the dark sweet cherries to the mousse. Cover it with some mousse. Place small cake on top of the mousse. Pipe mousse to cover all the inner part. Place the large cake on top.
  3. Store in the fridge for about 30-60 minutes to firm up.
  4. Unmold cakes, decorate them.

NOTES

  1. You can store the cakes in the fridge for up to 3 days before servings.
  2. You can use Candy Melts or real white chocolate to make Modeling Chocolate. Find the recipe in the description above.
  3. There is no special food colouring required to colour Modeling Chocolate.
    Modeling Chocolate already has liquid in it (corn syrup) so adding more won’t hurt. I like to use regular gel food colours like Americolor.
  4. If Modeling Chocolate is too soft and sticky while shaping, you can add add a little bit of cornstach.
  5. Modeling Chocolate Dough will last a very long time (at least a few months). But as it sits, it continues to harden and may require more kneading to return it to a nice workable consistency.

Teddy Bear Choco Pies

Hi Guys! I hope that you are doing well, and today we are making these gorgeous “Teddy Bear Choco Pies“.
Choco pie is a popular Korean snack, some call it National Snack. It consist of 2 cakes with marshmallow fillings in between, and the whole thing is covered in chocolate.

I’m the biggest fan of Choco Pie. 2 of the most popular Choco Pie brand are Oreon and Lotte. They got the original and also other flavor varieties.

And out of all the Choco Pies, my favorite will have to be Cacao Choco Pie. I love the the cacao version because it has chocolate cakes instead of Vanilla. The extra chocolate just adds a little richness to the Choco Pies and it taste really good.

So today I’m gonna show you how to make my homemade and healthier version of Cacao Choco Pie.

We need to make homemade chocolate cakes, homemade marshmallows, and then assembling it in the end to make Teddy Bear Choco Pies. It’s quite a long step, but of course it’s really worthed in the end.

The chocolate cake is soft and moist, the marshmallow fillings itself are so fluffy, kinda a spongy texture. And the melted chocolate… it’s just a chocolaty goodness. And yes, it was definitely fun to make.

I hope that you will enjoy this recipe. Have fun with it, create any design your want! Love you Guys!!

TEDDY BEAR CACAO CHOCO PIES
Yield: 16 pieces
Active time: 2 hour
Total time: 3 hours

INGREDIENTS
Cake Batter:

  • 145 grams Unsalted Butter
  • 105 grams Granulated Sugar
  • 150 grams Eggs
  • 190 grams All-Purpose Flour
  • 30 grams Cocoa Powder
  • 1 1/2 teaspoons Baking Powder

Marshmallow Fillings:

  • 10 grams Gelatine Powder
  • 80 grams Water
  • 220 grams Granulated Sugar
  • 60 grams Water
  • 1/2 teaspoon Vanilla Extract
  • Pink Food Colouring

Coating & Decorating:

  • 350 grams Dark Chocolate
  • 150 grams Milk Chocolate
  • 100 grams White Chocolate
  • 50 grams Strawberry Chocolate

INSTRUCTIONS
Prepare design template. Secure the template to the pan with some tape (so they stop slipping around). Over the top of the design, place a piece of baking parchment that fits exactly the bottom of the pan.

Chocolate Cake Batter:

  1. Preheat the oven to 170 C.
  2. Combine the soft butter and granulated sugar, continue mixing until light and fluffy. Add in the eggs, and mix that all through (don’t worry if the batter looks like curdling now, the mixture will comes back together when we add the dry ingredients later).
  3. Mix in all of the dry ingredients (flour, cocoa powder and baking powder), mix until the batter is really smooth and no lumps remains.
  4. Transfer the batter into a piping bag with a 1 cm round tip. Pipe according to the design template.
  5. Bake it for about 13-15 minutes. Let it sit on the pan for about 3 minutes then transfer them onto a cooling rack to cool completely (if you find that you have a little bit of uneven surface on your teddy bear cakes, it doesn’t really matter since we’re going to be dipping them in Chocolate anyways)

Details Decorations:

  1. Using the same Teddy Bear template as above, tape some wax paper right on top (just to make sure it doesn’t budge).
  2. Melt the chocolate in microwave of a double boiler, transfer it to a piping bag. Pipe each details with melted chocolate.
  3. Pop them in the freezer, let them set until ready to use them.

Prepare the Chocolate Cake:
Melt some dark chocolate. Dip each chocolate cake into some melted dark chocolate, shake off the excess (shake the teddy bear to get it nice and smooth). Let them dry on the cooling rack so it’s firm to touch.
Marshmallow Fillings:

  1. Pour the gelatine into a mixing bowl, add 80 grams of water and mix, let it stand for a while.
  2. In a sauce pot, mix the granulated sugar and 60 grams of water. Cook over medium heat until the sugar dissolves and the mixture comes to a boil. Cover the saucepan with a lid and let boil for about one to two minutes (to allow any sugar crystals to dissolve from the sides of the saucepan). Remove the lid and attach a candy thermometer to the side of the pan. Boil, without stirring, until the syrup reaches 240 degrees Fahrenheit or the softball stage (if you don’t have one, just bring it to a rolling boil and let it boil for 1 minute)
  3. Pour in hot sugar syrup over the soft gelatine. Whip this up on medium speed with a hand mixer. Add in your favorite extract and food colouring, continue whip for about 8-10 minutes, until it gets super thick and fluffy. Transfer the marshmallow into a piping bag.

ASSEMBLE
Take one of the chocolate cake. Squeze a generous amount of marshmallow to the center of the cake and then put another cake on top. Decorate with chocolate detail decorations (using melted chocolate as a glue to attach the details).

NOTE

  1. Let the marshmallow set a while before piping it, so it doesn’t melt around the edges of the cake.
  2. I don’t have milk chocolate on hand, so I’ve just mix the dark and white chocolate together to create a soft brown chocolate colour. And for the red mouth, I’ve just add a bit of red food colouring to the white chocolate.
  3. You can keep them quite well at room temperature in an airtight container for up to 1 weeks, 3 weeks in the fridge.

Rilakkuma Deco Roll Cake

Hi Everyone! Today we are making these adorable “Rilakkuma Deco Roll Cake”.
Cake roll painted with cute Rilakkuma and filled with the most delicious and cloud-like buttercream frosting called Ermine.

The cake is super light, moist and really fluffy, no cracks, and rolls beautifully 🥰

Some people use different recipe for the decorating batter, but I found that the best method is to use the same batter as your Sponge Cake batter.
You can use any pattern or draw your own to create a beautiful and delicious roll cake.

You can use a small round tip if it makes you more comfortable when piping the finer details of your pattern. I just cut a small hole in the piping bag to fill in the larger sections

Ermine Frosting tastes really good!
The frosting is super smooth and creamy, not overly sweet and egg-free. A nice light Vanilla Flavor and no hint of a flour taste. I promise!😉

This might sound like a bizarre process (it did to me at first) but it’s actually a delicious frosting! Ermine frosting is a very light and almost like Whipped Cream 😚

The frosting (also called Roux Frosting or Boiled Milk Frosting) is made by cooking flour and milk to make a sweet paste. This paste is then whipped into Softened Butter and Icing Sugar until light and fluffy, then Vanilla is added for flavoring.

I really love these cake so much and have a lot of fun making these!
Hope you guys try this and have a lot of fun with this recipe.

Rillakuma and Friend Design Template

WATCH HOW TO MAKE RILAKKUMA DECO ROLL CAKE


RILAKKUMA DECO ROLL CAKE
Yield: One 10-inch square pan
Active time: 1 hours
Total time: 2 hours

INGREDIENTS
🍰 Decorating Batter
30 g Unsalted Butter
8 g Milk
45 g Cake Flour
40 g Egg Yolks
38 g Whole Eggs
1/4 teaspoon Vanilla Extract
30 g Milk
70 g Egg Whites
1/4 teaspoon Vinegar
45 g Granulated Sugar

🍰 Cake Batter
50 g Unsalted Butter
13 g Milk
75 g Cake Flour
68 g Egg Yolks
63 g Whole Eggs
3/4 teaspoon Vanilla Extract
50 g Milk
113 g Egg Whites
3/4 teaspoon Vinegar
75 g Granulated Sugar

🍰 Buttercream
90 g Milk
1 ½ tablespoons All-Purpose Flour
90 g Unsalted Butter
45 g Icing Sugar
1 ½ teaspoons Vanilla Extract


INSTRUCTIONS (please watch the video for complete instructions)
🍰 Design Preparation
Print the A4 Rilakkuma design template (or any design you want).
Over the top of the design, place a piece of Baking Parchment that’s fit exactly the bottom of the 10-inch square pan. Secure them each other with some tape so they stop slipping around.

🍰 Making Decorating Batter (for the Cake Batter the instructions are the same)

  1. Preheat the oven to 340 F/ 170 C.
  2. Place Butter and 8 grams Milk in a saucepan (for cake batter it’s 13 grams of Milk).
    Cook over a LOW heat until simmer and the Butter melted, then turn of the heat. Add in the sifted flour, mix well; stir until it’s form a dough ball, then transfer it to a bowl.
  3. Wait until the dough a bit warm, slowly add the mixture of the Egg Yolk, Whole Egg and Vanilla Extract, mix until no lumps and well combine.
  4. Then in another pan, heat the 30 grams of Milk (for cake batter it’s 50 grams of Milk) until just warm, gradually add in to the Eggs Batter while keep stirring; mix until well combined.
    Strain the batter so there’s no lumps remain, set aside.
  5. In a large bowl, whisk the Egg Whites and Vinegar, once it’s get nice and foamy, slowly add in the Granulated Sugar in 3 batches, whip until they form stiff peak.
  6. Fold 1/3 of the whipped Egg Whites into the Egg Yolks Mixture;
    Then pour this mixture to the remain 2/3 Egg Whites mixture and continue folding until everything is incorporated.
  7. Divide the batter into a couple small bowls (using one bowl for each colour that you want to use) then transfer each colour to a piping bag.
  8. To decorate
    Start with the outline, after the outline is done you can continue with the colouring.
  9. After finish with all the design, carefully transfer the design paper onto a Grease pan, bake it for about 1 to 2 minutes (just until it gets kind like a skin on top so this way it won’t bleed into our Cake Batter when we add our Cake Batter on top).
  10. Next, prepare the Cake Batter
    (please follow the same 1-5 instructions as above).
  11. Pour the Cake Batter into the pan, and very gently spread the batter evenly, being careful not to disturb the Rilakkuma design underneath.
  12. Shake and give a couple tap to even it out and get rid of the excess air bubbles, bake it for about 15-18 minutes.
  13. Once it comes out from the oven, tap the pan so it wont’ shrink too much, then turn it out onto a cooling rack that has some Parchment Paper on top.
    Peel the parchment paper carefully, then quickly cover it with some more parchment paper to prevent your cake roll dry out
  14. Once cool;
    Trim off the edges of the cake to make it more neat and beautiful.
    Spread the buttercream evenly on top of the cake, and then roll it up.
    Let it sit for about 15-30 minutes to set up a bit.

🍰 Making Buttercream

  1. Mix the Milk and Flour until there are no lumps;
    Microwave it in 20 seconds intervals or cook on the stove until it just become a paste, set aside to cool completely.
  2. In a large bowl, cream the Butter until it gets a really smooth consistency, add in the Icing Sugar along with Vanilla Extract, mix until well combined.
    Add in the cooled Flour Paste, mix until it’s incorporated.


NOTES

  1. To make the Cake Batter, please follow 1-5 Decorating Batter instruction.
  2. Make sure that you use Parchment Paper for the design paper, they are used in baking as a disposable non-stick surface (DO NOT use wax paper).
  3. Ermine frosting can be left at room temperature for 6 hours as long as it’s not too hot.
    Because it contains milk, leftovers should be refrigerated for up to a week or frozen for up to 6 months.
  4. The cake can be kept at room temperature for 1 day and 3 days in the refrigerator.
  5. Bring your cake out of the fridge for an hour or two before consuming. 

Kawaii Mitarashi Dango

Hi Guys, today we are making these adorable “Kawaii Mitarashi Dango”.  Have you ever eaten Japanese confectionery DANGO? Small round sweet dumpling balls are skewered on bamboo sticks and covered with a gooey brown sauce.  

Mitarashi dango are my favorite traditional sweet, they are quite satisfying without being overly sweet 🤤

The shiny brown colored sauce (which is called Mitarashi Sauce) is sweet and savory at the same time.
It goes perfectly with the bland, slightly chewy Dango or dumplings (Dango is the name for unfilled solid dumplings.)

This traditional Dango dessert is not as difficult as you may think. I hope you enjoy these traditional snacks and a taste of history today!

WATCH HOW TO MAKE KAWAII MITARASHI DANGO


KAWAII MITARASHI DANGO
Yield: 18 pieces
Active time: 1 1/2 hour
Total time: 2 hours

INGREDIENTS
🍡 Dango
240 grams Glutinous Rice Flour
60 grams Icing Sugar
260 grams Japanese Silken Tofu
Cocoa Powder
Food Colouring (Black, Red)

🍡 Mitarashi Sauce
130 grams Water
20 grams Soy Sauce
10 grams Corn Starch
45 grams Brown Sugar


INSTRUCTIONS
🍡 Dango

  1. In a large bowl, mix together Glutinous Rice Flour, Icing Sugar and Japanese Silken Tofu. Simply mix the ingredients together until it’s form a dough ball.
    *If the dough is too dry, you can add more tofu and if it’s too sticky to handle just add more Glutinous Rice Flour.
  2. Once the dough reach the right consistency, you can start to colouring them (for the extra flavor, instead of using food colouring I’m using Cocoa Powder for the brown colour).
    *You can create any design and colour you want, just take note that after boiling, the colour will be darker than before, so be mindfull with the colour.
  3. Take about 20-25 grams of dough and roll it into a ball shape (for Teddy Bear, Lucky Cat and Panda head).
    Place EACH head onto a small piece of Greaseproof Paper, then add the details as shown in the video.
  4. To cook Dangos
    After finish with all the design, bring a small pot of water to a boil, then lower the heat to a simmer.
    Carefully lift the Greaseproof Paper; place the dangos into the simmering water (you can cook a few of them at a time). Remove the floating Greaseproof Paper.
  5. When Dangos start to float, that means they are ready to be picked up! (it will takes for about 3-5 minutes).
    Scoop them out and place it into a bowl of ice water so they don’t stick together.
  6. After cooling down a bit, take out the Dangos from the ice water, then simply stick the Dango into a skewer. Make sure that you stick it right in the middle of the head

🍡 Mitarashi Sauce
Put all the mitarashi ingredients in a saucepan, then set on a medium heat and bring it to a boil; Keep stiring until the sauce has thickened.
Pour it onto the Dangos and serve.

NOTES

  1. Dango comes with many different varieties, so they are usually named after the various seasonings served on or with it.
  2. In Japan, this Dango is easily found in markets or convenience stores and I think you also might find it at Japan store in your country.
  3. Some people use water to make these, but I’m prefer to use Tofu for a hint of extra flavor and it will give the Dangos a light and fluffy texture.
  4. It’s best to serve it hot, coz the colder it gets, the chewier it will become.
  5. Put the Dango in an airtight container and keep at room temperature up to 2 days.
    If you live in hot place, I recommend to put them in an airtight container or a ziplock bag and store them in the refrigerartor.
    If you can’t eat them after a day or 2, you might try freezing them (you can keep them for about a month in a freezer).
    When you want to eat them, It is the best to thaw them naturally at room temperature (this takes about 30-60 minutes) or you can Microwave it.
  6. As for the uncooked Dango, although you can freeze them in ziplock bag for up to 3 months, these method will dry them out and they cracked slightly around the edges.
    They did cook as per normal once they were dropped into the boiling water, but the cracked edges are not as perfect as you’ll like them to be, so better not freeze them too long.

Cinnamon Swirl Mug Cake

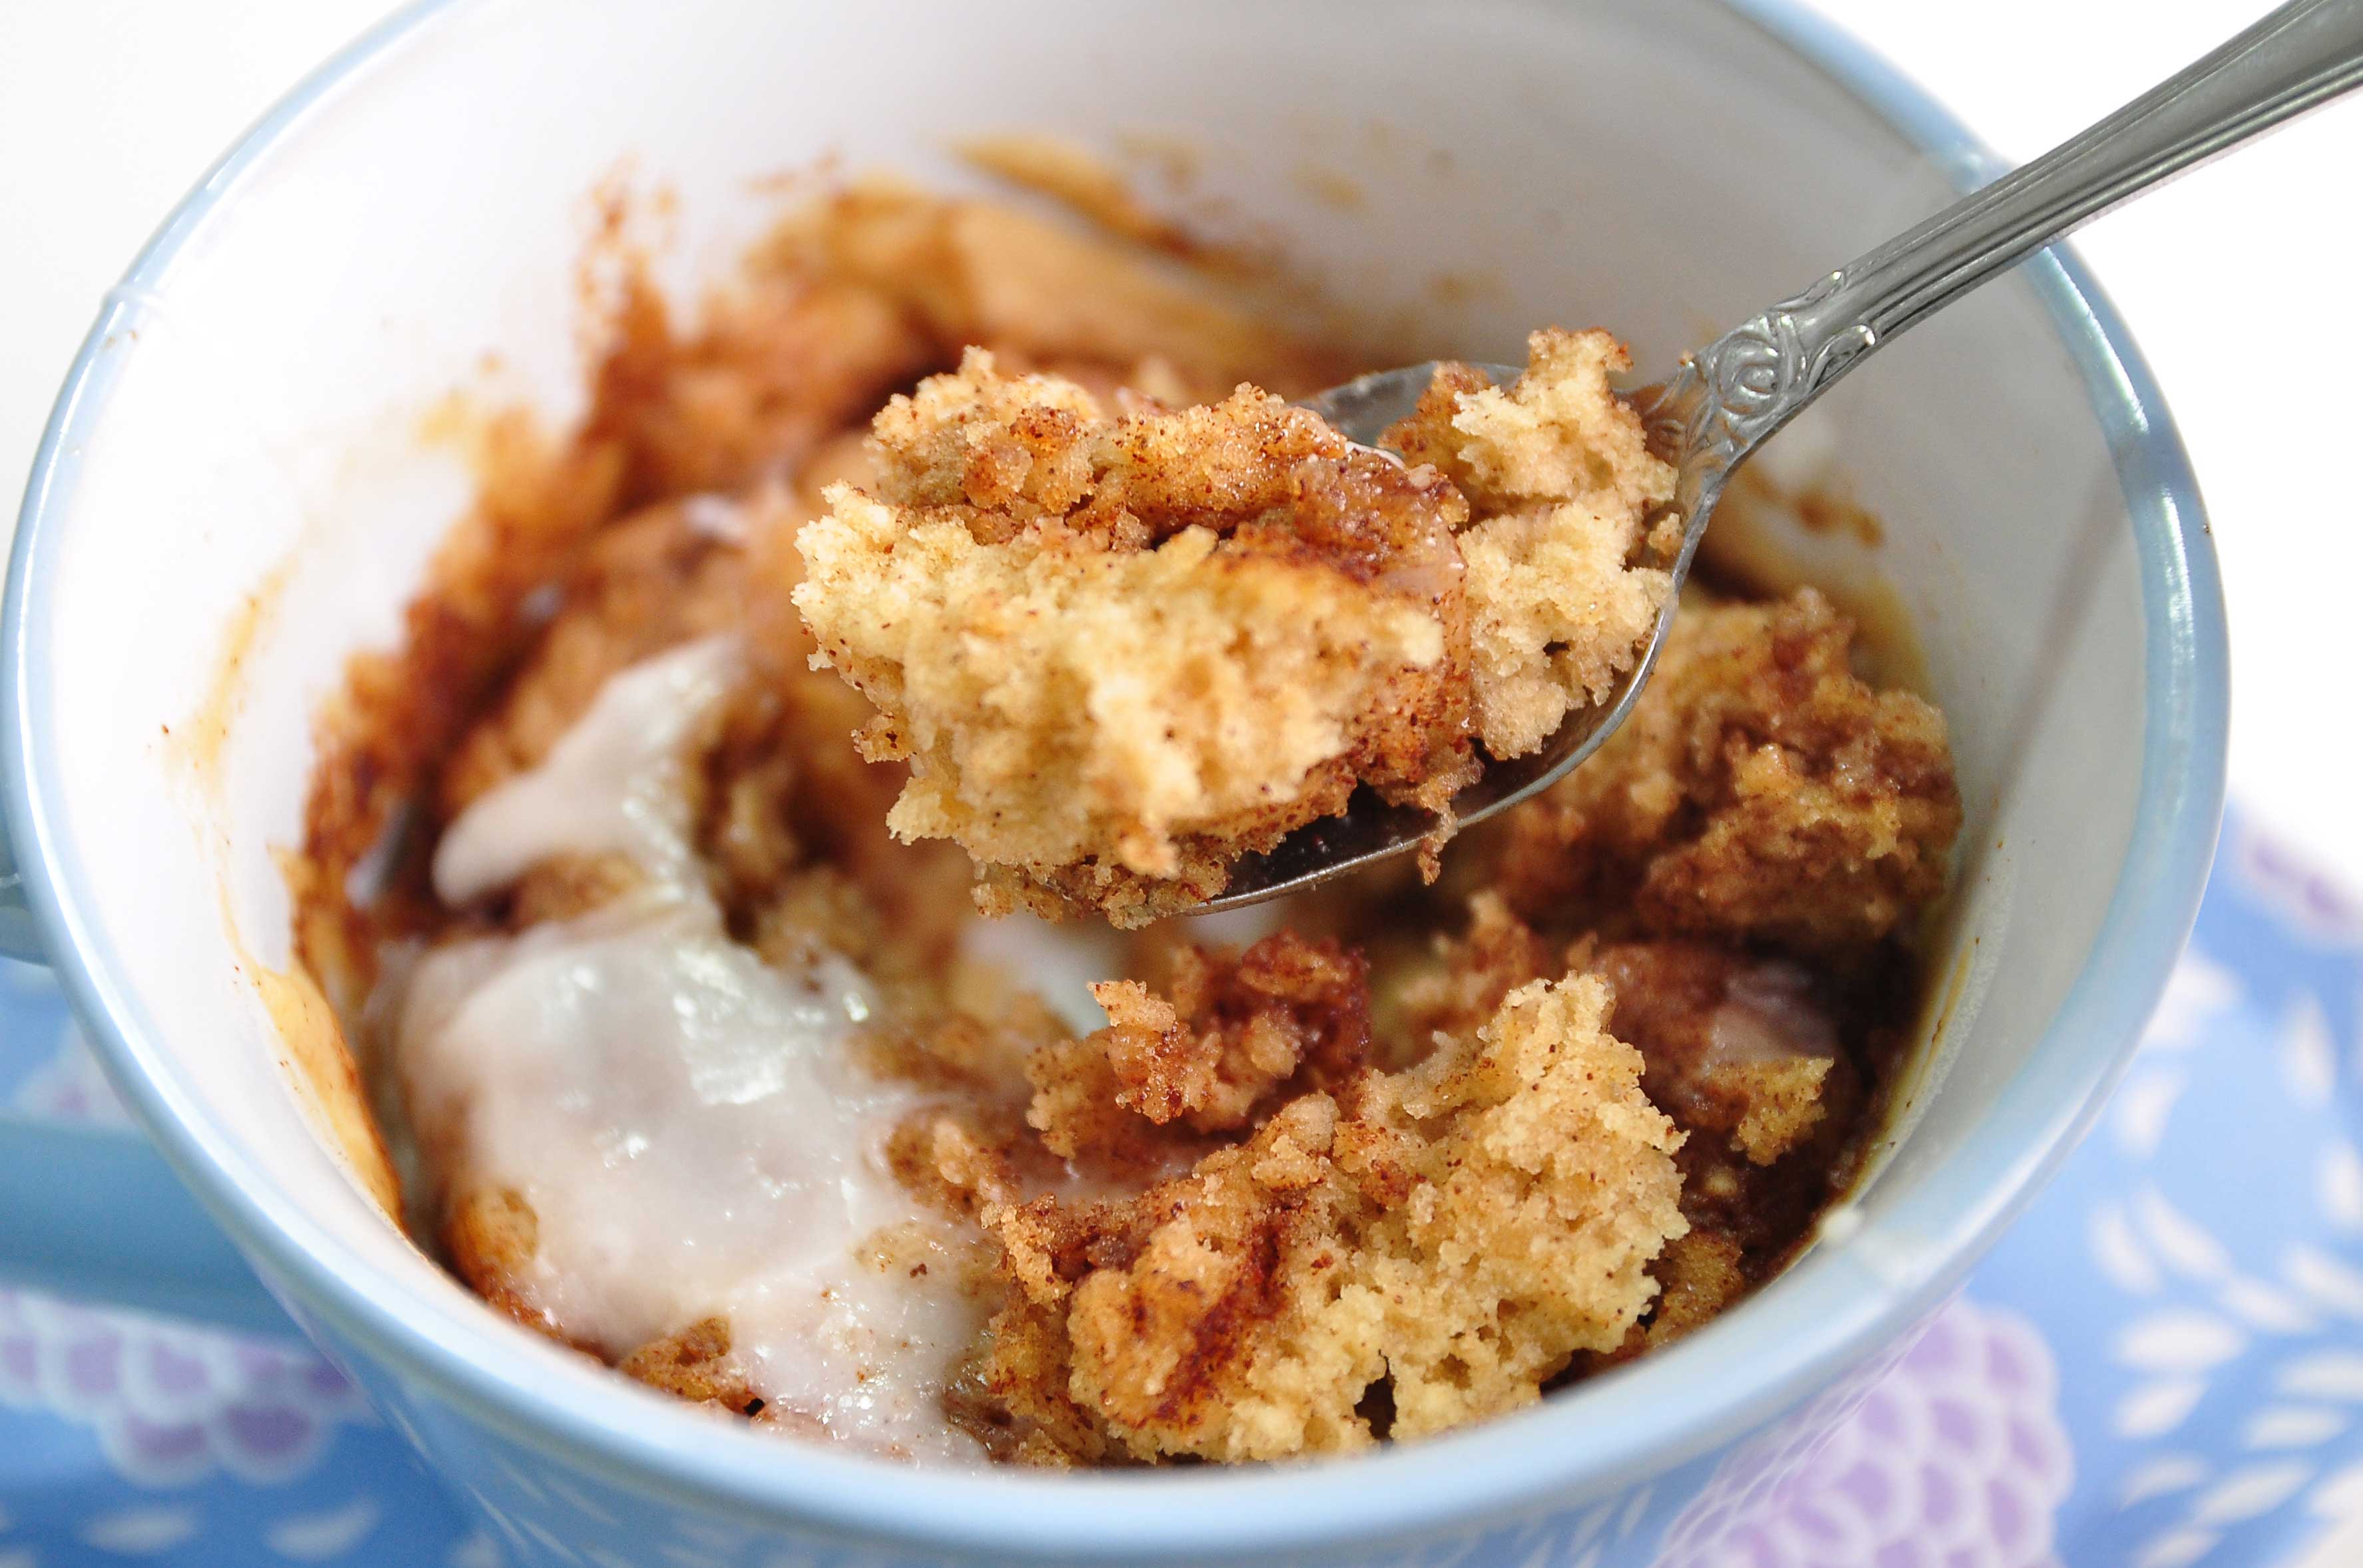
Hi Guys!!! Today we are making this “Cinnamon Swirl Mug Cake” . You know when you need just a little sweetness to get you through the day? This Mug Cake is sure to satisfy that sweet tooth! This Cinnamon Mug Cake is like a short cut cinnamon roll with no kneading, no rising, and no rolling required!

I am excited to try many different types of mug cakes now that I have discovered how awesome they are and how quickly they come together. This isn’t spongy in texture like lots of other mug cakes out there. This cake is surprisingly moist, it has every flavor of a cinnamon roll.

My family loves cinnamon rolls and I knew this mug cake would be a great one to try. Just top it off with the simple glaze and enjoy these warm cake right out of the microwave! 😛

2 MINUTES CINNAMON SWIRL MUG CAKE
Yield: 1 cup mug cake (7 Oz.)
Active time: 1 minute
Total time: 2 minutes

INGREDIENTS
Cinnamon Butter Swirl:

  • 1/2 tablepoon Unsalted butter (melted)
  • 1 teaspoon Brown sugar
  • 1/2 teaspoon Cinnamon powder

Mug Cake Batter:

  • 4 tablespoons All-purpose flour
  • 1 tablespoon Brown sugar
  • 1/4 teaspoon Baking powder
  • 1/8 teaspoon Salt
  • 1/8 teaspoon Cinnamon powder
  • 1/2 tablespoon Unsalted butter (melted)
  • 2 tablespoons Milk

Icing:

  • 2 tablespoons Powdered sugar
  • 1/2 teaspoon Milk

INSTRUCTIONS

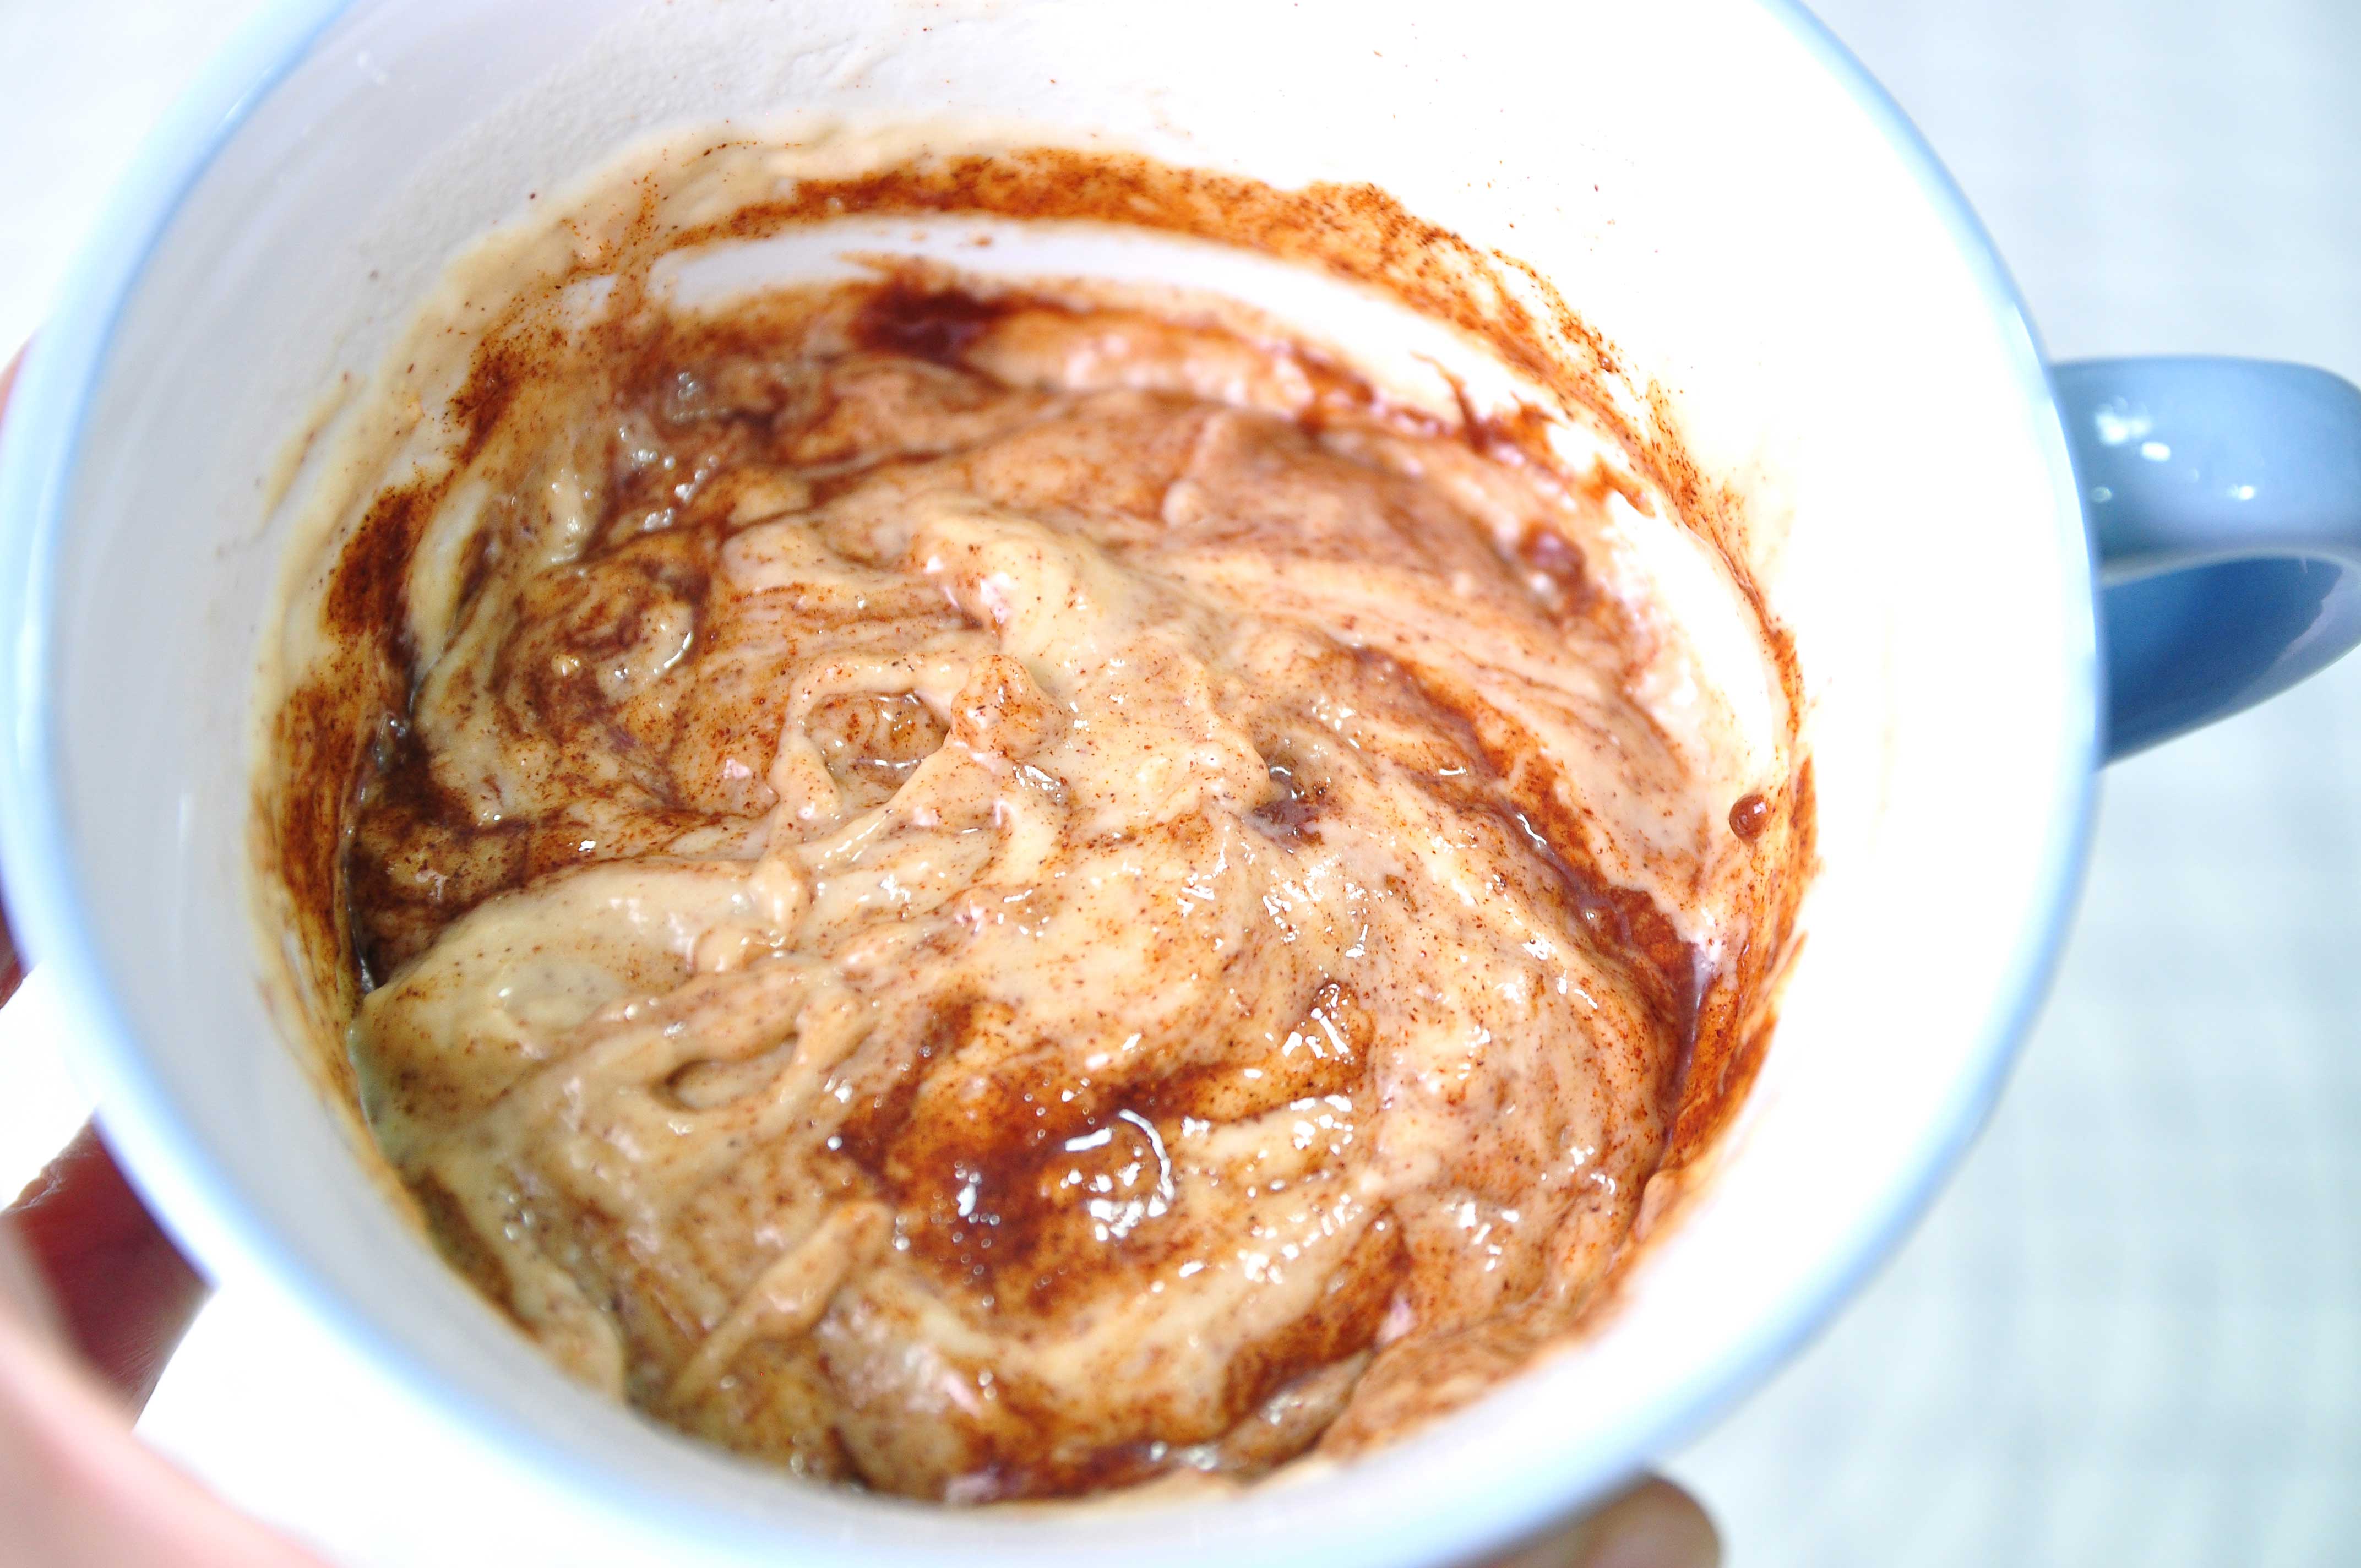
  1. For the cinnamon butter swirl: In a small bowl or mug, melt the butter (about 15 seconds in the microwave). Stir the brown sugar and cinnamon into the melted butter, set aside.
  2. For the batter: In a small mug (I use 8.5 Oz. coffee mug in the recipe), stir together the dry ingredients; flour, brown sugar, baking powder, salt and cinnamon. Then Add the melted butter and milk into it and stir until a thick batter forms.
  3. Drizzle the cinnamon butter swirl over the mug cake batter, then gently fold them together until they are only about half mixed. There should be thick ribbons of the cinnamon butter swirl throughout the batter.
  4. Microwave the mug cake for 50-60 seconds (1000 watt).The mug cake will create quite a bit of steam as it cooks, so don’t be alarmed. Let the mug cake cool for 1-2 minutes.
  5. While the mug cake is cooling, stir together the powdered sugar and milk for the icing.
  6. Drizzle the icing over the mug cake and enjoy while it is still warm.

NOTE
Microwave power varies slightly, so you may want to experiment with the cooking time, give or take 5-10 seconds. One minute is a good place to start.

2 Minutes Microwave Chocolate Mug Cake

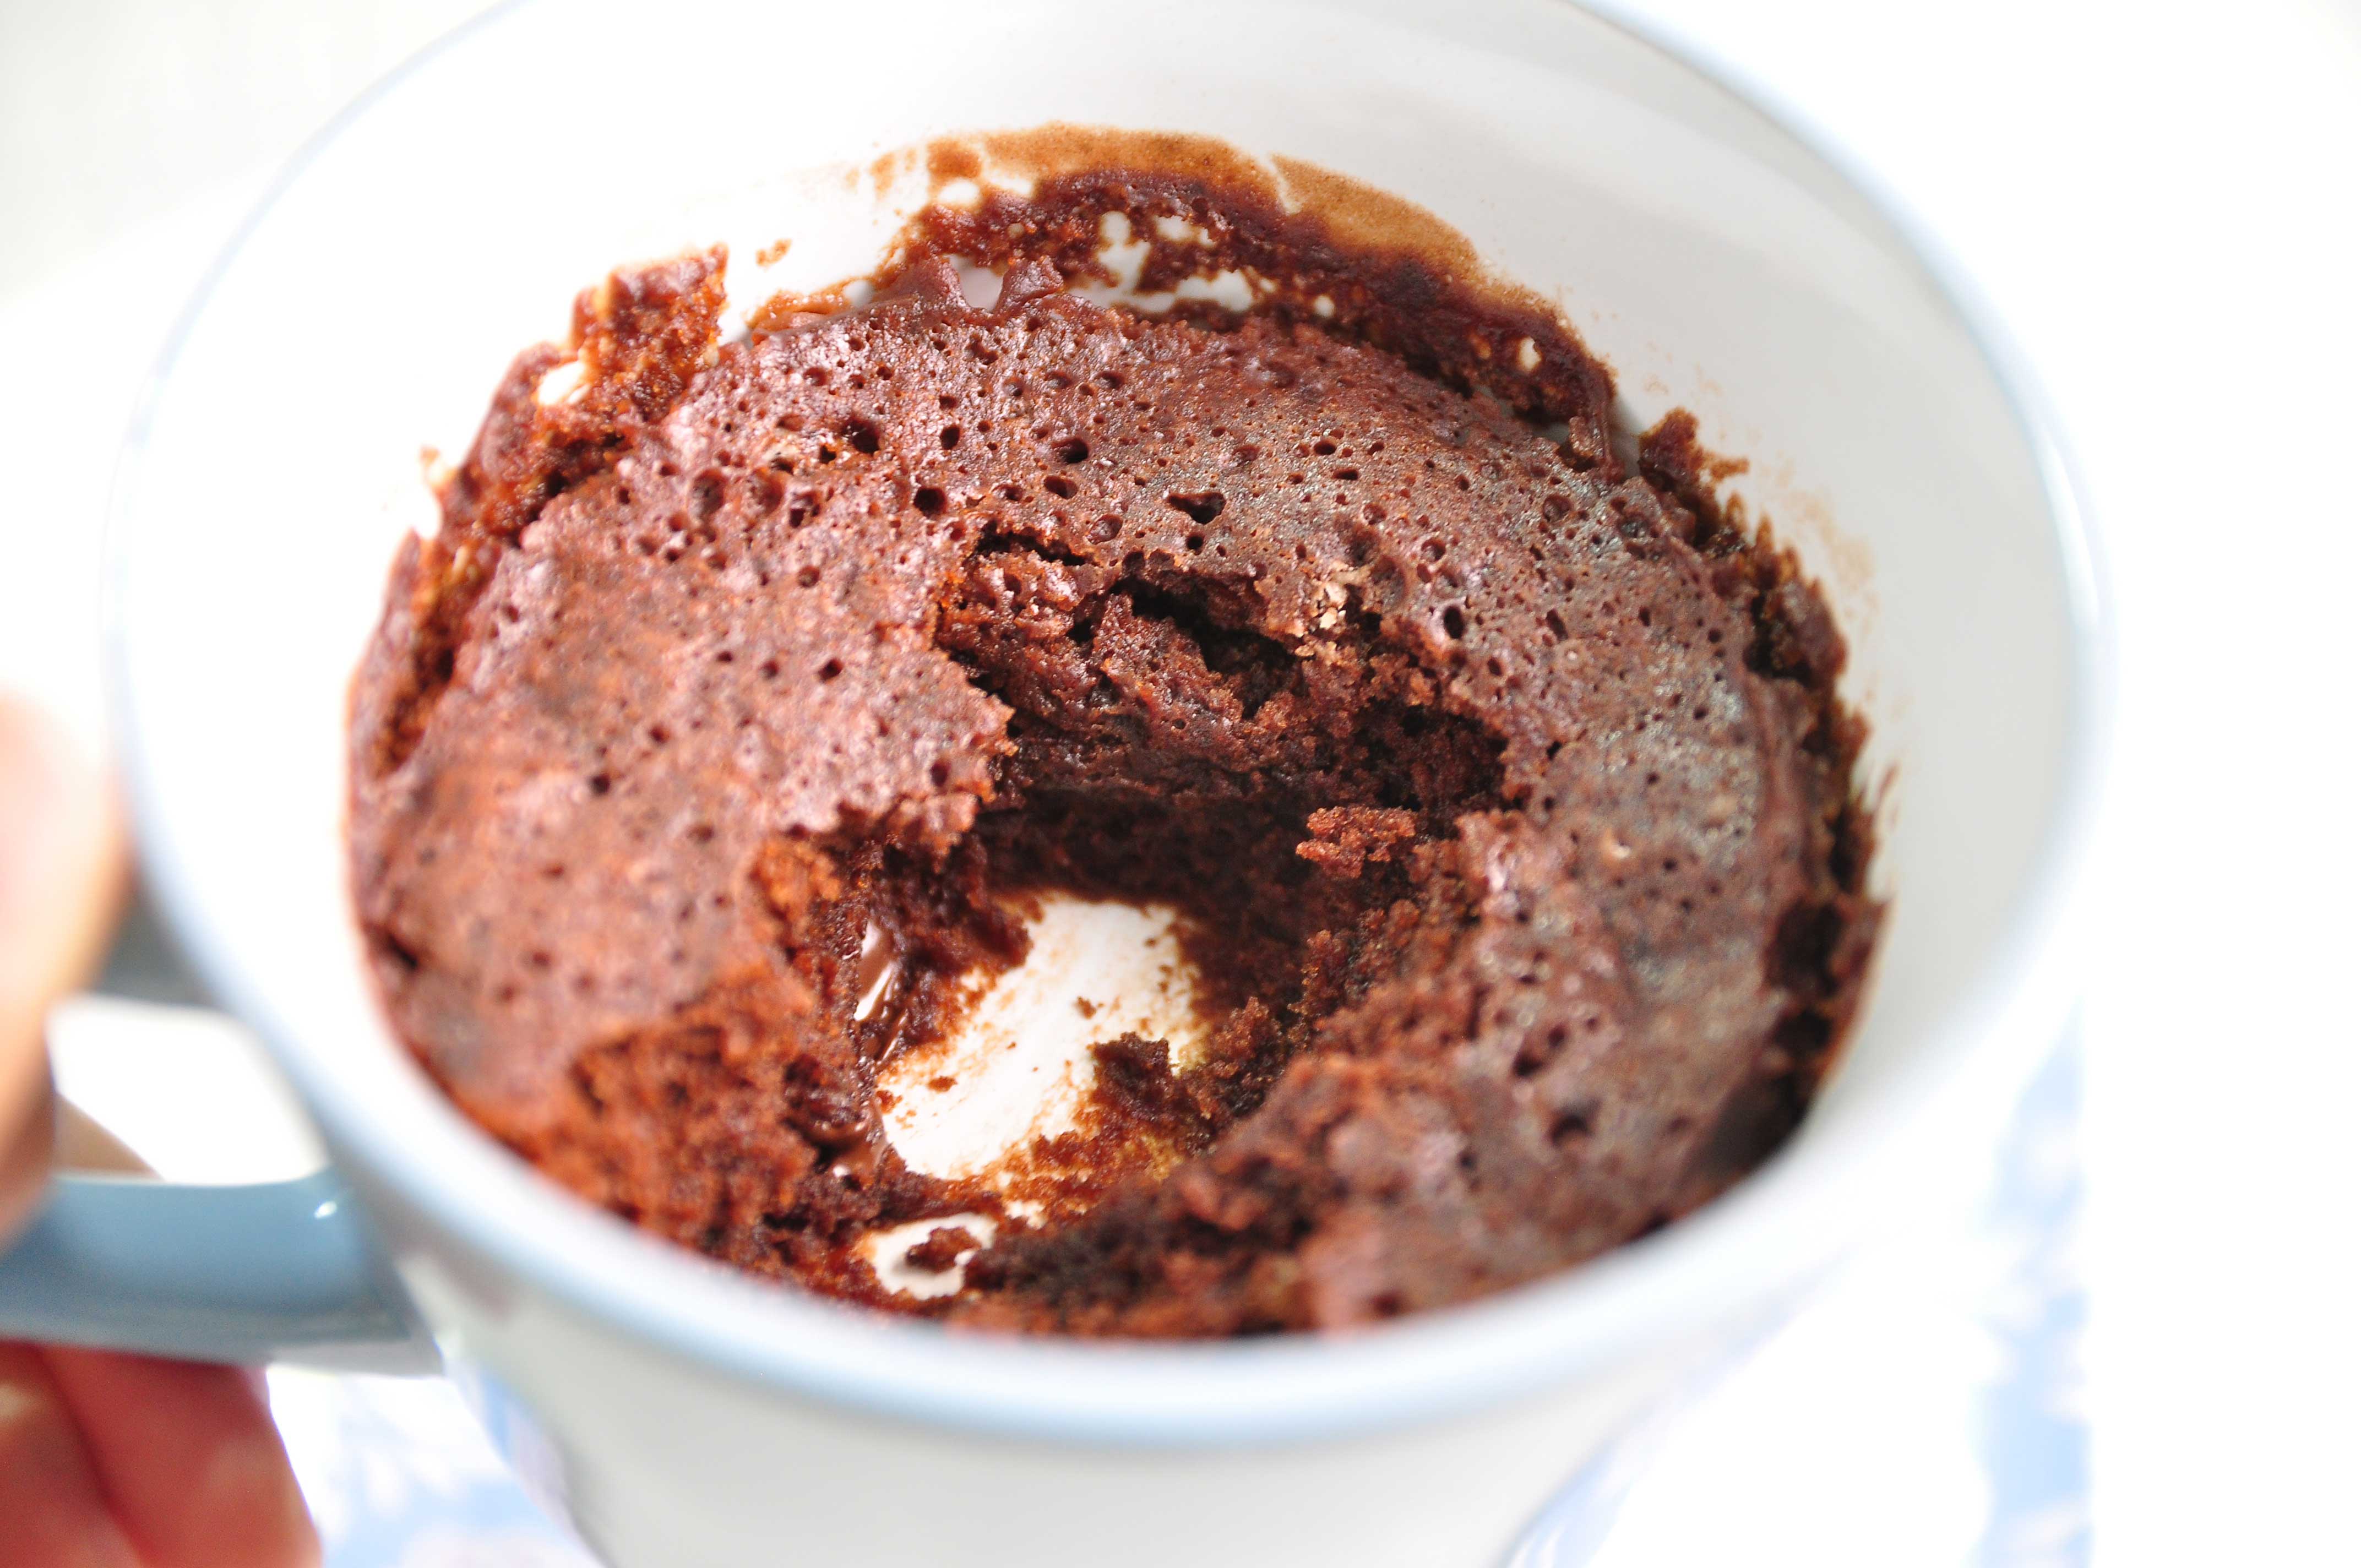
Hellooo everyone and welcome back!! I hope you’re all doing well! Today we are making “2 Minutes Microwave Chocolate Mug Cake”. Look how fluffy that cake is! 

This chocolate mug cake recipe has no eggs, very moist and chocolaty… it is one of the easiest dessert recipes you’ll ever make and you’ll never make another mug cake again after you try my recipe! 🙂

When you get that late night craving? Or want a small batch dessert (and not whip out a giant baking pan to make brownies to nip that craving)? This chocolate mug cake IS FOR YOU!!

Speaking of the mug: the batter will rise quite a bit so you want to have a decent amount of space left in the mug or else the batter will spill over the sides. I tested this with quite a few different mugs and discovered that you want at least 1 inch between the batter and the top of the mug. Enjoy!!!

2 MINUTES MICROWAVE CHOCOLATE MUG CAKE
Yield: 1 cup mug cake (7 Oz.)
Active time: 1 minute
Total time: 2 minutes

INGREDIENTS

  • 2 tablespoons All-purpose flour
  • 1 tablespoon Cocoa powder
  • 2 teaspoons Granulated sugar
  • 1/4 teaspoon Baking powder
  • A pinch of Salt
  • 1 tablespoon Vegetable oil
  • 2 tablespoons Milk
  • 1 tablespoon Chocolate chips (optional)

INSTRUCTIONS

  1. Prepare your favorite mug and measuring spoon (I use 8.5 Oz. coffee mug in the recipe).
  2. In your mug, stir together the dry ingredients (flour, cocoa powder, sugar, baking powder, and a pinch of salt). Make sure there are no clumps.
  3. Then add in the vegetable oil and milk, mix until the mixture is smooth.
  4. Drop a tablespoon of chocolate chips.
  5. Microwave on high (1000 watt) for one minute.

NOTES

  • Microwave power varies slightly, so you may want to experiment with the cooking time, give or take 5-10 seconds. One minute is a good place to start.
  • If you feel that chocolate chips is kinda boring, there are also a lot of variations for the fillings combination. Instead of chocolate chips, you can drop a tablespoon of peanut butter, nuttela, jam, or caramel sauce into the center and push it down into the batter, then microwave it.

Lemon Blueberry Cake

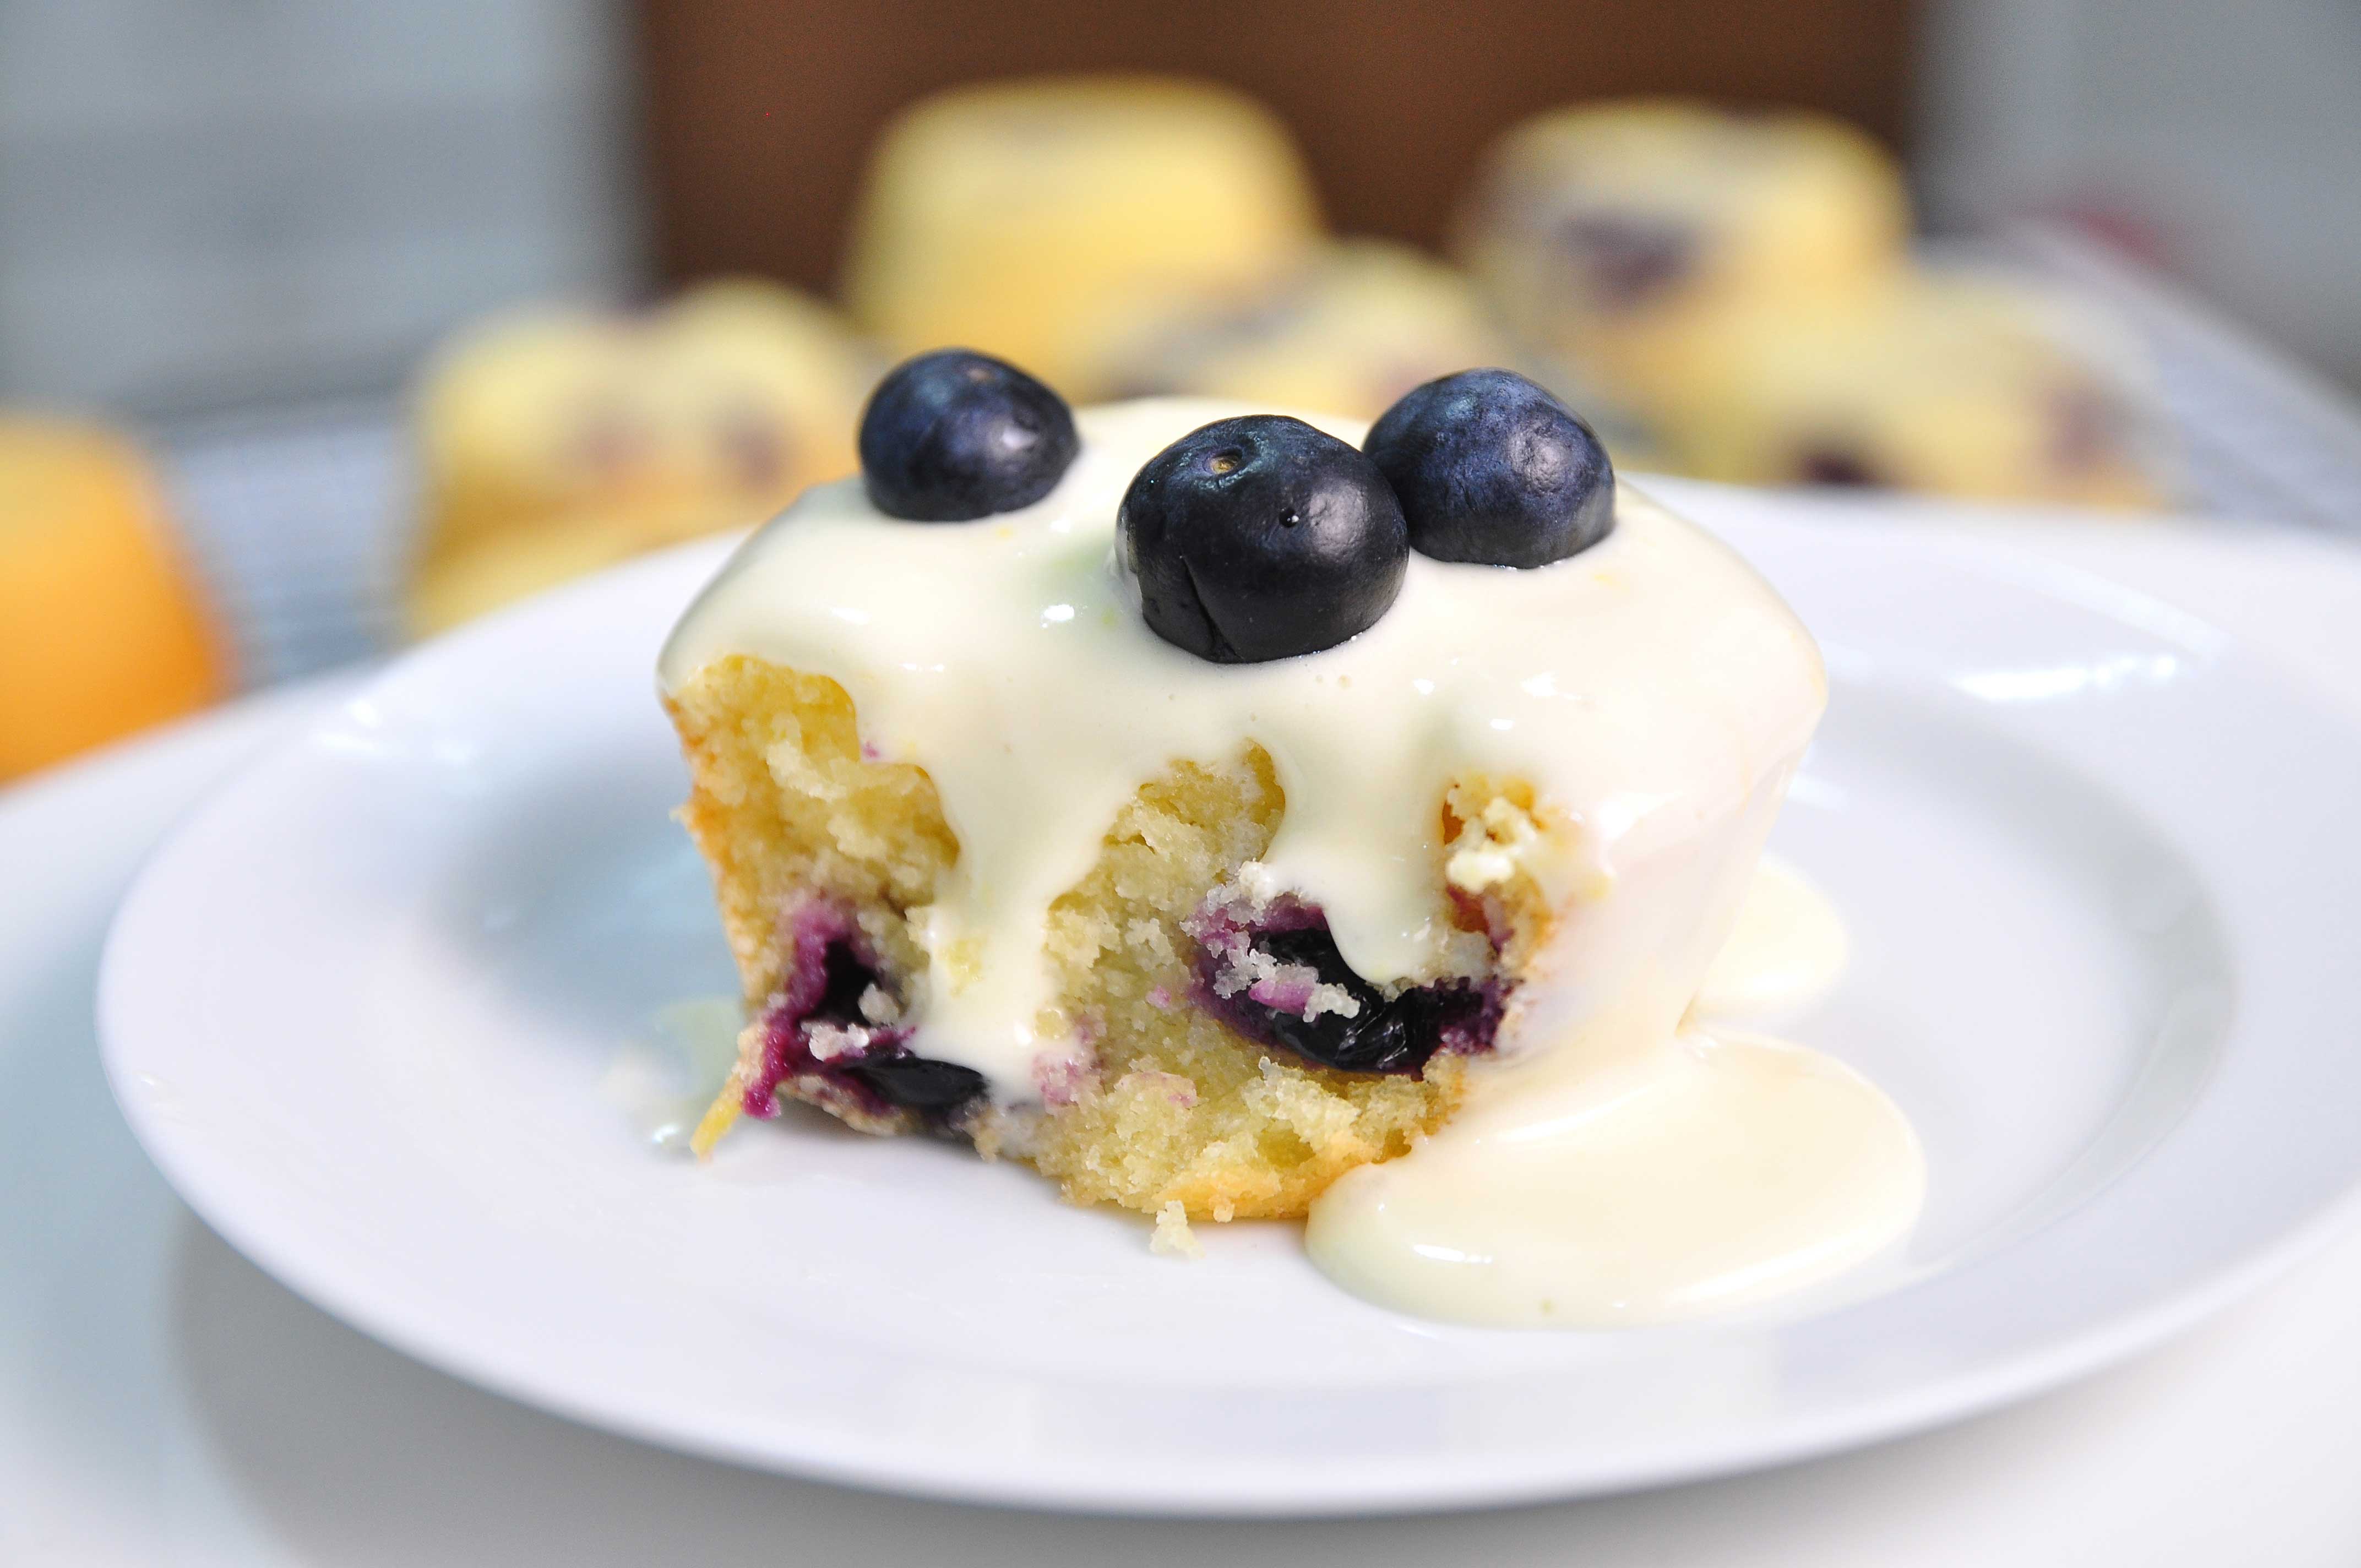
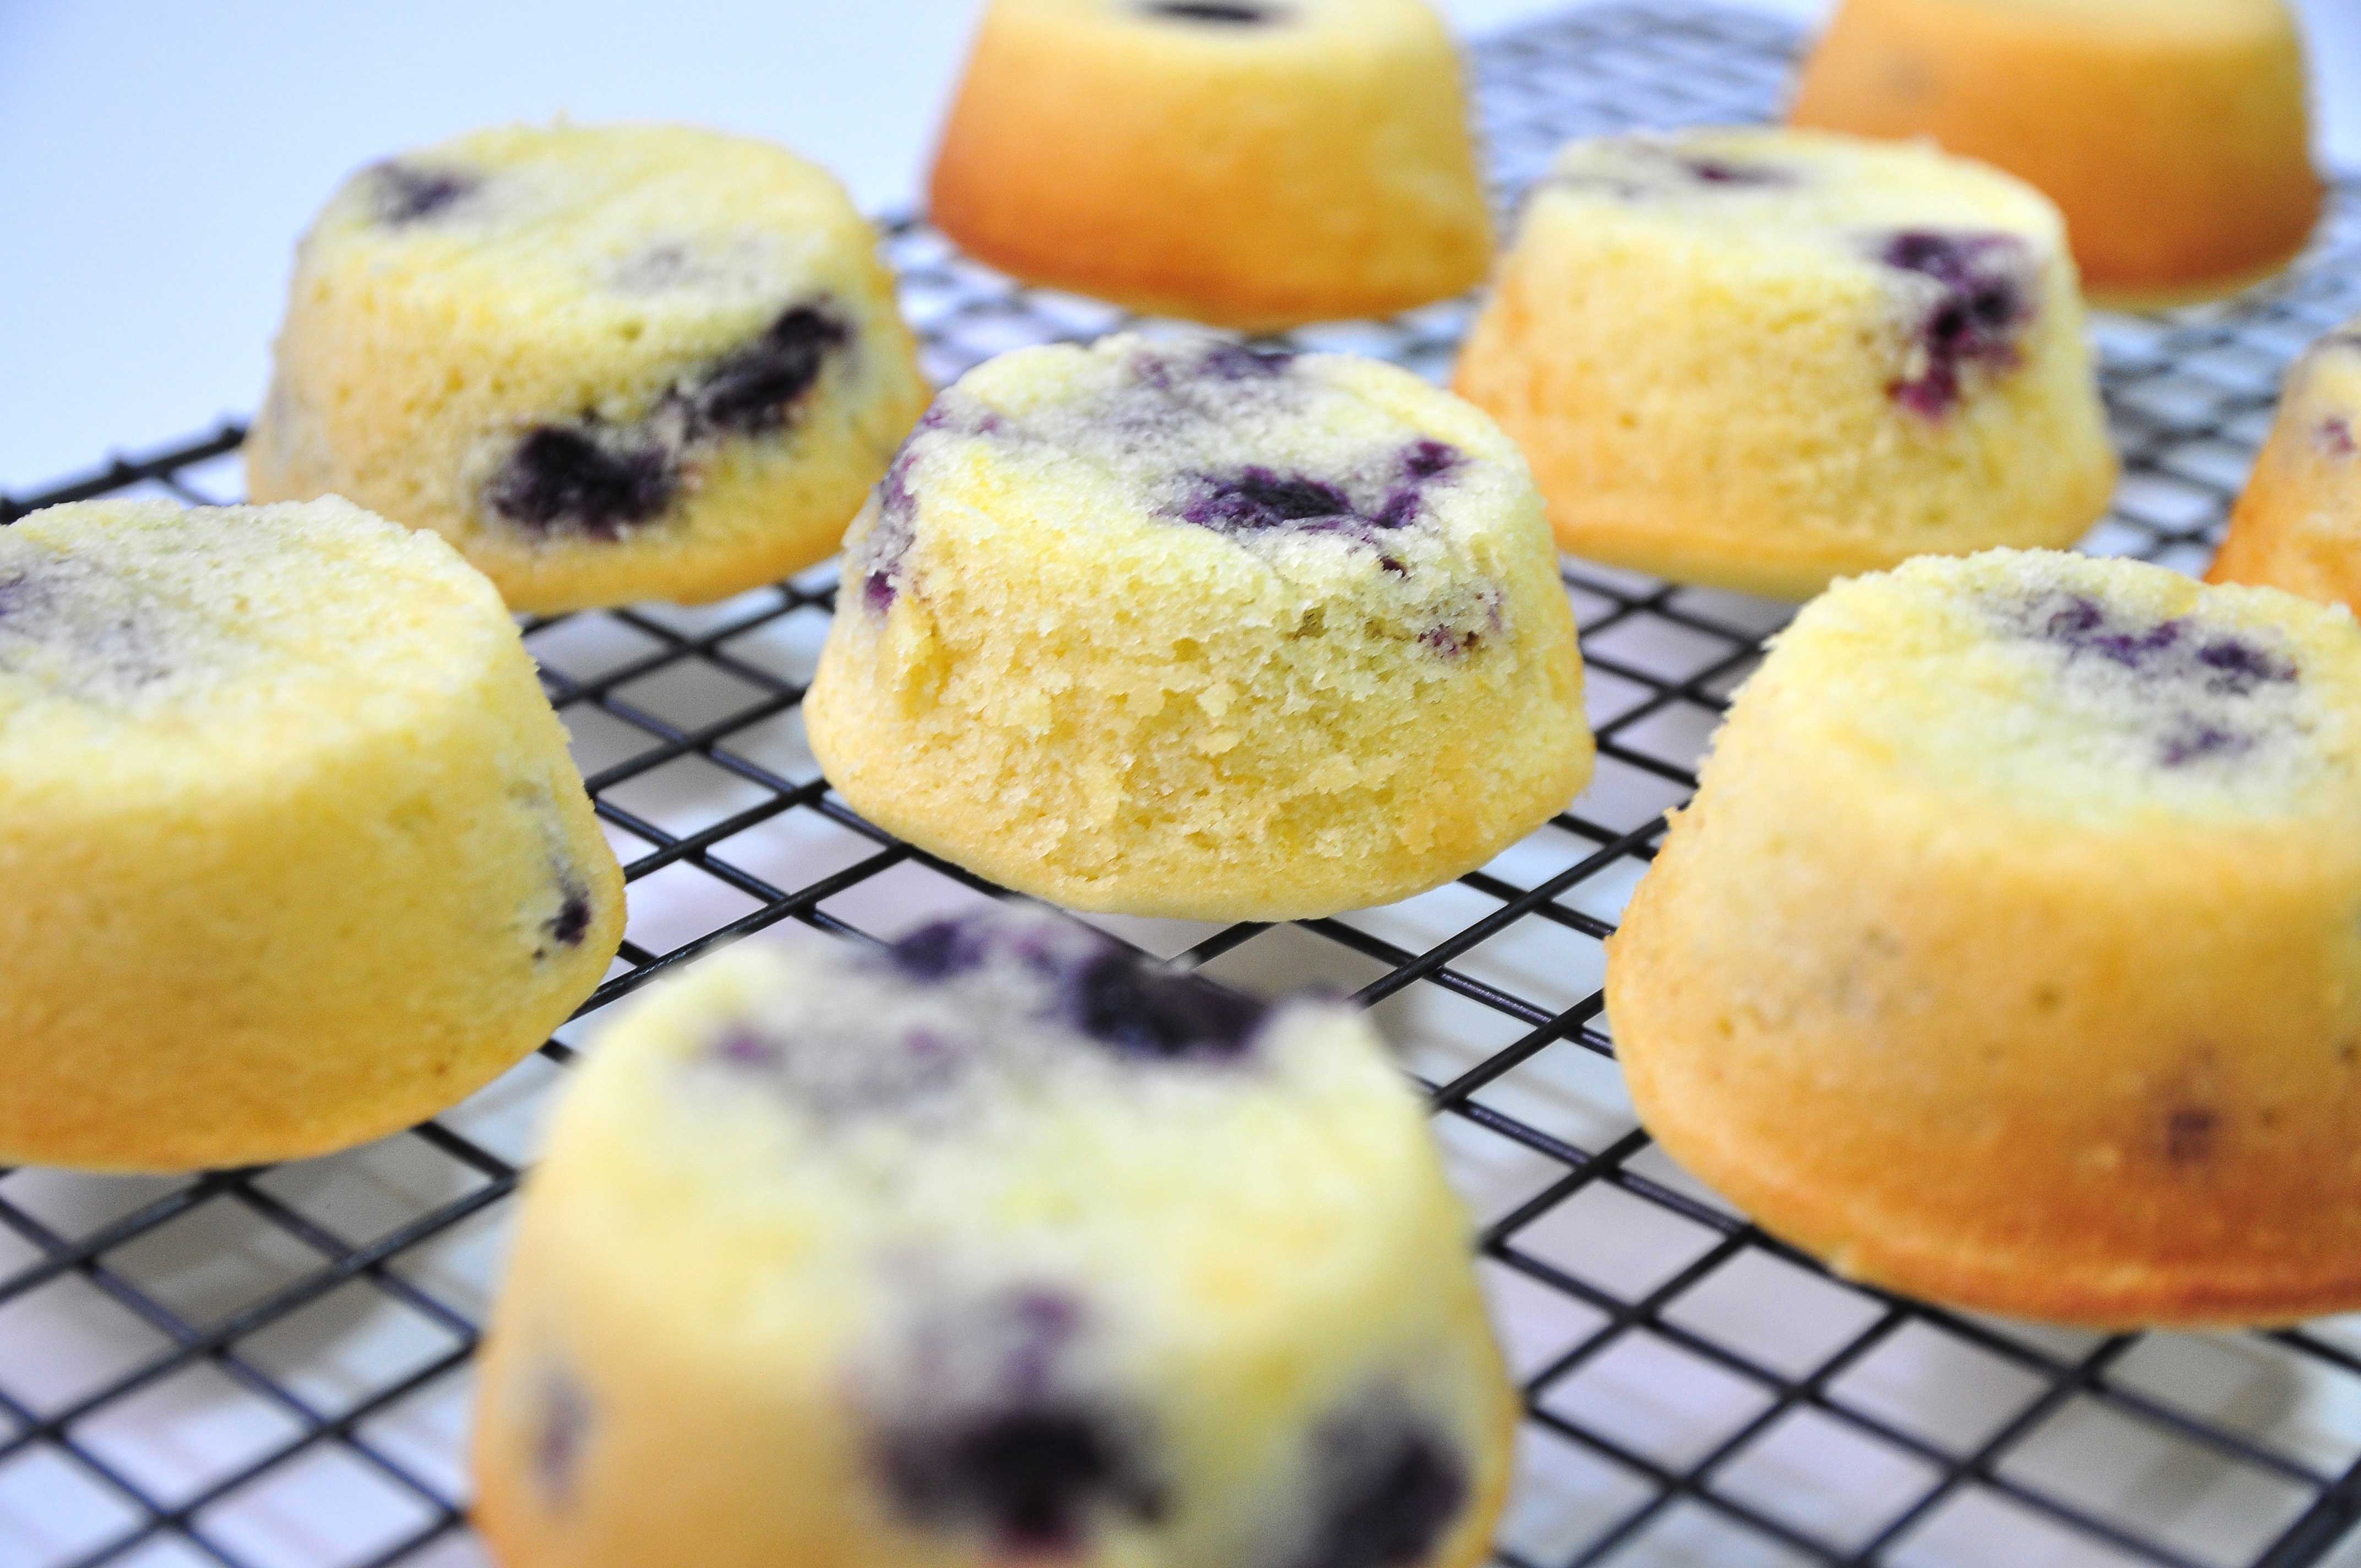
Helloo Guyss!!! Today I’m sharing a “Lemon Blueberry Cake”. The layers of moist lemon cake are loaded with sweet blueberries.

These cake is wonderfully soft and moist infused with beautiful natural bright fresh lemon flavor, with juicy pops of bright blueberry and the luscious creaminess of lemon creamcheese frosting, it’s really makes a fantastic centerpiece for any dessert table :).

The cake is light, lemony, and bursting with fresh blueberries! It’s not too sweet and not too tangy, but just right.

I drizzle the cake with some frostings and blueberries before serving and it is the perfect finishing touch! This cake just makes me happy 😀 I hope you love it as much as I do! Enjoy!!!

LEMON BLUEBERRY CAKE
Yield: 10 pieces
Active times: 45 minutes
Total time: 1 1/2 hours

INGREDIENTS
Cakes:

  • 113 grams Unsalted butter (softened to room temperature)
  • 175 grams Granulated sugar
  • 1/2 tablespoon Fresh lemon zest
  • 2 large Eggs (100 grams), room temperature
  • 1 teaspoons Vanilla extract (optional)
  • 175 grams All-purpose flour
  • 1 teaspoon Baking powder
  • 1/8 teaspoon Baking soda
  • 1/4 teaspoon Salt
  • 120 grams Buttermilk (storebought or homemade)
  • 60 grams Fresh lemon juice (from about 1 1/2 lemons)
  • 1 cups (6 ounces) Fresh or frozen blueberries (do not thaw if frozen)
  • 1 tablespoons All-purpose flour

Lemon Cream Cheese Frosting:

  • 90 grams Cream cheese
  • 30 grams Unsalted butter
  • 128 grams Icing Sugar
  • 1/2 teaspoon Lemon zest
  • 1/4 tablespoon Lemon juice

INSTRUCTIONS
Cakes:

  1. Preheat the oven to 350 degrees. Coat pan with nonstick cooking spray. Set aside.
  2. In a separate bowl, whisk together the flour, baking powder, soda and salt. Set aside.
  3. In another bowl, toss the blueberries with the 1 tablespoons flour. Set aside.
  4. In a large bowl with an electric mixer (or in the bowl of an electric mixer fitted with the paddle attachment), cream together the butter, sugar and lemon zest until light and fluffy, 4-5 minutes (don’t cut down the time on this step). Then add the eggs and vanilla until well-combined, 1-2 minutes, scraping down the sides of the bowl as needed.
  5. Stir the dry mixture (flour mixture) into the wet ingredients (butter mixture) and mix on low speed until just combined and a few dry streaks remain. Then add the buttermilk and lemon juice to the batter, and stir by hand, folding the batter until just combined.
  6. Finally add the blueberries to the batter and fold in by hand with a spatula or wooden spoon until just-combined. Overmixing may result in a tough, dry cake.
  7. Scoop the batter evenly in the prepared cupcake pan and bake for 15-20 minutes until just baked through. The top will spring back lightly to the touch and a toothpick inserted in the center should come out with moist crumbs but not wet batter.
  8. Let the cakes cool for 5-10 minutes in the pans before turning them out onto a cooling rack to cool completely.

Lemon Cream Cheese Frosting:

  1. For the frosting, whip the cream cheese and butter together with a handheld electric mixer or with an electric stand mixer fitted with the paddle attachment until light and fluffy, 2-3 minutes. Then add the powdered sugar, lemon zest and lemon juice and mix on low speed (so the powdered sugar doesn’t fly everywhere) until combined. Increase the speed to medium and mix until creamy, 1-2 minutes.
  2. When the cake has cooled completely, place one round on a platter or plate and spread the top evenly with frosting. Garnish with blueberries and lemon slices, if desired.

NOTES
This cake, once frosted, lasts very well in the refrigerator for several days (I’ve made it up to two days in advance before serving). Take it out an hour or two before serving or serve chilled, your choice!

Chocolate Fudge Brownies

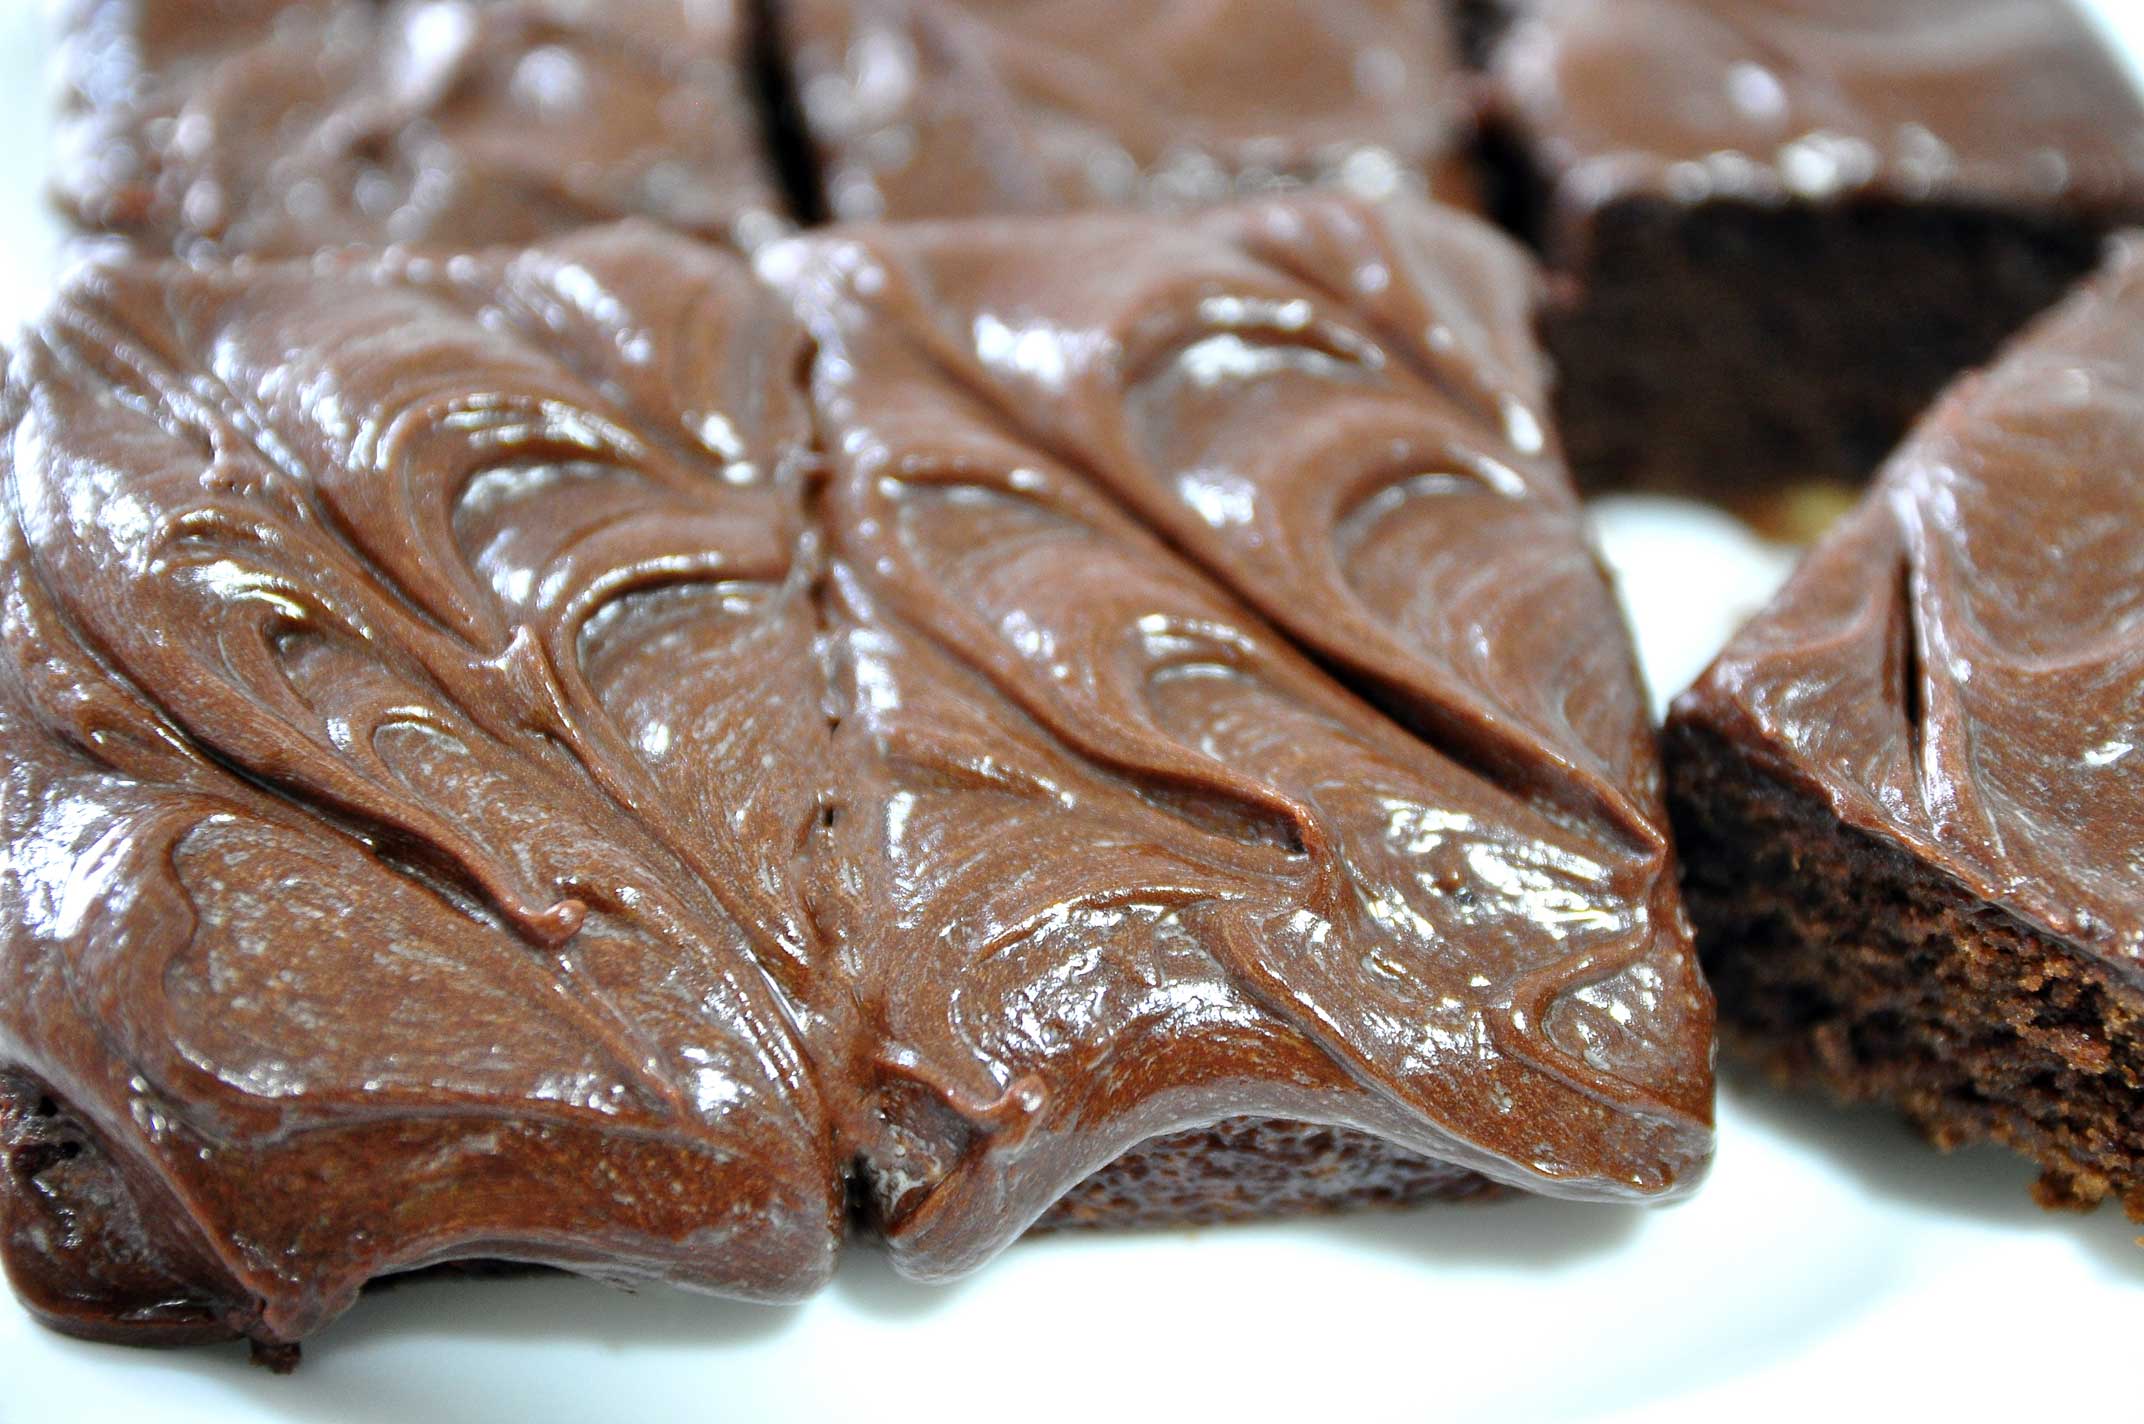
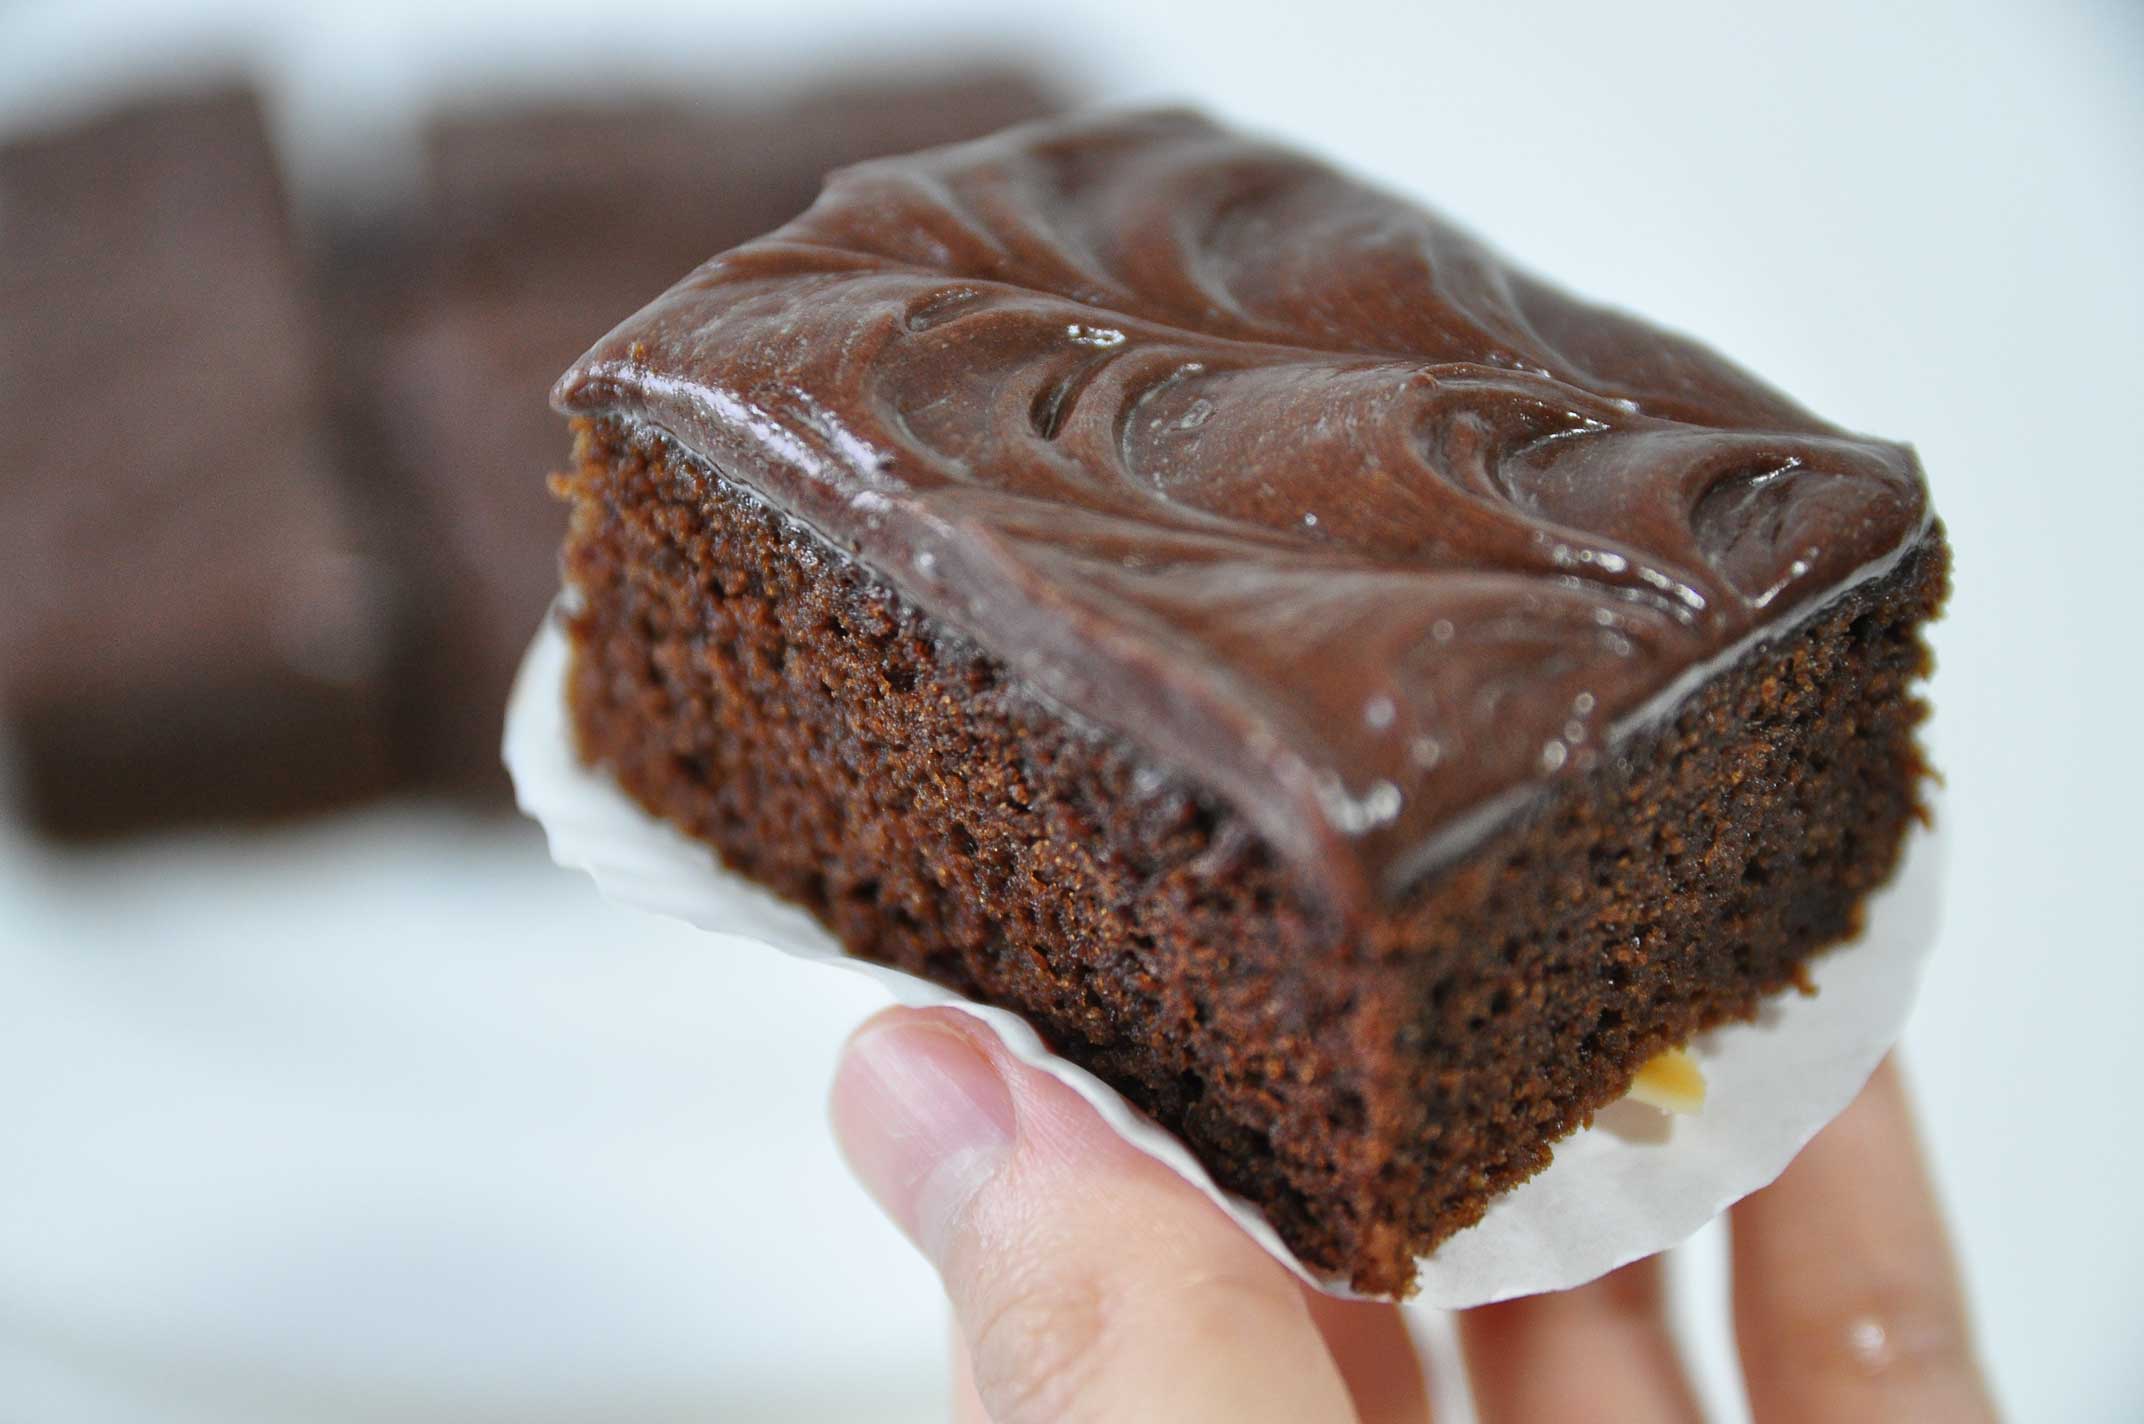
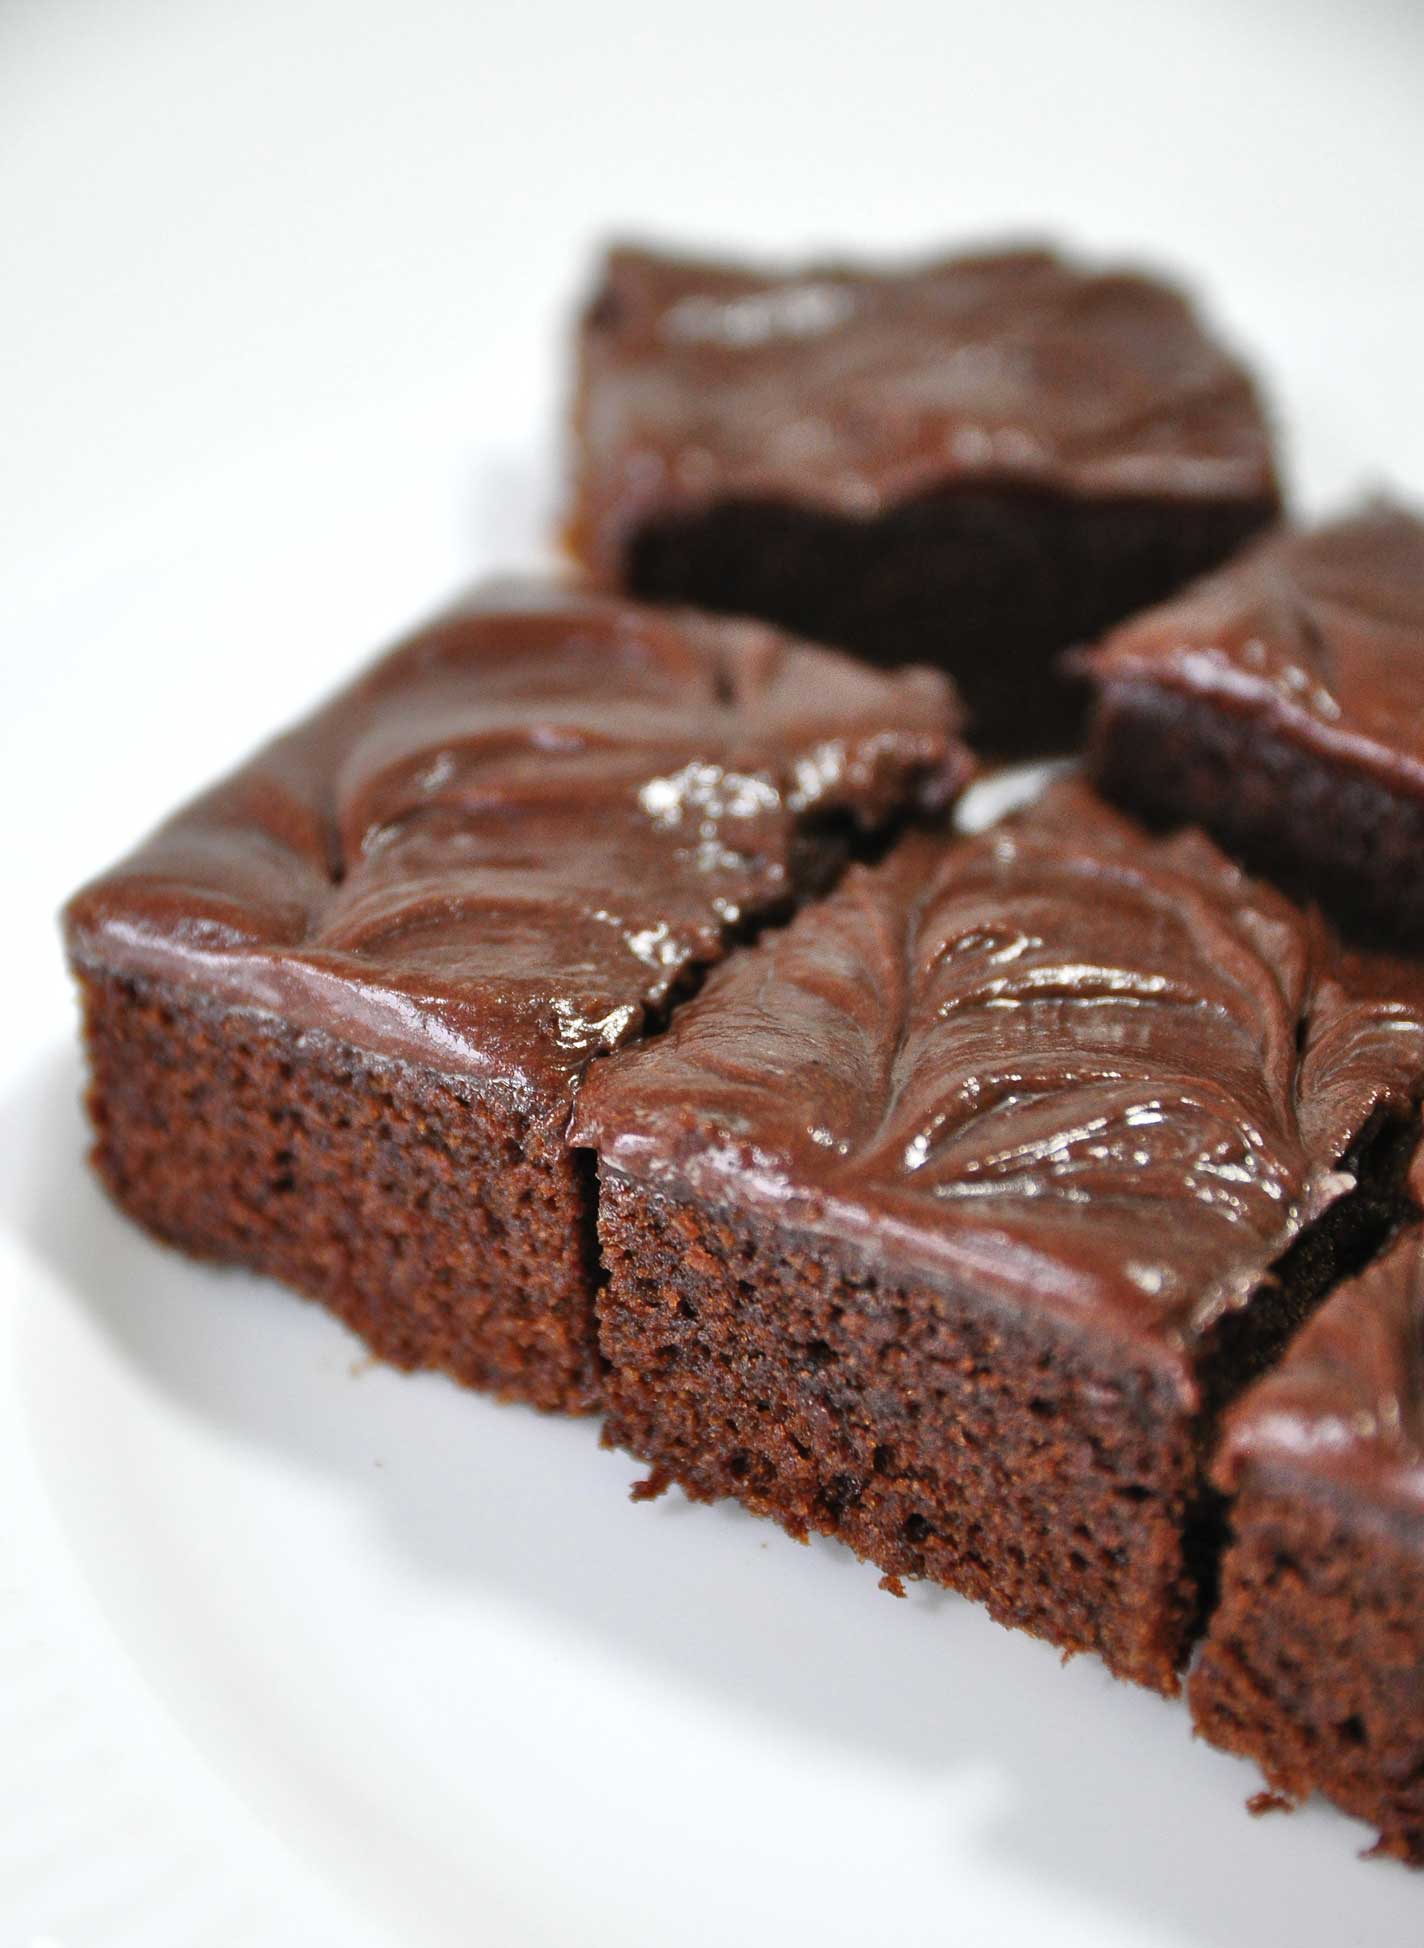
Hi Guys!!! how are you today?? Today we are making some Chocolate Fudge Brownies that I promise taste just as good as they look 🙂
After testing what feels like a lifetime of brownies, these FINALLY came out a perfect texture, and have been made weekly ever since.

These Brownies are so chewy and gooey with the addition of Fudge Icing on top you can’t go wrong! For those of you prefer a less sweet, more “adult style” icing I urge you to try them with Ganache Icing (you can find the recipe below)!


Just one bowl and 5 minutes bringing it all together to make the BEST freaking brownies you’ve ever eaten in this lifetime. I hope you enjoy the recipe and see ya soon!!!


CHOCOLATE FUDGE BROWNIES
Yield: 7-inch square pan
Active times: 1 hour
Total time: 1 1/2 hours

INGREDIENTS
Brownies

  • 42 grams all-purpose flour
  • 1/2 teaspoon baking powder
  • 1/4 teaspoon salt
  • 113 grams semi sweet baking chocolate
  • 75 grams unsalted butter
  • 100 grams granulated sugar
  • 2 eggs (100 grams)
  • 15 grams chopped nuts (as desired)


Fudge Icing

  • 13 grams granulated sugar
  • 1 tablespoon water
  • 8 grams corn syrup
  • 18 grams cocoa powder
  • 6 grams vegetable oil
  • 5 grams shortening
  • 16 grams corn syrup
  • 45 grams unsalted butter
  • 20 grams icing sugar

Chocolate Ganache Icing (less sweet “adult style” icing)

  • 80 grams Heavy whipping cream
  • 160 grams Dark Chocolate


INSTRUCTIONS
Brownies

  1. Preheat oven to 350 F/ 180 C.
  2. In a microwave safe bowl or over a double boiler melt the butter and the chocolate together (if using the microwave, on medium power 15-25 seconds at a time and stirring between each interval).
  3. Whisk together flour, baking powder and salt, set aside.
  4. In a large bowl, combine the sugar and the eggs. Whisk together vigorously to incorporate evenly. Add the melted chocolate and butter mixture, mix. Then add all of the dry ingredients at once and mix just until incorporated.
  5. Pour entire batter in prepared pan.
  6. Sprinkle nuts as desired.
  7. Bake for 17-20 minutes or until a toothpick inserted into center produces a moist crumb. Let it cool completely in a pan.
  8. When completely cooled, ice with fudge icing.

Fudge Icing

  1. For the simple syrup, combine the first 3 ingredients (sugar, water and 8 grams of corn syrup). Boil for about 2-3 minutes then pour into a bowl and allow to sit in the freezer to rapid cool while you gather the other ingredients.
  2. In a large mixing bowl with, add the cocoa powder and cooled but still warm simple syrup and mix until it forms a firm mass. Add the vegetable oil, shortening, butter and 16 grams of corn syrup and mix well. Then add the sifted confectioners sugar a little bit at a time and mix until smooth.

Chocolate Ganache Icing

  1. In a double boiler or in the microwave, melt dark chocolate and heavy cream together and stir until smooth.
  2. Once cooled, just spread the icing on the brownies .

NOTES

  • Iced brownies in an airtight container, at room temperature best eaten within 1 to 2 days.
  • A whole pan’s worth, uncut and well wrapped in plastic, will keep at room temperature for up to 3 days, 5 days in the refrigerator, and up to 3 months in the freezer.
  • To thaw the frozen brownies leave the cut up brownie squares to thaw at room temperature for two to three hours, then reheat the brownies using a microwave or a toaster.

Nian Gao

Hellooo there! Today we’re making “Nian Gao” a sticky cake that EVERYONE must have during Chinese New Year, and you know why???
The Chinese word 粘 (nián), meaning “sticky”, is identical in sound to 年, meaning “year”, and the word 糕 (gāo), meaning “cake” is identical in sound to 高, meaning “high or tall”. As such, eating nian gao has the symbolism of raising oneself taller in each coming year (年年高升 niánnián gāoshēng). Other names for these lucky rice cakes include kuih bakul, teekuih and kue keranjang.

I still remembers my first sticky cake. “I was really little, and the smell was just overwhelming – sweet but not too sweet. It filled the whole house.” I can say the cake – slabs or shapes of sweetened glutinous rice – is still among my favourite foods. “There’s nothing quite like it!”

This sweet and sticky rice cake is readily available only once a year during the Chinese New Year season (you can imagine how I will miss it so much :P), however the nian gao can be kept quite long time. My mom usually buy a lot of Nian Gao in bulk, cut and then stored in the freezer for up to a year.

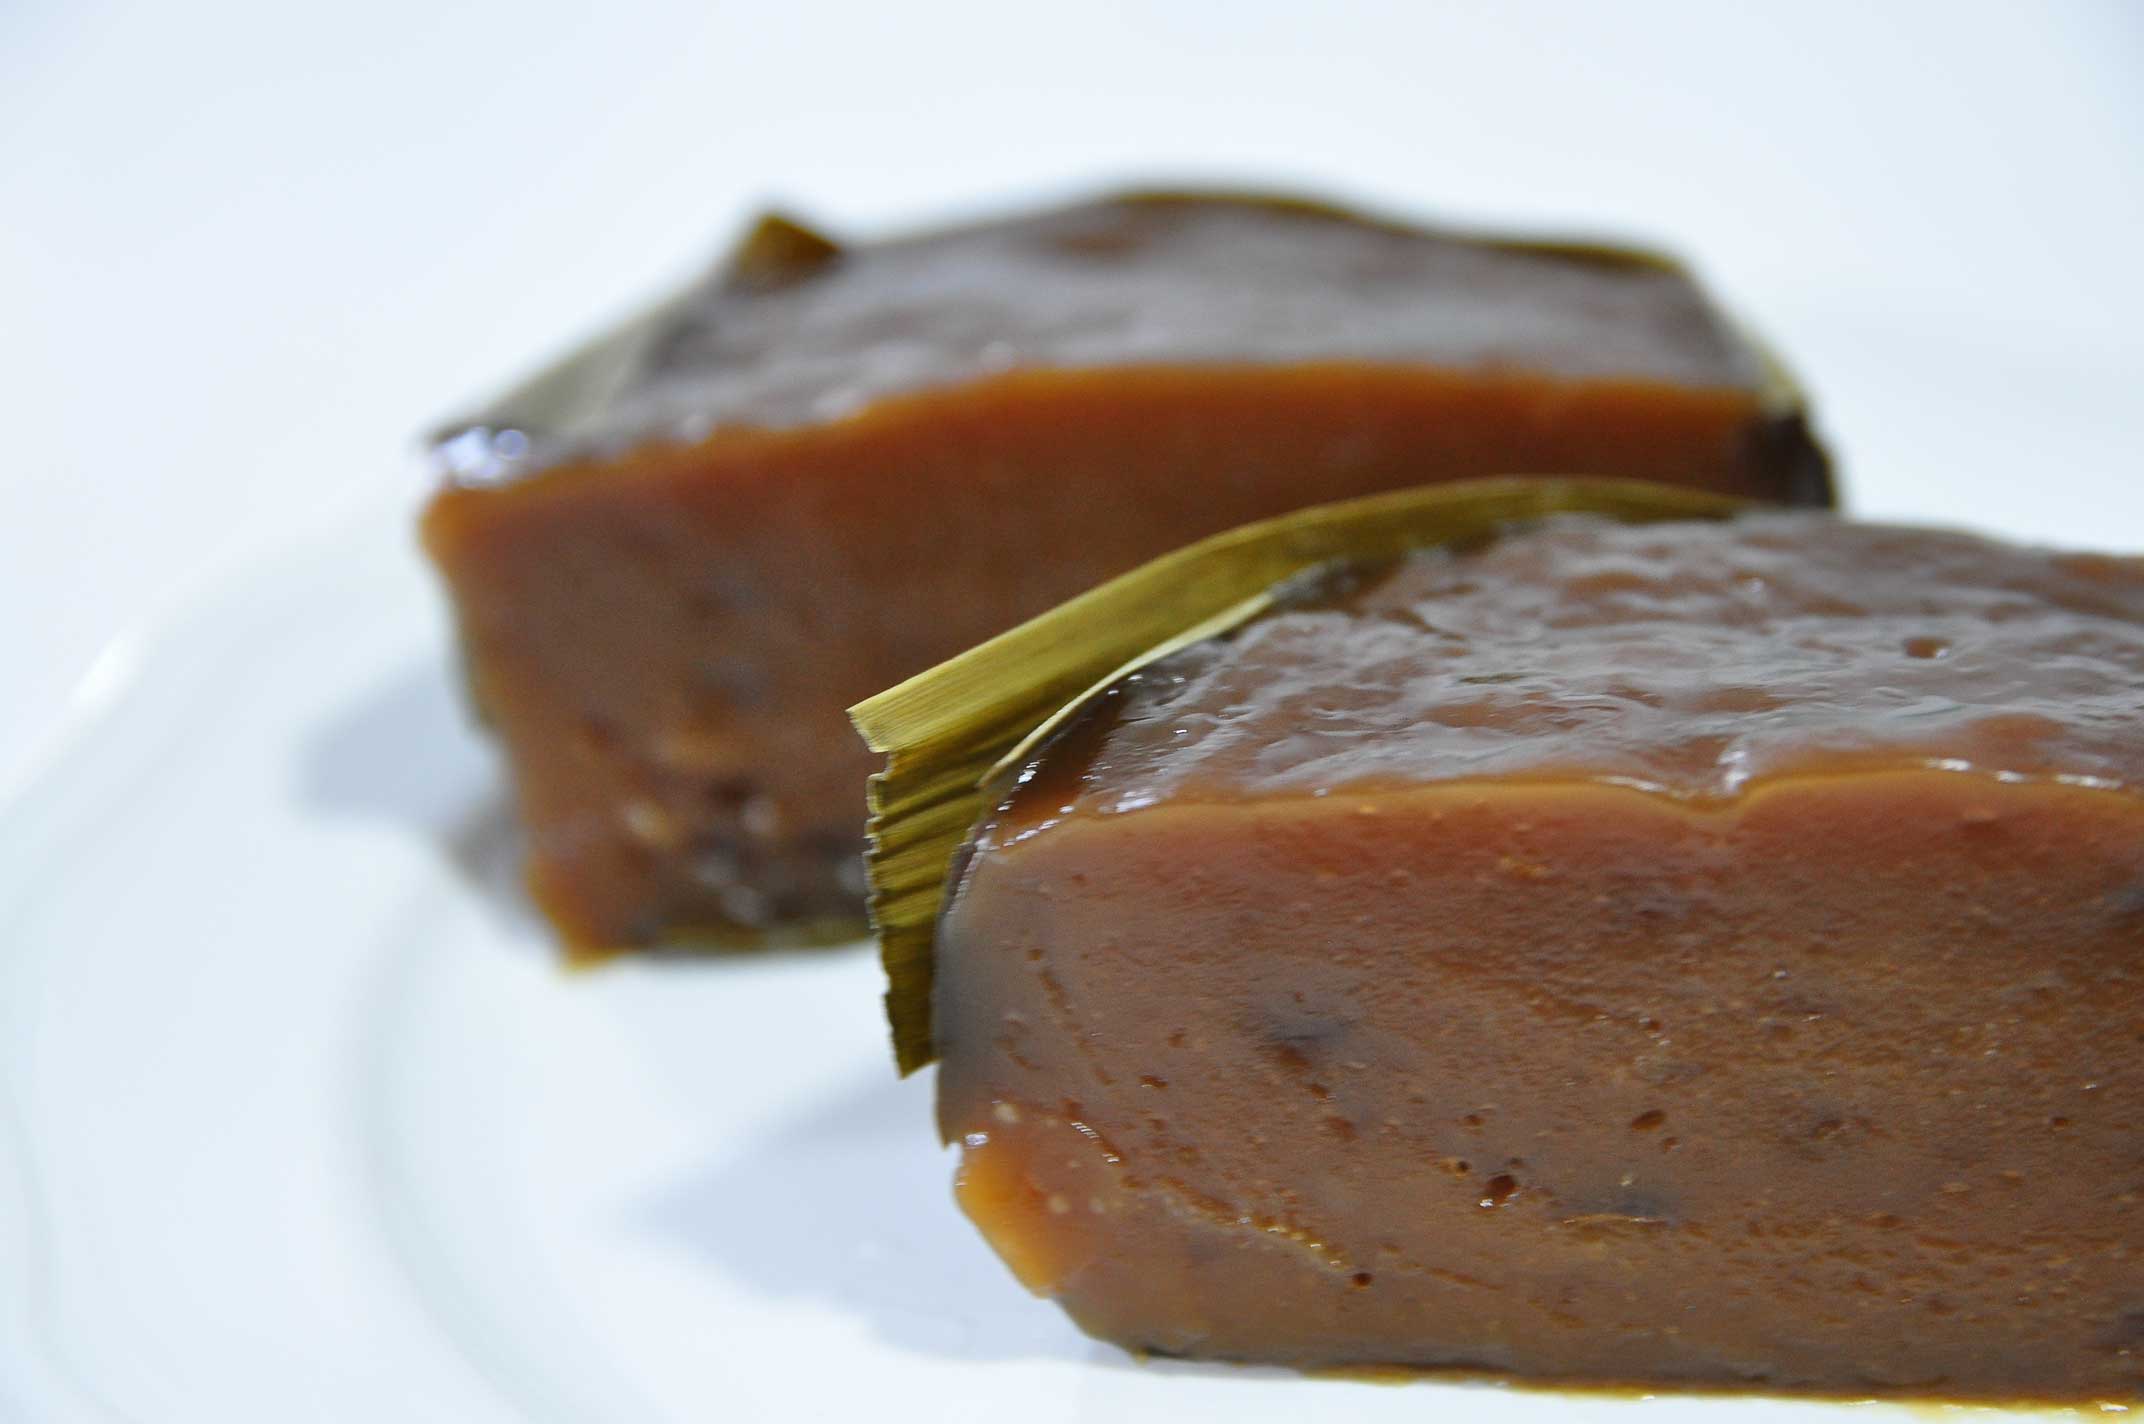
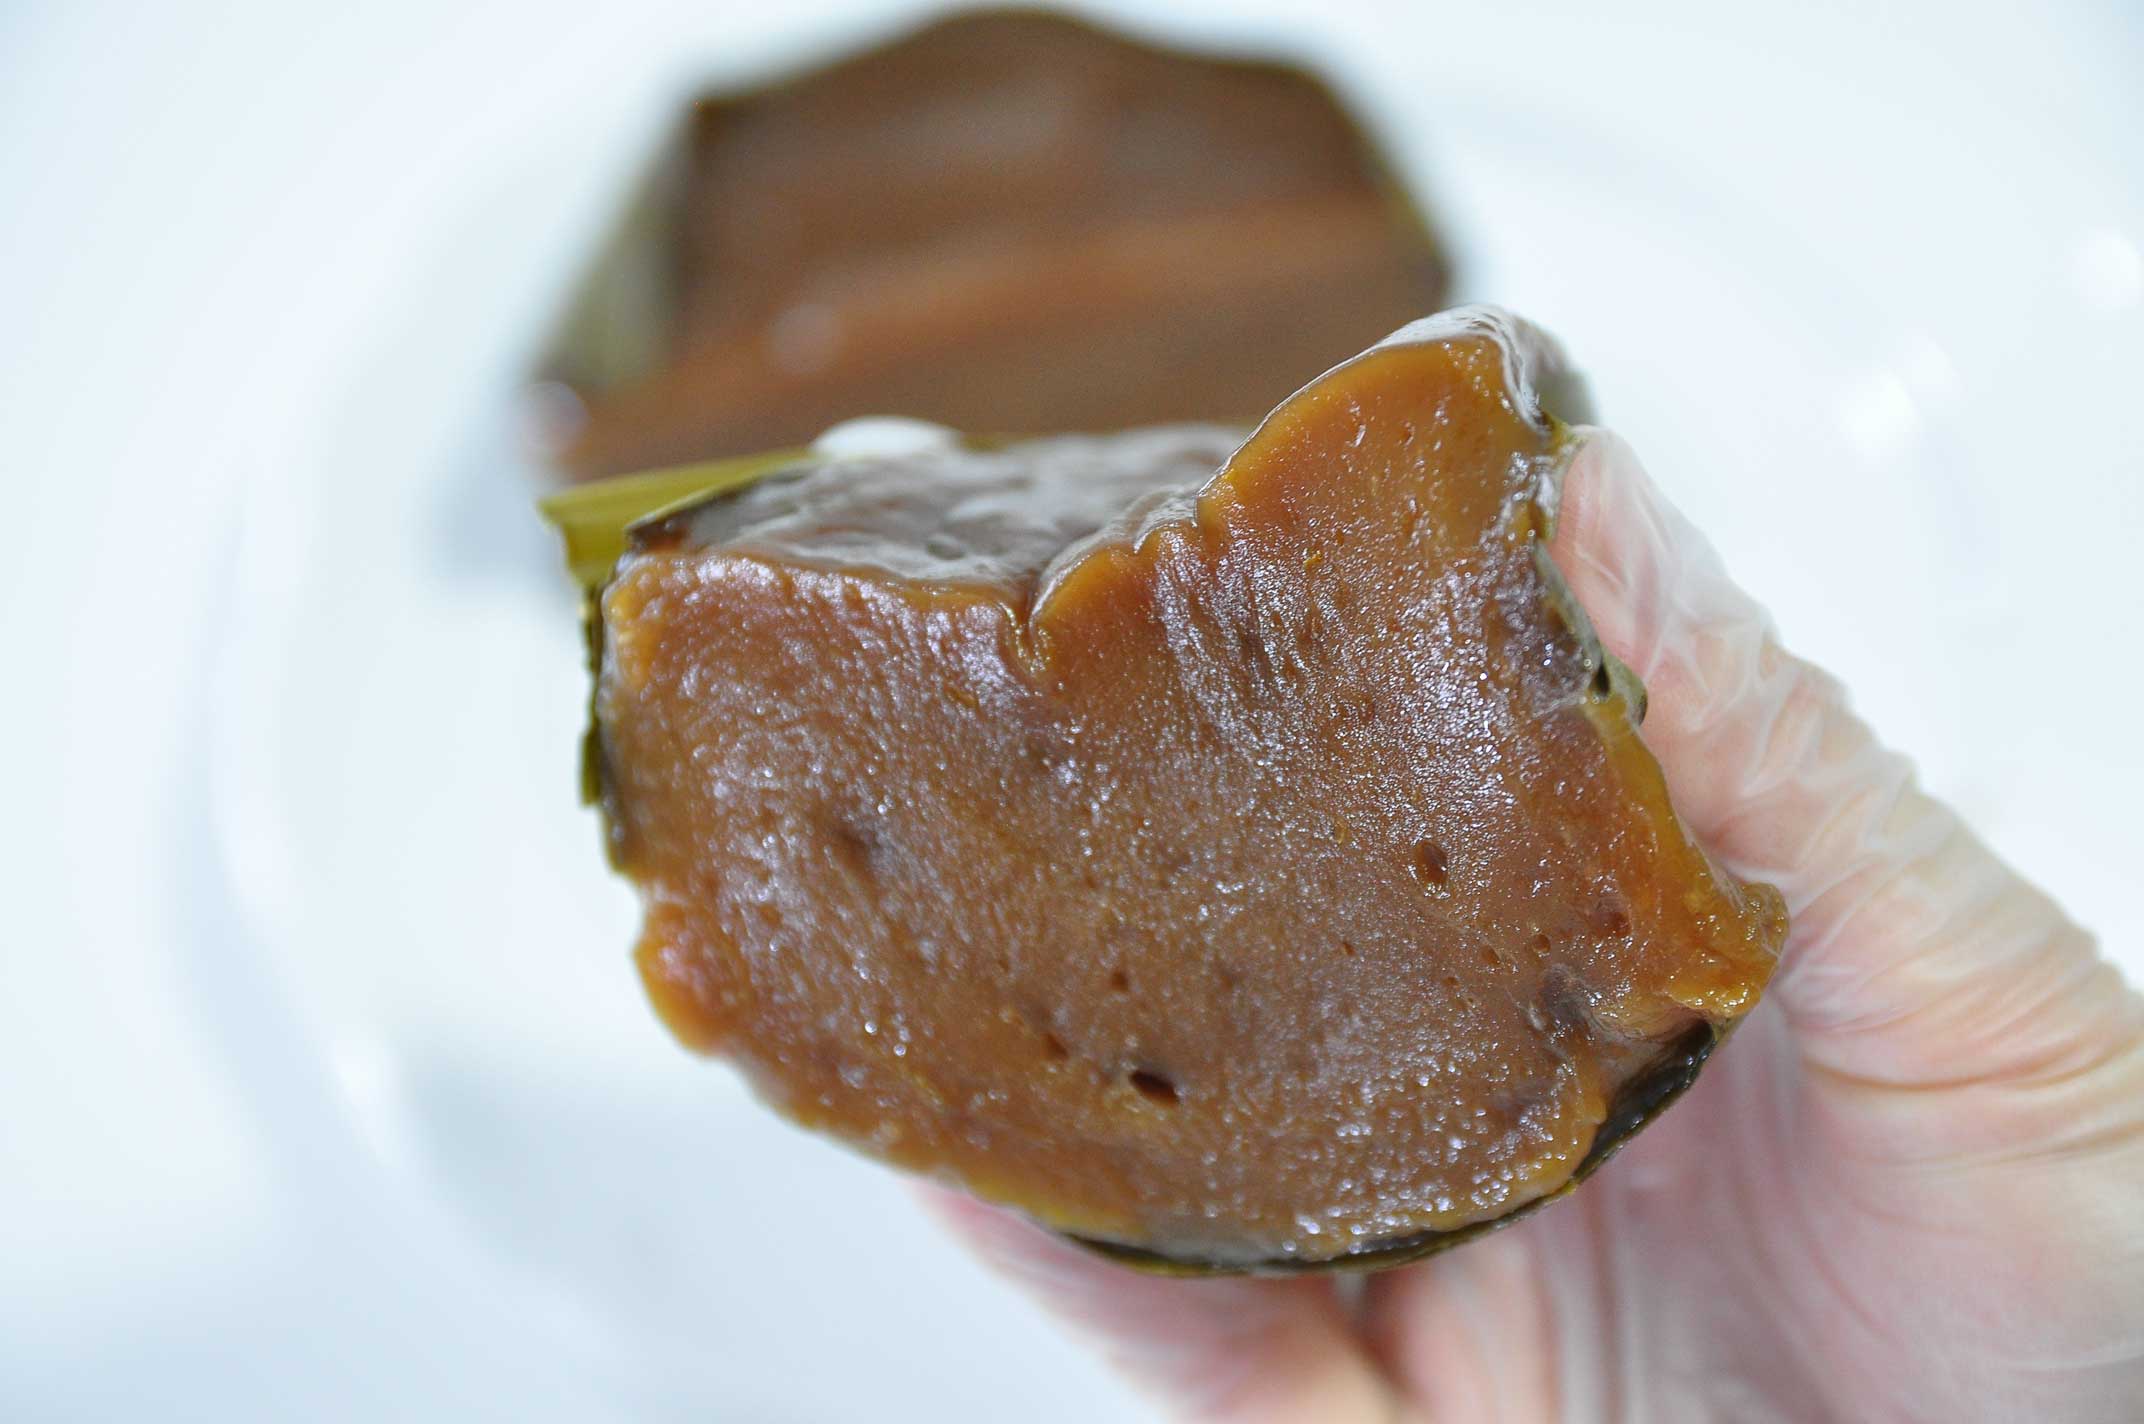
Soft and sticky

Traditionally, making Nian Gao involves 3 simple ingredients, however it takes a VERY long time to cook. It was a tough work to produce this cake, 10-12 hours of steaming 😛 Did I just give you a heart attack?
Don’t worry, this recipe only need a short steaming time, so what are you waiting for, learn the secret in the video–enjoy!


NIAN GAO
Yield: three 5-inch round containers
Active times: 1 hour
Total time: 3 hours

INGREDIENTS
Banana Leaves
3 crushed Pandan Leaves
1/2 teaspoon Salt
380 grams Gula Melaka
120 grams Granulated Sugar
500 ml Water
200 ml Coconut Milk
600 grams Glutinous Rice Flour
Zest of one Orange (optional)

INSTRUCTIONS
Banana Leaves

  1. Soften banana leaves by boiling them in hot water for about 10 minutes.
  2. Cut the softened banana leaves to size and line the inside of container.


Batter

  1. Mix gula melaka and water in a pot, add the salt and crushed pandan leaves. Bring to boil until gula melaka dissolves, then add the granulated sugar.
  2. Stir in the coconut milk into the gula melaka mixture and mix well. Then sieve the mixture into a bowl and set aside to cool down.
  3. In a large bowl, sieve glutinous rice flour. Slowly add the cooled down gula melaka mixture a little at a time and mix well, then sieve mixture into a pot.
  4. Cook batter over low heat till batter thickens, add the orange zest.
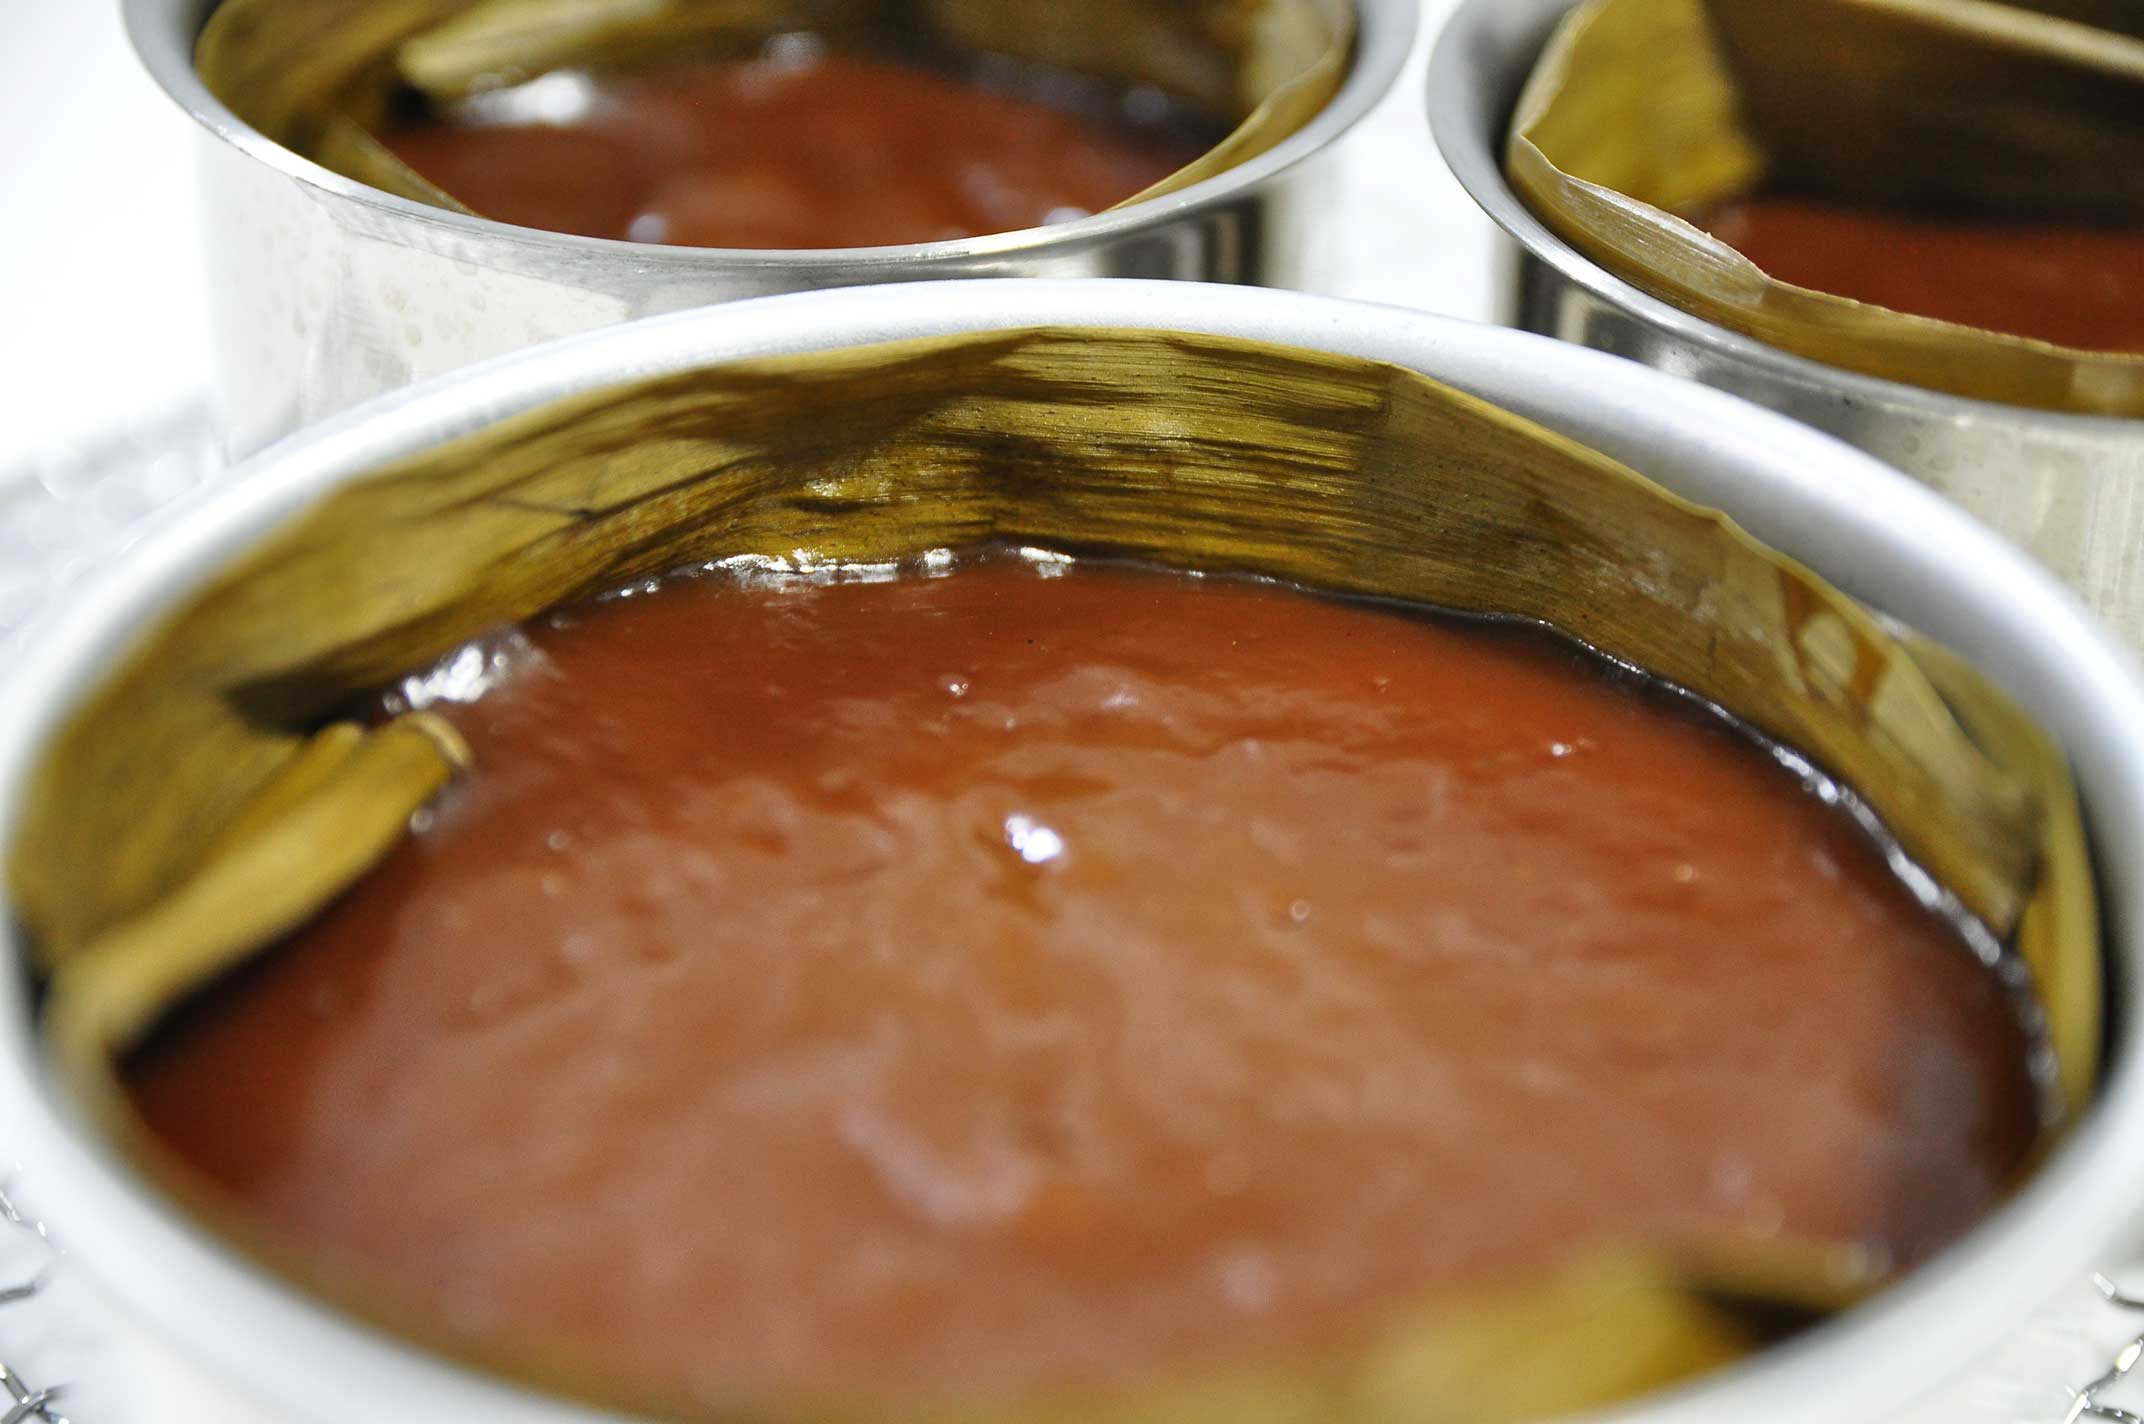
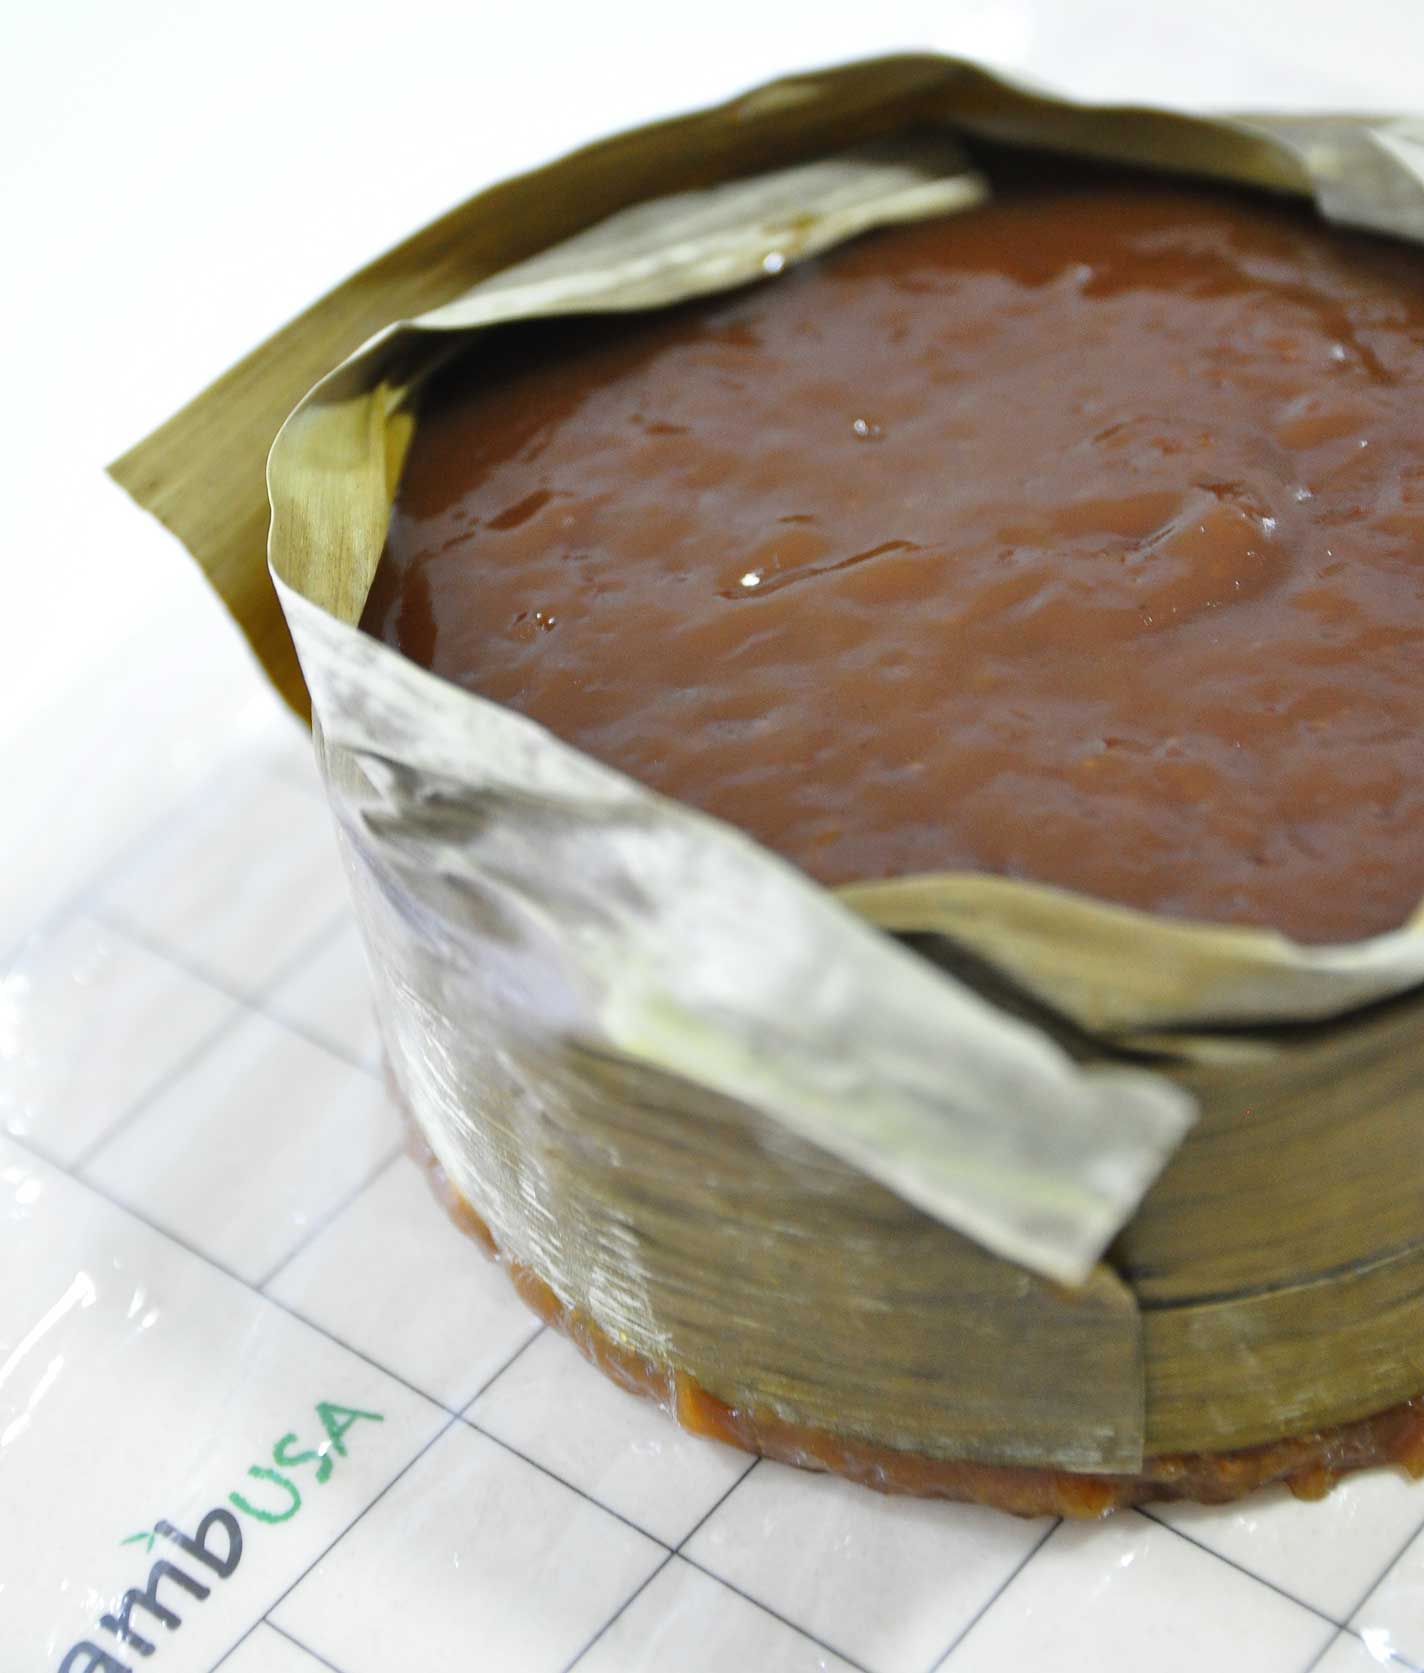
  5. Slowly pour the thickened batter into the coconut leaves lined containers. Arrange containers in a steamer and steam at low heat for 2 hours, top up water when the water level drops in the steamer.
  6. After 2 hours, turn off the heat. Leave containers in the hot steamer for several hours to make use of the residual heat. Thereafter, remove it from steamer and set aside to cool down.
  7. Once it has cooled down, loosen the sides with a spatula. Place a plate over it and turn over, cut it with grease oil knife.


NOTES

  1. Increase the amount of sugar if you prefer Nian Gao to be sweeter.
  2. Nian Gao can be stored at room temperature for a day or two, in the refrigerator for up to a week, or in the freezer for several months.
  3. Ensure it cools completely and is wrapped tightly in plastic wrap or an airtight container to prevent drying out. 
  4. Thaw frozen Nian Gao in the refrigerator before reheating.
  5. To reheat, you can steam the Nian Gao until it softens or pan-fry it until crispy. 
  6. Fried Nian Gao can be reheated in a toaster, oven, or air fryer.