
Soft, moist, and flexible, with a delicate white crumb—this is the Rice Flour Vanilla Sponge Cake of my dreams.
One of the best things about this cake is that it’s naturally gluten-free.
Soft, moist, and flexible, with a delicate white crumb—this is the Rice Flour Vanilla Sponge Cake of my dreams.
One of the best things about this cake is that it’s naturally gluten-free.
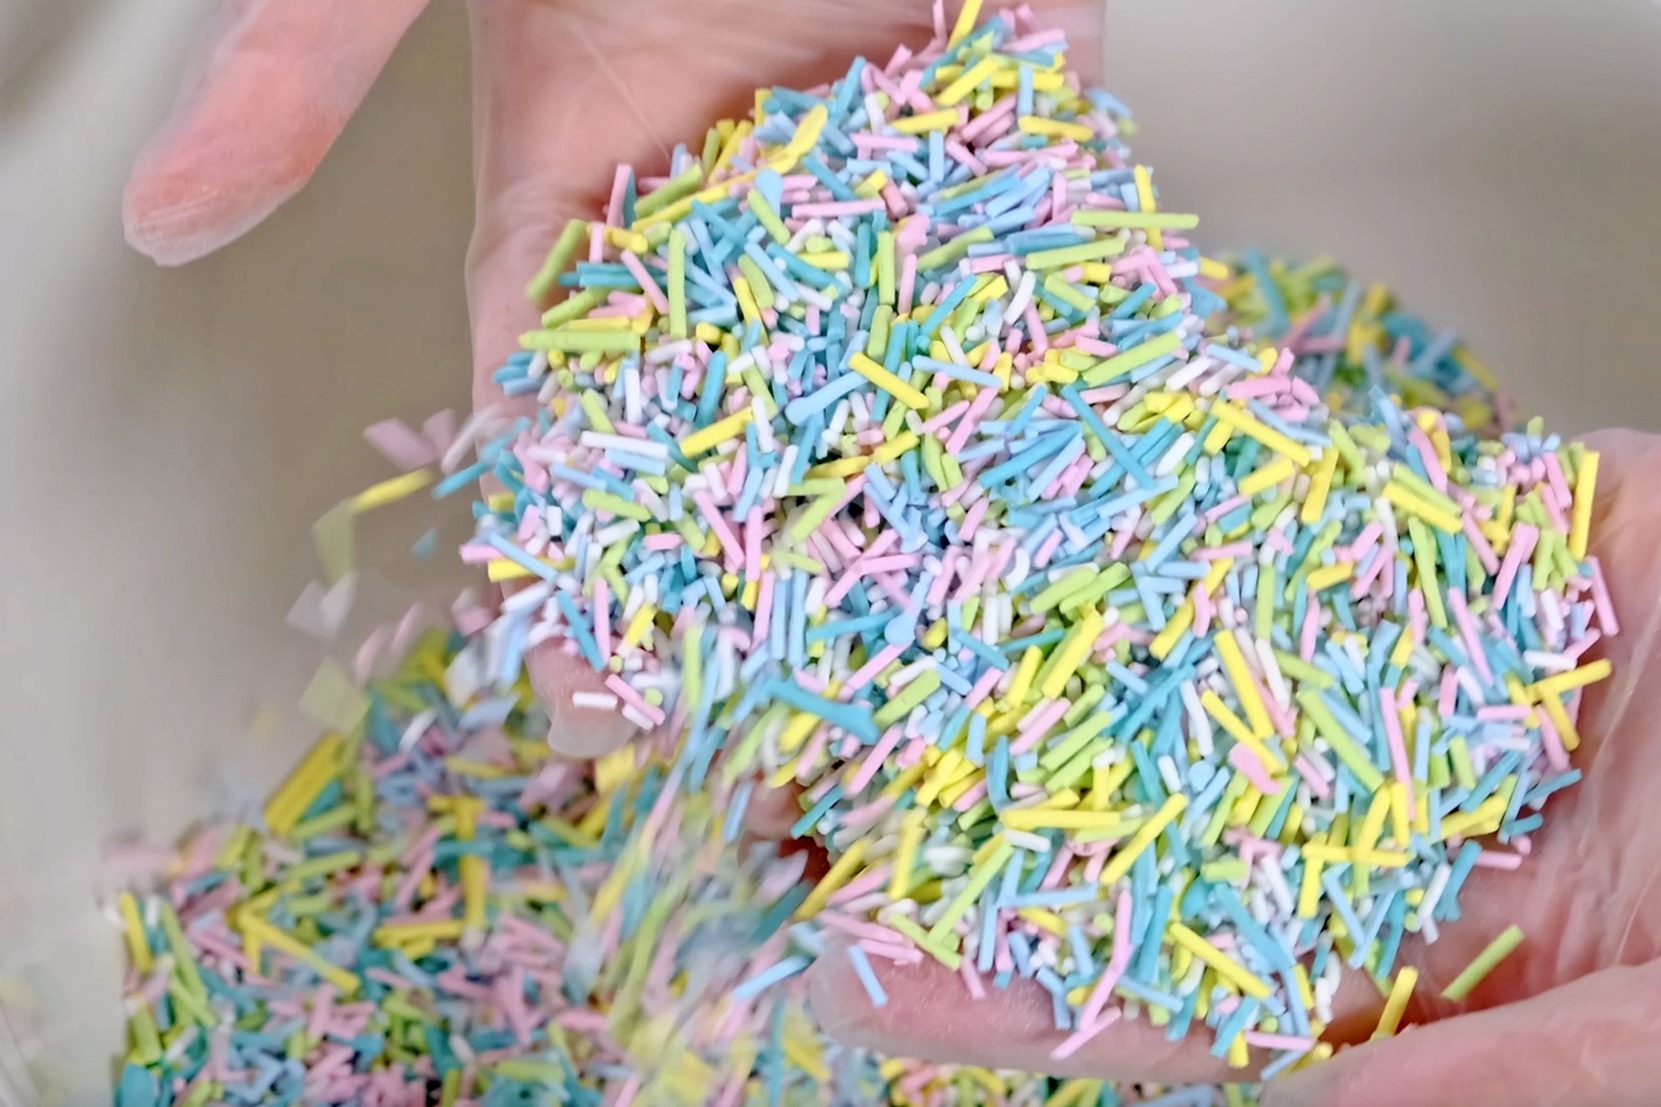
I truly enjoy making my own pastel sprinkles at home because they are quite difficult to find in stores 😬
Read more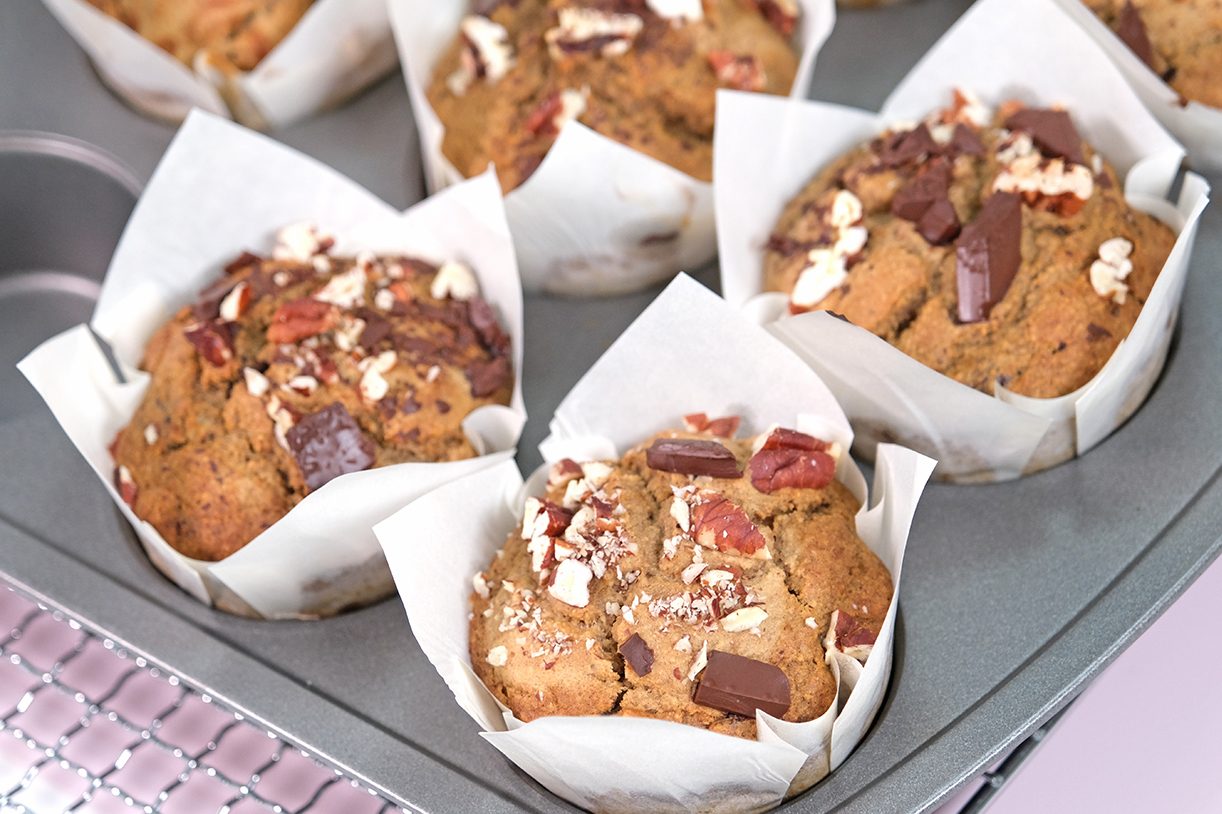
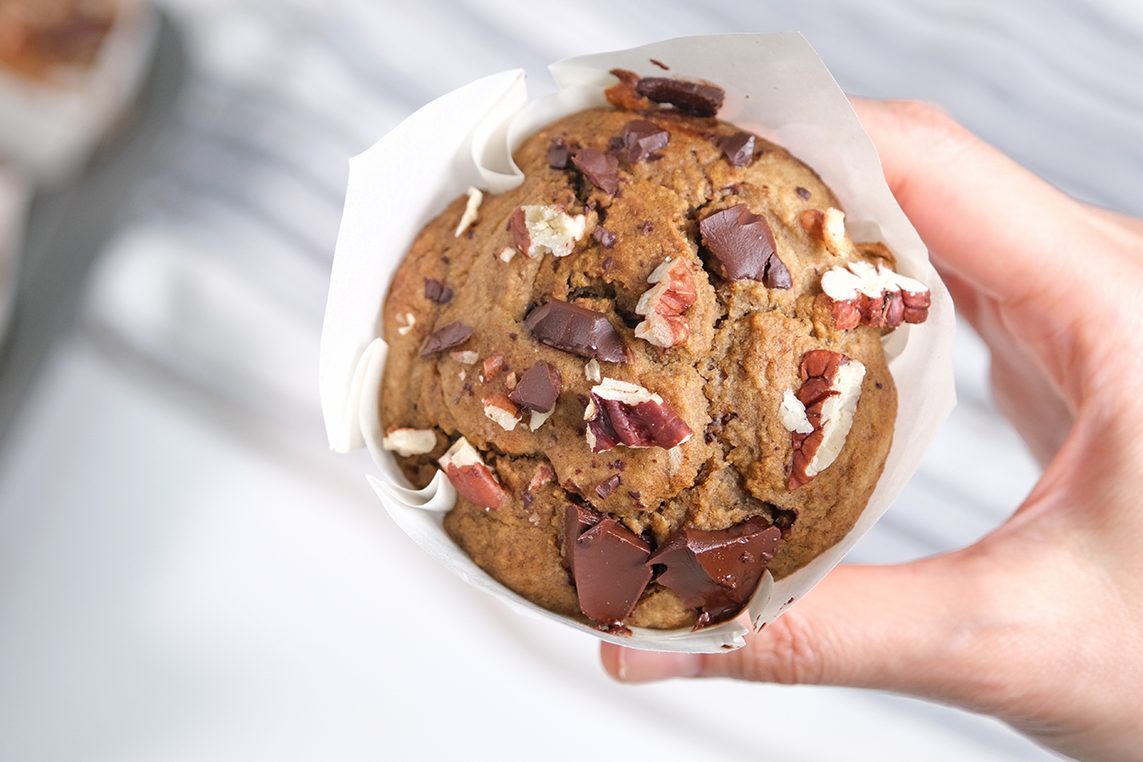
If you love Muffins but don’t love the sugar crash, these “Healthy Banana Oat Muffins” are about to become your new favorite bake.
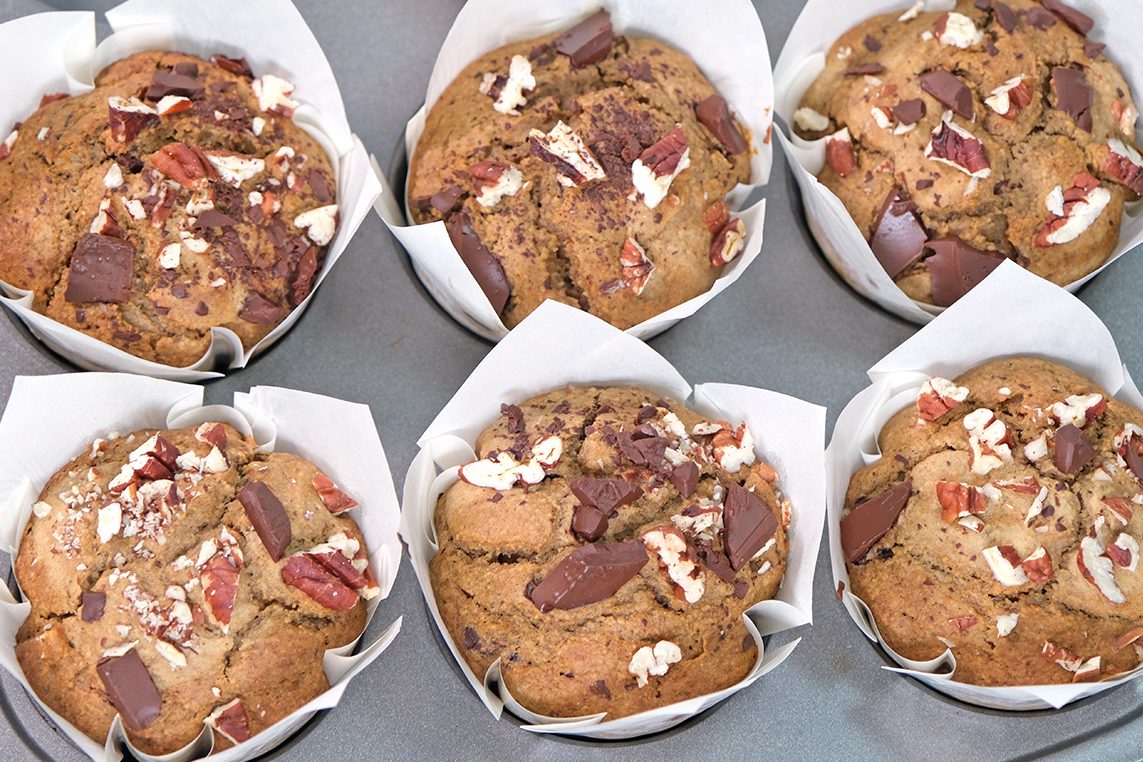
They’re naturally sweet, incredibly moist, and made with simple, wholesome ingredients — without Oil, Refined Sugar, Flour, or Dairy.
Yes, really!
These muffins are perfect for busy mornings, post-workout snacks, or even a light dessert. And the best part? Everything goes into one blender 😘
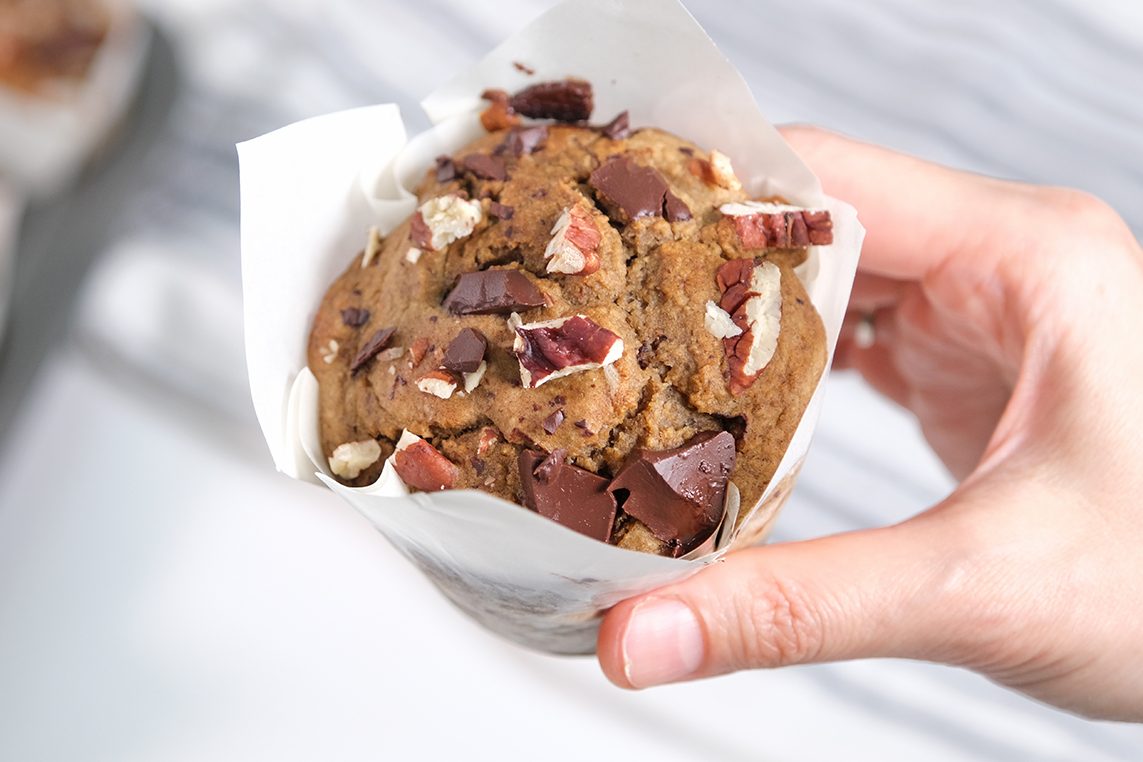
💋 WHY YOU WILL LOVE THESE MUFFINS
They’re soft, tender, and perfectly sweet, packed with fiber-rich Oats, and finished with Dark Chocolate and crunchy Pecans.

🍌 Why These Muffins Work
They’re hearty, filling, and perfect for breakfast or a snack 🤓
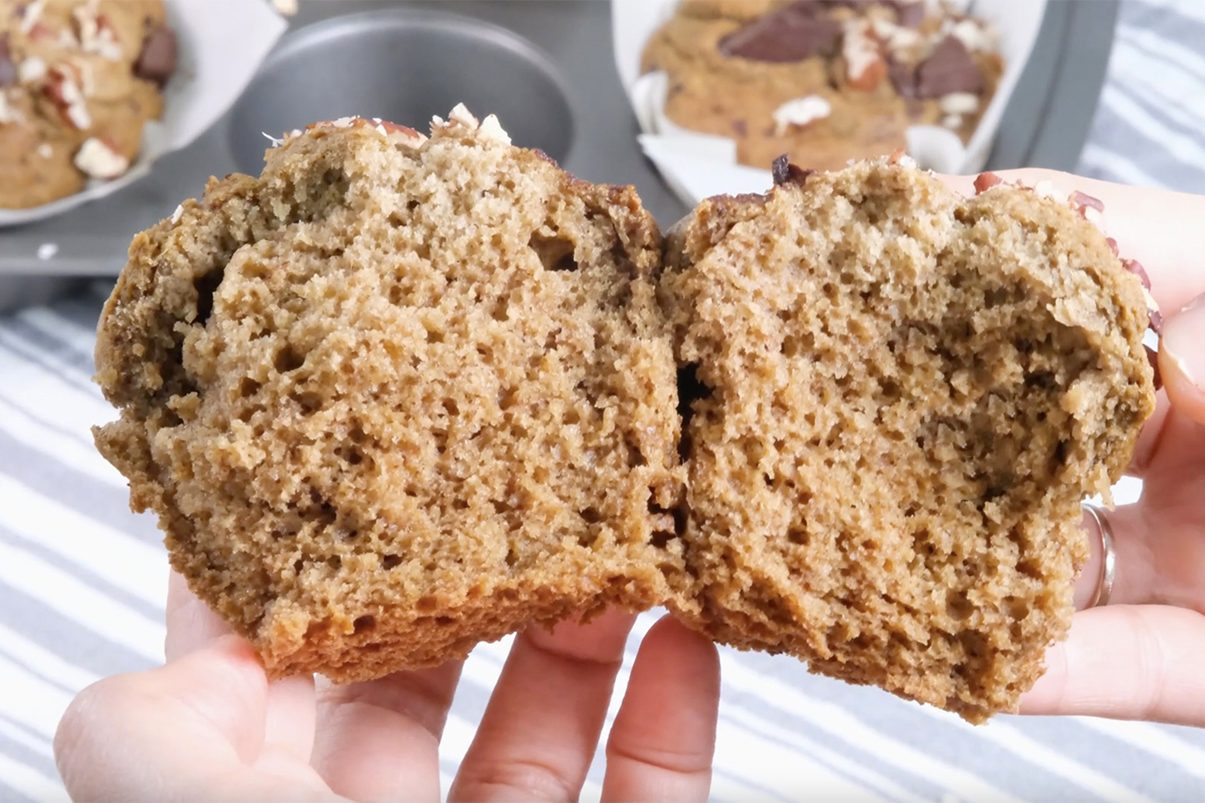
These Banana Oat Muffins prove that healthy baking doesn’t mean sacrificing flavor.
With just a handful of wholesome ingredients, you get a rich, satisfying muffin that feels indulgent — but fuels your body well.
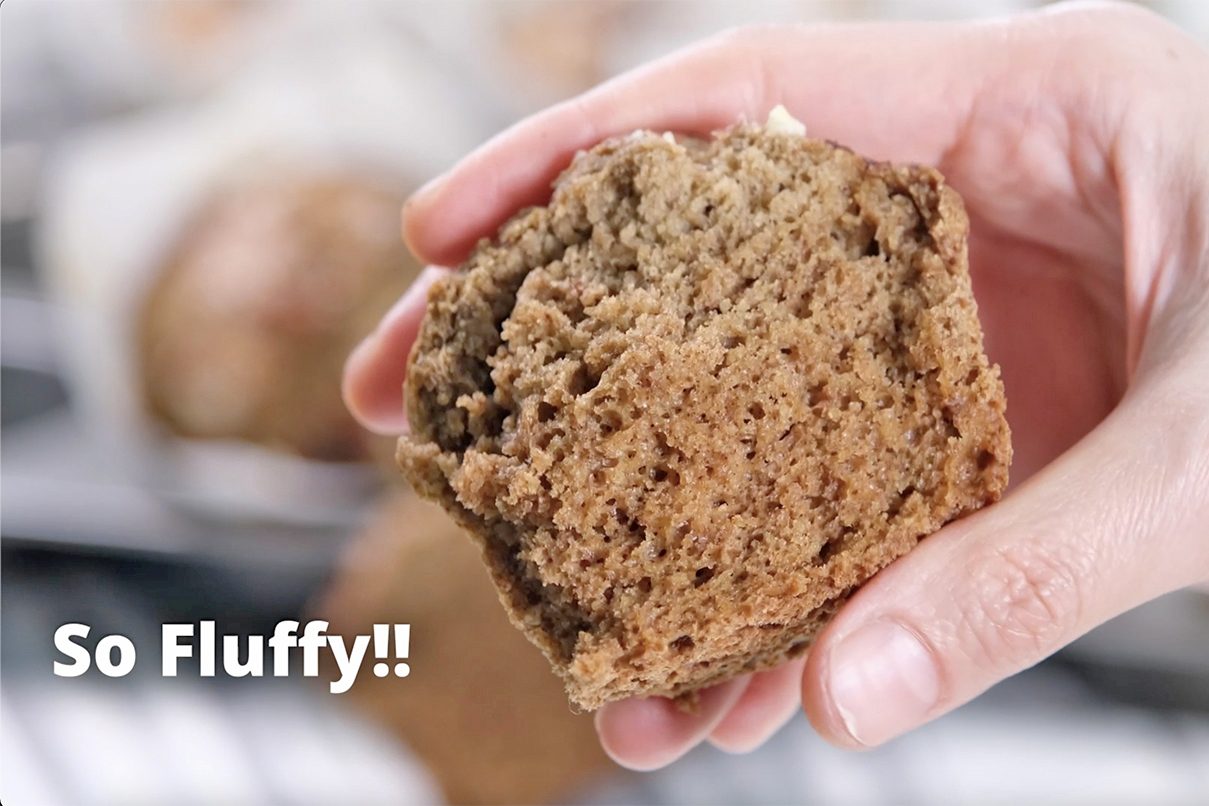
Perfect for a guilt-free snack, breakfast or a cozy coffee break 😘 ☕
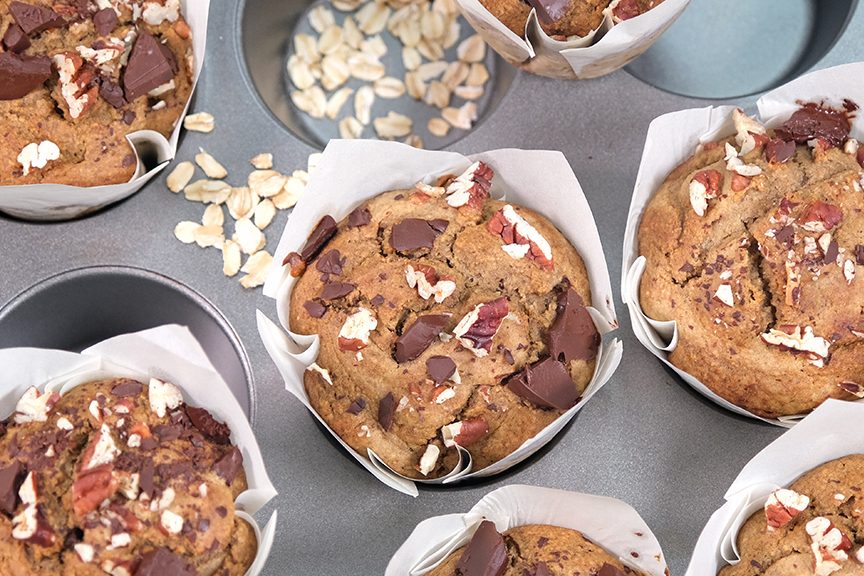
Give them a try, and let me know what you think! 😁
HEALTHY BANANA OAT MUFFINS
Yield: 7 Big Muffin
🍌🧁 INGREDIENTS
350 g Bananas (ripe to overripe with brown spots)
70 g Dates (pitted)
160 g Rolled Oats (blend into powder)
115 g Eggs (room temp.)
1 tsp Baking Soda
30 g Dark Chocolate 70% (chopped)
30 g Pecans (chopped)
🍌🧁 INSTRUCTIONS
Because these muffins contain fruit and no preservatives, proper storage is important:
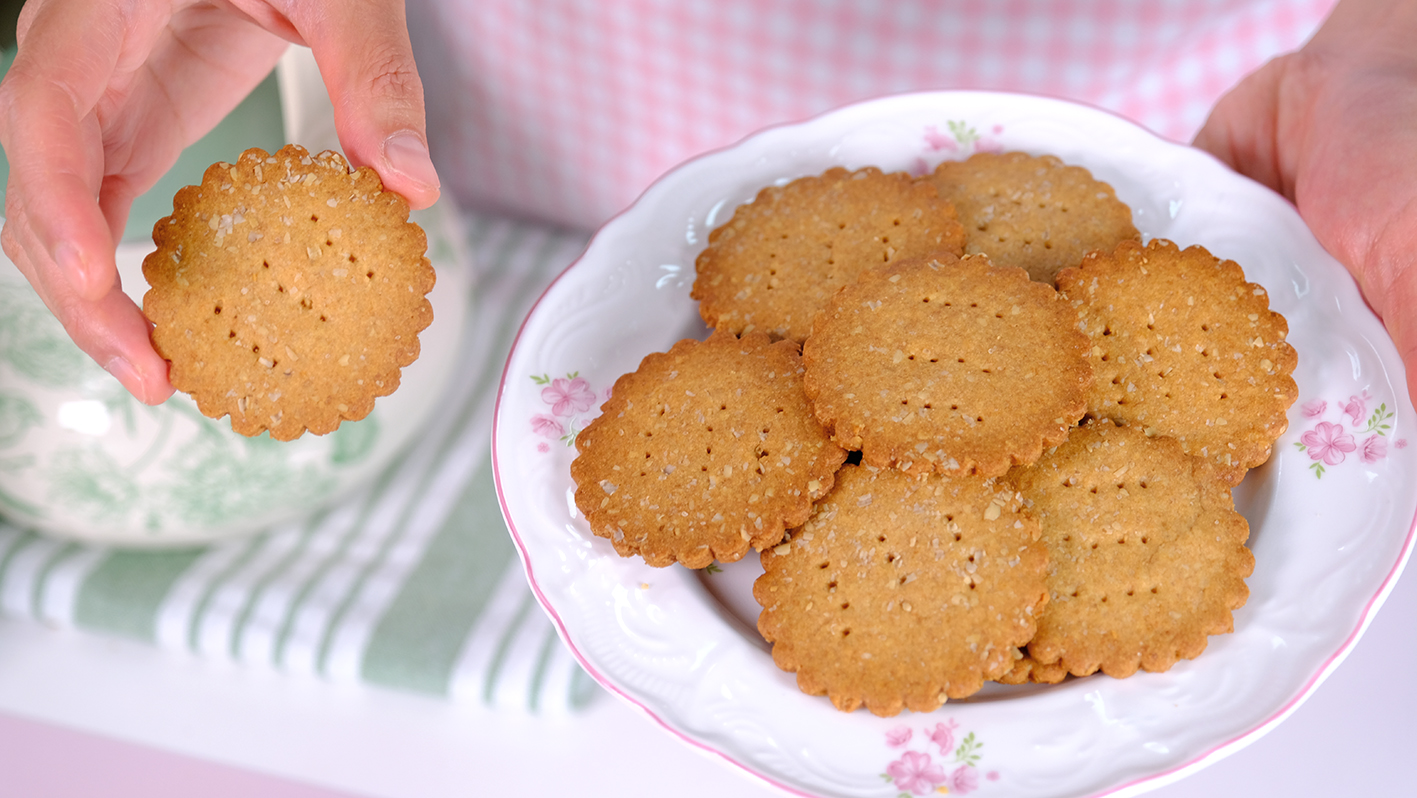
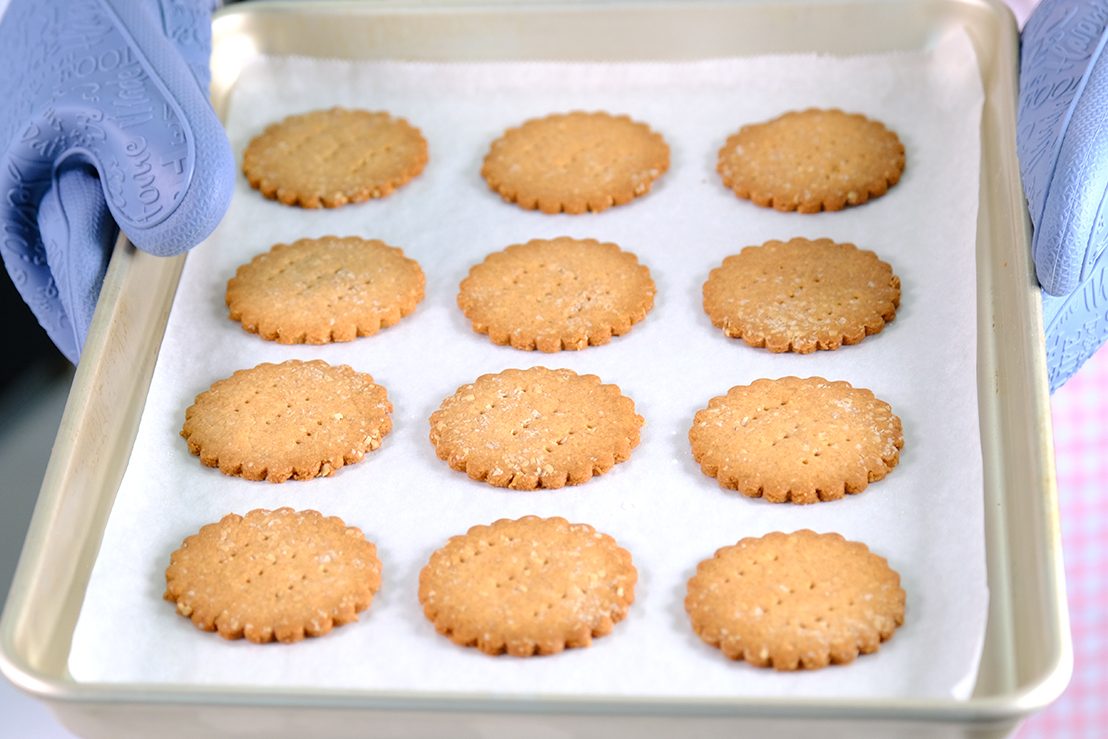
If you love snacking but want to keep things light, wholesome, and irresistibly crunchy; crispy thin Whole Wheat Biscuits might just become your new favorite treat.
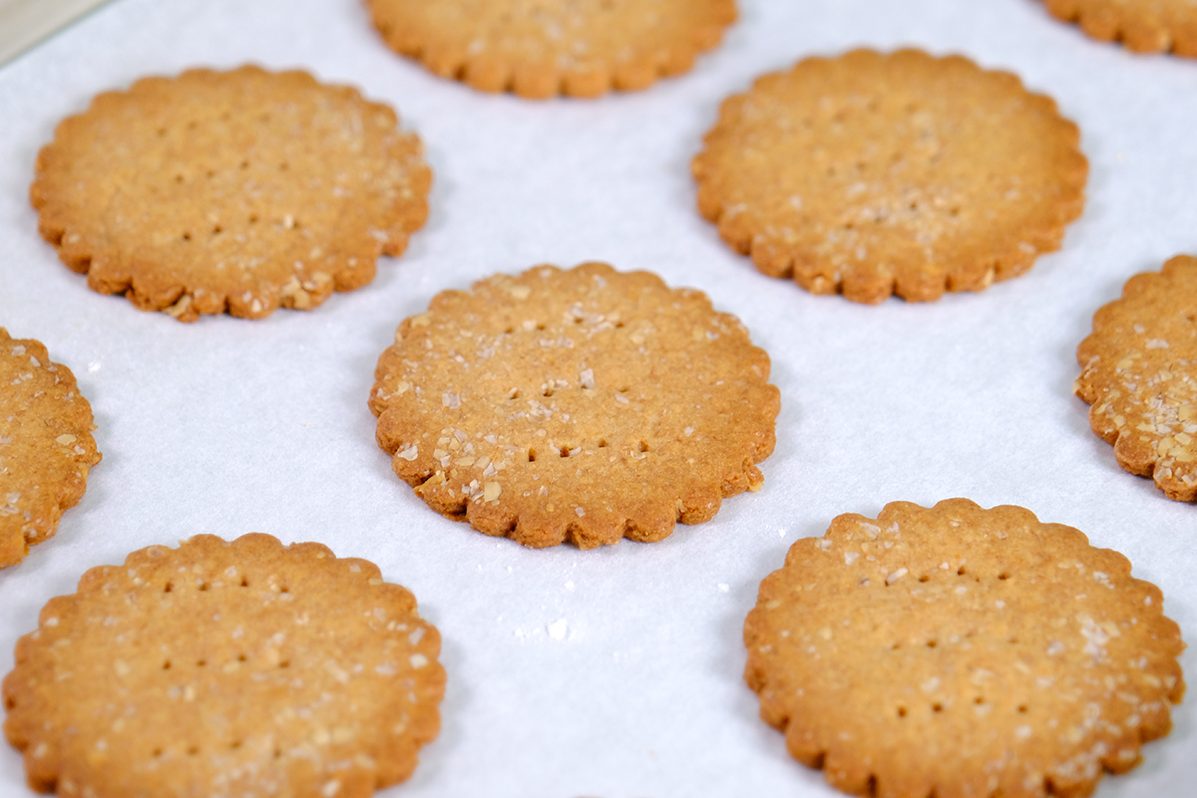
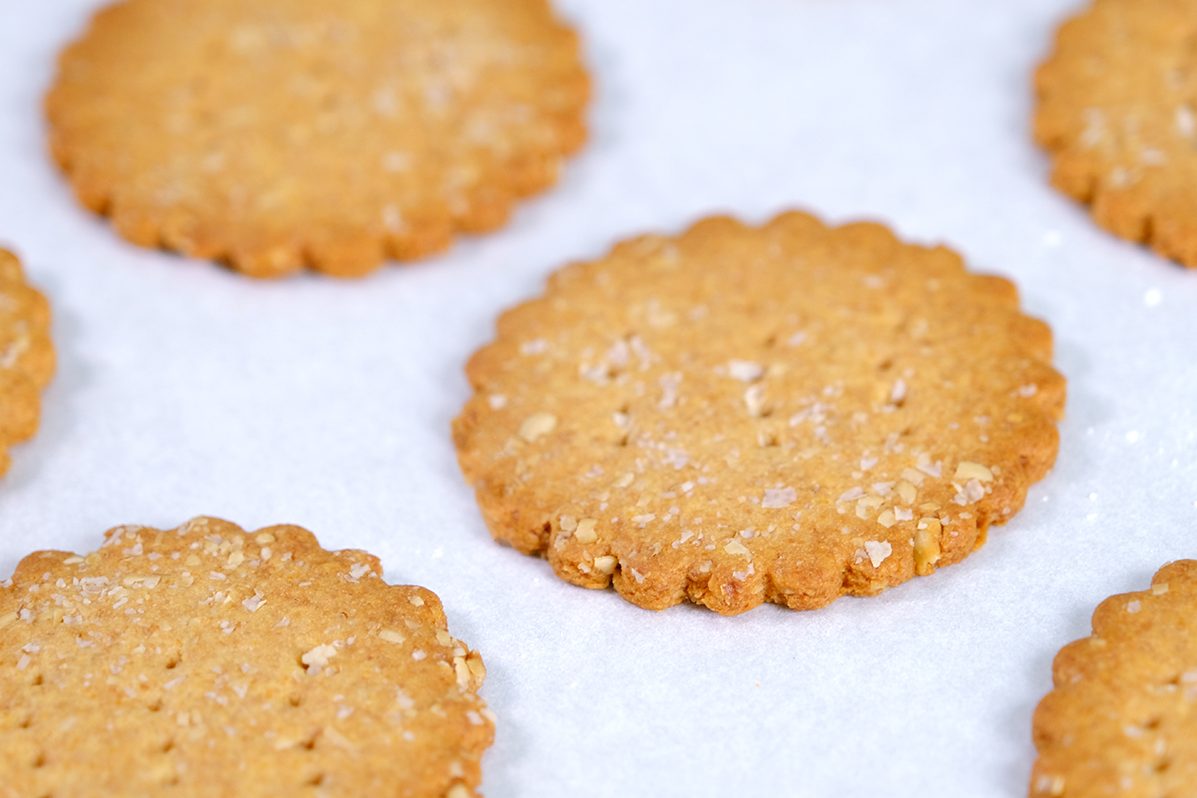
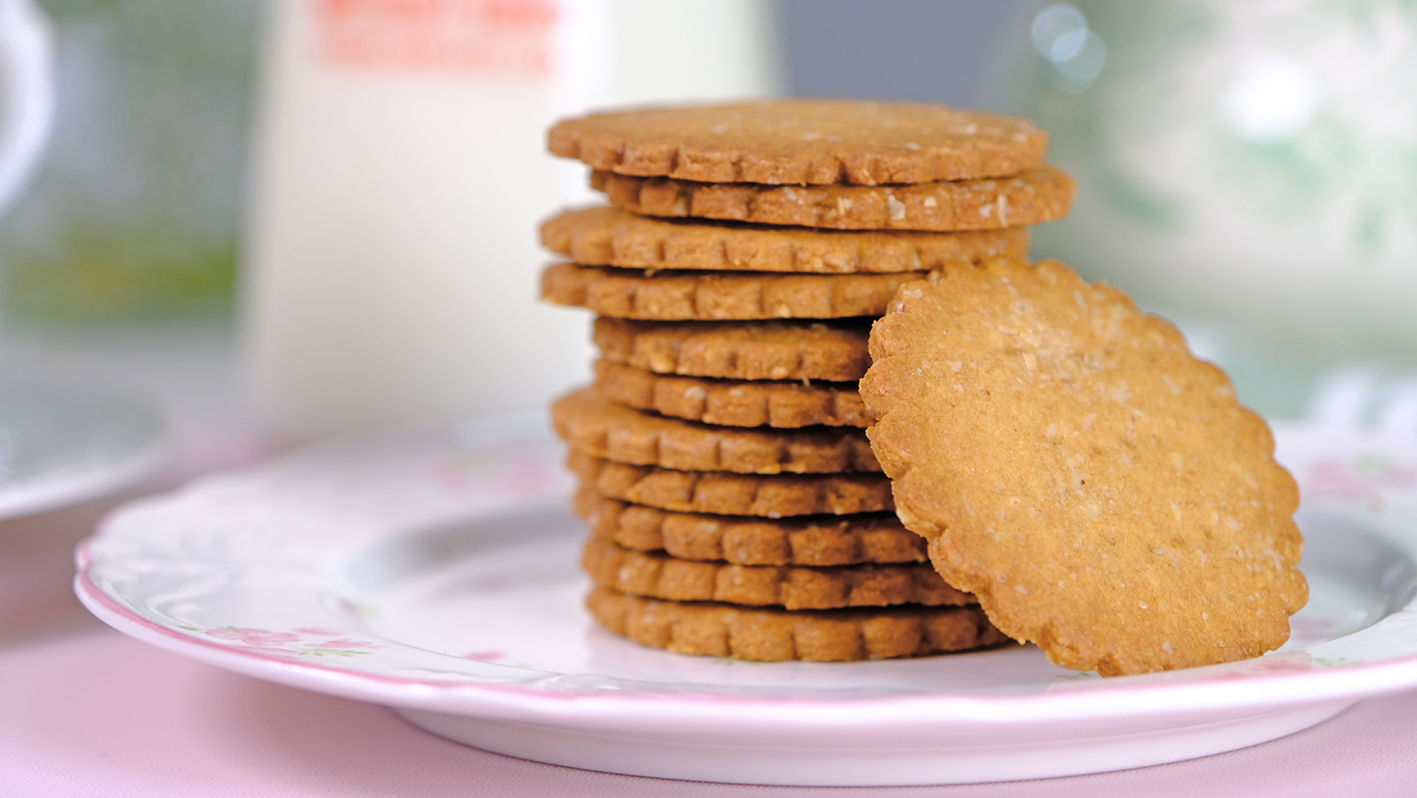

If you haven’t seen Oat Bran before, it’s the outer layer of the oat grain
Adding oat bran to biscuits is an easy way to boost fiber, texture, and nutrition without changing the flavor too much. It gives your baked goods a slightly nuttier, hearty crunch that’s really tasty.
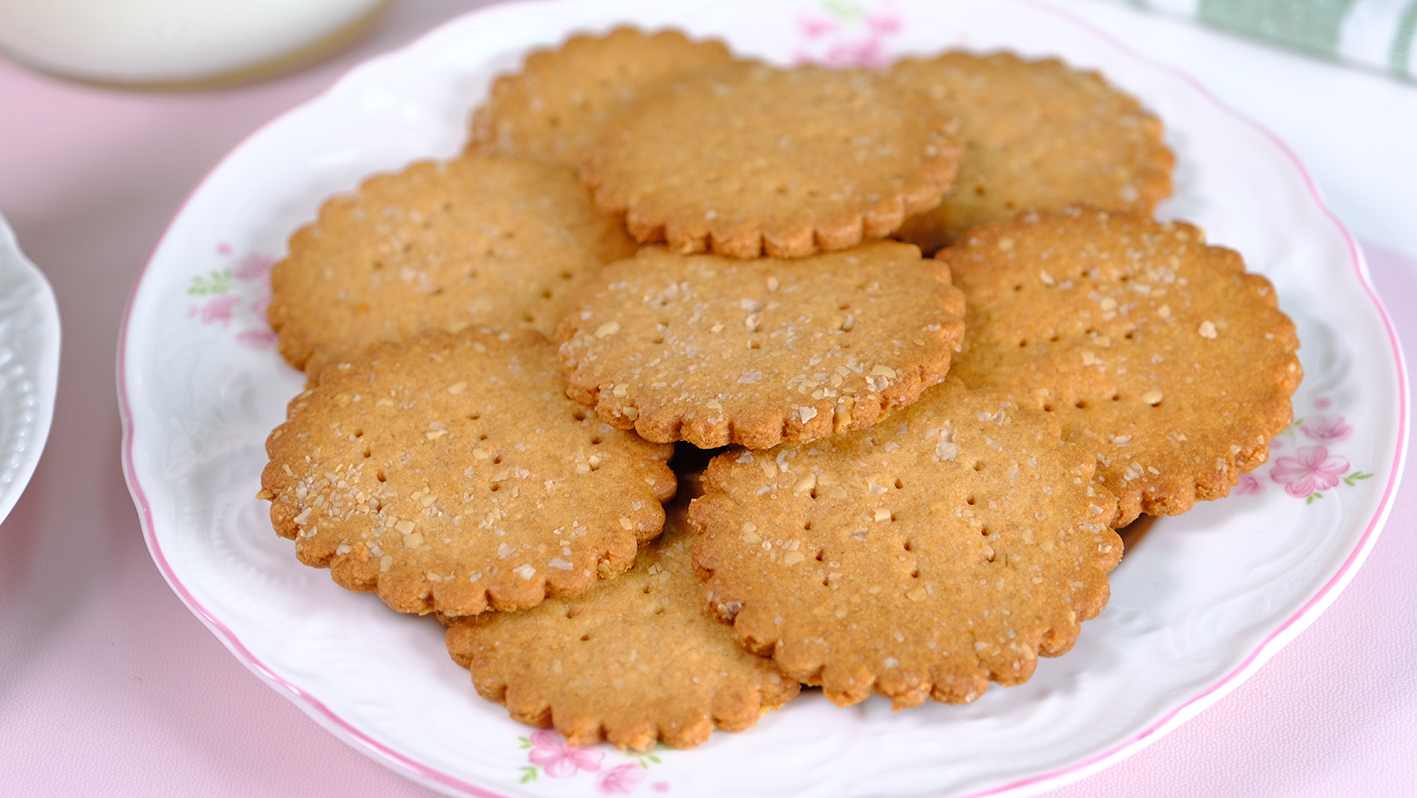
Whether you pair them with tea, enjoy them as a mid-day munch, or use them as a base for creative toppings.
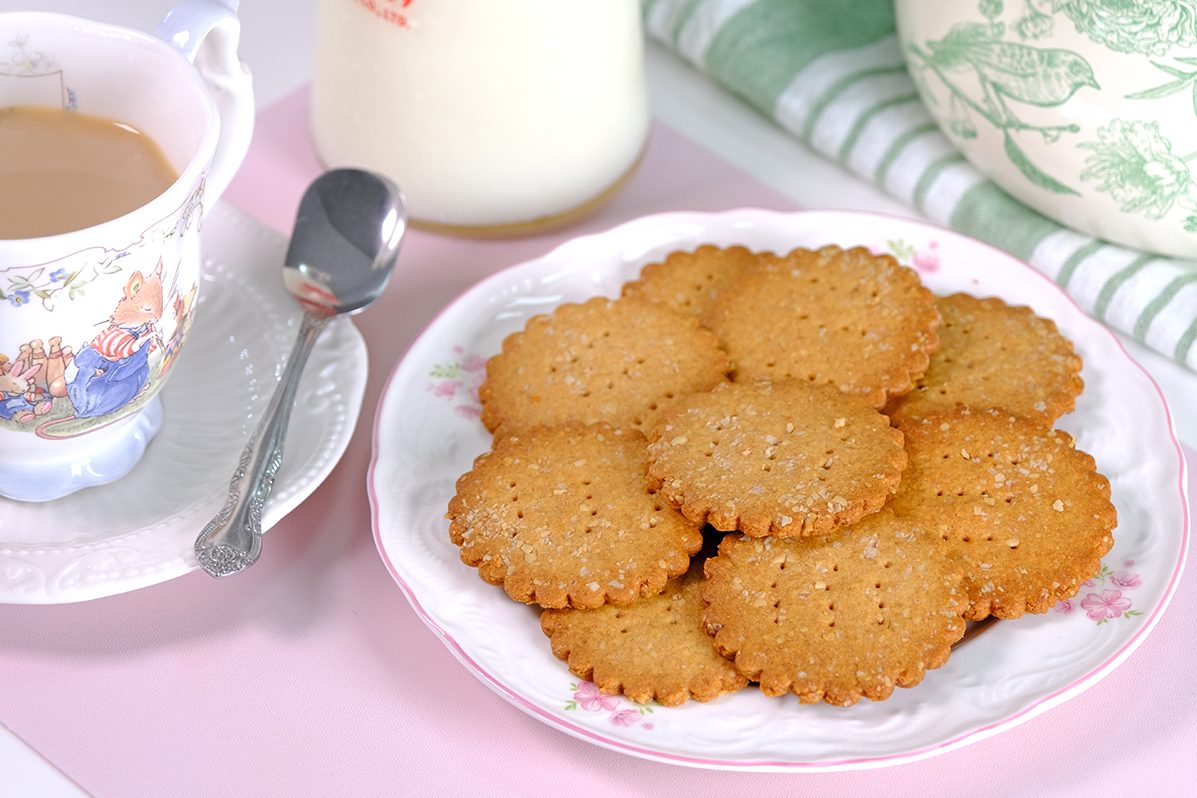
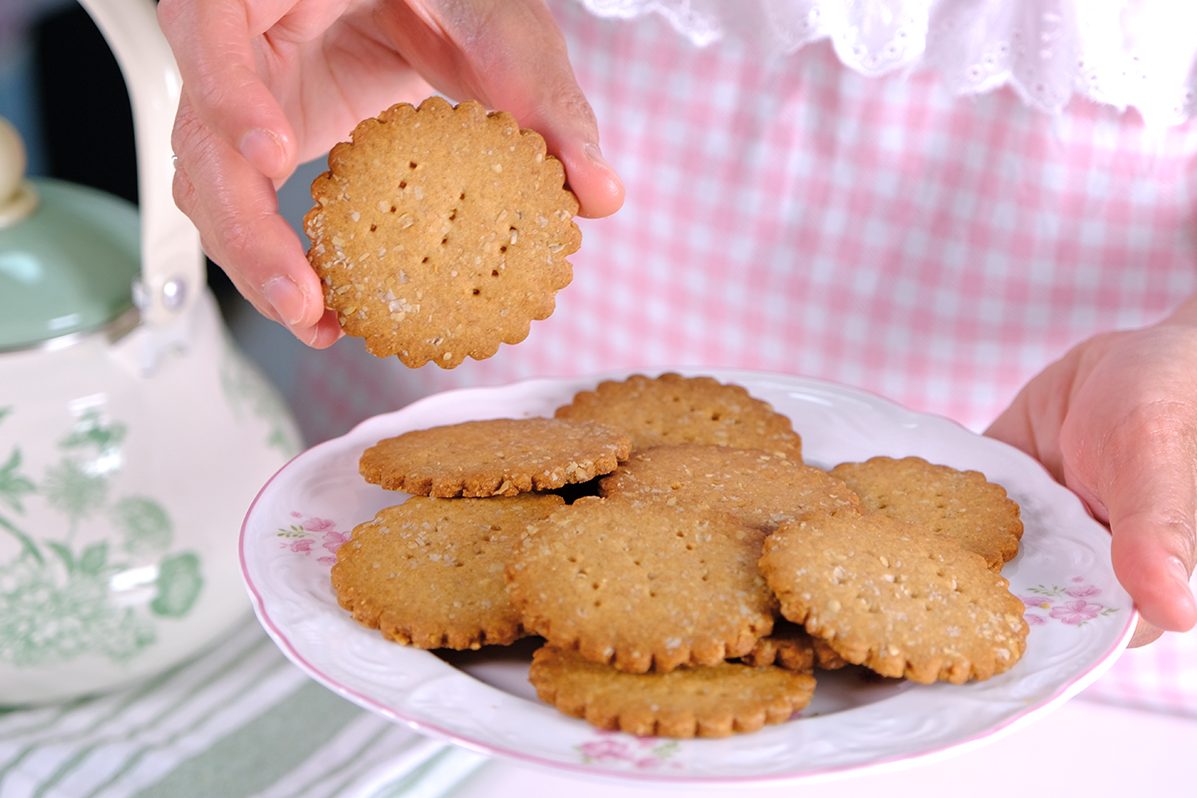
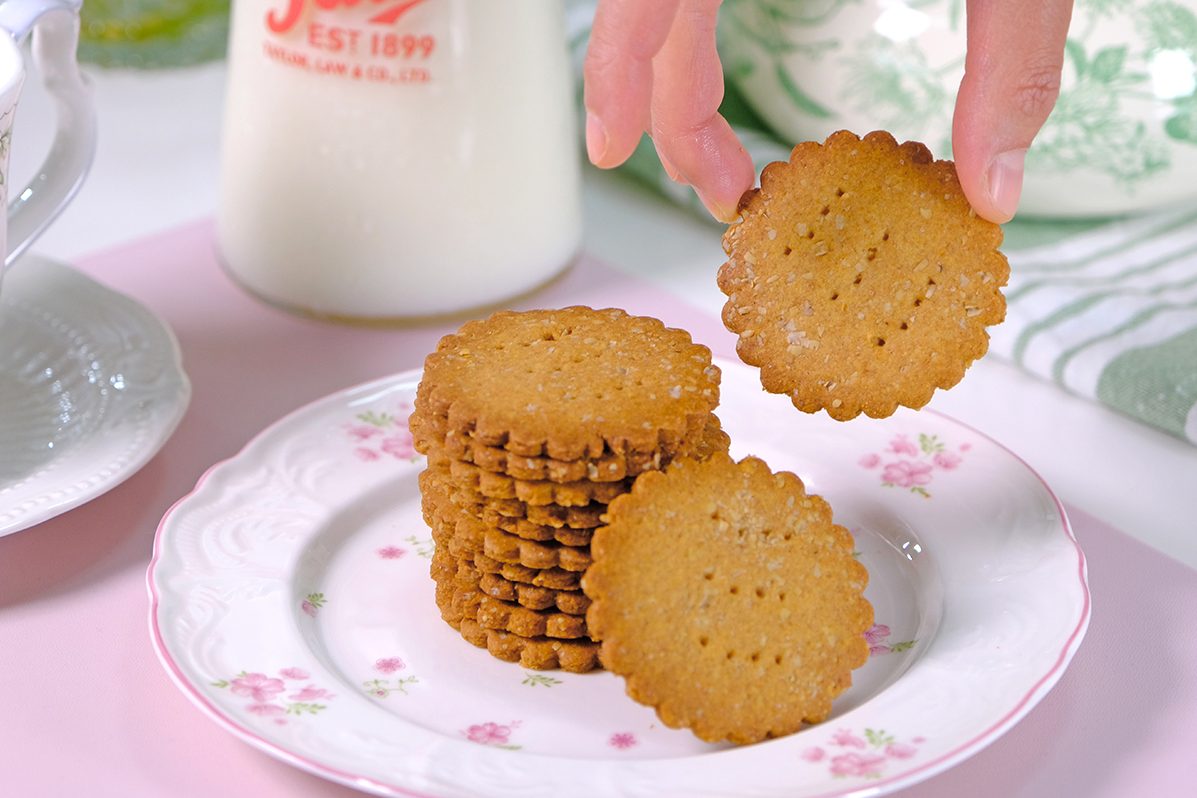
Crispy, golden, and baked with love 💞

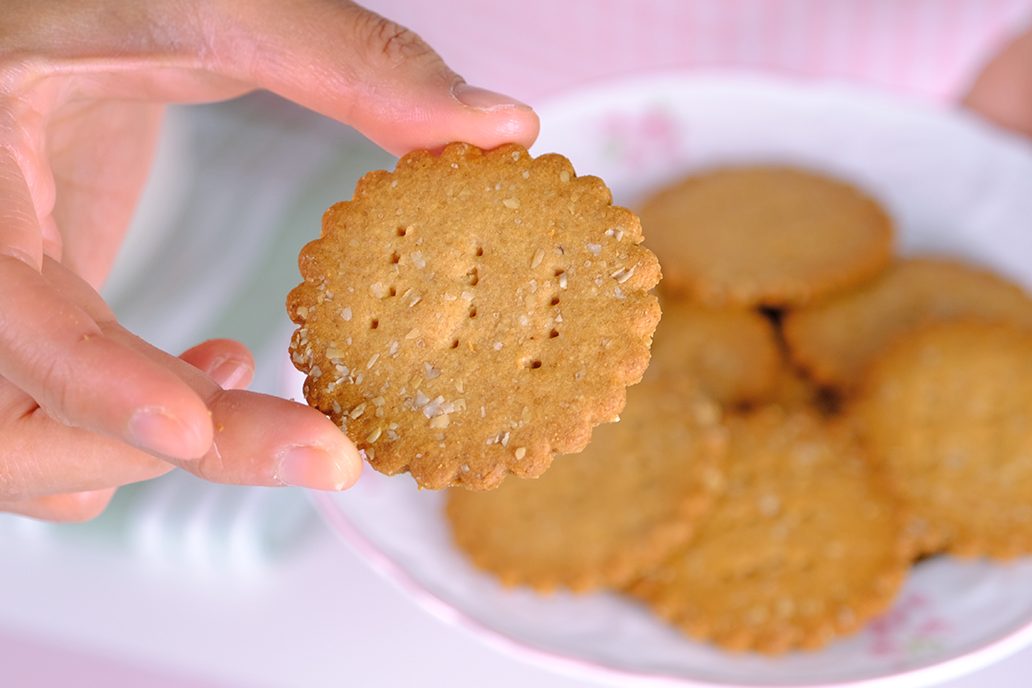
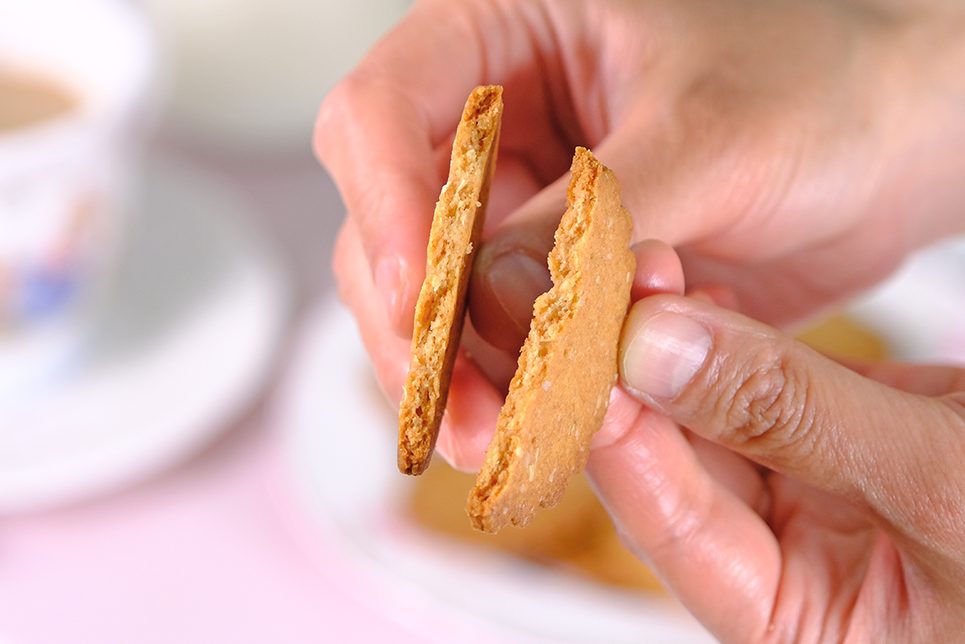

Give them a try and let me know how yours turn out! 😉
CRISPY THIN WHOLE WHEAT BISCUITS
Yield: 21 Pieces (6 cm diameter)
🪴 Ingredients
65 g Unsalted Butter
25 g Caster Sugar
1 tbs Honey
25 g Eggs
60 g All-Purpose Flour
60 g Whole Wheat Flour (100% Stone Ground)
Less than 1/2 tsp Baking Powder (Double Acting)
A pinch Salt
8 g Oat Bran
* Extra Oat Bran (for sprinkle)
🪴 Instructions

Pandan Chiffon Cake is a light, fluffy, green-coloured sponge cake flavoured with the juice or extract of Pandanus amaryllifolius leaves. This fragrant and airy dessert is especially popular in several Southeast Asian countries, including Malaysia, Indonesia, and Singapore.
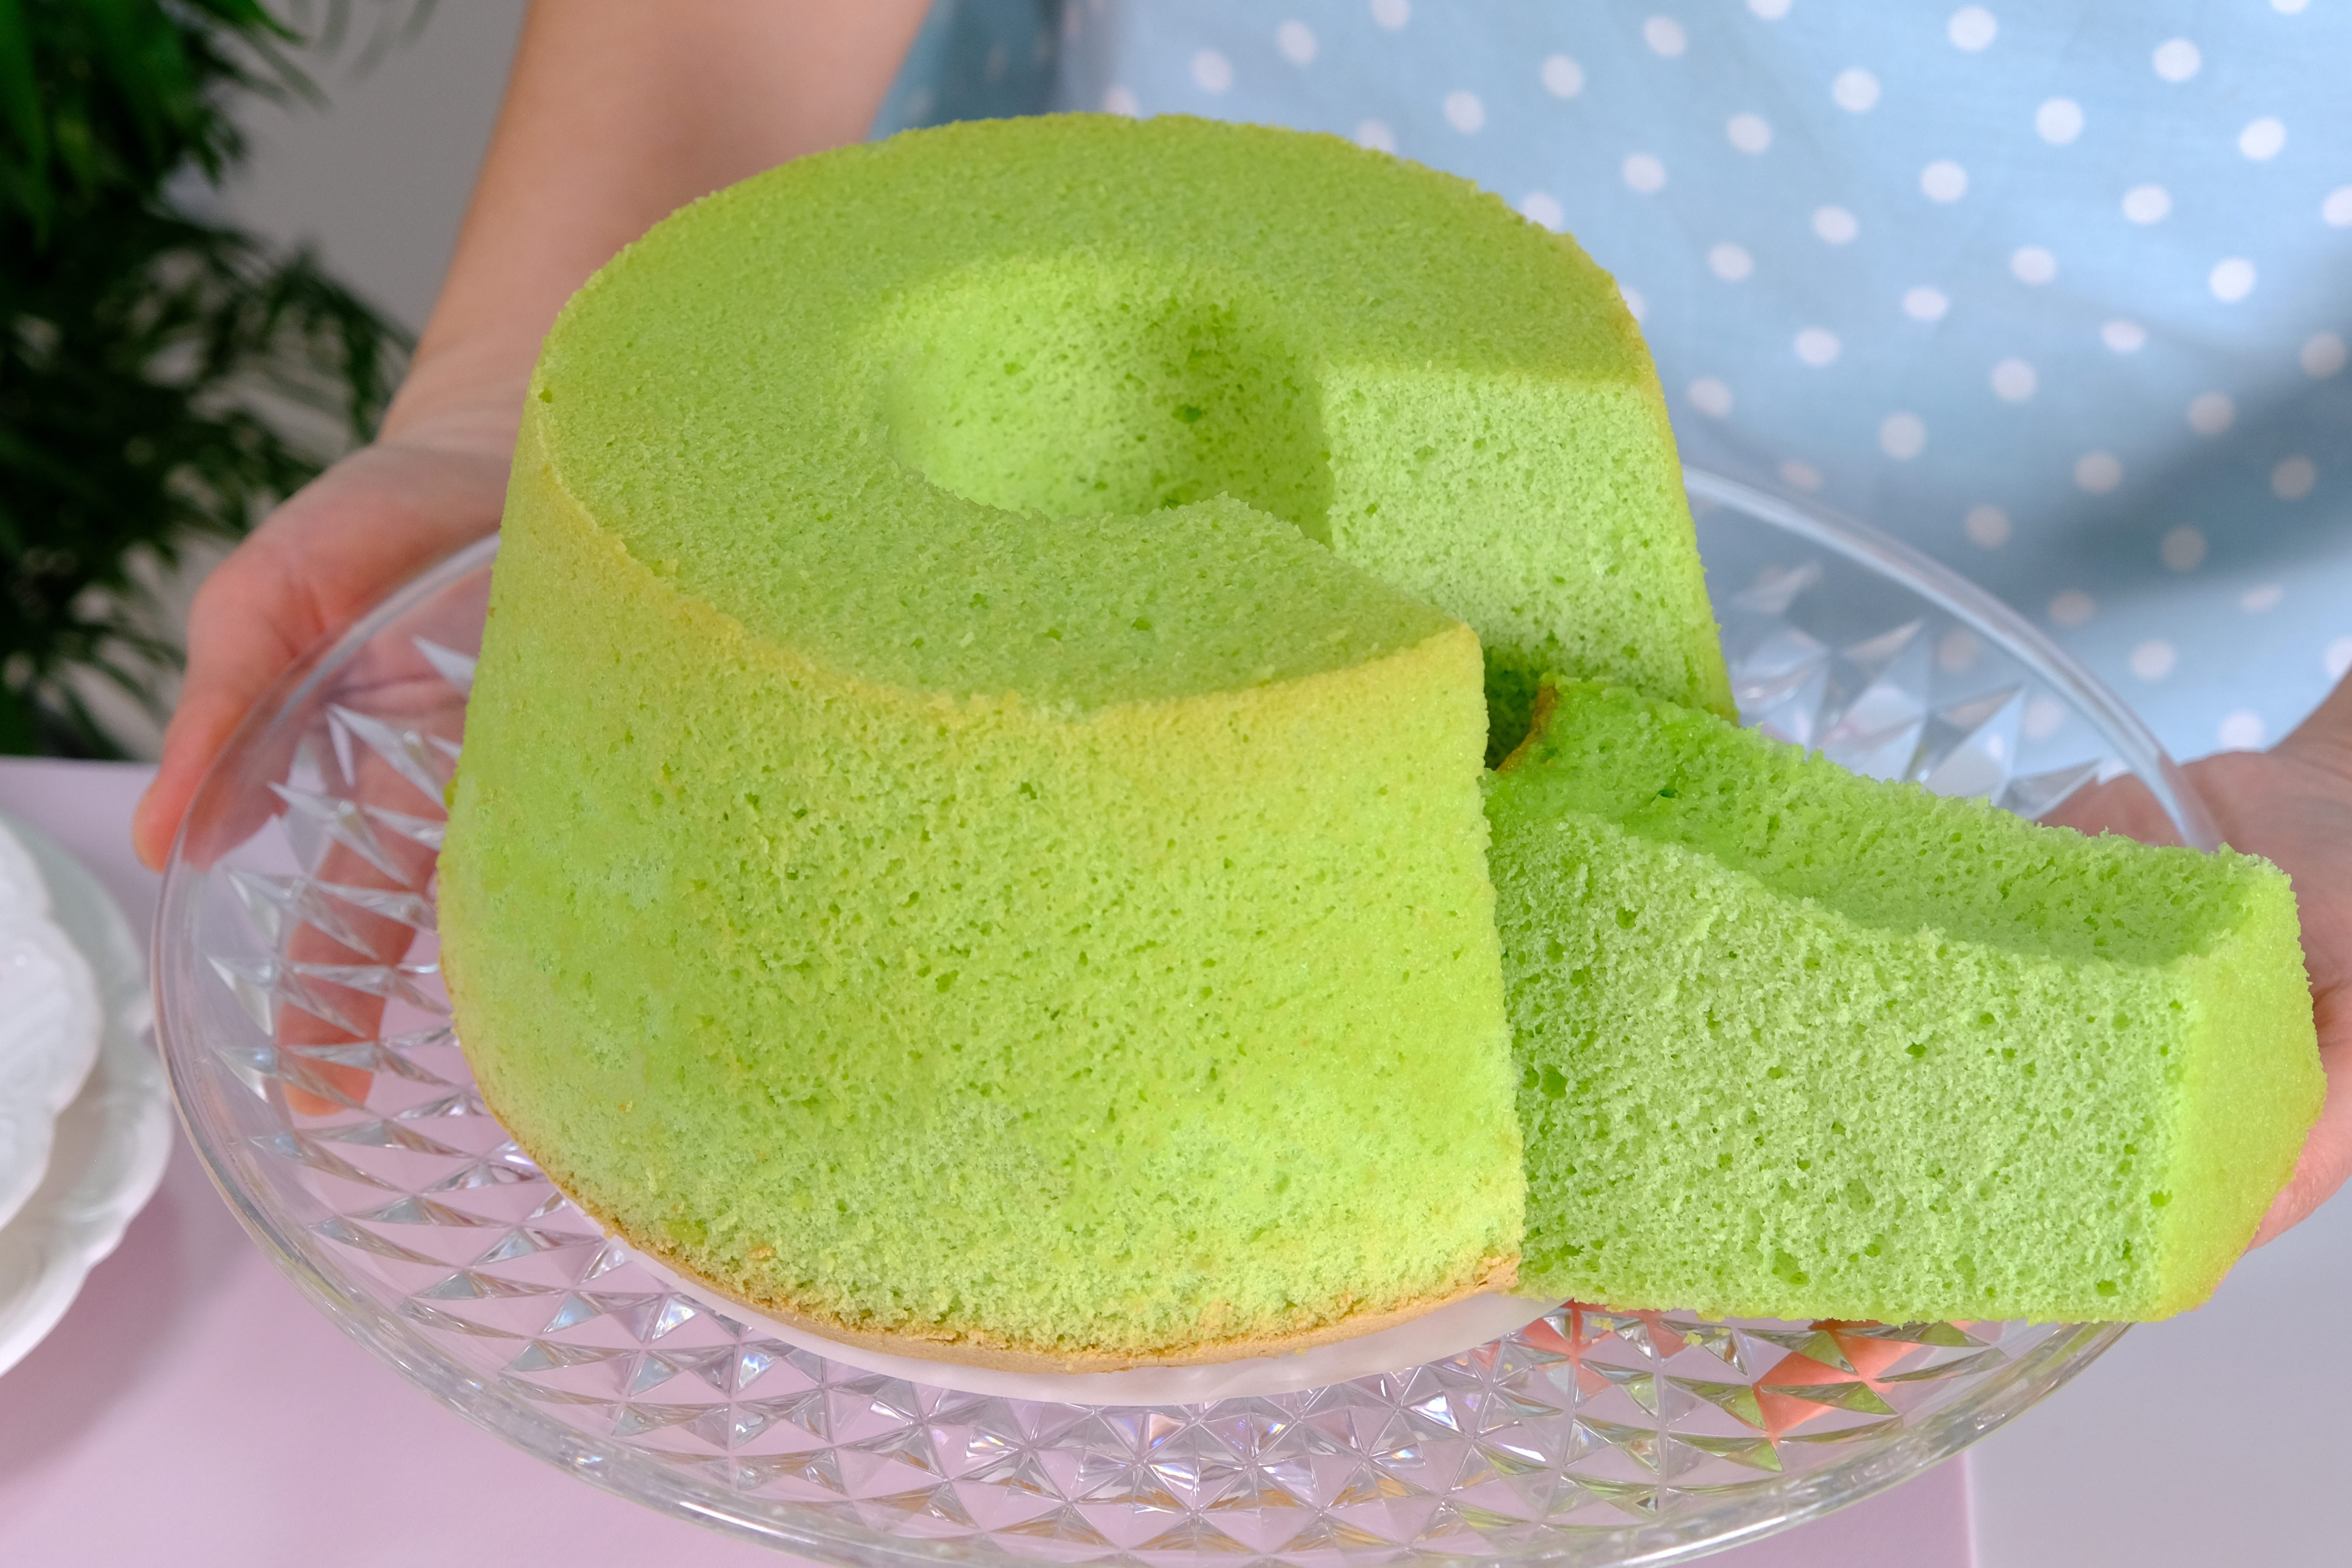
Chiffon Cakes are traditionally baked in tube pans because their delicate structure requires support from both the center tube and the sides of the pan.
This allows the cake to rise properly during baking and prevents it from collapsing as it cools.
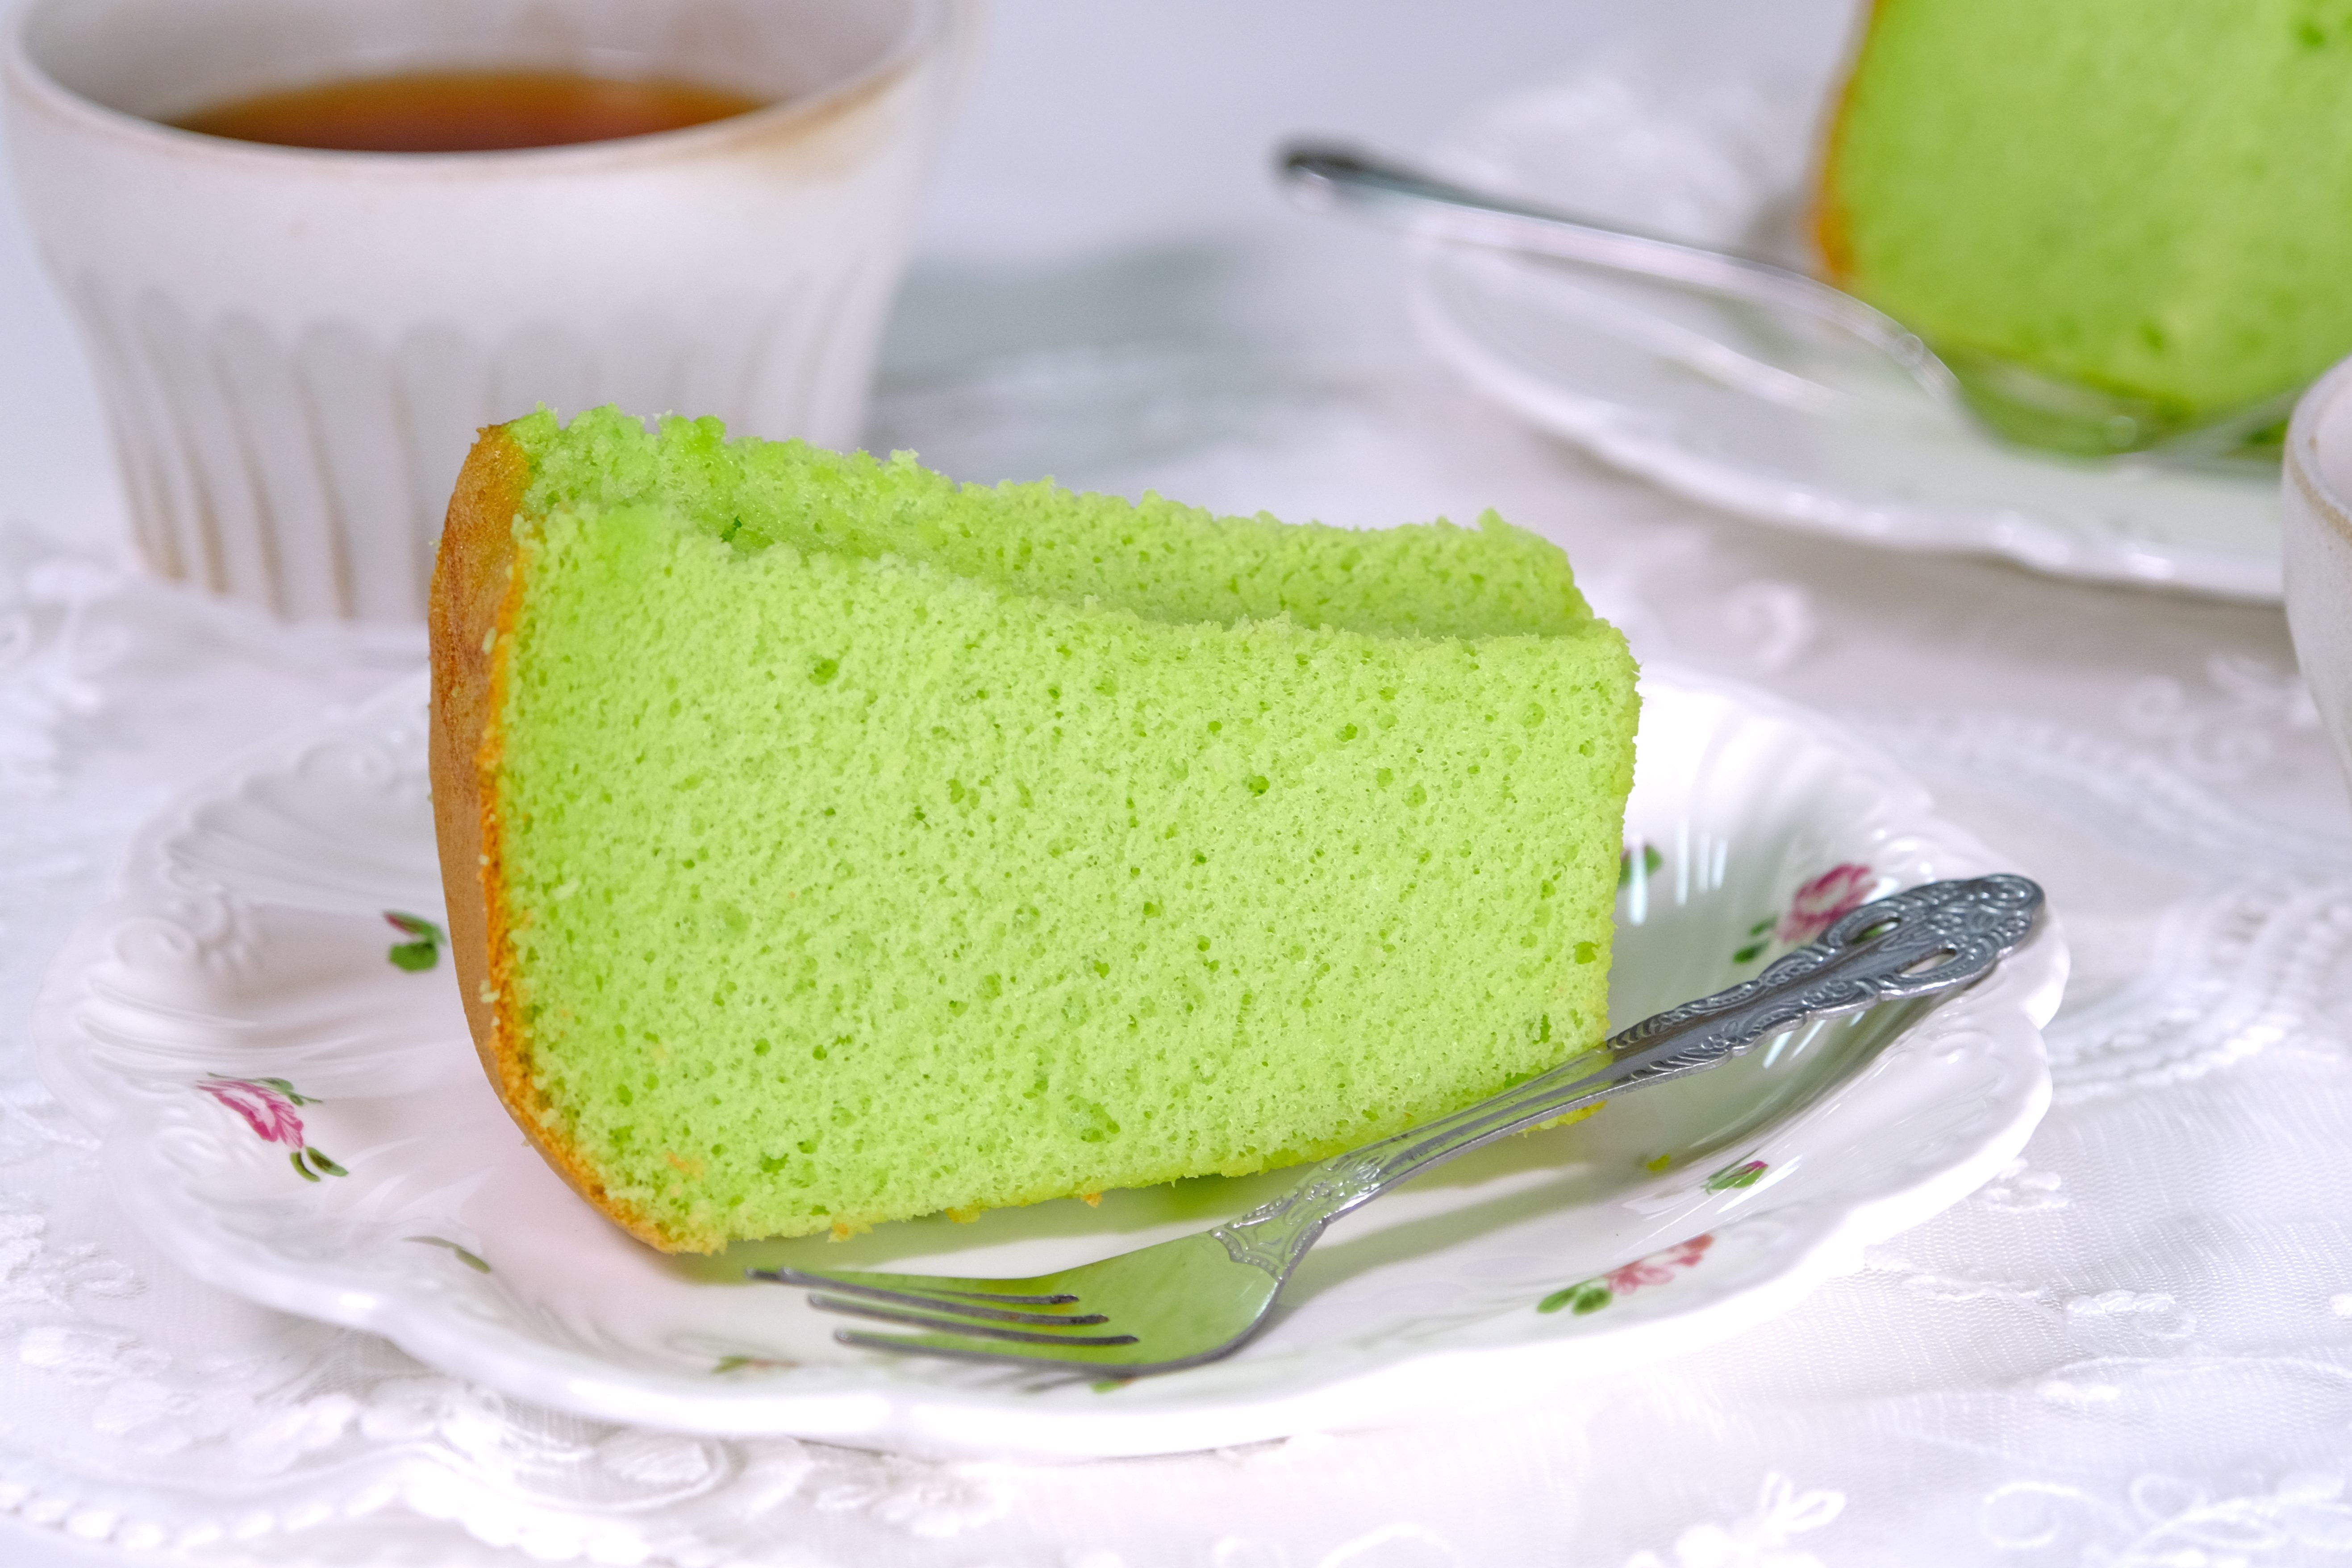
For this reason, Chiffon tube pans should NOT be greased, and non-stick pans should be avoided, as the batter needs to cling to the sides and center tube to rise properly.
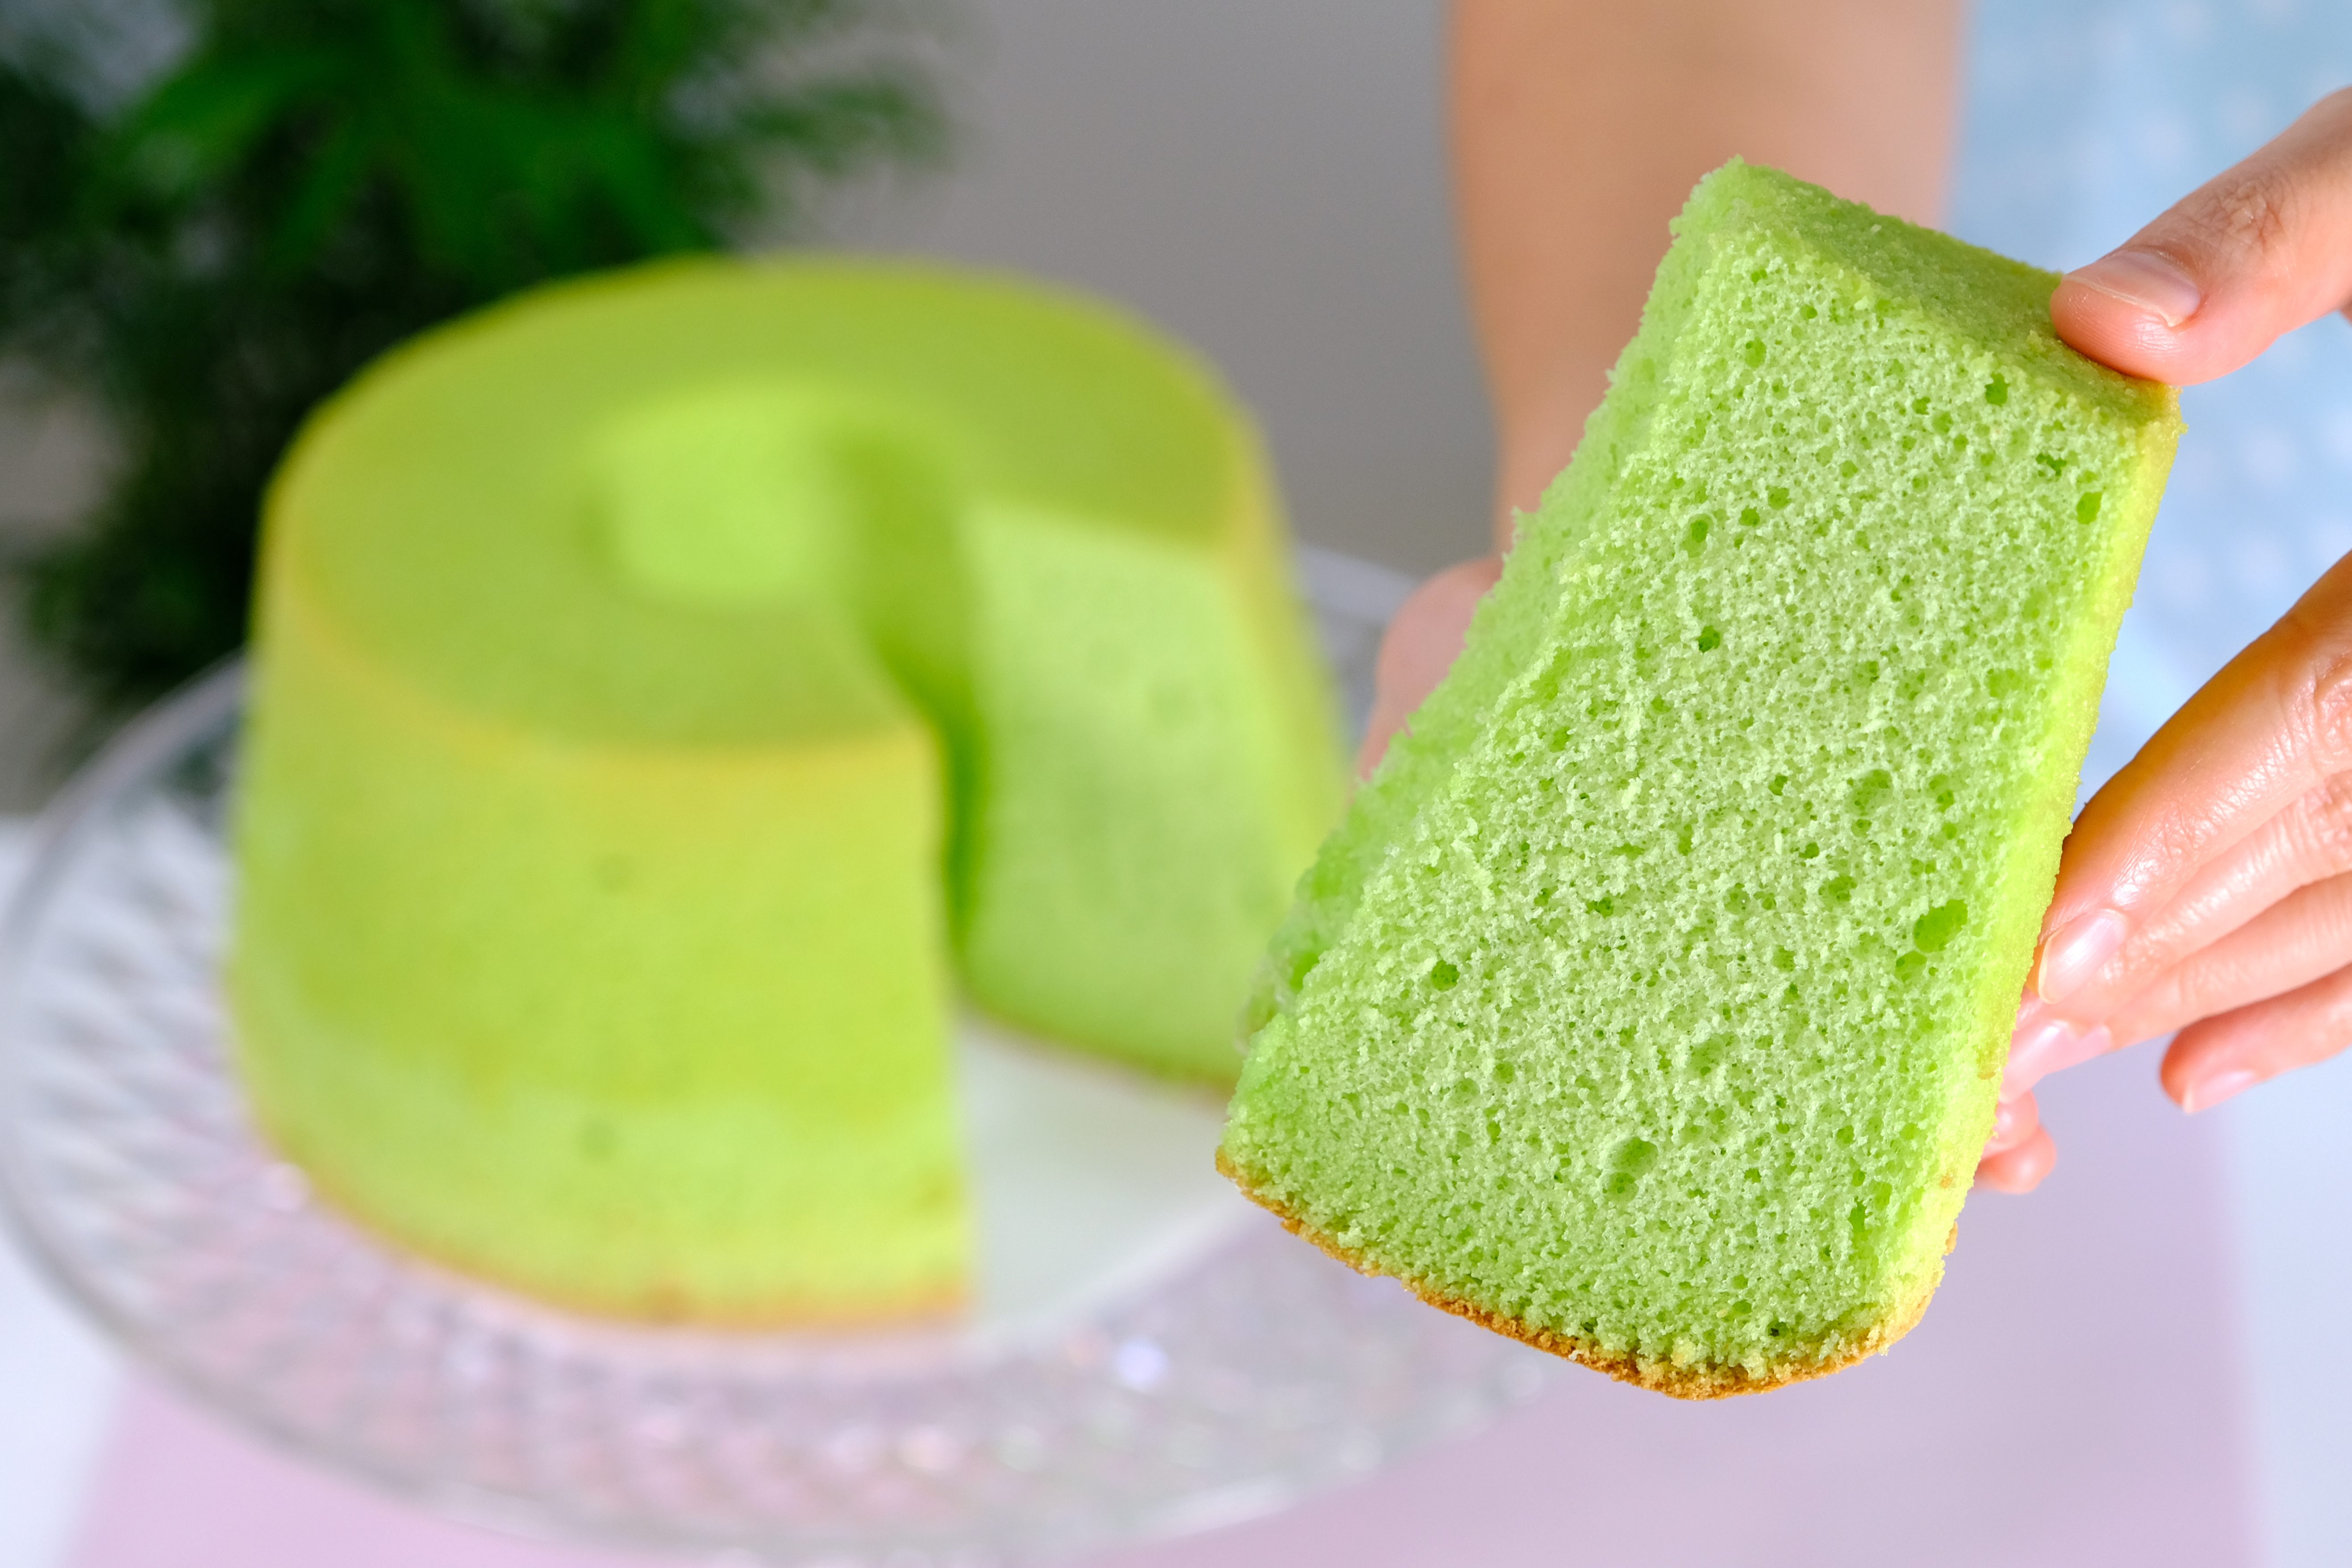
When adding Pandan Paste, start with a small amount, I usually begin with ¼ teaspoon.
Be careful when using Pandan Paste, as it’s very concentrated; too much can leave a bitter or artificial aftertaste. It can also turn the green color overly intense and unappealing.

Making this cake is not difficult, but it does require precision and attention to the making technique.
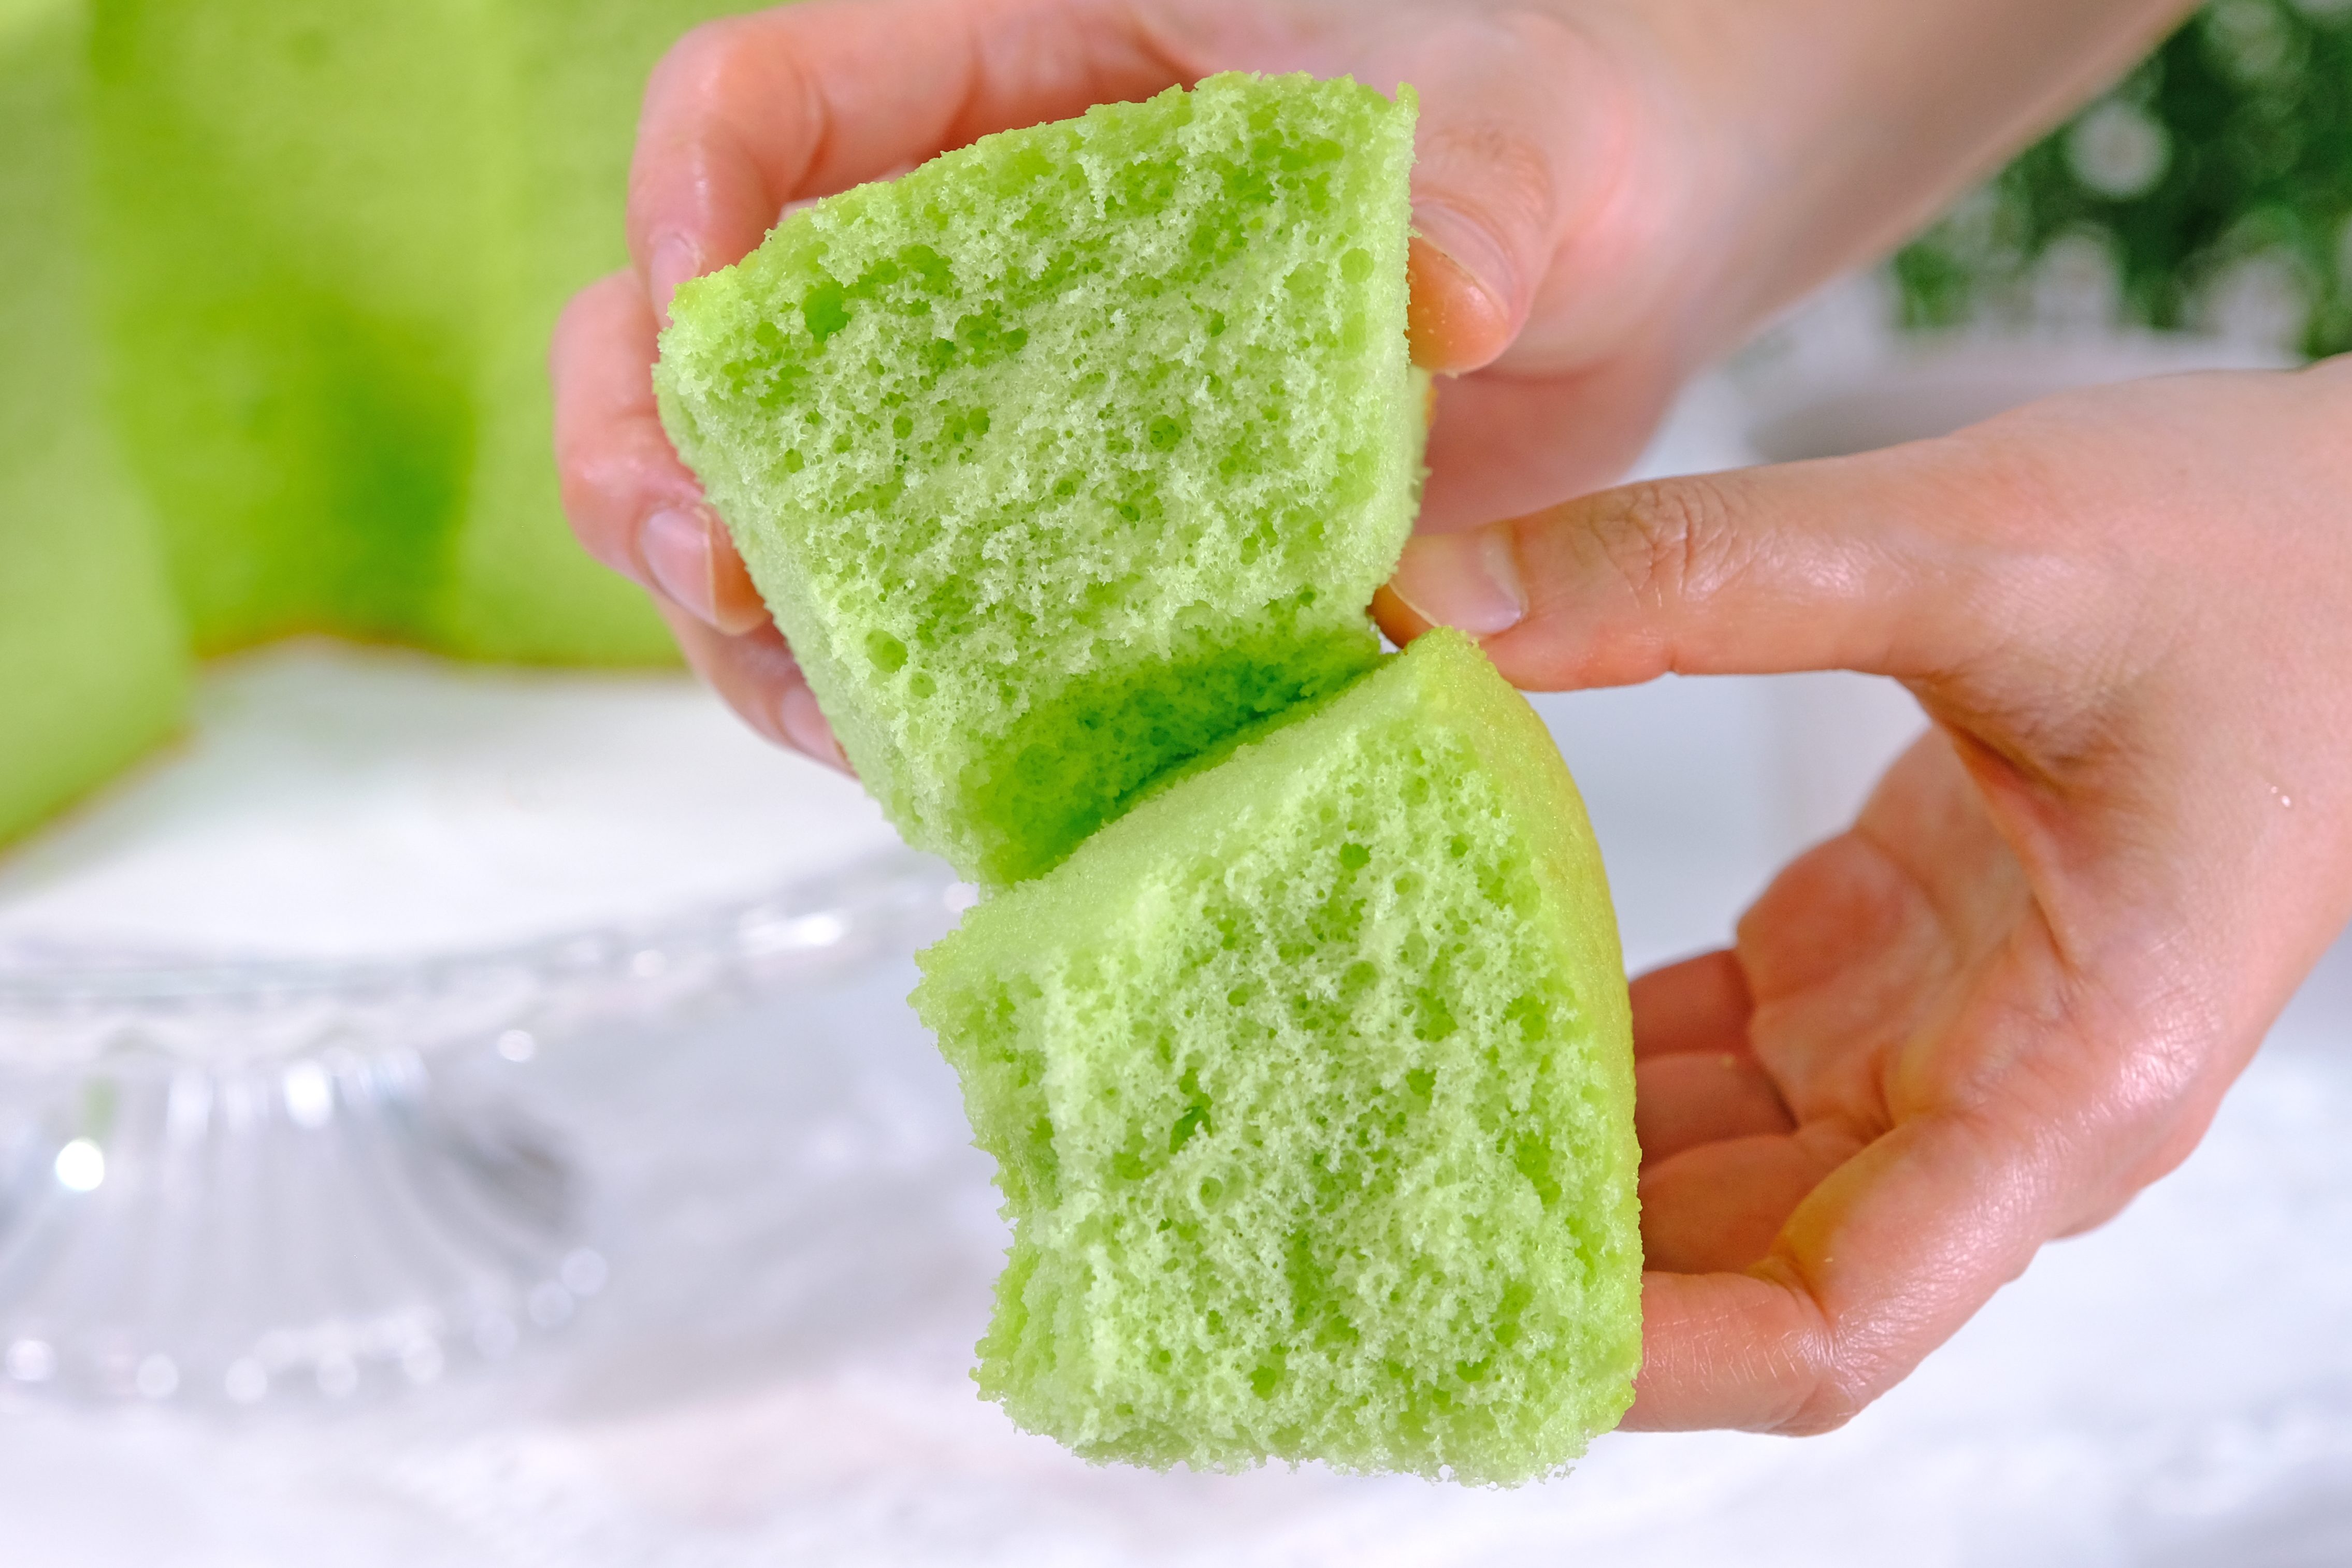
In this recipe, I will be sharing some helpful tips to make sure your Chiffon Cake turns out perfectly soft and airy.
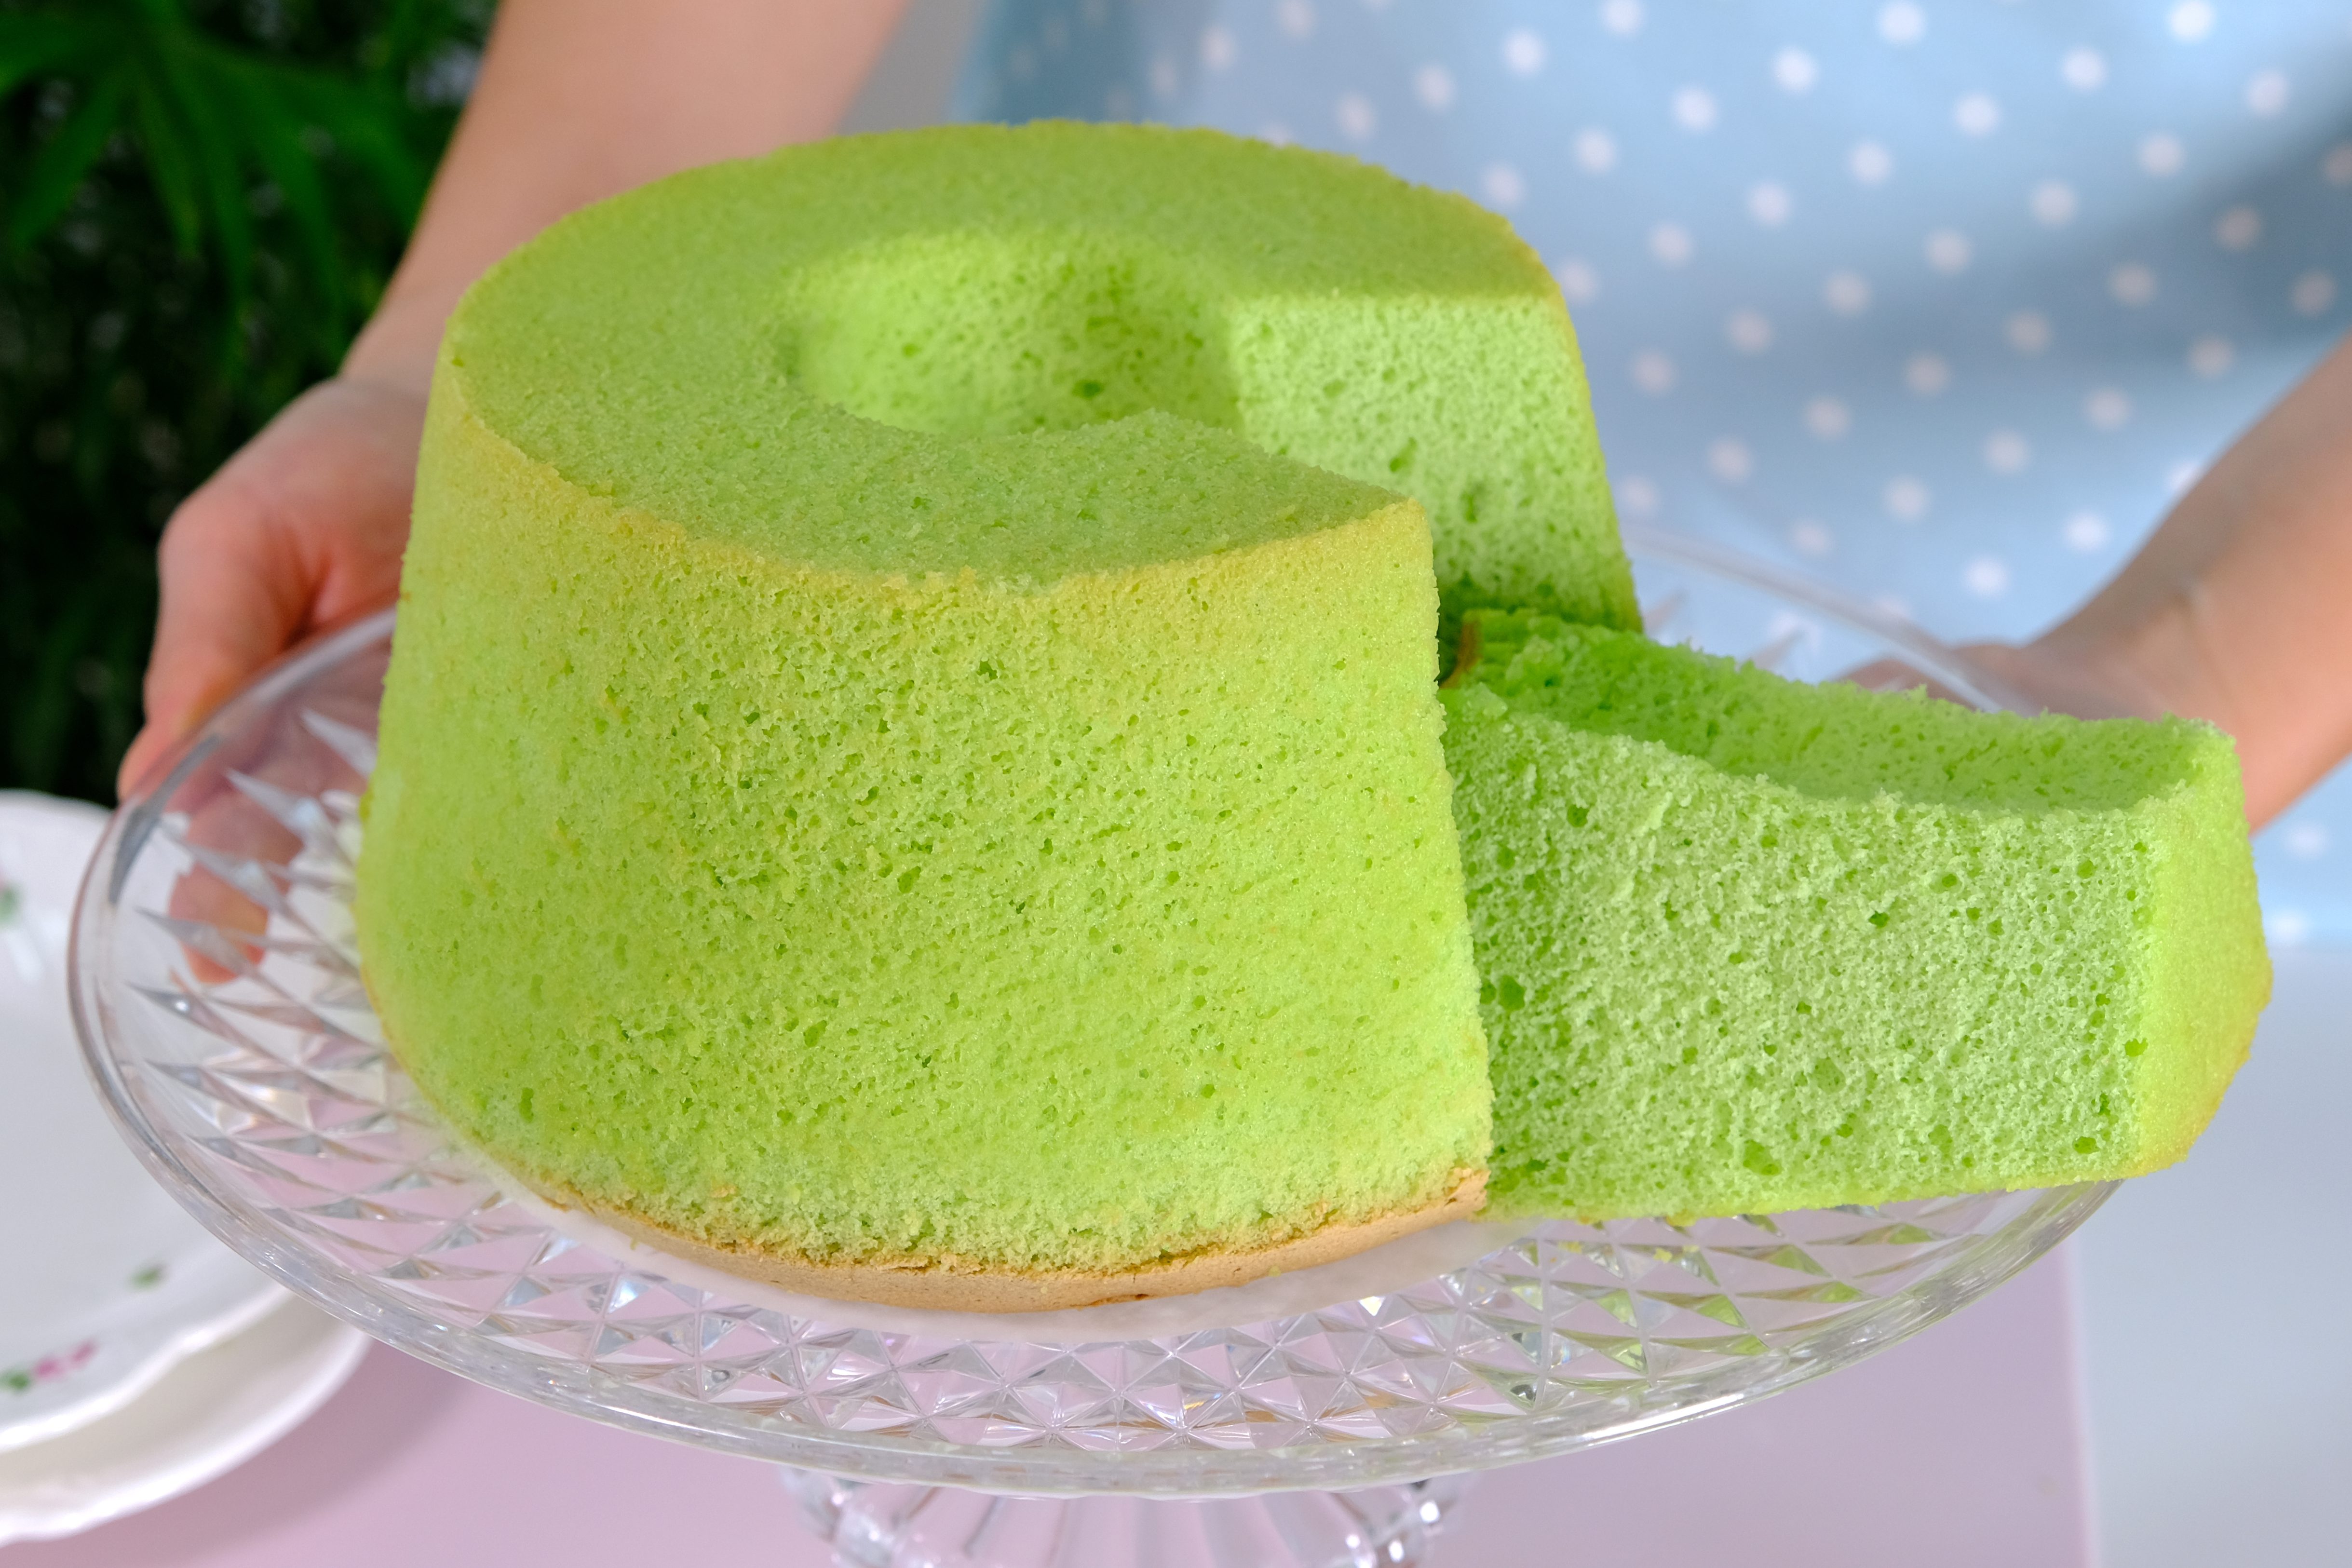
Pandan Chiffon Cake offers a delicate, fragrant, and slightly nutty flavour — a refreshing change from more traditional cake varieties.
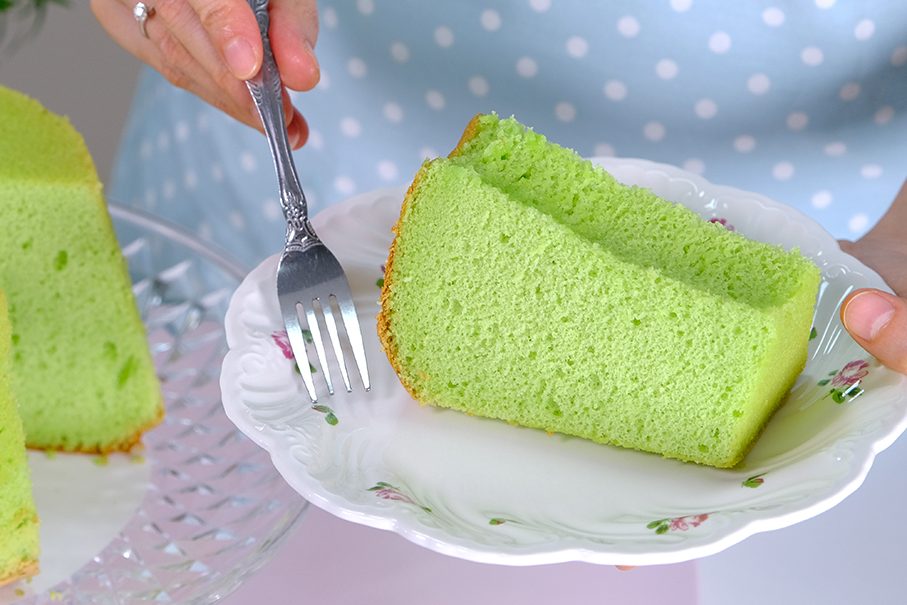
Its soft, fluffy texture practically melts in your mouth, making it an ideal choice for those who enjoy light, airy desserts.
I hope you will enjoy this recipe 🥰
PANDAN CHIFFON CAKE
Yield: One 20 cm diameter Chiffon Pan
🌿 Ingredients
85 g Egg Yolks (room temp.)
60 g Coconut Milk (room temp.)
1/4 tsp Pandan Paste
125 g Cake Flour
(3/4 + 1/8) tsp Baking Powder (Double Act.)
(1/4 +1/8) tsp Salt
80 g Caster Sugar
70 g Vegetable Oil
160 g Egg Whites (room temp.)
1/4 tsp Cream of Tartar
85 g Caster Sugar
Notes: you can substitute Cream of Tartar with 1/2 tsp Lemon Juice or White Vinegar (or Apple Cider Vinegar)
🌿 Instructions
Preparation
To Make Pandan Chiffon Cake
NOTES

“Kkwabaegi 꽈배기” or Korean Twisted Donuts;
I absolutely love them, but I don't like frying them; they're too greasy and troublesome.
This recipe doesn't require frying, you just bake them instead! A healthier version of Donuts 😋

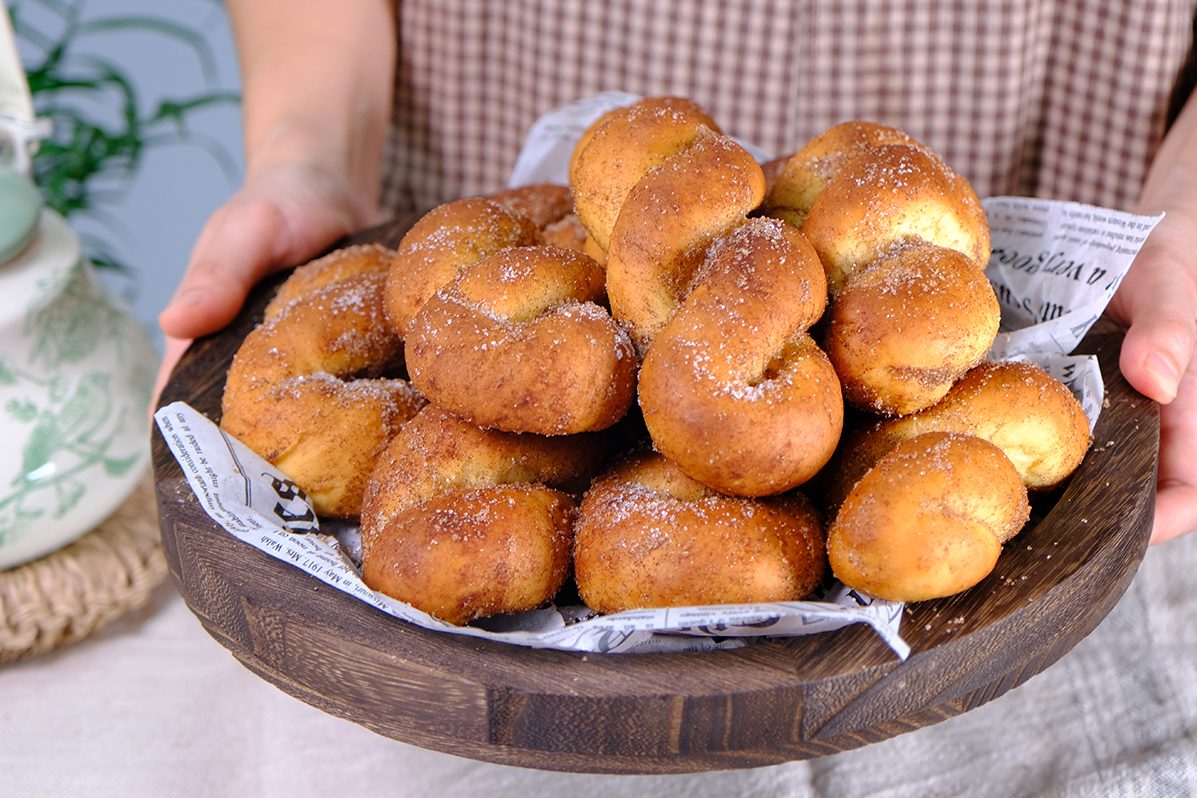
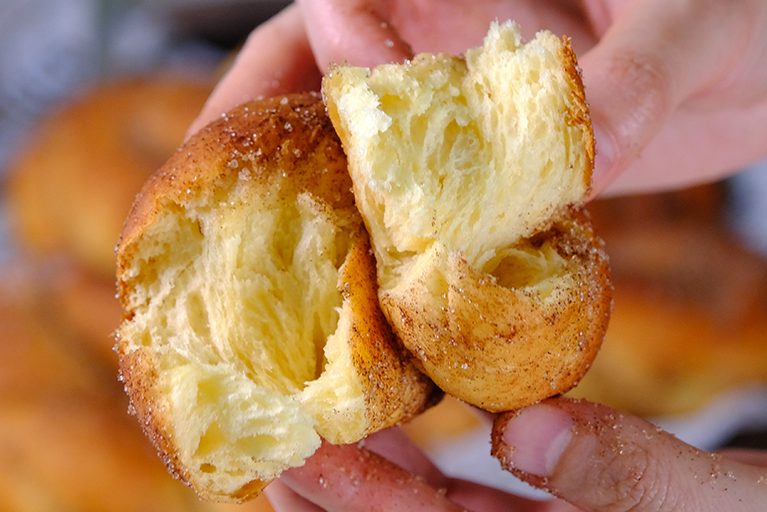
Crispy sugar on the outside, soft and slightly chewy on the inside;
And most importantly, it’s not greasy 😜
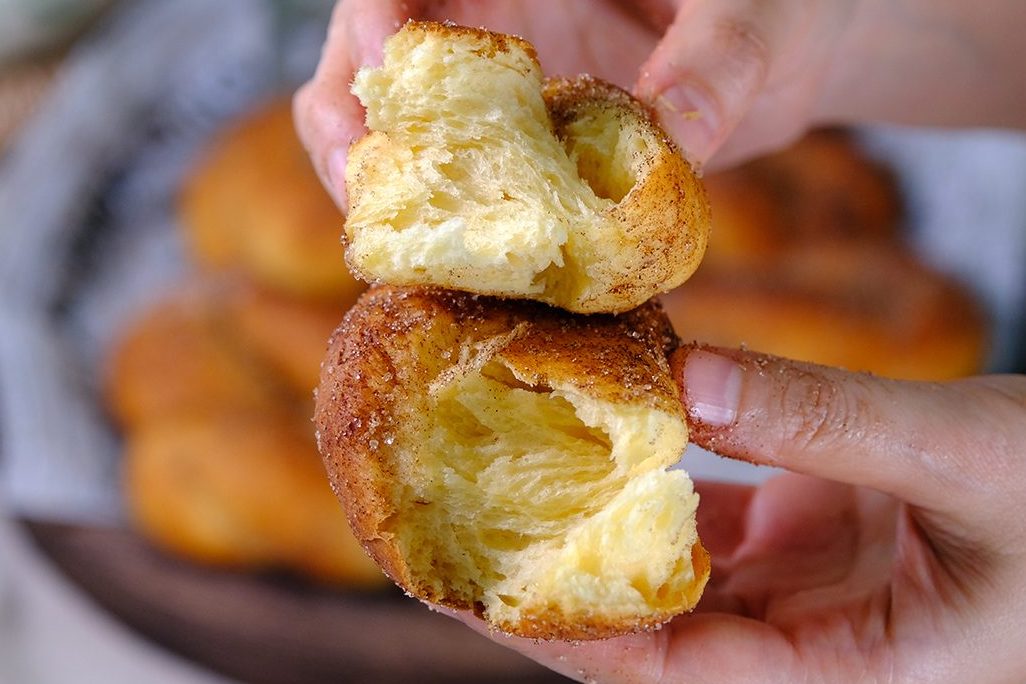
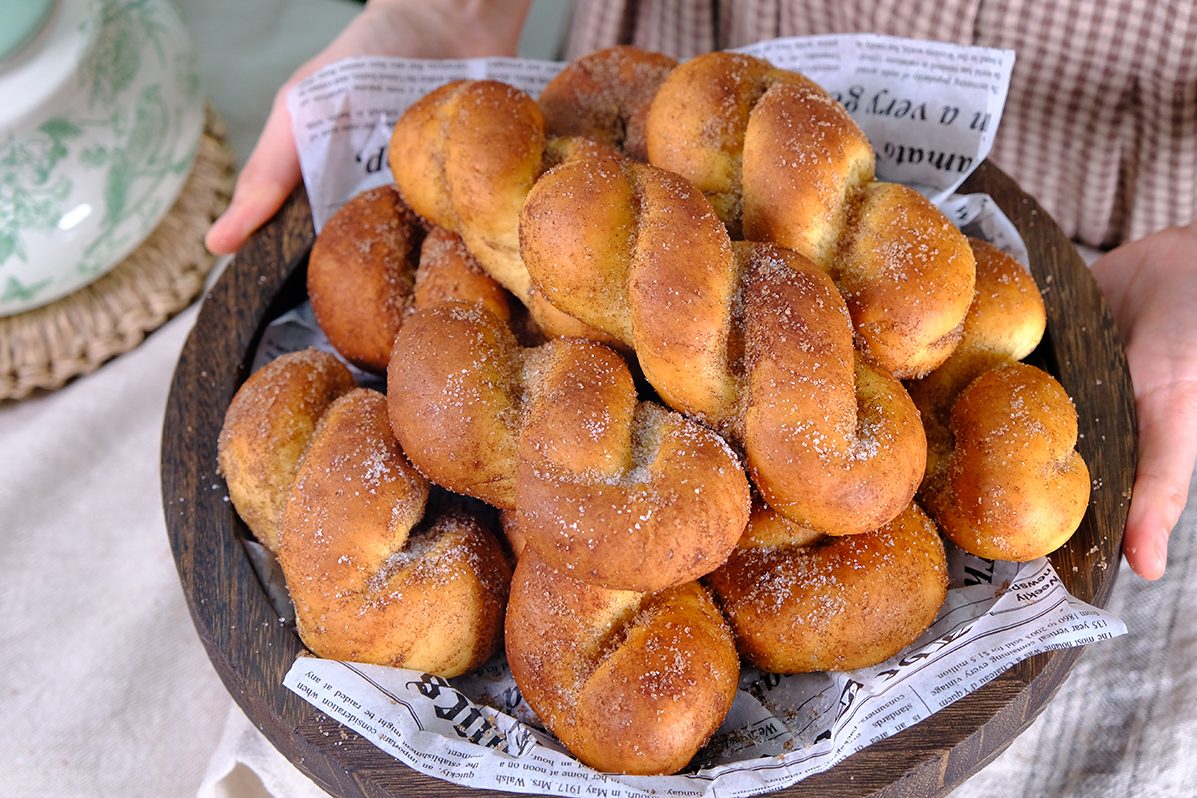
I hope you will enjoy it as much as I do 😍
BAKED KOREAN TWISTED DONUTS
Yield: 10 pieces
INGREDIENTS
🍩 Donut Dough
315 g All-Purpose Flour
50 g Caster Sugar
1⅔ tsp Instant Yeast
1/3 tsp Salt
125 g Mashed Potatoes
50 g Egg Yolks
100 g Full Cream Milk (cold)
40 g Unsalted Butter
🍩 Coating
60 g Unsalted Butter (melted)
100 g Caster Sugar
1 tbs Cinnamon Powder
INSTRUCTIONS

Many people struggle making Steamed Meat Buns; A common mistake is that the Steamed Buns end up collapse or come out wrinkled.

Making steamed Pork buns is not complicated if you get the right tips and of course like they say practice makes perfect.
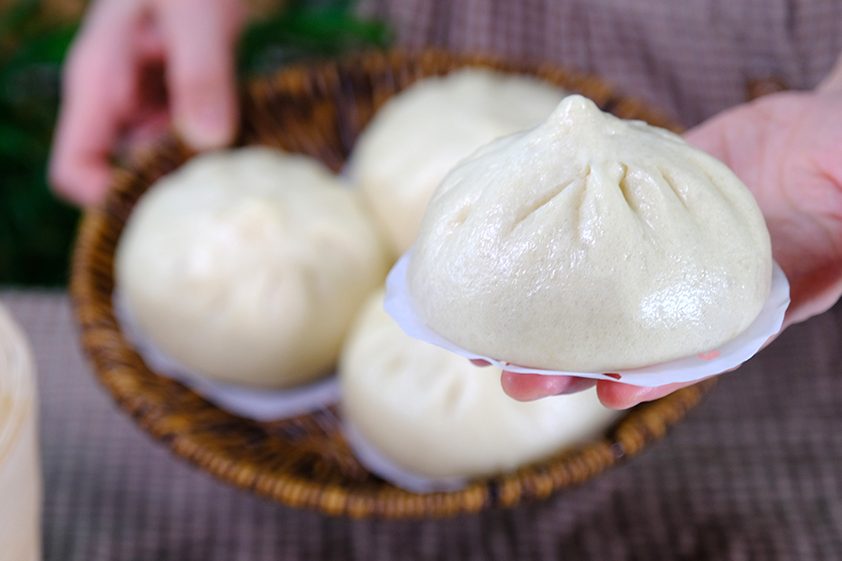
Homemade Pork Buns fresh out of the steamer are delicious to eat, and they taste even better if you make the dough yourself.
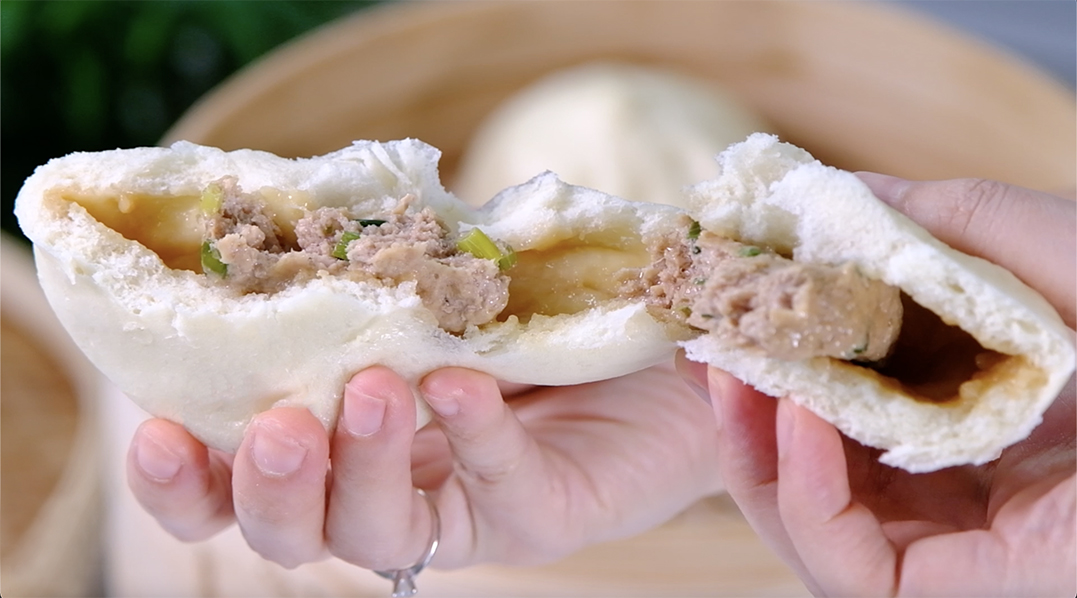
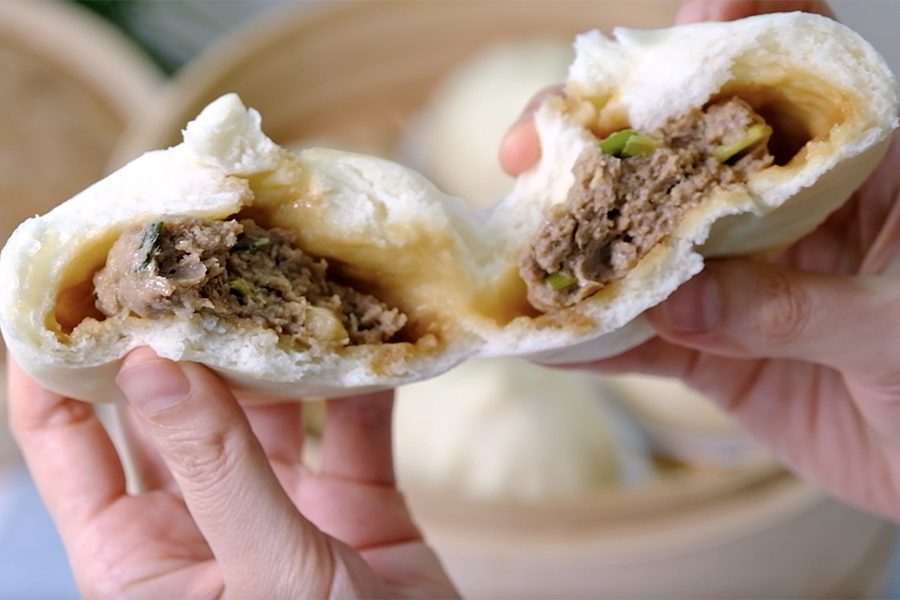
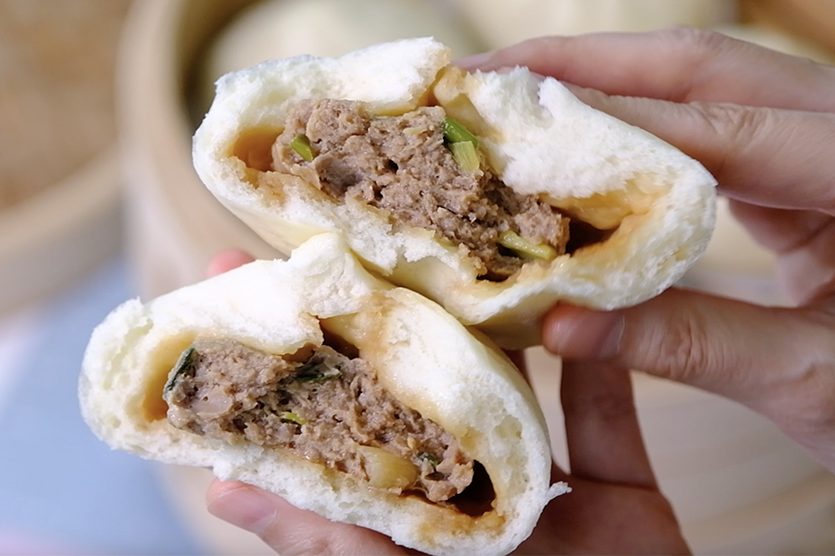
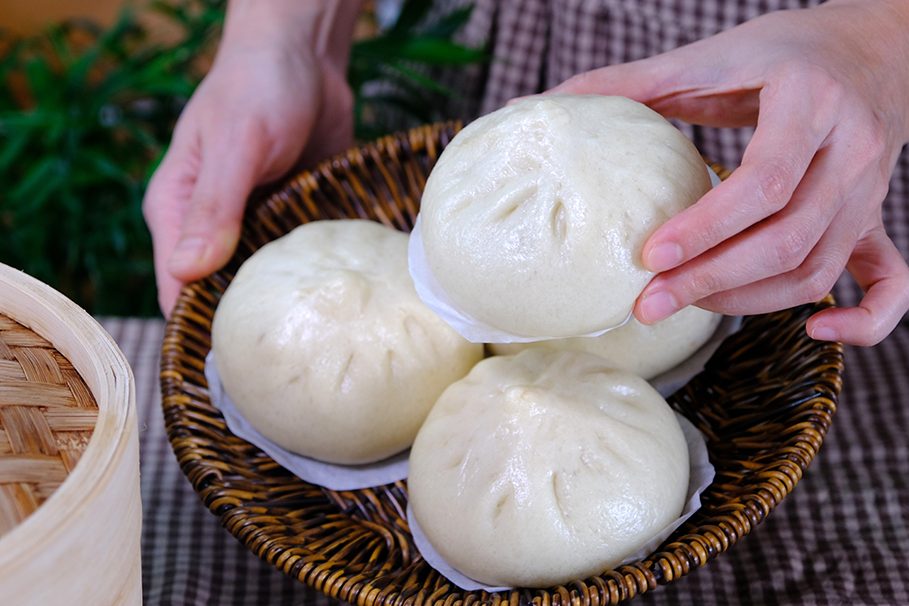
The buns are incredibly soft and won’t deflate or wrinkle after steaming
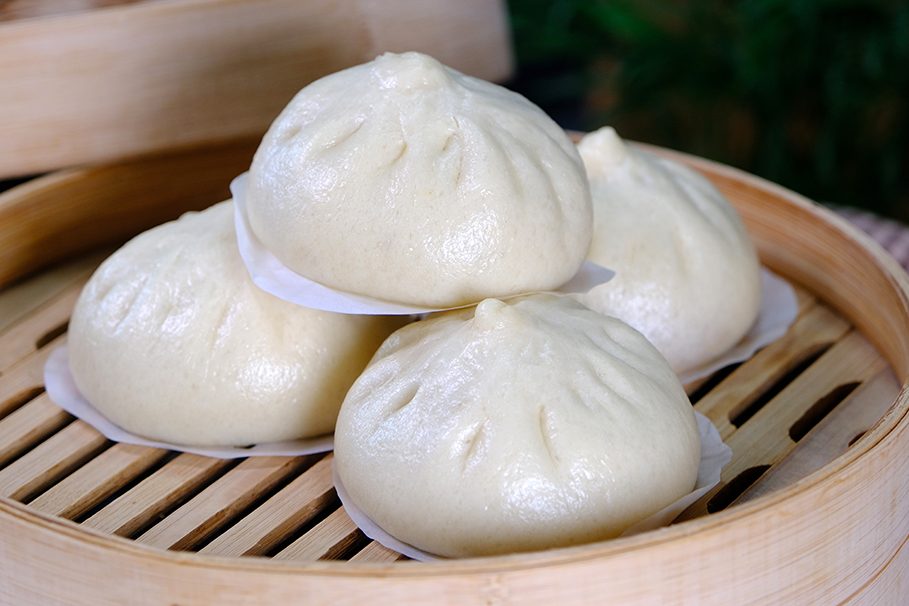

Hopefully, this recipe will give you more confidence in making your own Steamed Buns!
🍀 Love you All!
THE SECRET OF A DELICIOUS JUICY FILLING
When mixing the filling, it’s important to stir it in one direction; usually clockwise or counterclockwise (This is a traditional technique in Chinese cooking)
Stirring in one direction activates and aligns the meat proteins, which creates a stronger bind; this results in a firm, springy, and juicy filling that holds together well during steaming
WHAT IS IMPORTANT IN MAKING DOUGH SKIN ?
STEAMED PORK BUN
Yield: 6 pieces
INGREDIENTS
🍀 Filling
1/2 tsp Chinese Peppercorn
3 Star Anise
15 g Boiling Water
250 g Minced Pork (with fat 70/30 or 80/20 LEAN-to-FAT ratio is ideal )
1 tbs Light Soy Sauce
2/3 tsp Dark Soy Sauce
2/3 tsp Caster Sugar
1⅓ tsp Ginger (grated)
1⅓ tsp Oyster Sauce
1/8 tsp White Pepper
1½ tsp Sesame Oil
1½ tsp Vegetable Oil
20 g Spring Onion (chopped)
🍀 Dough Skin
210 g All-Purpose Flour (Unbleached, 9.3–10.3% Protein)
1 tsp Instant Yeast
1½ tbs Caster Sugar
3/4 tsp Baking Powder (Double Act.)
125 g Lukewarm Water (35-38°C)
INSTRUCTIONS
🍀 Filling
🍀 Dough Skin
NOTES
Baking bread is my favorite,
the kneading process is very calming and meditative for me.
But as my work gets busier, I find I don’t have time to make homemade bread.
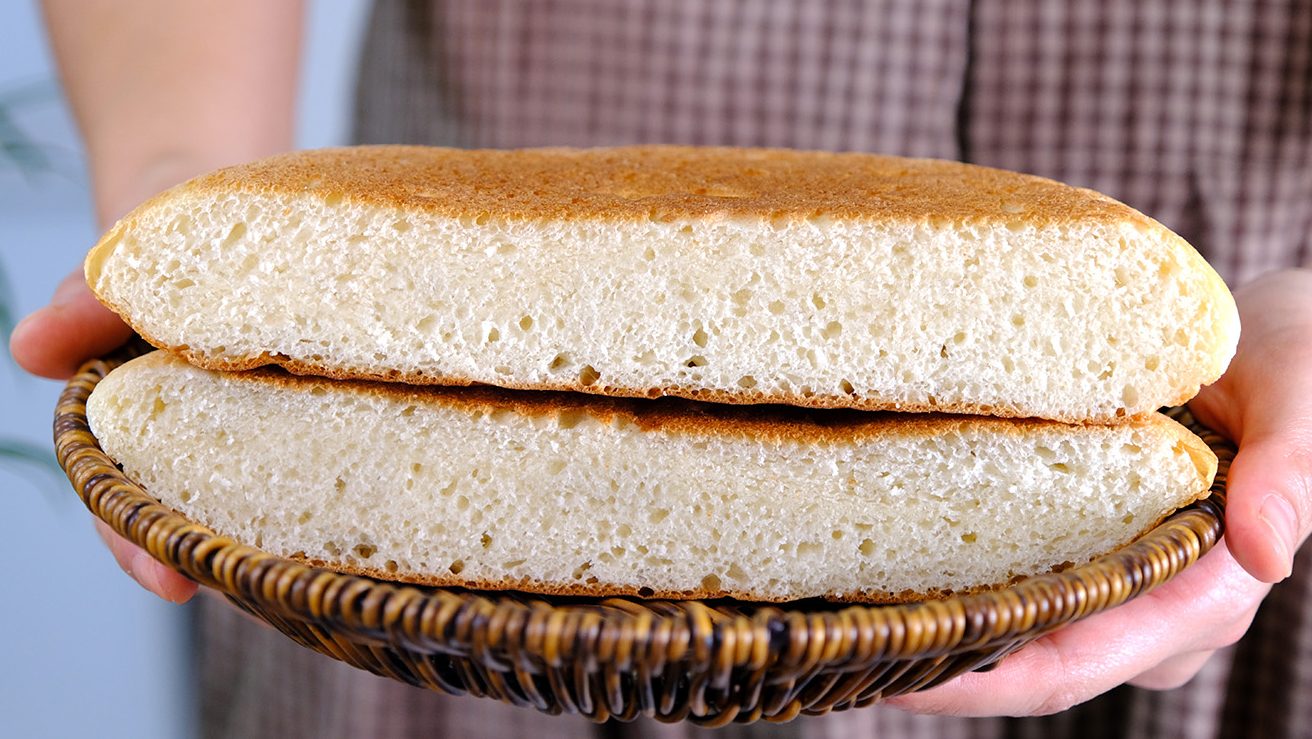
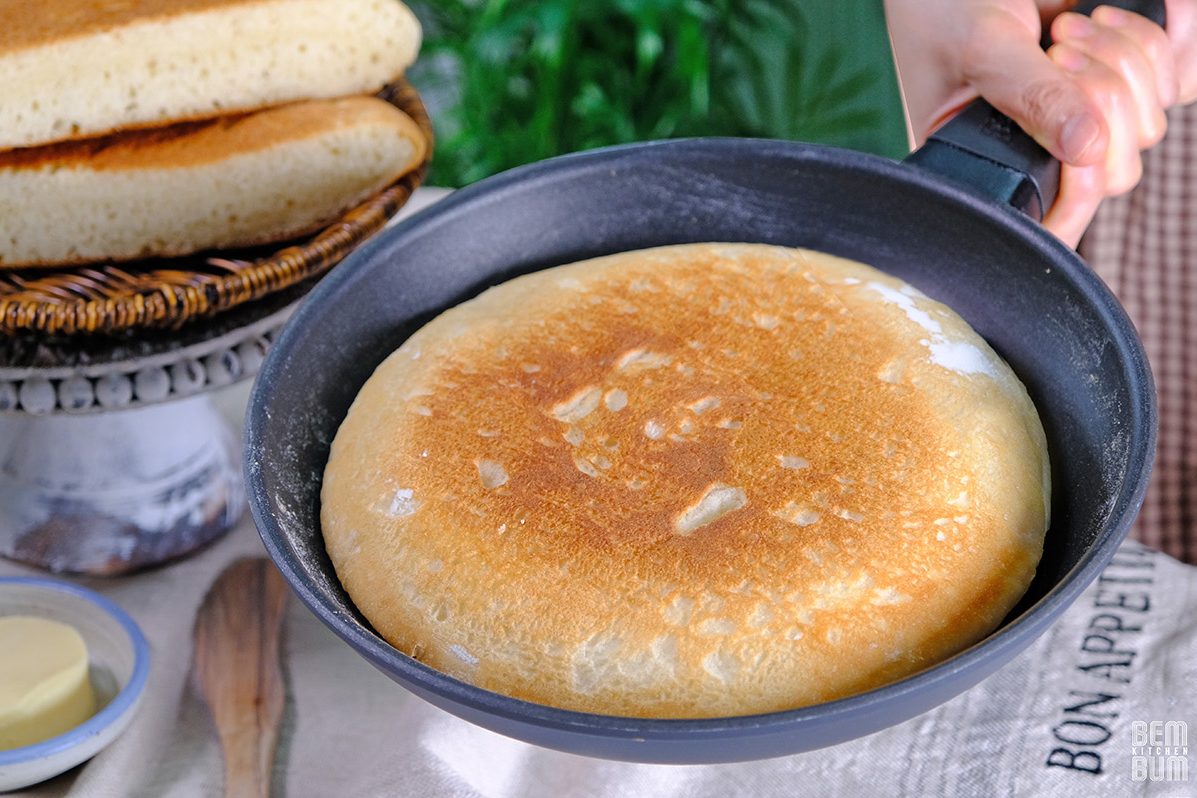
Through trial and error, this Frying Pan Bread was born!
This recipe minimizes time and effort and can be made in just one frying pan.

A super quick and delicious way to make soft homemade bread.

When making this bread; It is important to use a non-stick pan with a thick base, otherwise the dough will stick to the bottom of the pan.

The pan lid is also essential; It use to prevent the bread from drying out during fermentation and cooking.
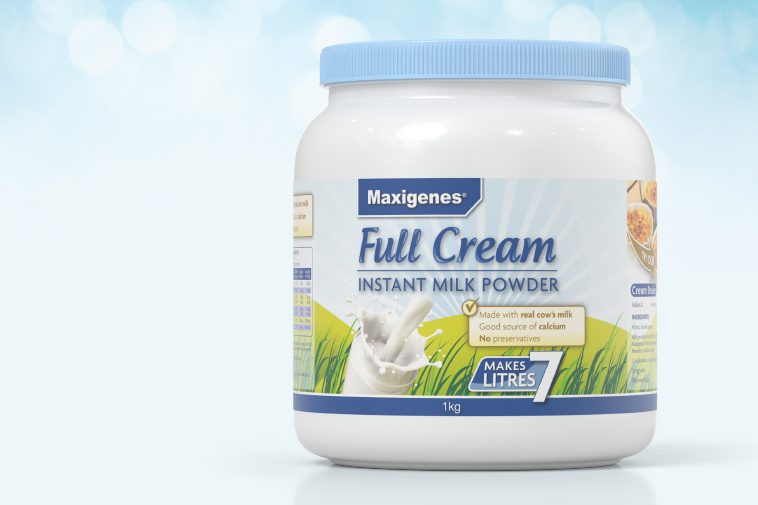
I use Full Cream Powdered Milk, not Liquid Milk in this recipe.
The fat from Milk Powder adds rich flavor and tenderizes the dough, resulting in a softer, finer, more tender crumb.
The bread will also have a longer shelf life.
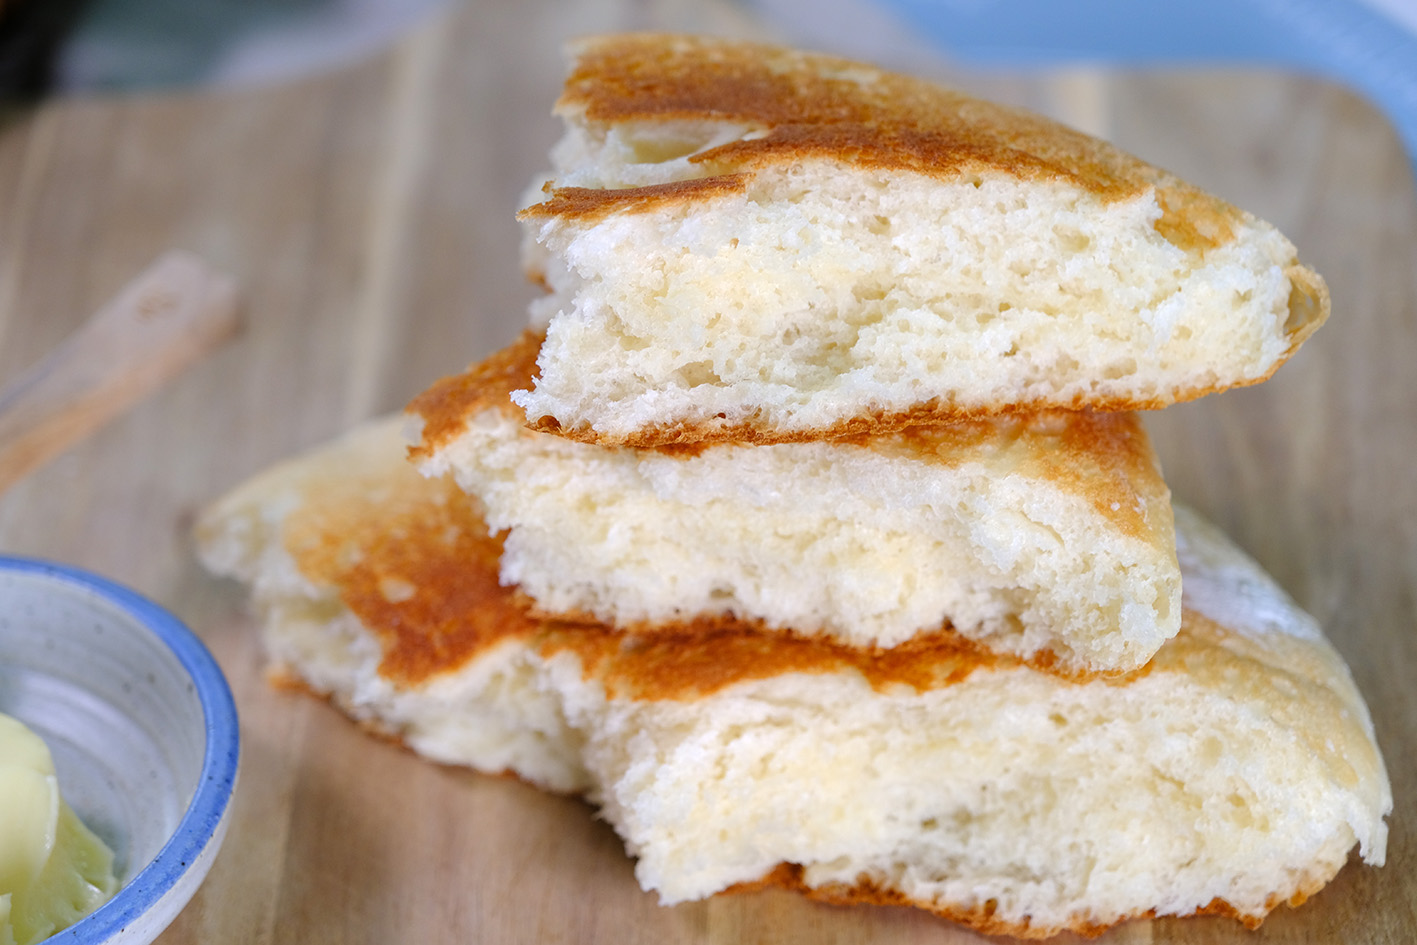
The bread is so soft and fluffy; perfect served with Butter or jam, or as a delicious accompaniment to a bowl of warm soup.

I love making it into sandwiches 😁
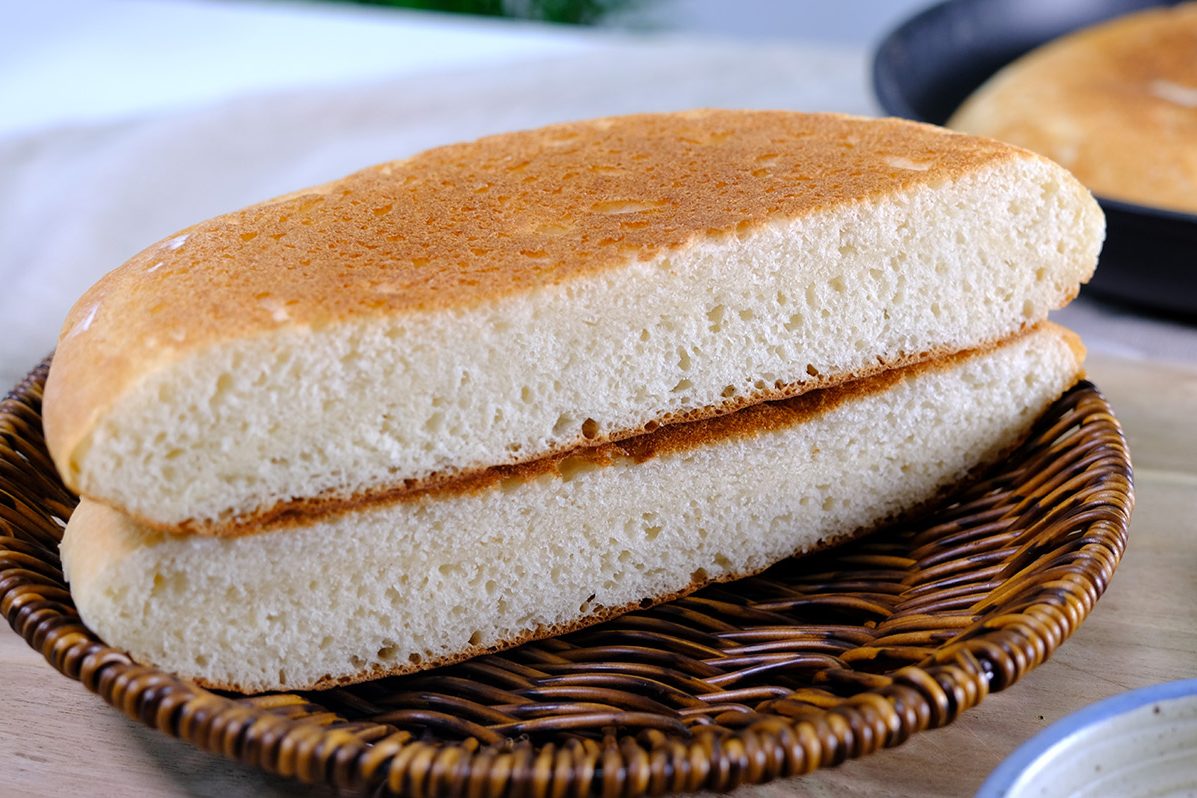
I hope this recipe helps those of you who are busy; The simplest and most delicious homemade bread.
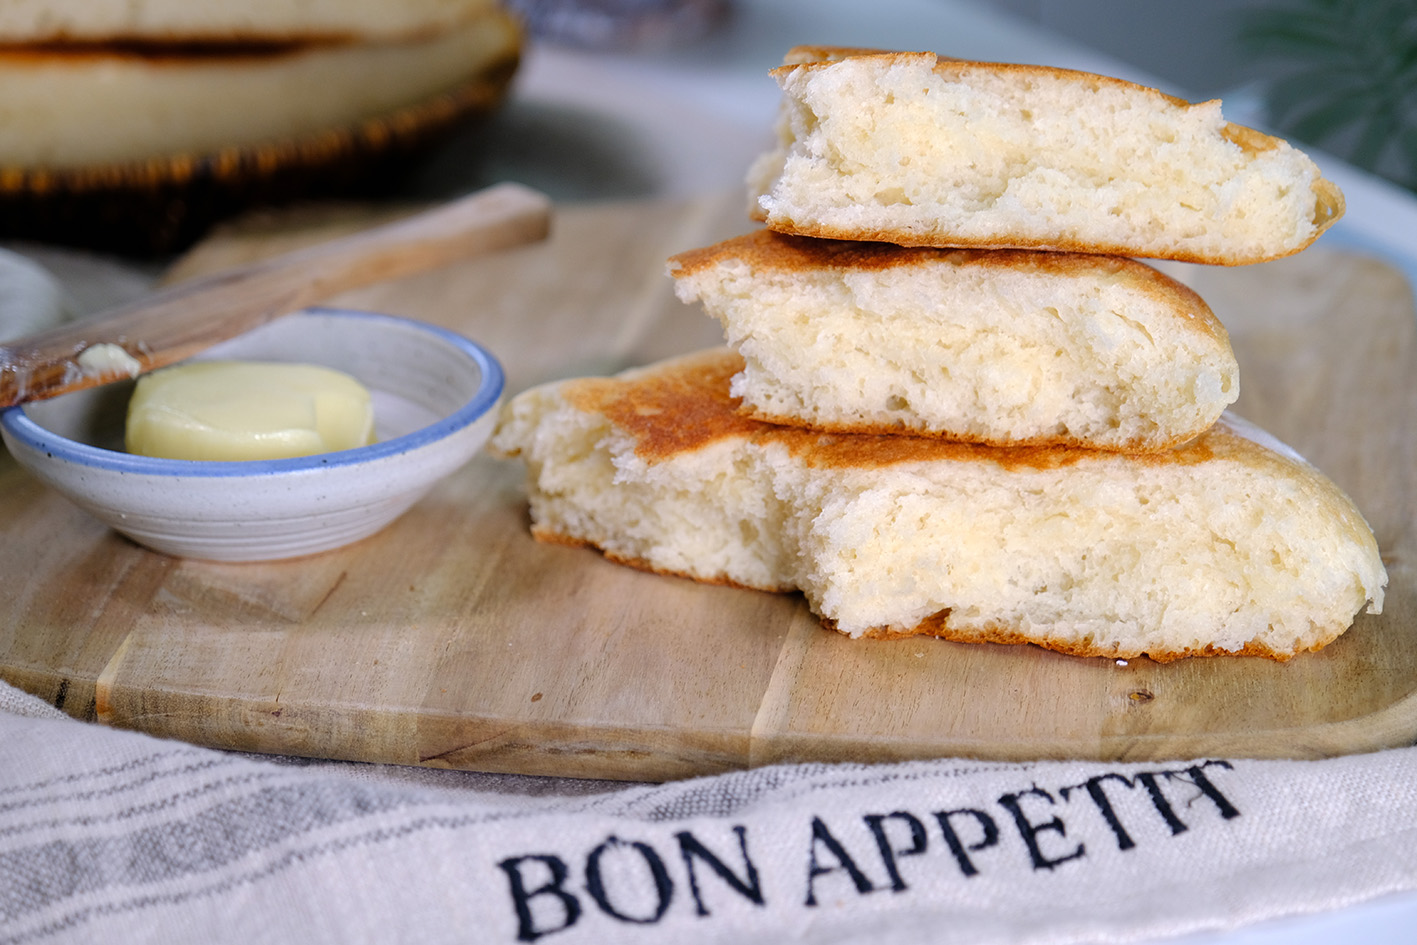
Make it for your loved ones; Give them freshly baked, healthy bread 🥰
LOVE YOU ALL!!
FRYING PAN MILK BREAD
Yield: One 20 cm diameter (5 cm thick)
🍞 INGREDIENTS
15 g Unsalted Butter (melted)
200 g Strong Bread Flour
30 g Caster Sugar
3 g Salt
150 g Water (lukewarm ~ 35-37°C)
15 g Full Cream Milk Powder
3 g Instant Yeast
INSTRUCTIONS

Choux Pastry or Pate A Choux (French: [pat a ʃu]) is a delicate and the most versatile French Pastry that everybody loves.

The essential ingredients are Butter, Water, Flour and Eggs.

The signature feature is the hollow center that forms when baked. It’s perfect to fill with Pastry Cream, Jam, Curd or even Ice Cream 😘
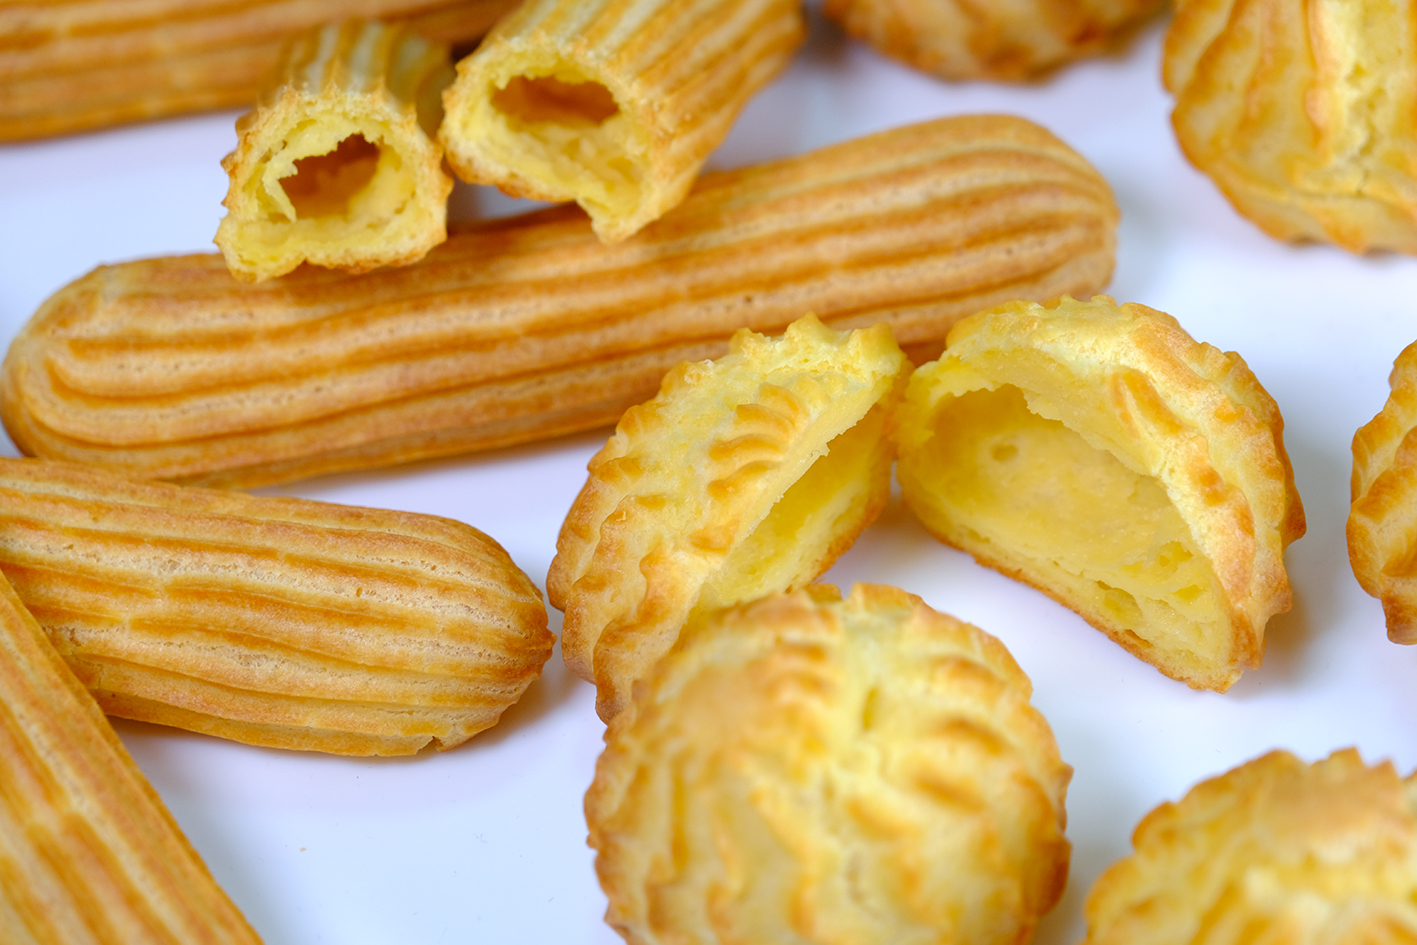
Instead of a raising agent, this dough is dependent on the steam created from the liquid content and the heat that expands and stretches the dough into beautiful hollow shapes just waiting to be filled or eaten as is!
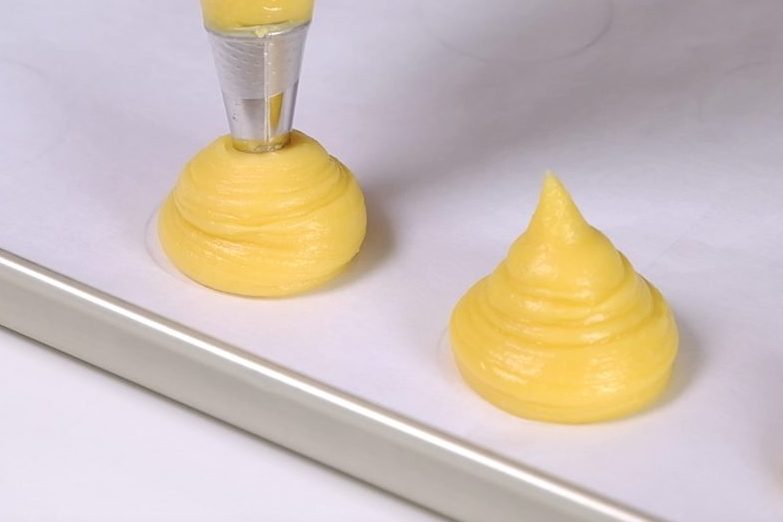
The key to Choux Pastry is looking for the right texture to know that enough egg has been added and NOT opening the oven during the baking process.

If the eggs are not enough, the dough will be too thick, difficult to pipe and won’t rise perfectly; on the other hand, if use too many eggs, it will be too runny and become flat when baked.

The number of eggs depends on the egg size, flour absorption and the humidity in your kitchen on any given day.

DO NOT OPEN the oven door when the dough is baking, especially in the first 30 minutes until they are a deep golden brown or it may collapse as the structure is still unstable

In this recipe, I will share with you a few tips to make this multipurpose dough along with filling and decorating options.
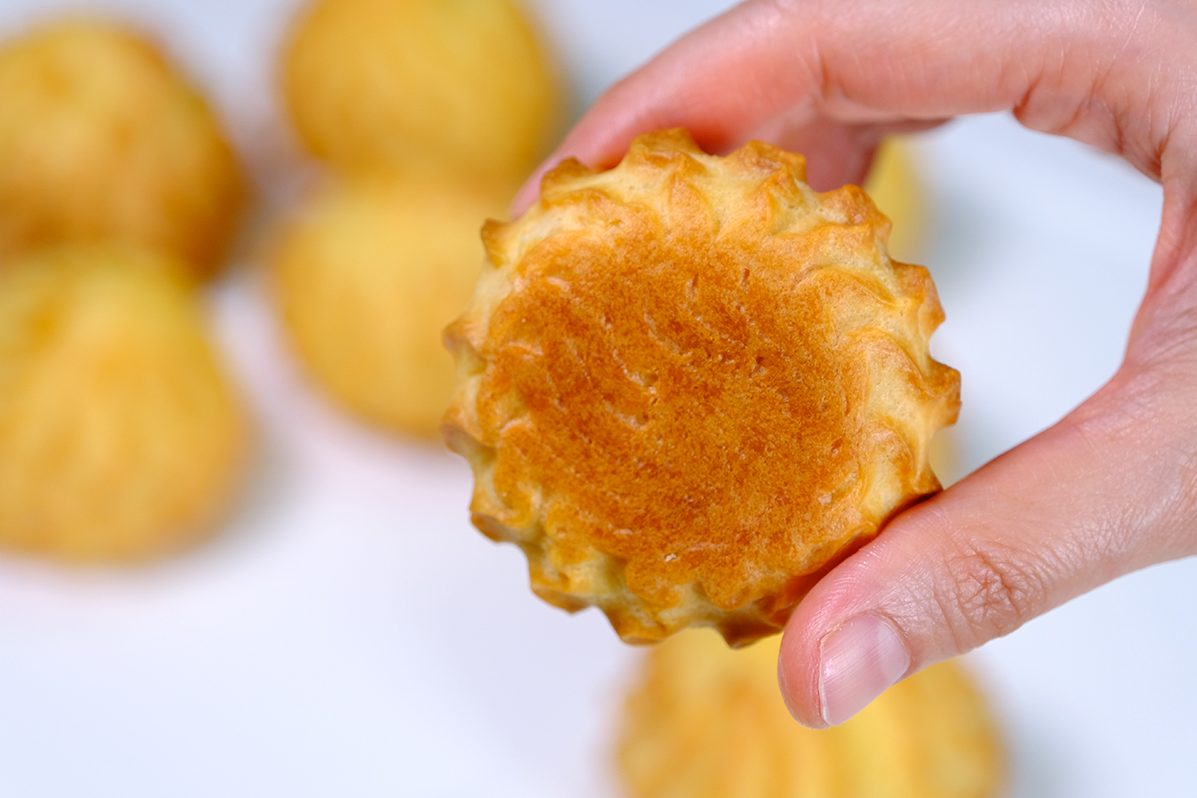
Once you understand the basic technique, you can make everything from irresistible Cream Puffs, Eclairs, Profiteroles or even Paris-Brest.
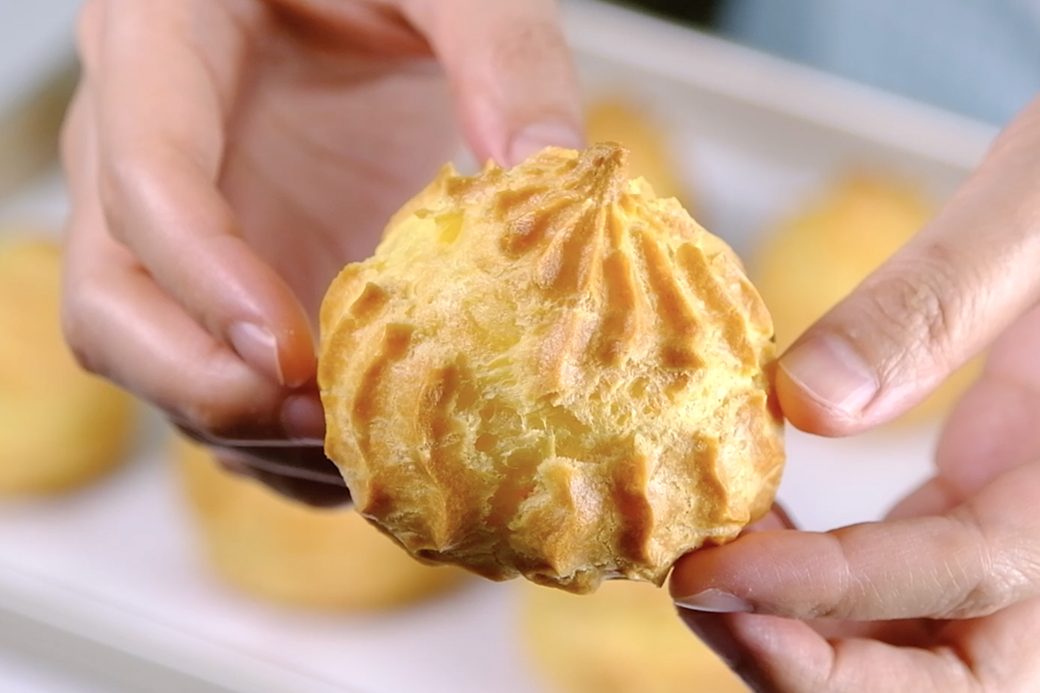
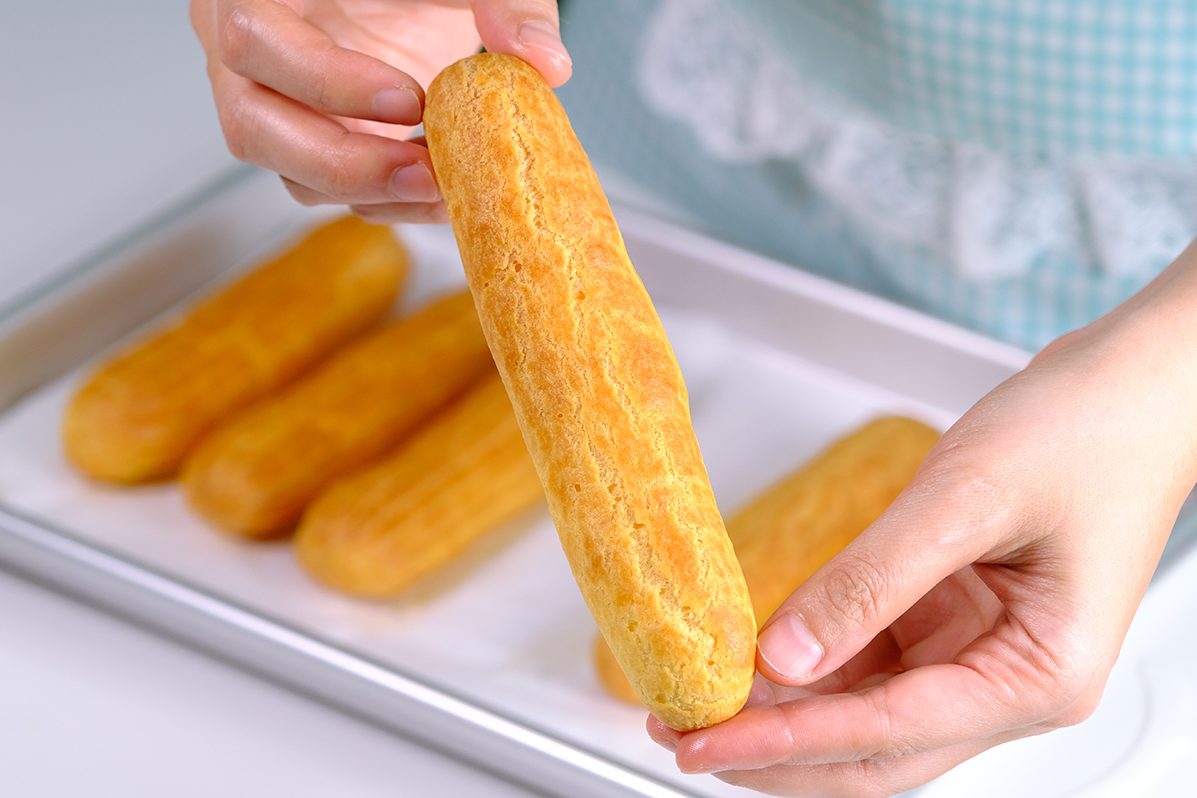
Once its baked, you can store in a freezer bags and freeze them.
Then when you need it, re-crisp the Choux directly from frozen, baking in the preheated 170°C fan oven for 2 to 3 minutes or until hot to the touch.

And the good thing about this dough; You can freeze them before baking.

Pipe them on baking pan (lined with parchment paper) and freeze. They will harden like a rock, store in a freezer bag, put in the freezer.
When you need it, bake from frozen according to the same baking times and temperatures as called for in this recipe.

For the filling, one of my favourite is Cream Patissiere or Pastry Cream. A delicious custard filling which is adaptable and delectable. It’s easy to change the flavor of this custard to make your own creations.
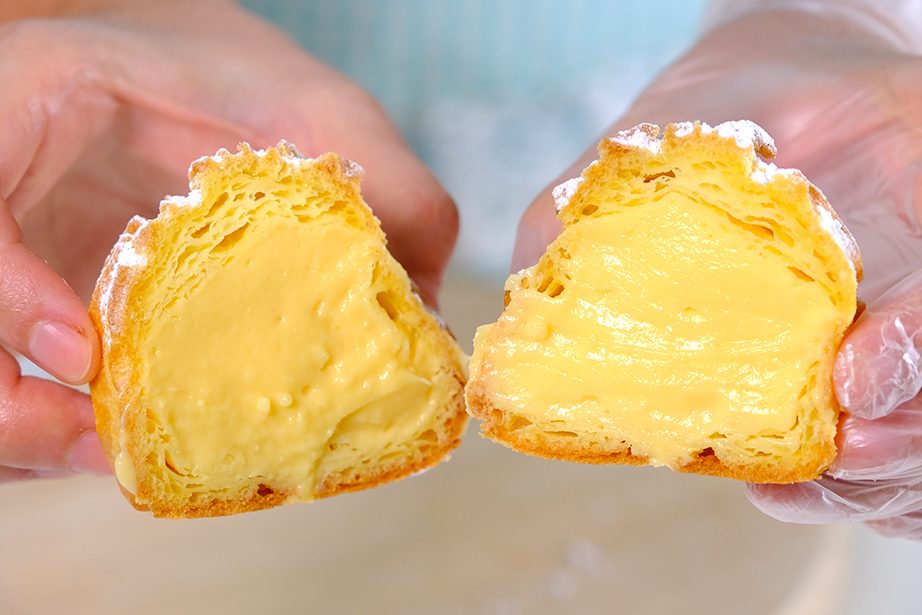



There are endless possibilities !!

Something I usually do for my dinner parties; take it to the next level !!
I cut the cooled Choux in half, fill it with a small scoop of my favourite ice cream
Pipe some Chantilly Cream on top, put the top back on and store in the freezer until ready to eat.

Then when it’s ready to serve, I will poured some warm chocolate sauce on top 😂

And I promise you, they are so delicious !!
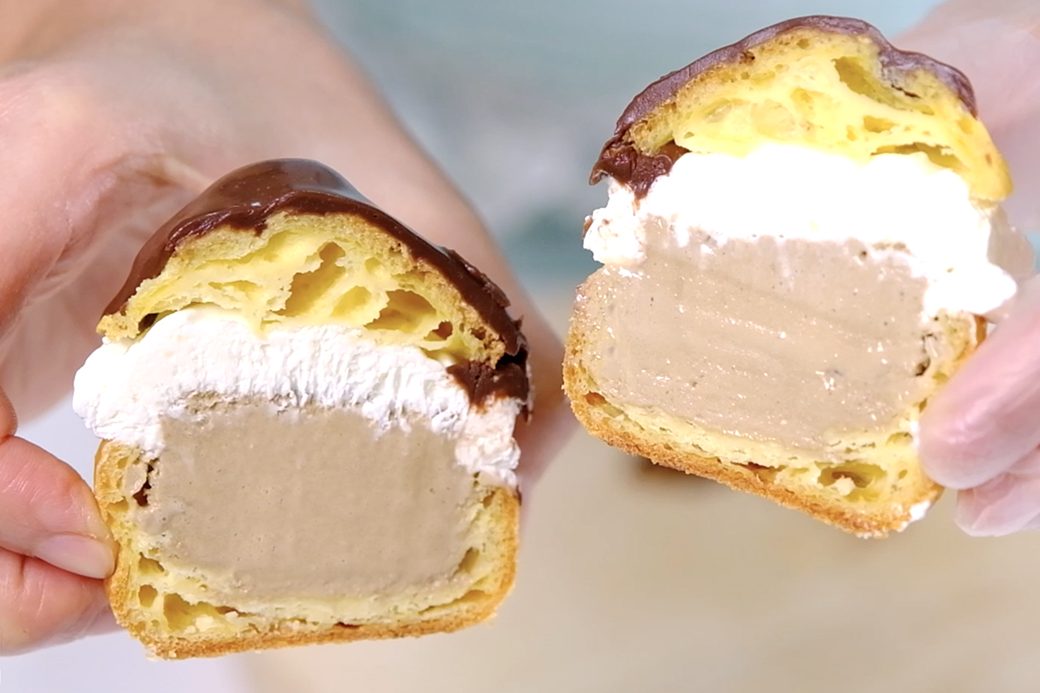
Hopefully this video can build your confidence in making Choux Pastry 😚
LOVE you ALL !!! ❤️
CHOUX PASTRY 101
Yield: Makes about 20 Cream Puffs or 30 Eclairs
INGREDIENTS
❄️ Choux Pastry Dough
180 g Water
180 g Whole Milk
150 g Salted Butter (cubes, room temperature)
1½ tsp Sugar
3/4 tsp Salt (omit if you use Salter Butter or Margarine)
45 g Bread Flour
180 g All-Purpose Flour
4-5 Eggs (large)
❄️ Pastry Cream
85 g Egg Yolk
75 g Sugar
22 g All-Purpose Flour
15 g Corn Starch
90 g Whole Milk
360 g Whole Milk
21 g Unsalted Butter (room temperature)
15 g Sugar
1½ tbs Vanilla Extract or 3/4 tbs Vanilla Paste or 1½ Vanilla Bean
Flavour Combination:
– Chocolate: Add 80 g Dark Chocolate (chopped) in the end of cooking
– Fruit: Let the pastry cream cool completely, then add fruit puree or jam (start with 3 tablespoons)
– Coffee: Add 1½ tablespoon of Instant Expresso Powder to thickening ingredients at the begining
❄️ Chantilly Cream
240 g Heavy Cream
20 g Icing Sugar
1 tsp Vanilla Extract
1 tsp Gelatine Powder
1½ tbs Cold Water
1½ tbs Boiling Water
❄️ Chocolate Sauce
85 g Dark Chocolate (chopped)
120 g Heavy Cream
INSTRUCTIONS
❄️ Choux Pastry Dough
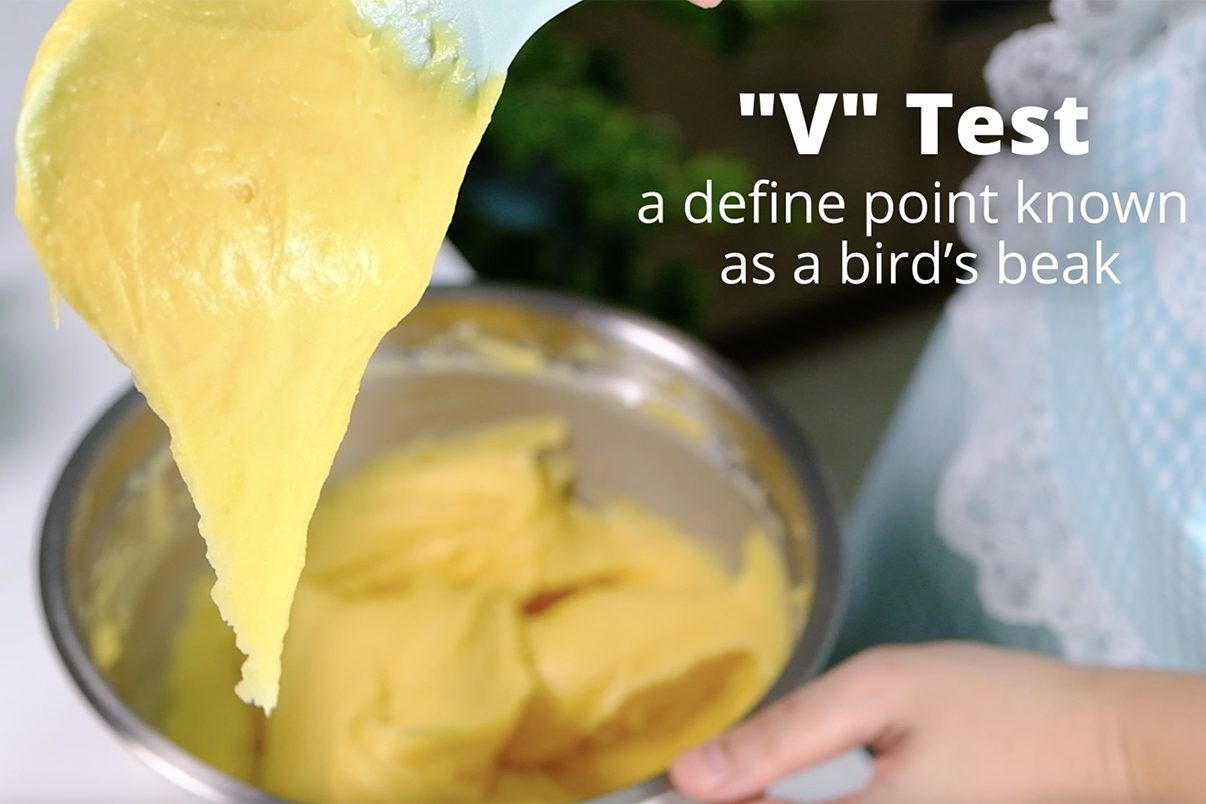
FIRST, the dough looks shiny

SECOND, is the V test (when it is the right texture, it will fall in a define point known as a bird’s beak like this)
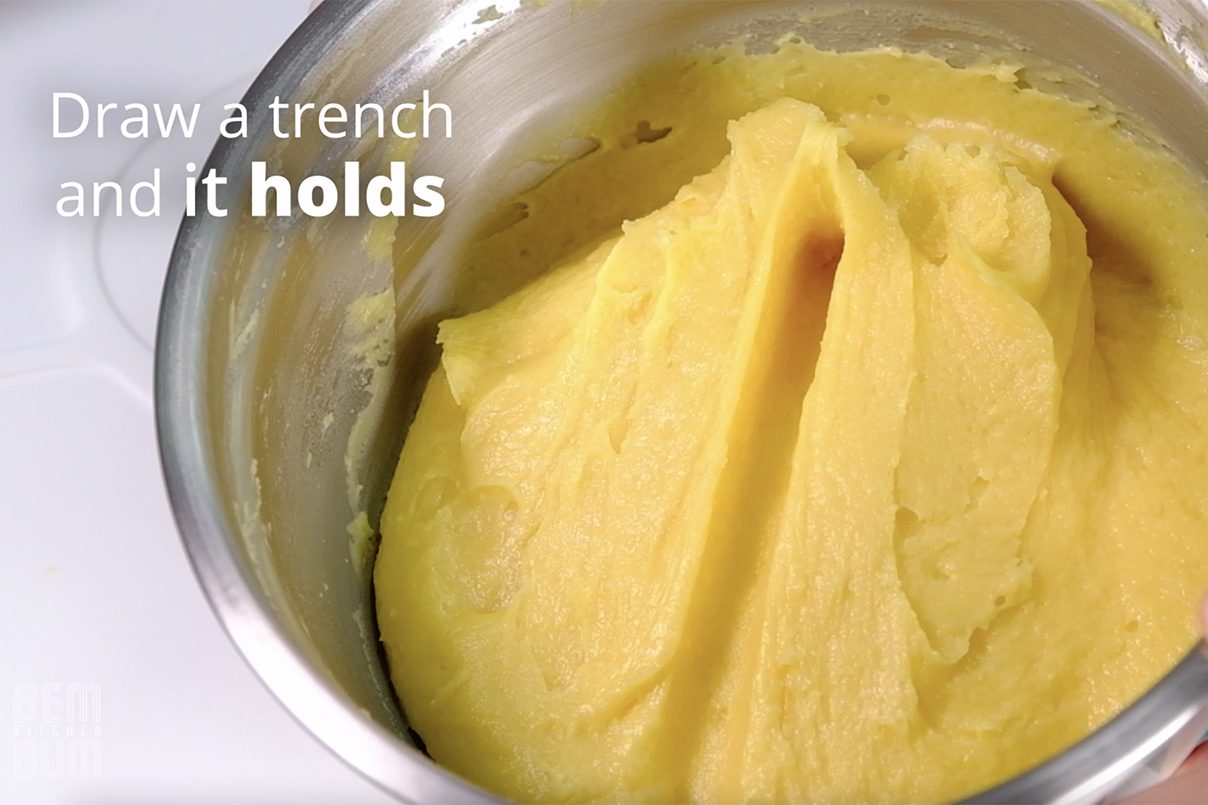
THIRD, to make sure that our mixture is not too runny is to take your finger and draw a trench, if it holds that’s means it’s ready
9. Once the dough is ready, pipe the dough into the desired shape (kindly watch the video for complete instuctions)
10. Then you can dip your fingers into water, using wet fingers pat down any points or help form your piped shapes into better mounds
11. Once it’s done, bake in the preheated 170°C fan/ 190°C/ gas mark 5 , on the middle rack for 40 minutes
DO NOT OPEN the oven door when the dough is baking, especially in the first 30 minutes until they are a deep golden brown or it may collapse as the structure is still unstable (so if you have small oven, bake only one pan at a time; the remaining dough can be sit in a piping bag until the oven is free)
12. Once it’s baked, remove from the oven and let it cool completely on the cooling rack before filling
❄️ Pastry Cream
(make sure you follow the steps carefully, adding the ingredients in this order will prevent lumps)
❄️ Chantilly Cream
❄️ Chocolate Sauce
METHODS TO FILL CHOUX PASTRY
First Method
Second Method
NOTES
WHAT IS THE SECRET OF MAKING GOOD SCONES?
The recipe seems so simple, but the perfect Scone doesn’t come easy.

There are many little gritty things that can get in the way of achieving that all-buttery point of perfection.
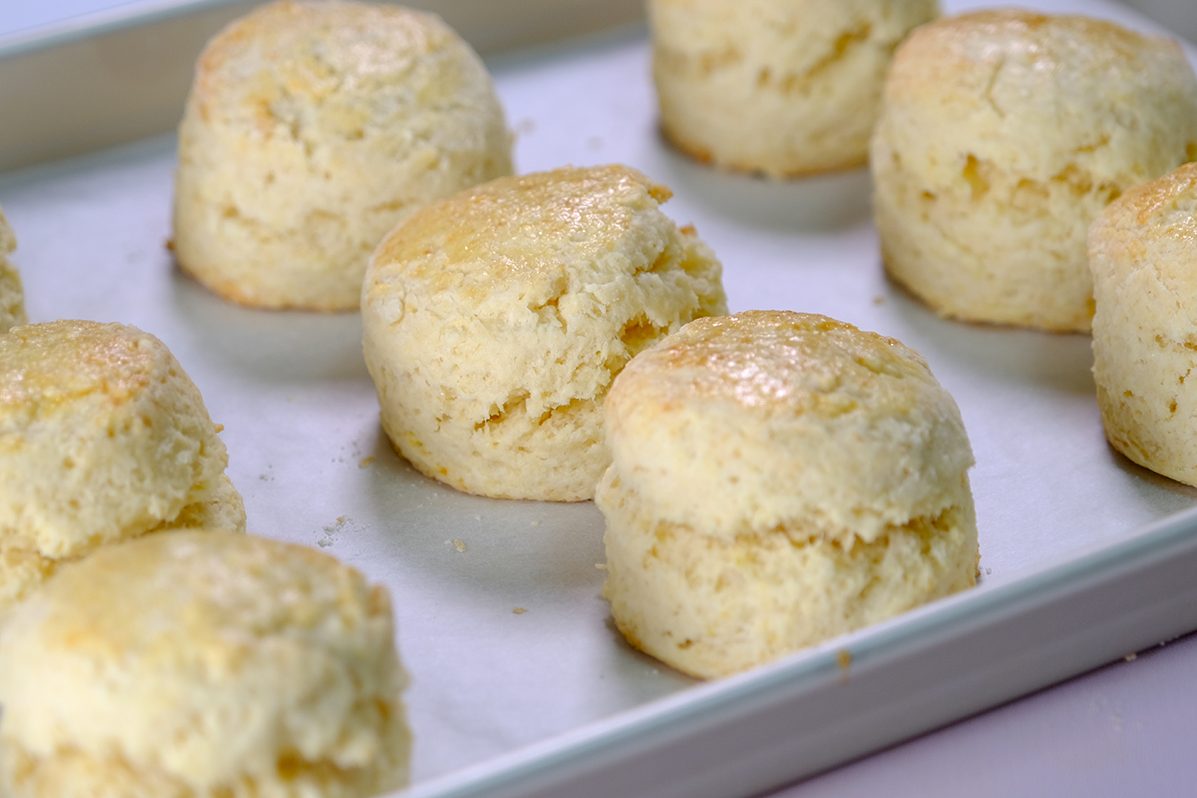
Scones are supposed to be light, fluffy and soft interior with a little crisp to the edges and top.


Making Scones requires a VERY light touch.
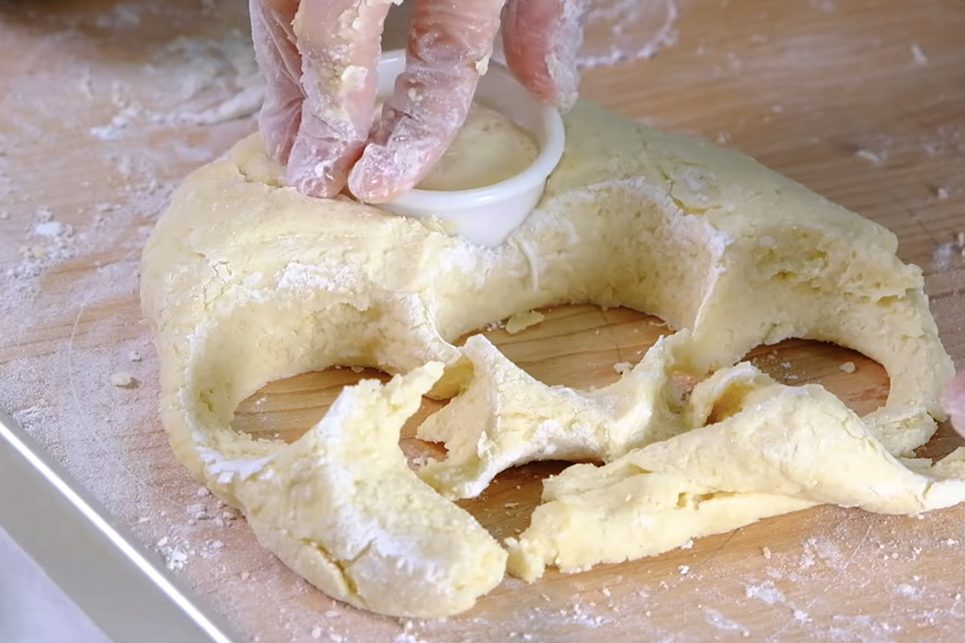
Only use the tips of your fingers to rub in the butter into the flour, lightly lifting and dropping the mixture.
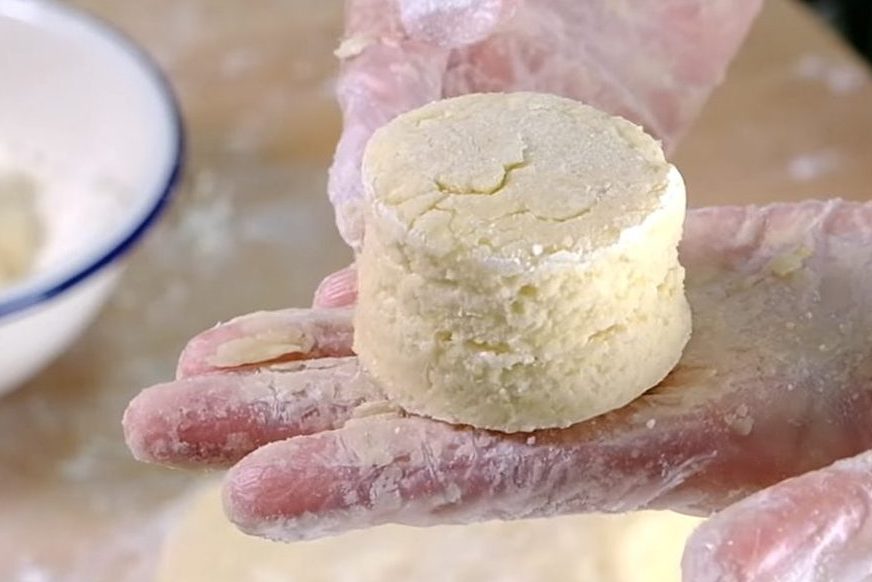
The trick is to use light pressure and only work the dough until it just comes together.
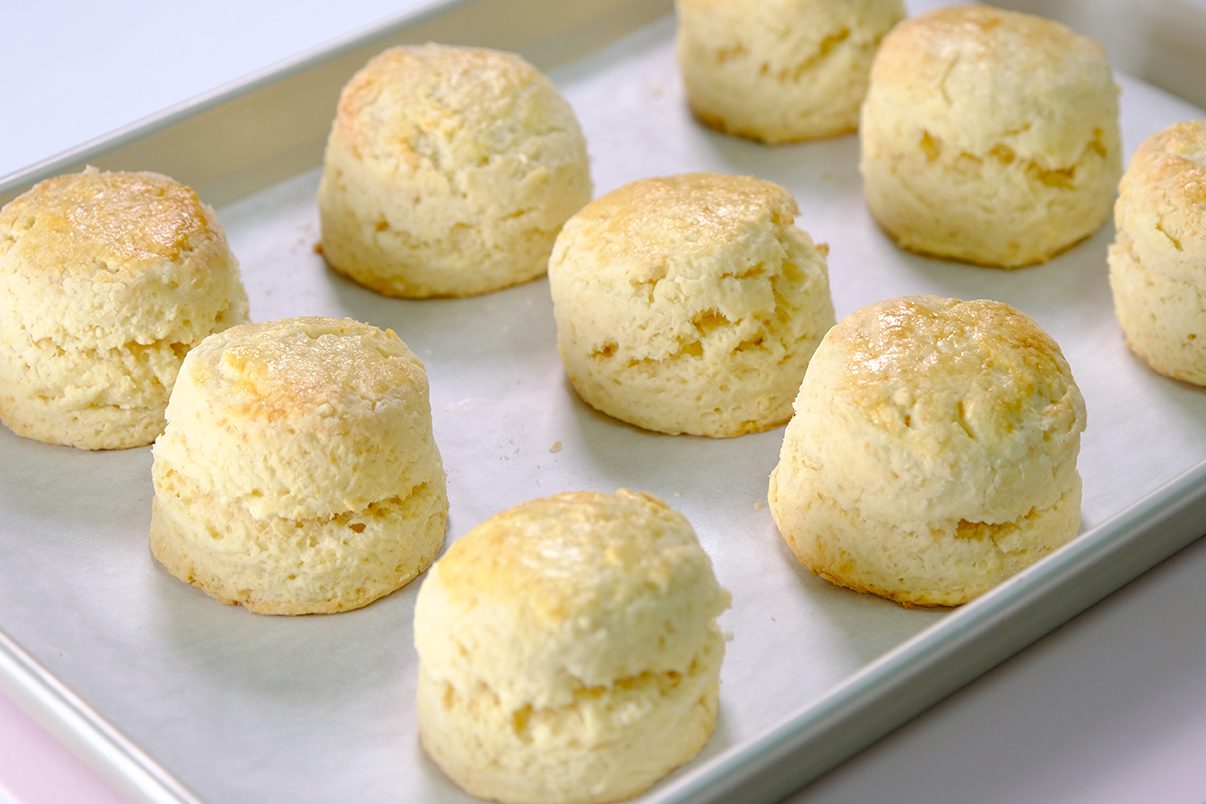
One common mistakes that causes Scones to be dry and tough is being too heavy-handed with the dough.

When you overwork the dough, your Scones can come out tough and chewy, rather than that desired light and crumbly texture.

If scones aren’t part of your baking repertoire, I suggest you give them a try.
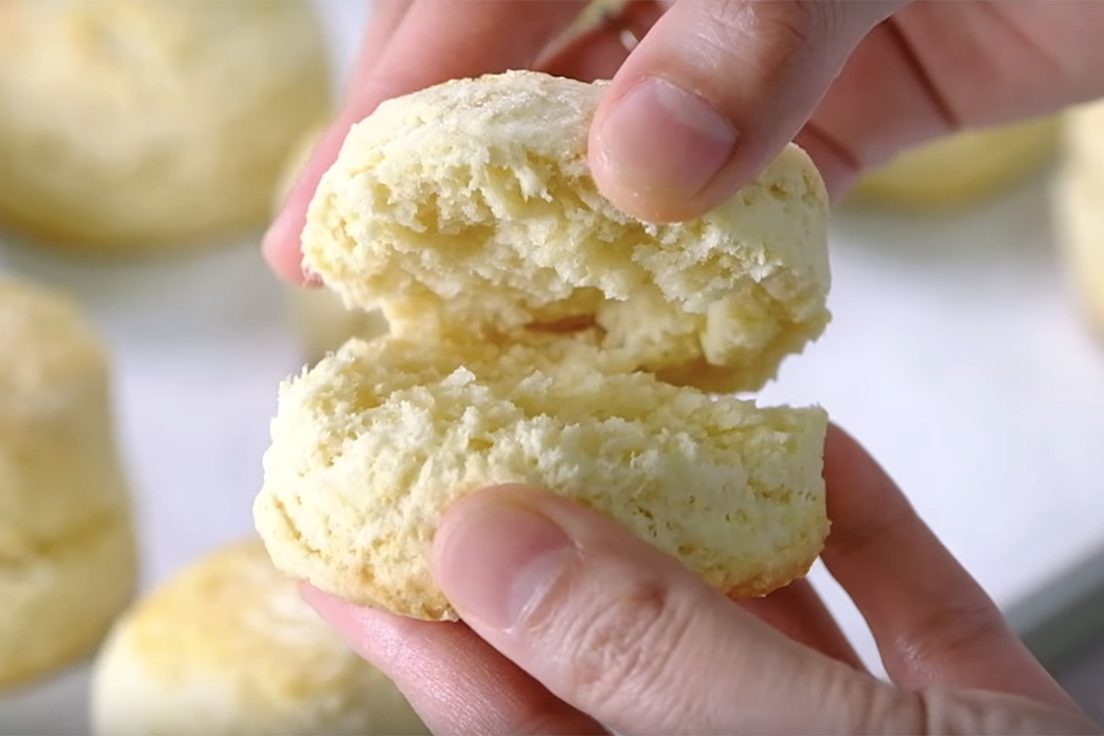
They come together quicker than almost any other baked good and taste absolutely delicious 🤤

Scones are best served warm, with Clotted Cream and Strawbery Jam of course; And not forgetting a pot of good Earl Grey Tea.

If you cannot get Clotted Cream, you can try Crème Fraîche or Unsalted Butter; it goes quite well with Strawberry Jam.

The Cornish tradition is to cut the scone in half, so you have two flat rounds;
On each side, Jam is spread first and then the cream on top.
The Jam being spread first is what makes it the ‘Cornish way‘
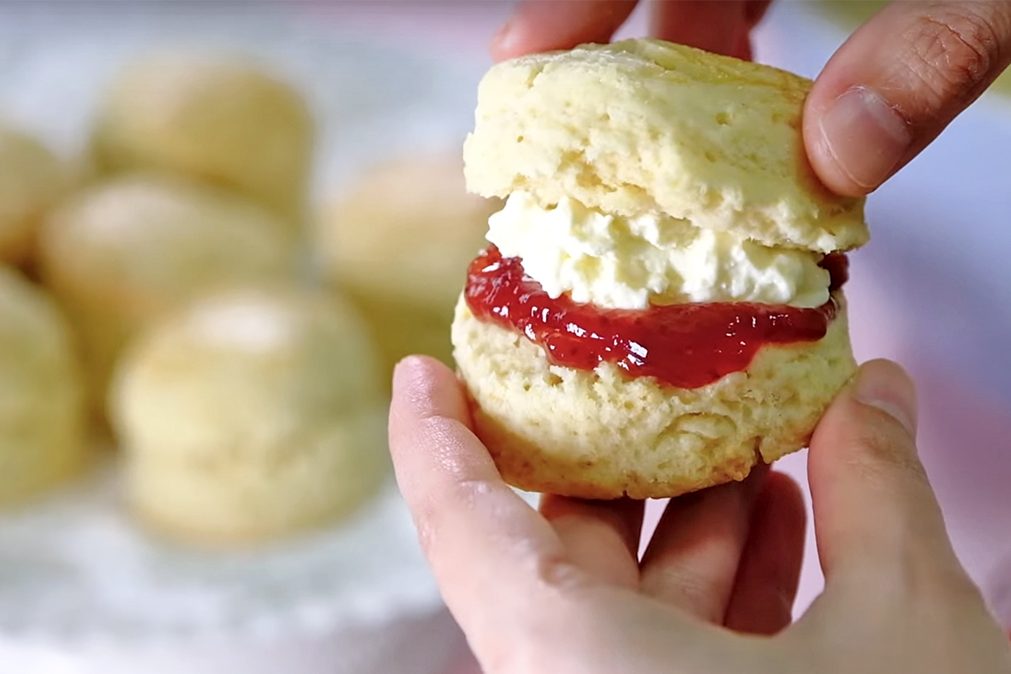
I personally prefer the Royal Way
I would put Jam on first, with cream on top and then sandwich them together so it’s not overly sweet 😚

But ultimately, You can do what you want! 🤣😂
The scones will still be tasty 😍
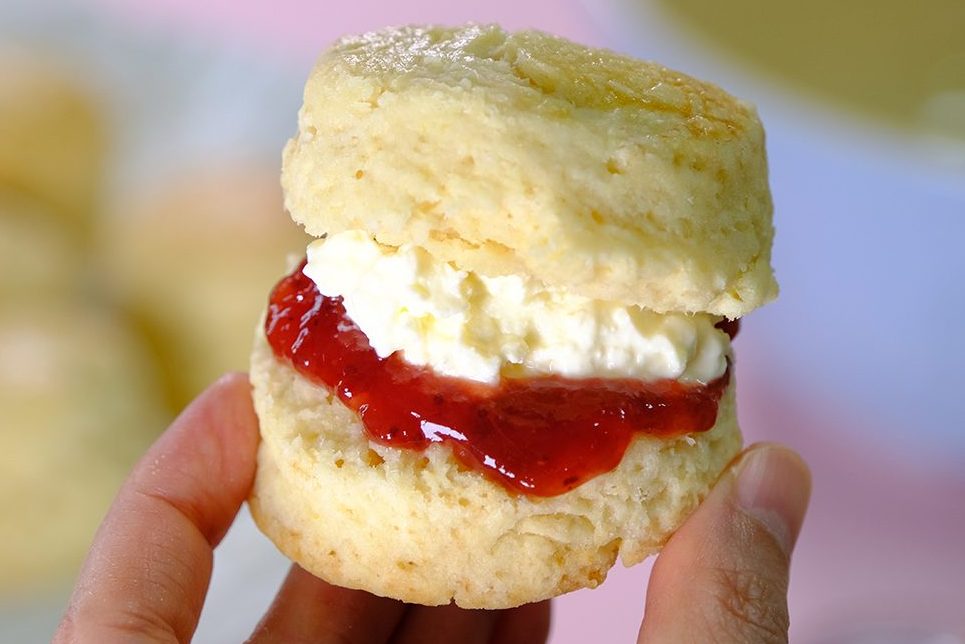
Take a small bite and enjoy the happiness brought by the Scones … 🥰

Kindly follow all the tips and instructions in this recipe, I’m sure you’ll end up with tender, flaky Scones that will literally melt in your mouth.

😊 😍 HAPPY BAKING !!!
PREPARE A LARGE MIXING BOWL
Prepare a large bowl for making scones. You will need some space for the mixing process; this provides plenty of room to spread the butter and mix the dough easily.
USE COLD BUTTER STRAIGHT FROM THE FRIDGE
Make sure that the butter is extremely cold.
Cold butter promotes the flakiness, high-rise and fluffy scones.
I usually take the butter out of the fridge and cut it into large cubes right before I’m ready to mix the dough.
Don’t cut it too small or even grate it. That will make the butter melt faster and you’ll have trouble with a sticky dough.
If you keep the butter in larger pieces, you get flakiness.
Once it hits the oven, the dough around the butter starts to set, the butter melts, and steam from the water content puffs the layers apart.
COLD BUTTERMILK FOR TENDER SCONES
For the liquid, most recipes calls for Whipped Cream or Milk.
However, when the Scones are served with Clotted Cream or Butter and Jam, I found this combination way too rich and not tasty.
I prefer to use homemade Buttermilk for the Scones which is the key to softness and lightness.
Buttermilk makes the scones very tender, has a better crumb and provides a slightly tangy taste
To make it: simply mix regular cold milk with some lemon juice or white vinegar, then let the mixture sit for 5 minutes to curdle and thicken slightly before using.
SIFTING ALL THE DRY INGREDIENTS
Don’t skip this step, it helps to build a light texture
INCLUDE BAKING SODA TO THE RECIPE
Since we are using Buttermilk, Baking Soda is added to this recipe.
The acid in the Buttermilk reacts with the Baking Soda and produces Carbon Dioxide which helps the Scones rise.
DON’T OVERWORKED THE BUTTER
When you mix the Butter with the Dry Ingredients, don’t pinch or overworked the butter into too tiny pieces or you will end up with Scones that are soft but not flaky.
USE A FORK TO WHEN ADDING THE LIQUID
By using a fork, the liquid (Buttermilk) will evenly distribute without overmixing the dough.
A ROUGH PASTRY-STYLE FOR EXTRA FLAKINESS
For extra flakiness, do a “Rough Puff Pastry-Style” flattening and folding the dough.
Fold three to four times, Building in those layers.
DO NOT kneading or stretching the dough, we don’t want to develop gluten and have a very tough Scones.
SHAPE THE DOUGH INTO A THICK DISC
The thickness of your Scone dough is all important.
Before you cut, Shape the dough into a thick disc about 3-4 cm thick
DO NOT TWIST THE CUTTER
Remember when you cut it, don’t twist the cutter or the Scones will be lopsided (it won’t look pretty 😒)
COLLECT AND PRESS THE SCRAPES
After you cut the dough, you will have those little scraps.
DO NOT knead it!
What you can do is collect and press it together; stand the dough up and press again.
Press until it is 3 cm thick and then you can cut again.
APPLY SOME EGGWASH
To give the top of the Scones a bit of shine, apply some egg wash.
Avoid the sides and bottom because they will affect the rise.
This will give your Scones a nice golden brown finished.
BAKE WITH IDEAL TEMPERATURE AND TIME
Use 15 minutes of a Scones in oven as a good rule, you can’t foget about it! 🤖
FLUFFY FLAKY BRITISH SCONES
Yield: 9 Scones (Diameter 5 cm, 3 cm Tall)
🍰 Ingredients
115 g Cold Unsalted Butter
150 g Cold Milk + 2 tsp Vinegar (to make Homemade Buttermilk)
335 g All-Purpose Flour
50 g Caster Sugar
1 ⅓ tsp Double-Acting Baking Powder
1/3 tsp Baking Soda
1/3 tsp Salt
Zest from 1 Lemon
(1 Egg for egg wash~beat the eggs)
🍰 Instructions
Preparation
To Make Scones Dough (Kindly watch the video for completed instructions)